1949 Mercury

Scale Model Addict - Model Tips, Guides, Tools & Tech, Tutorials, and Community

Help Support Scale Model Addict:

WtShark

Well-Known Member
Joined
Jun 25, 2025
Messages
623
City & State/Province
So. Cal.
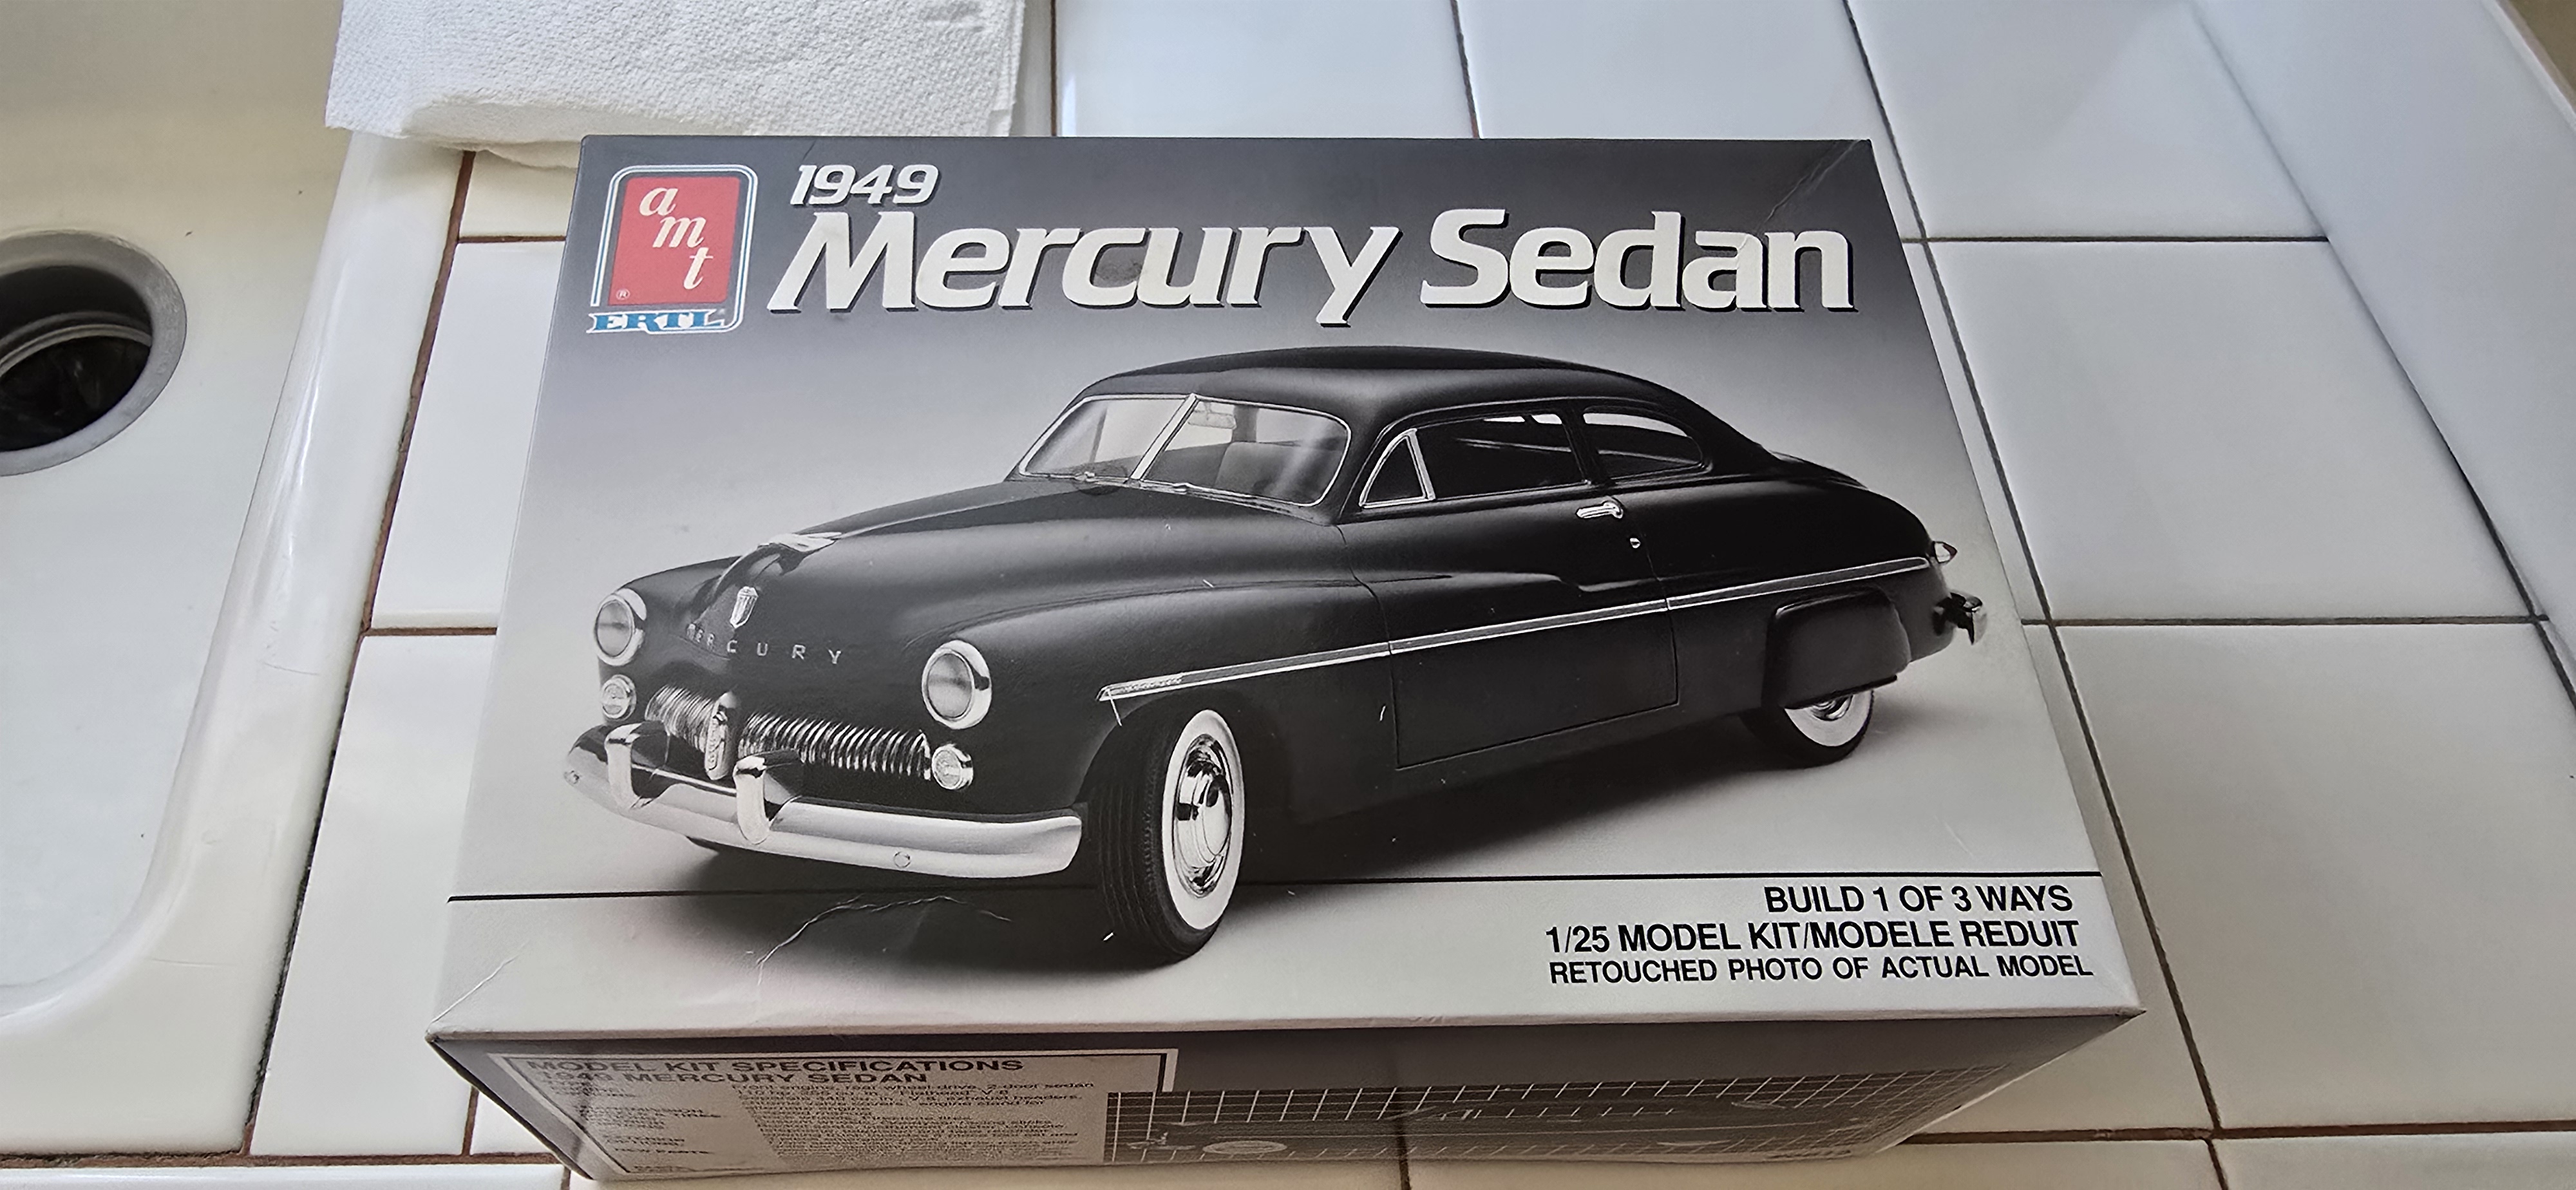
Next up on the bench is this little jewel.
I have no idea what colors I'm going to paint it, or even which motor I'm putting into it-
Comes with a flathead 8 and a wedge.....
Maybe gun-metal grey?
Maybe Olive Green for a US Army staff car?
I dunno.
20260615_090242.jpg
 
I have always been partial to midnight blue.
I did a 50 something chevy in that color back in the late 80's early 90's
It's funny you suggest midnight blue, ironically, that was the color I was contemplating. I've done so many black vehicles, I thought I should branch out. I thought about Teal for about 30 seconds, harkening back to the early 90's, but thought better of it.
I'll go through my colors and decide an option pretty quickly.

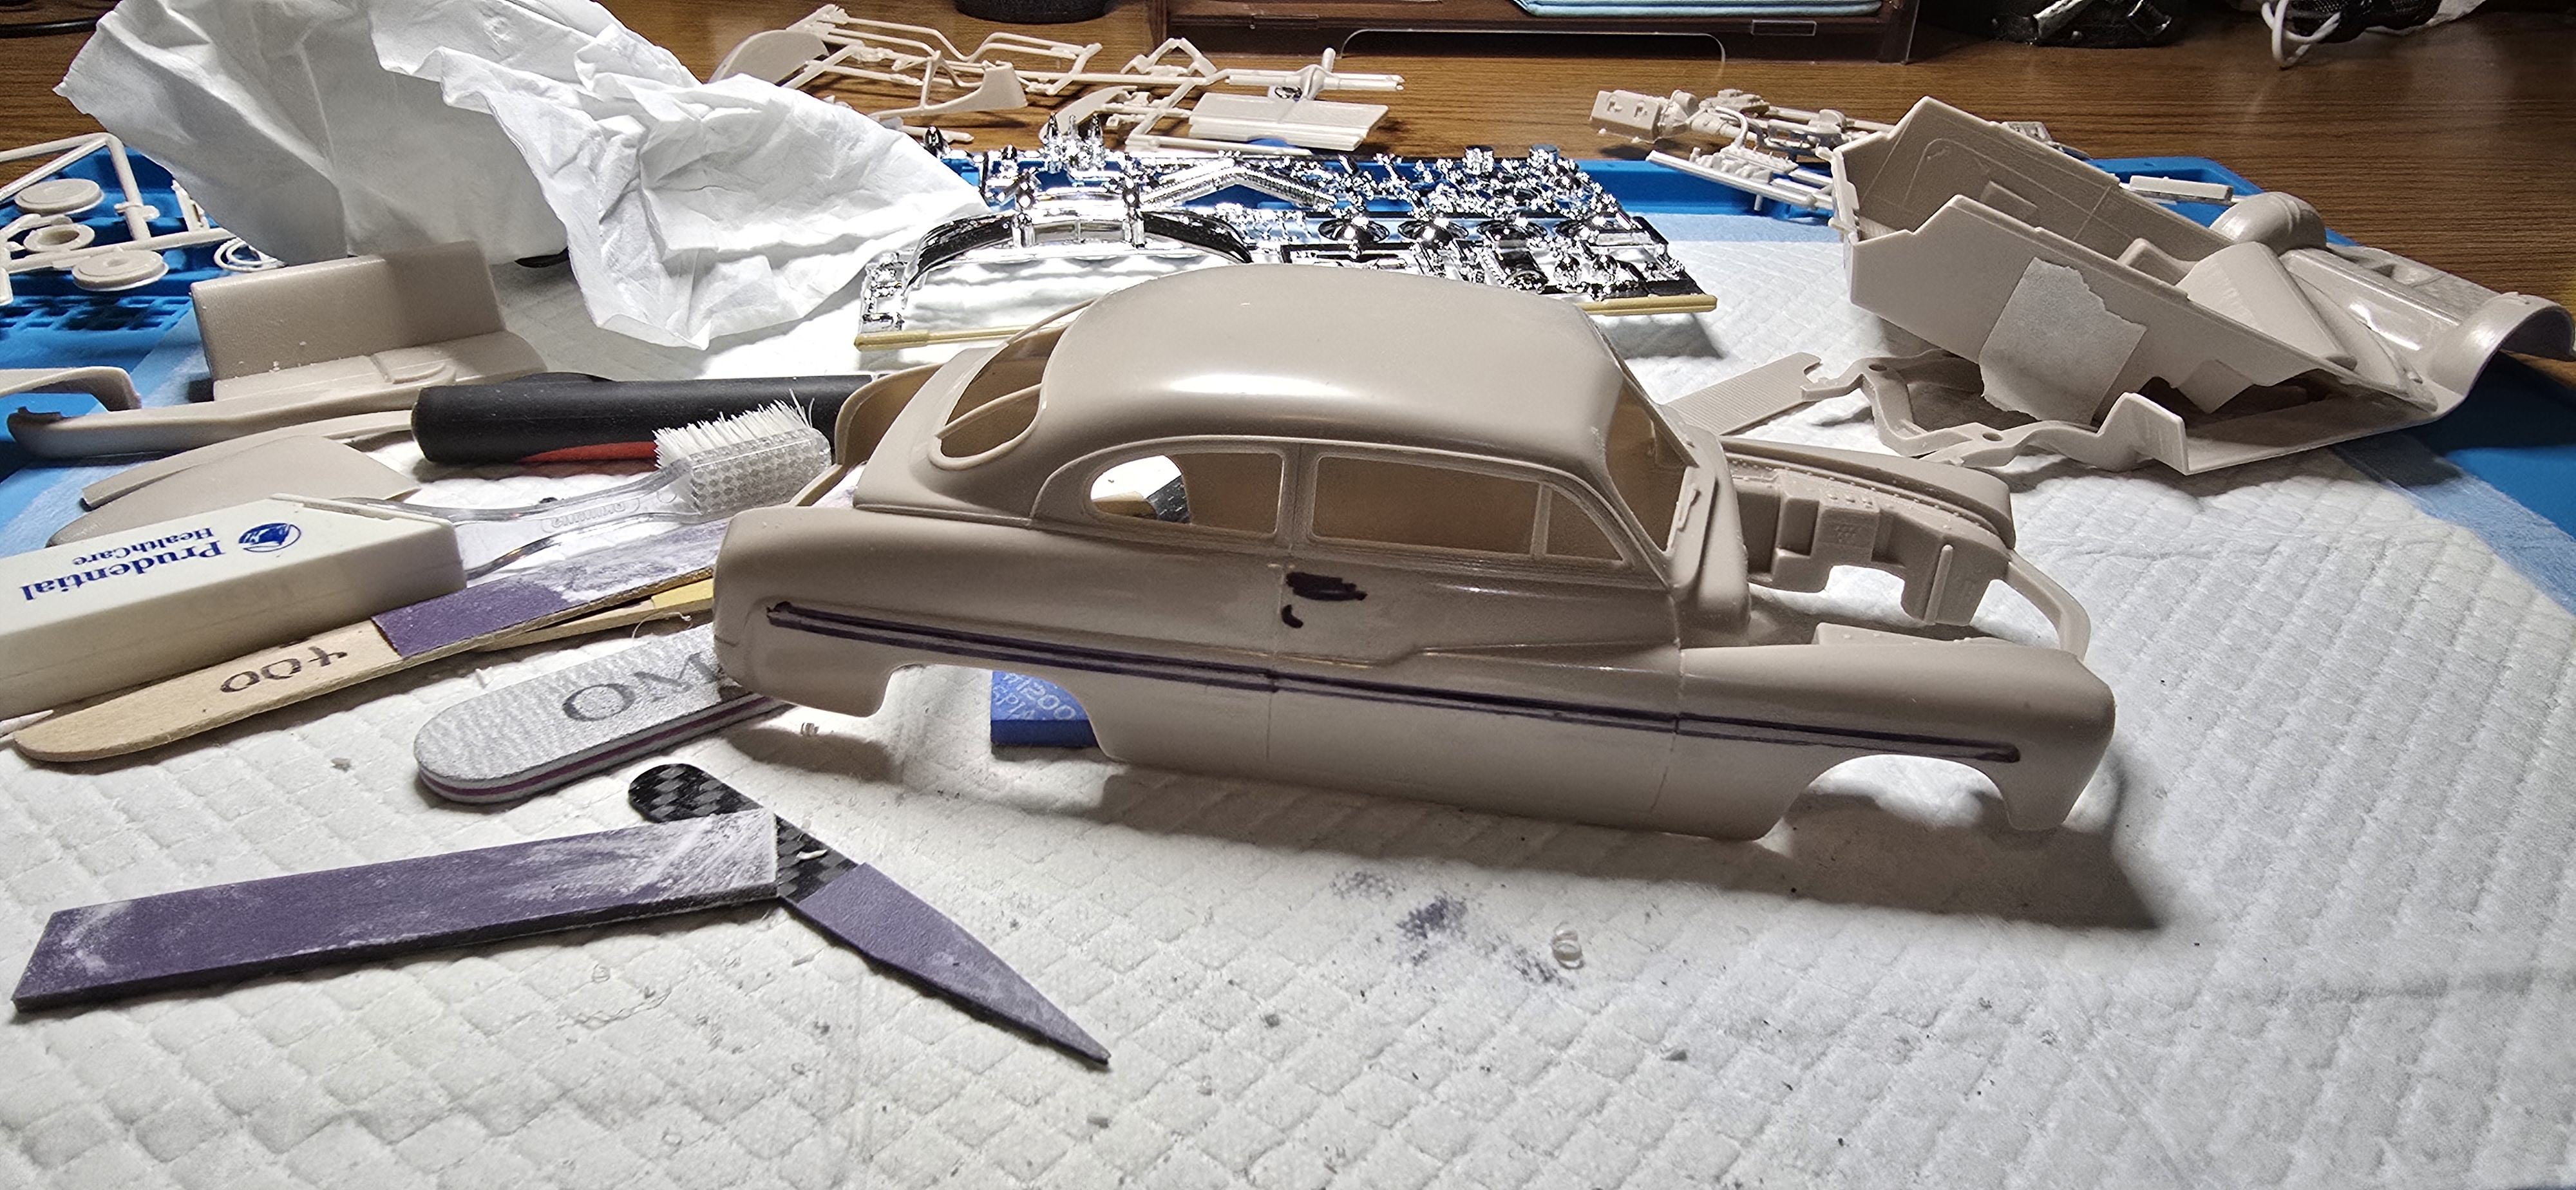
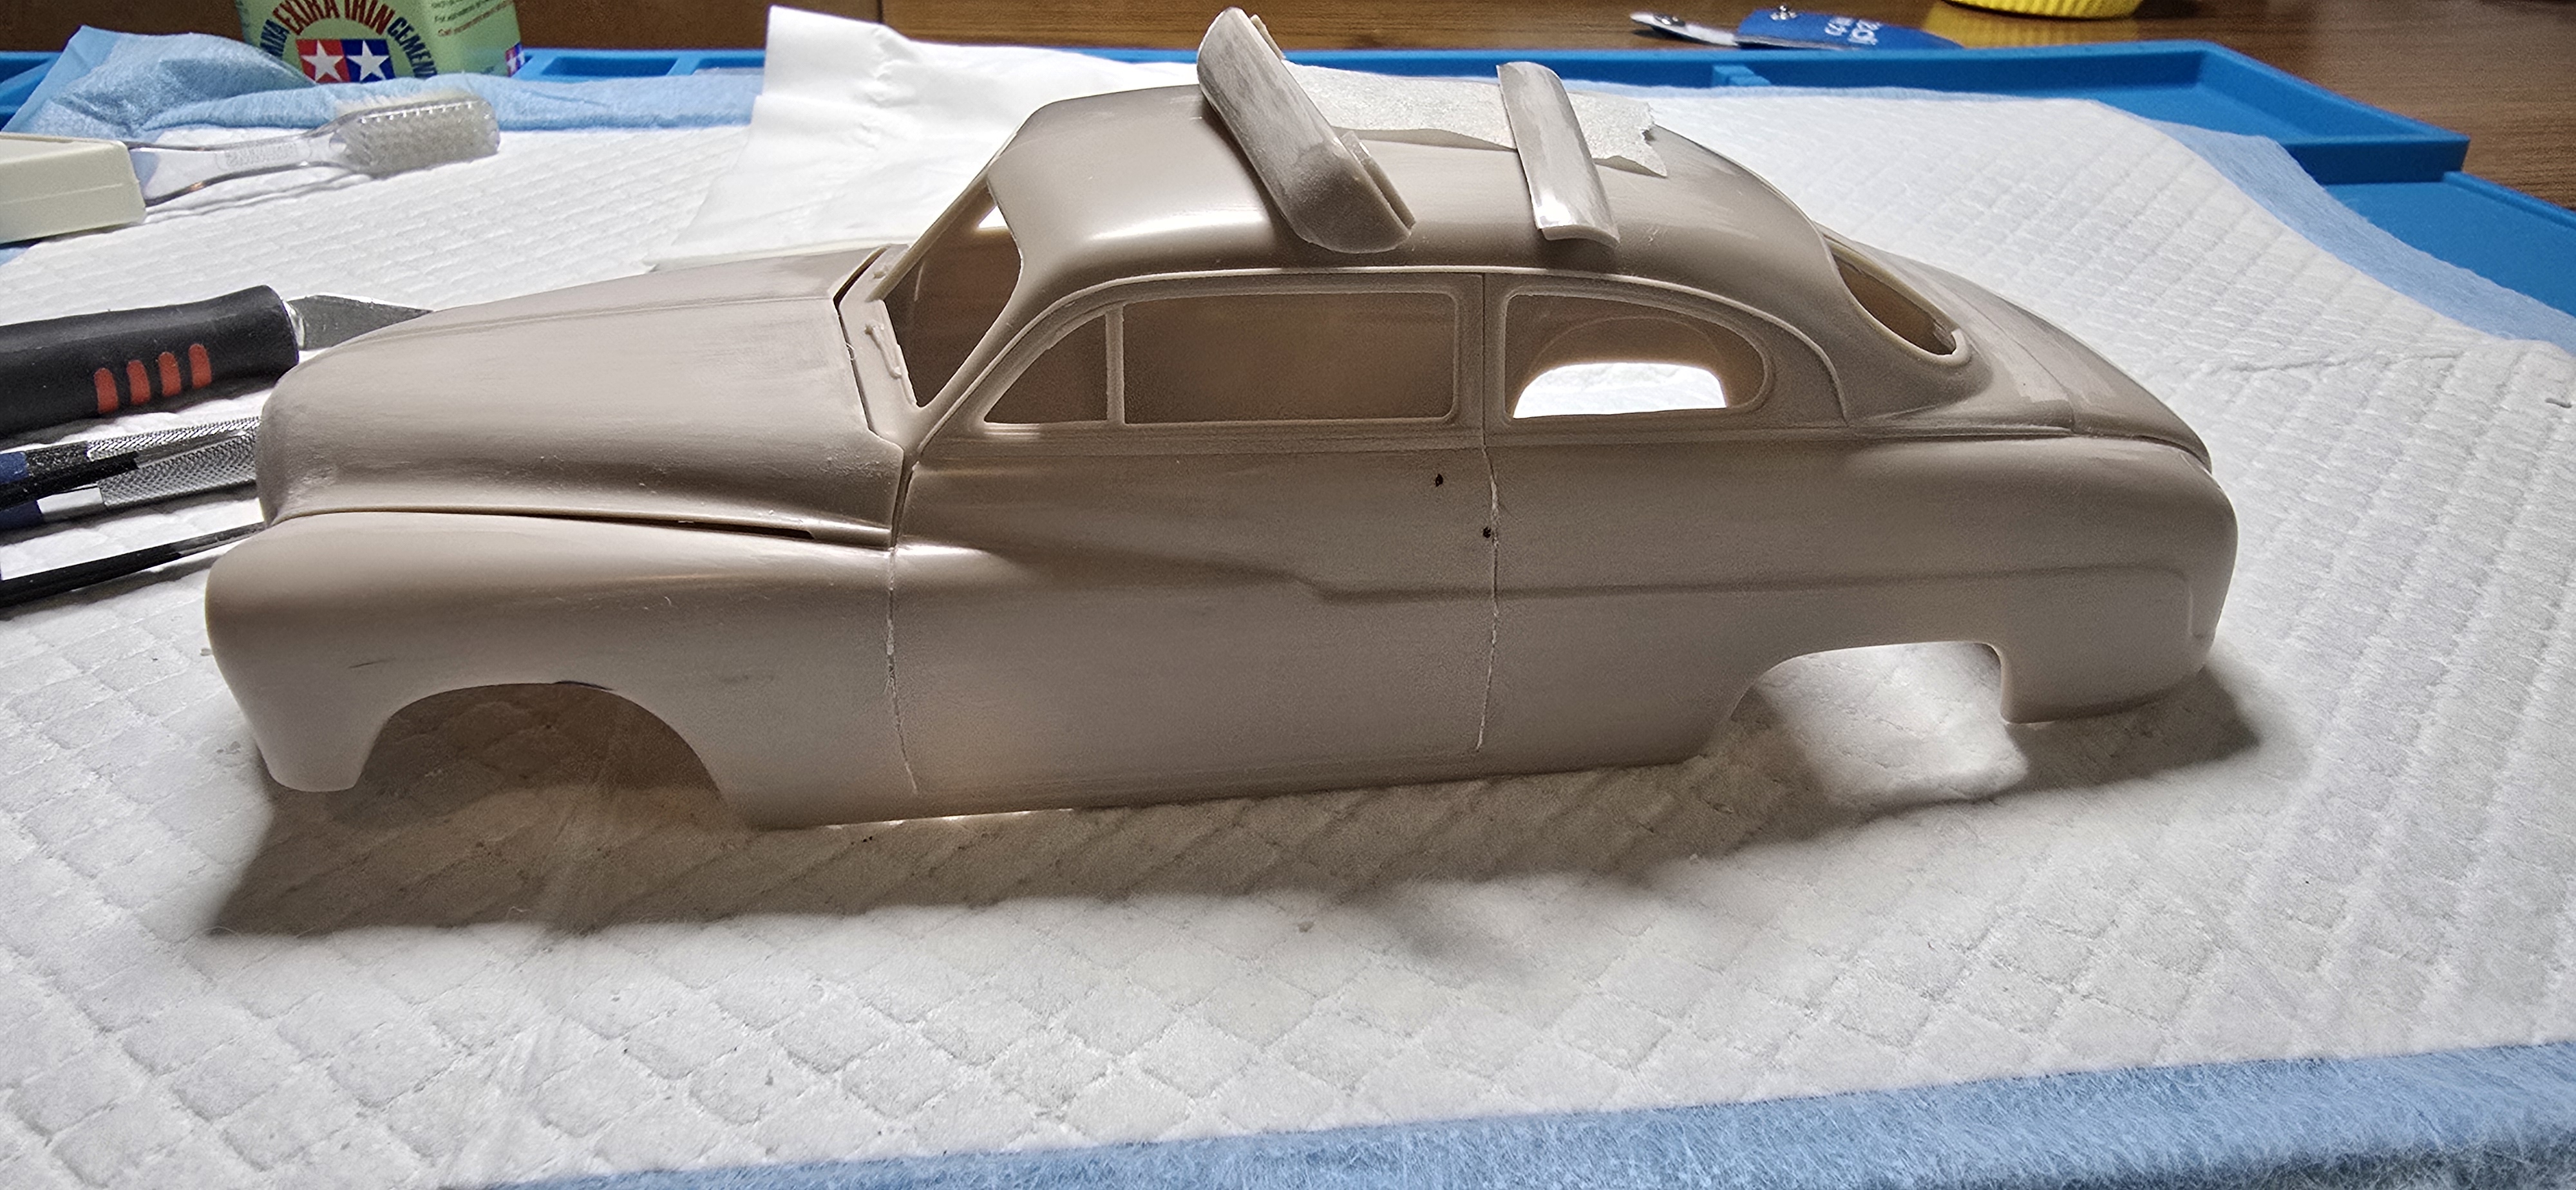
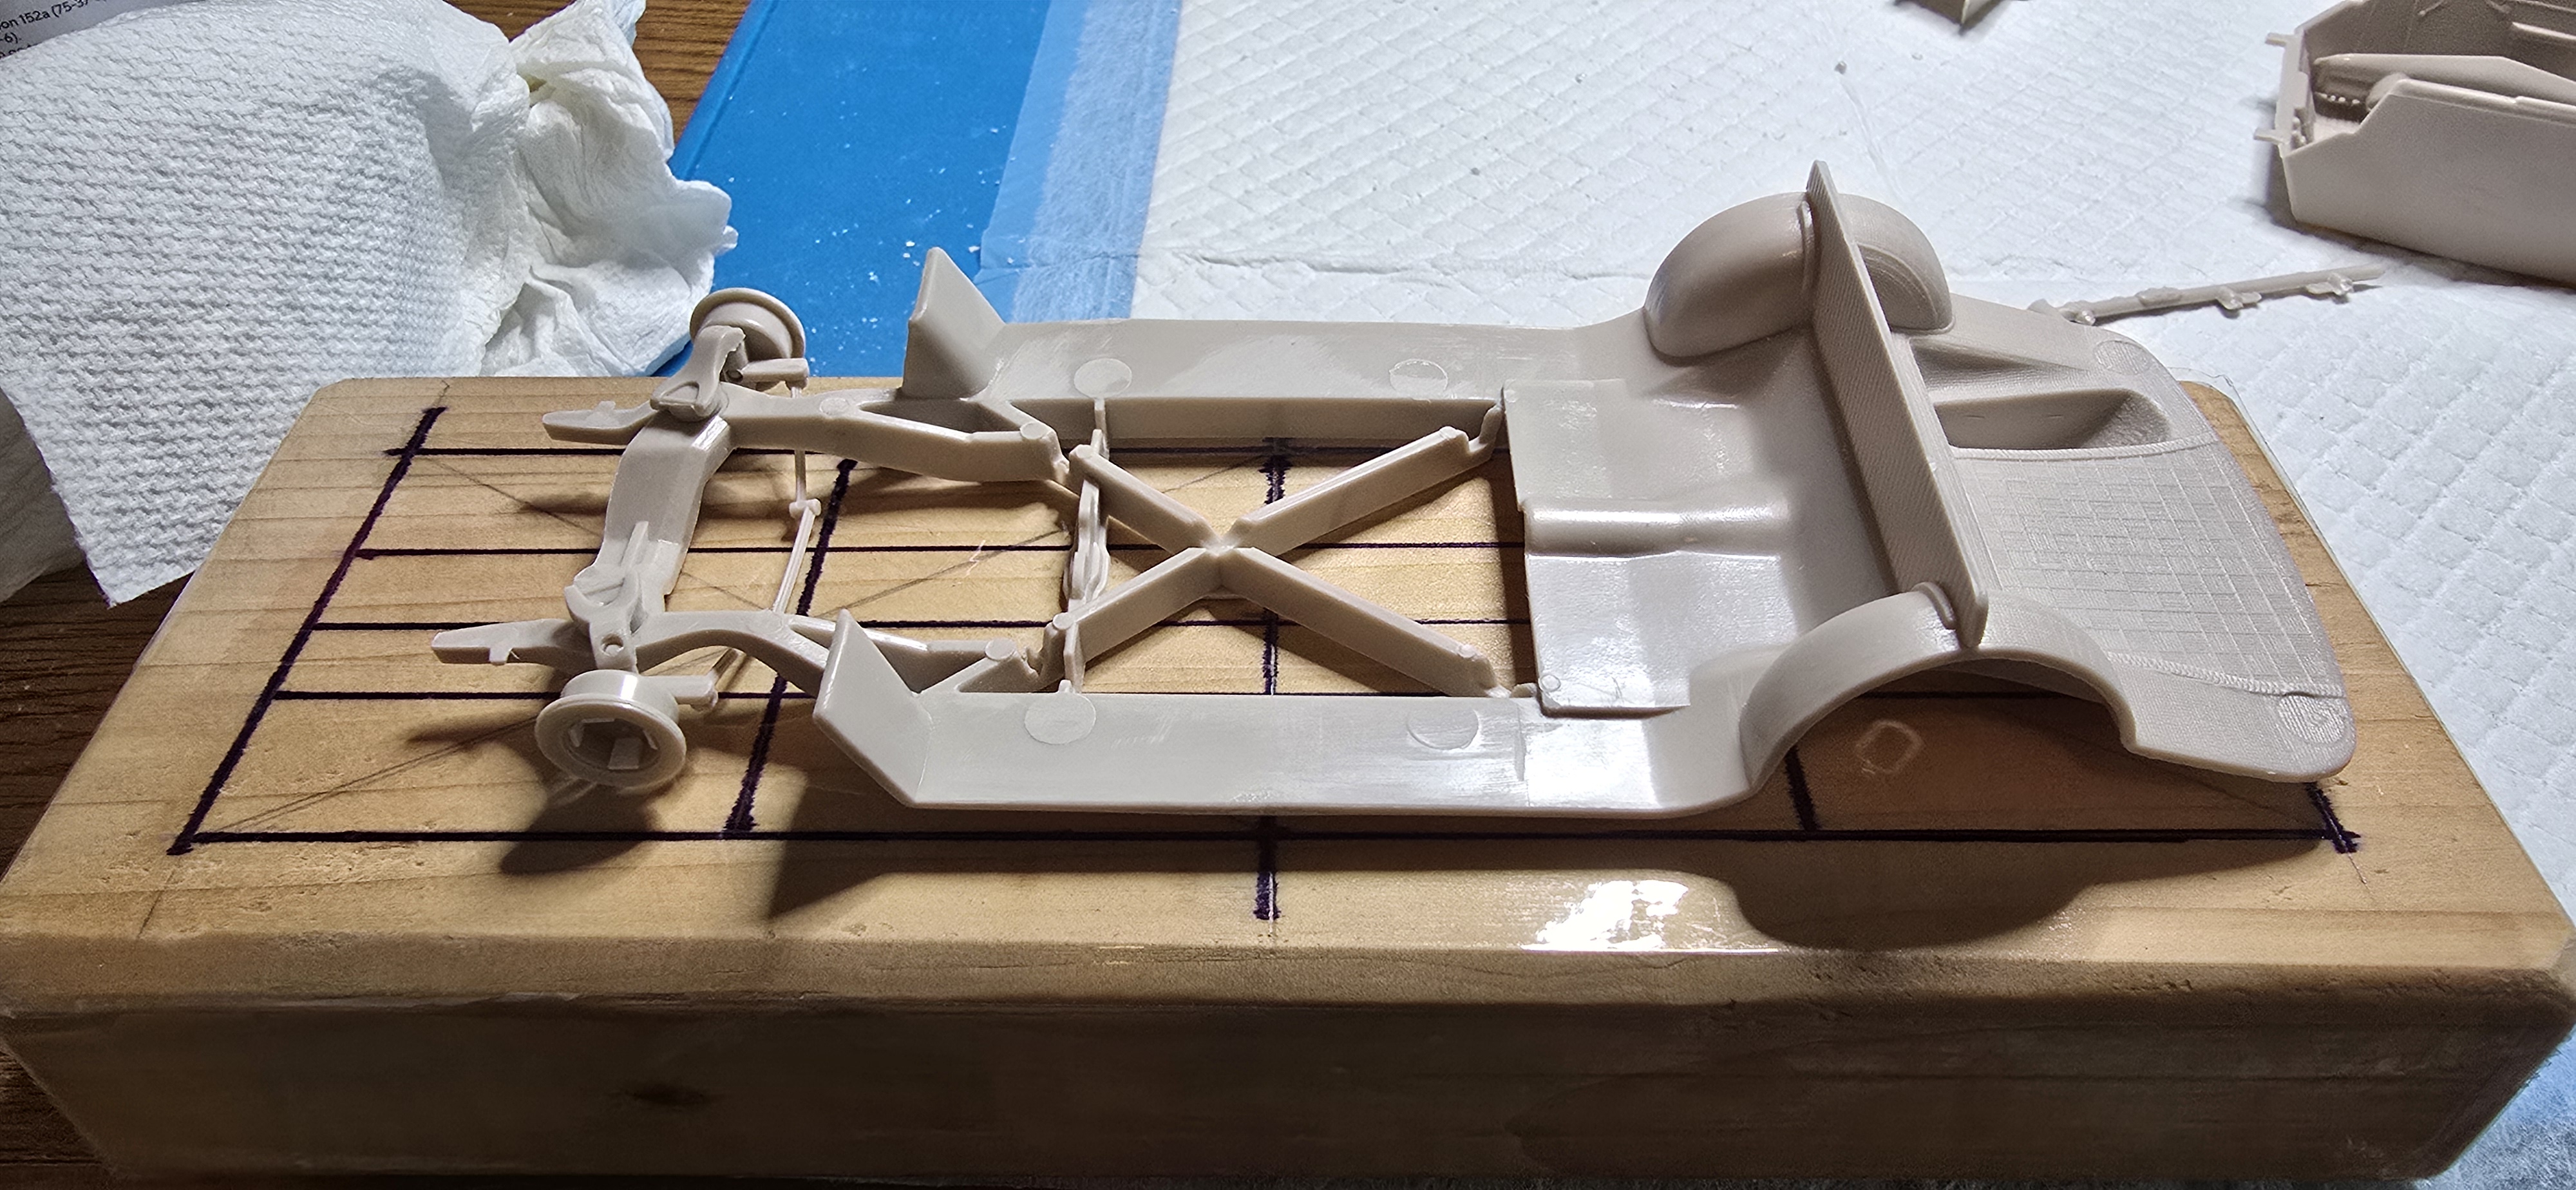
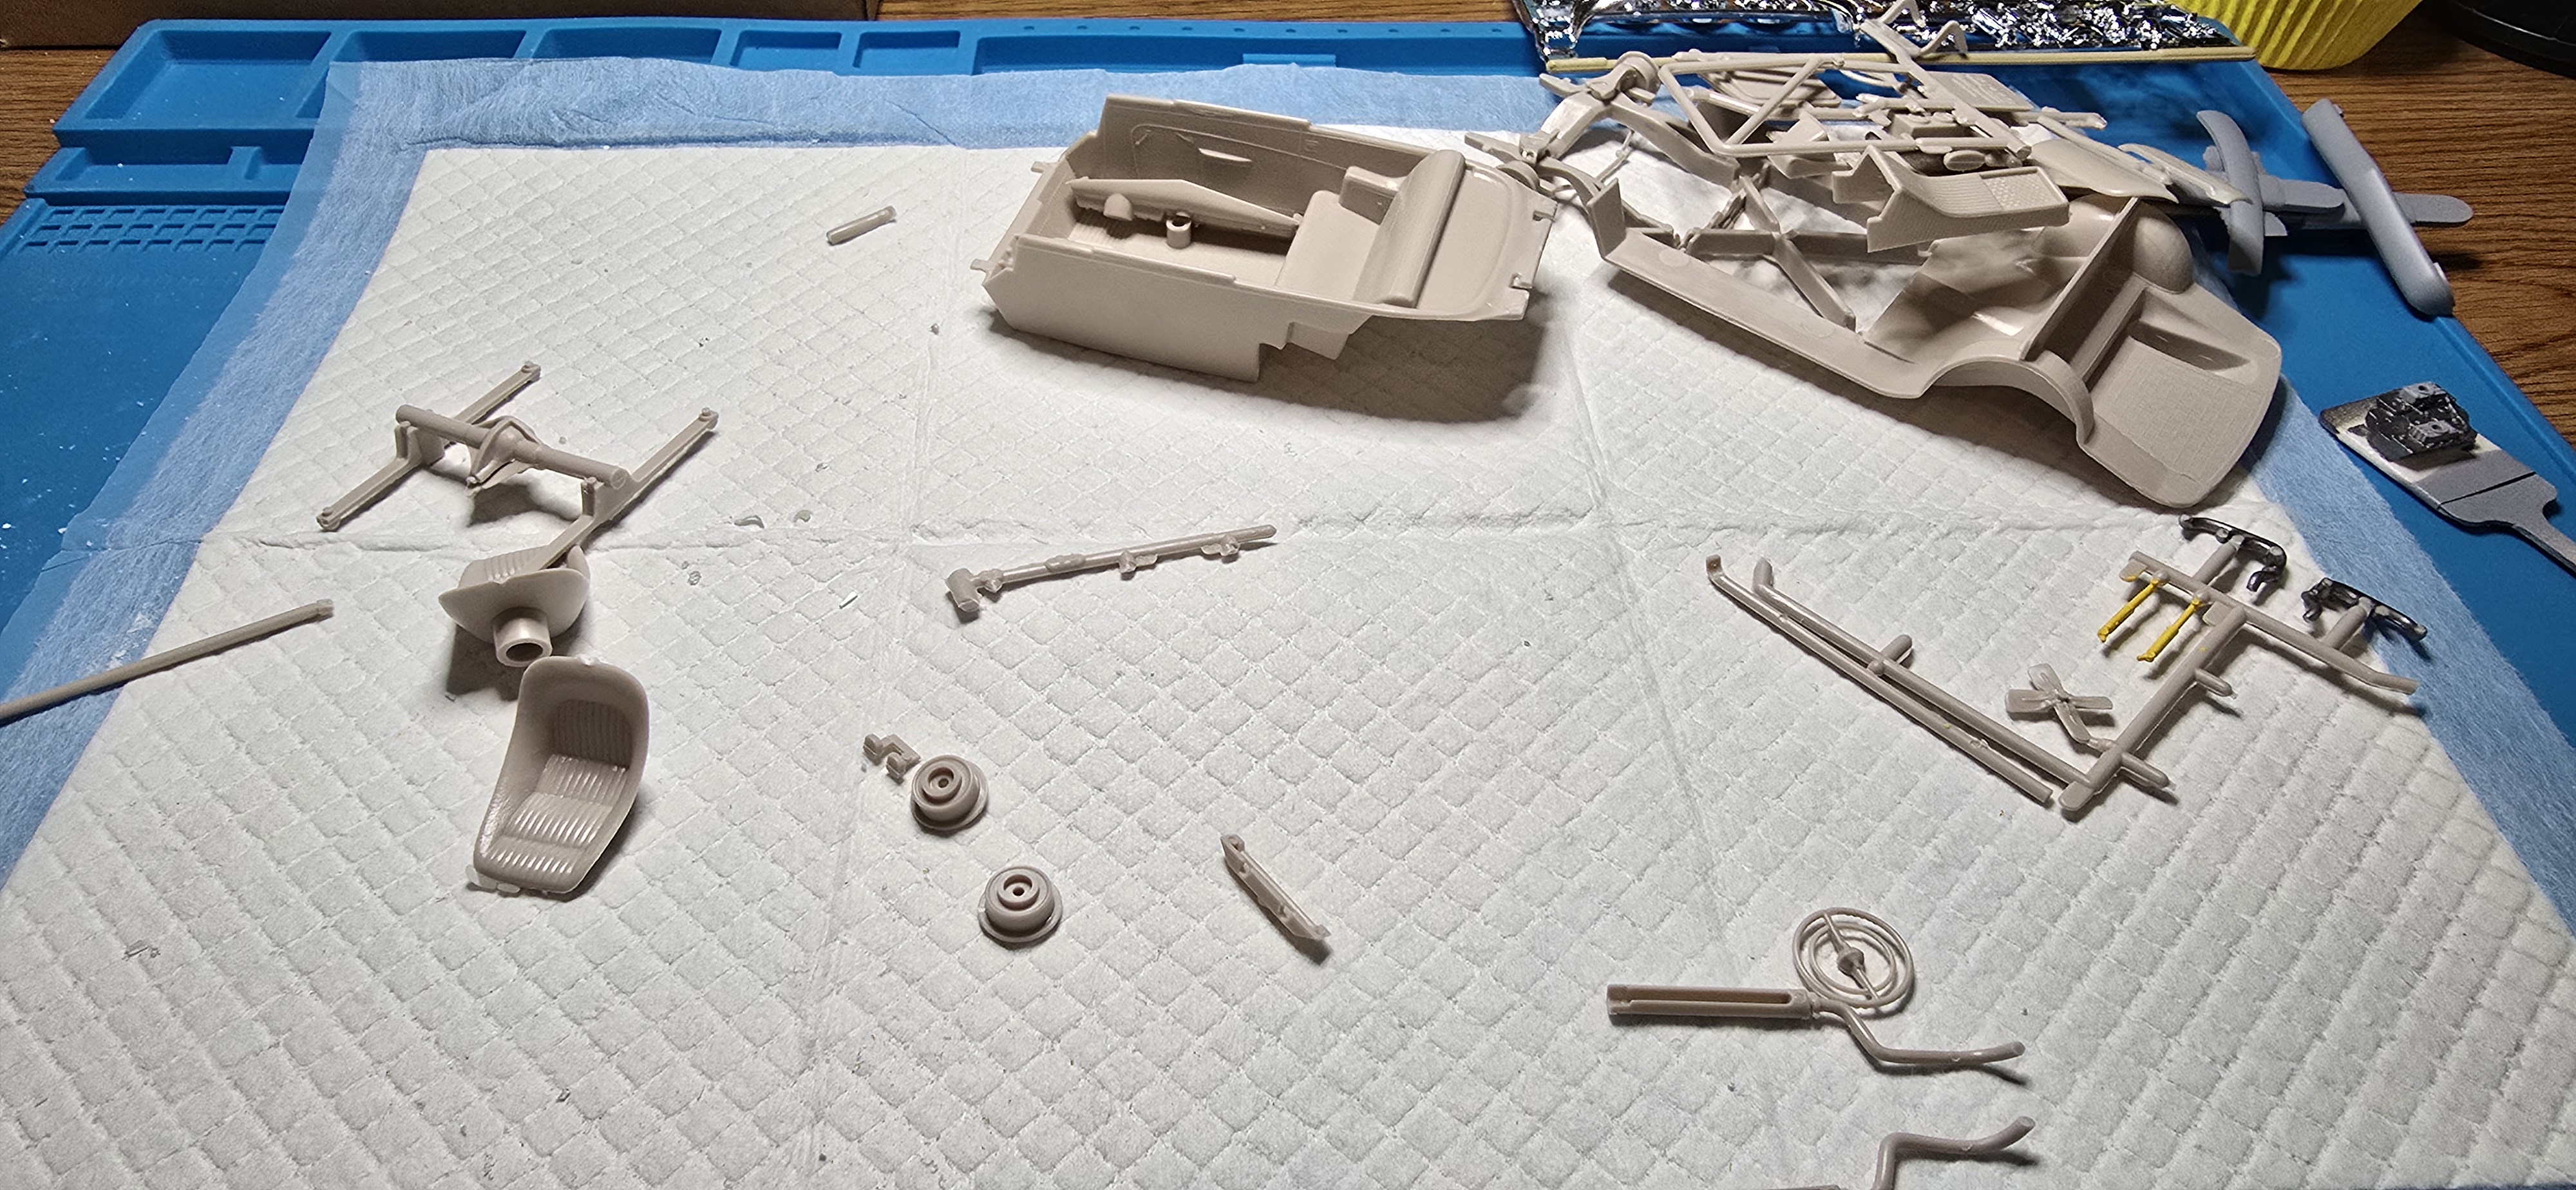
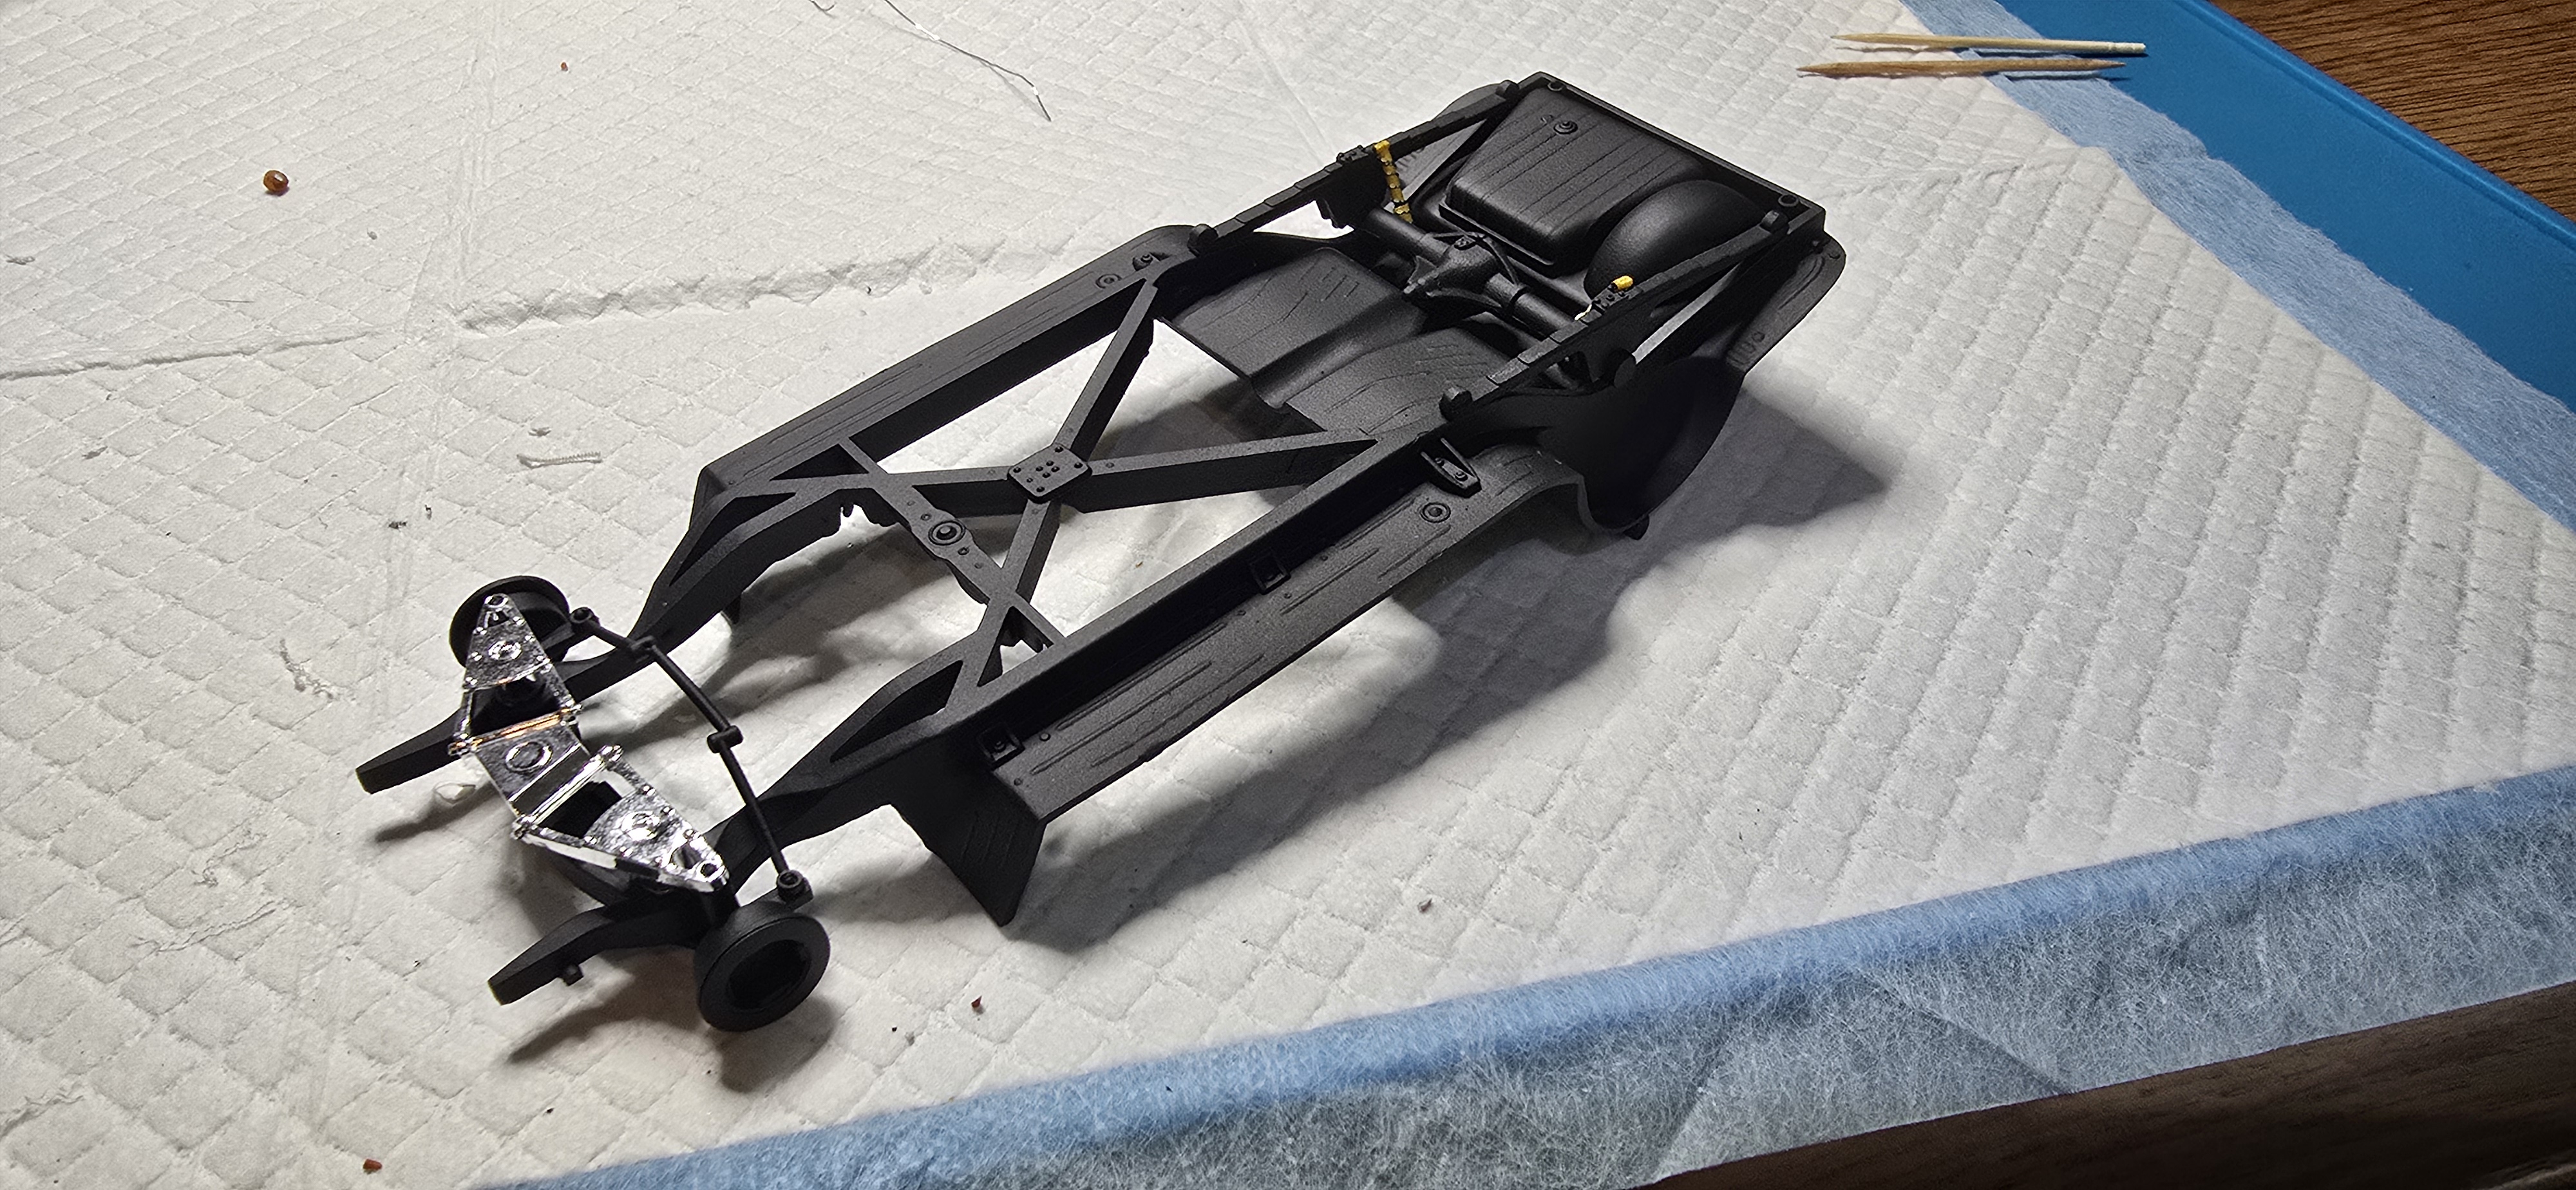
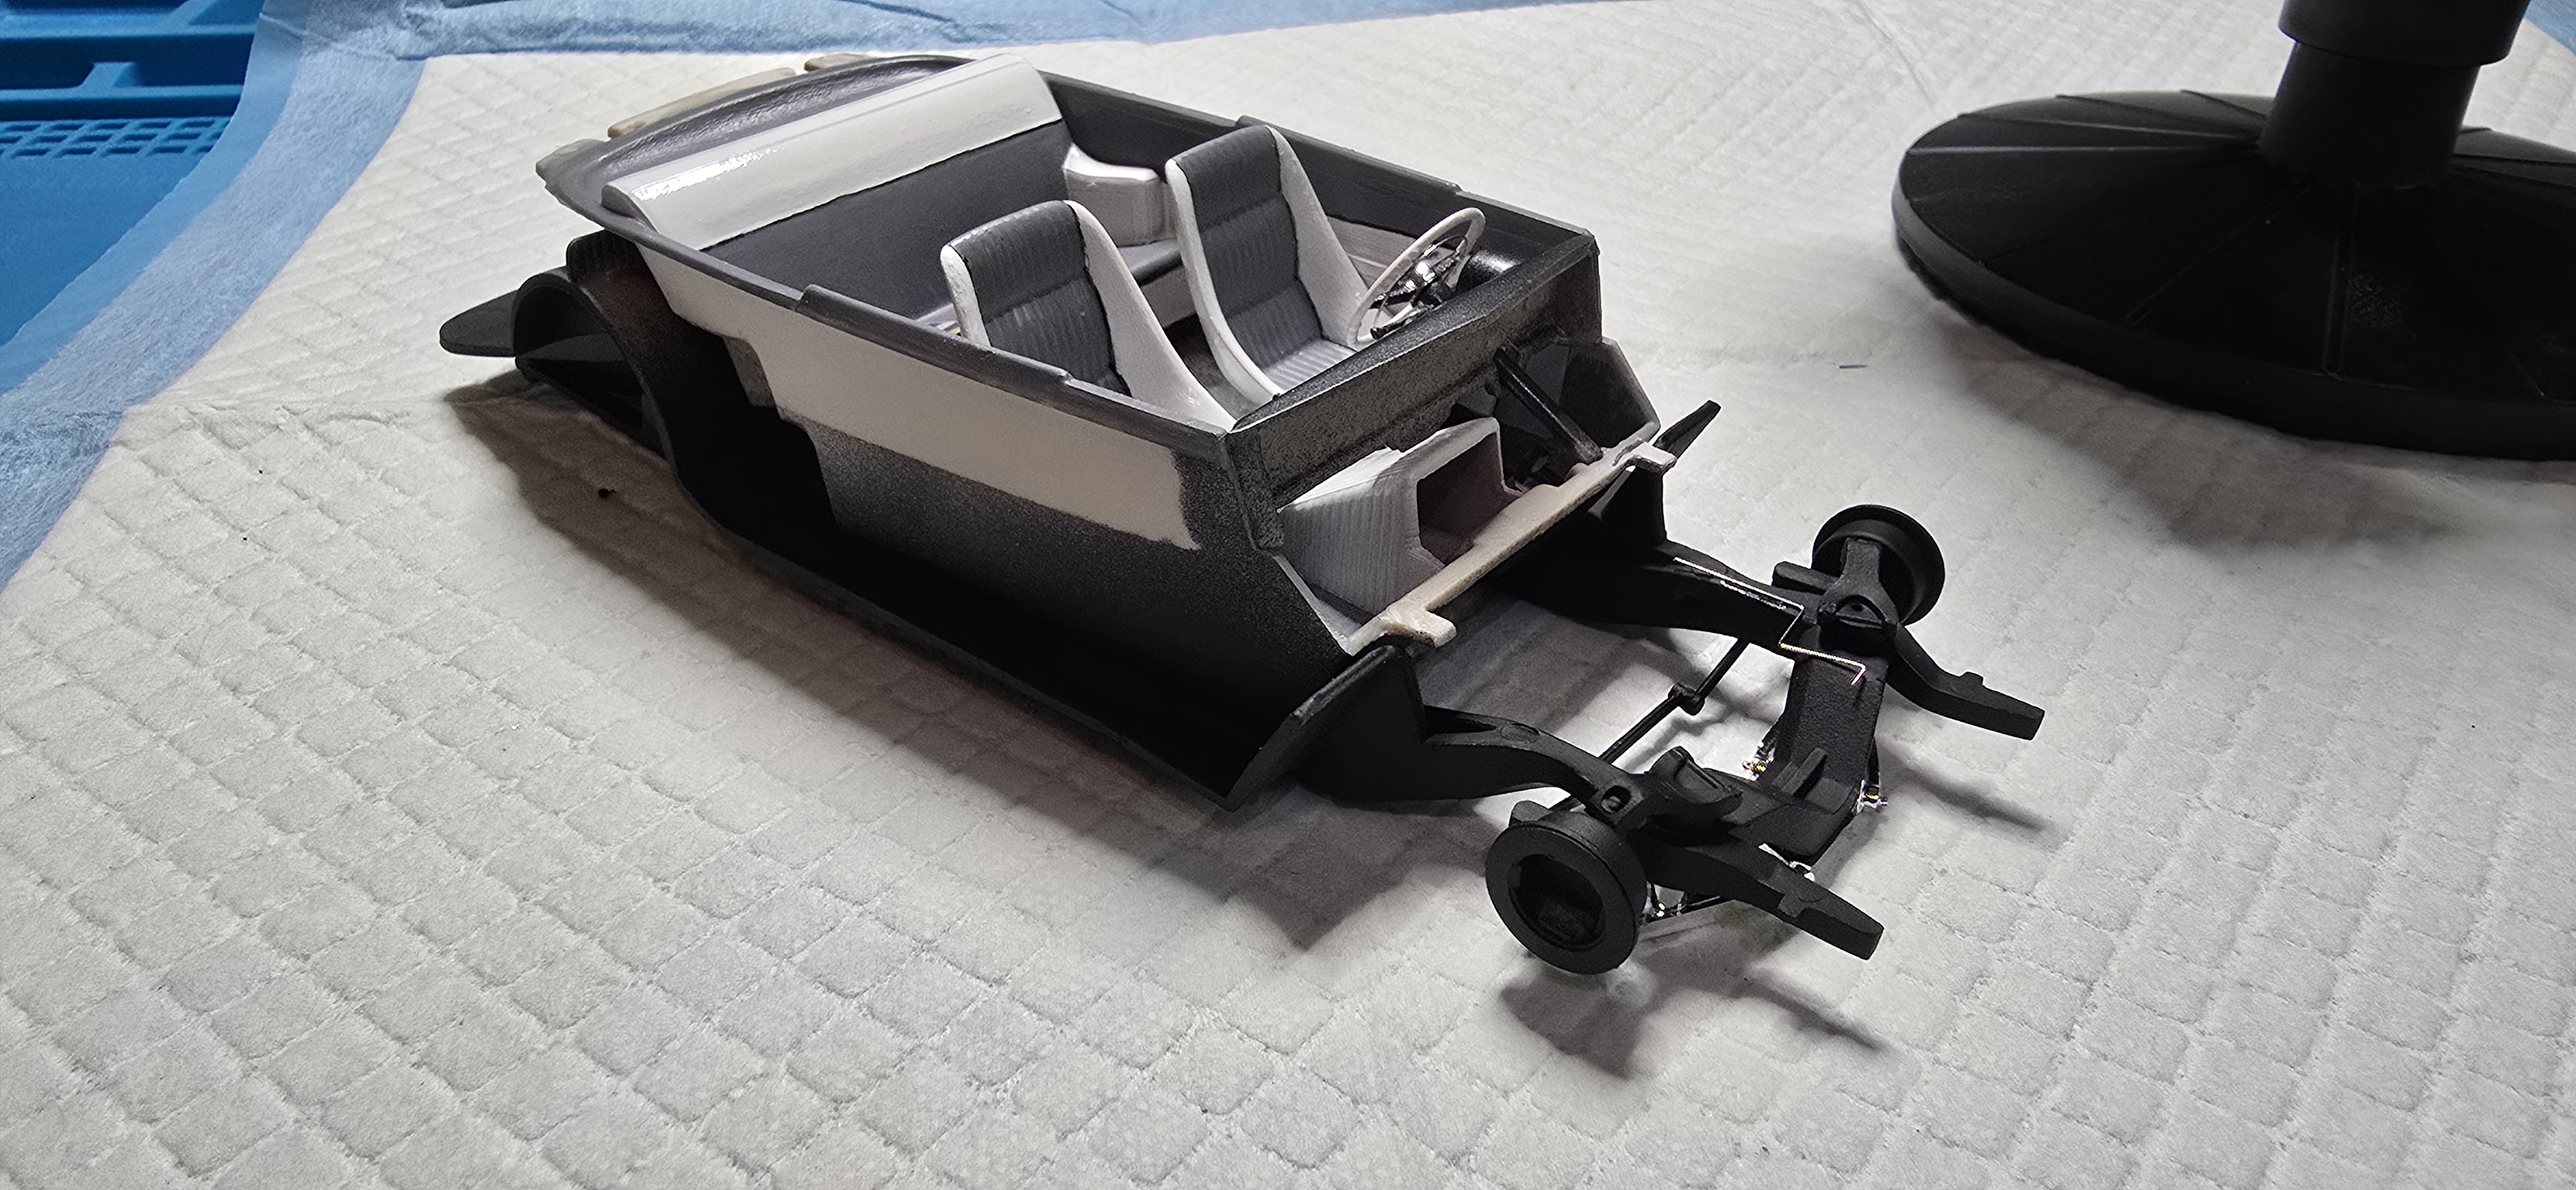
This is an odd kit; floor pan is multiple pieces, molded into frame, with interior tub making up half the bottom.
Odd construction choices. Trunk and hood open, but not sure I'm keeping the trunk opening.
Removing all external trim, shaving door handles, locks and moldings. Lots to think about as I work my way through.
20260616_104403.jpg
20260616_115645.jpg
 
Next up on the bench is this little jewel.
I have no idea what colors I'm going to paint it, or even which motor I'm putting into it-
Comes with a flathead 8 and a wedge.....
Maybe gun-metal grey?
Maybe Olive Green for a US Army staff car?
I dunno.
View attachment 192892
Love an old mercury! When I knock down my car stash a bit I'd like to do a nice chopped and dropped Merc!
 
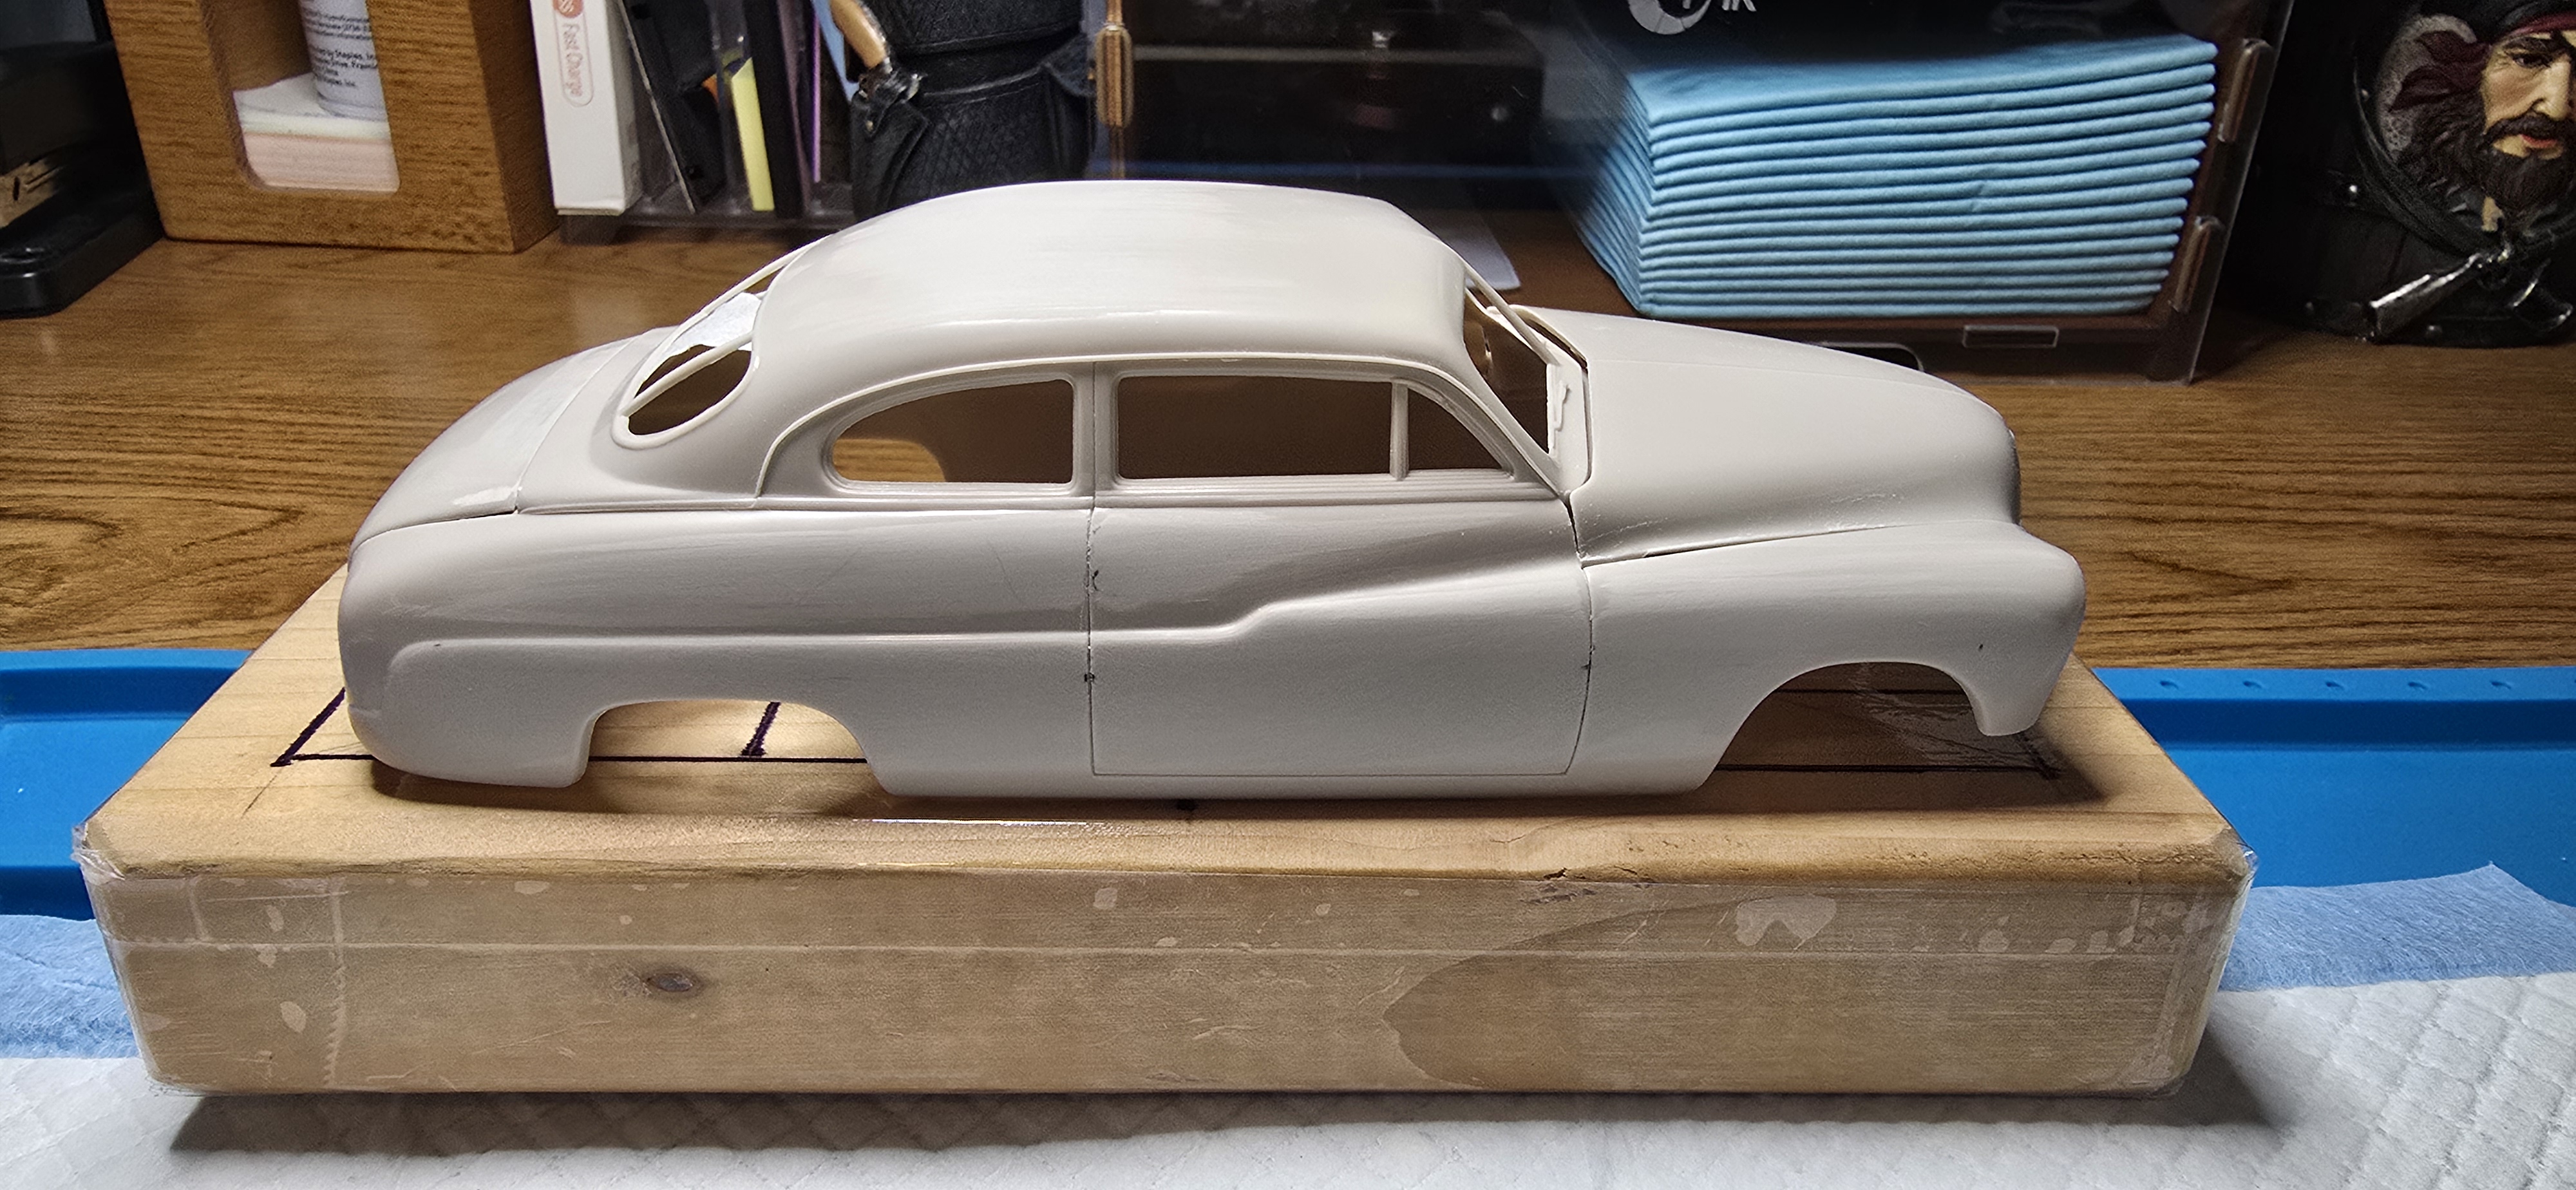
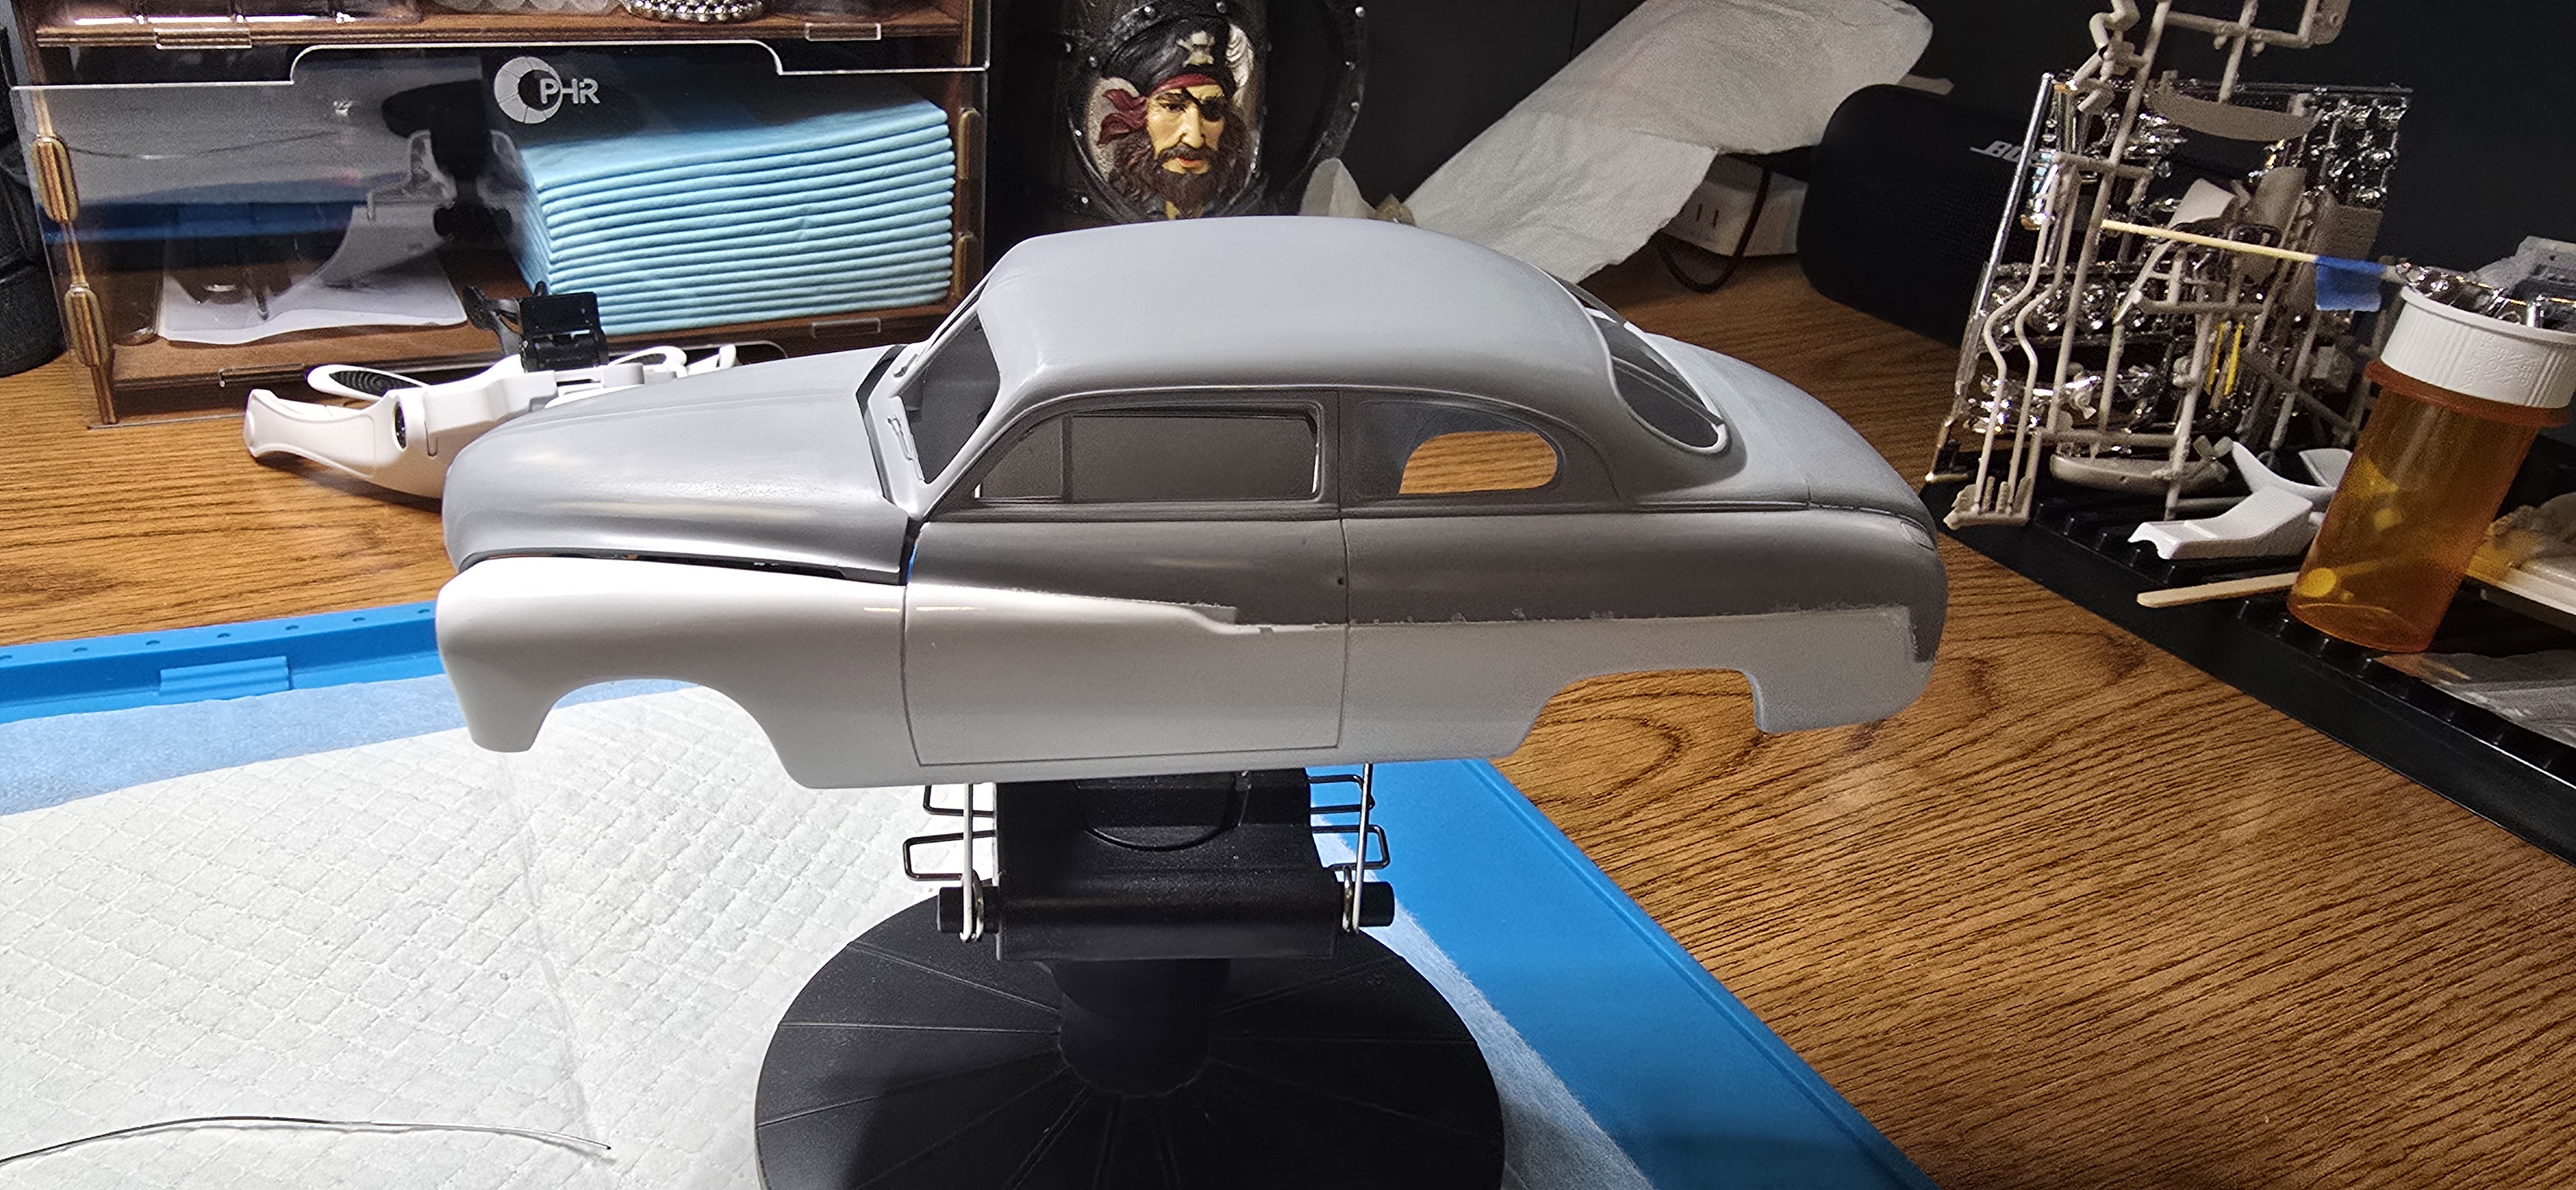
Spent some time sanding....and sanding and sanding....
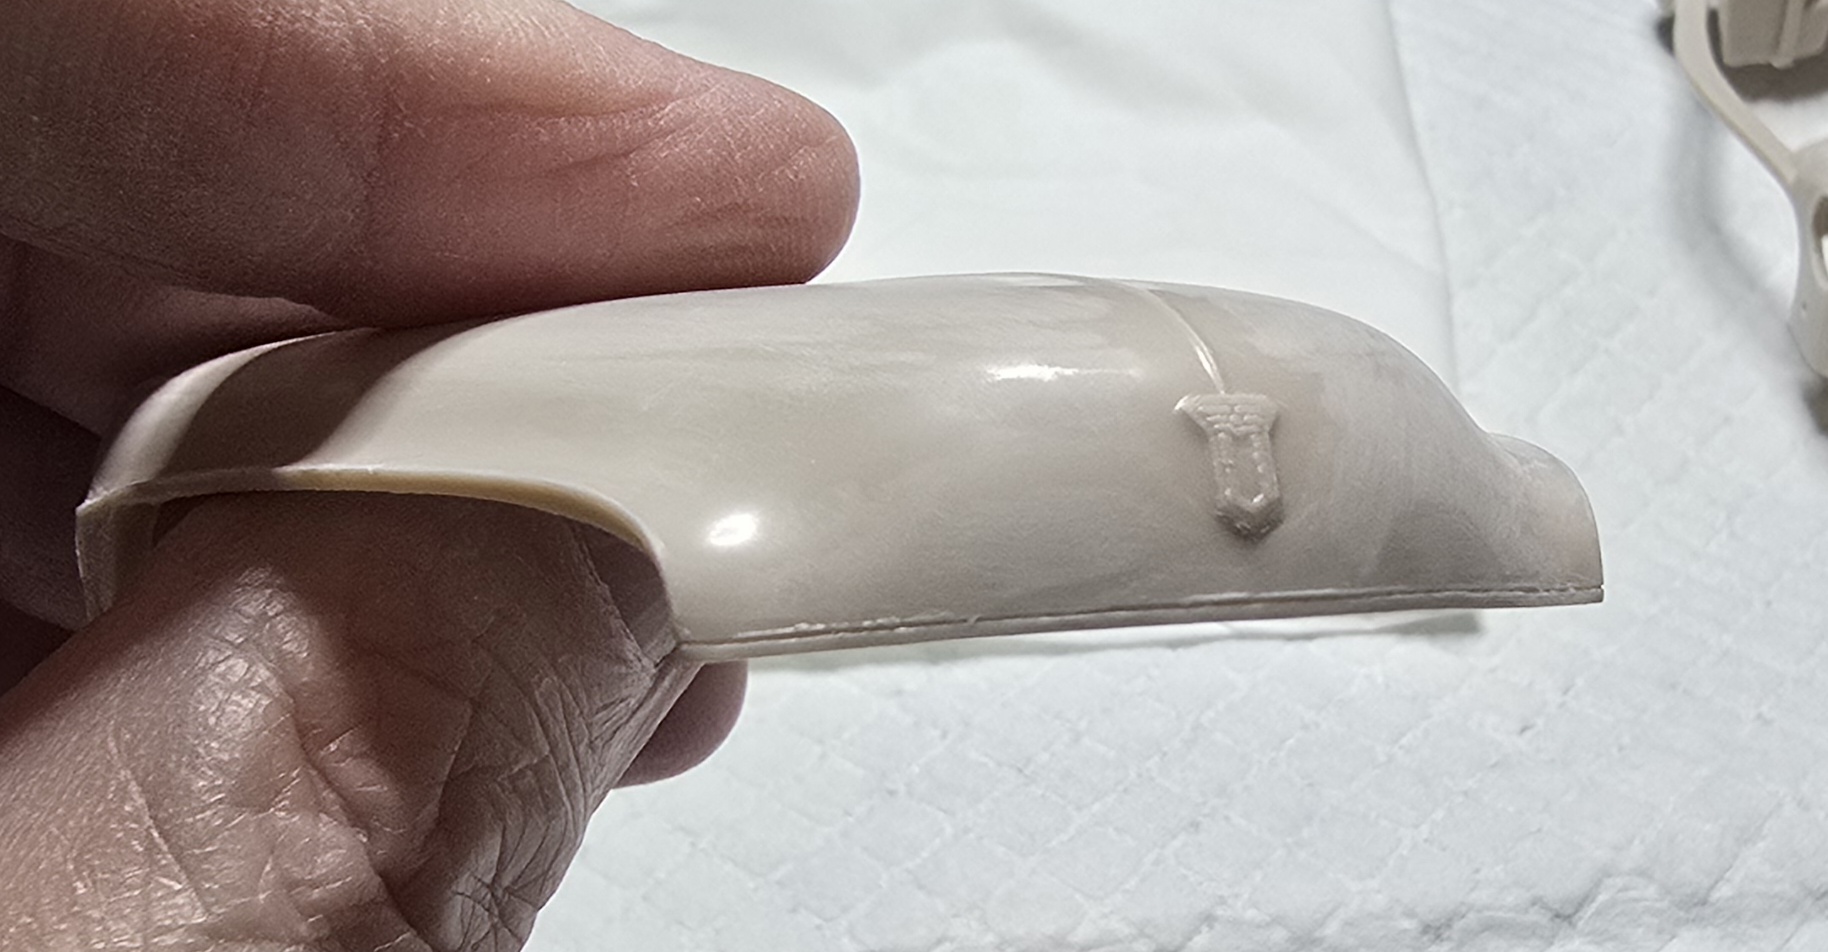
Body is clean of mold lines, removed all molded lettering, left the logo on.
Got to use a new tool, (a small indexing scribe), which was perfect to put the hood trim back on, which I'd inadvertantly removed while removing the cast lettering across the front.
Ready for primer and to see what I missed and then more sanding... 😁

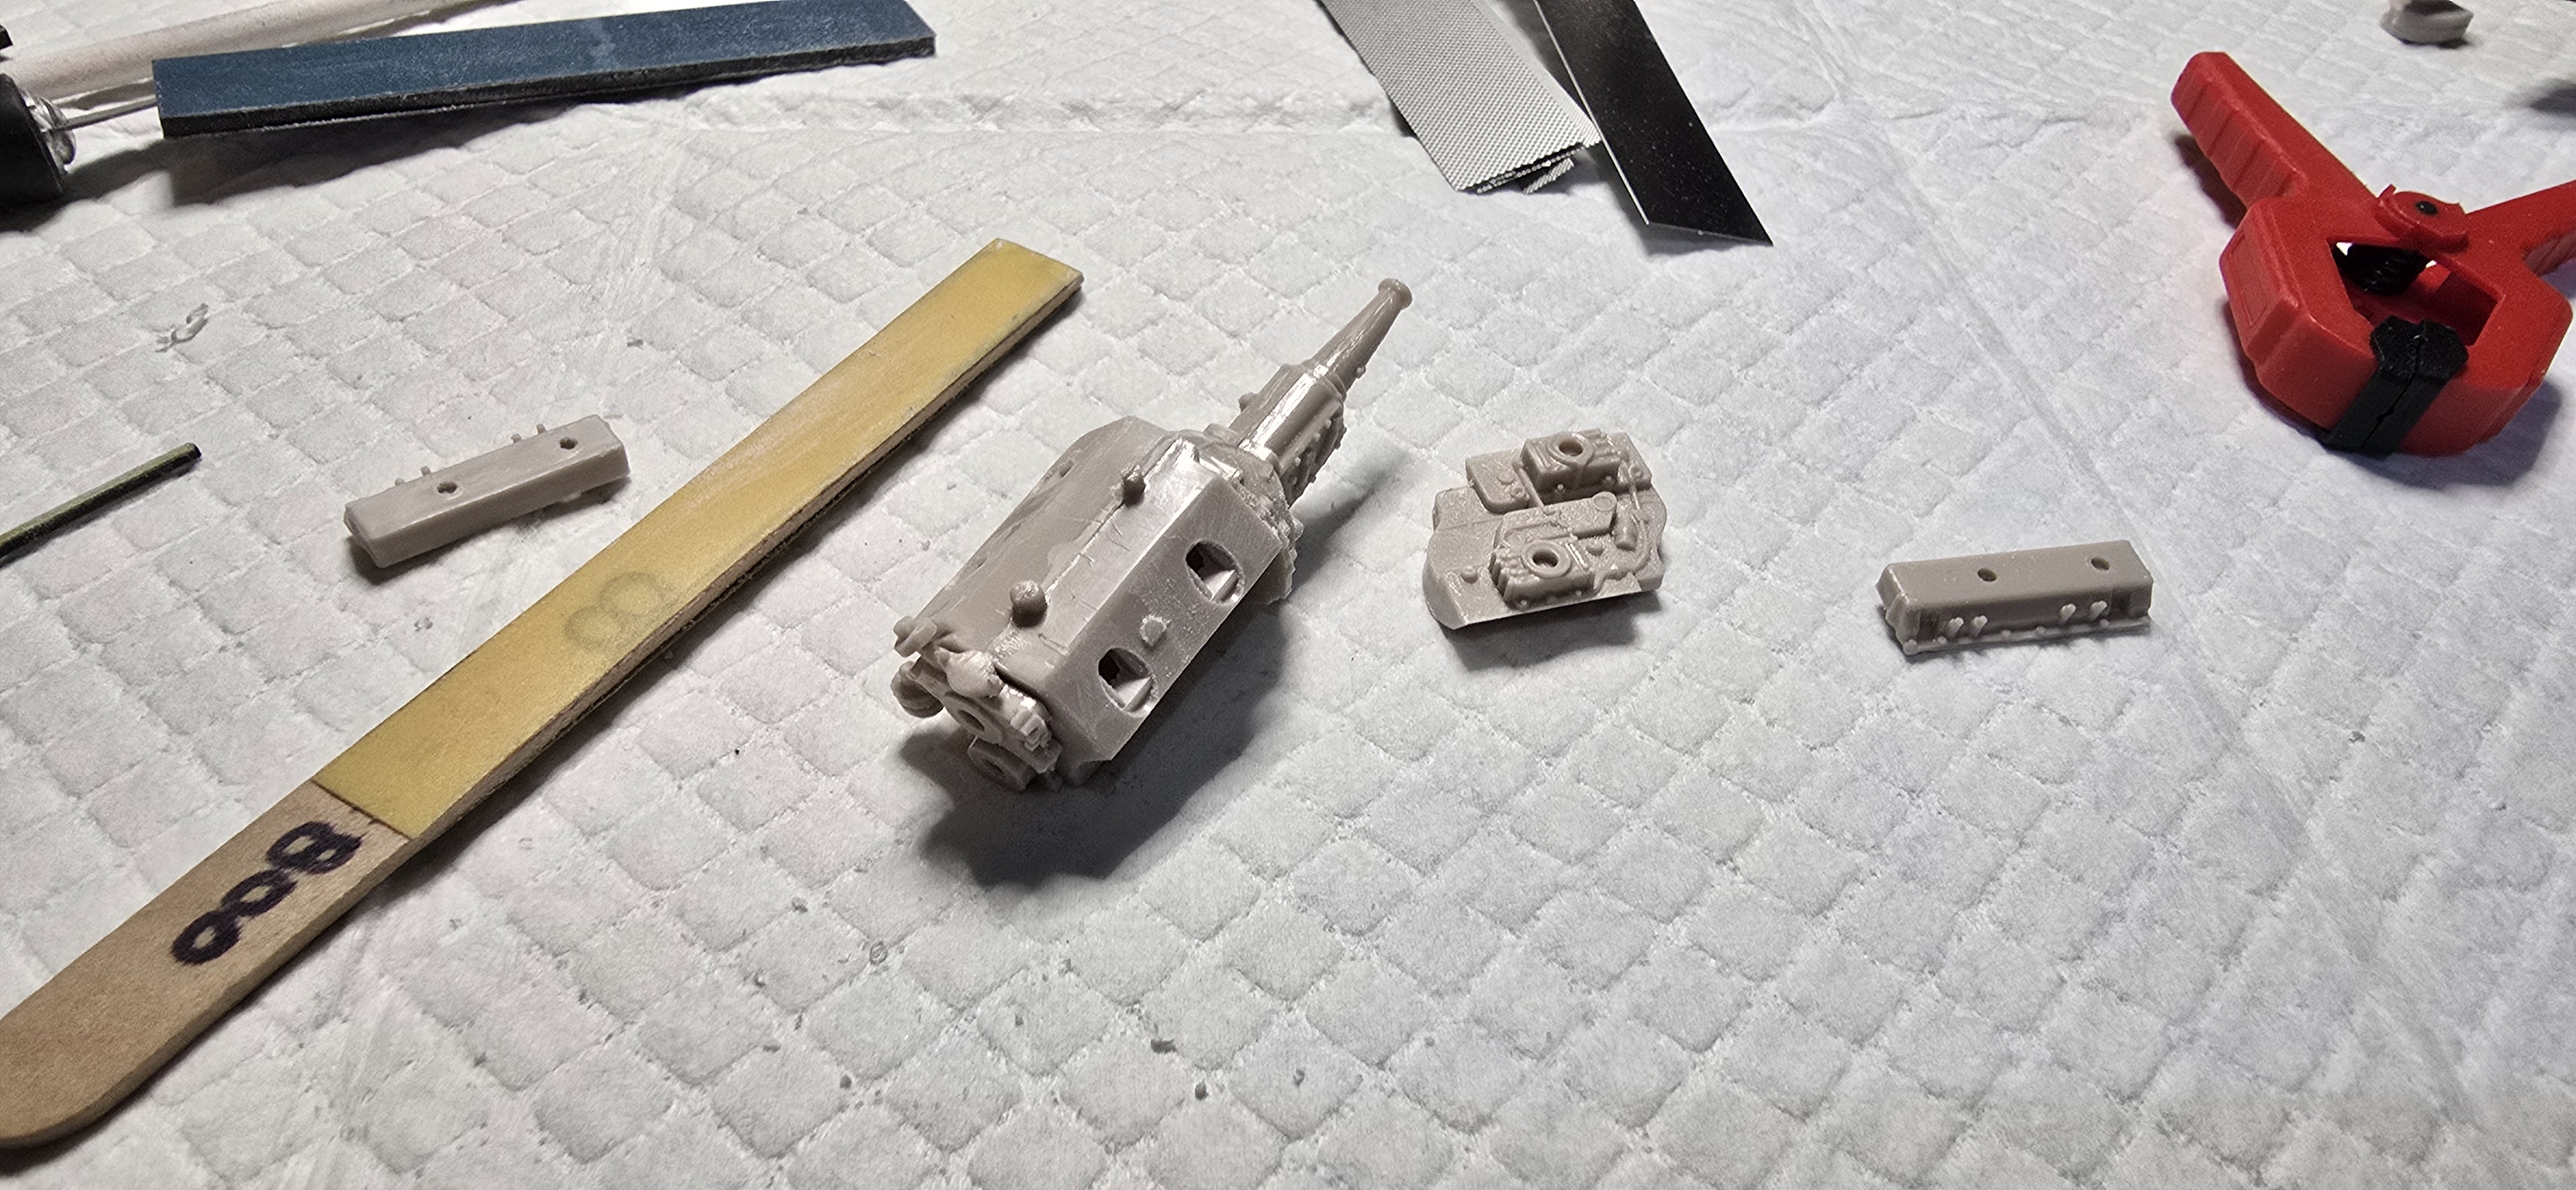
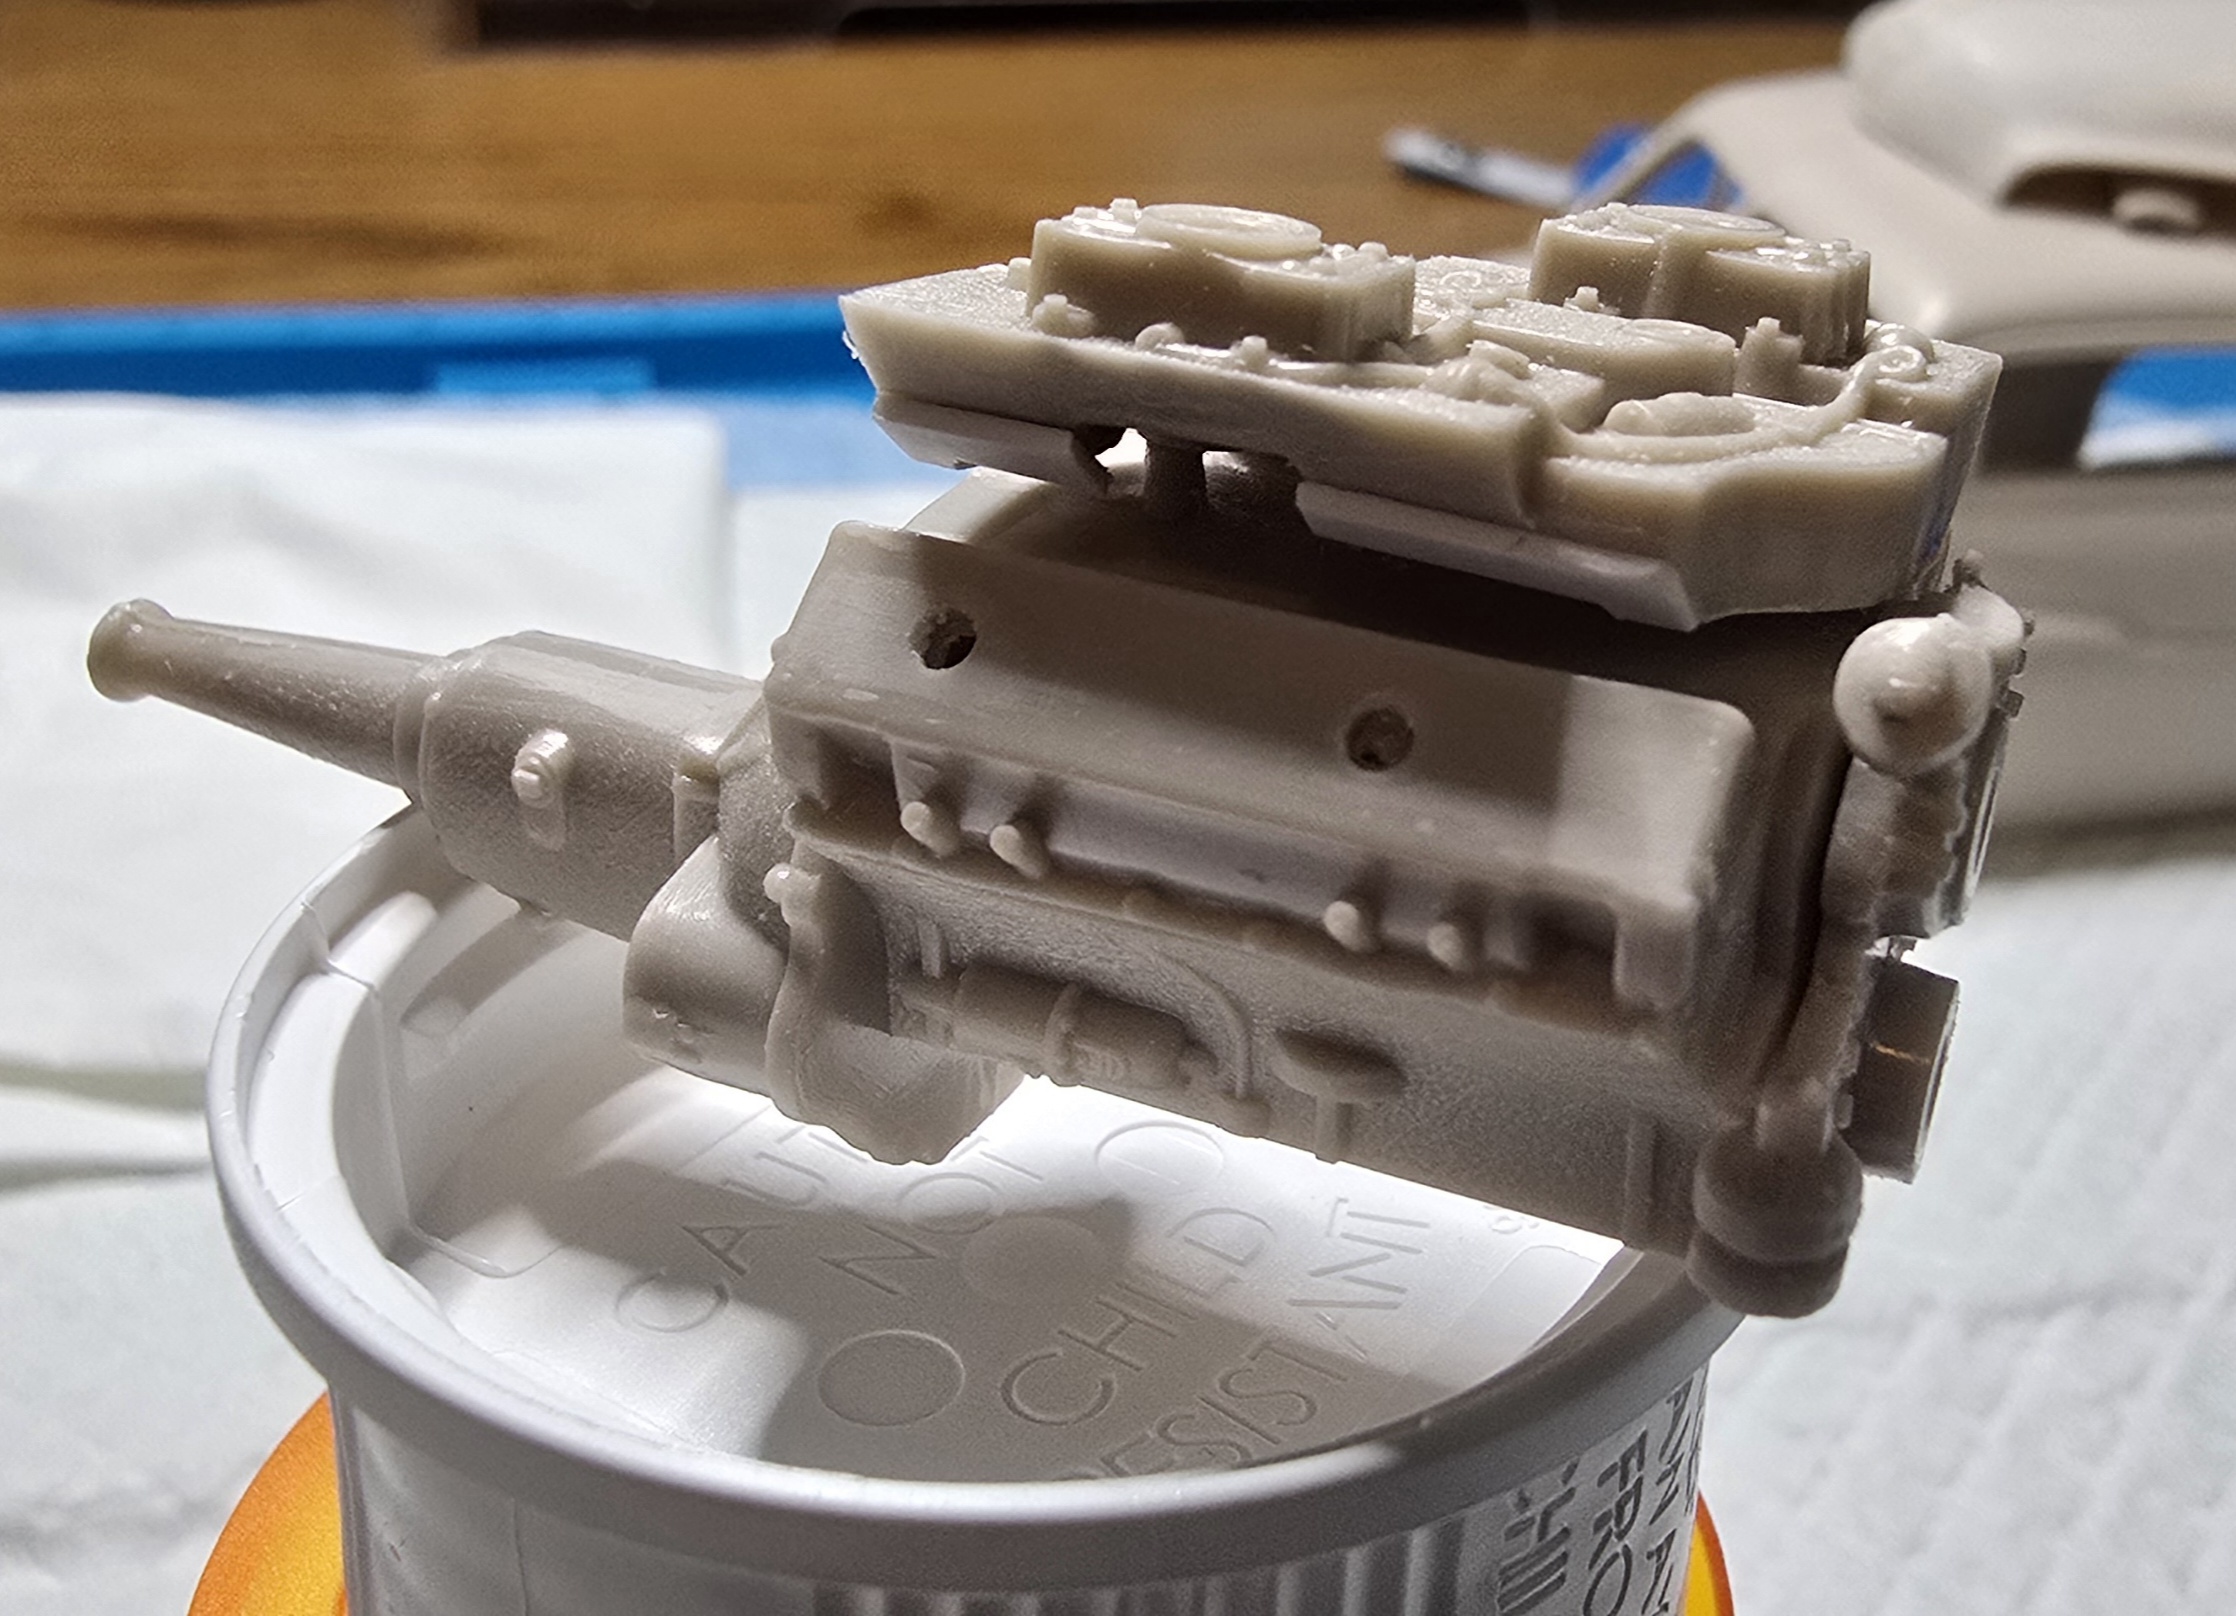
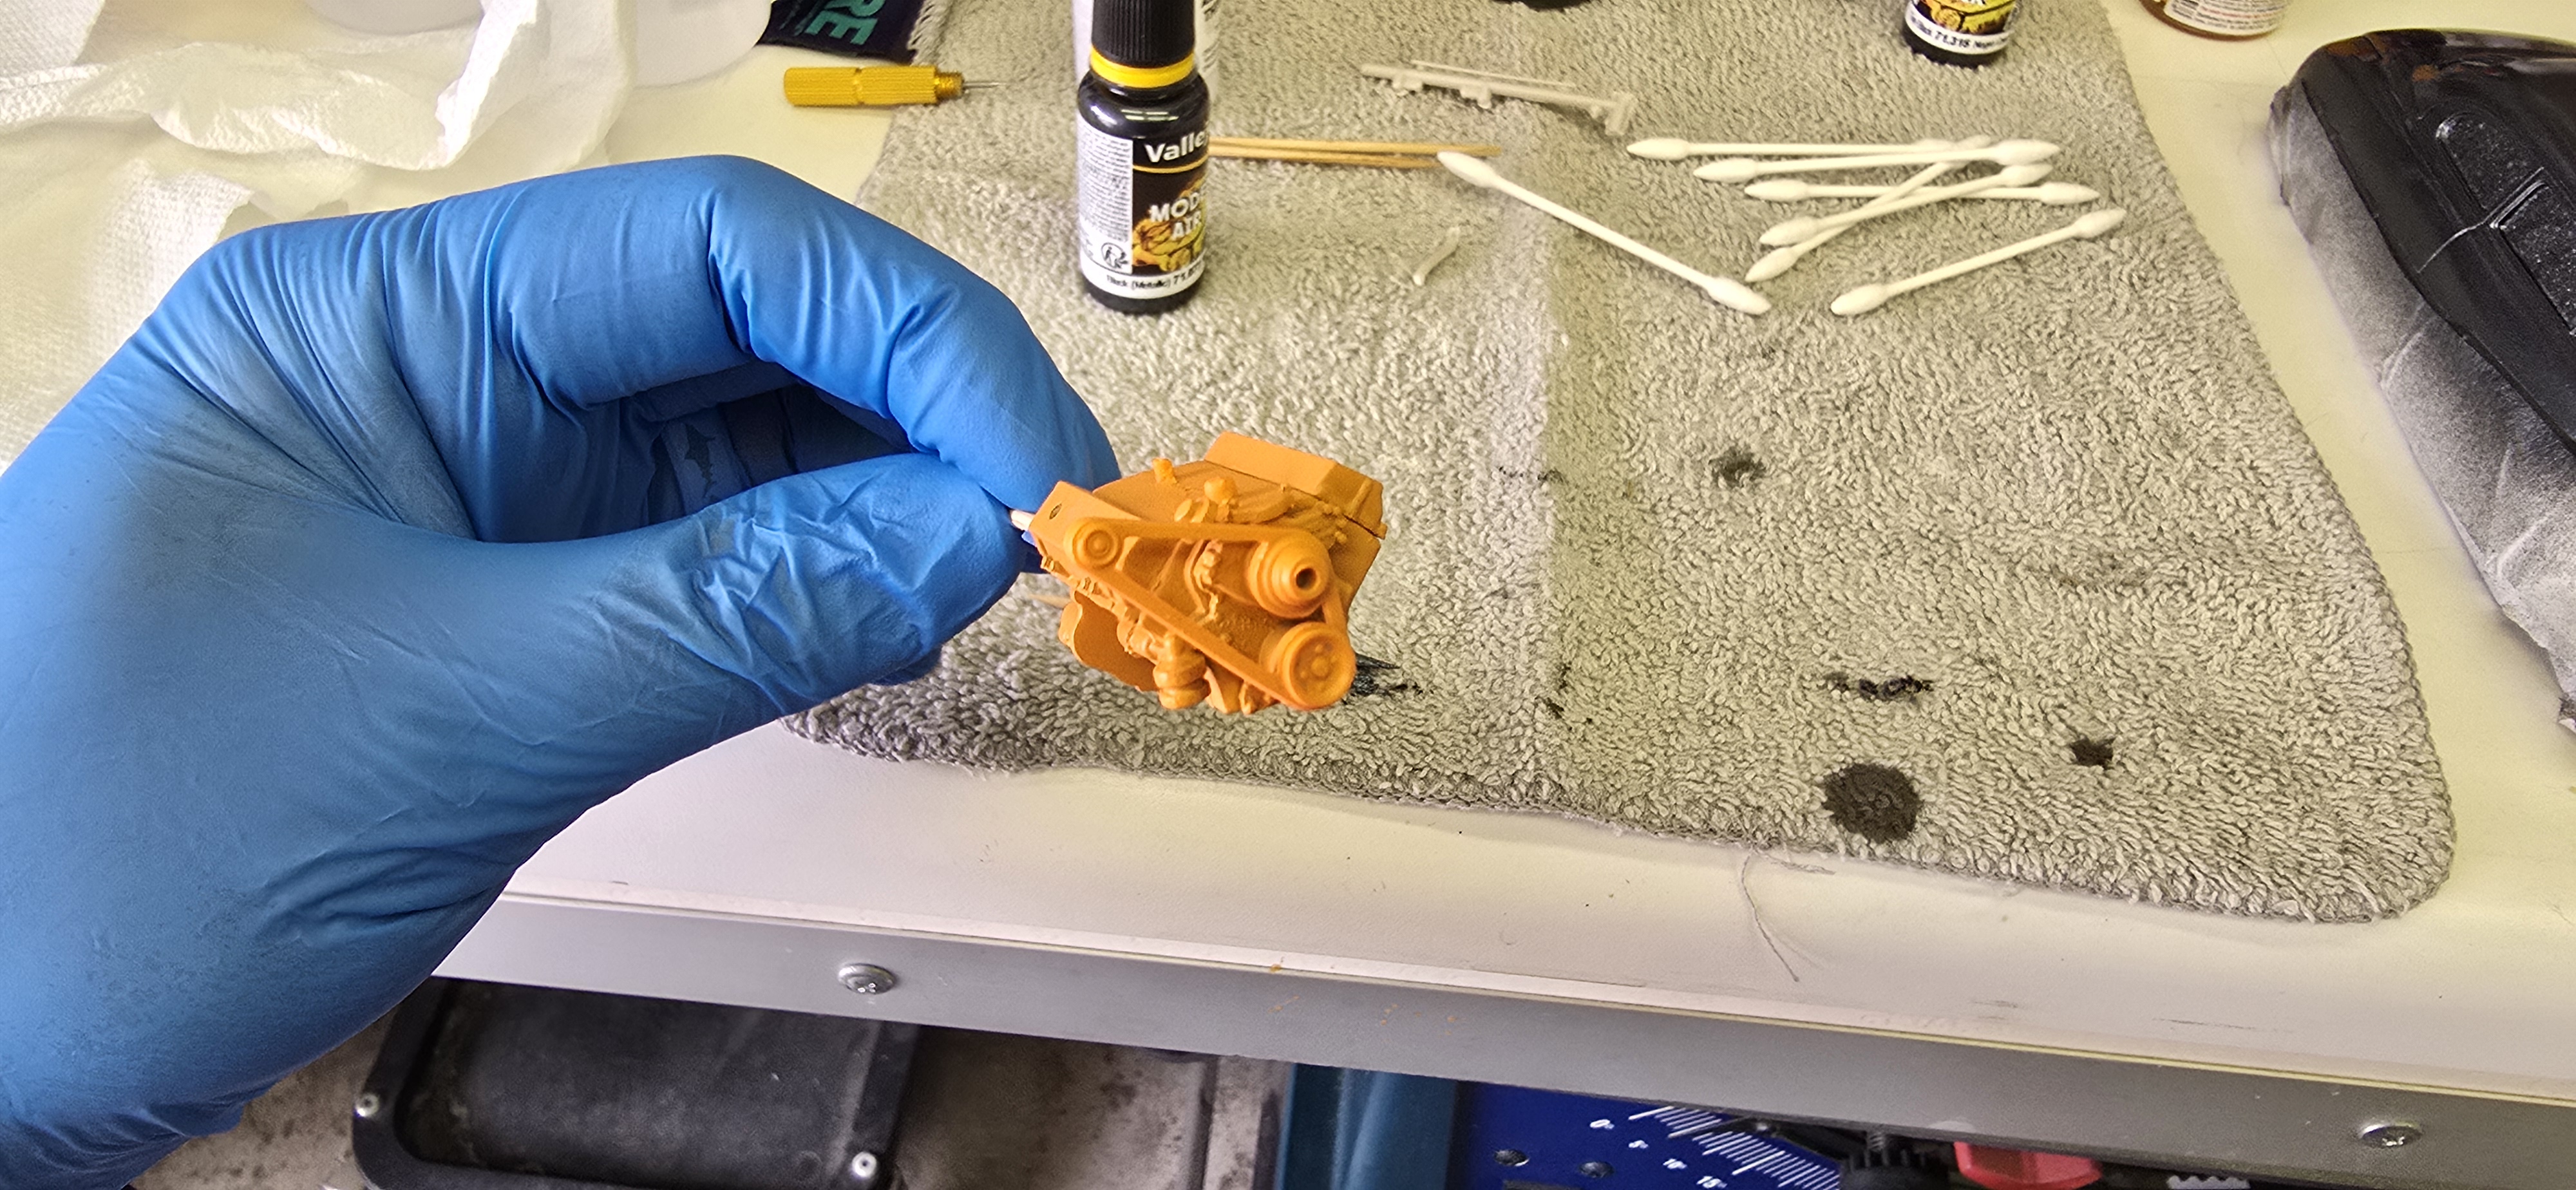
Assembled most of the block, will be ready for paint. Some plastic card closed up the gaps.
Baby steps
1000011051.jpg
1000011053.jpg
1000011055.jpg
1000011056.jpg
 
Last edited:
As an Amazon Associate we earn from qualifying purchases. Product prices and availability are accurate as of the date/time indicated and are subject to change.
Body, valance and roll pan are all primed.
Primed the motor, I want to try using the NicPro paint I bought off Amazon a while back, it didnt work well when I tried it on the engine for the funny car, but it could've been my prep work.

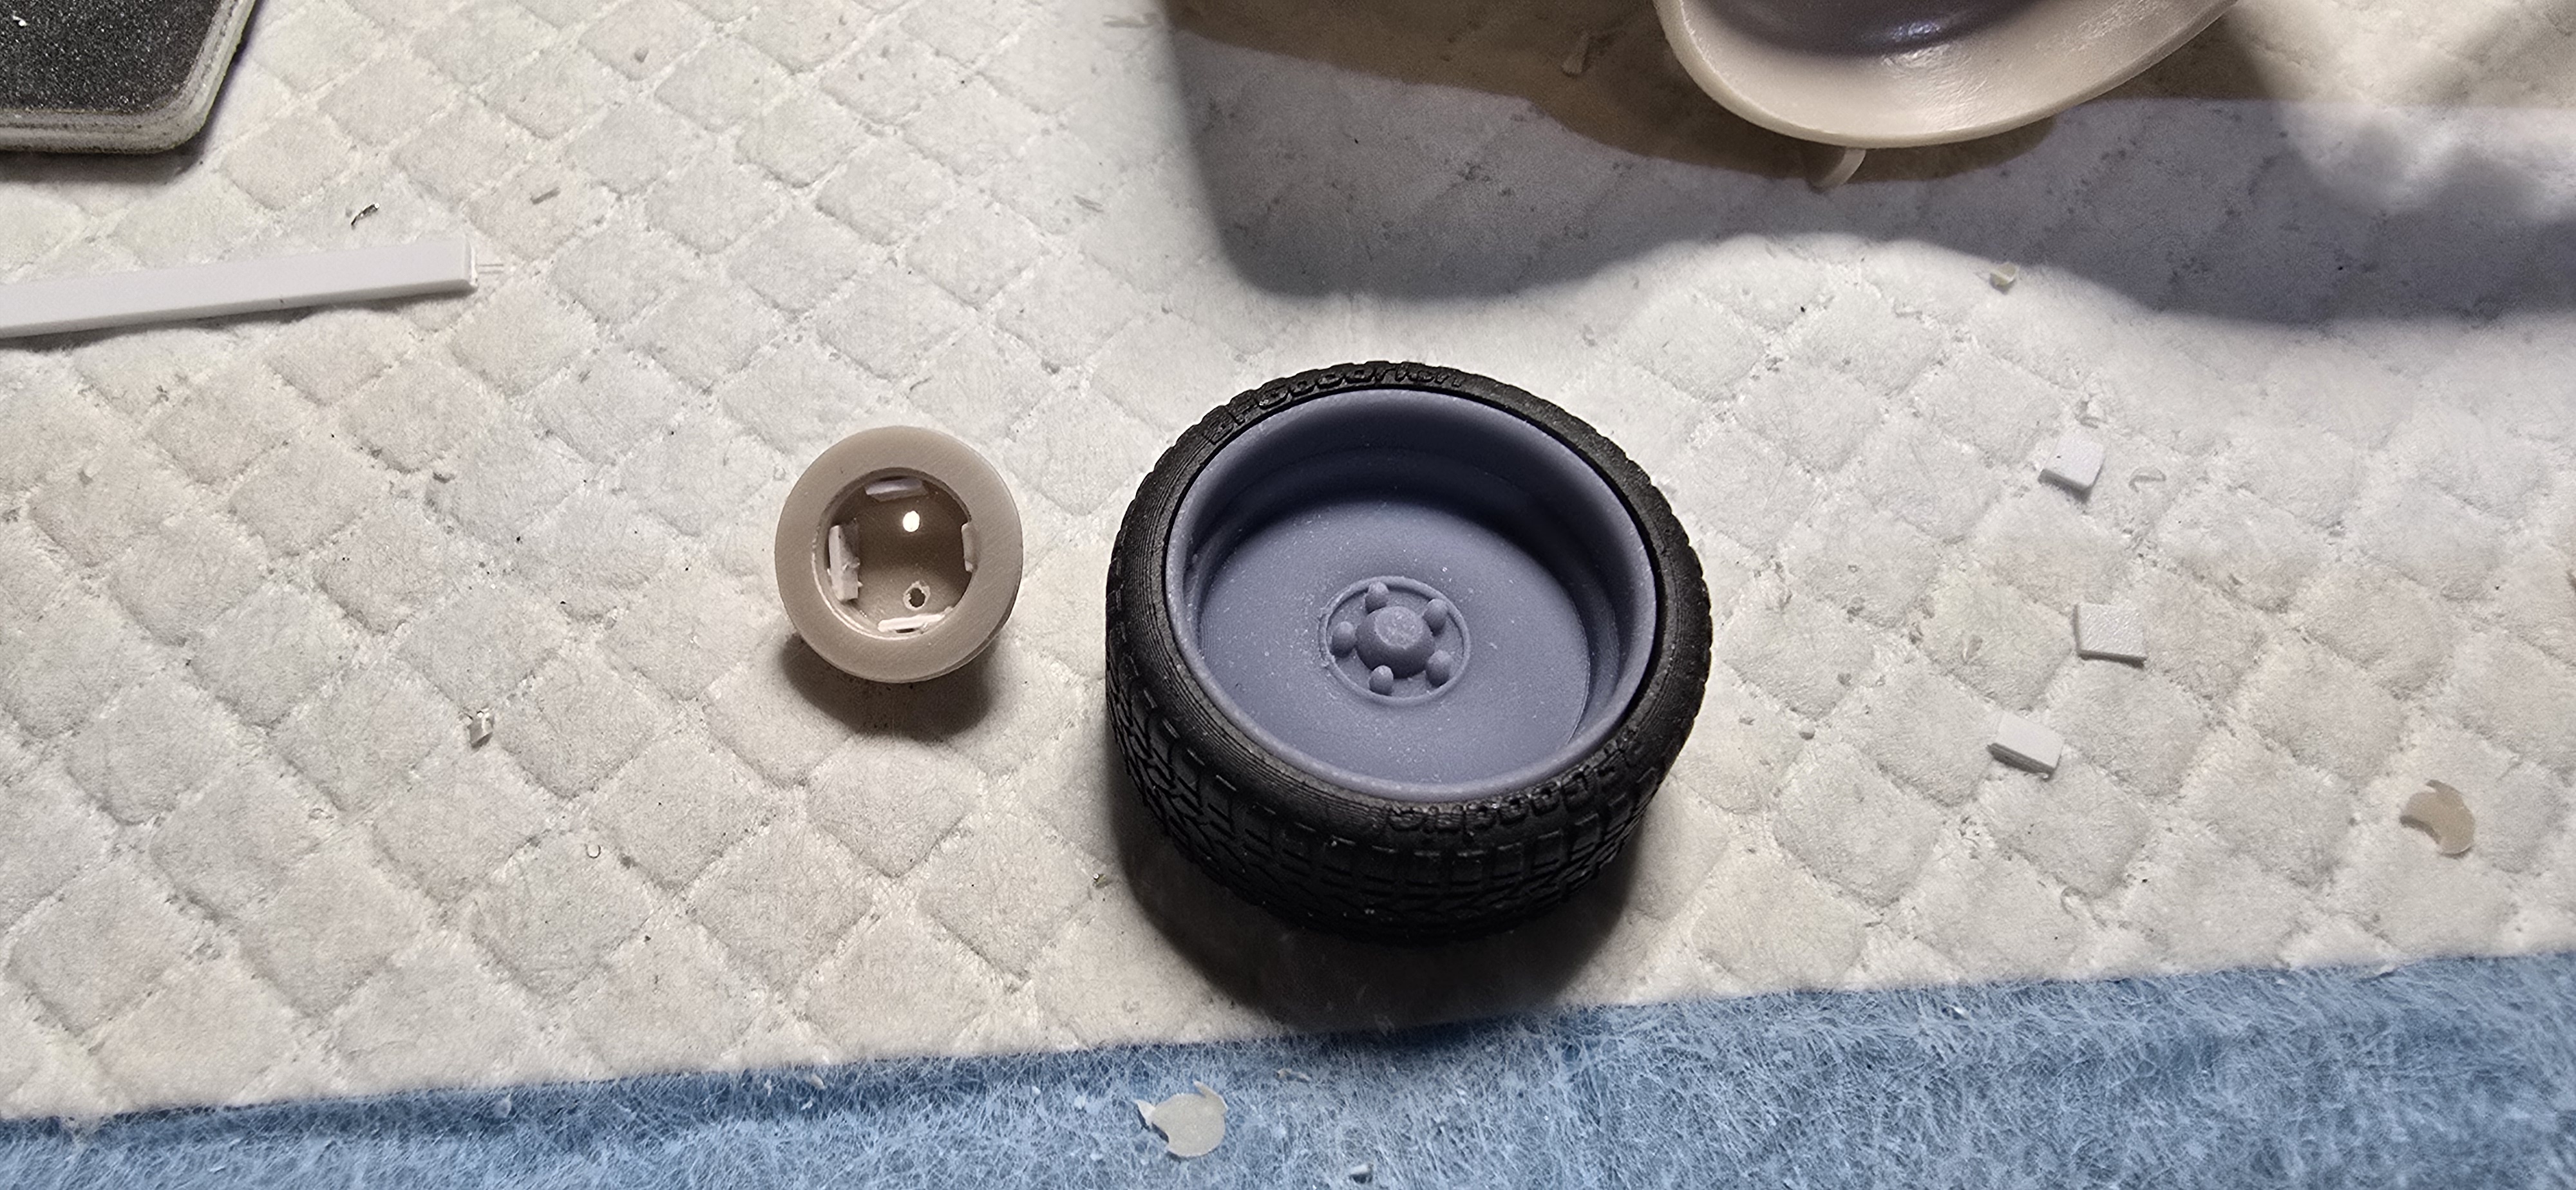
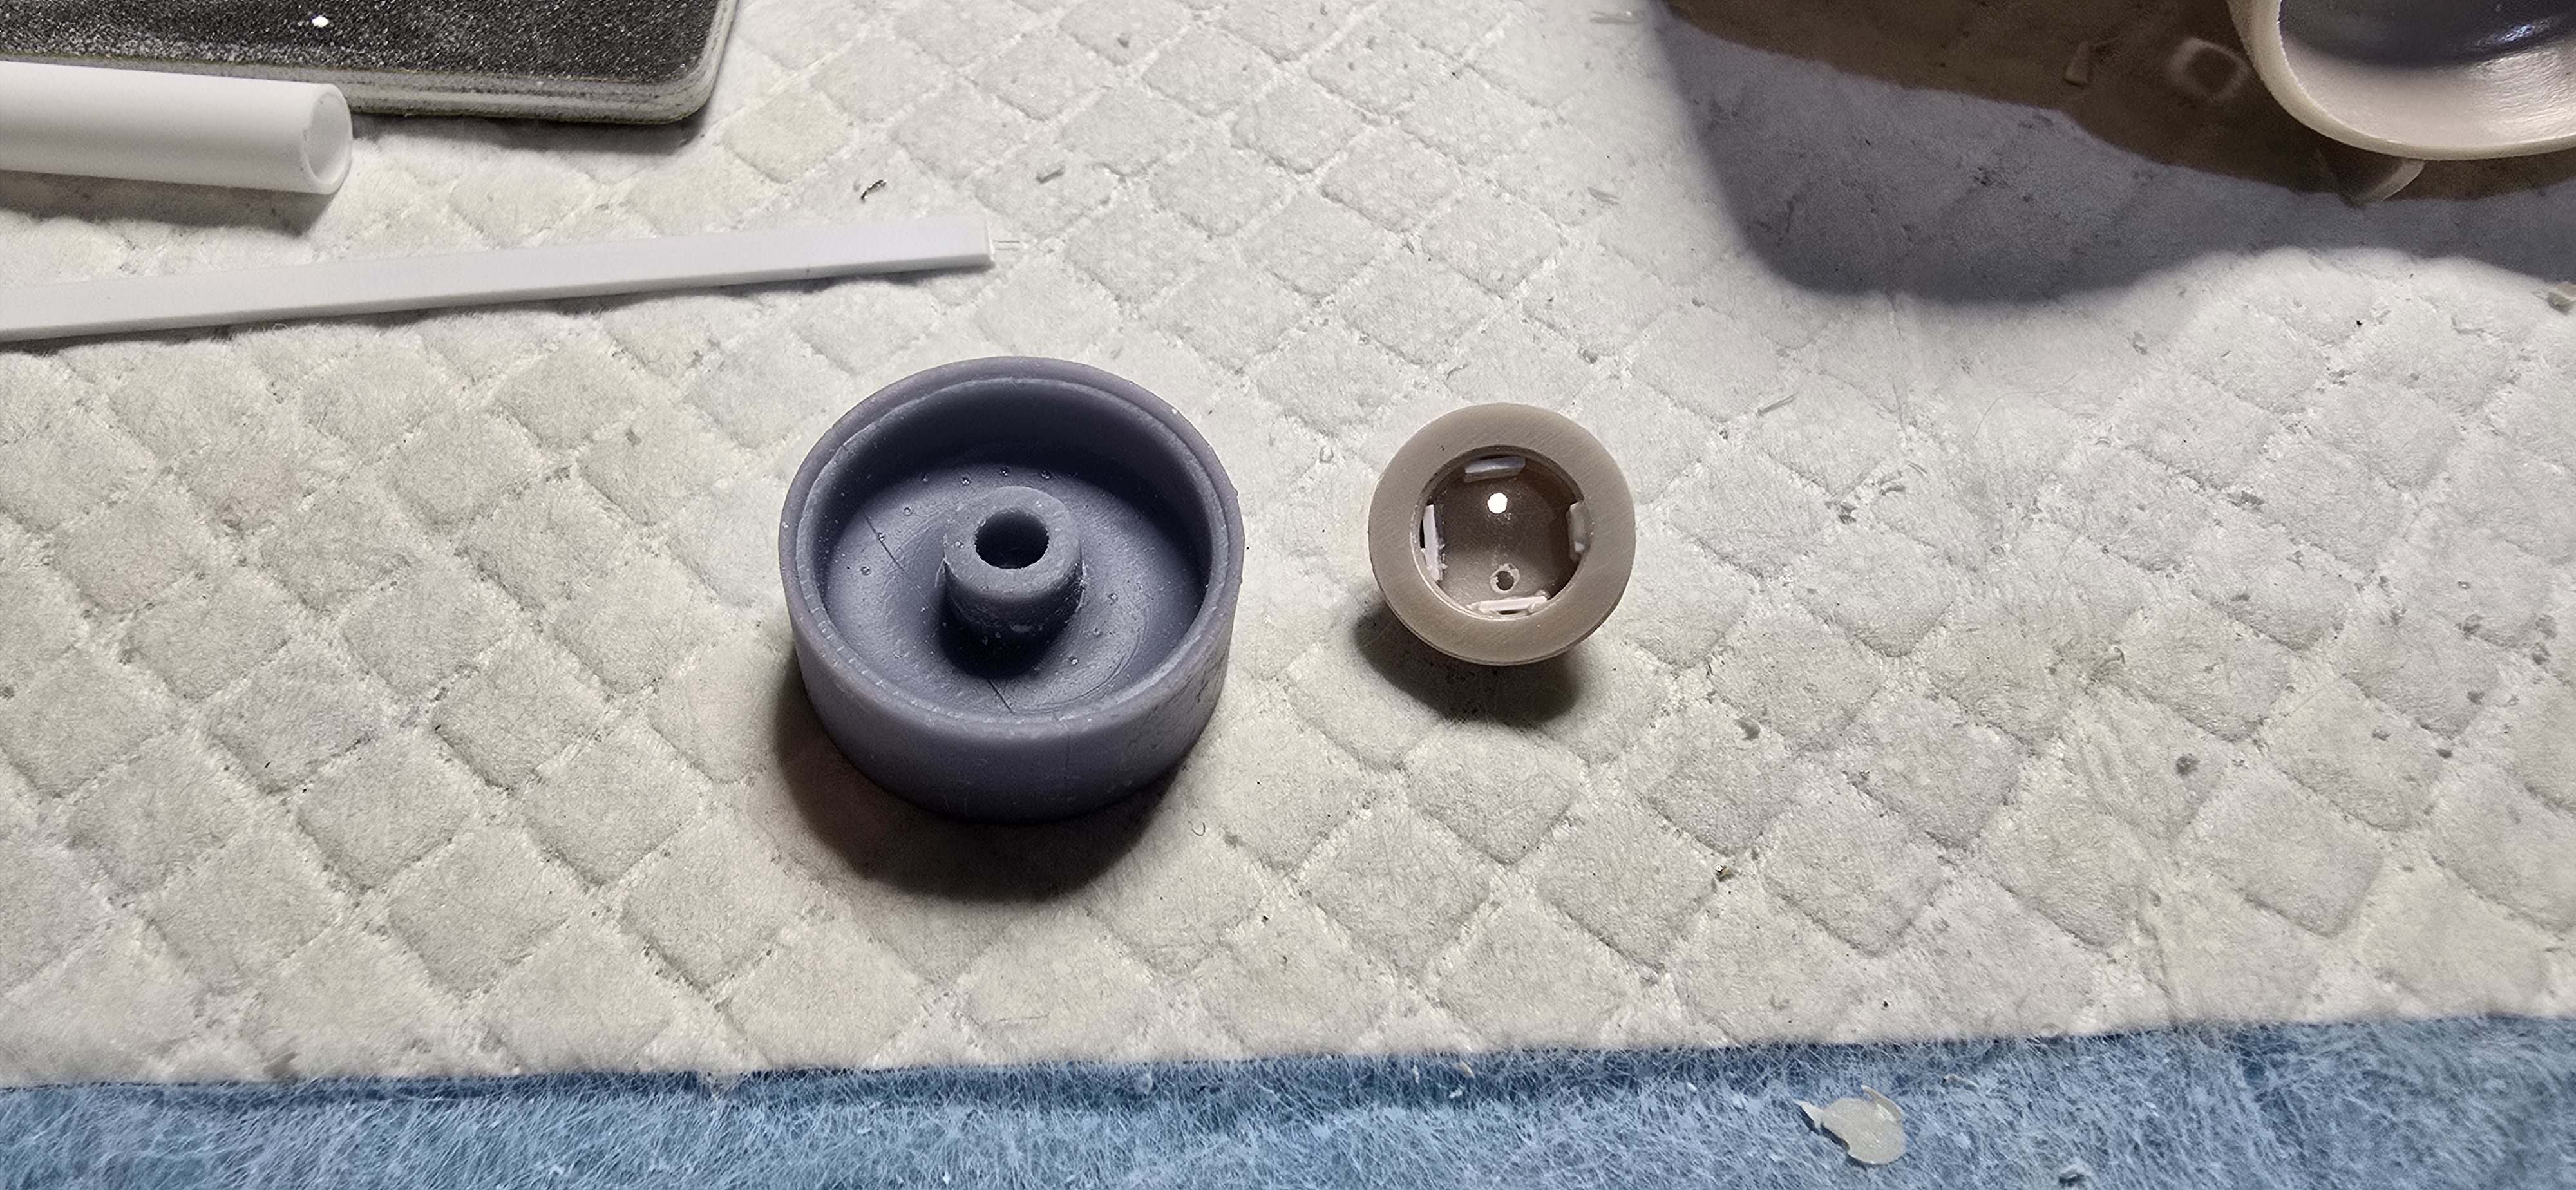
I want to use these resin Centerline type wheels I bought a long time ago. I need to alter the mounts to use them but they'll look nice and give the car a nice stance with the low profile tires.
Lots of sanding, trimming and some alteration.

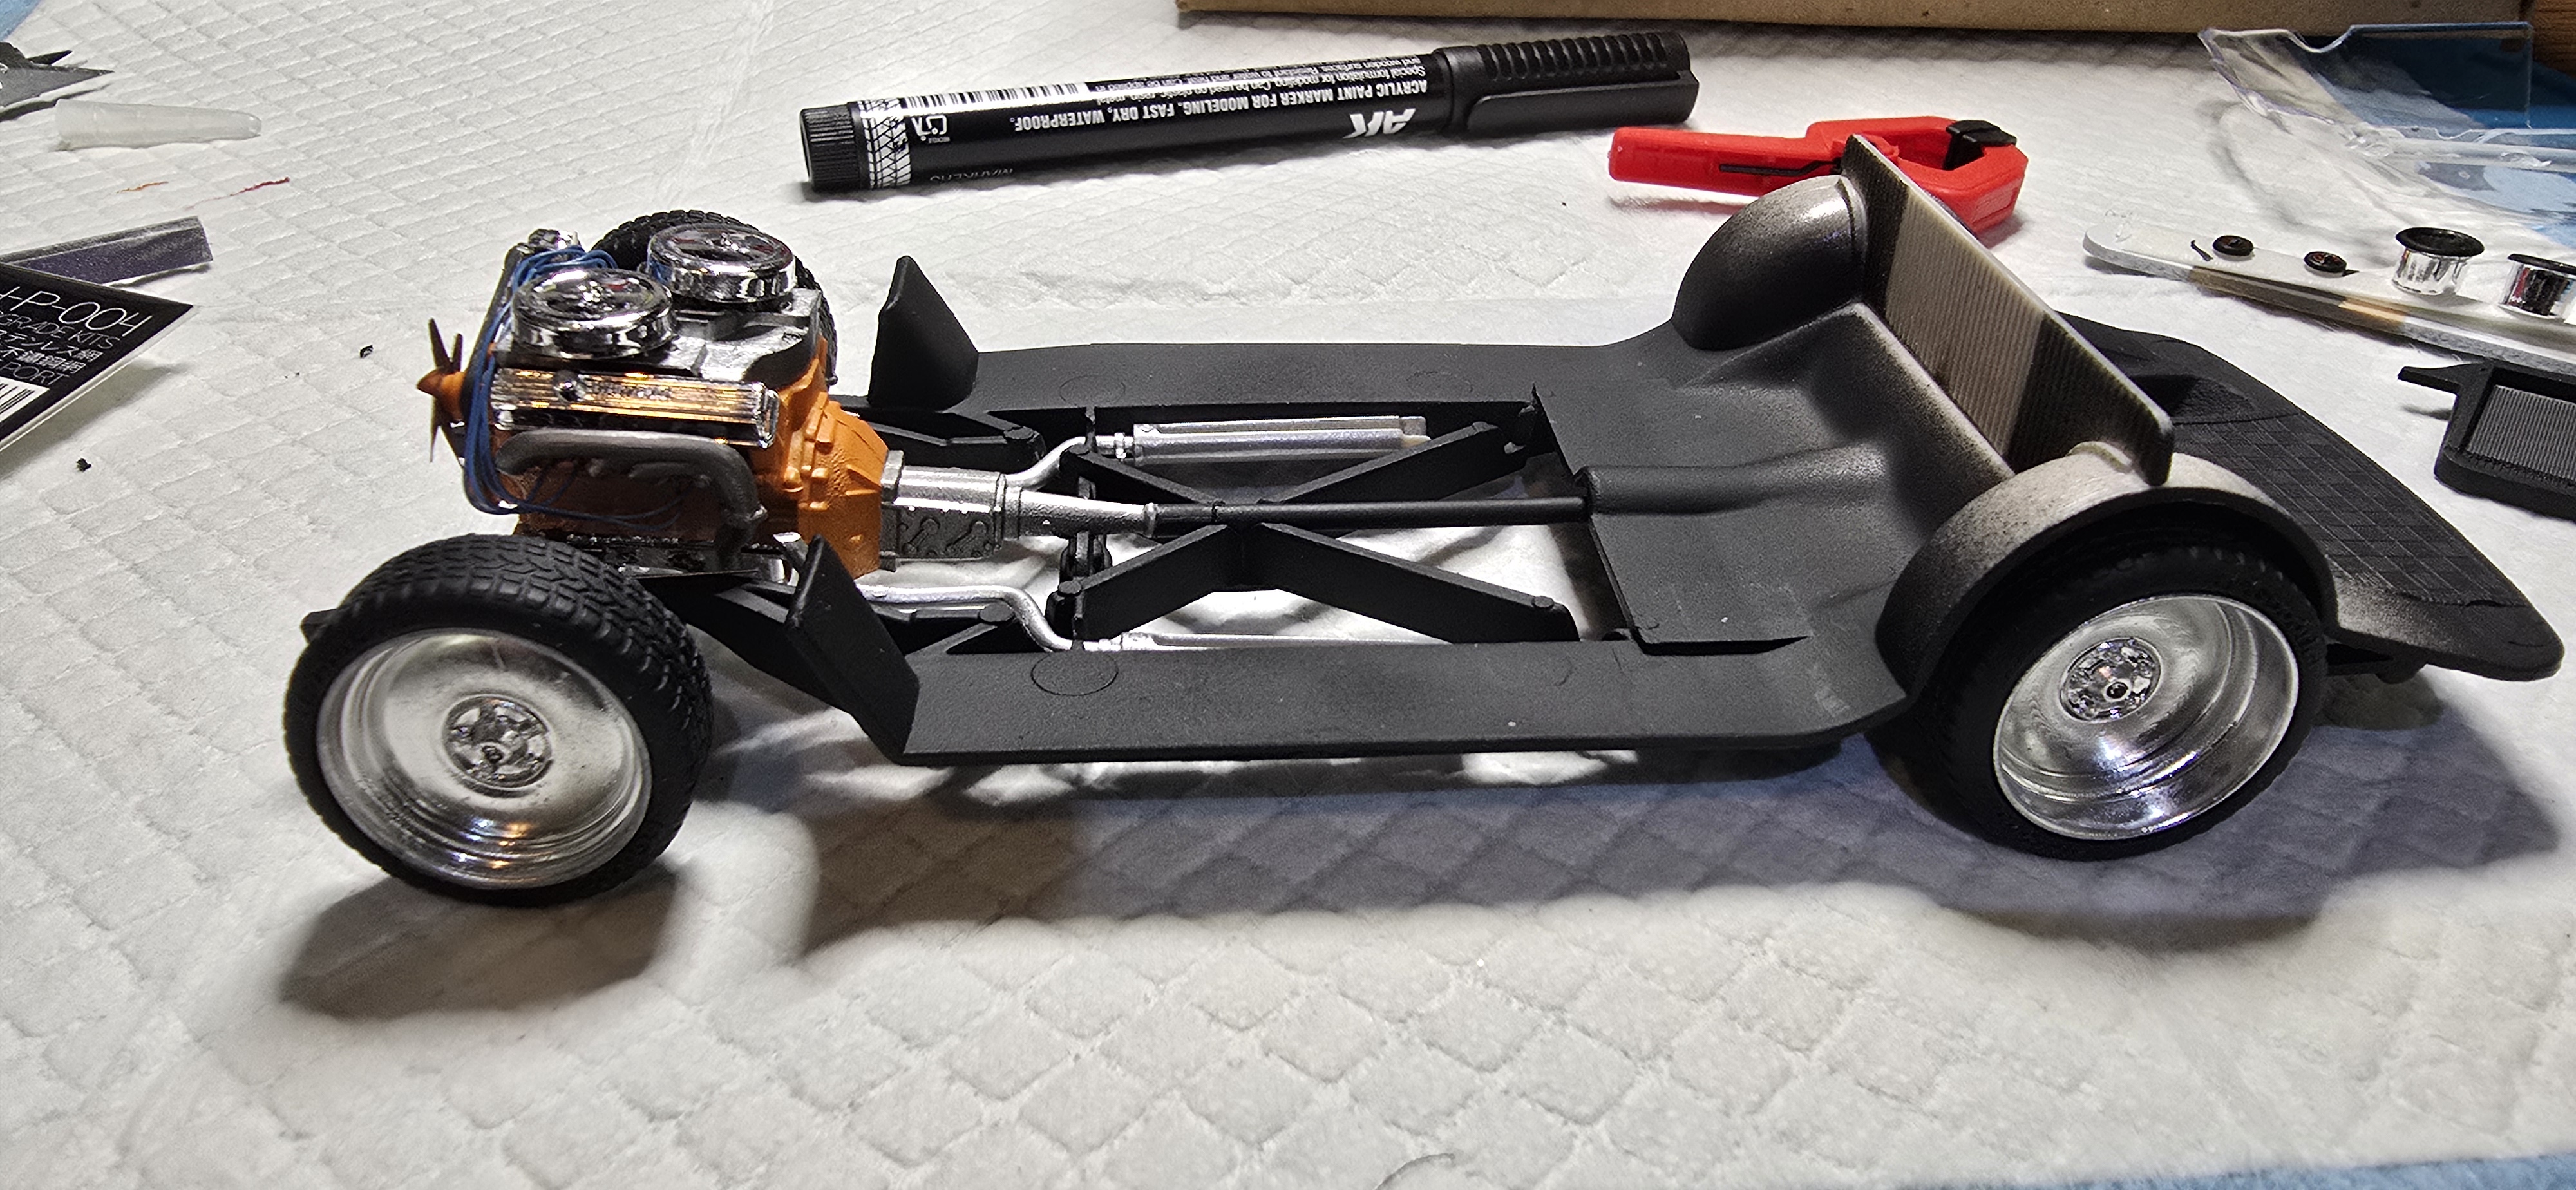
the front end is assembled and attached, the crossmember is chrome, so I'll assemble that once the rest is painted. The rear end is warped and will need some straightening before attaching. I'll also need to alter it for the rear wheels.
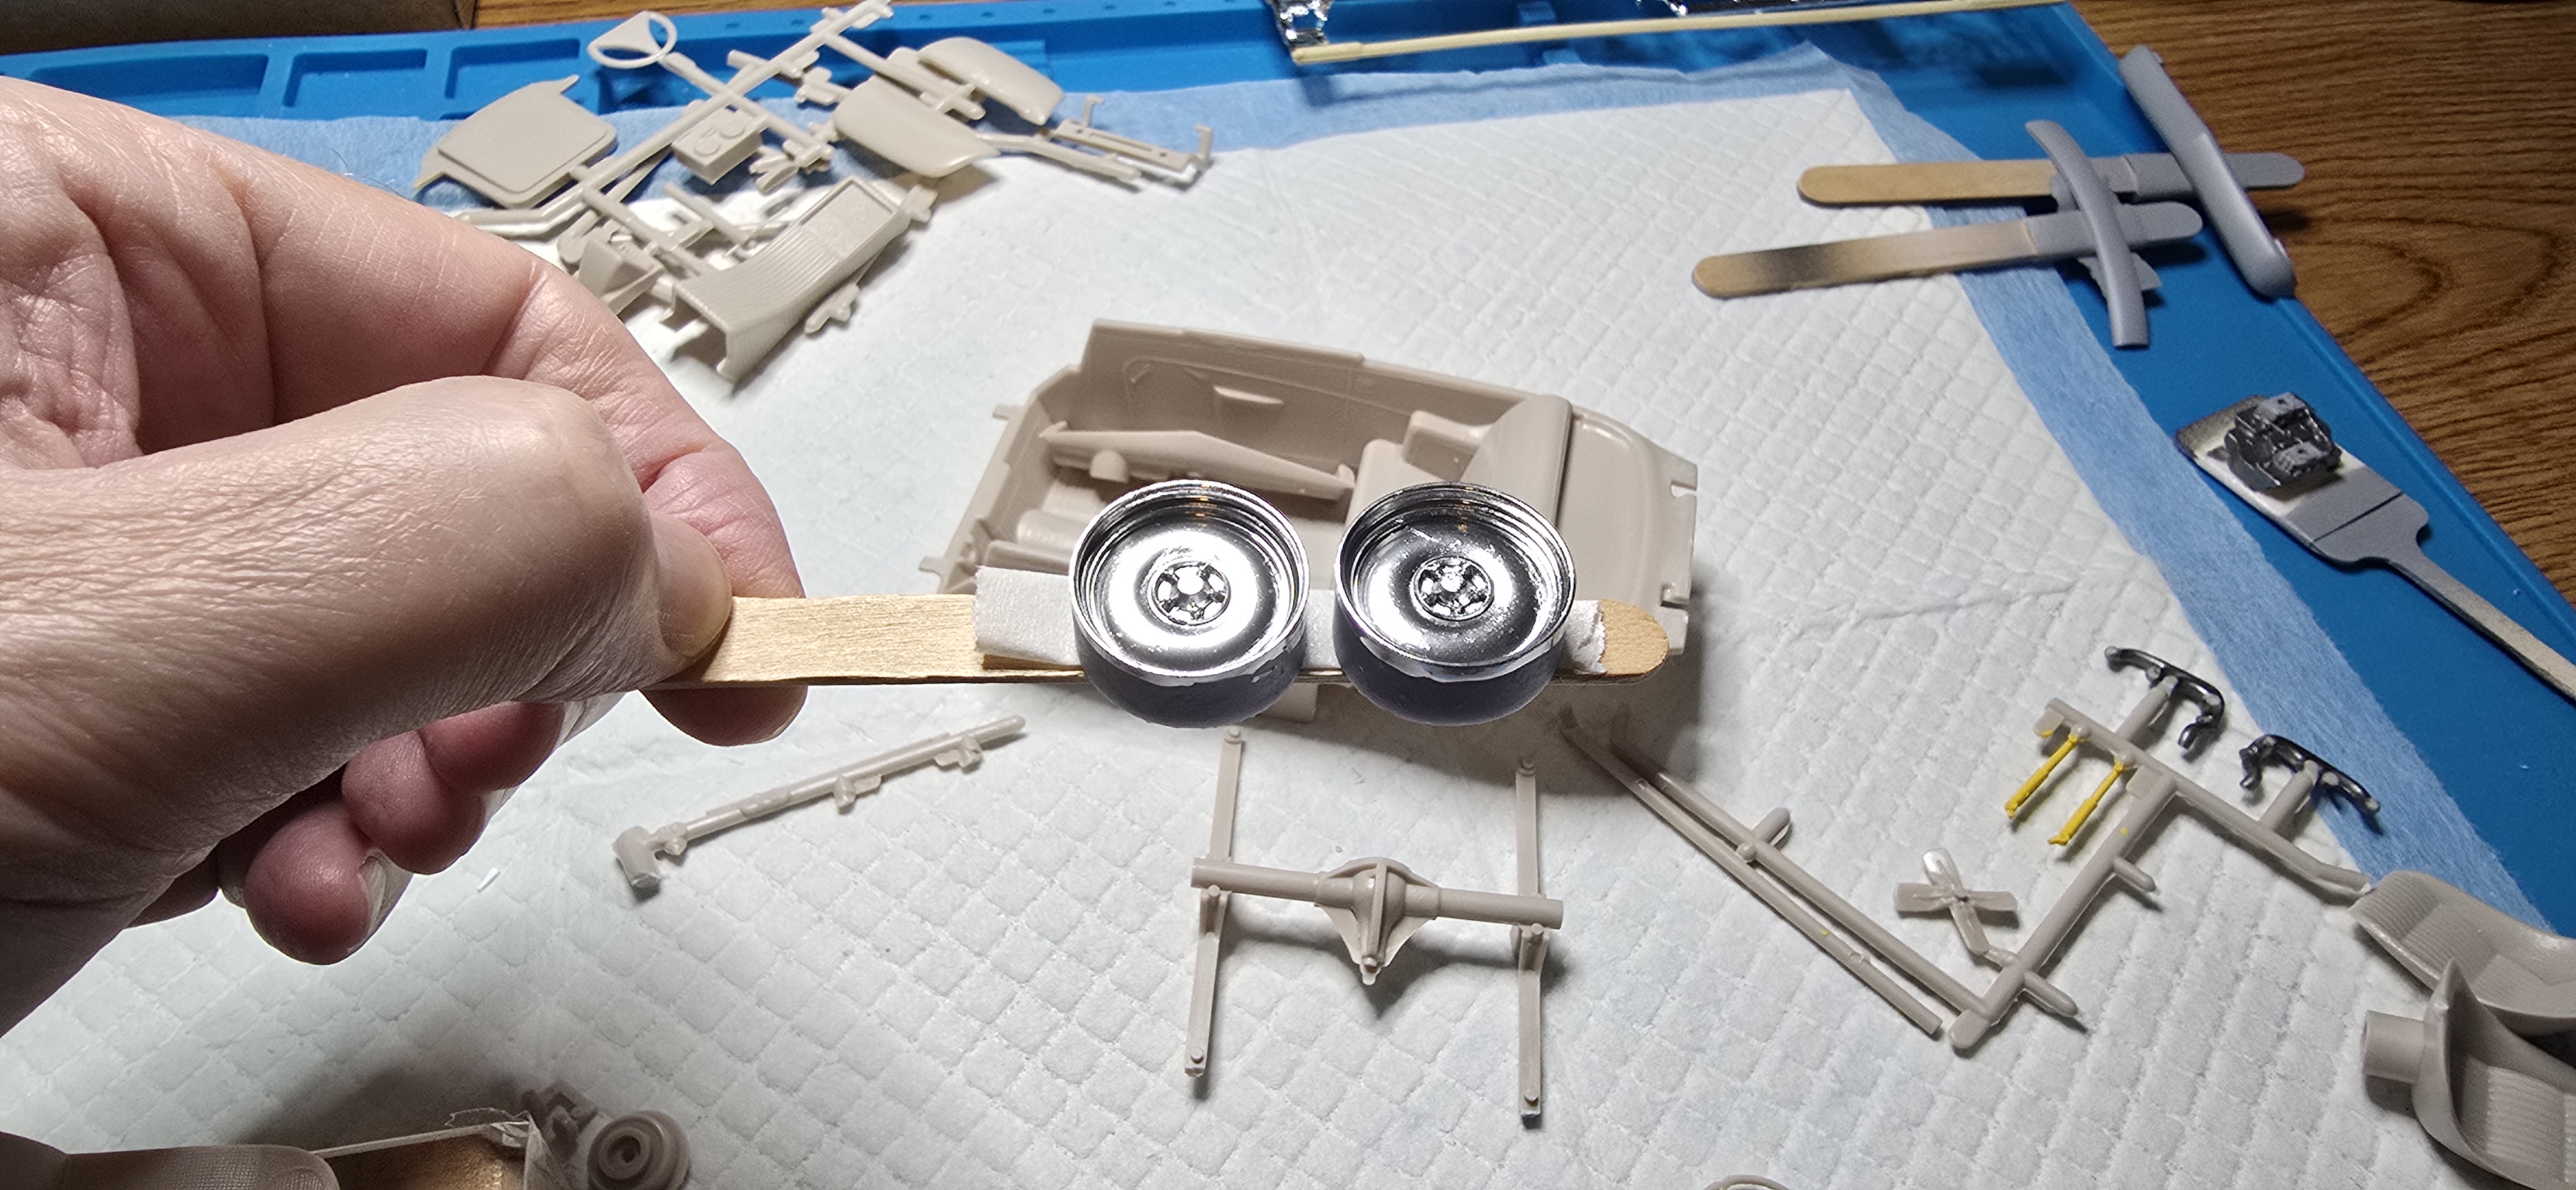
FusionFirm applied to the wheels, for a polished aluminum look...Hopefully
1000011061.jpg
1000011060.jpg
1000011064.jpg
1000011063.jpg

1000011062.jpg
 
Last edited:
Super Centrelines!
They look pretty nice, but theyre missing the rivets around the edge. I bought them way back whwn I first returned to modeling, they've been sitting in my "some day" bin and I wanted to try and use them.
 
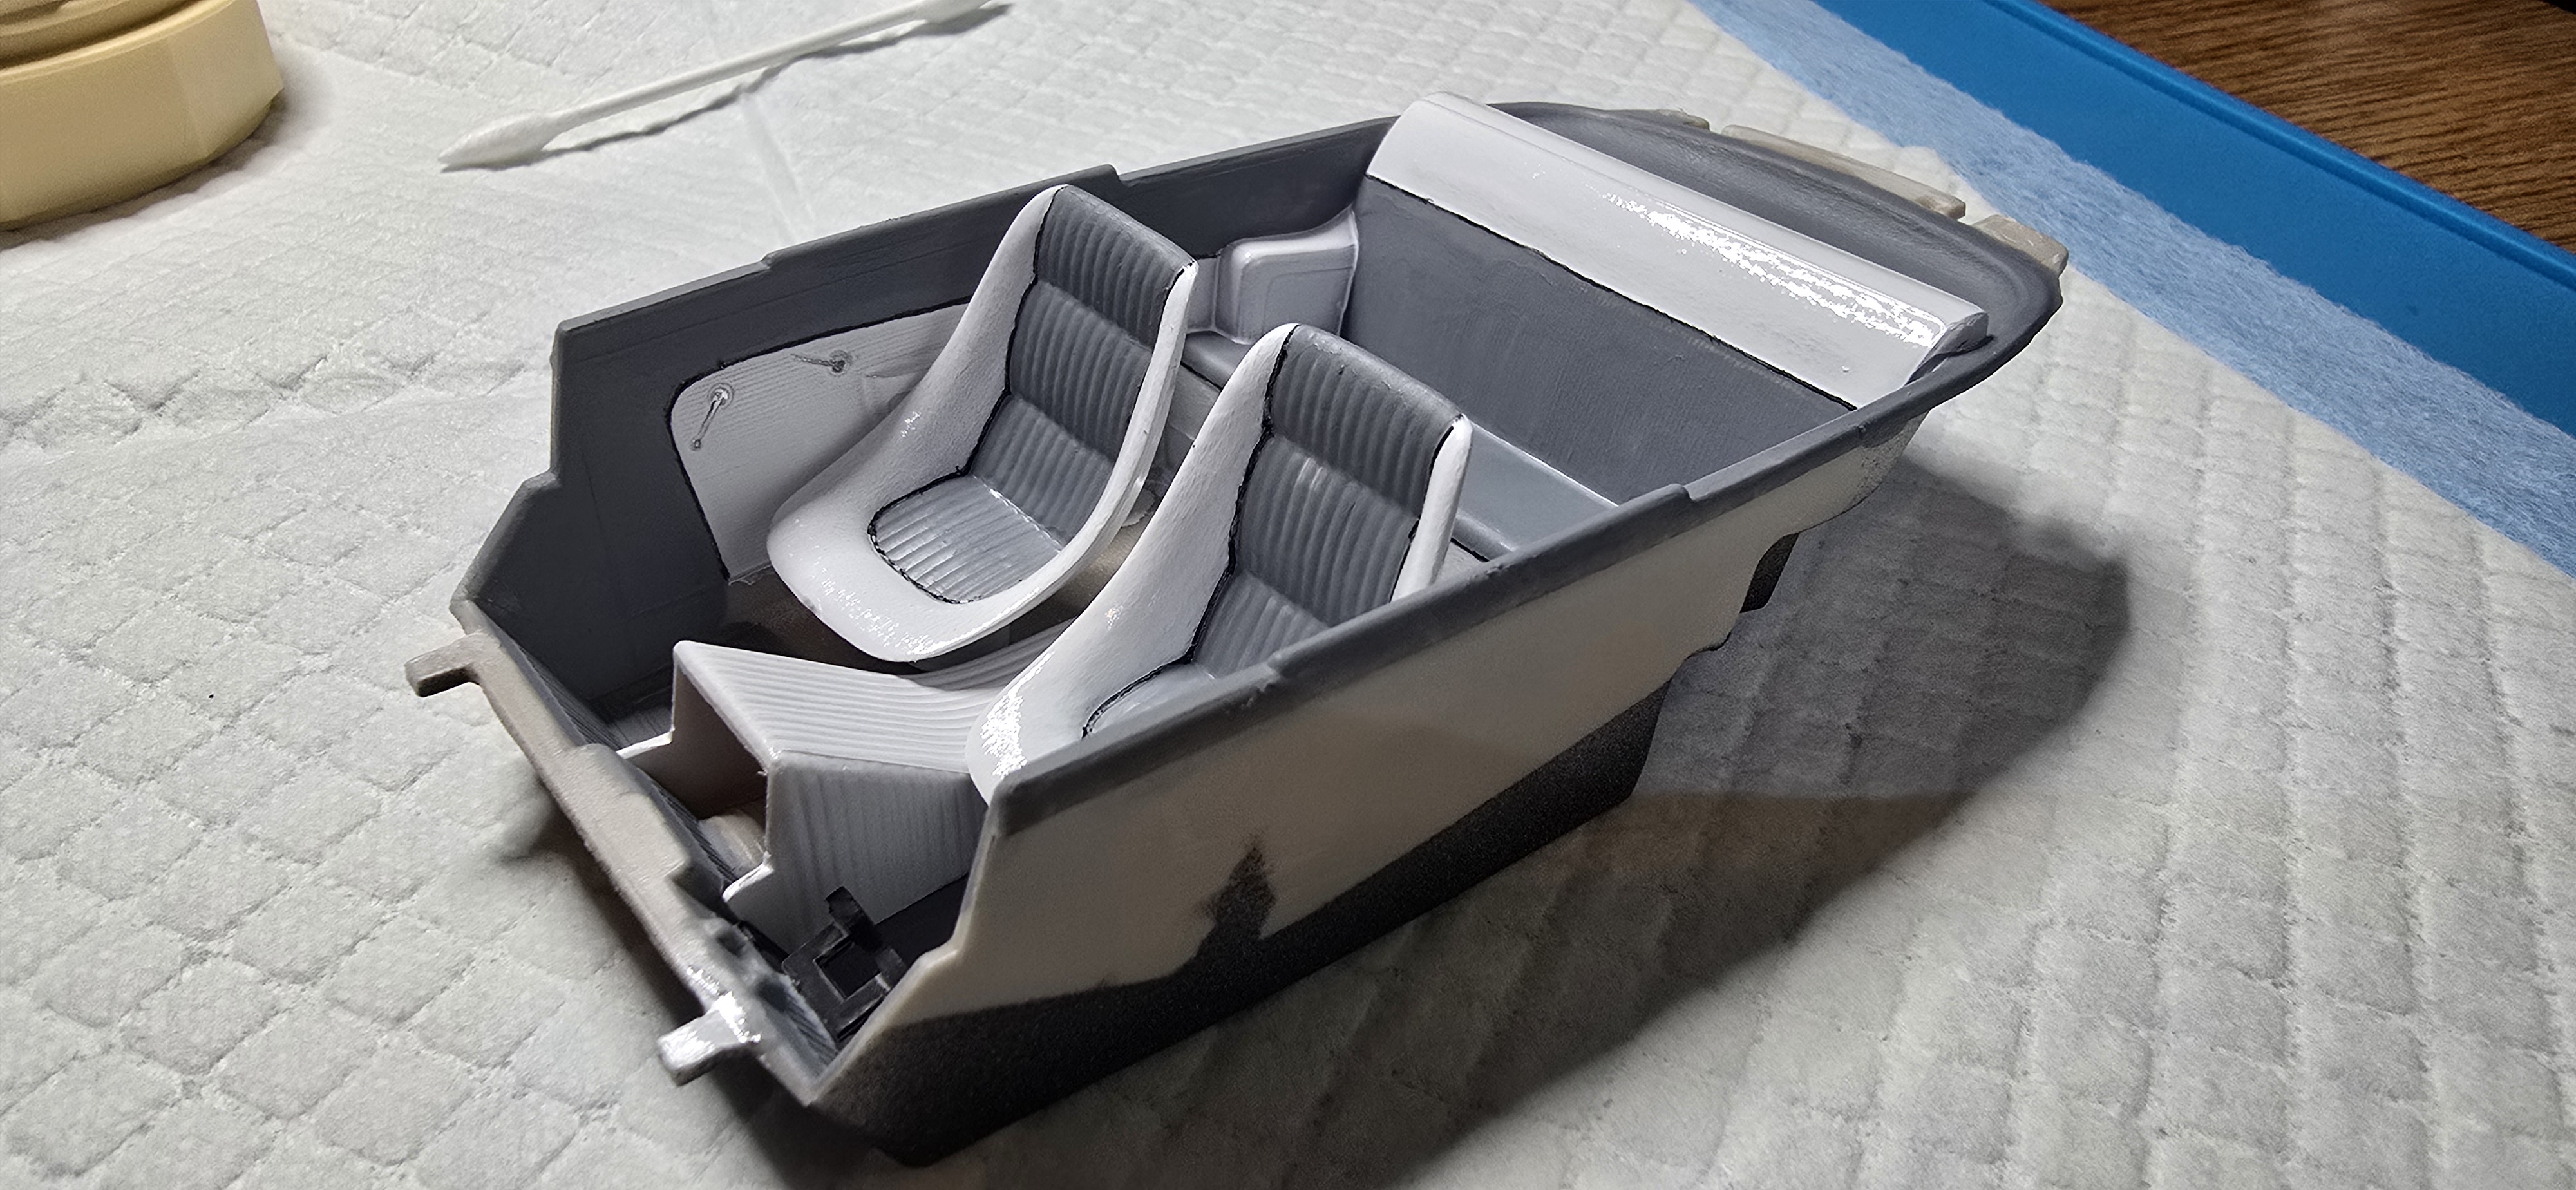
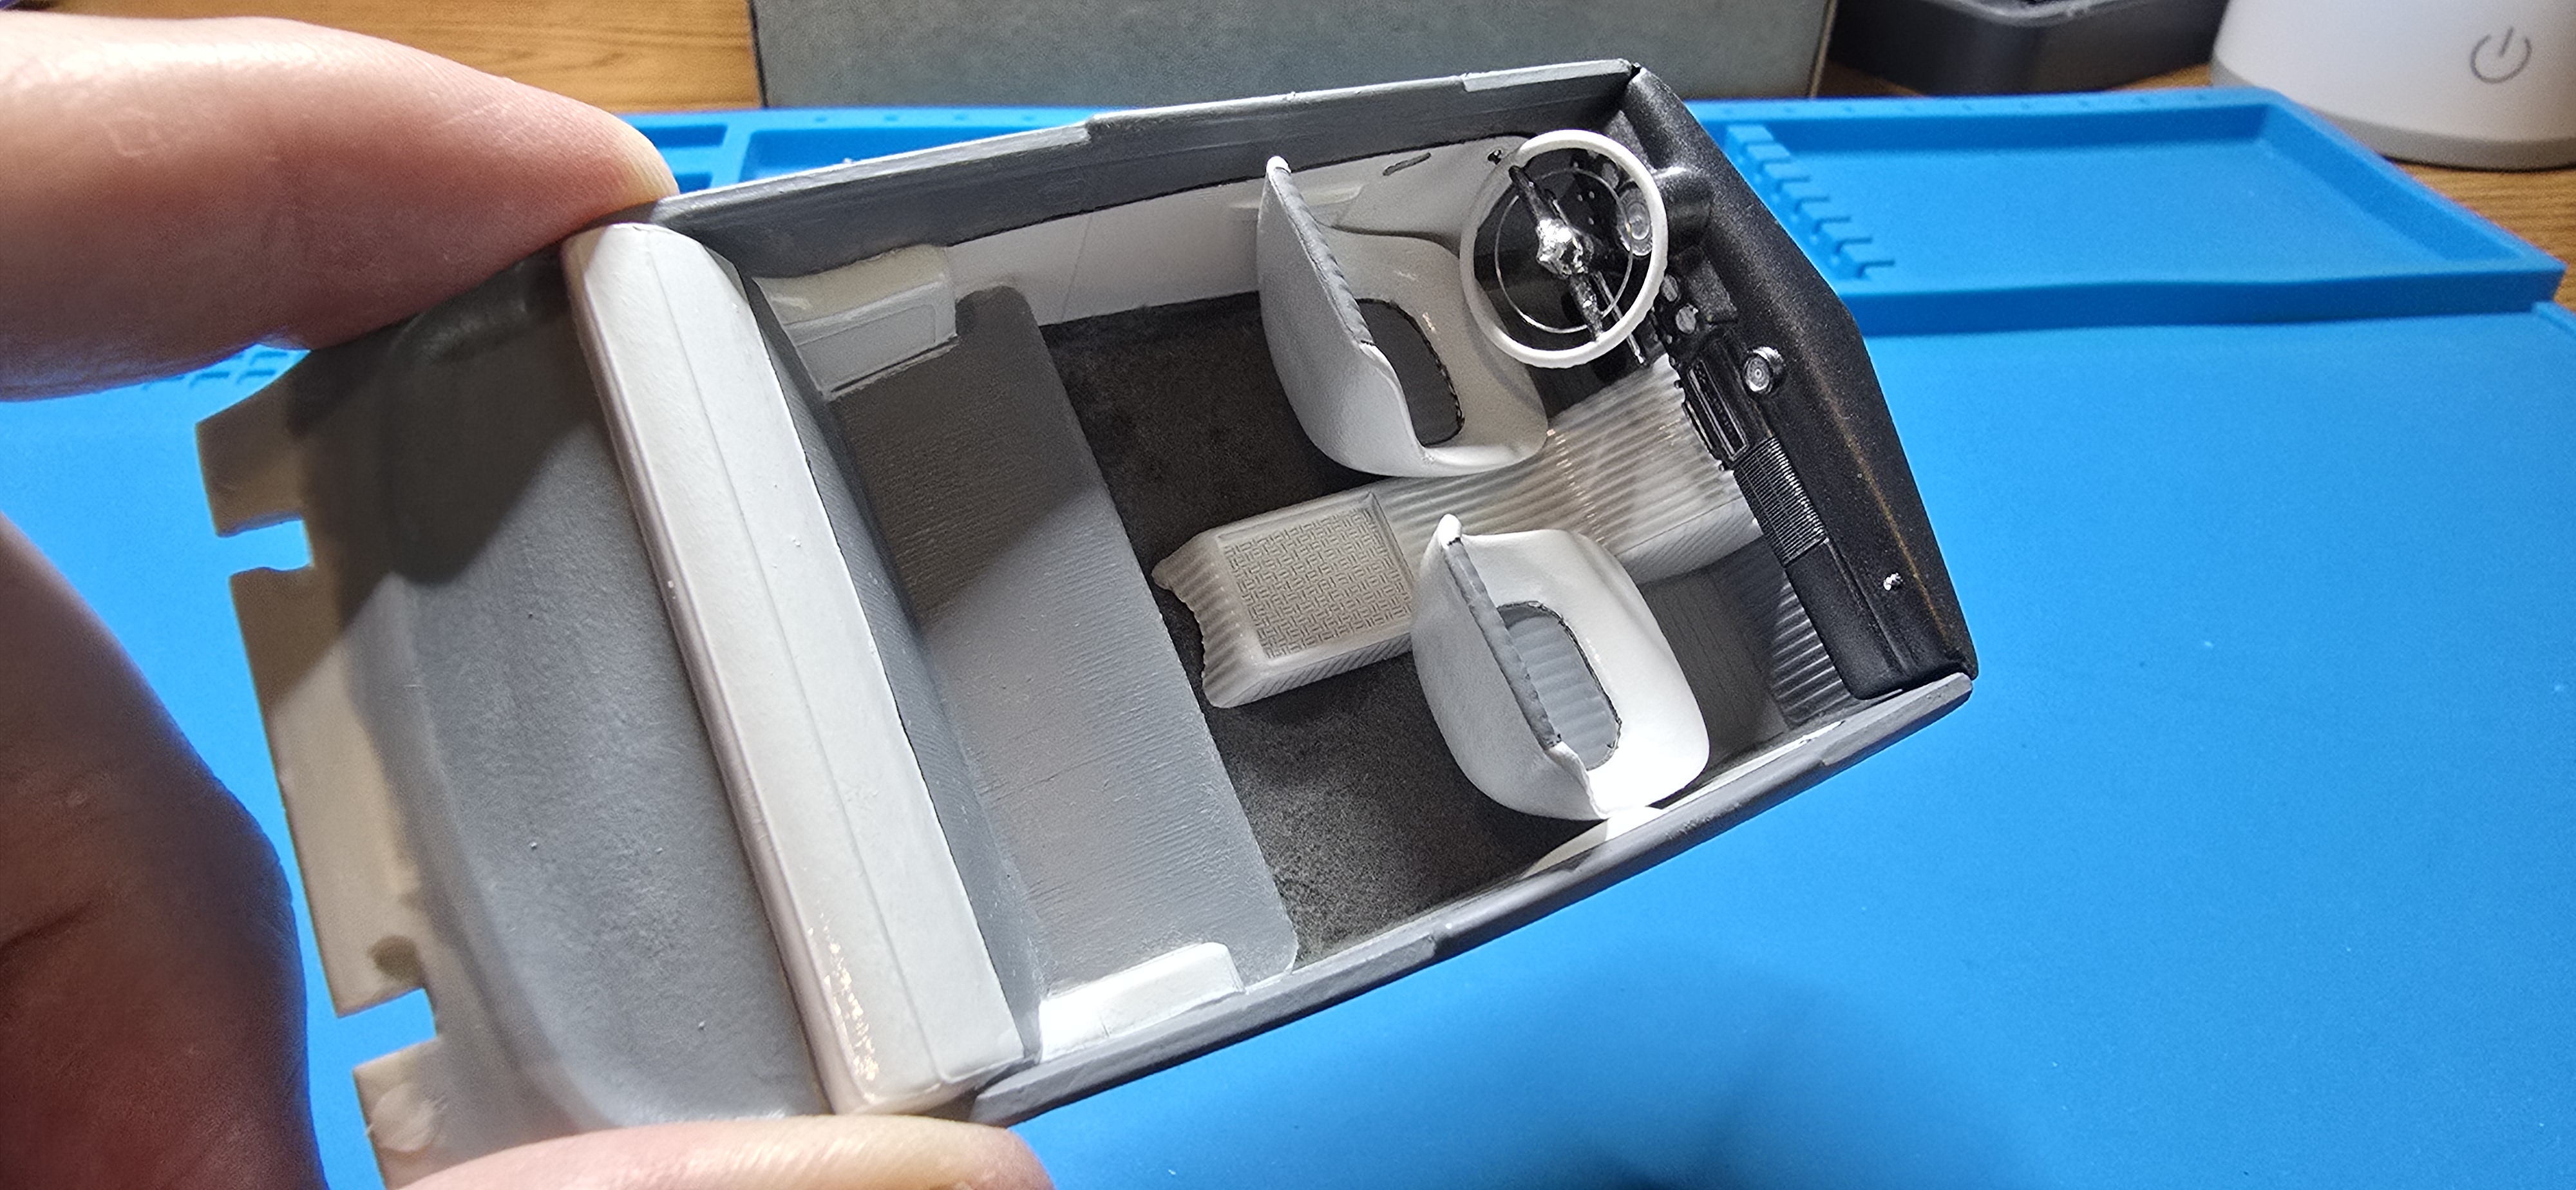
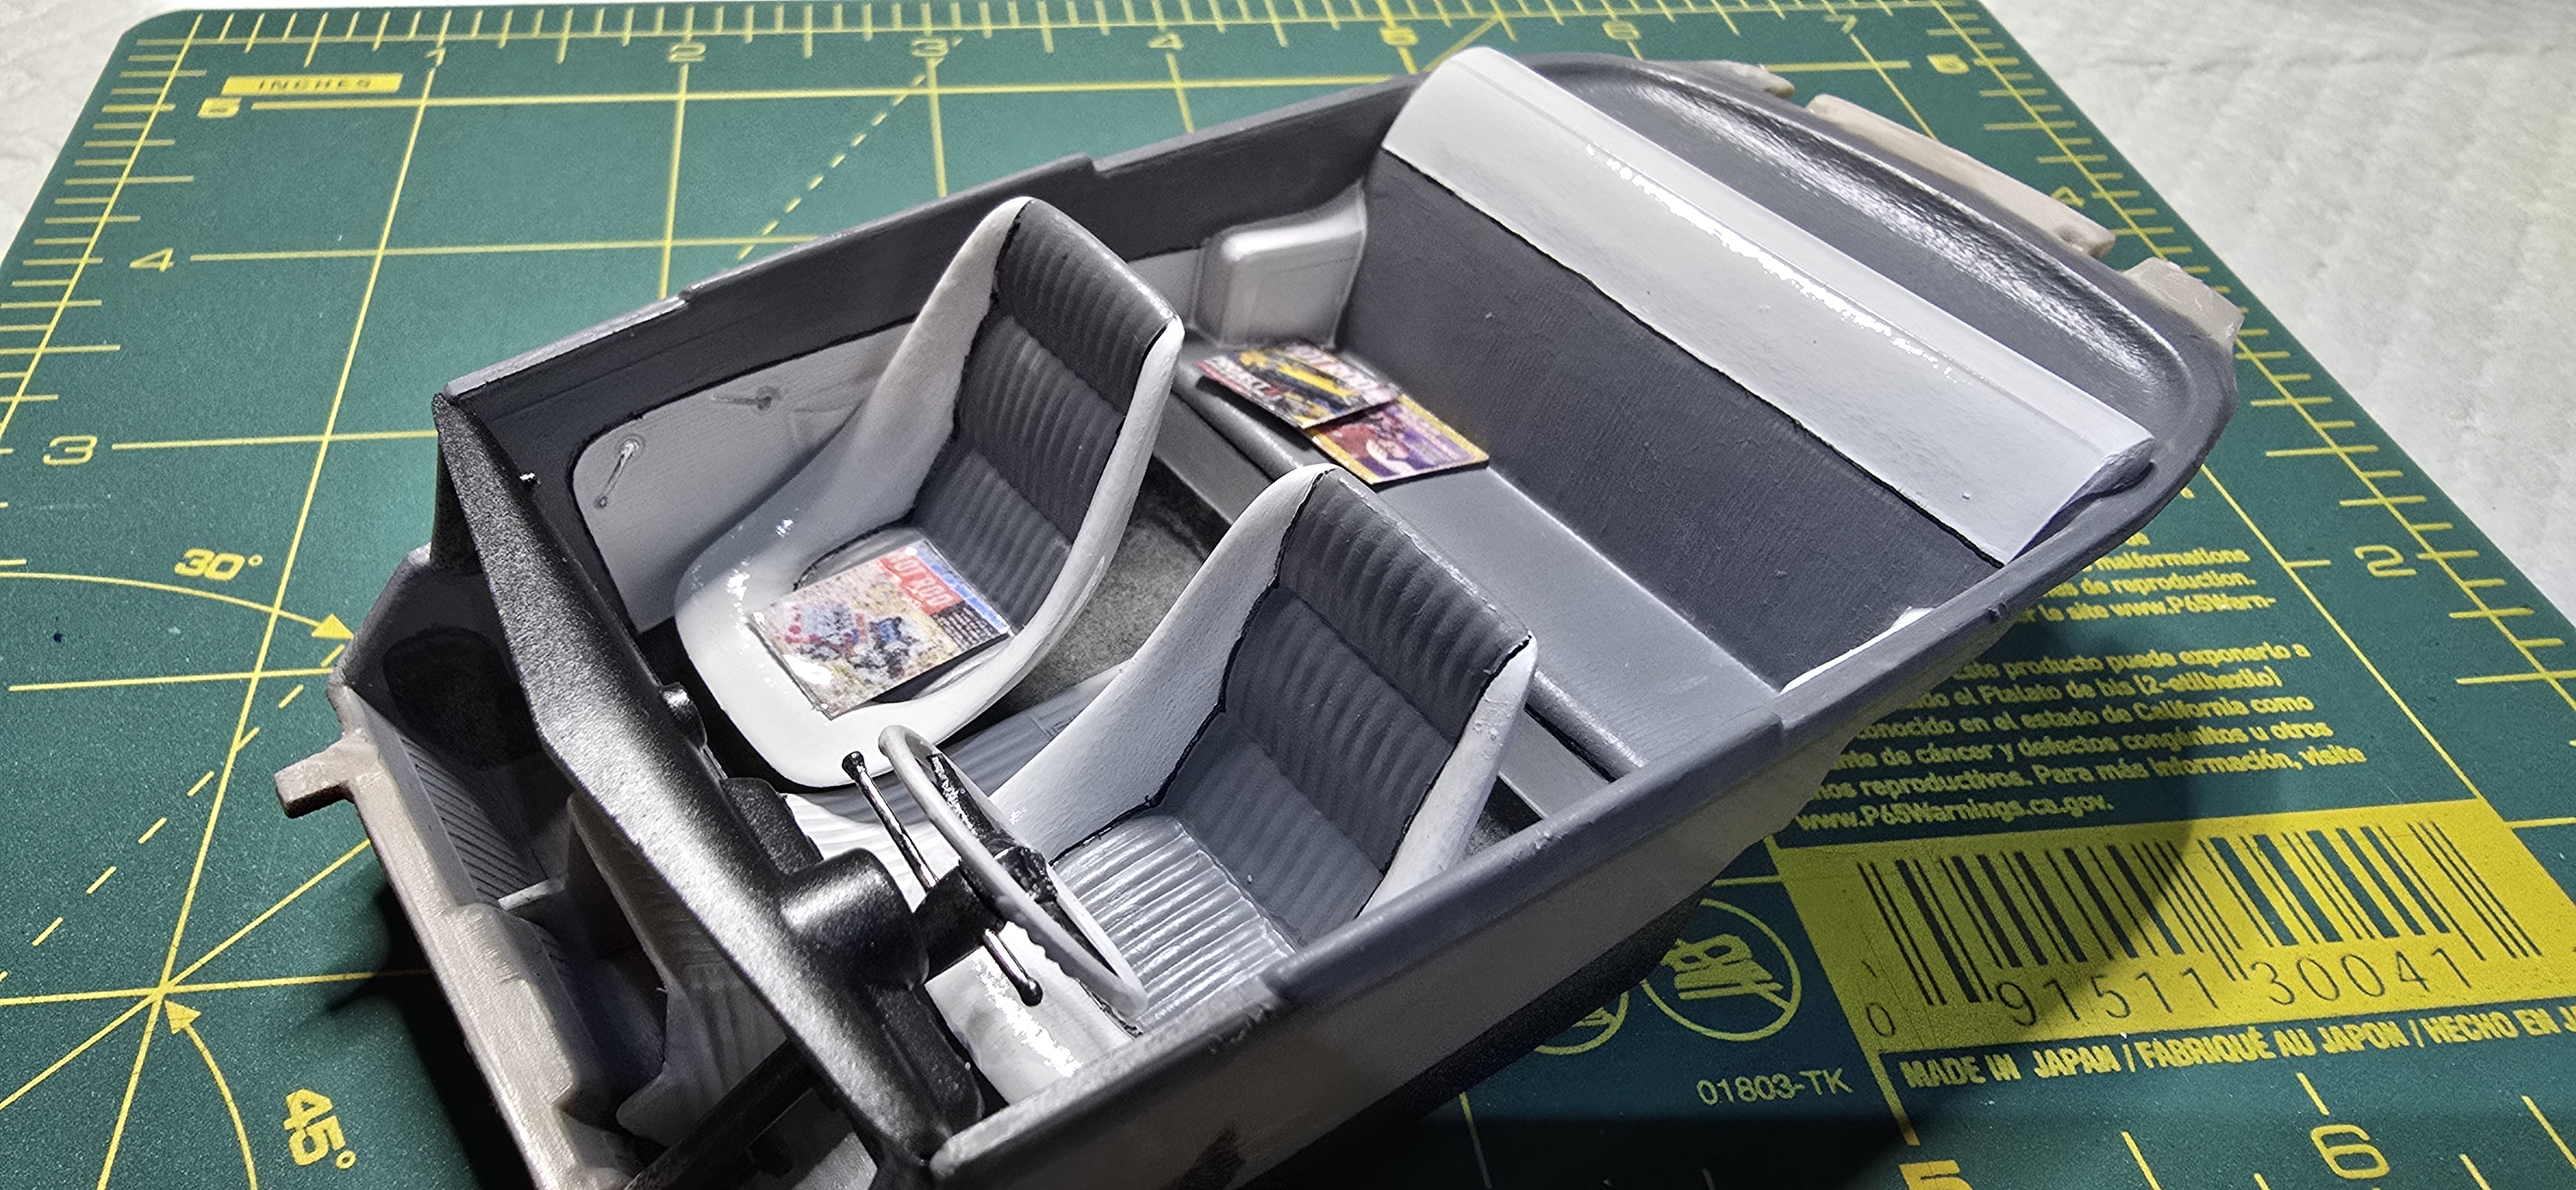
Interior is painted up, not my best but I wanted to get some color on and keep moving ahead. Dry fitted here,
I'm going to give flocking the floor a try, I picked up three kits at a closeout, black, grey and tan. I think the Grey will look cool, what you can see of it anyway.
Hoping to get to the airbrush this weekend and get the body painted.
1000011086.jpg
 
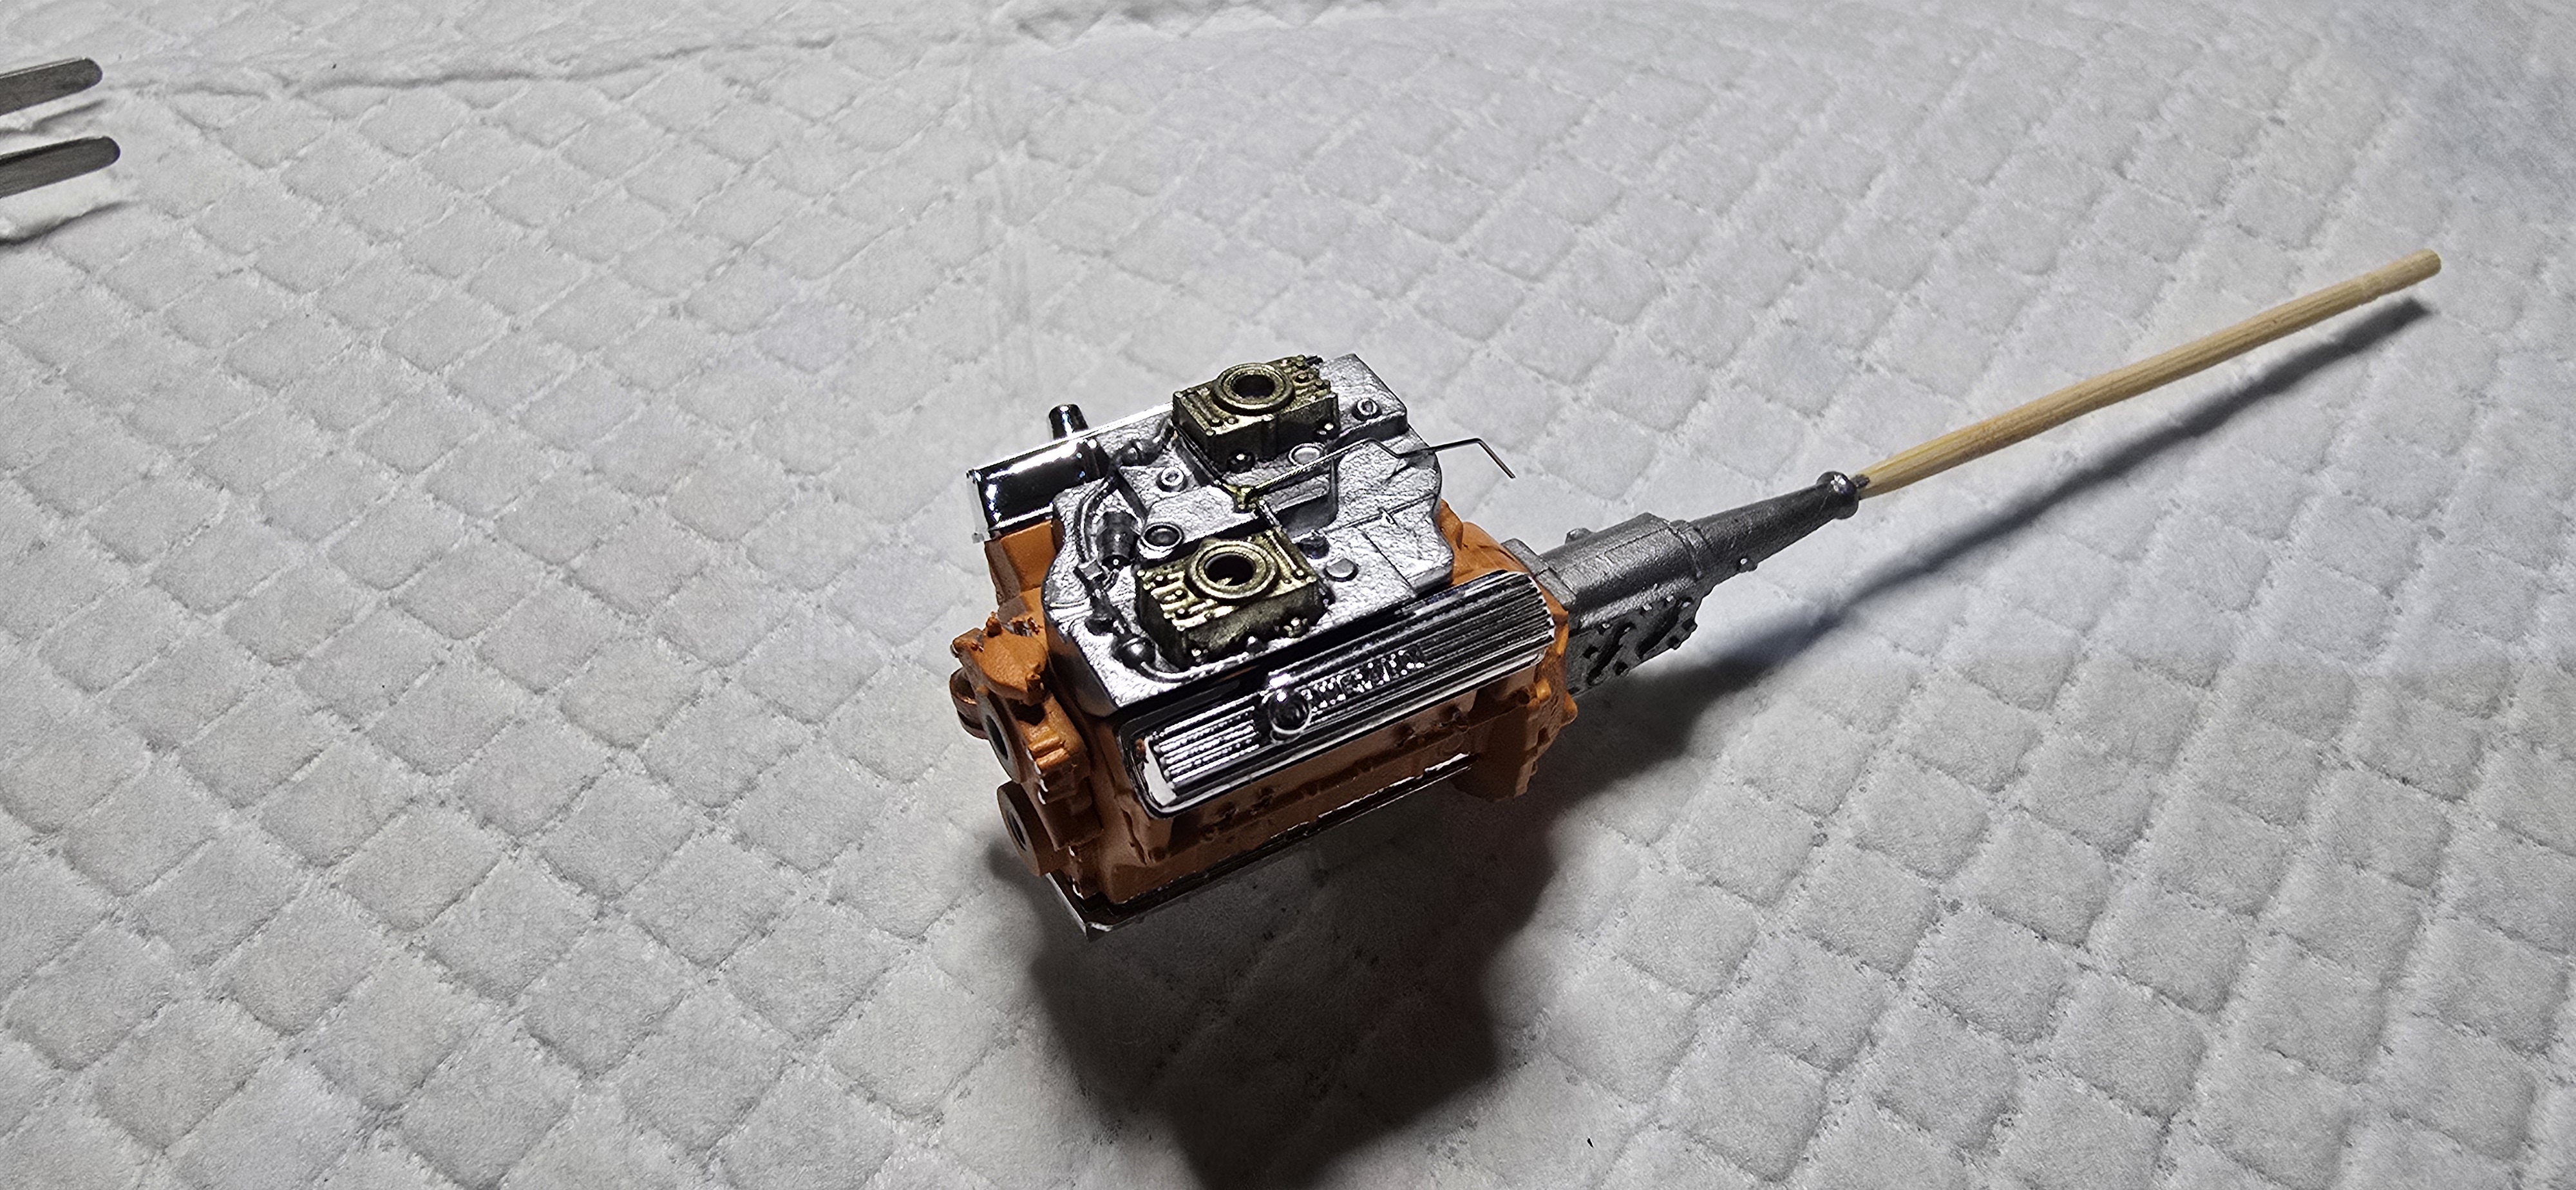
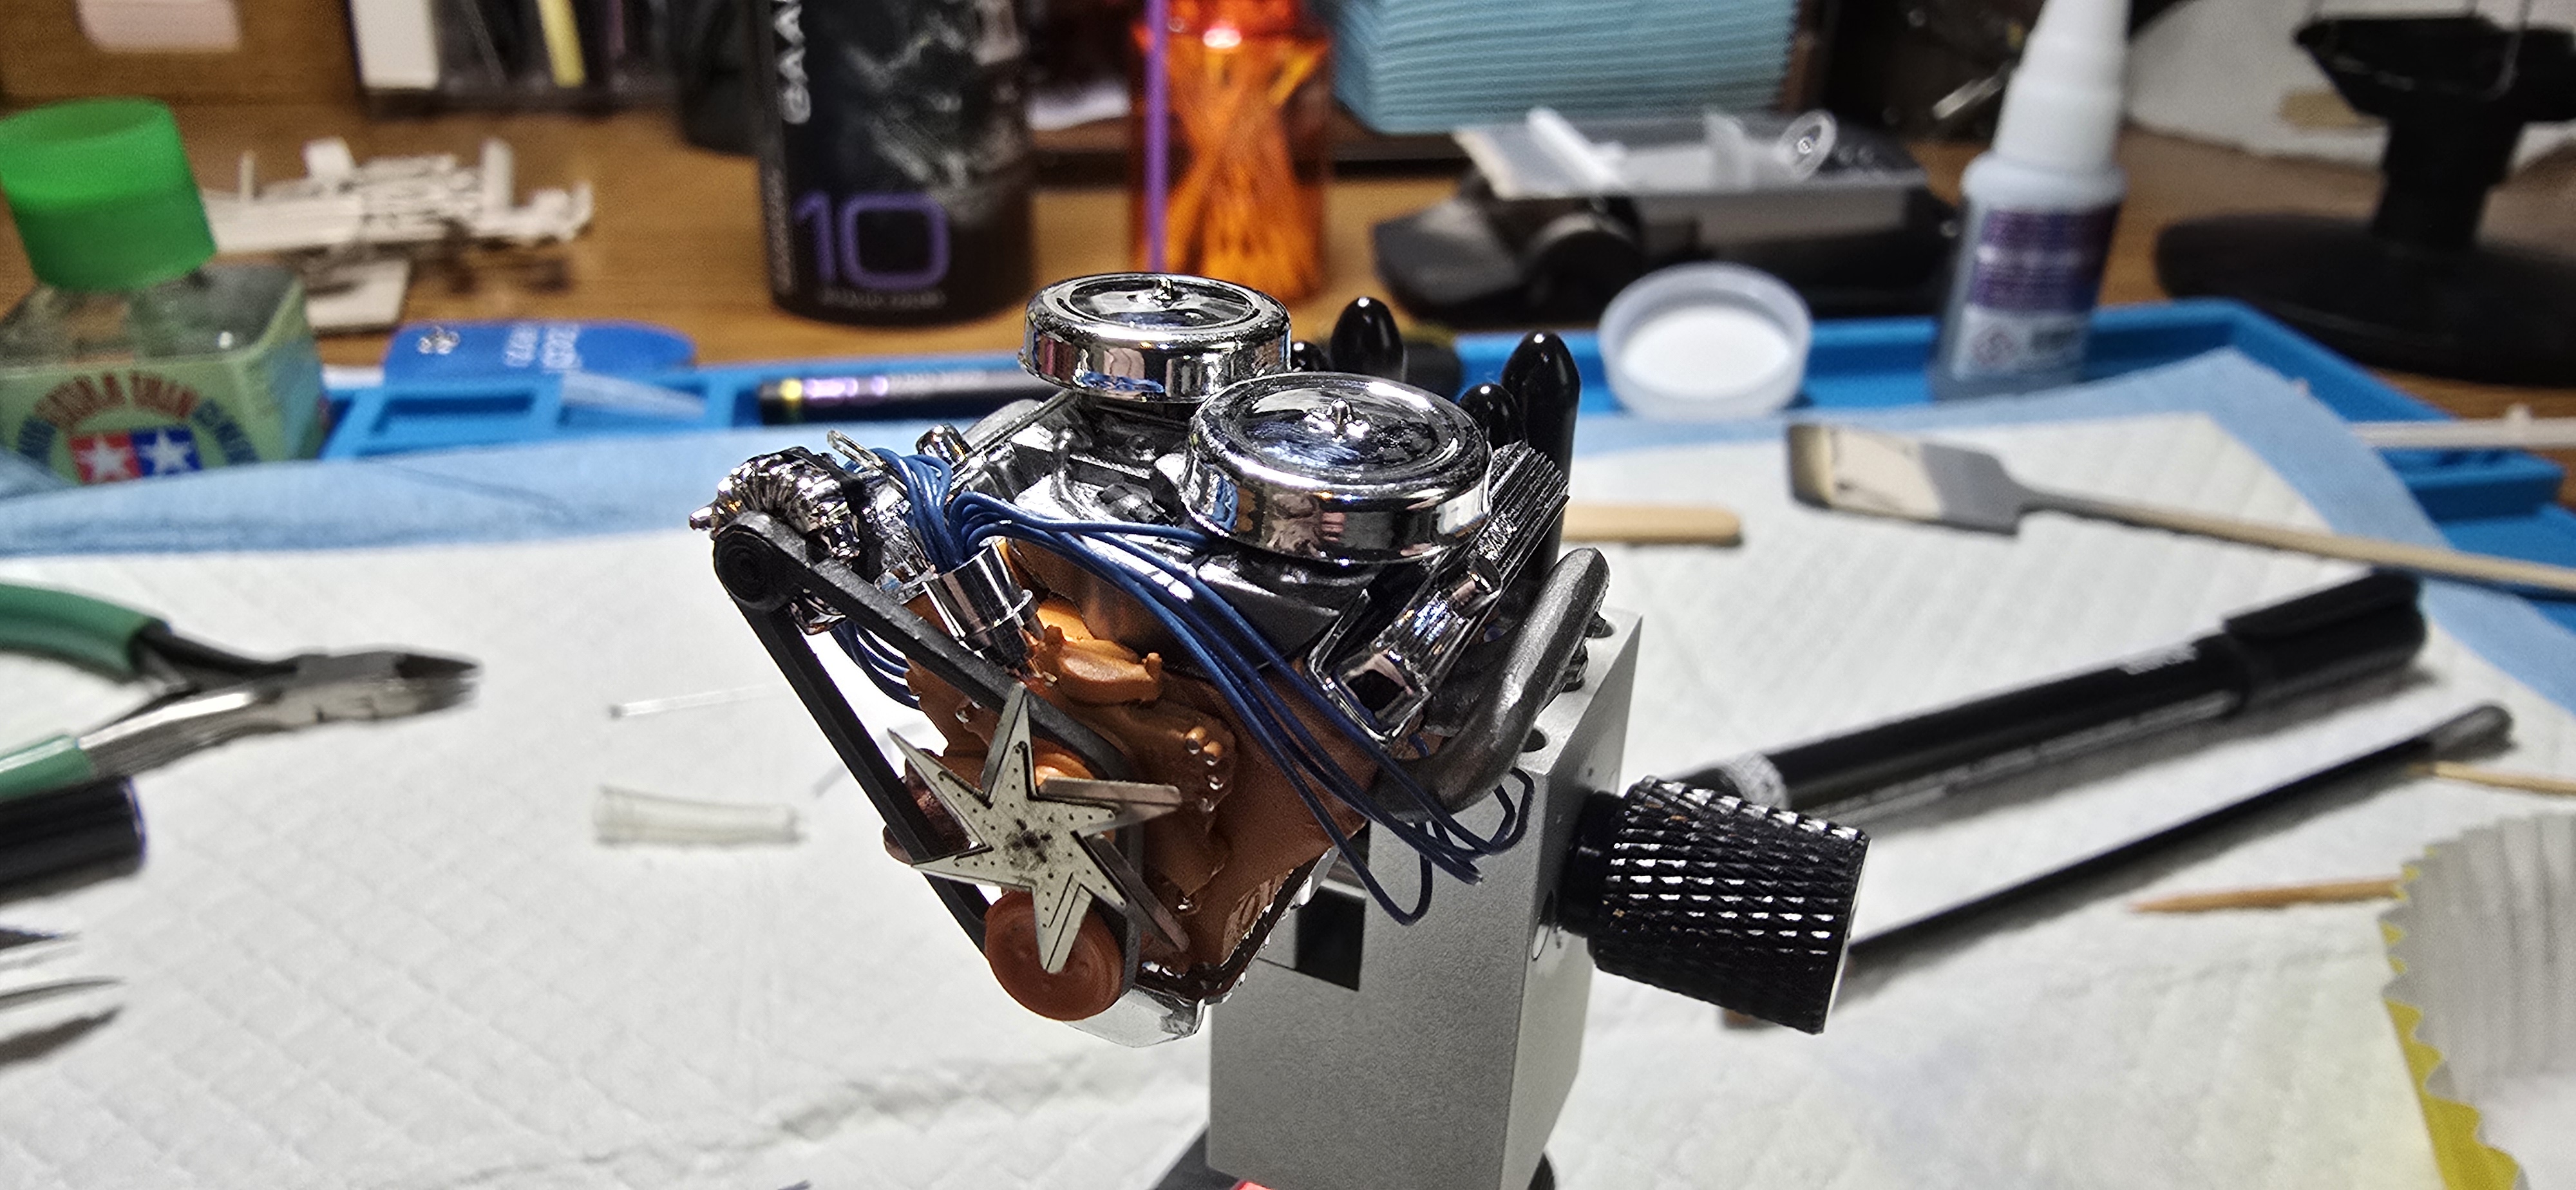
Painted up the engine, the NicPro paint I bought from Amazon worked fine, so it must've either been my mixture ratios or surface prep on the last build.

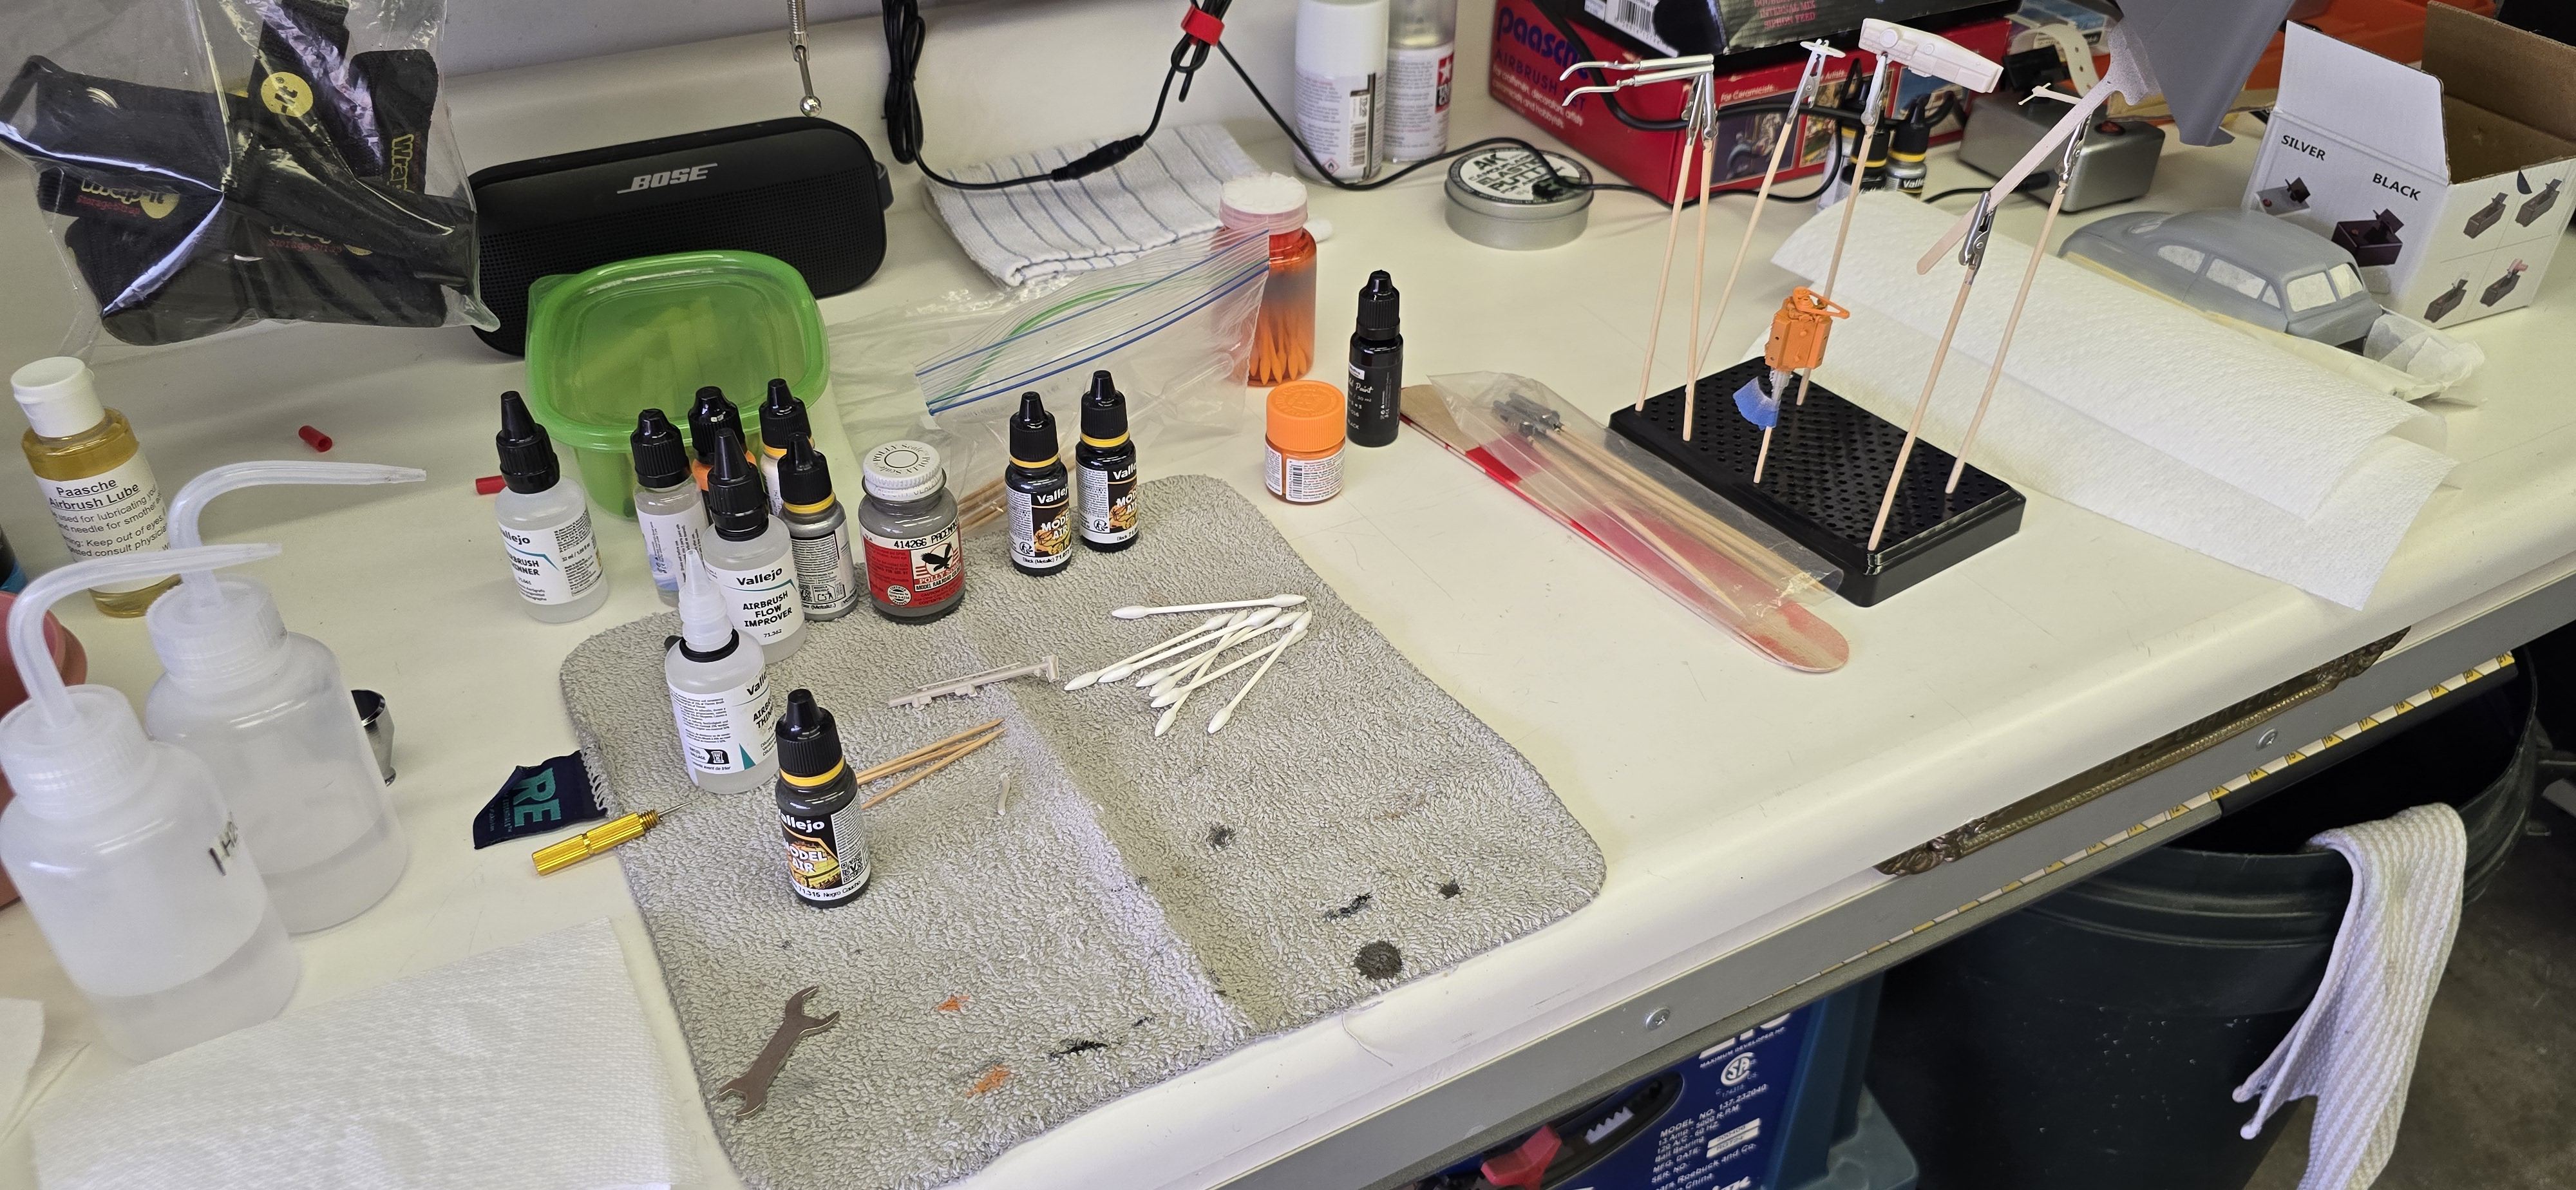
I'd intended to use the old "Pacemaker Grey", (one of the oldest bottles of paint I own, easily 30+ years, I painted my fiberglass shark with it then, and then Pegasus shark last Summer) worked great then, but no matter how I thinned it, it kept clogging my airbrush.
I can only guess it's so old there are particulates in it and they just kept clogging the nozzle.
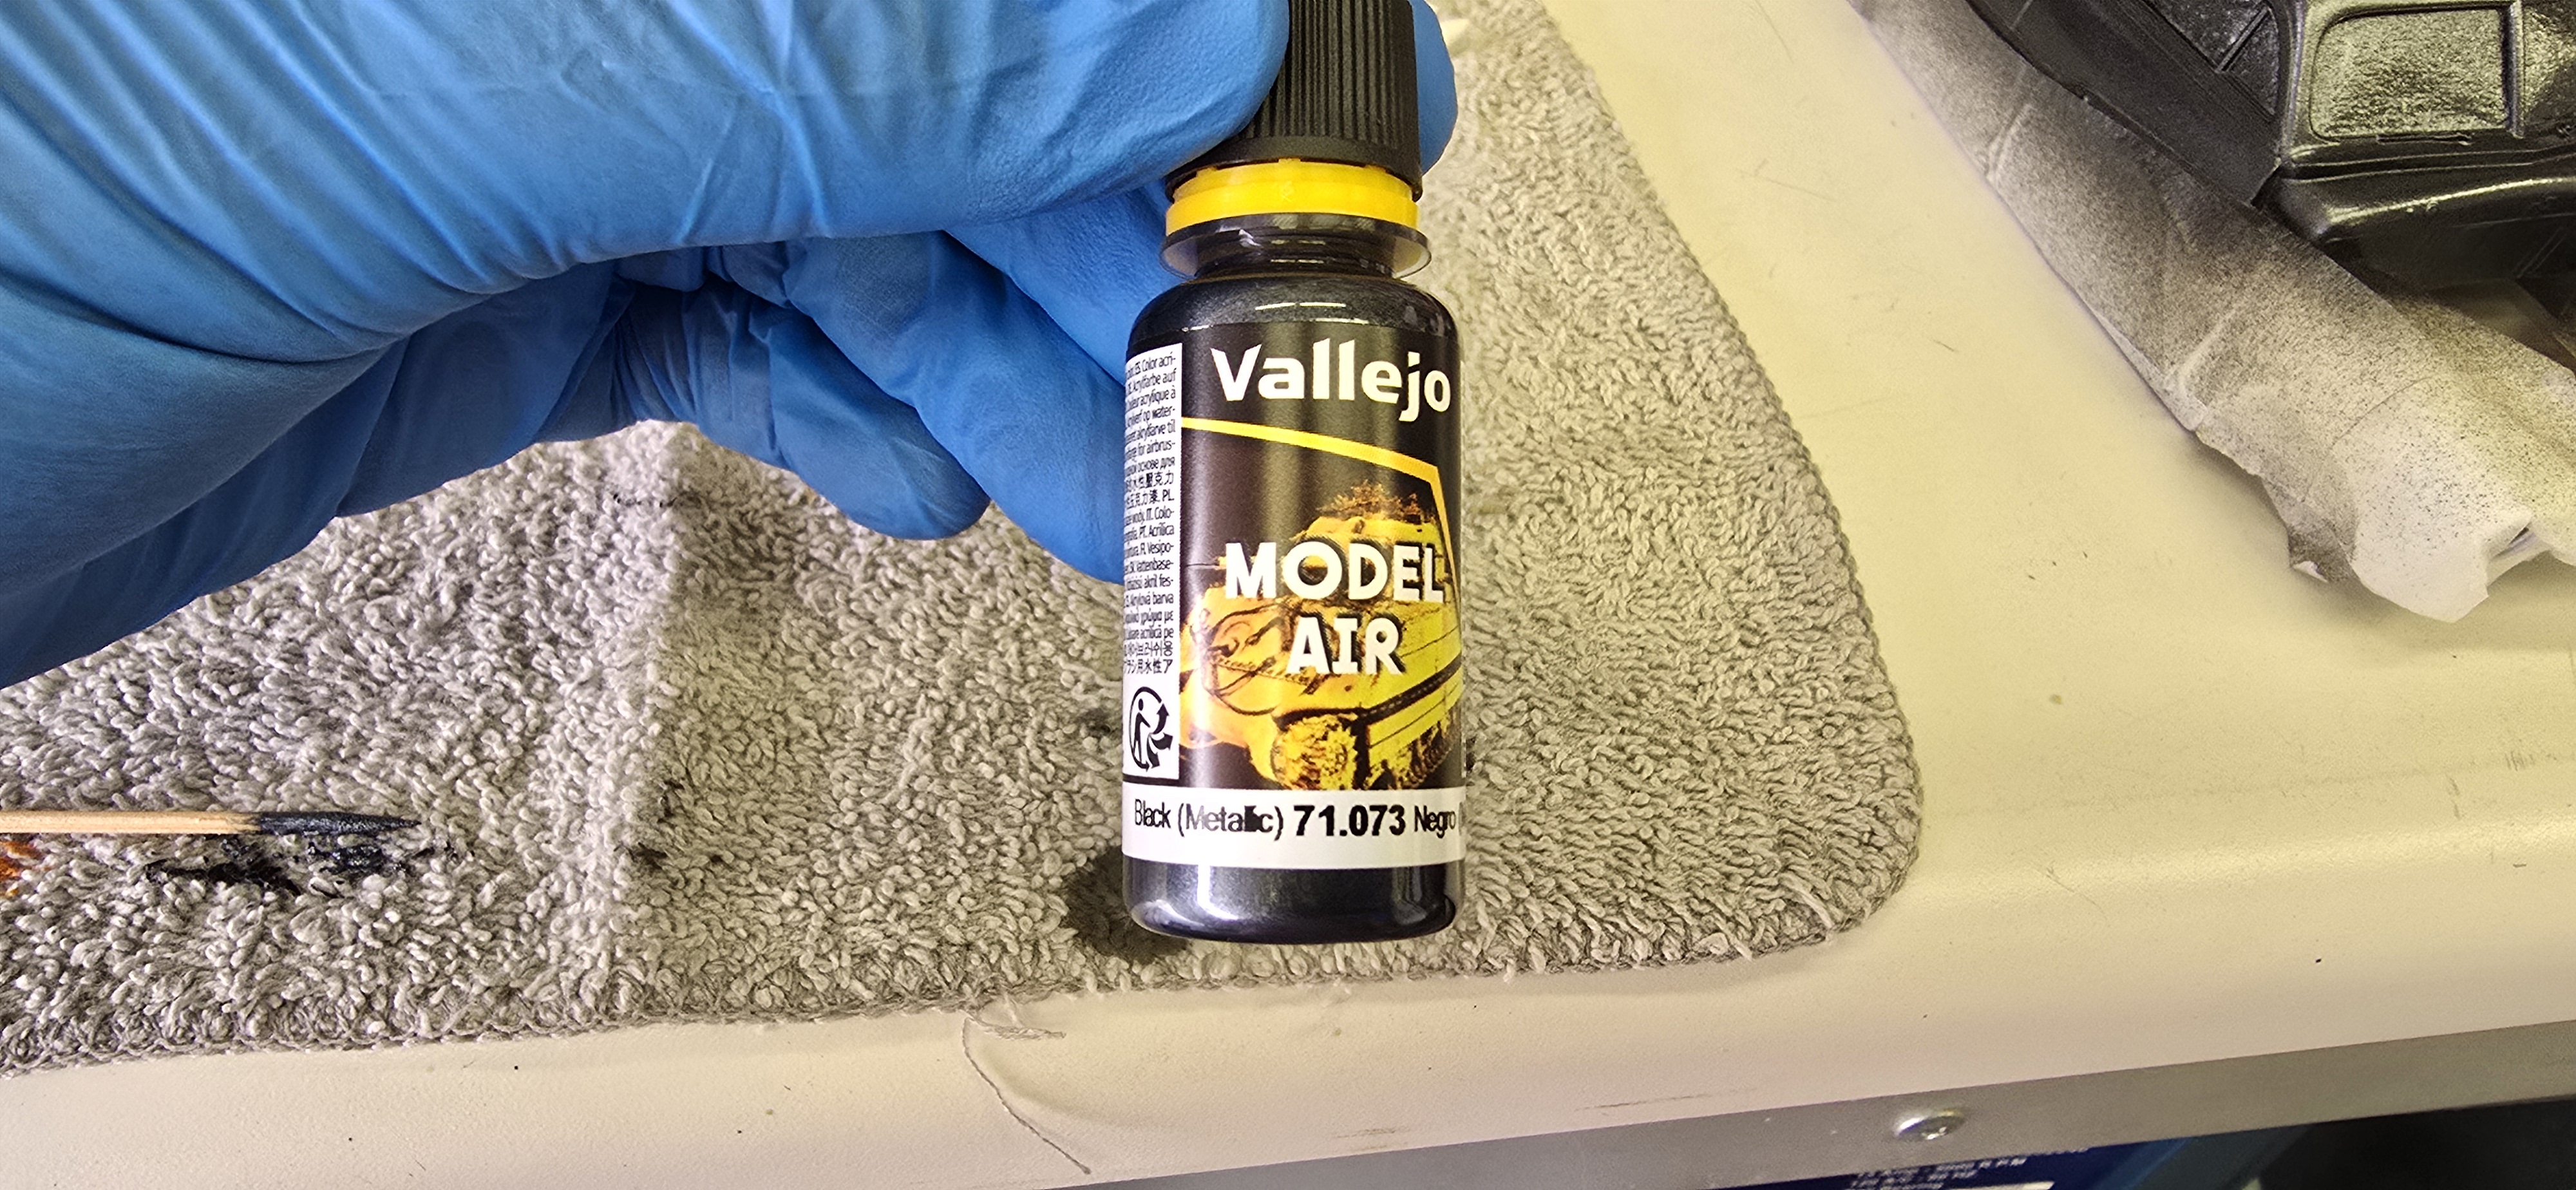
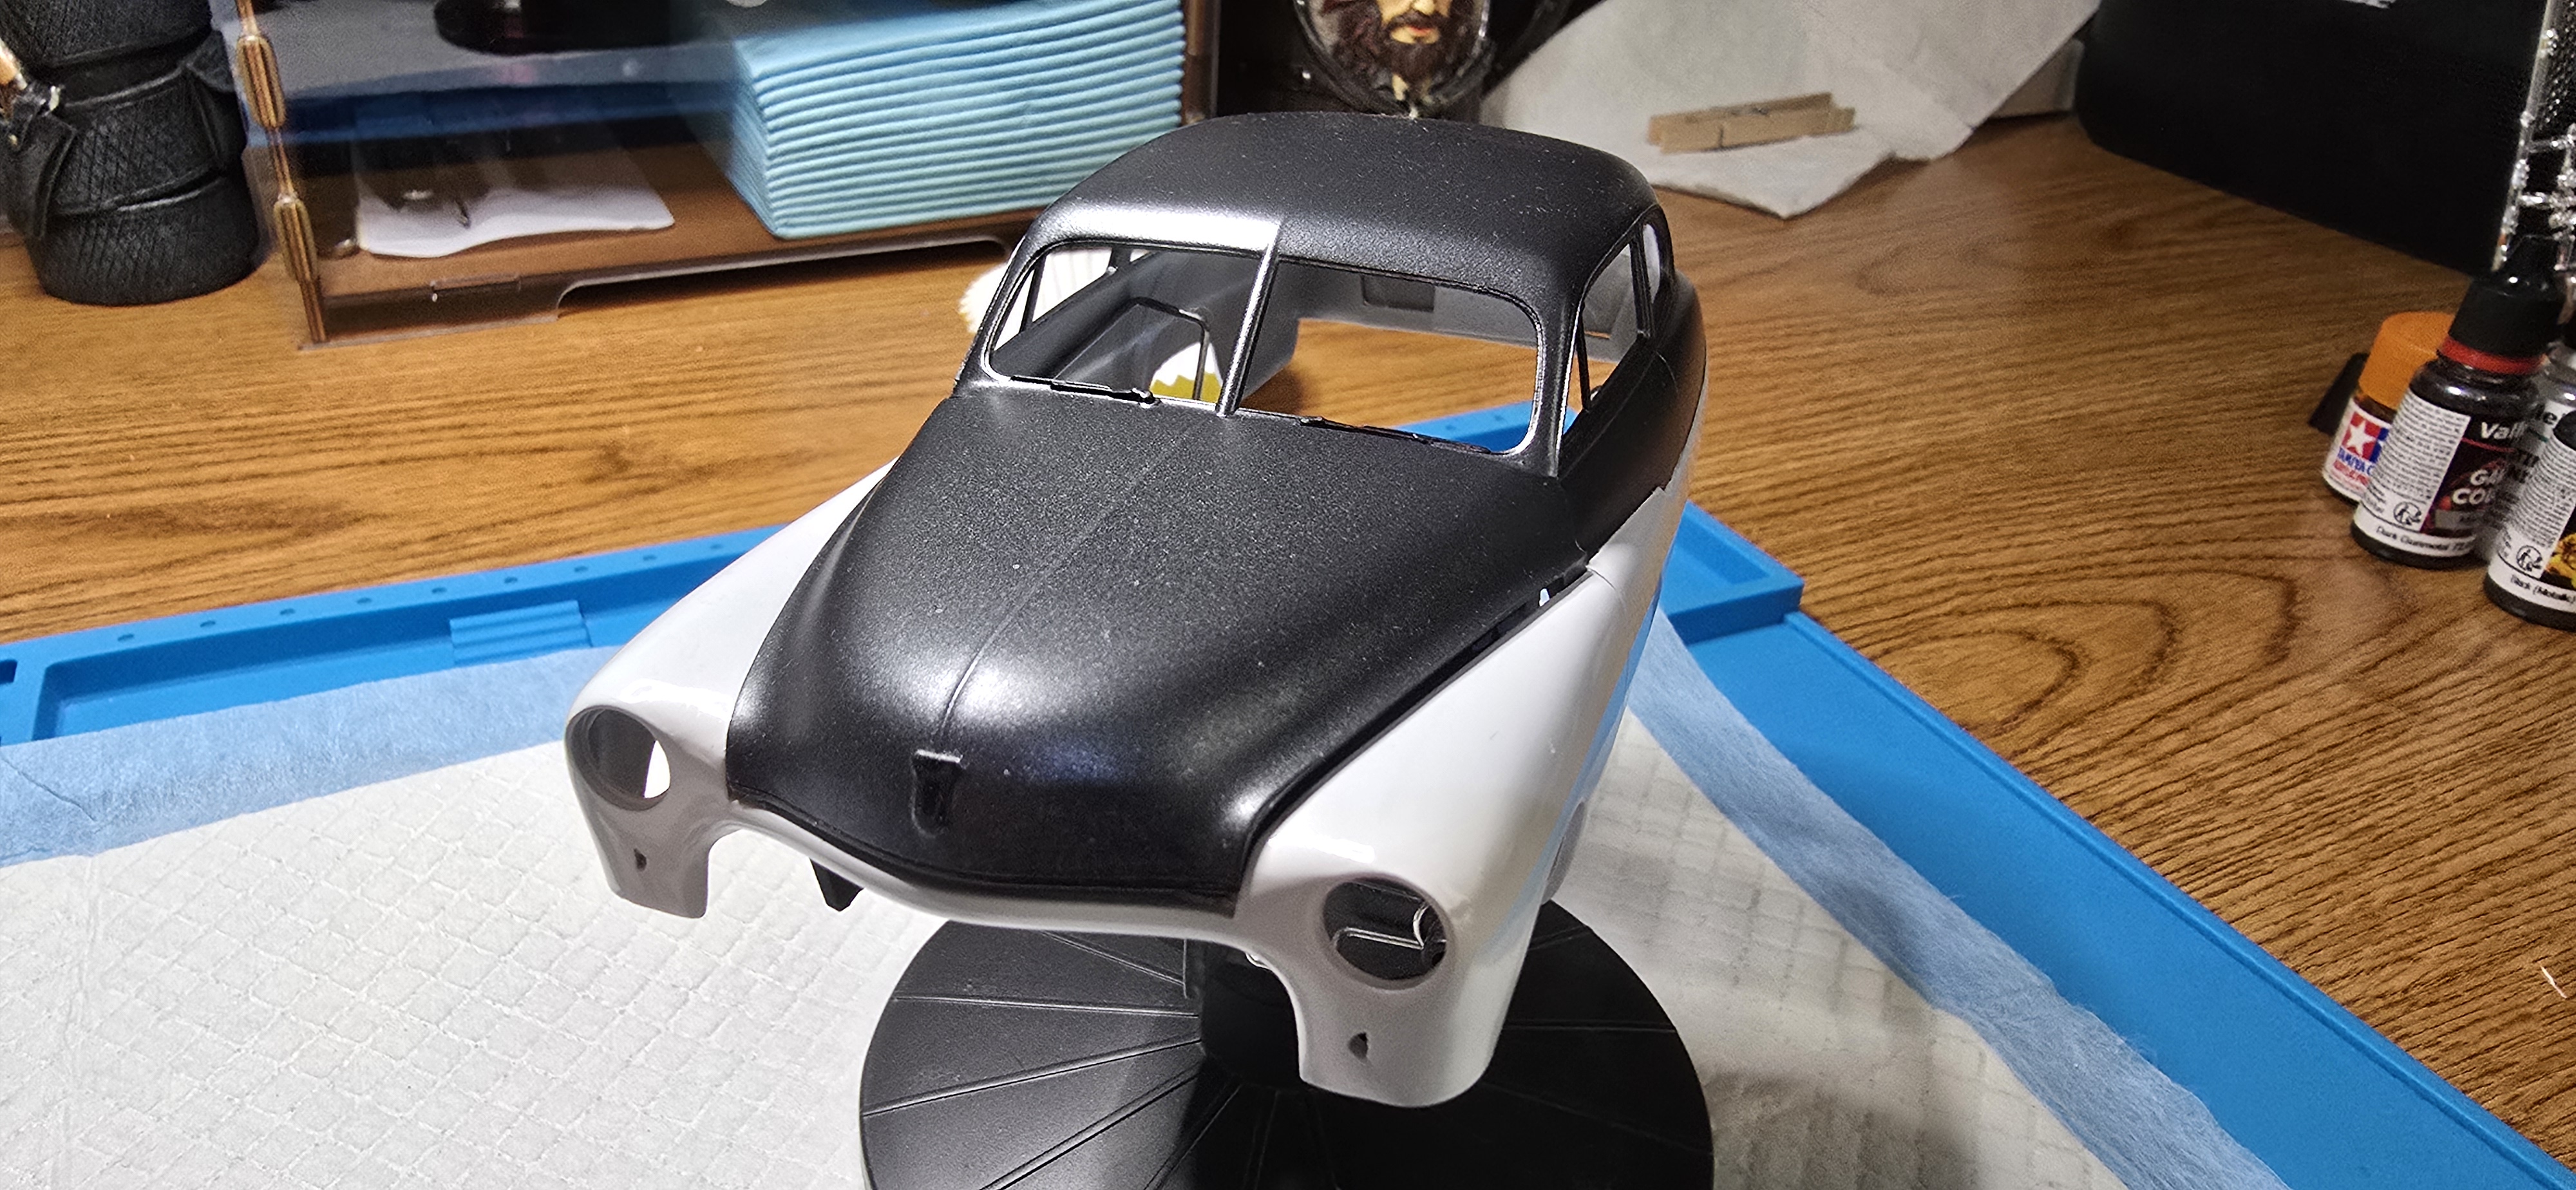
I needed to pivot and as I was looking for an alternative color, found this; Vallejo Black Metallic, and talk about a happy accident!!
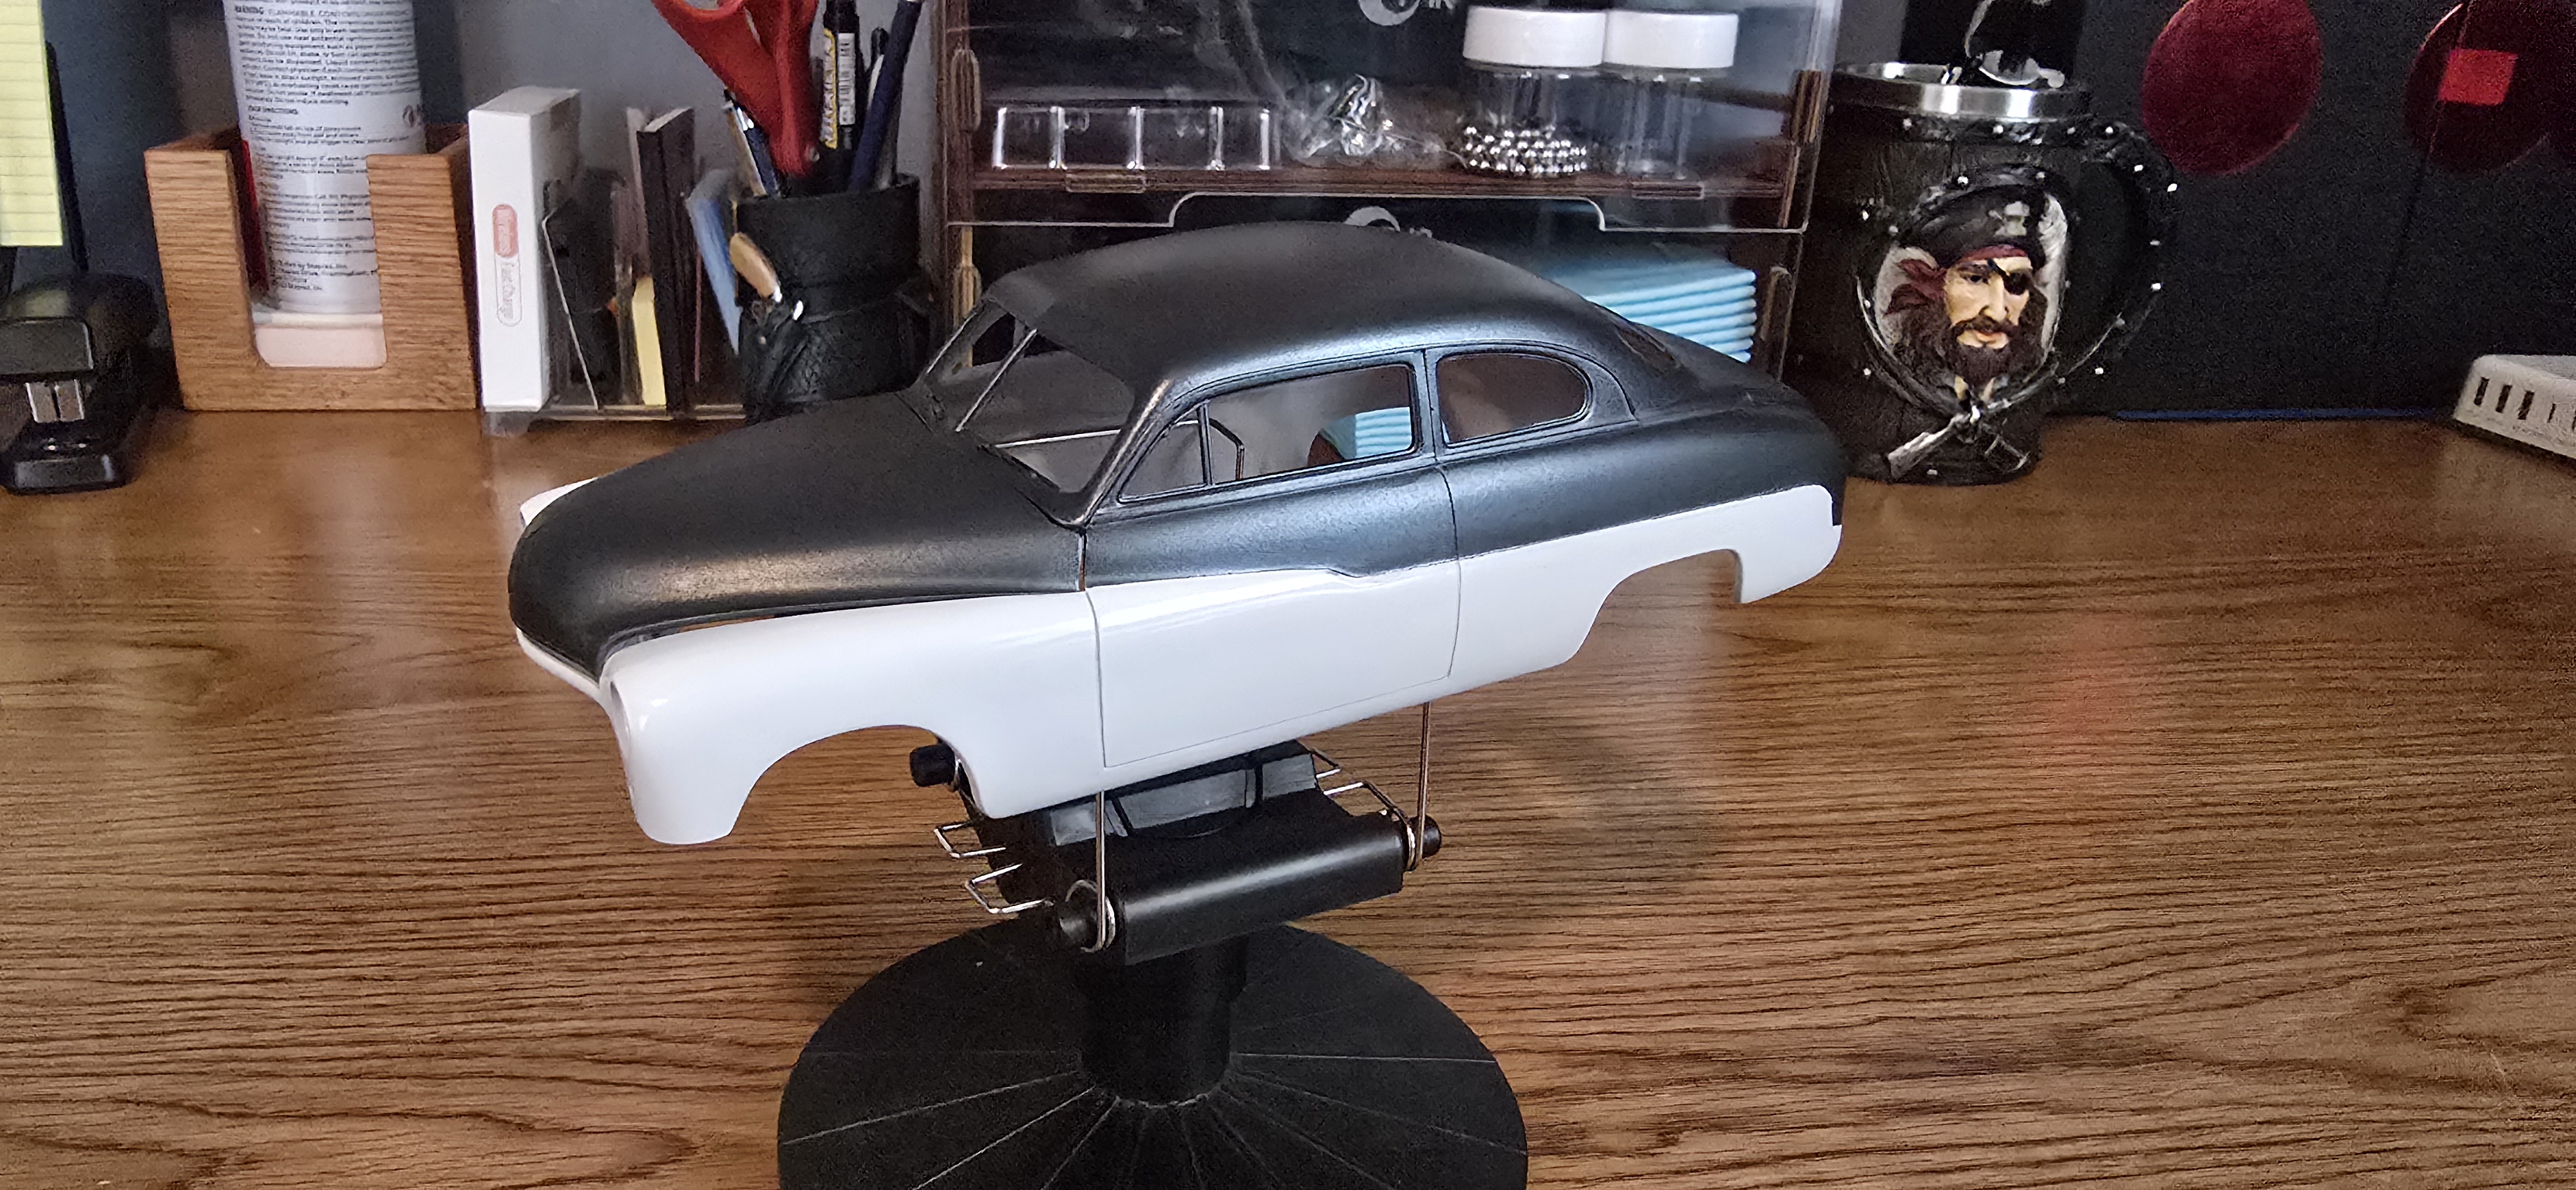
What a fantastic color. I'm going to have to paint something else with it. It's a gunmetal, though more grey than black to me. It's pretty close to the paint of my actual GMC and their Irridium Metallic.
Anyway, removed the masking and no leaks, (I sprayed a nice even coat of white before I sprayed the top coat and that really seemed to help.
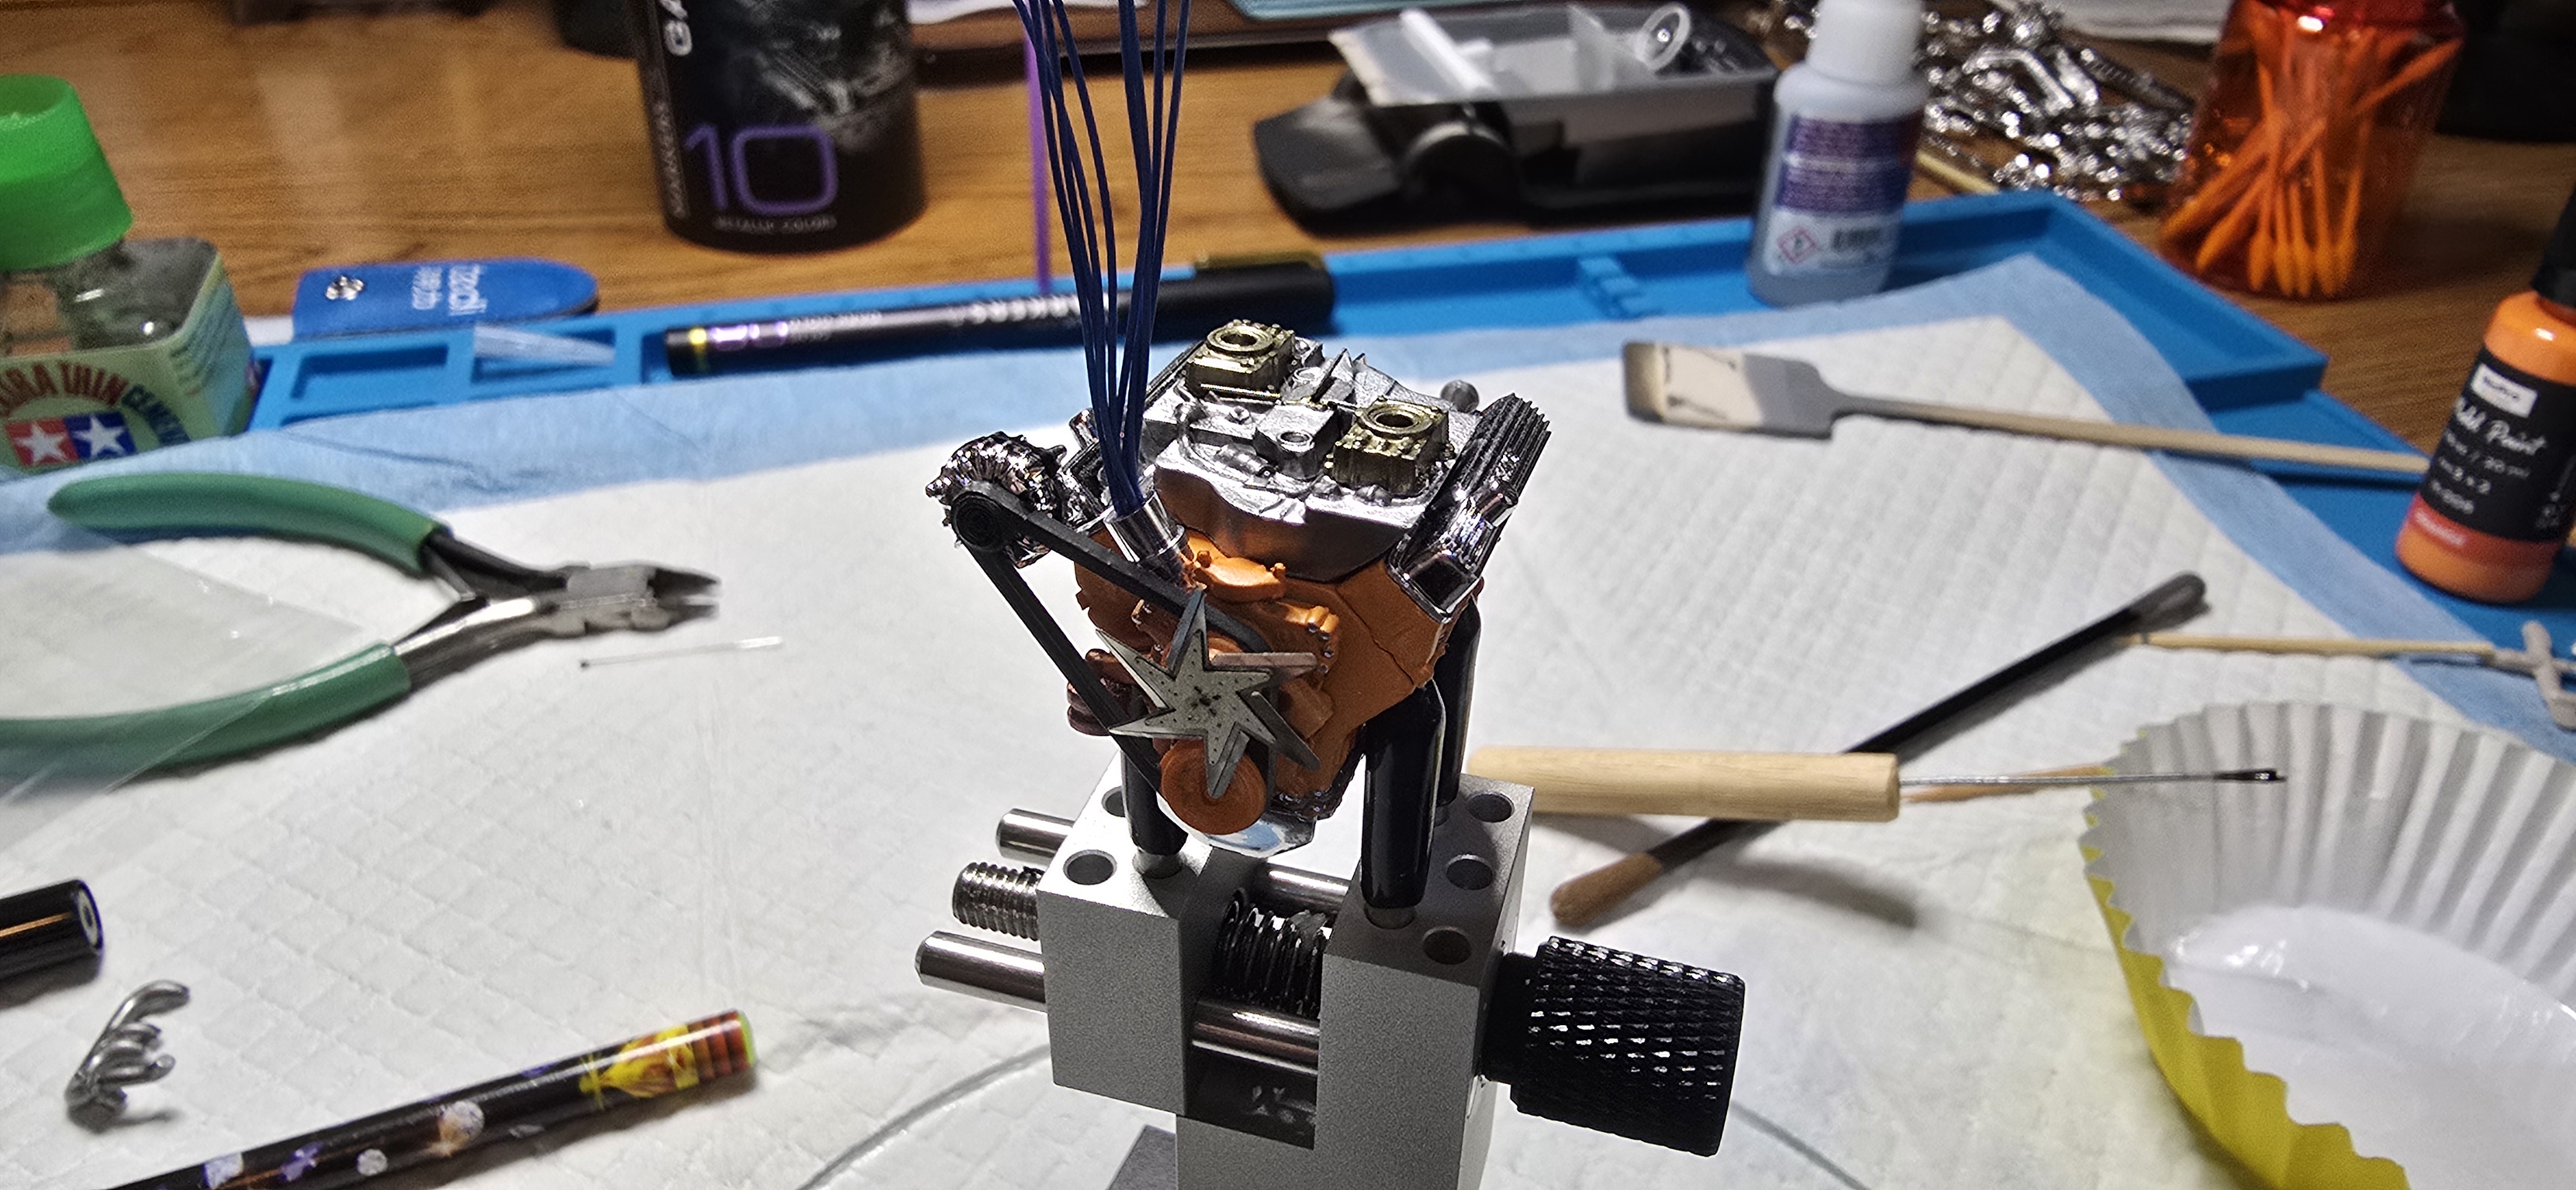
I'll give the paint the day to dry and get back at it tomorrow morning with some assembly and detailing, painting the pulleys, belts, etc.

20260627_091337.jpg

20260627_084448.jpg
20260627_091302.jpg
20260627_113126.jpg
 
Moving on.
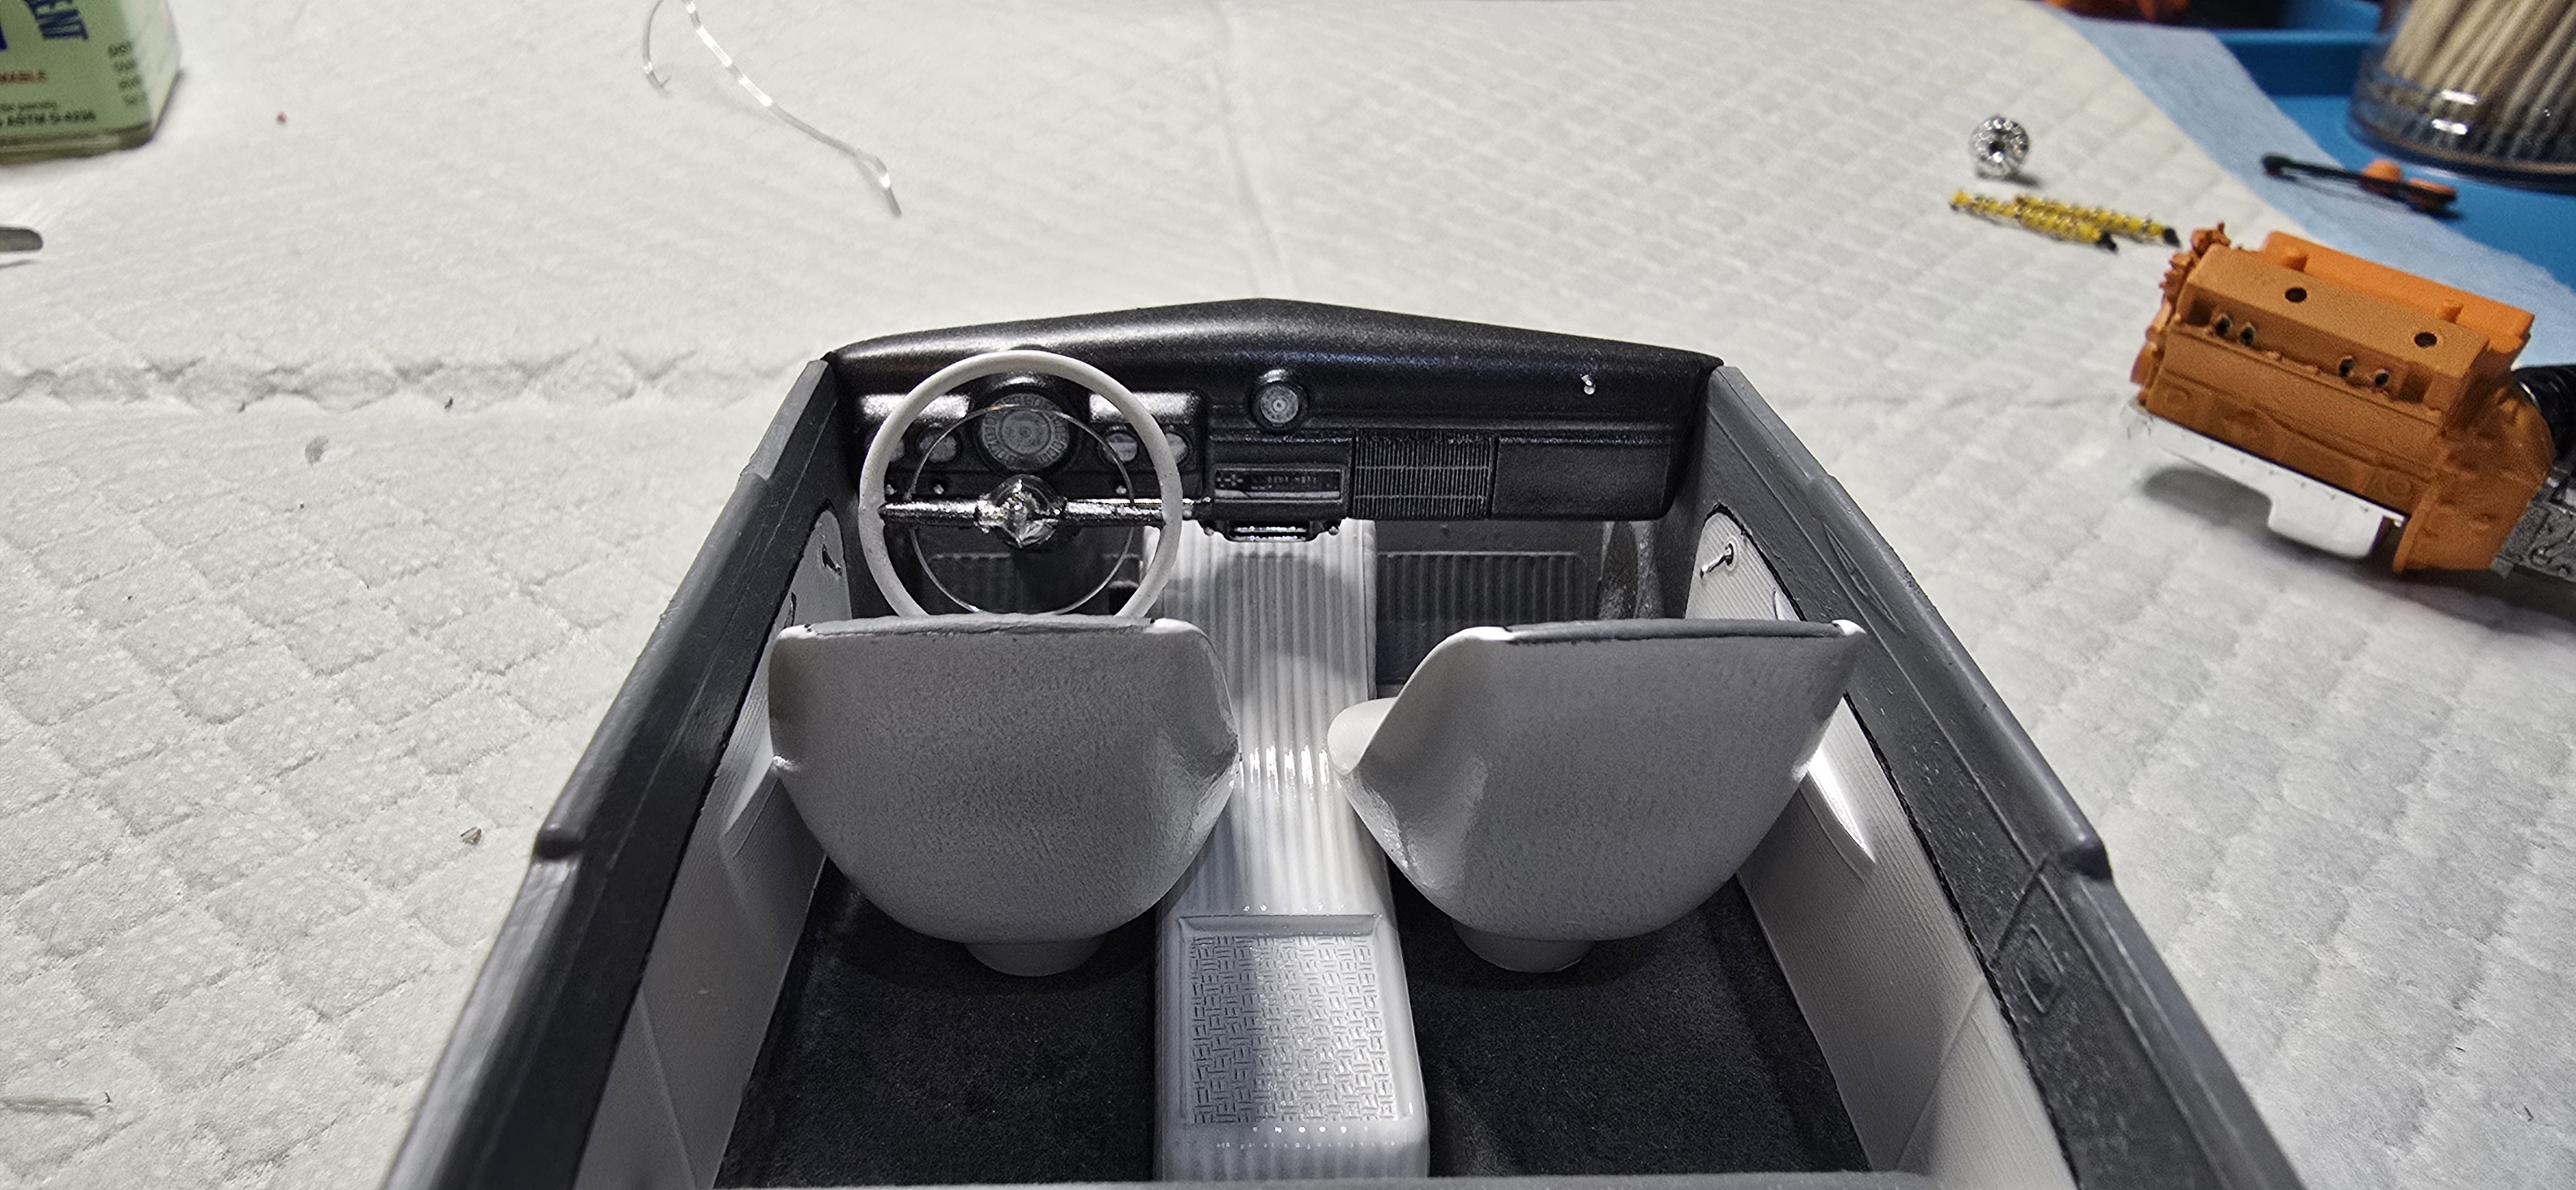
I tried using a flocking kit, (I picked up 3 about a year or so ago on closeout at a local Michael's). The instructions said to coat area with the tinted glue/paint, wait an hour, apply a 2nd coat and then sprinkle the flocking.
Worked ok- I'll need to practice, it was a bit spotty and that stuff goes everywhere. I sprinkled, patted it down and then shook out the excess over paper, putting it back into the bottle.
Once it dried it looked better, like scale carpet, even with the patchy appearance. I may try using plain PVA glue, or even glaze in the future.
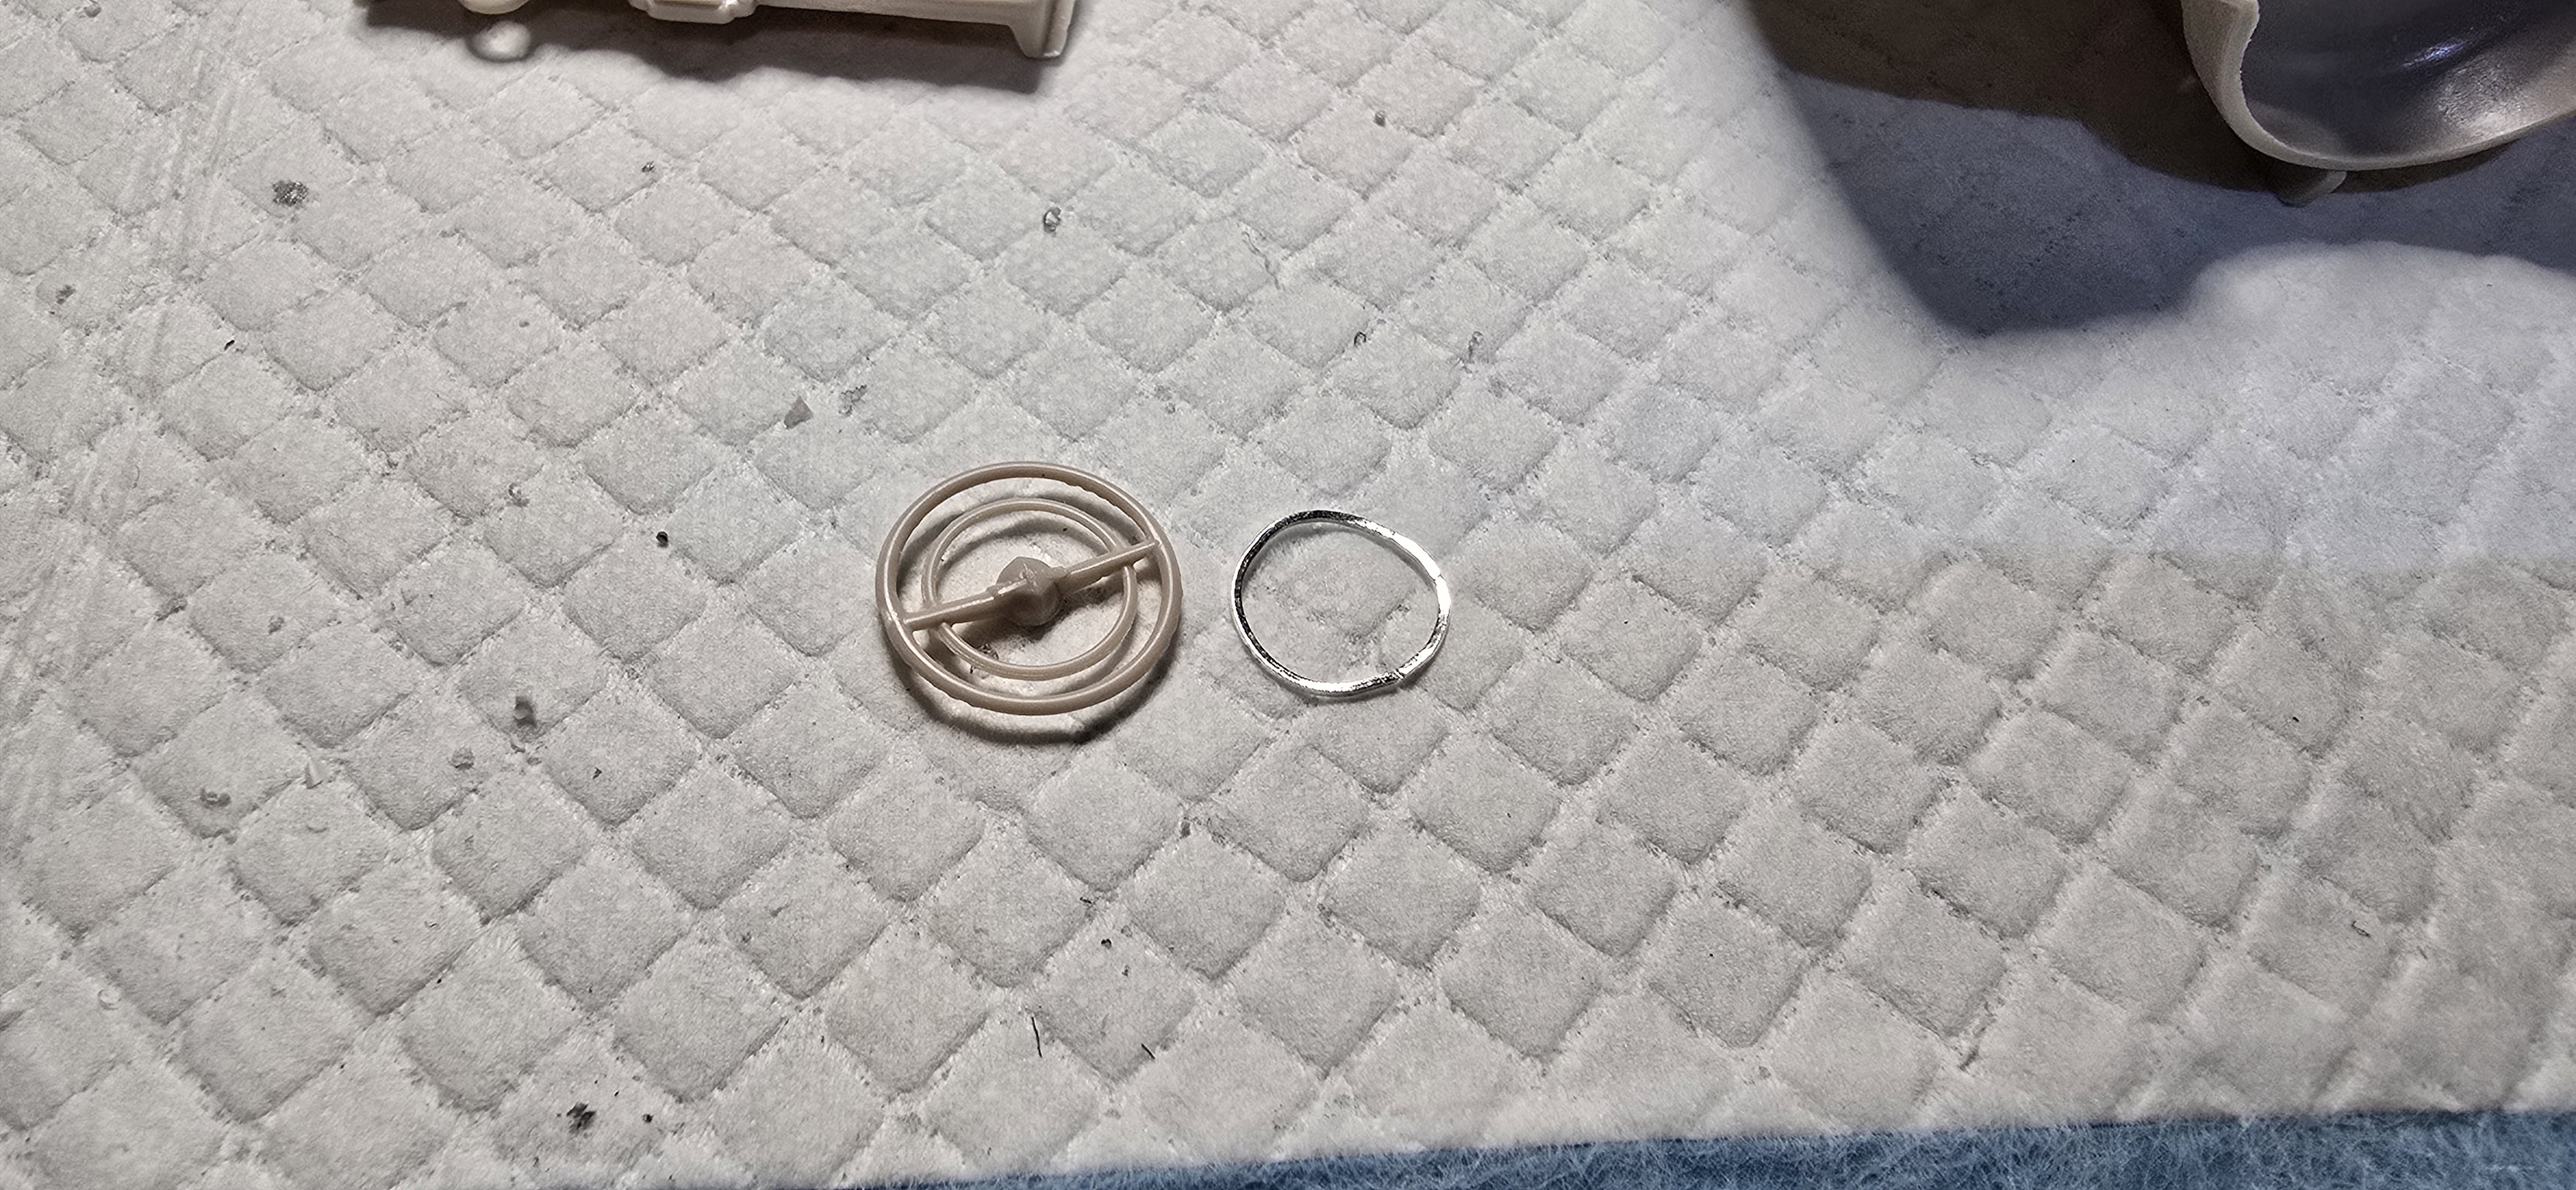
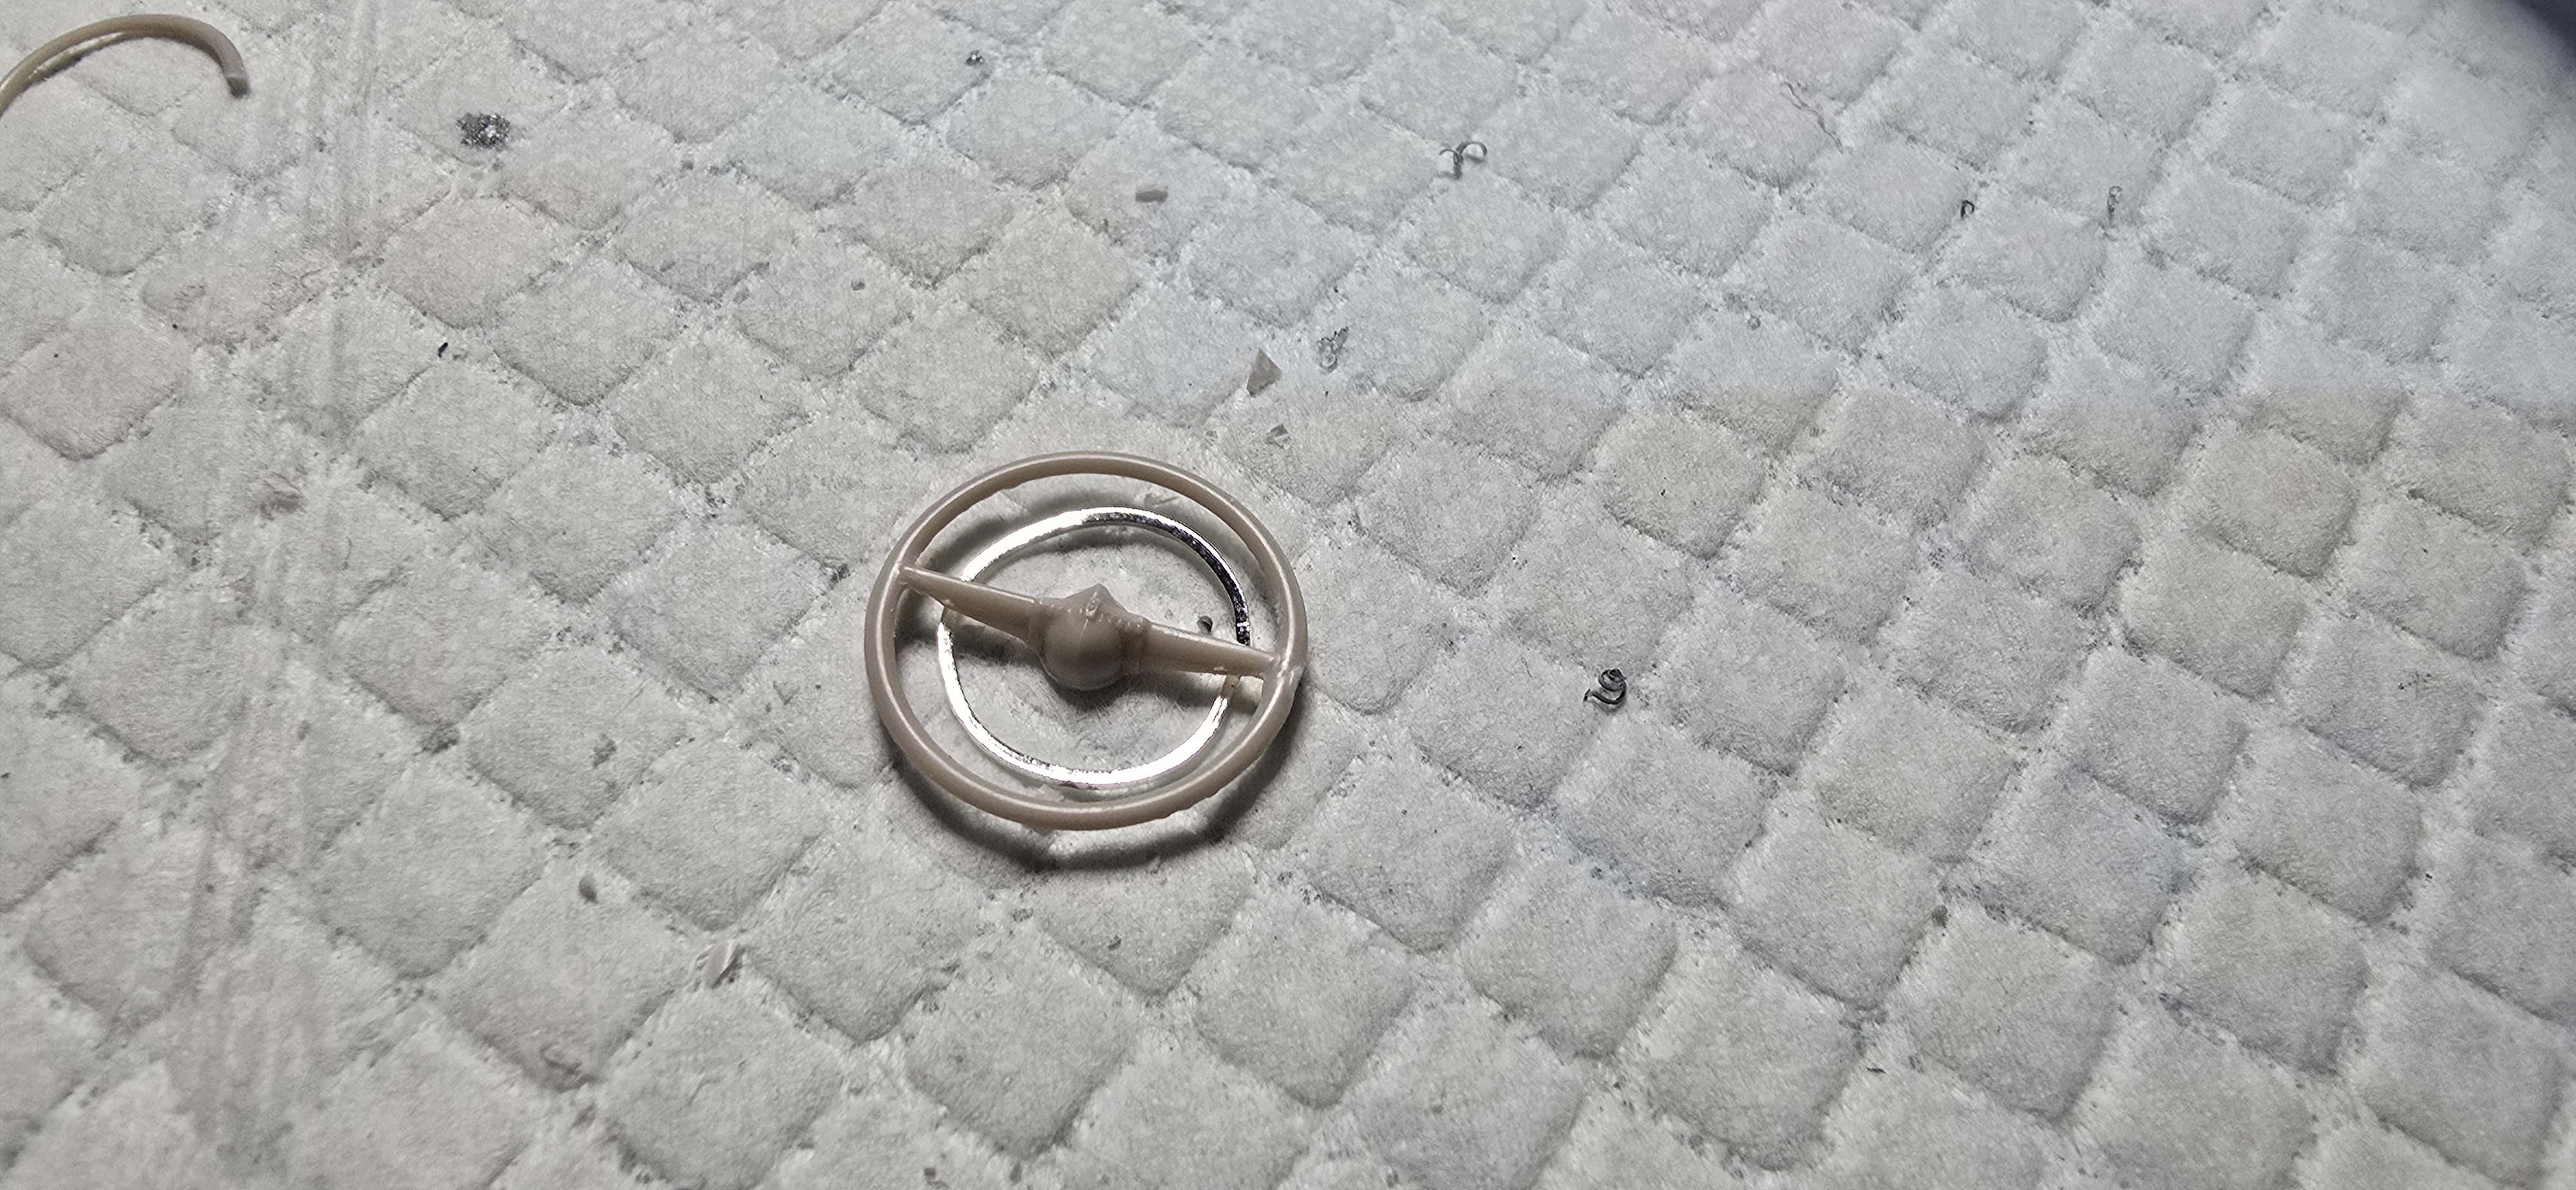
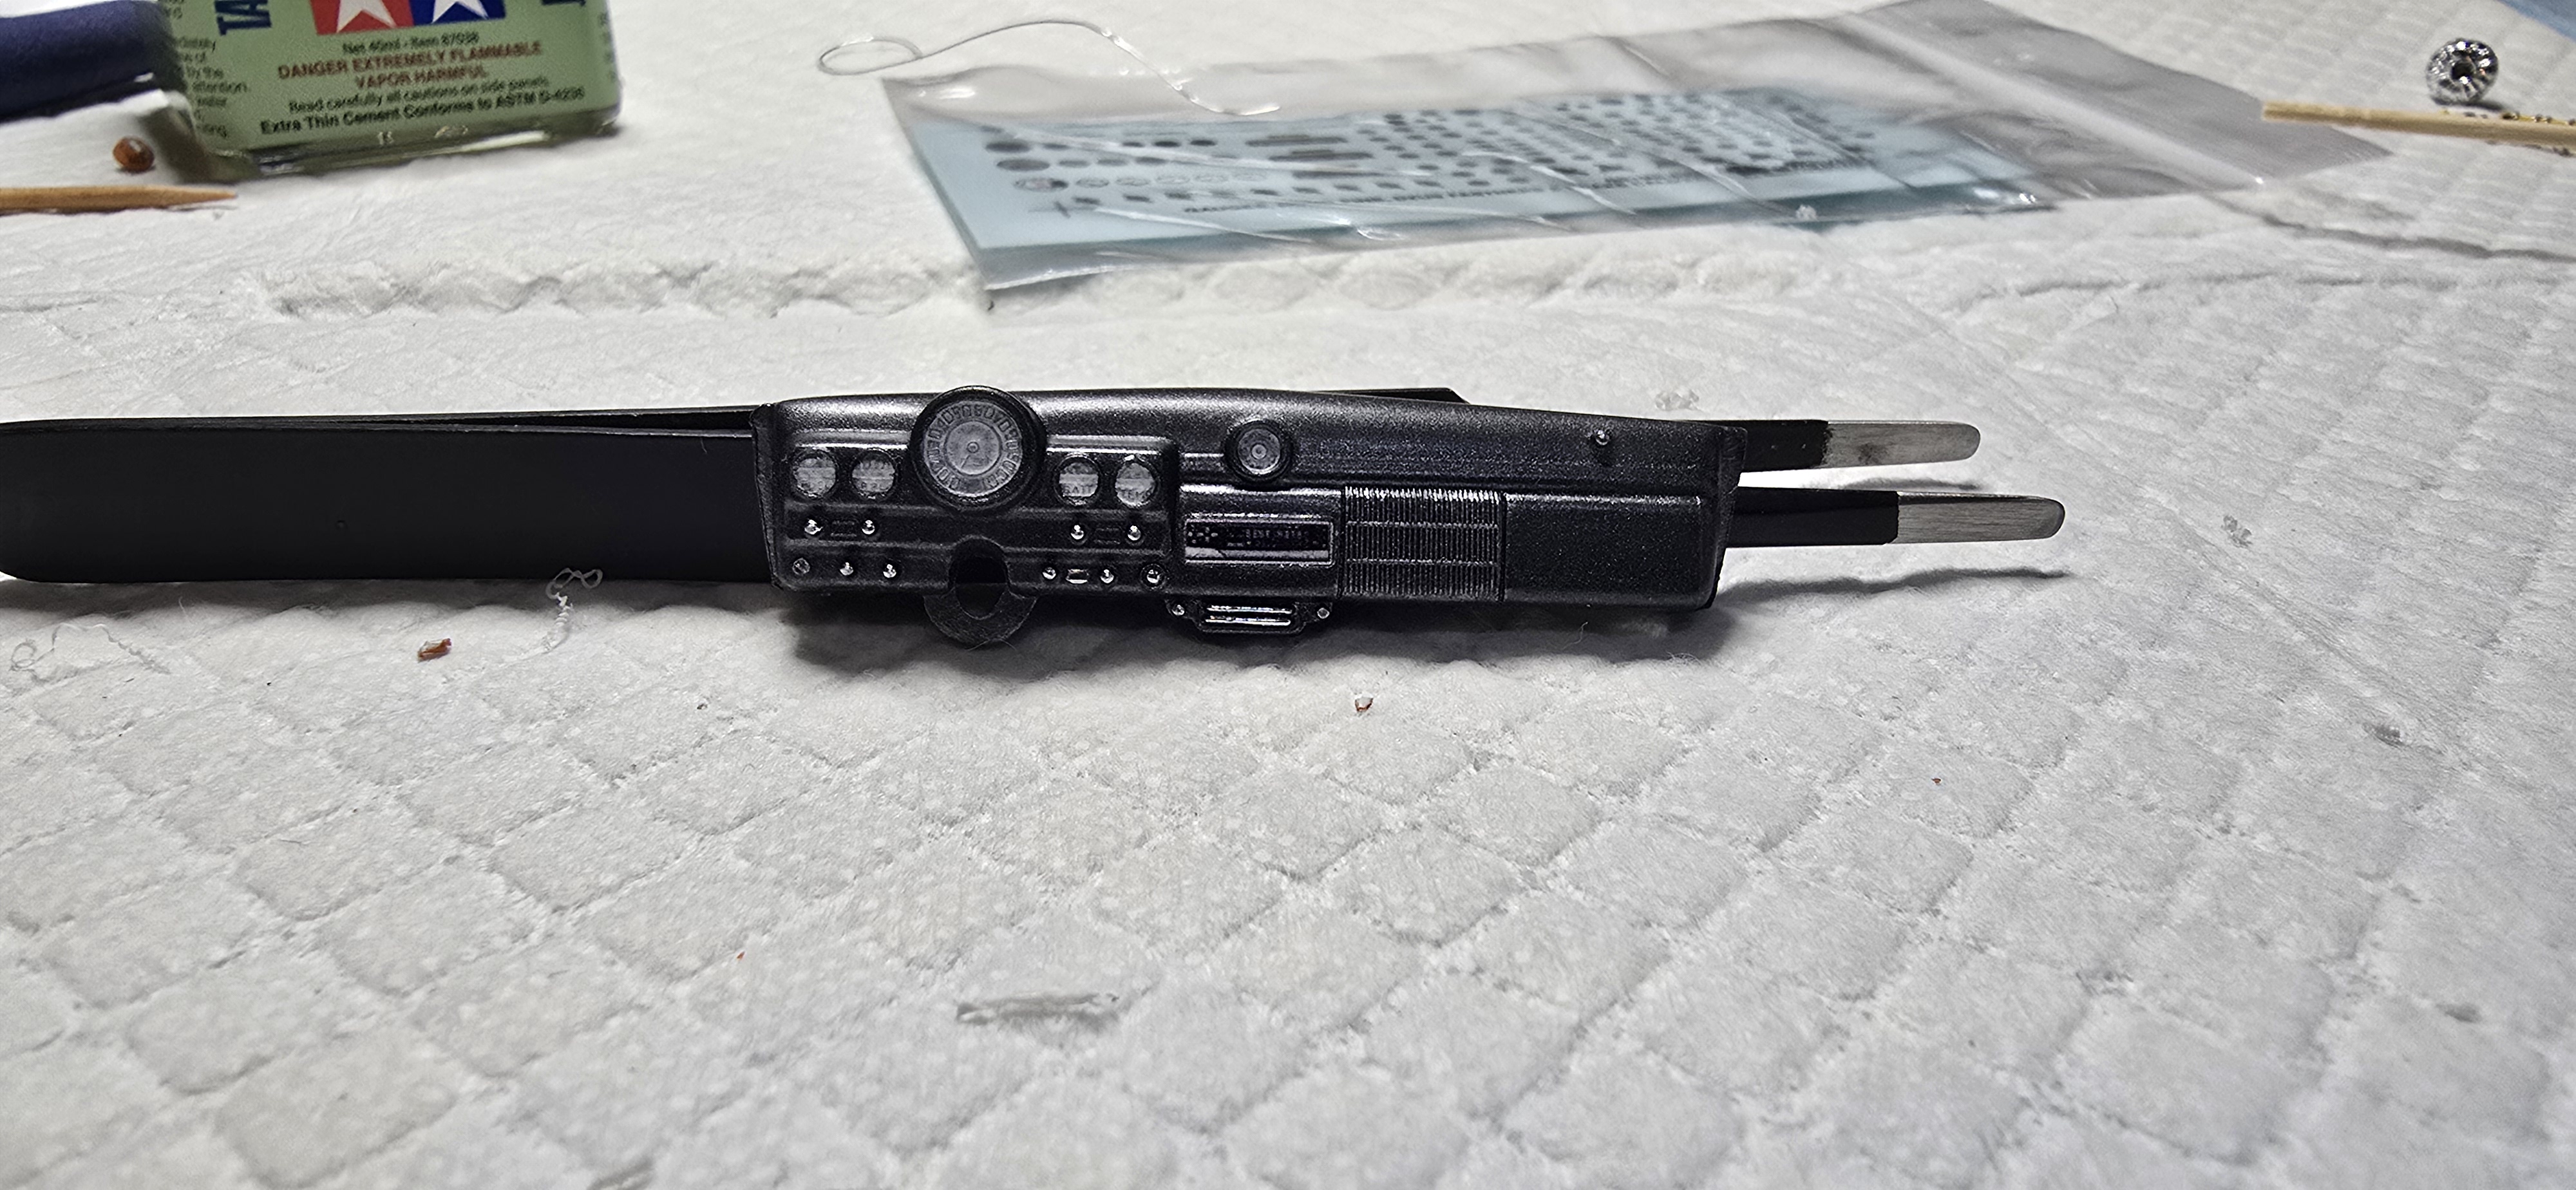
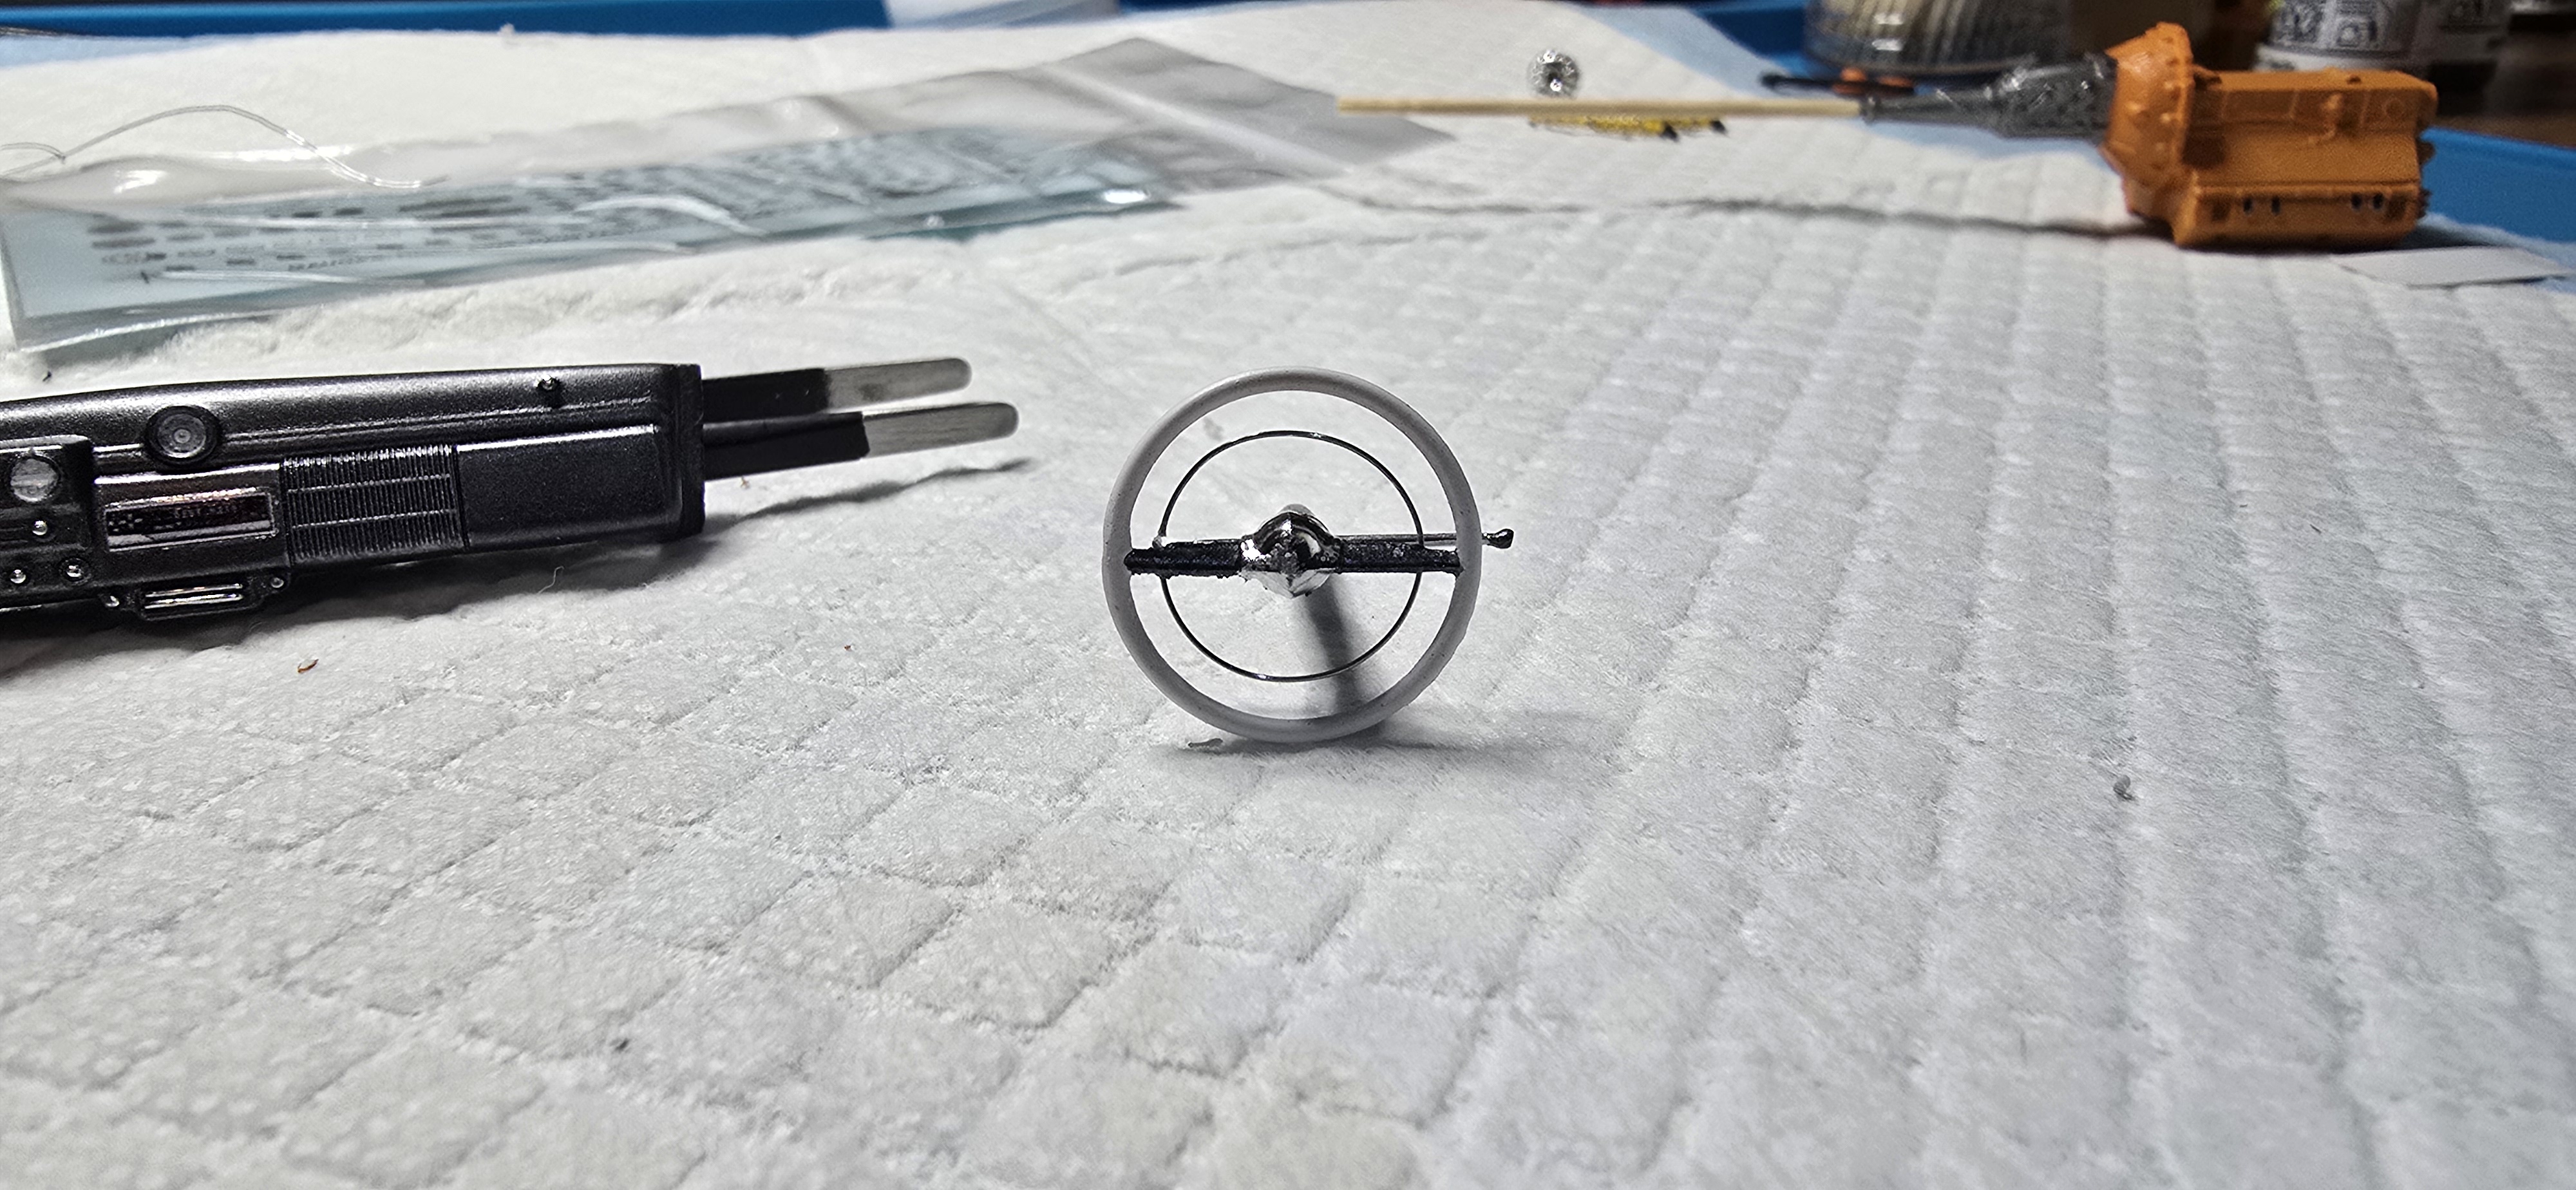
Once that was done, installed the interior, painted the dash and wheel up.
Horn ring looks ok.
Suspension is in and we're moving.
I'm thinking I'm going to omit all chrome, and either black it out or paint it body color, but I think the blacked out chrome look will look nice around the headlights and windows, though it's hard to tell the windshield wipers are black against that dark paint job.
20260628_115852.jpg
20260628_094902.jpg
20260628_094915.jpg
20260628_100532.jpg
20260628_115139.jpg
 
Adding some details, decided the interior needed a few copies of Hot Rod, so made three.

Engine is assembled and wired. I made a throttle linkage and it looked great, only to discover the air cleaners hide it all.

Painted all the body trim black, cant really see it, but it is there.

Ill install the driveline and other items soon.
1000011114.jpg
1000011113.jpg
1000011115.jpg
1000011119.jpg
1000011120.jpg
1000011122.jpg
 
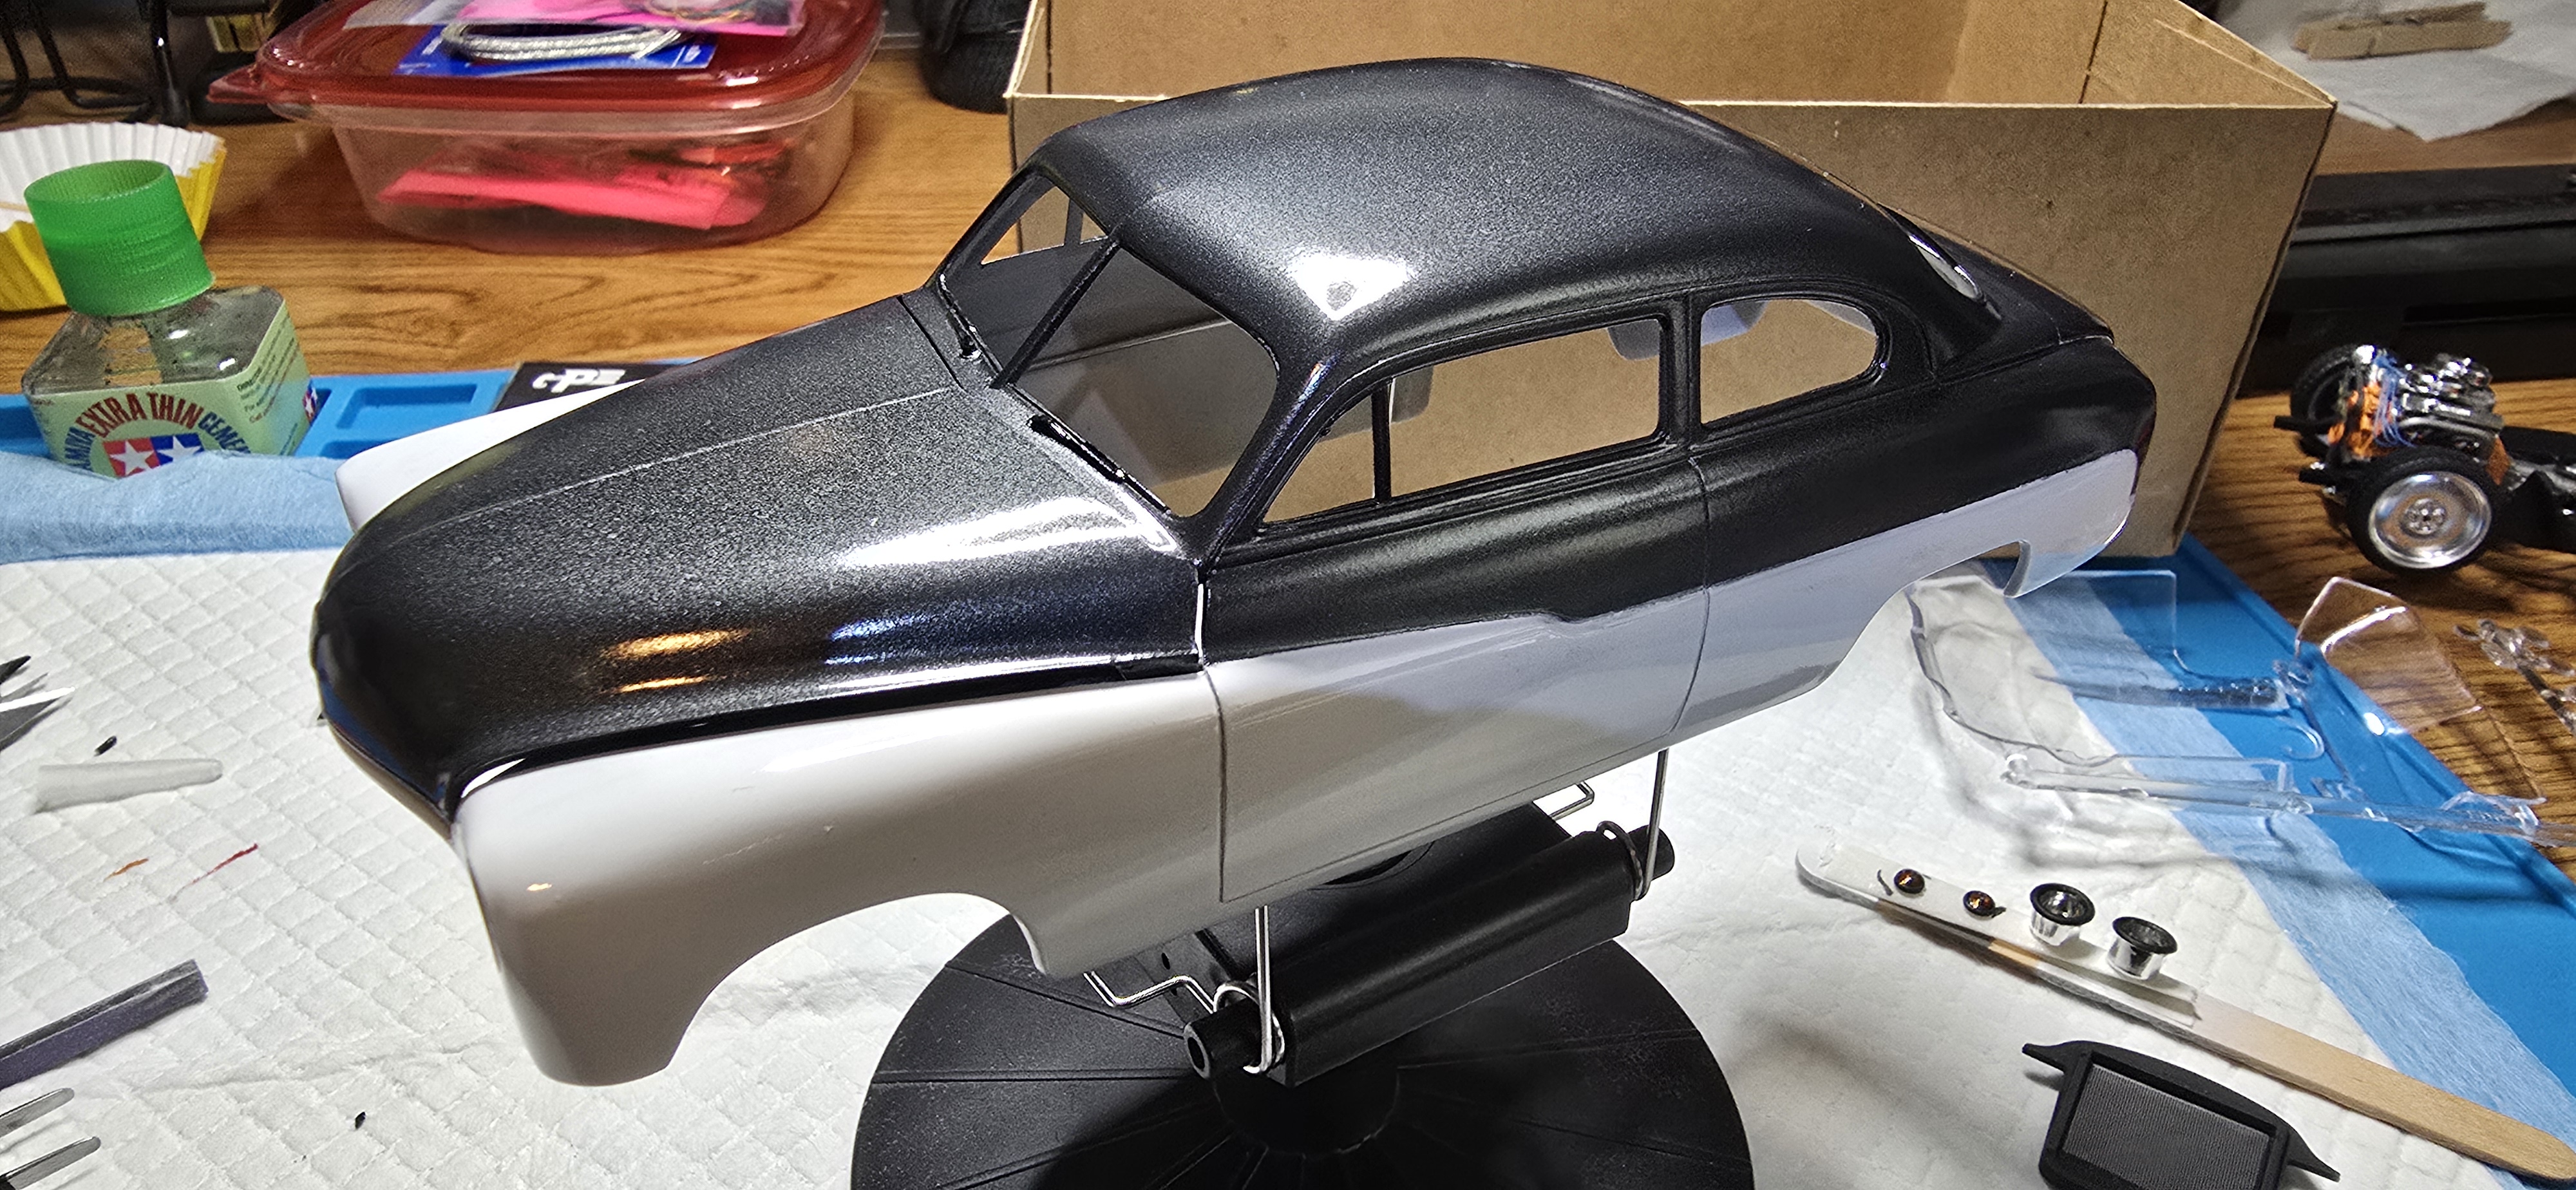
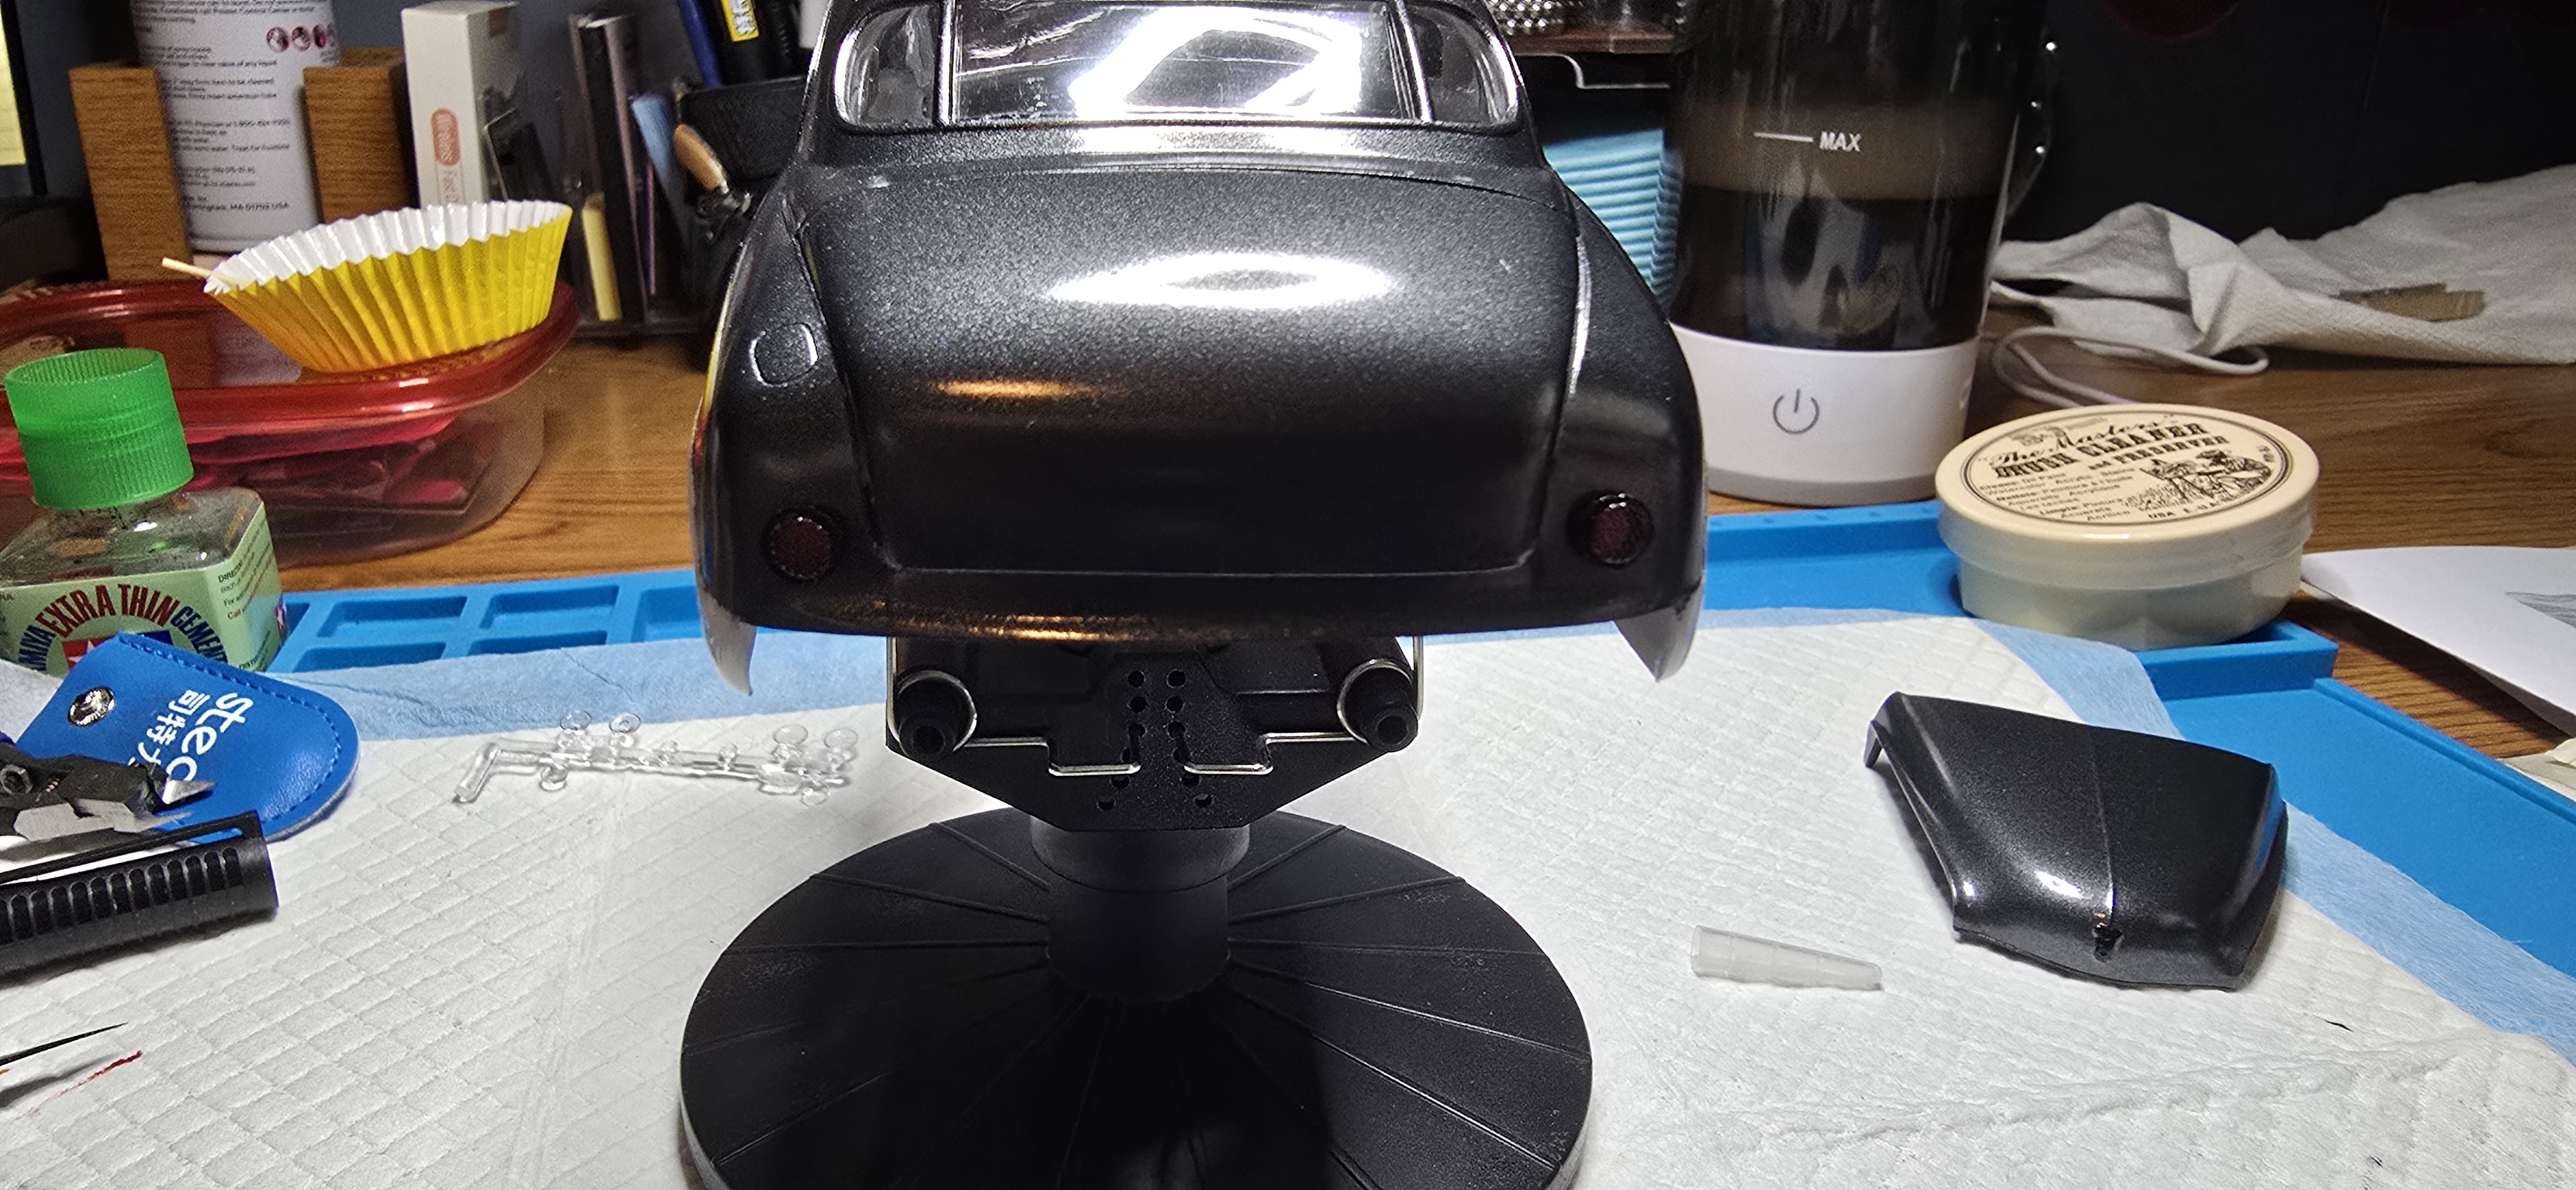
Got a few coats of clear on the paint, really brought out that metallic shine.
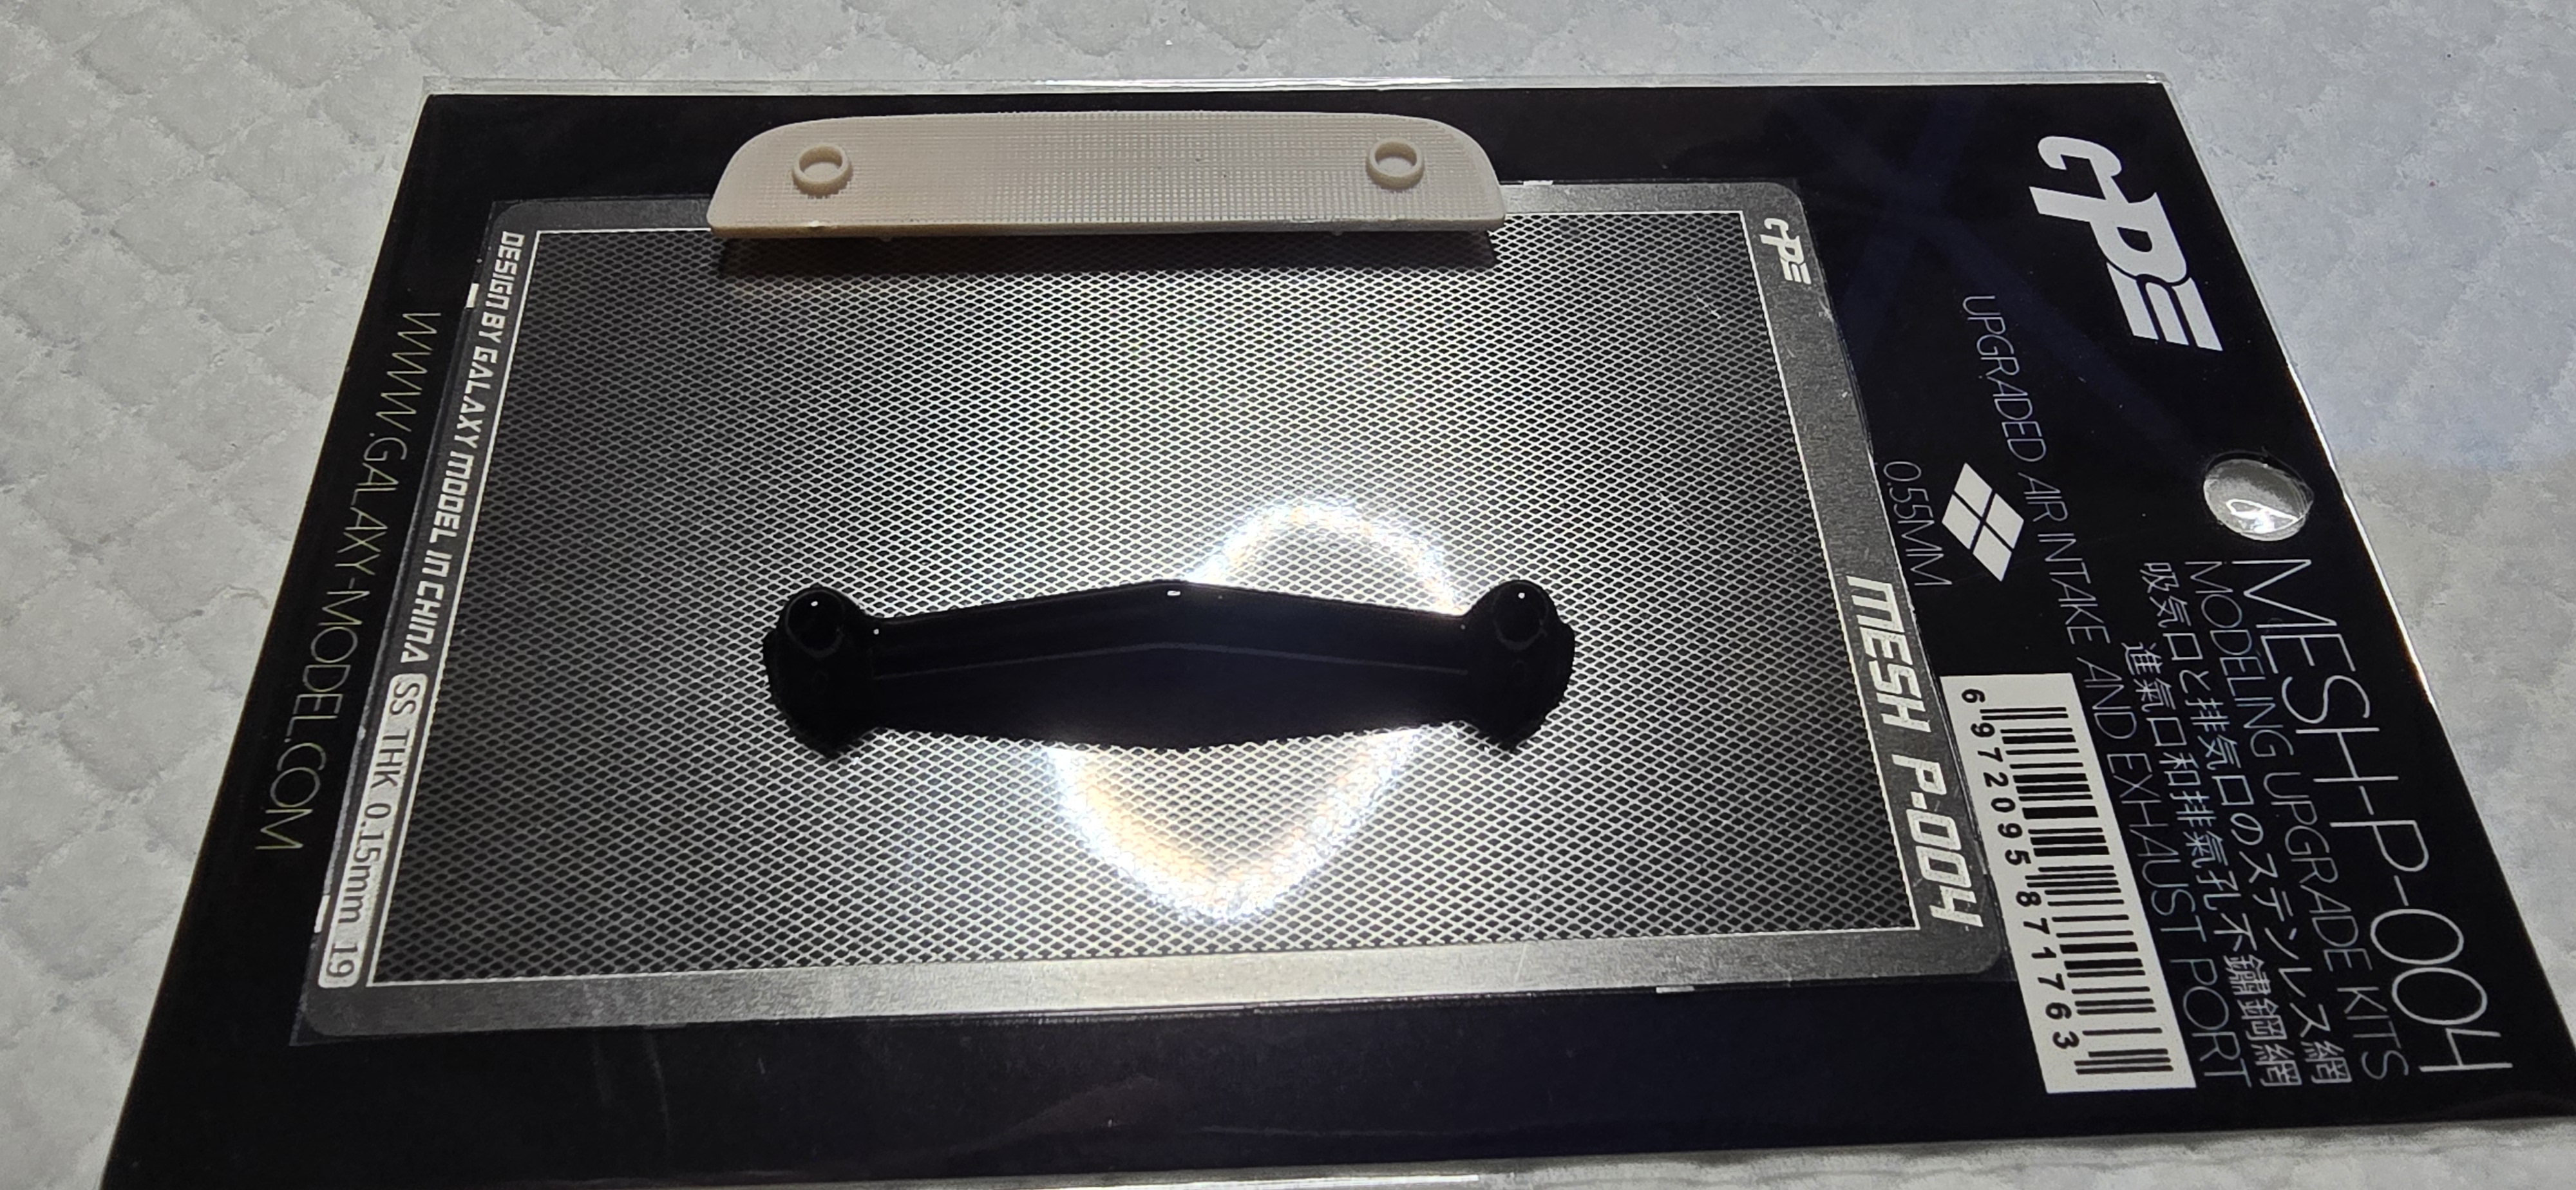
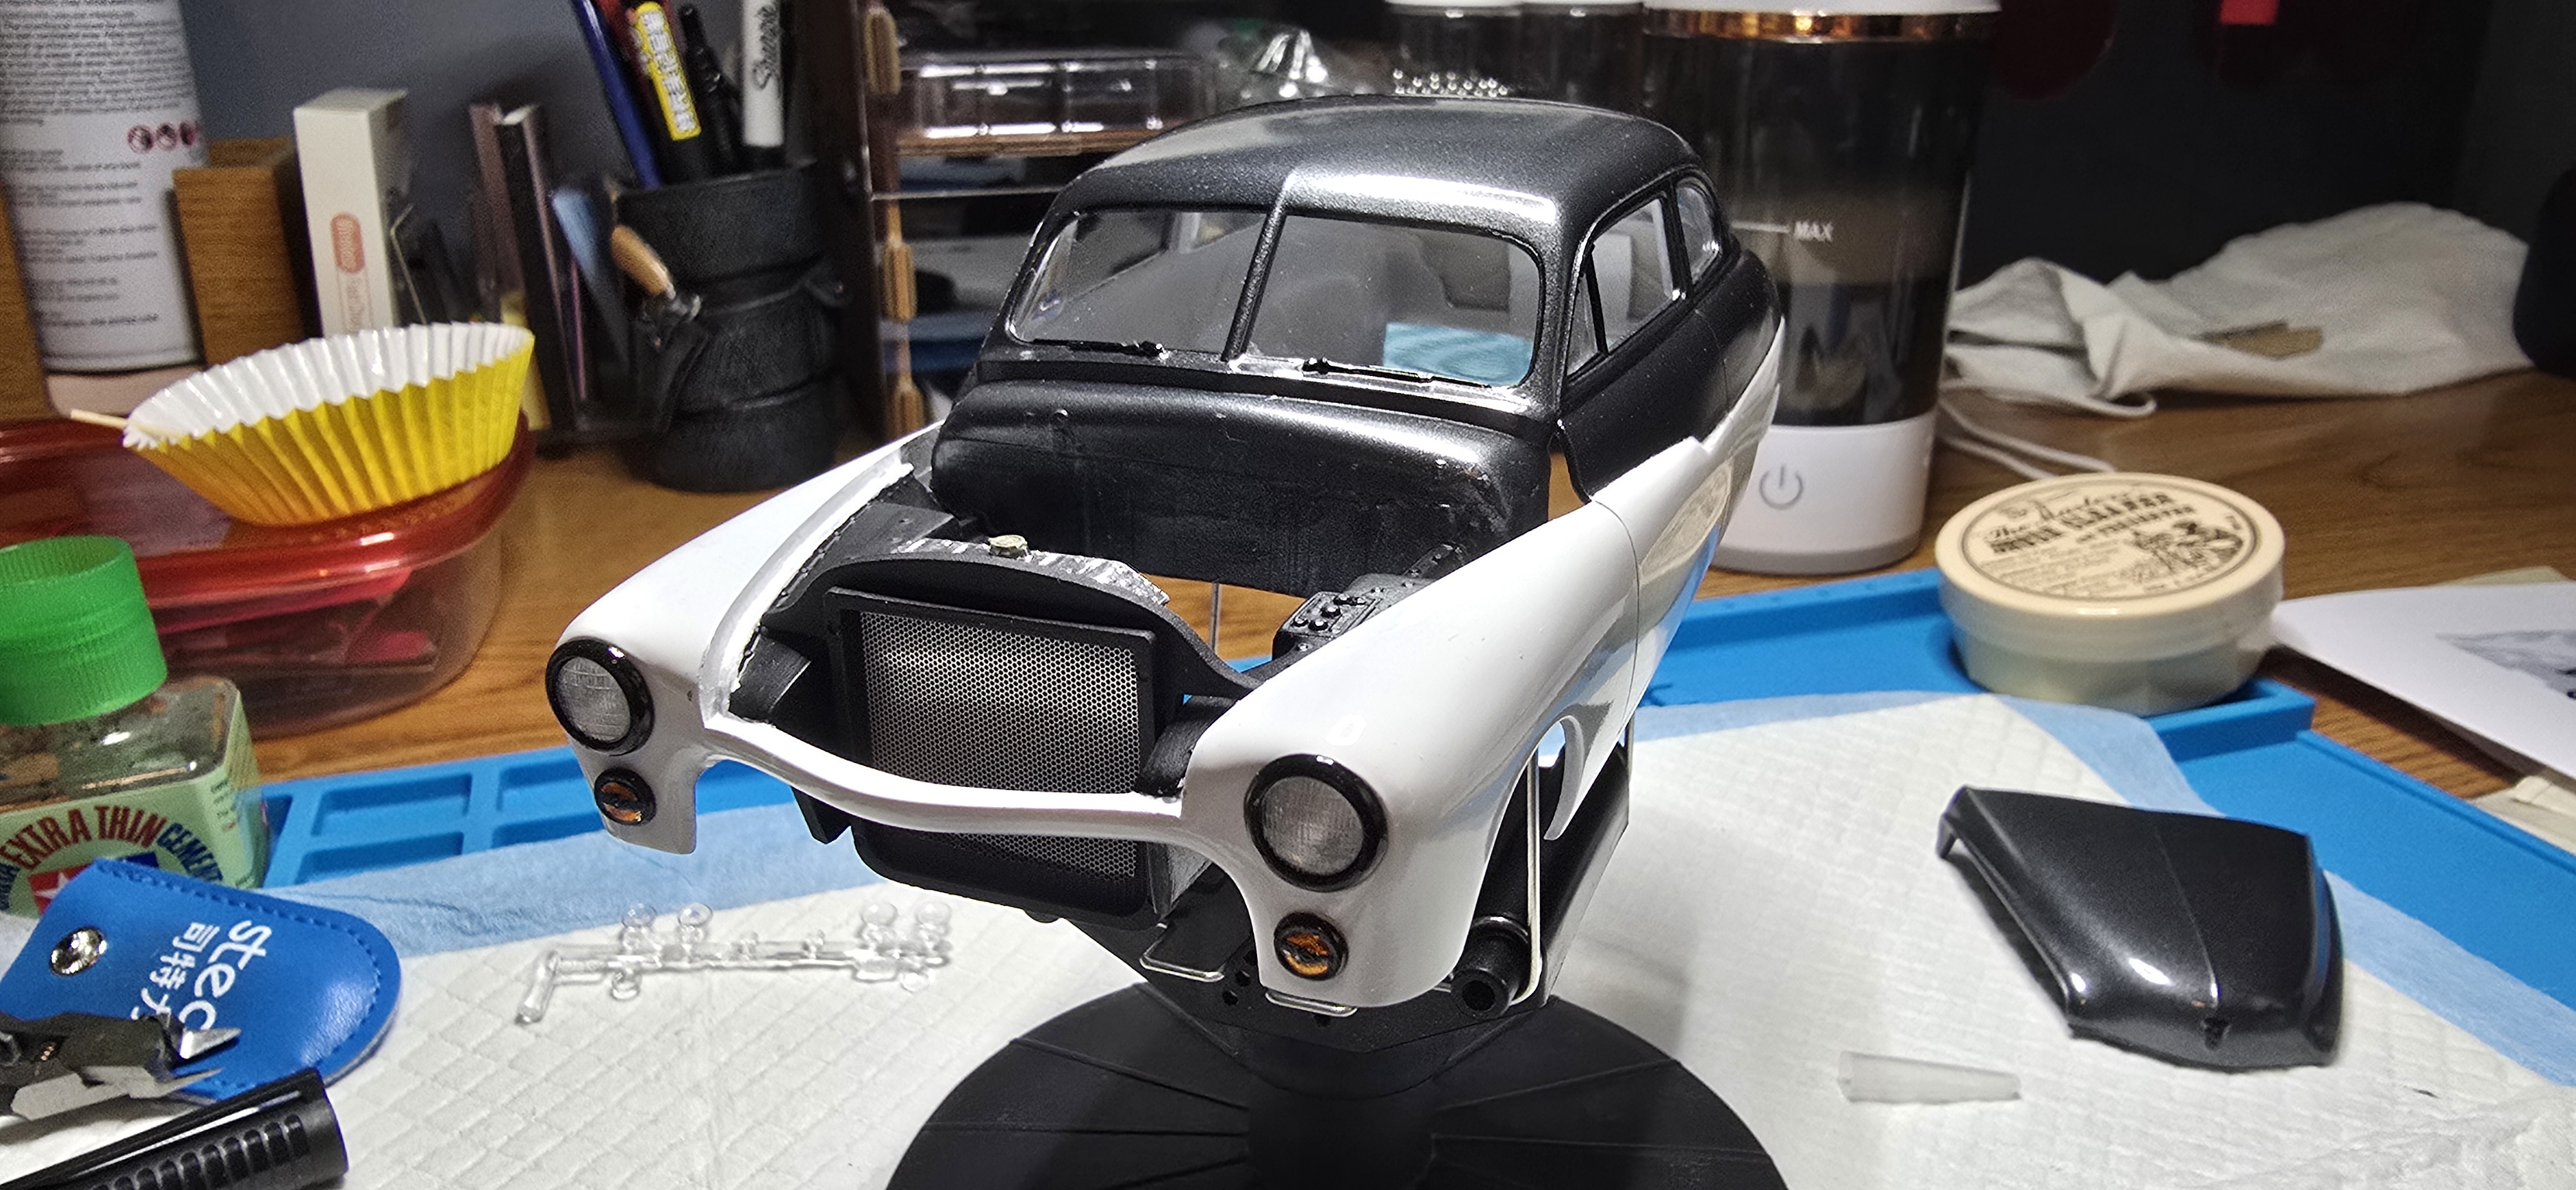
Painted the last small piece of trim and I think I'm going to replace the front grille insert with some of the PE mesh I picked up.

She's sitting on her wheels, getting closer now and I can see how it'll sit, should settle nice and low.
20260701_110020.jpg
20260701_110534.jpg
20260701_110446.jpg
 
Little things taking up the time now.
Headlights and turn signals in, I didnt like the kit tail light options, so I used some surplus to make some.
Added the windshields.
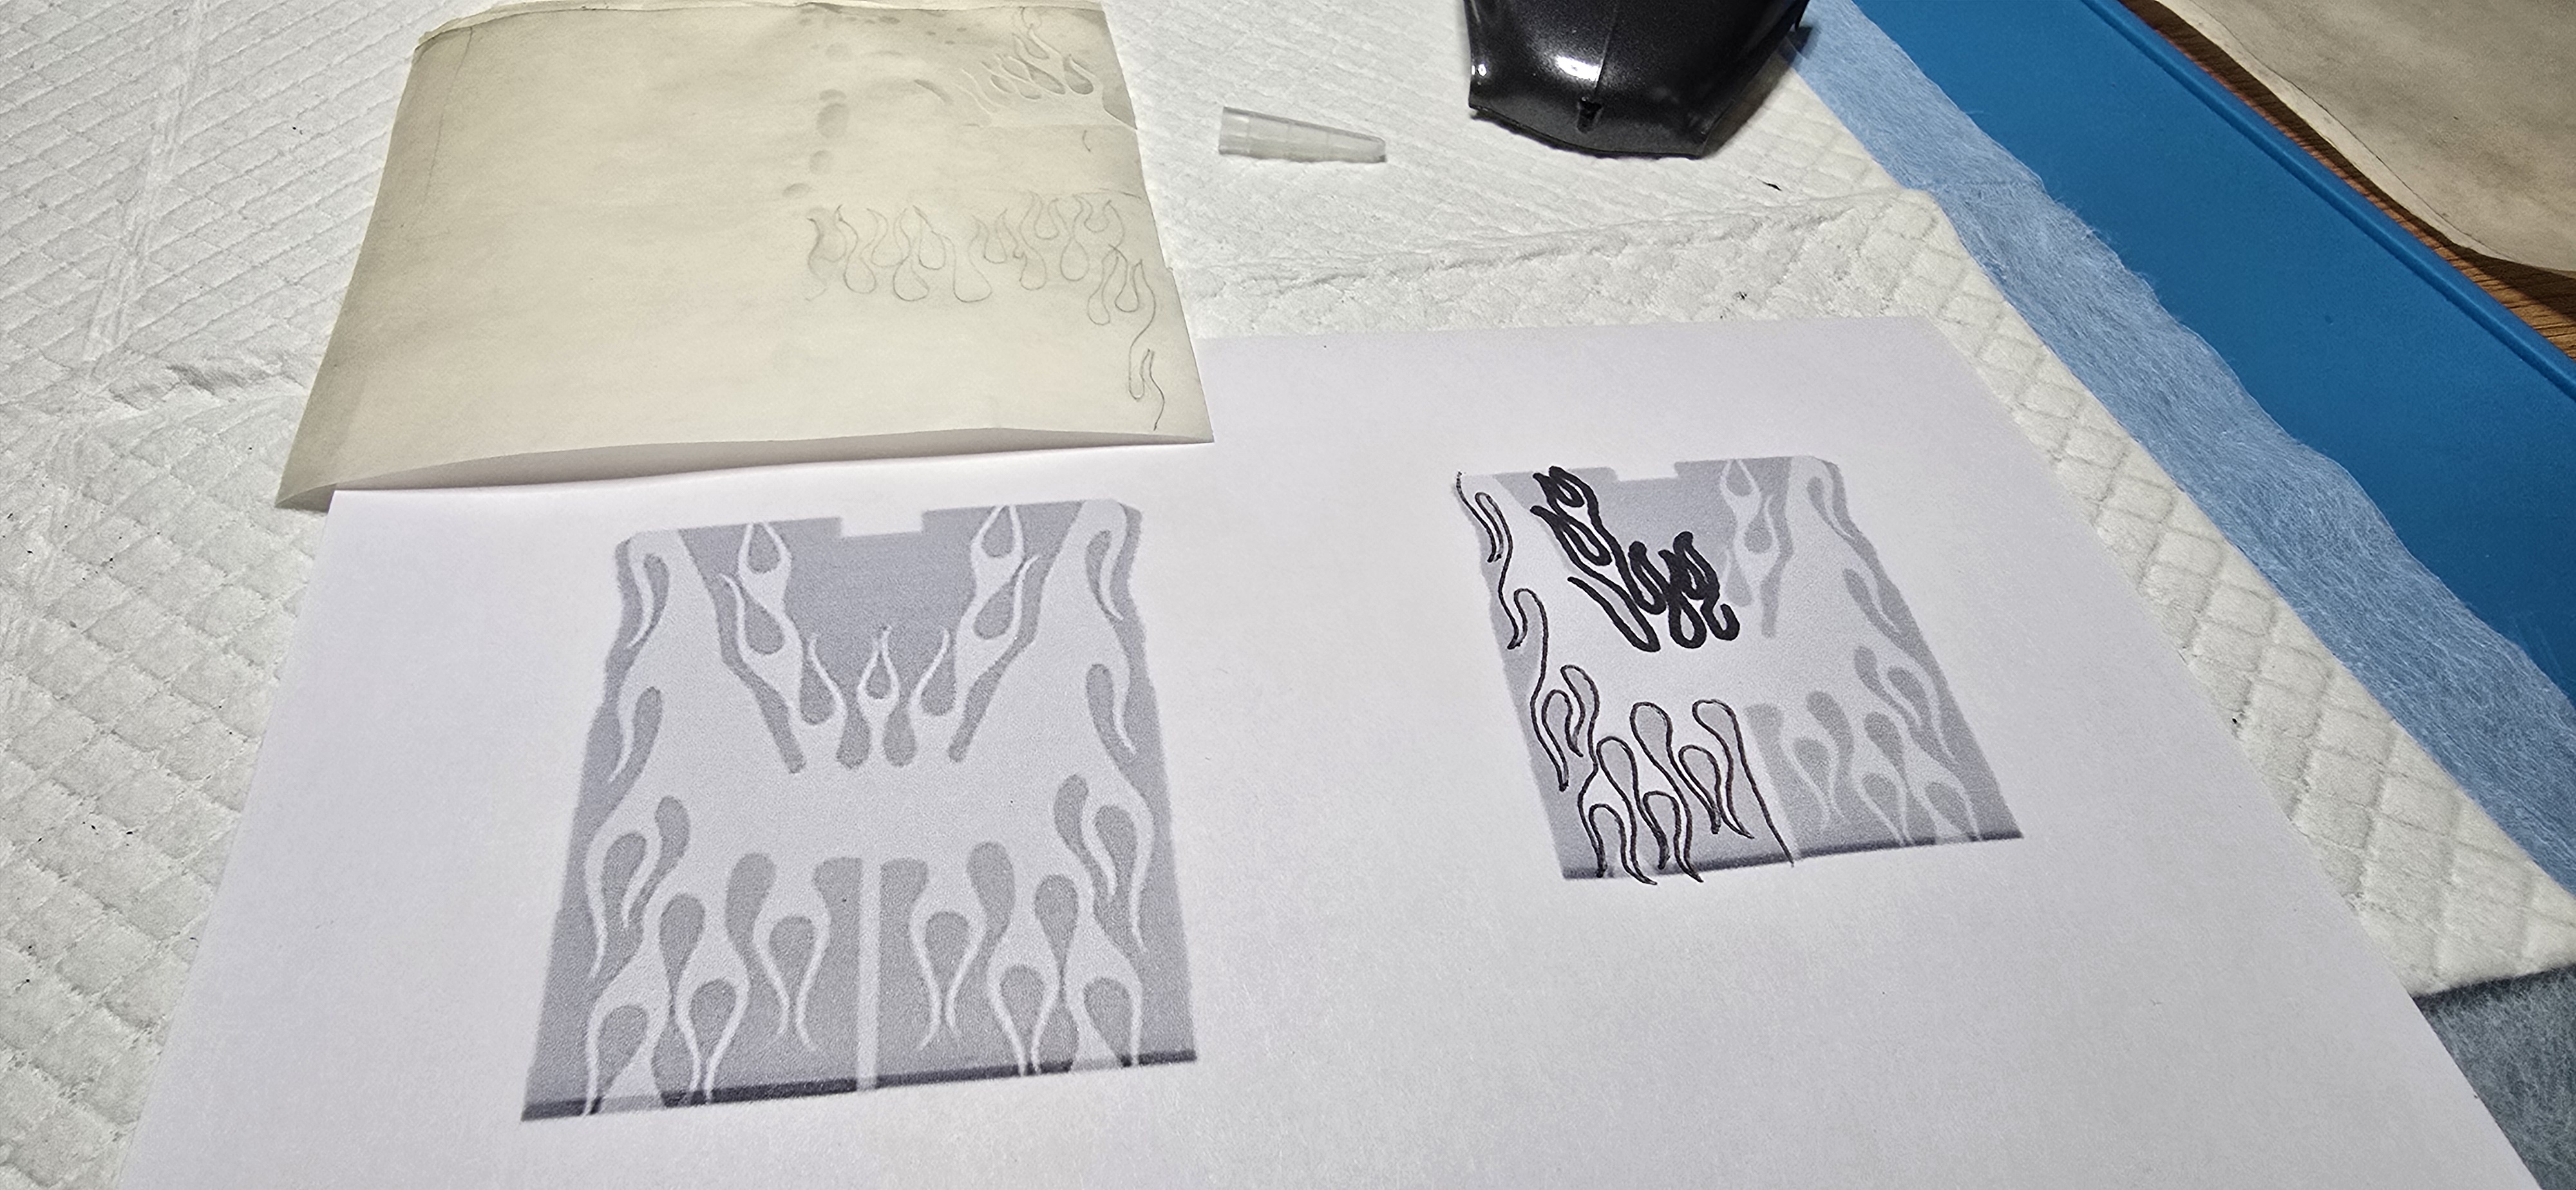
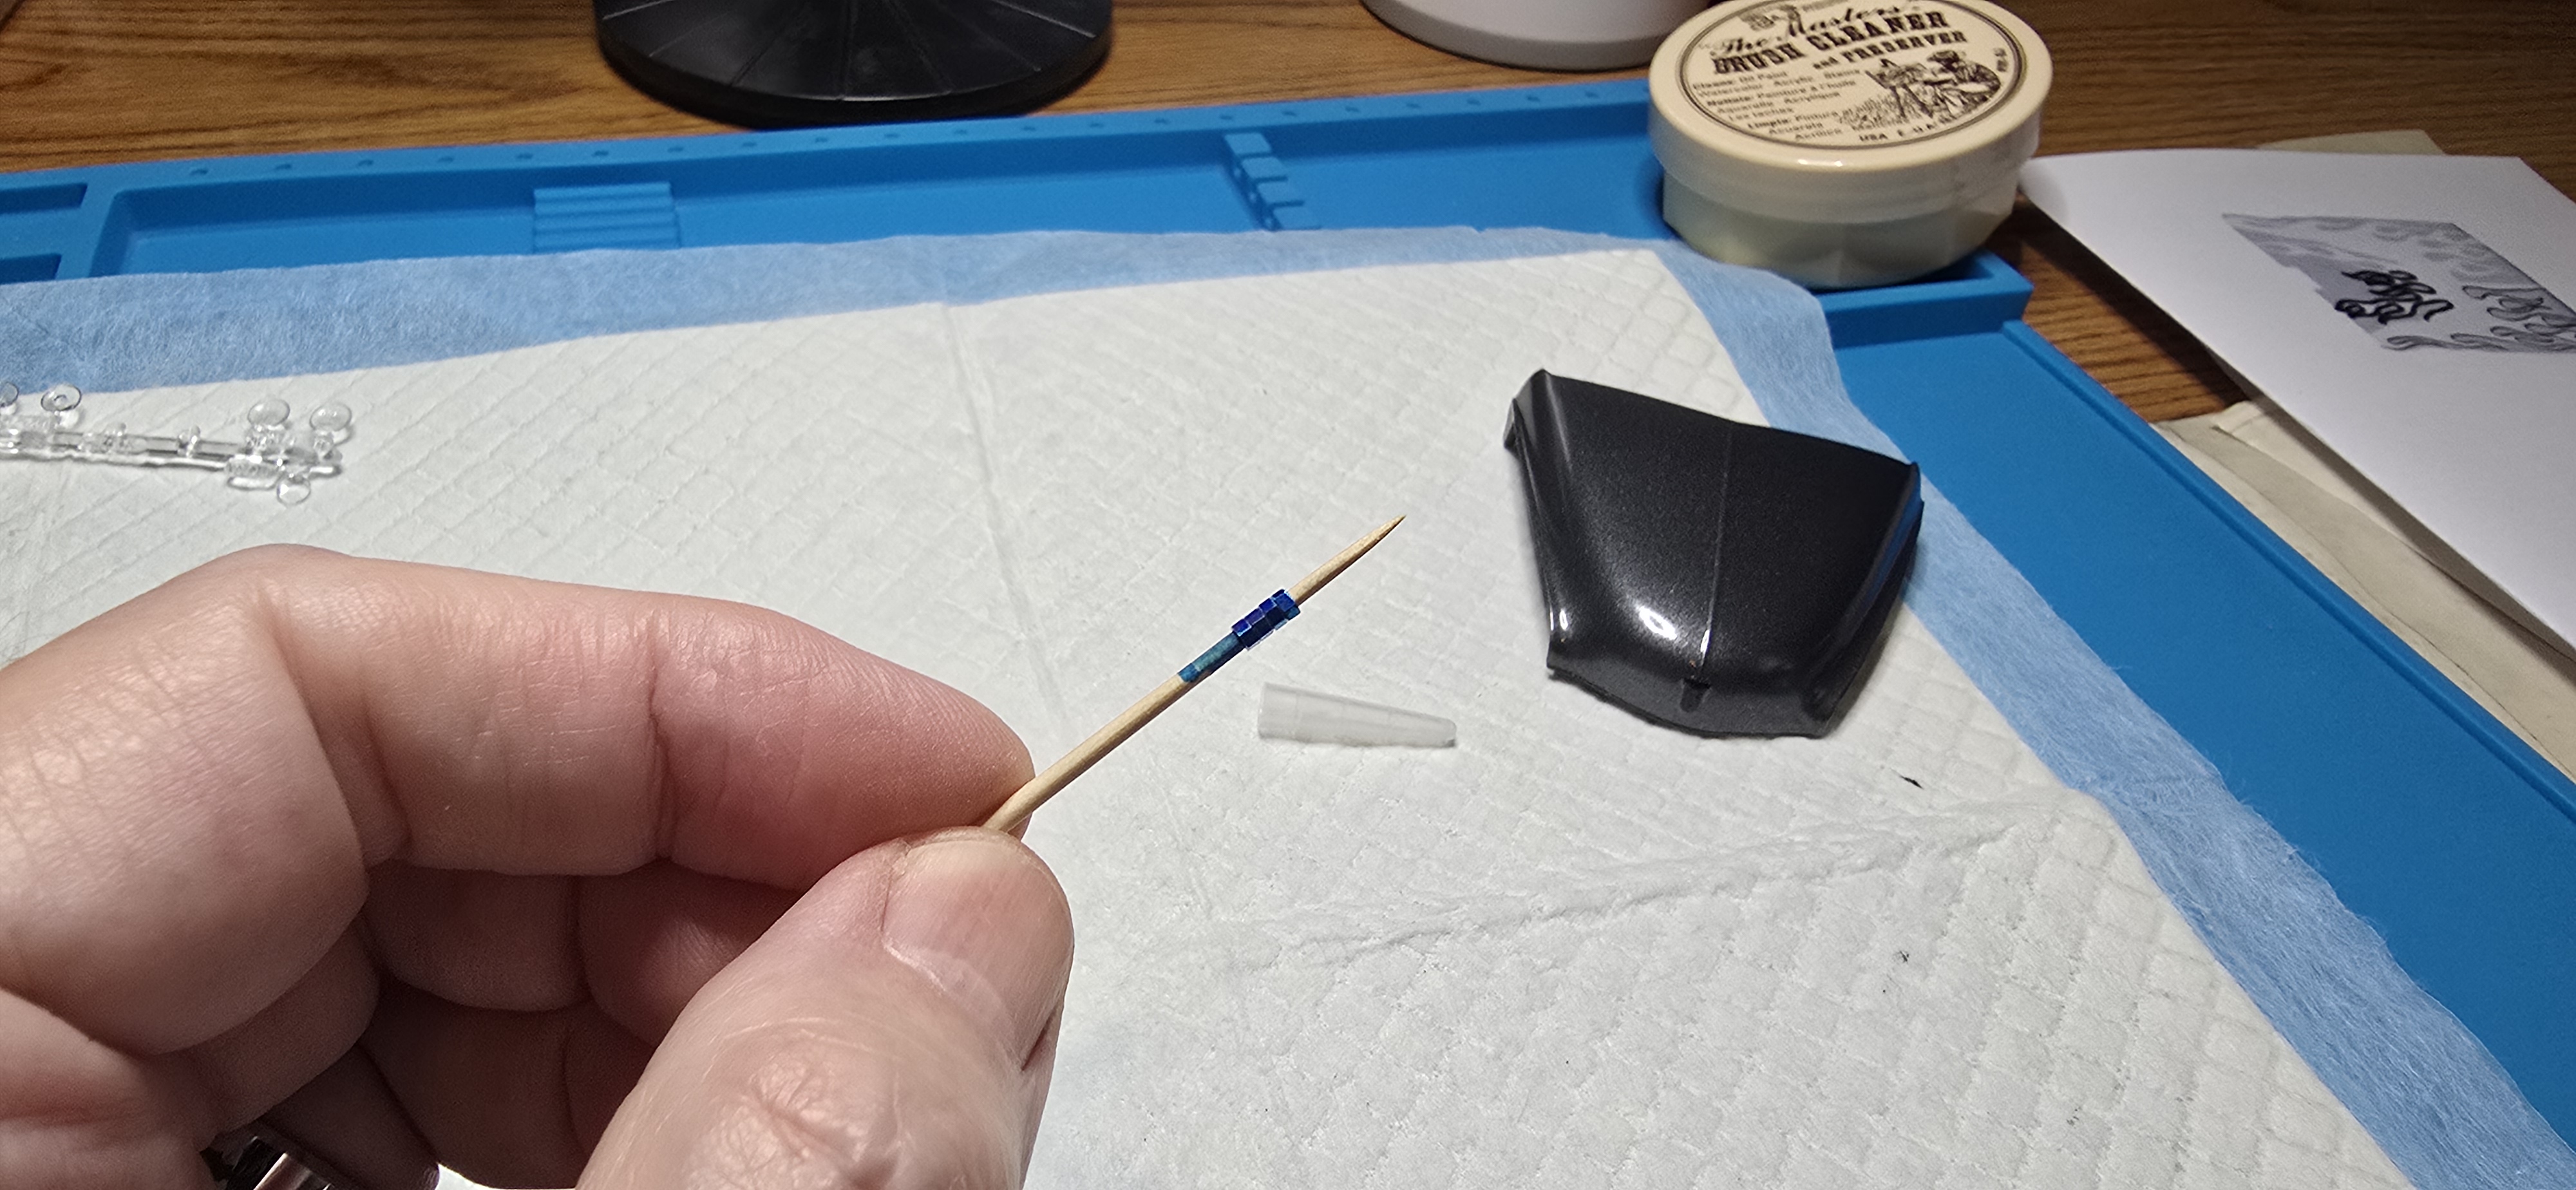
I wanted to try and add flames to this build, but not quite there yet. Tried using some old airbrush frisket film, (that is at least 30 years old), but i ordered some precut masks, so maybe?
Painted up the fittings for the braided hose that will go into the engine bay when its assembled.
1000011131.jpg
1000011132.jpg
1000011134.jpg
1000011133.jpg
 
Last edited:
Little things
Not unlike cinematography, I imagine, seamlessly moving between wide angle and close ups is both challenging and rewarding.
As a builder, resetting your focus on tiny little things takes a surprising amount of energy; as a viewer, being able to zoom in on details as well as take in the ensemble enriches the experience.

I like your approach.
 
Not unlike cinematography, I imagine, seamlessly moving between wide angle and close ups is both challenging and rewarding.
As a builder, resetting your focus on tiny little things takes a surprising amount of energy; as a viewer, being able to zoom in on details as well as take in the ensemble enriches the experience.

I like your approach.
Well said, and thank you!
 
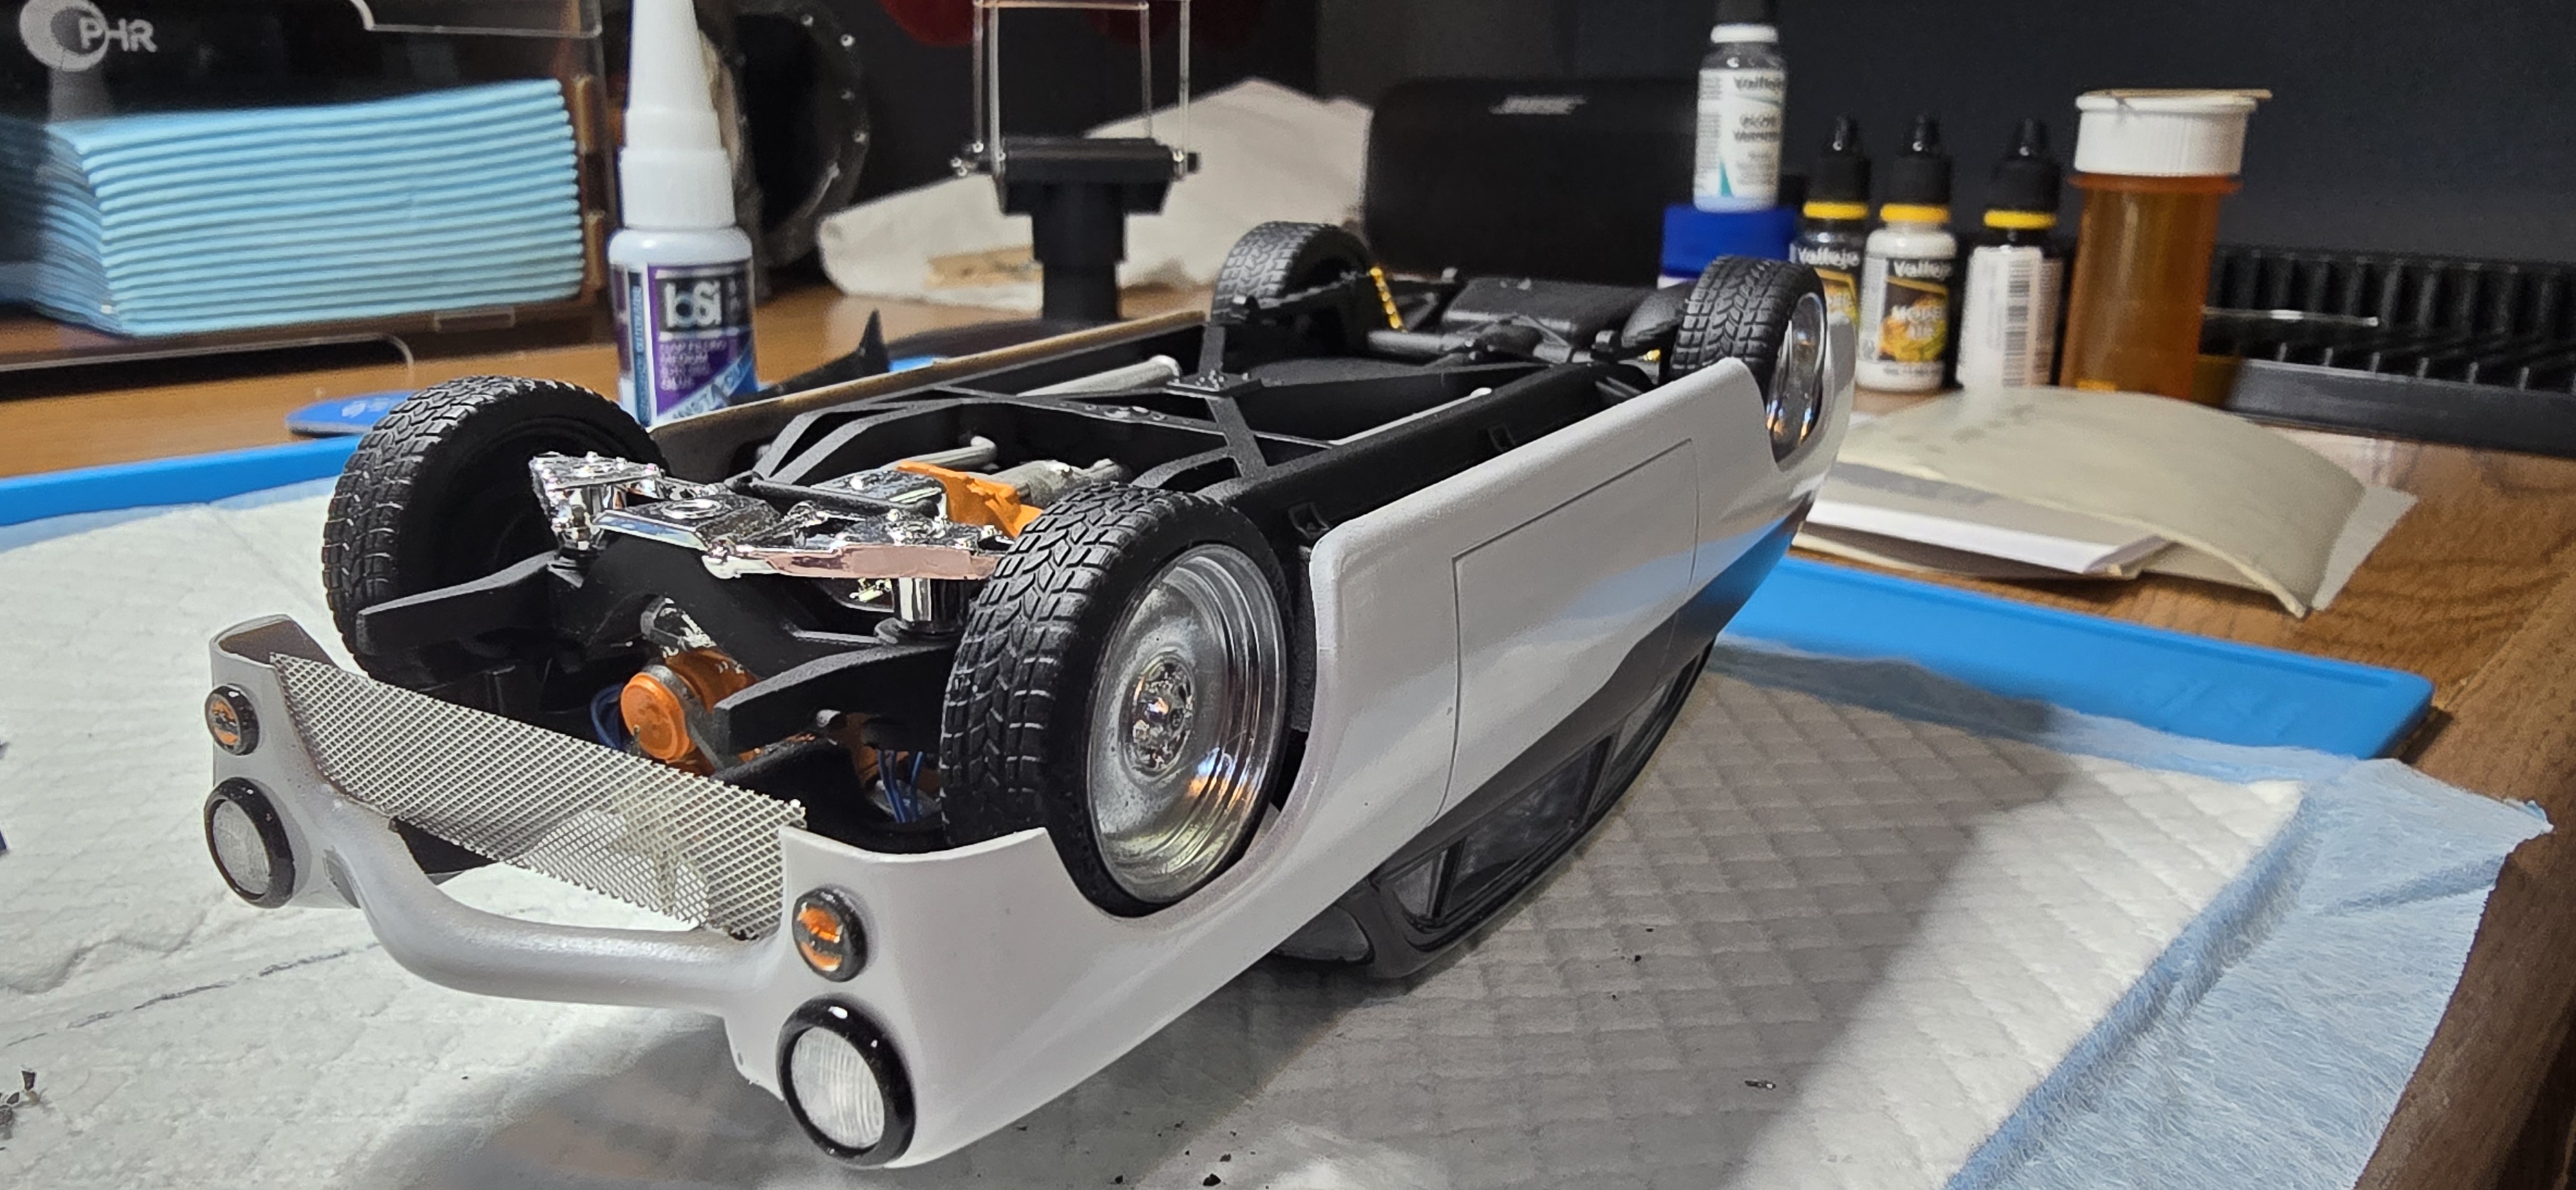
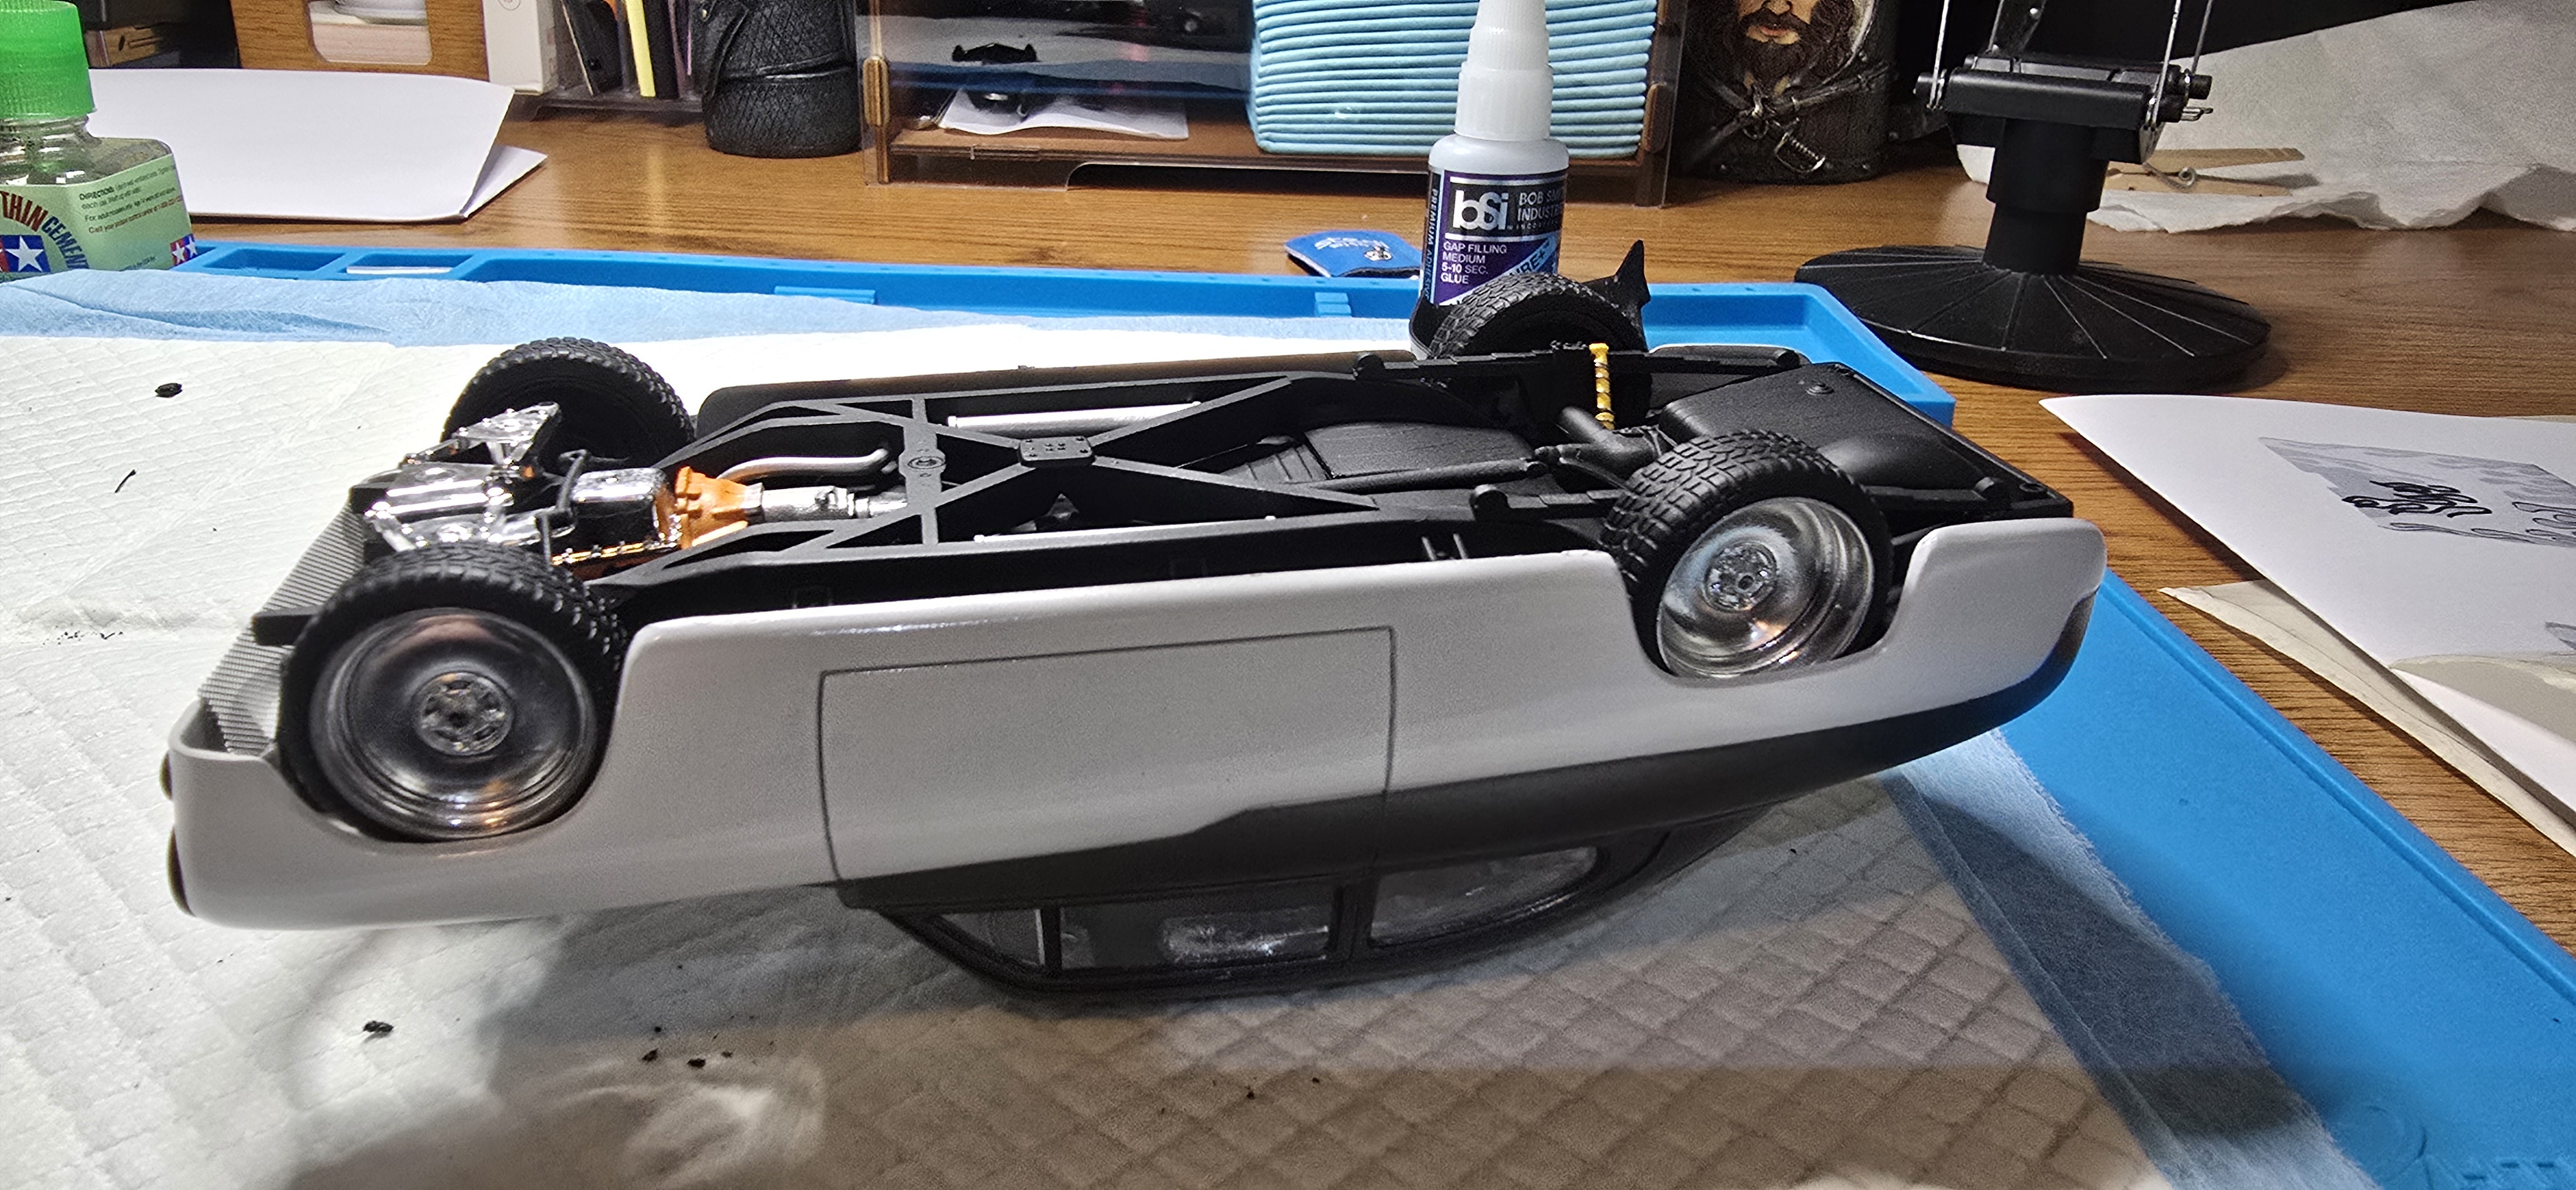
The interior tub went in pretty well, some slight guessing on the alignment with the way the chassis and tub connect..
As I began to settle the chassis into the body, I realized I was off on my wheel and tire measurements...by about 1/16" or a mm, on all 4 wheel offsets. This prevented the chassis from settling into the body.
Crap.... lol
Some surgical removal with my sonic knife, some grinding with the dremel and I was able to correct it.
Had to disassemble the front cross member to get to everything, and just reassembled, then glued it all back up.
Everything settled in nicely and I'll give it time to set up...again.
Should have a great stance....once I can actually put it on its wheels.
LOL
1000011136.jpg
1000011137.jpg
 
Last edited:

Latest posts

Back
Top