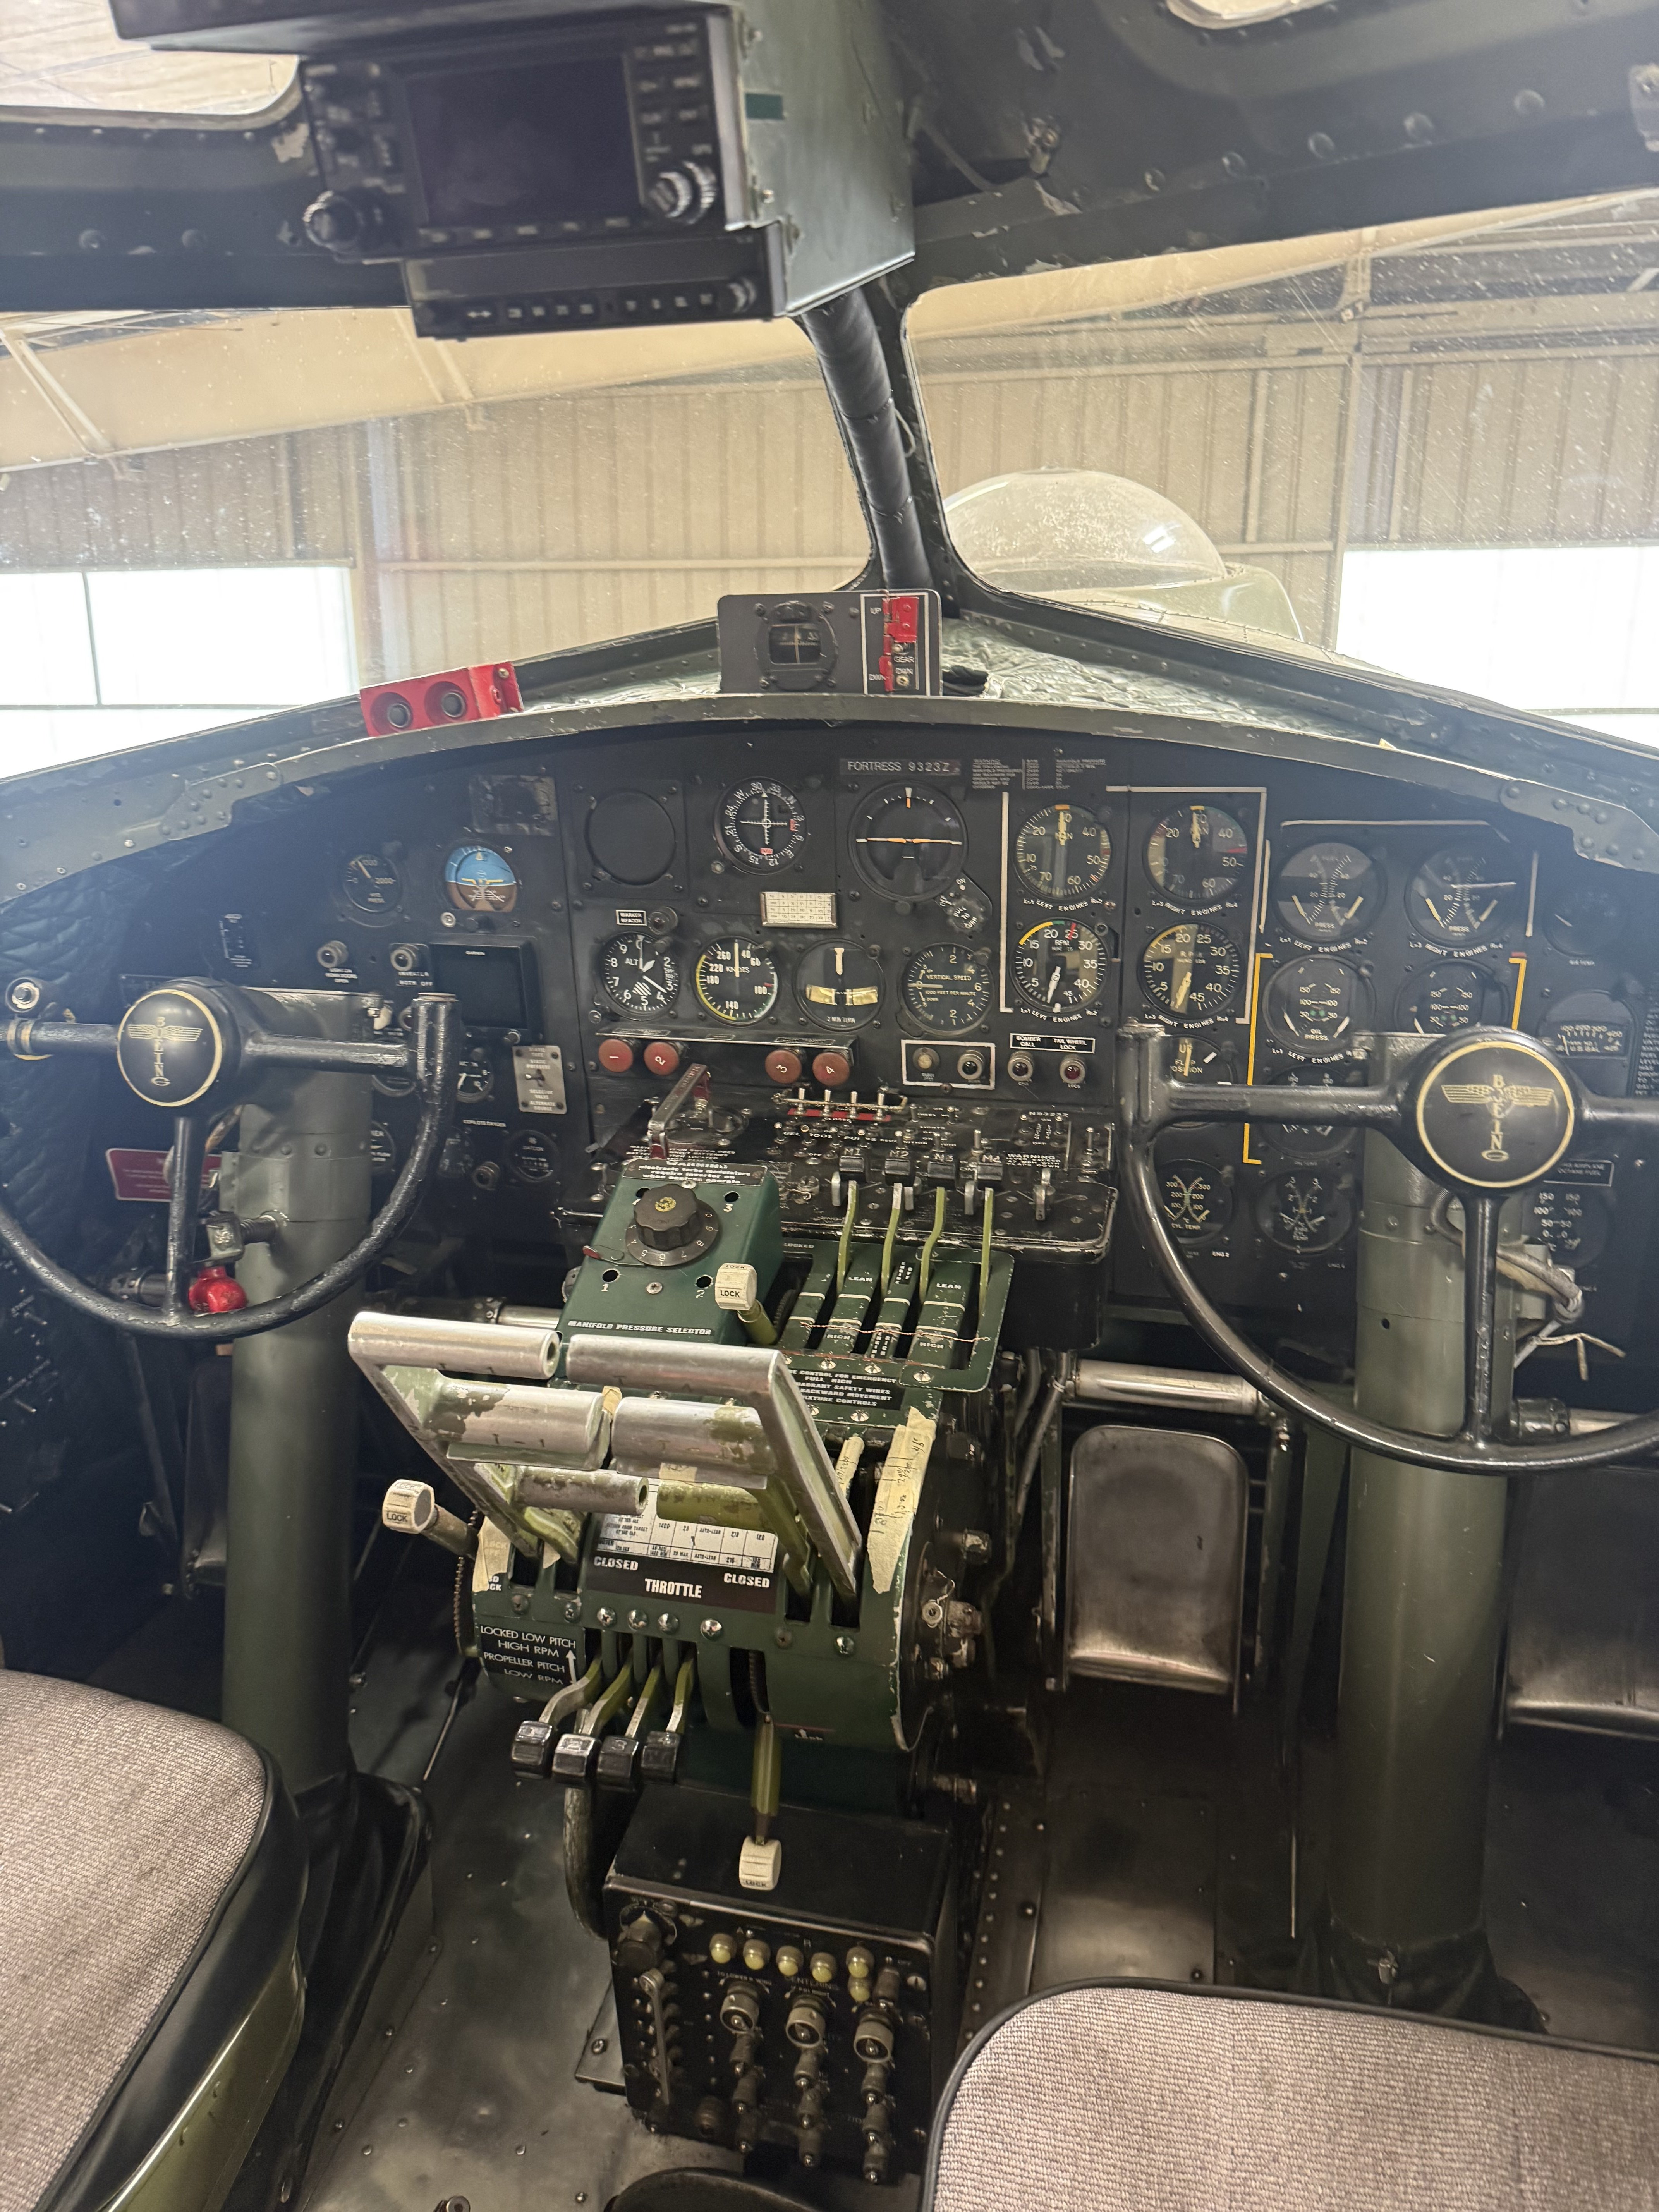
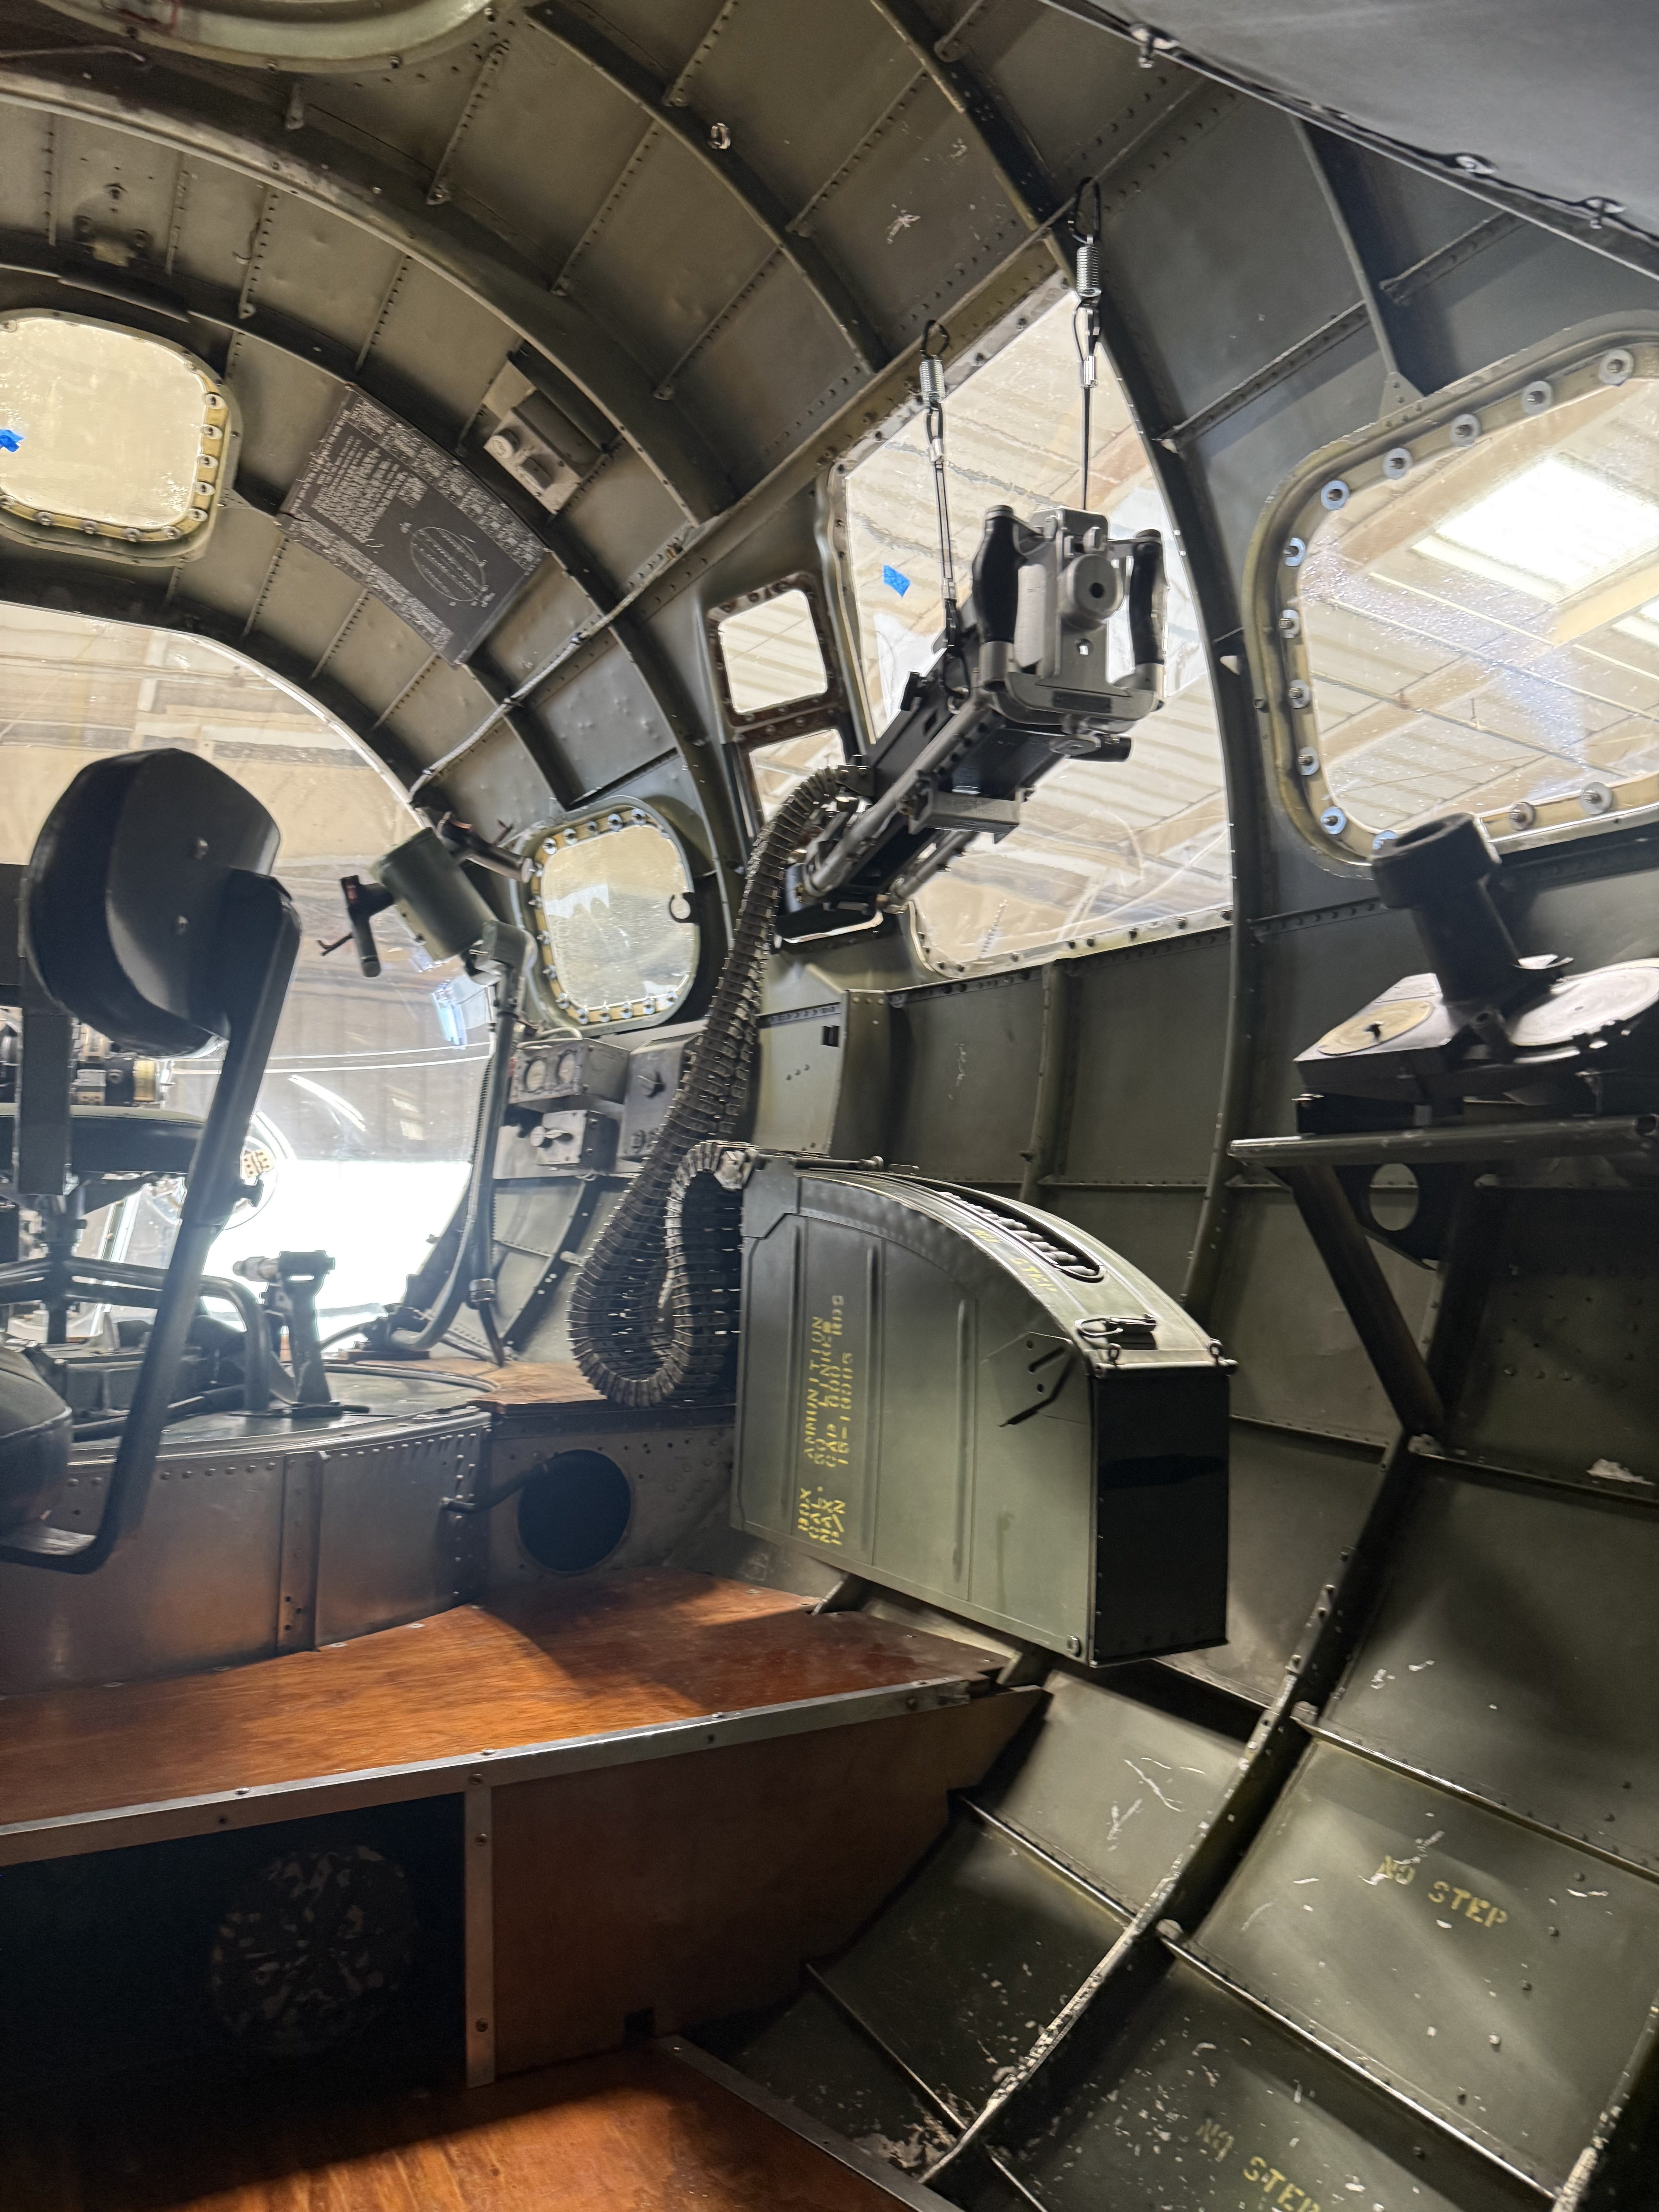
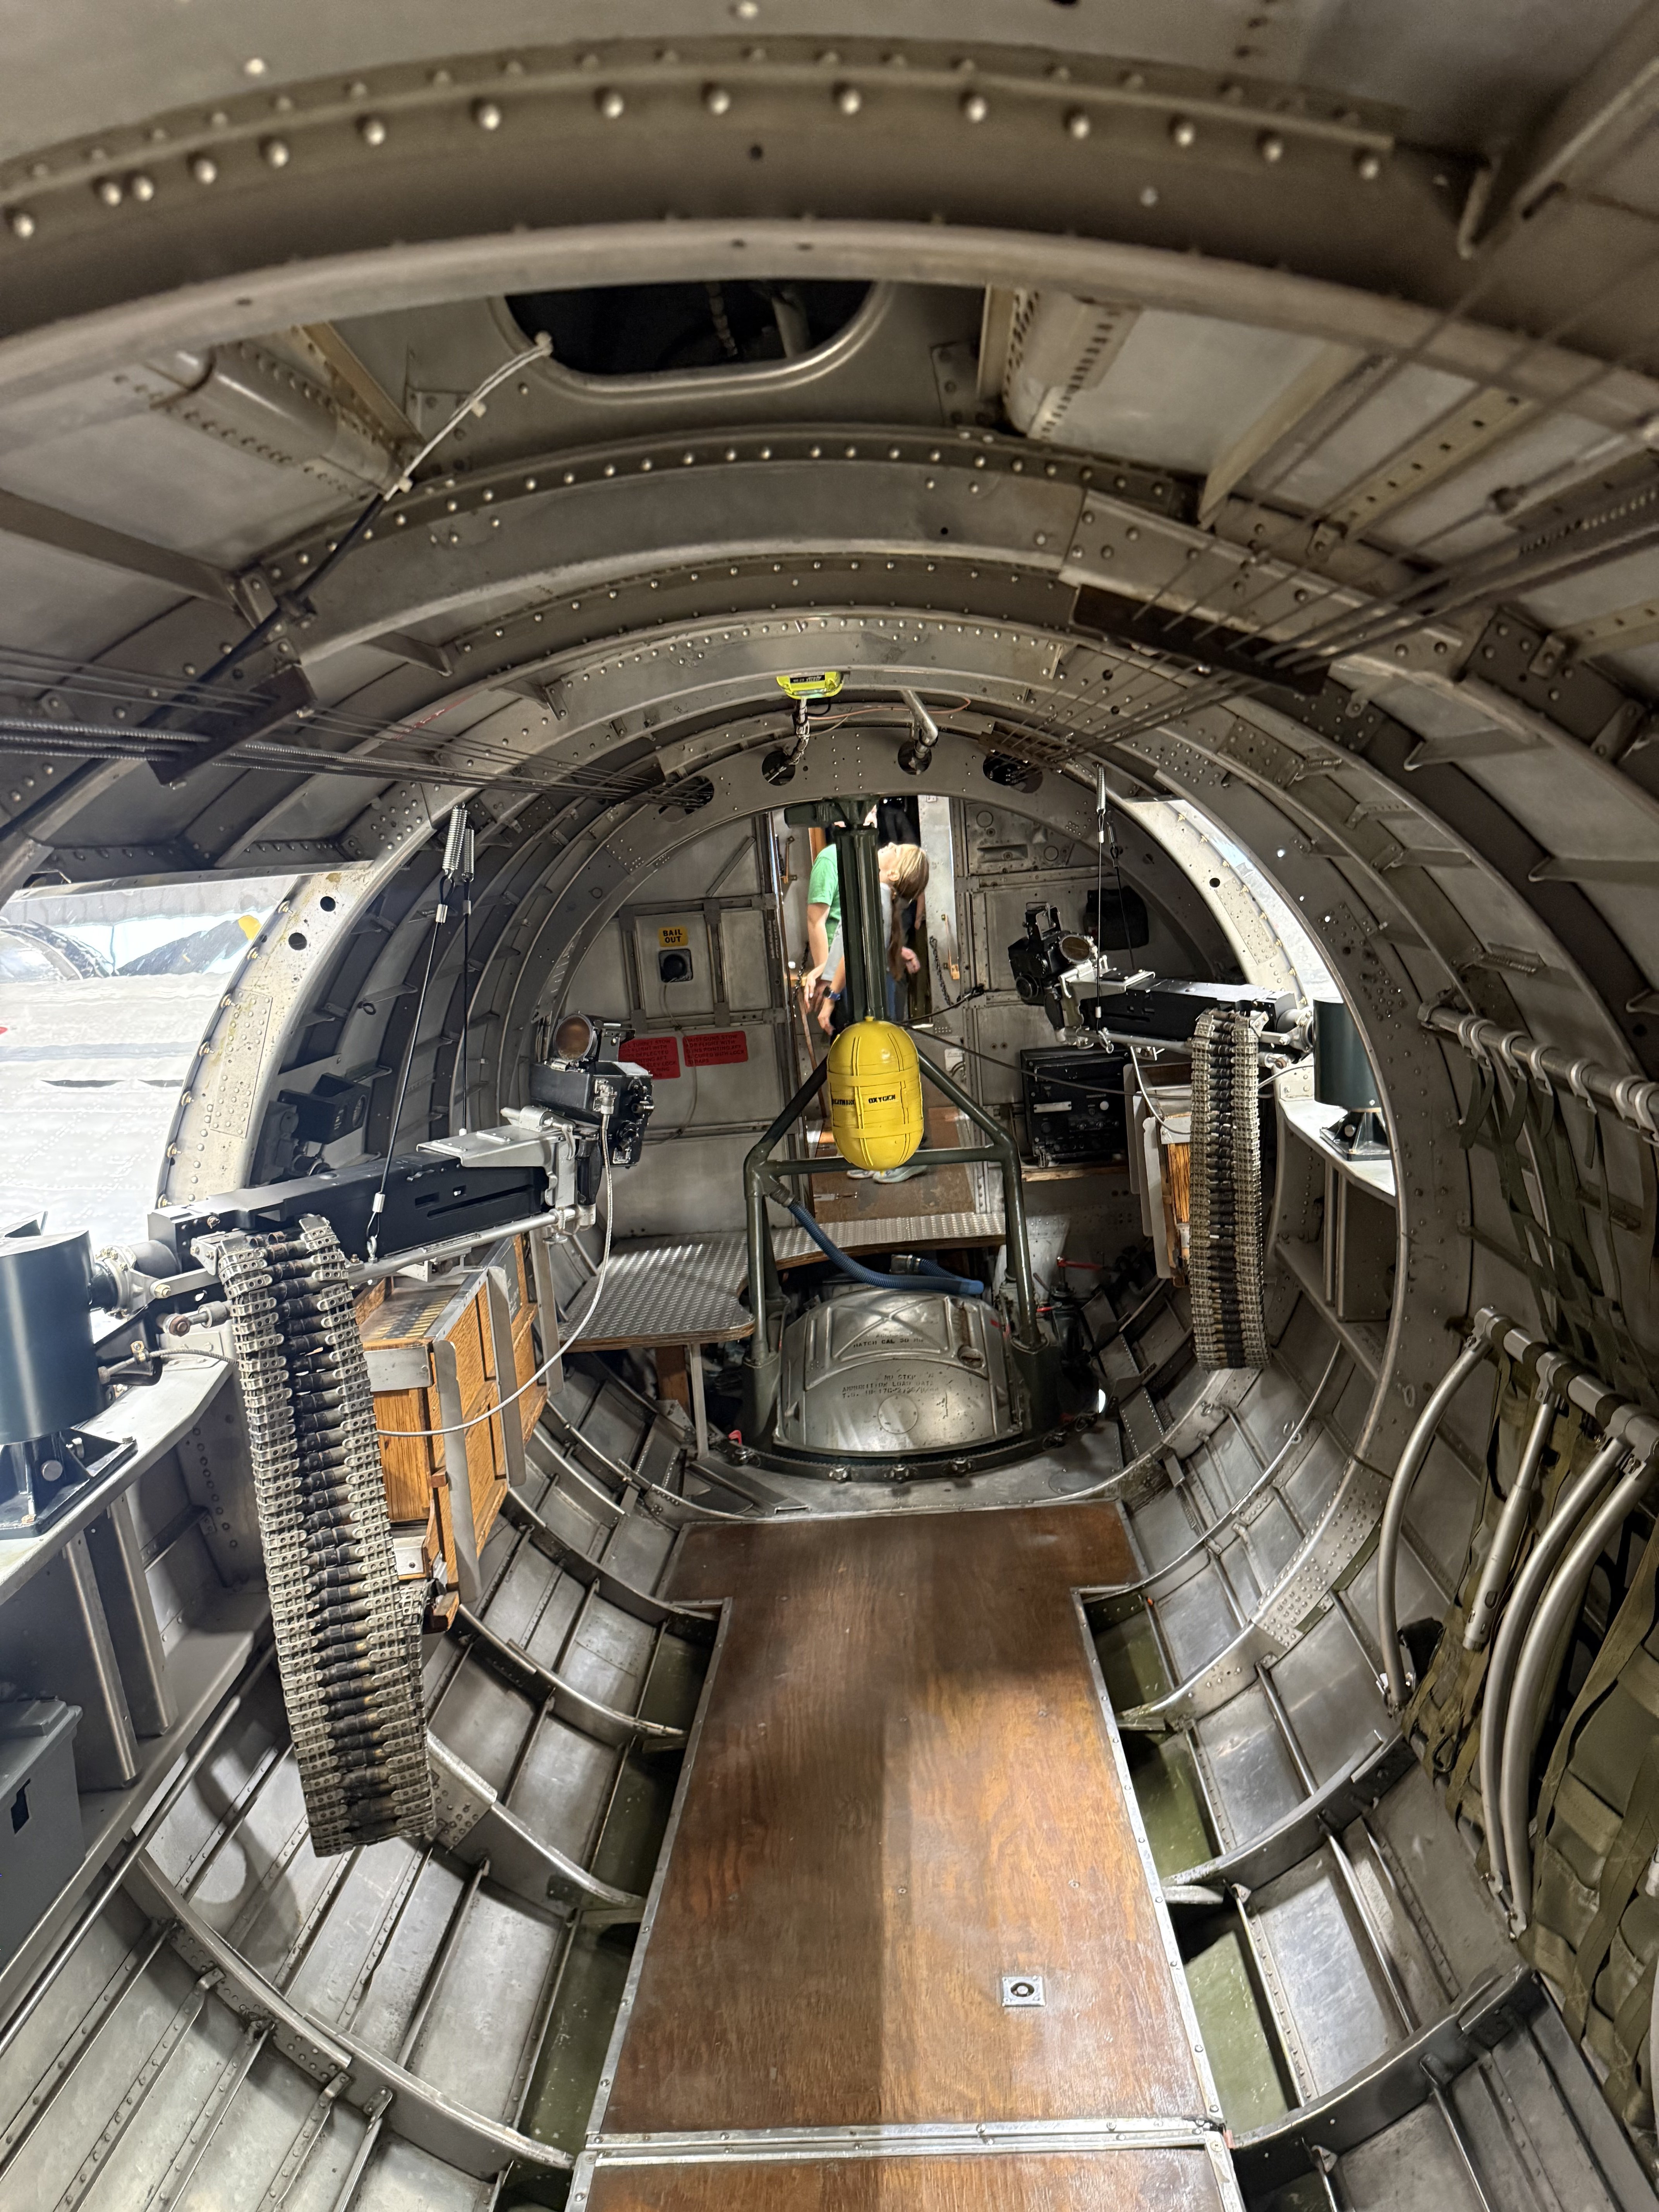
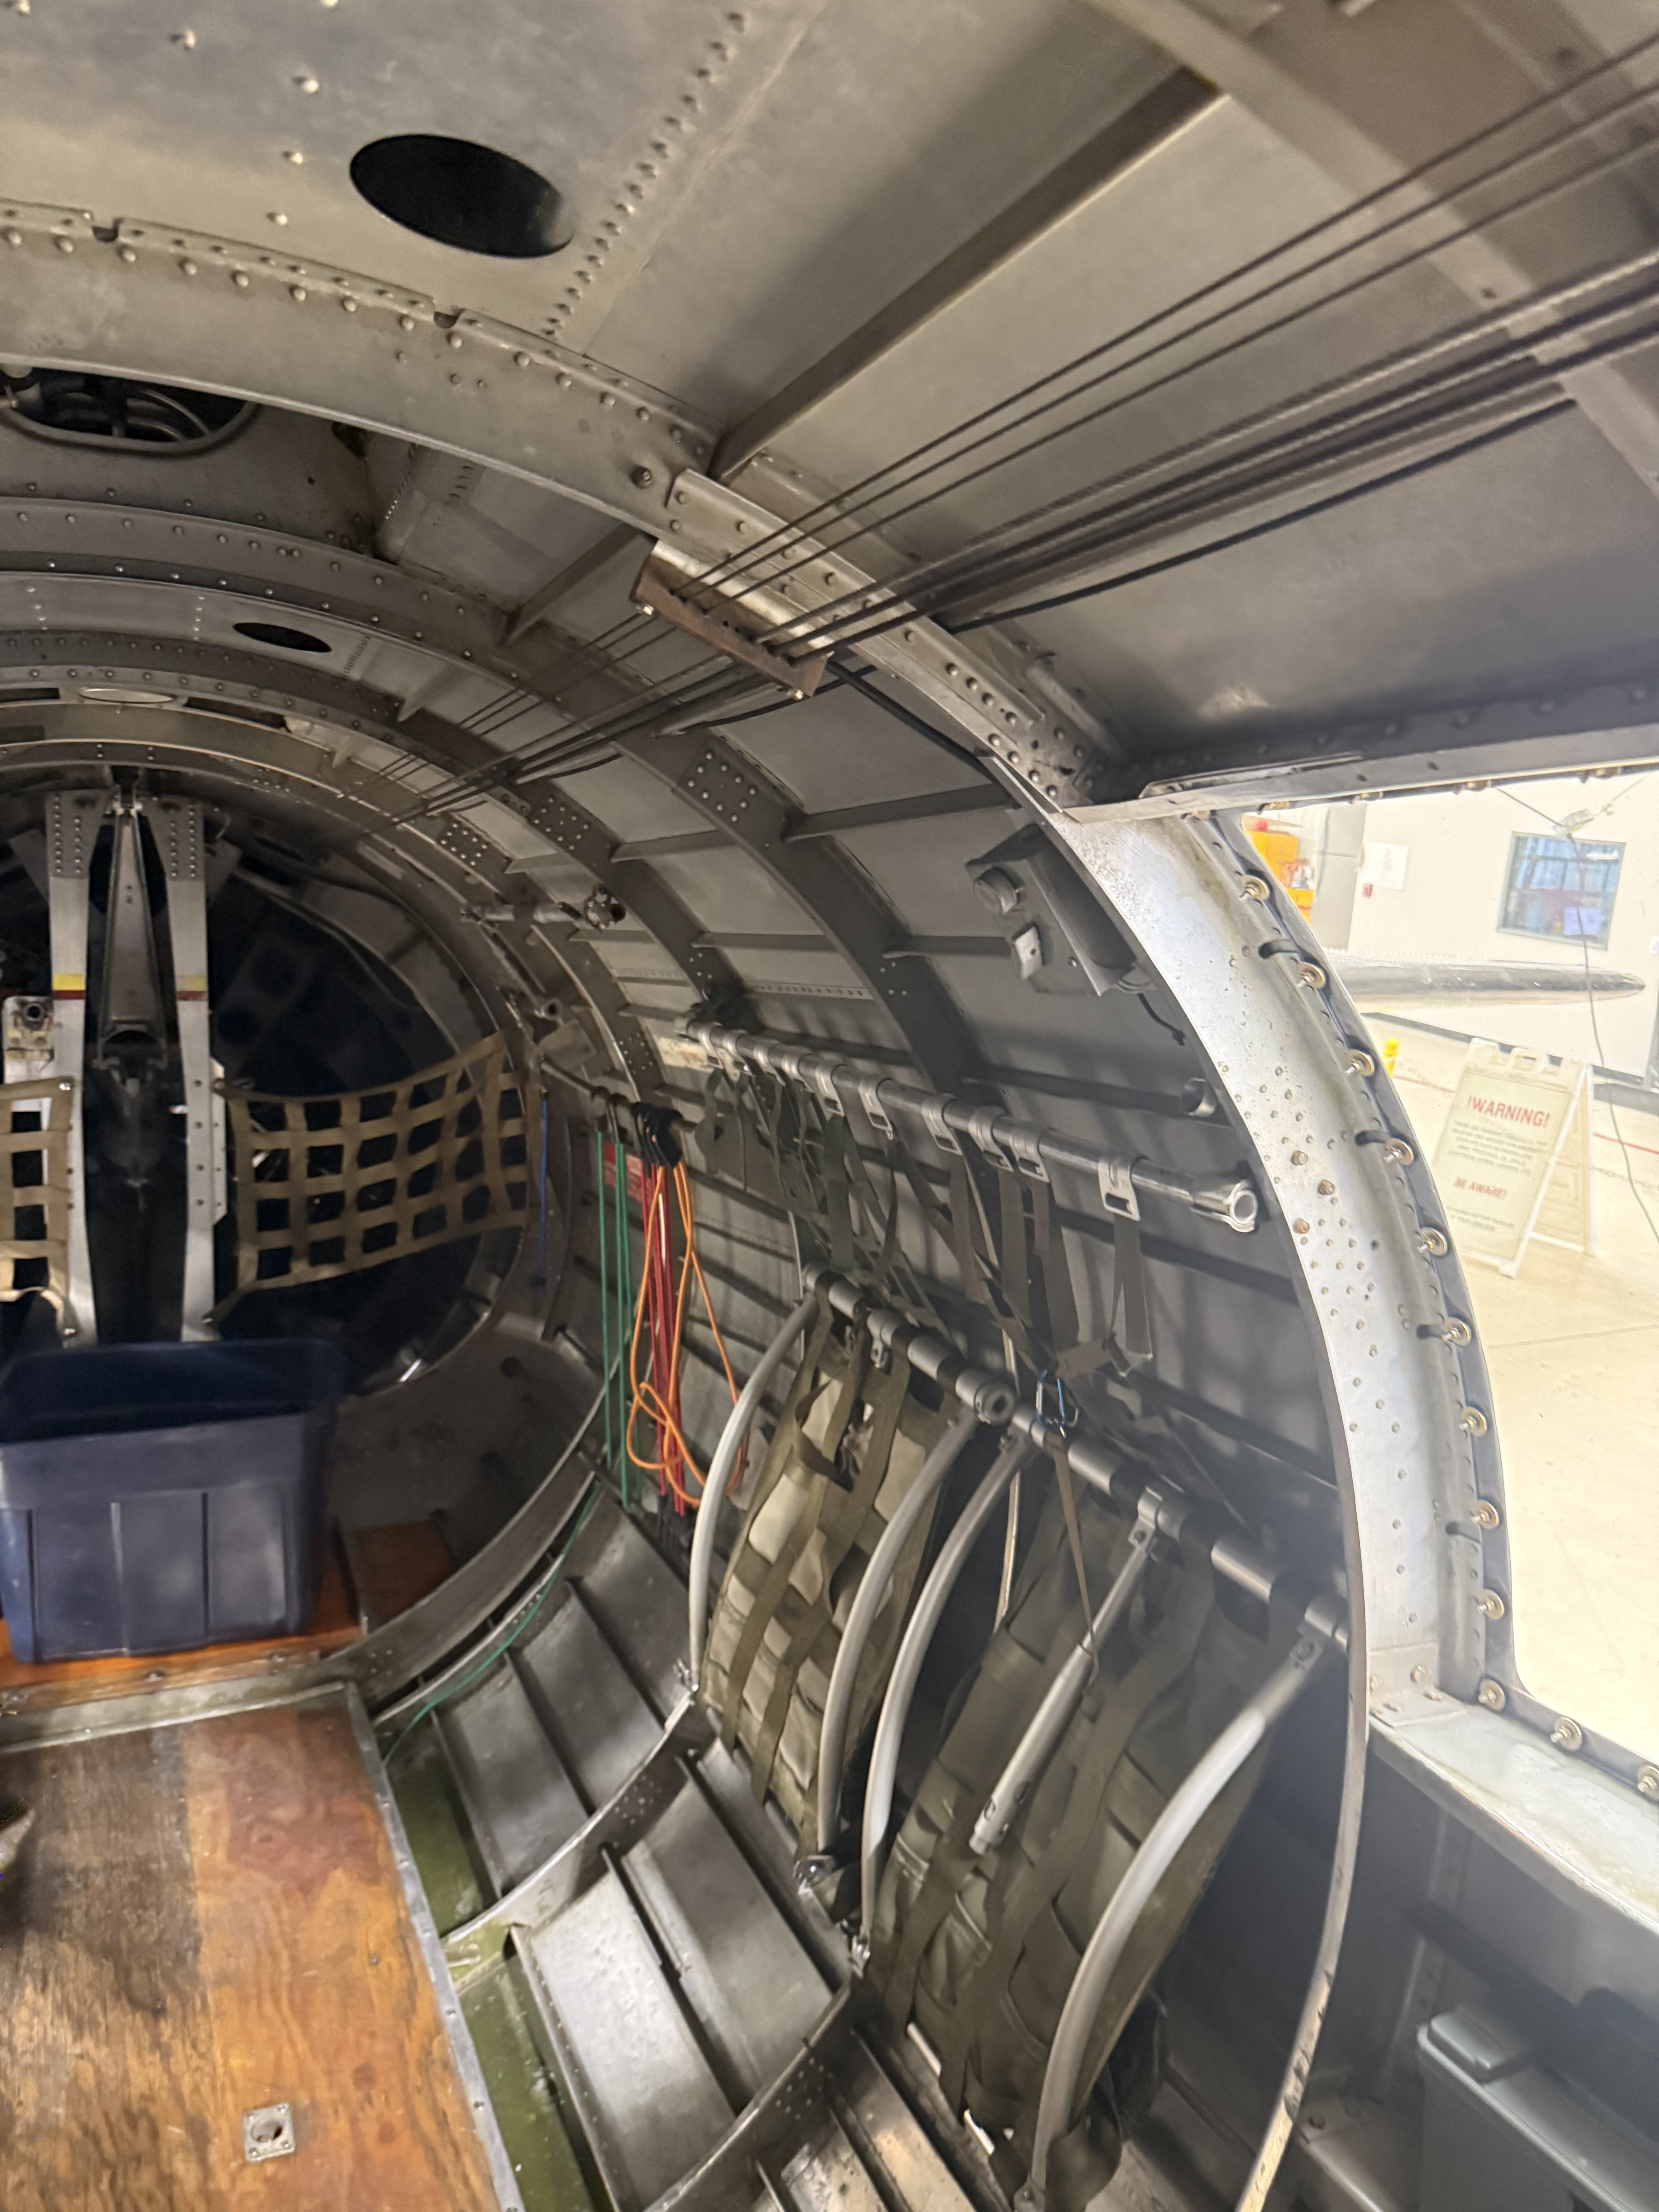
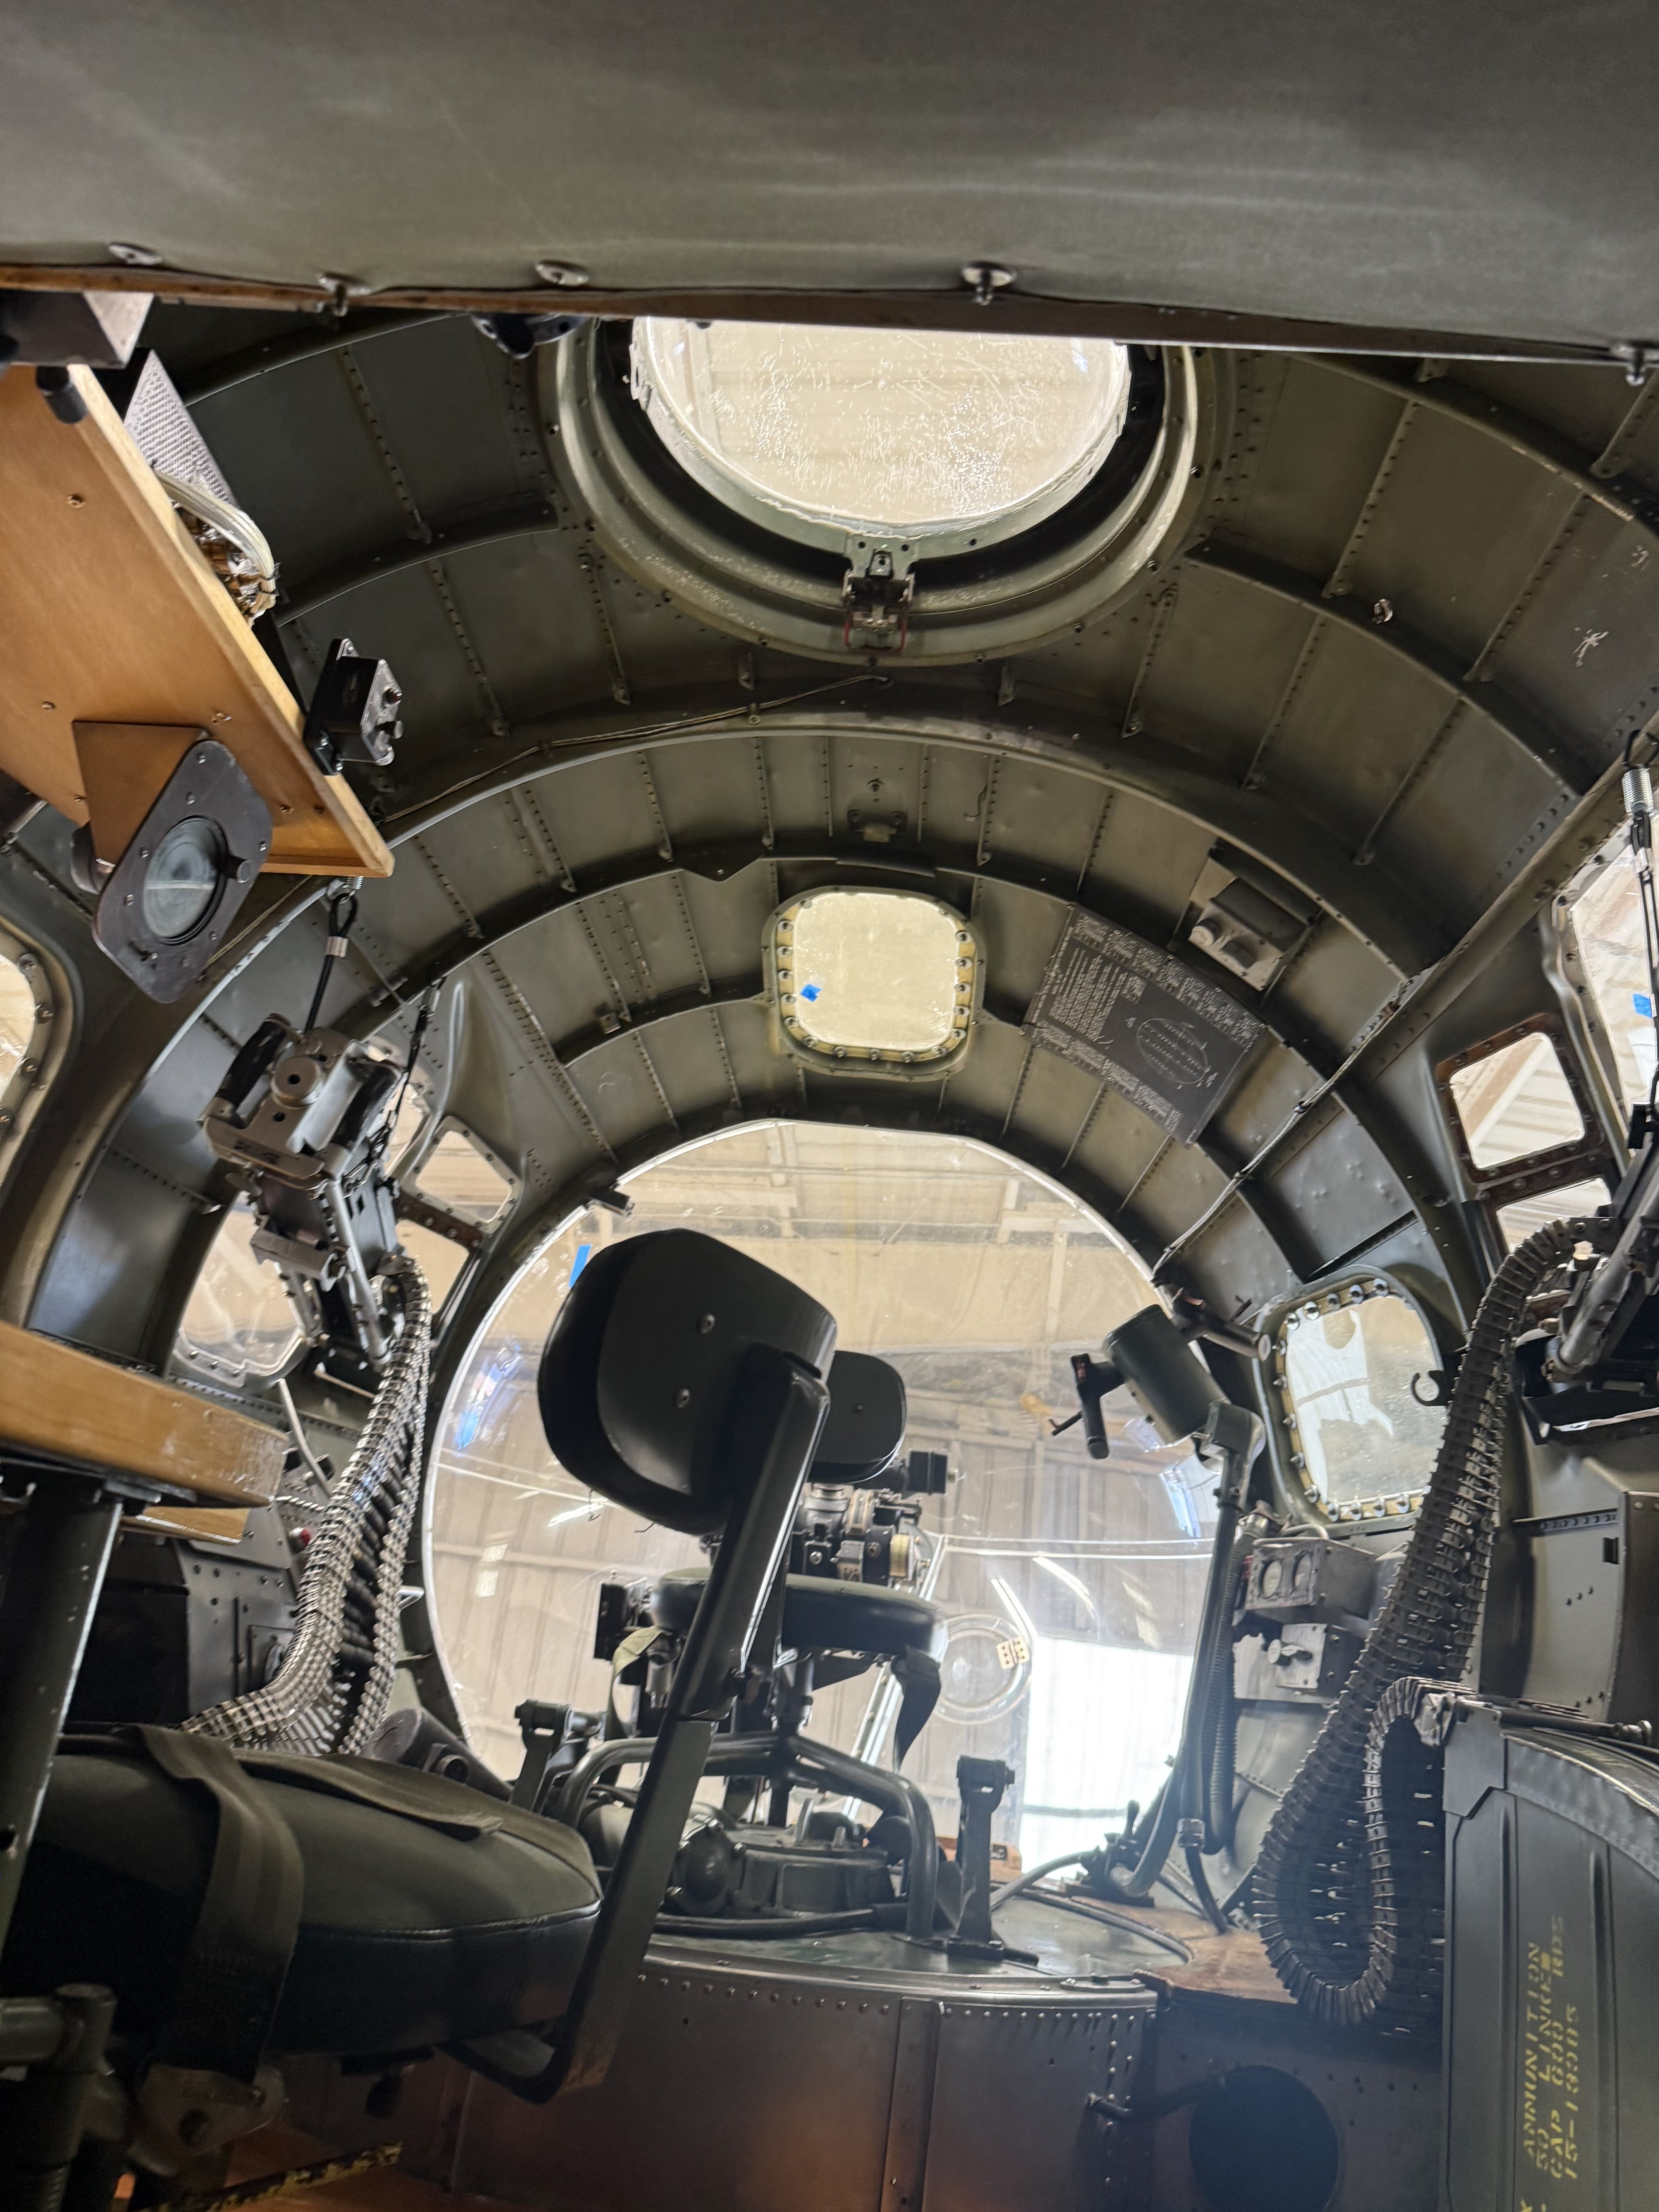
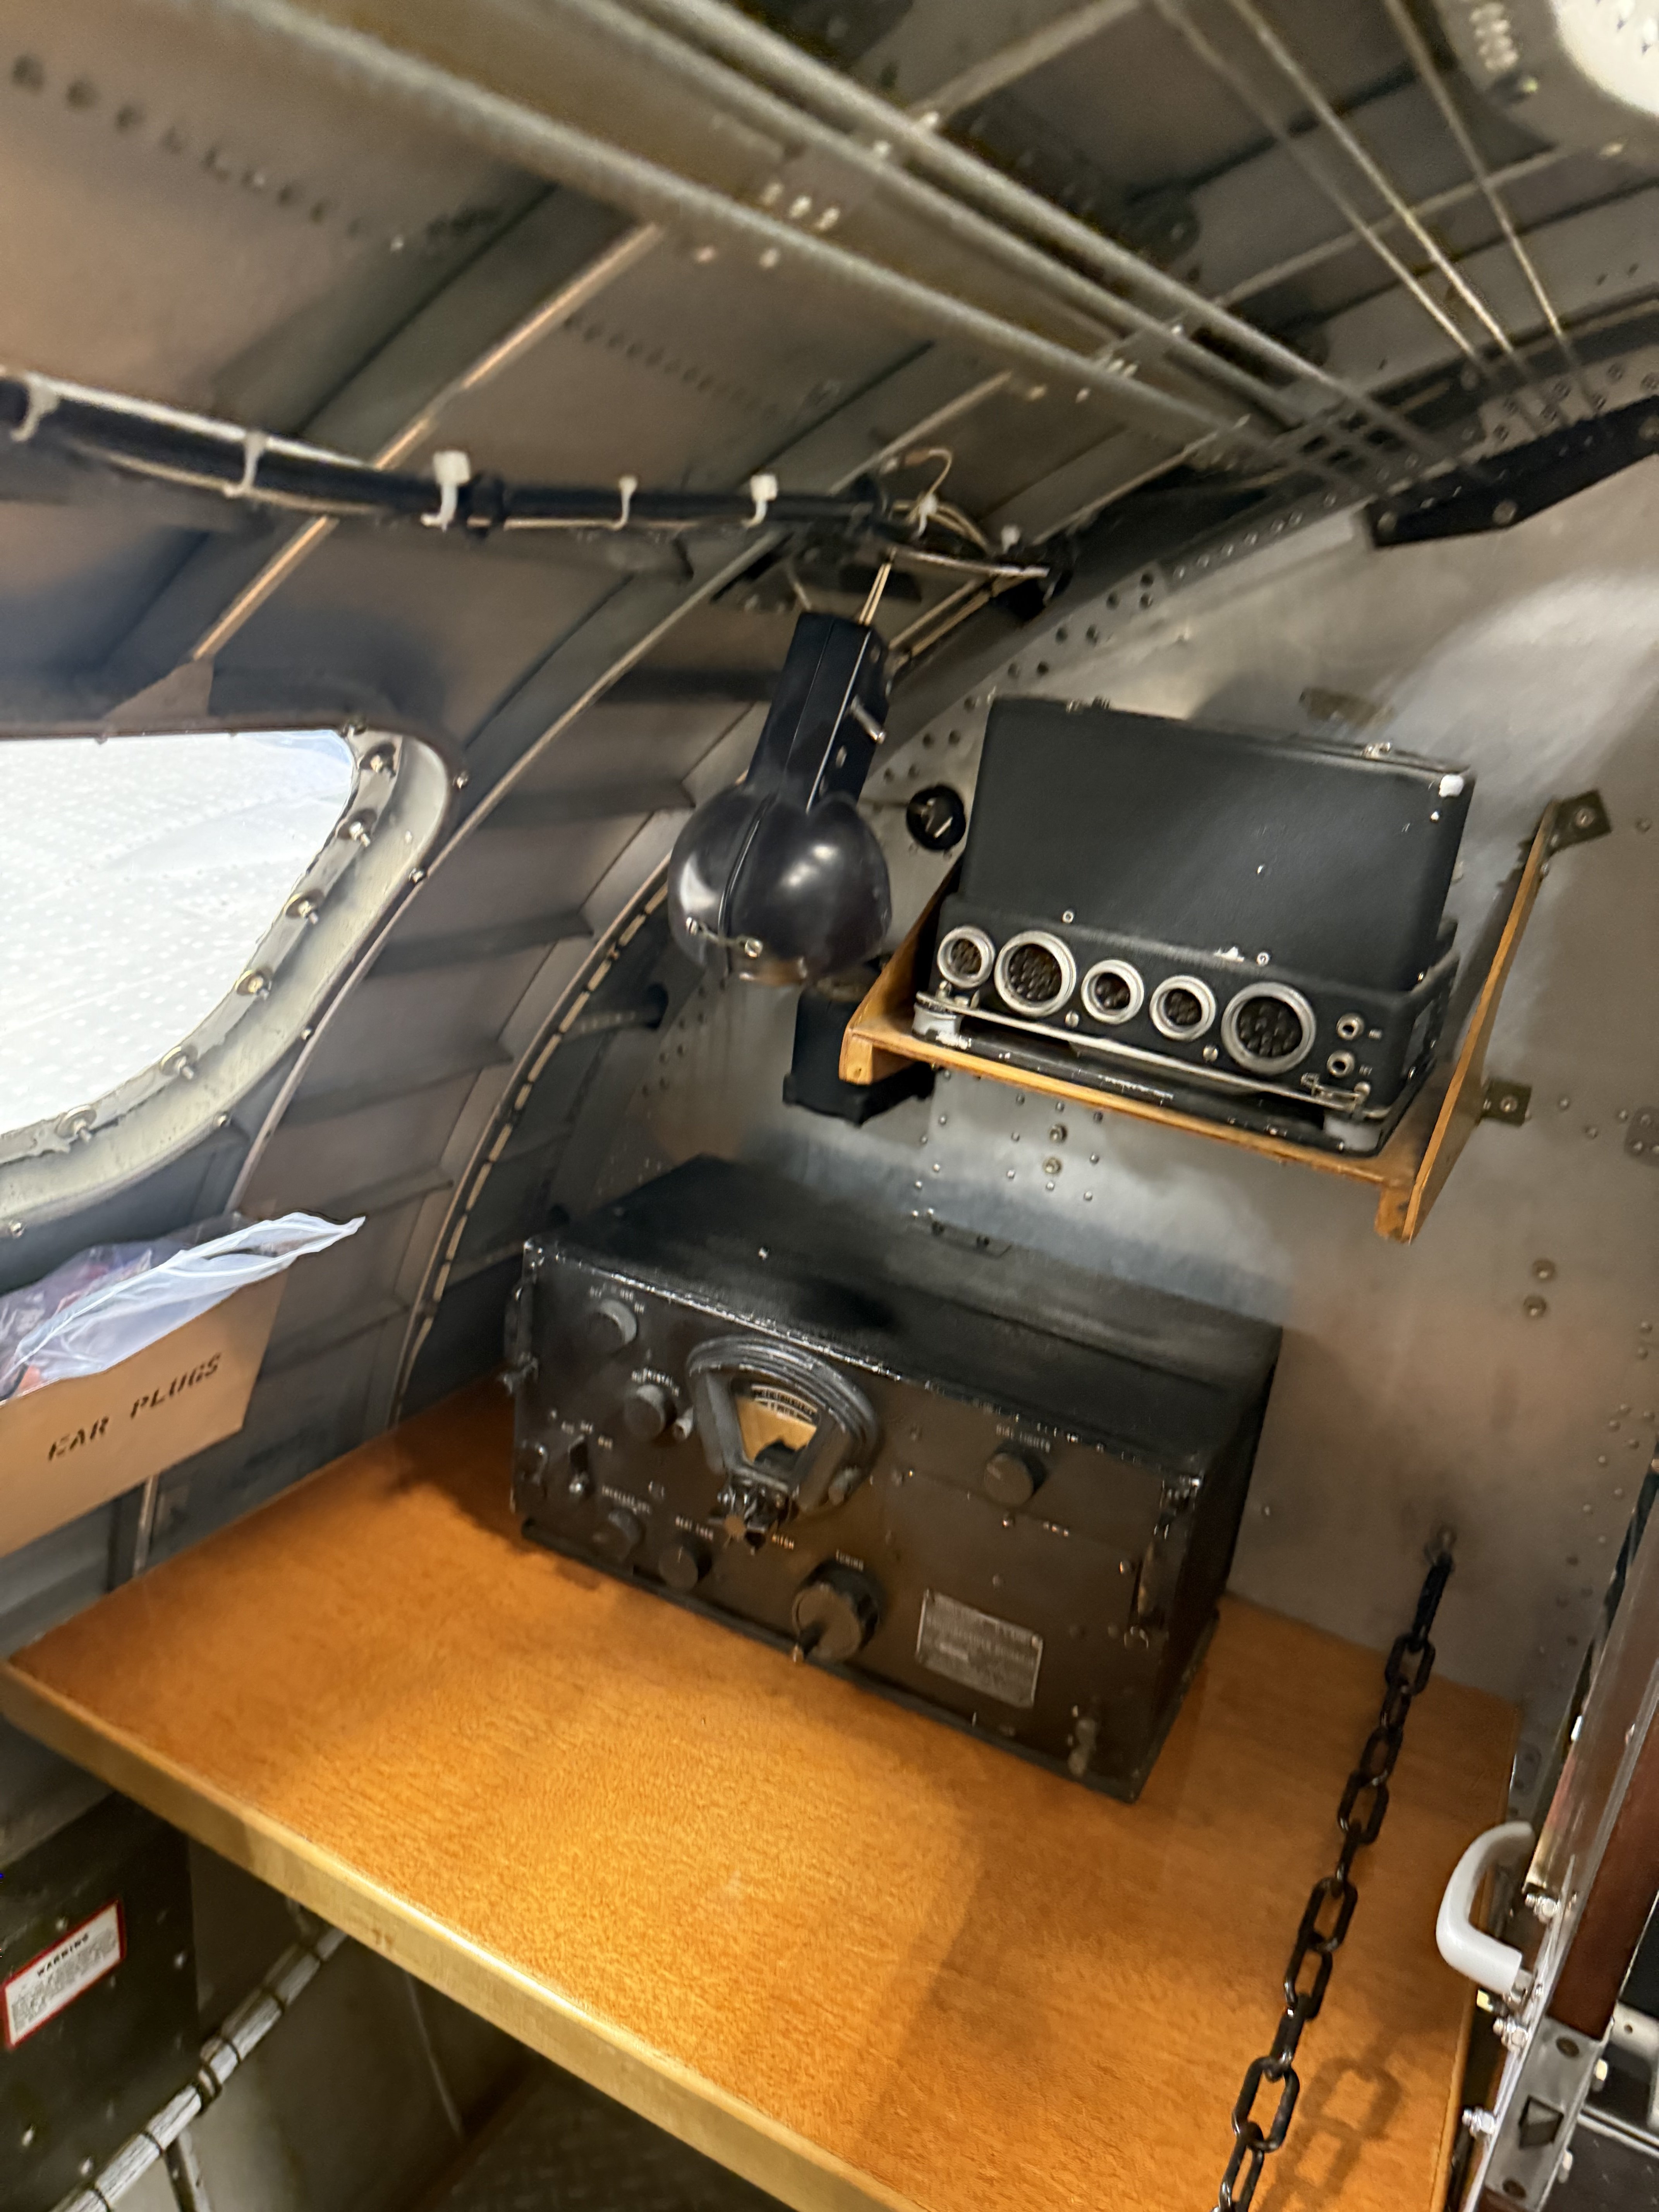
The museum here in Mesa allows you to go inside several of the planes. I've gotten lots of pictures. Of course my mind is completely blank right now and I'm not sure which big bird I was inside. So cramped! And standing next to the underside ball turret almost made me have a panic attack thinking of trying to fit inside that glass dome! Here's a few pics. I'm planning on taking a ride this fall as they offer them when the weather cools down, actually I think it doesn't start until winter.They definitely aren't very big, no. But then, they were intended essentially to transport half-squads or other small crews, like for a mortar, rather than a full squad like the 251 was.
No, museums tend to be a bit uptight about that sort of thing
That's an Sd.Kfz. 251, the bigger cousin of the 250 that Ron is buildingIt's an Ausf. D (easily recognised by the outward slope of the rear wall) and looks like a 251/1 to me, which is to say, the basic APC variant.

You are using an out of date browser. It may not display this or other websites correctly.
You should upgrade or use an alternative browser.
You should upgrade or use an alternative browser.
Das werk as.kfz. 250/l ausf.A 1/16
- Thread starter Ron2
- Start date

Jakko
Well-Known Member
That looks like a fairly late-model B-17 to me, an F or a G maybe?
What I would really want to do in the museum in Overloon, and which they would probably never agree to, is remove a specific plate from their Churchill Mk. V, to see what's underneath it
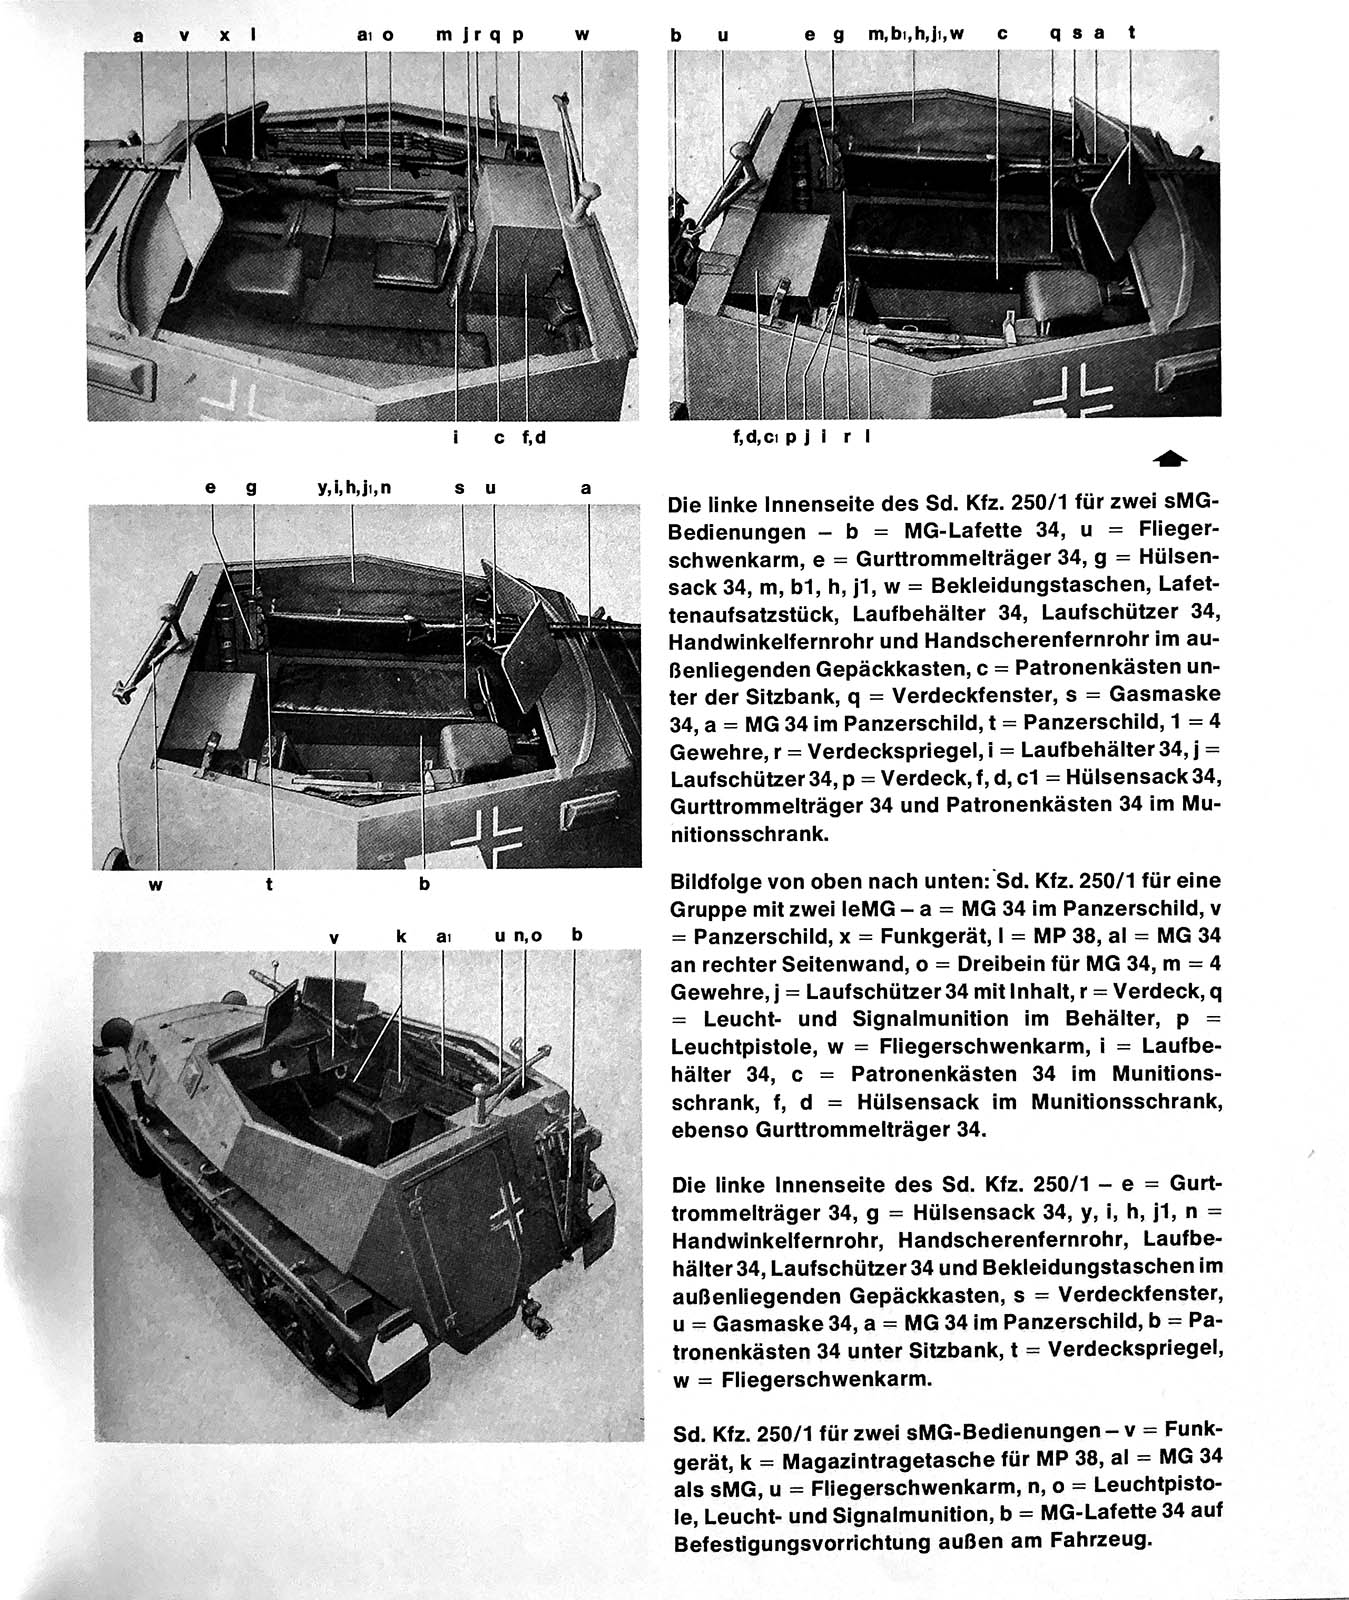
This is page 137 from Walter Spielberger's Die Halbkettenfahrzeuge des deutschen Heeres 1909 – 1945 2nd edition (Stuttgart: Motorbuch Verlag, 1984; ISBN 3-87943-403-4). Item i in both of the upper two photos indicates Laufbehälter 34, which translates as "barrel container 34". It looks like it's the type that held two spare barrels.
What I would really want to do in the museum in Overloon, and which they would probably never agree to, is remove a specific plate from their Churchill Mk. V, to see what's underneath it
I was correct:Yes that piece. I thought it looked like it could be a gun case of some sort.
This is page 137 from Walter Spielberger's Die Halbkettenfahrzeuge des deutschen Heeres 1909 – 1945 2nd edition (Stuttgart: Motorbuch Verlag, 1984; ISBN 3-87943-403-4). Item i in both of the upper two photos indicates Laufbehälter 34, which translates as "barrel container 34". It looks like it's the type that held two spare barrels.
Last edited:
I believe it was a B17 but didn't want to say so unless I knew 100%. I'm no museum curator but I'm guessing if they won't let you sit in it, well, removing a panel is just not in your future. Our local museum is pretty incredible in that you can board a b-17 and a c47. I don't believe any of the aircraft are roped off so you can literally walk under them, touch them, take close up pics. There's an engine display as well. The hangar is open and you can watch them work on a plane, I forget what was in there last time. I plan on booking a ride the next few years. I'd like to book the B17, the B25, the stearman and the t-6 Texan.That looks like a fairly late-model B-17 to me, an F or a G maybe?
What I would really want to do in the museum in Overloon, and which they would probably never agree to, is remove a specific plate from their Churchill Mk. V, to see what's underneath it
It was a G- good eye!That looks like a fairly late-model B-17 to me, an F or a G maybe?
What I would really want to do in the museum in Overloon, and which they would probably never agree to, is remove a specific plate from their Churchill Mk. V, to see what's underneath it
I was correct:
View attachment 192880
This is page 137 from Walter Spielberger's Die Halbkettenfahrzeuge des deutschen Heeres 1909 – 1945 2nd edition (Stuttgart: Motorbuch Verlag, 1984; ISBN 3-87943-403-4). Item i in both of the upper two photos indicates Laufbehälter 34, which translates as "barrel container 34". It looks like it's the type that held two spare barrels.
Jakko
Well-Known Member
The reason is that some models of Churchill have a little extra plate of armour on the right side of the turret, attached with four bolts, and nobody, nobody, seems to know why. It covers an opening in the armour around the turret ring, but the question is why there's a need to do that with a bolted-on plate instead of just casting that bit integrally with the rest of the turret. Removing the plate might give an answer, but I doubt many museums would allow itI'm no museum curator but I'm guessing if they won't let you sit in it, well, removing a panel is just not in your future.
I noticed the rounded part under the bomb aimer's position, and figured that might be the turntable for the chin turretIt was a G- good eye!

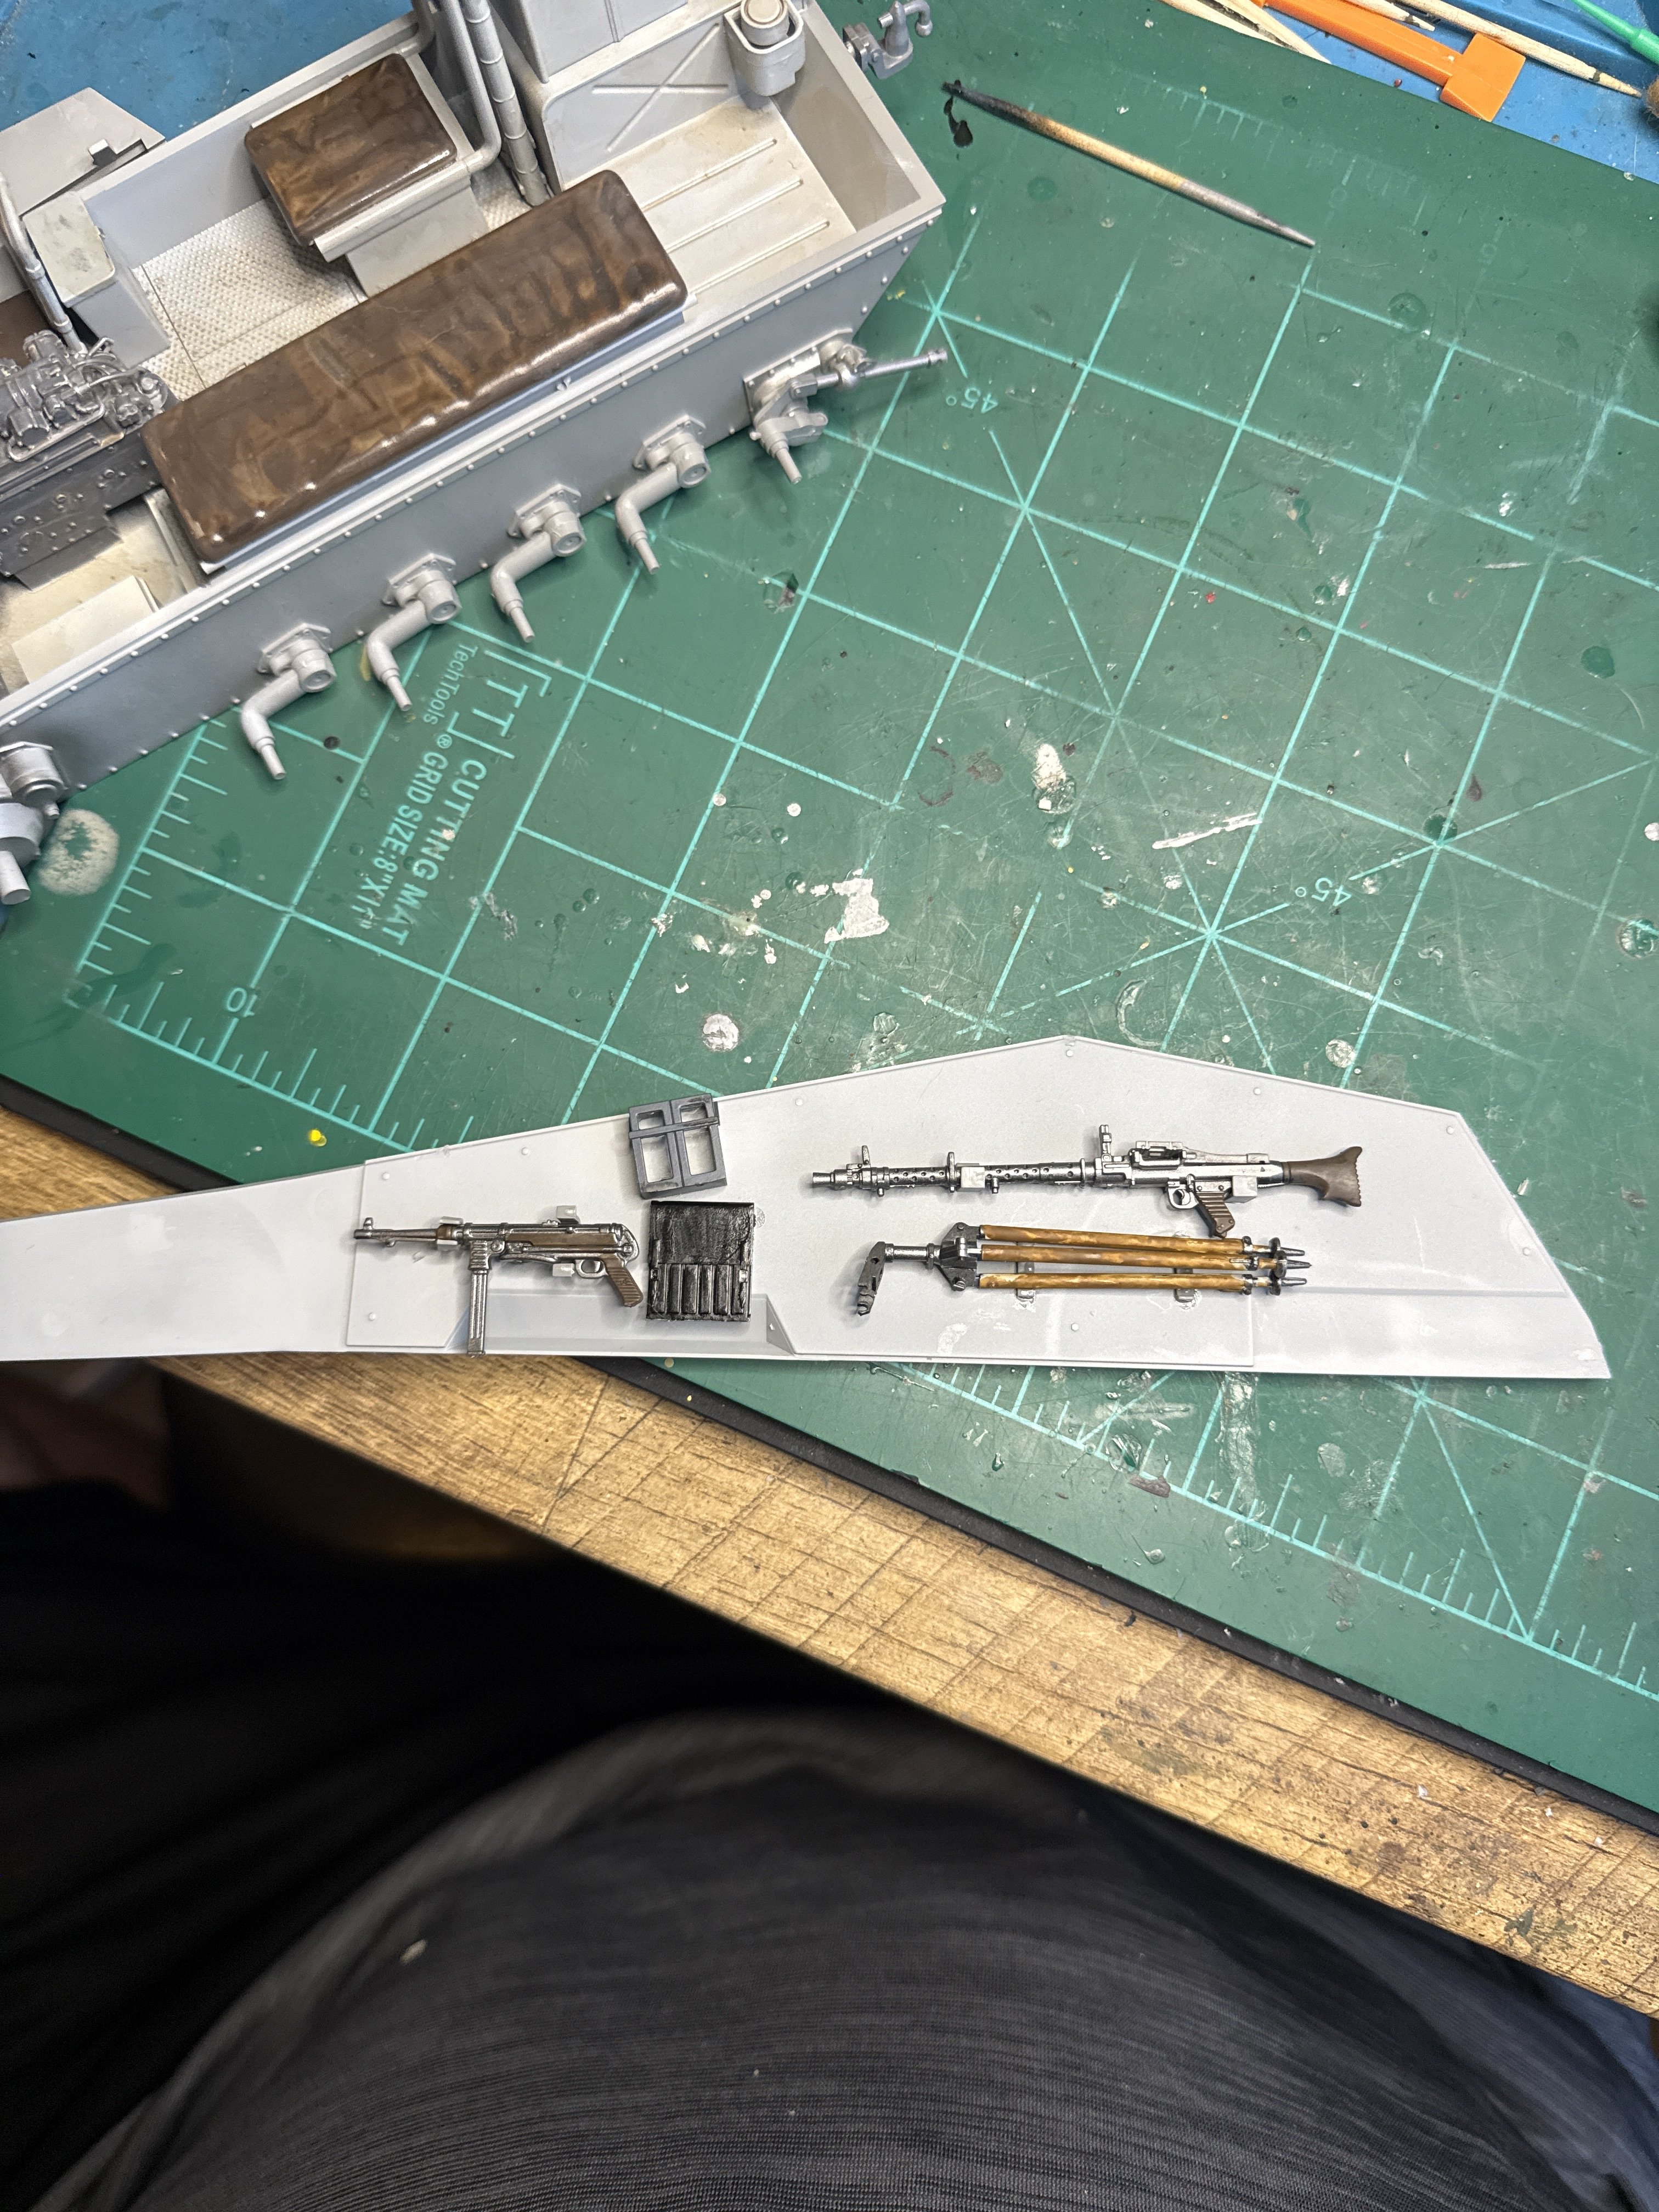
Fishing rods or pool cues.Yes that piece


![Pampers Sensitive Baby Wipes, Clinically Proven, Fragrance Free, Unscented, Water Based, Hypoallergenic, Multi-Use, Hand Wipes 336 Wipes Total (6X Flip-Top Packs) [Packaging May Vary]](https://m.media-amazon.com/images/I/41KLBHu9CAL._SL500_.jpg)






As an Amazon Associate we earn from qualifying purchases. Product prices and availability are accurate as of the date/time indicated and are subject to change.
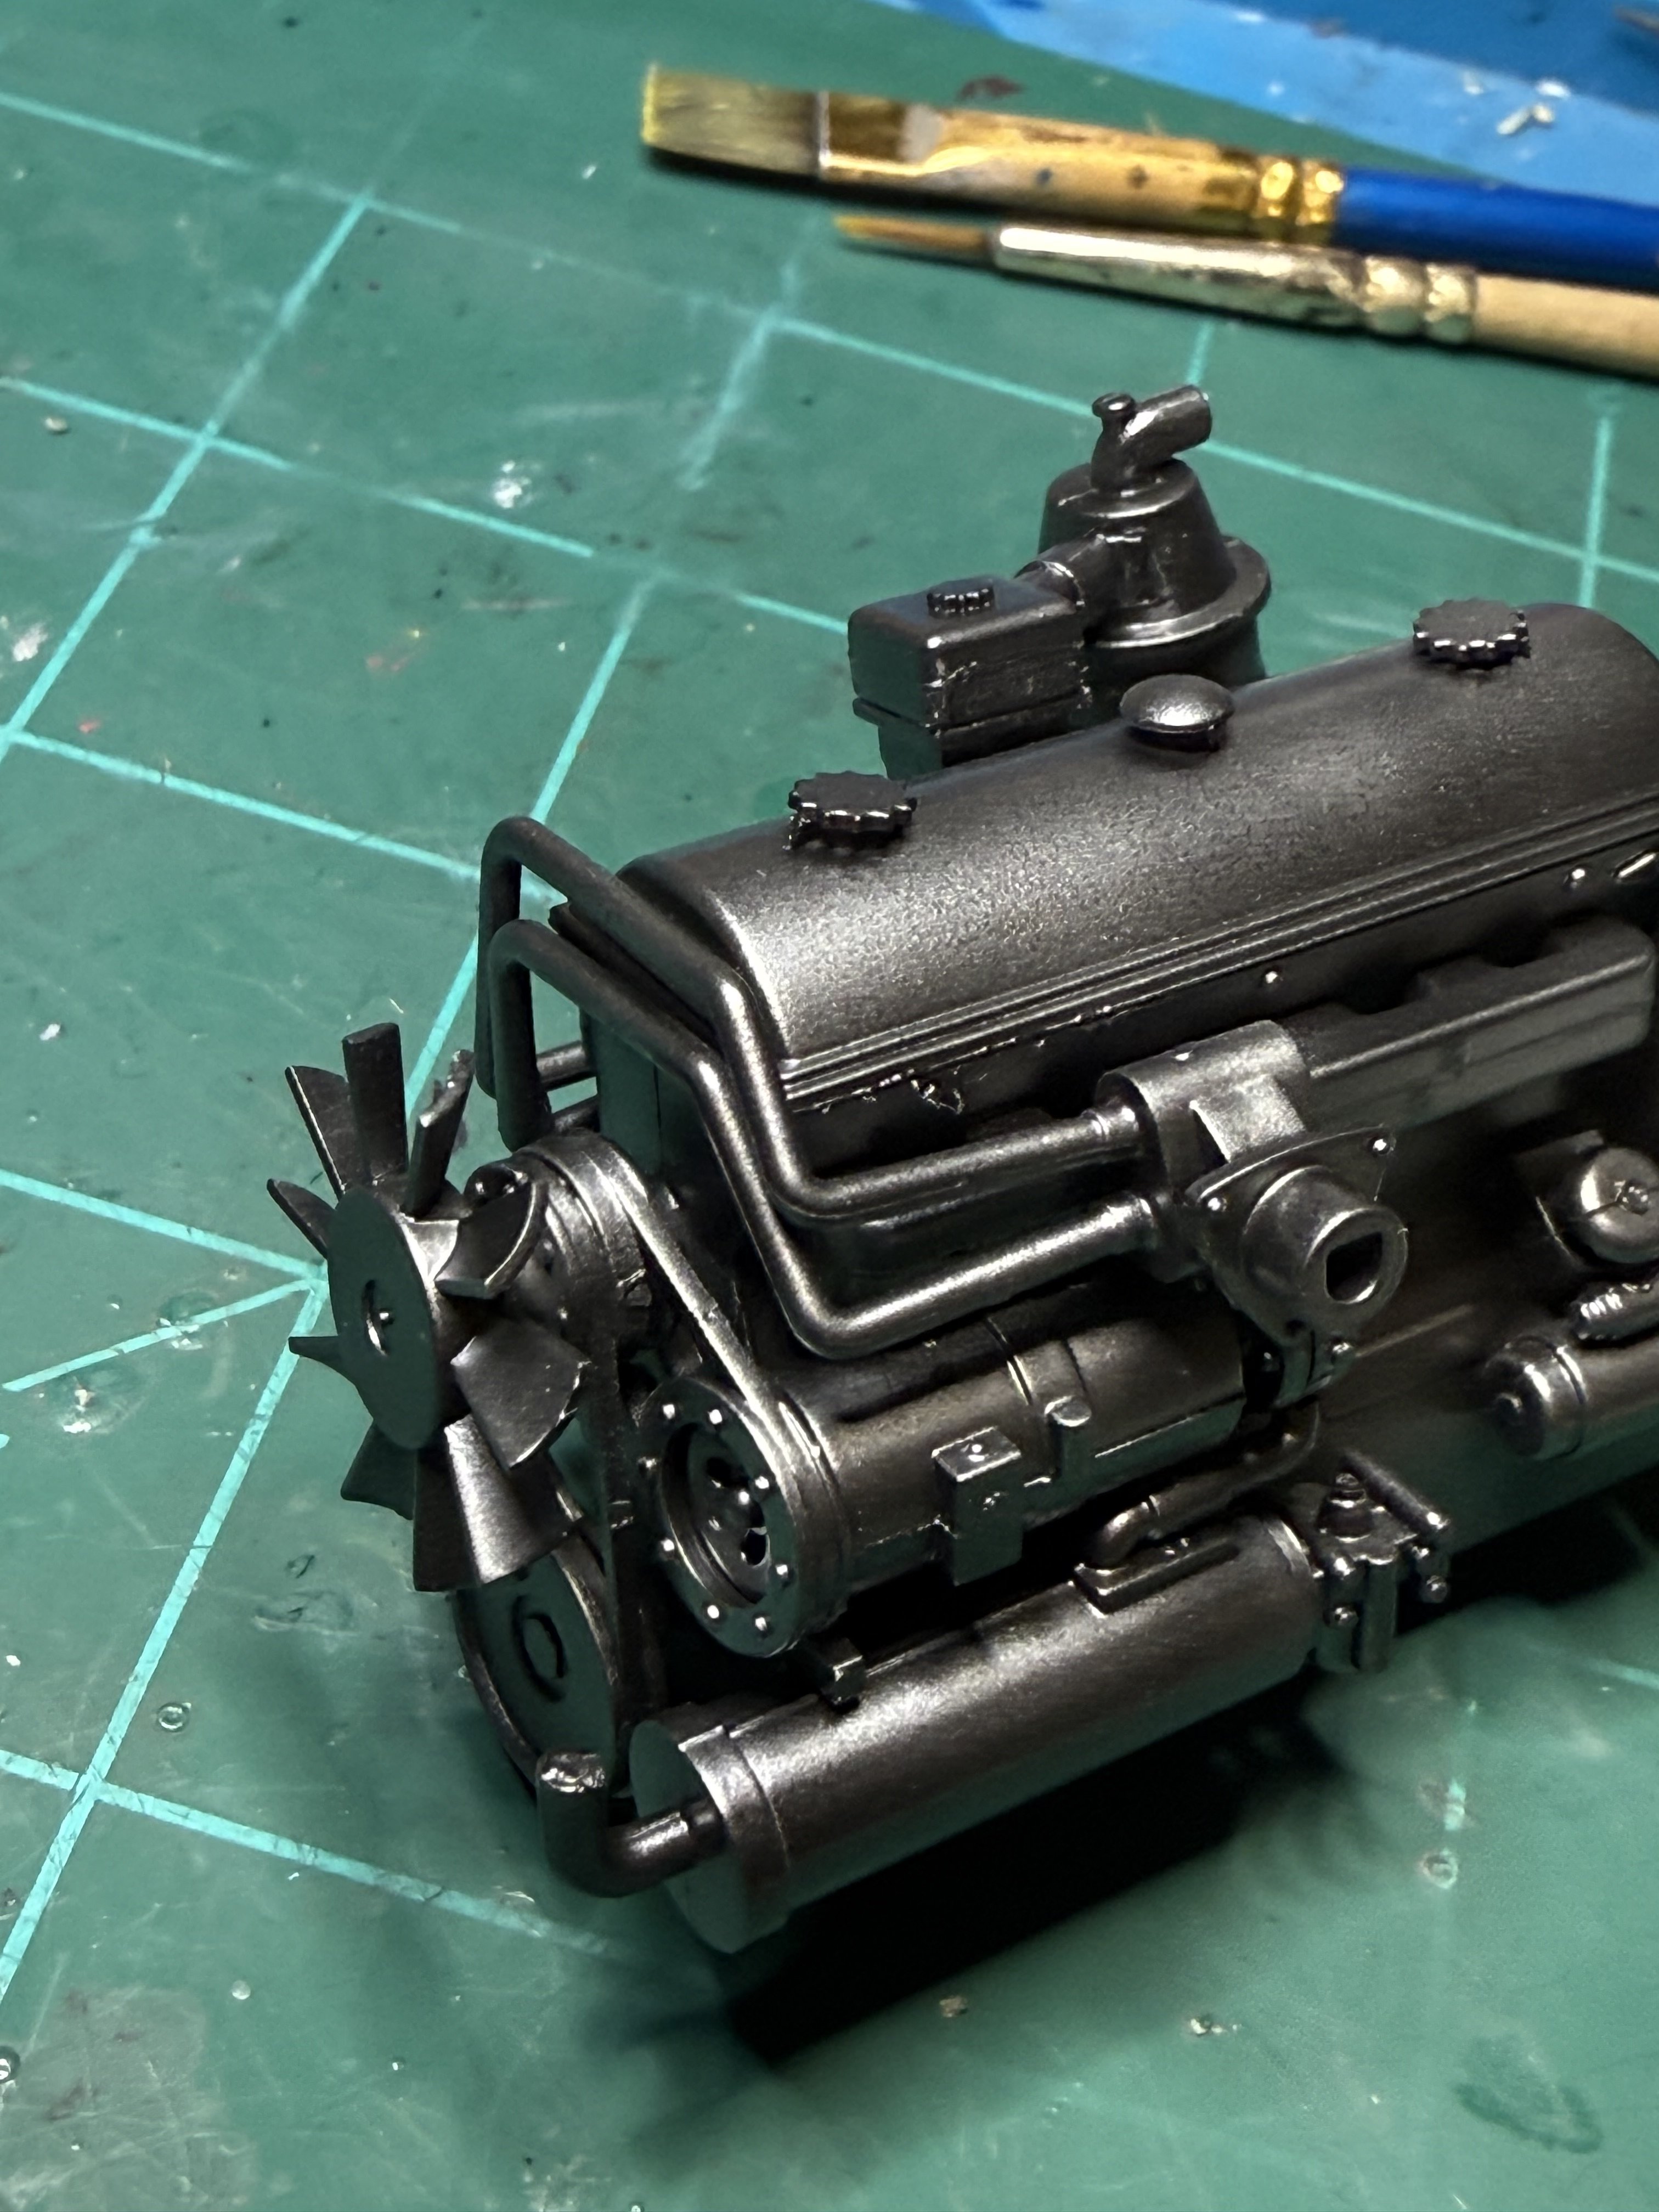
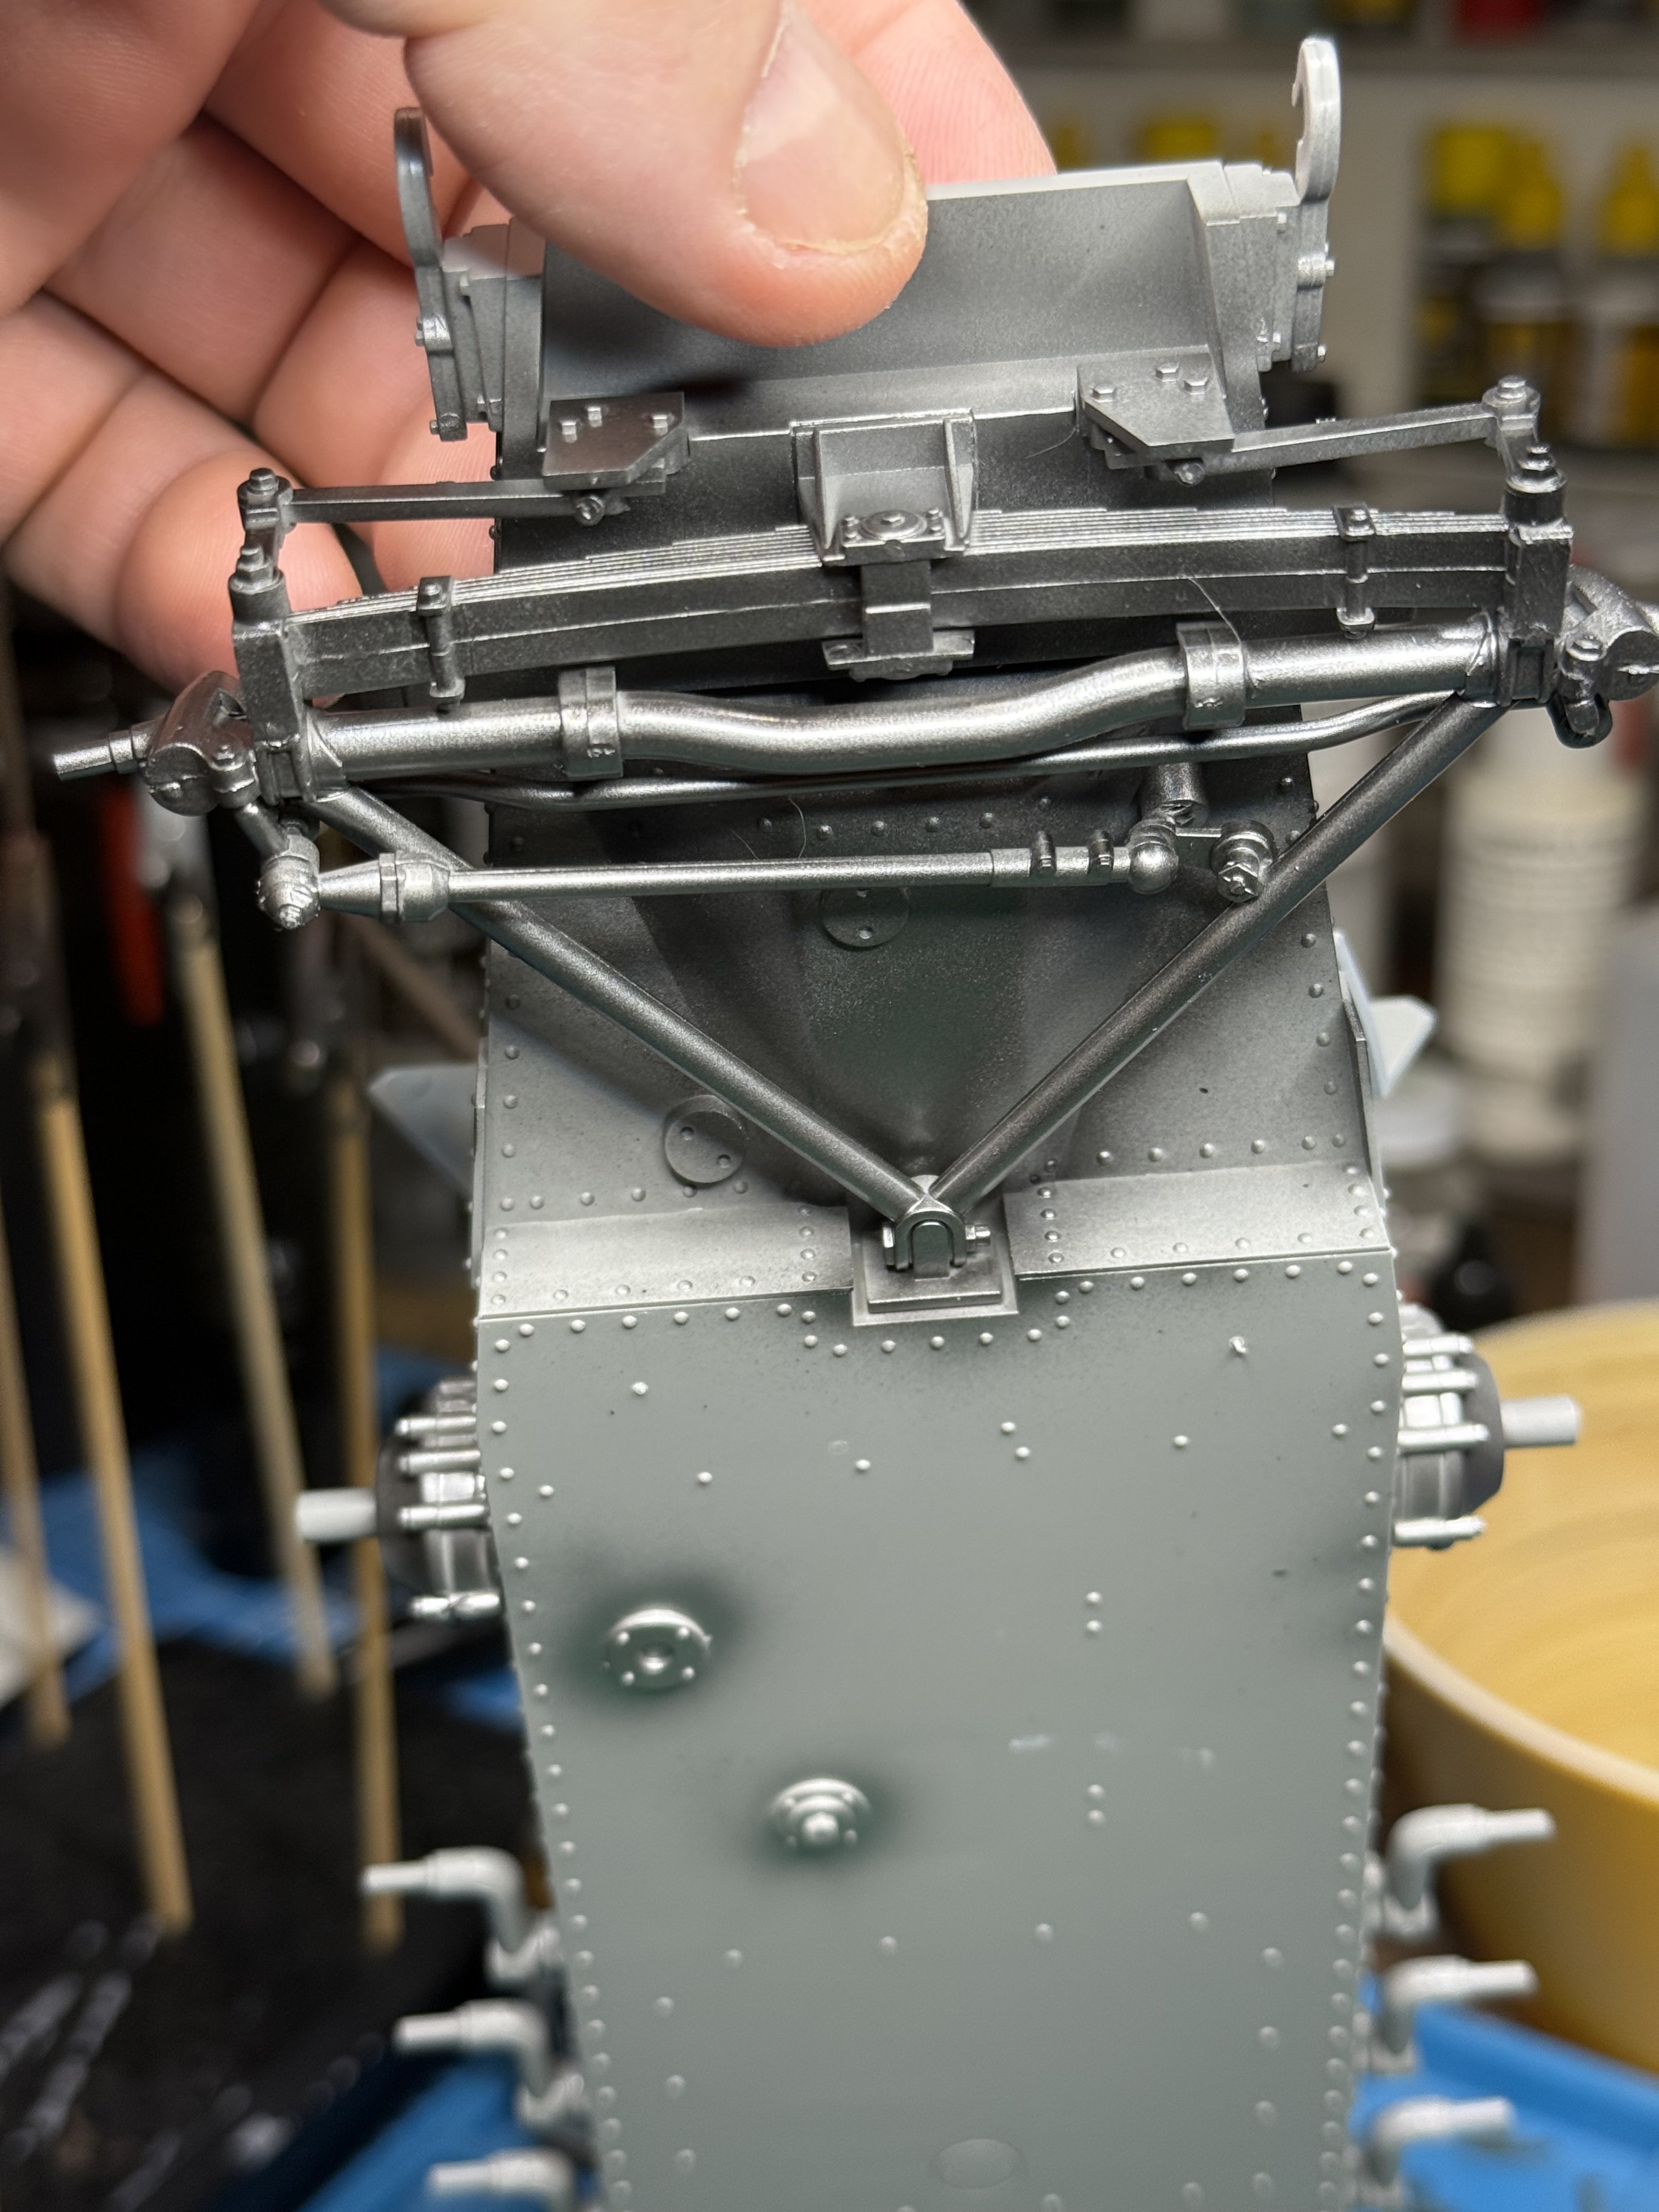
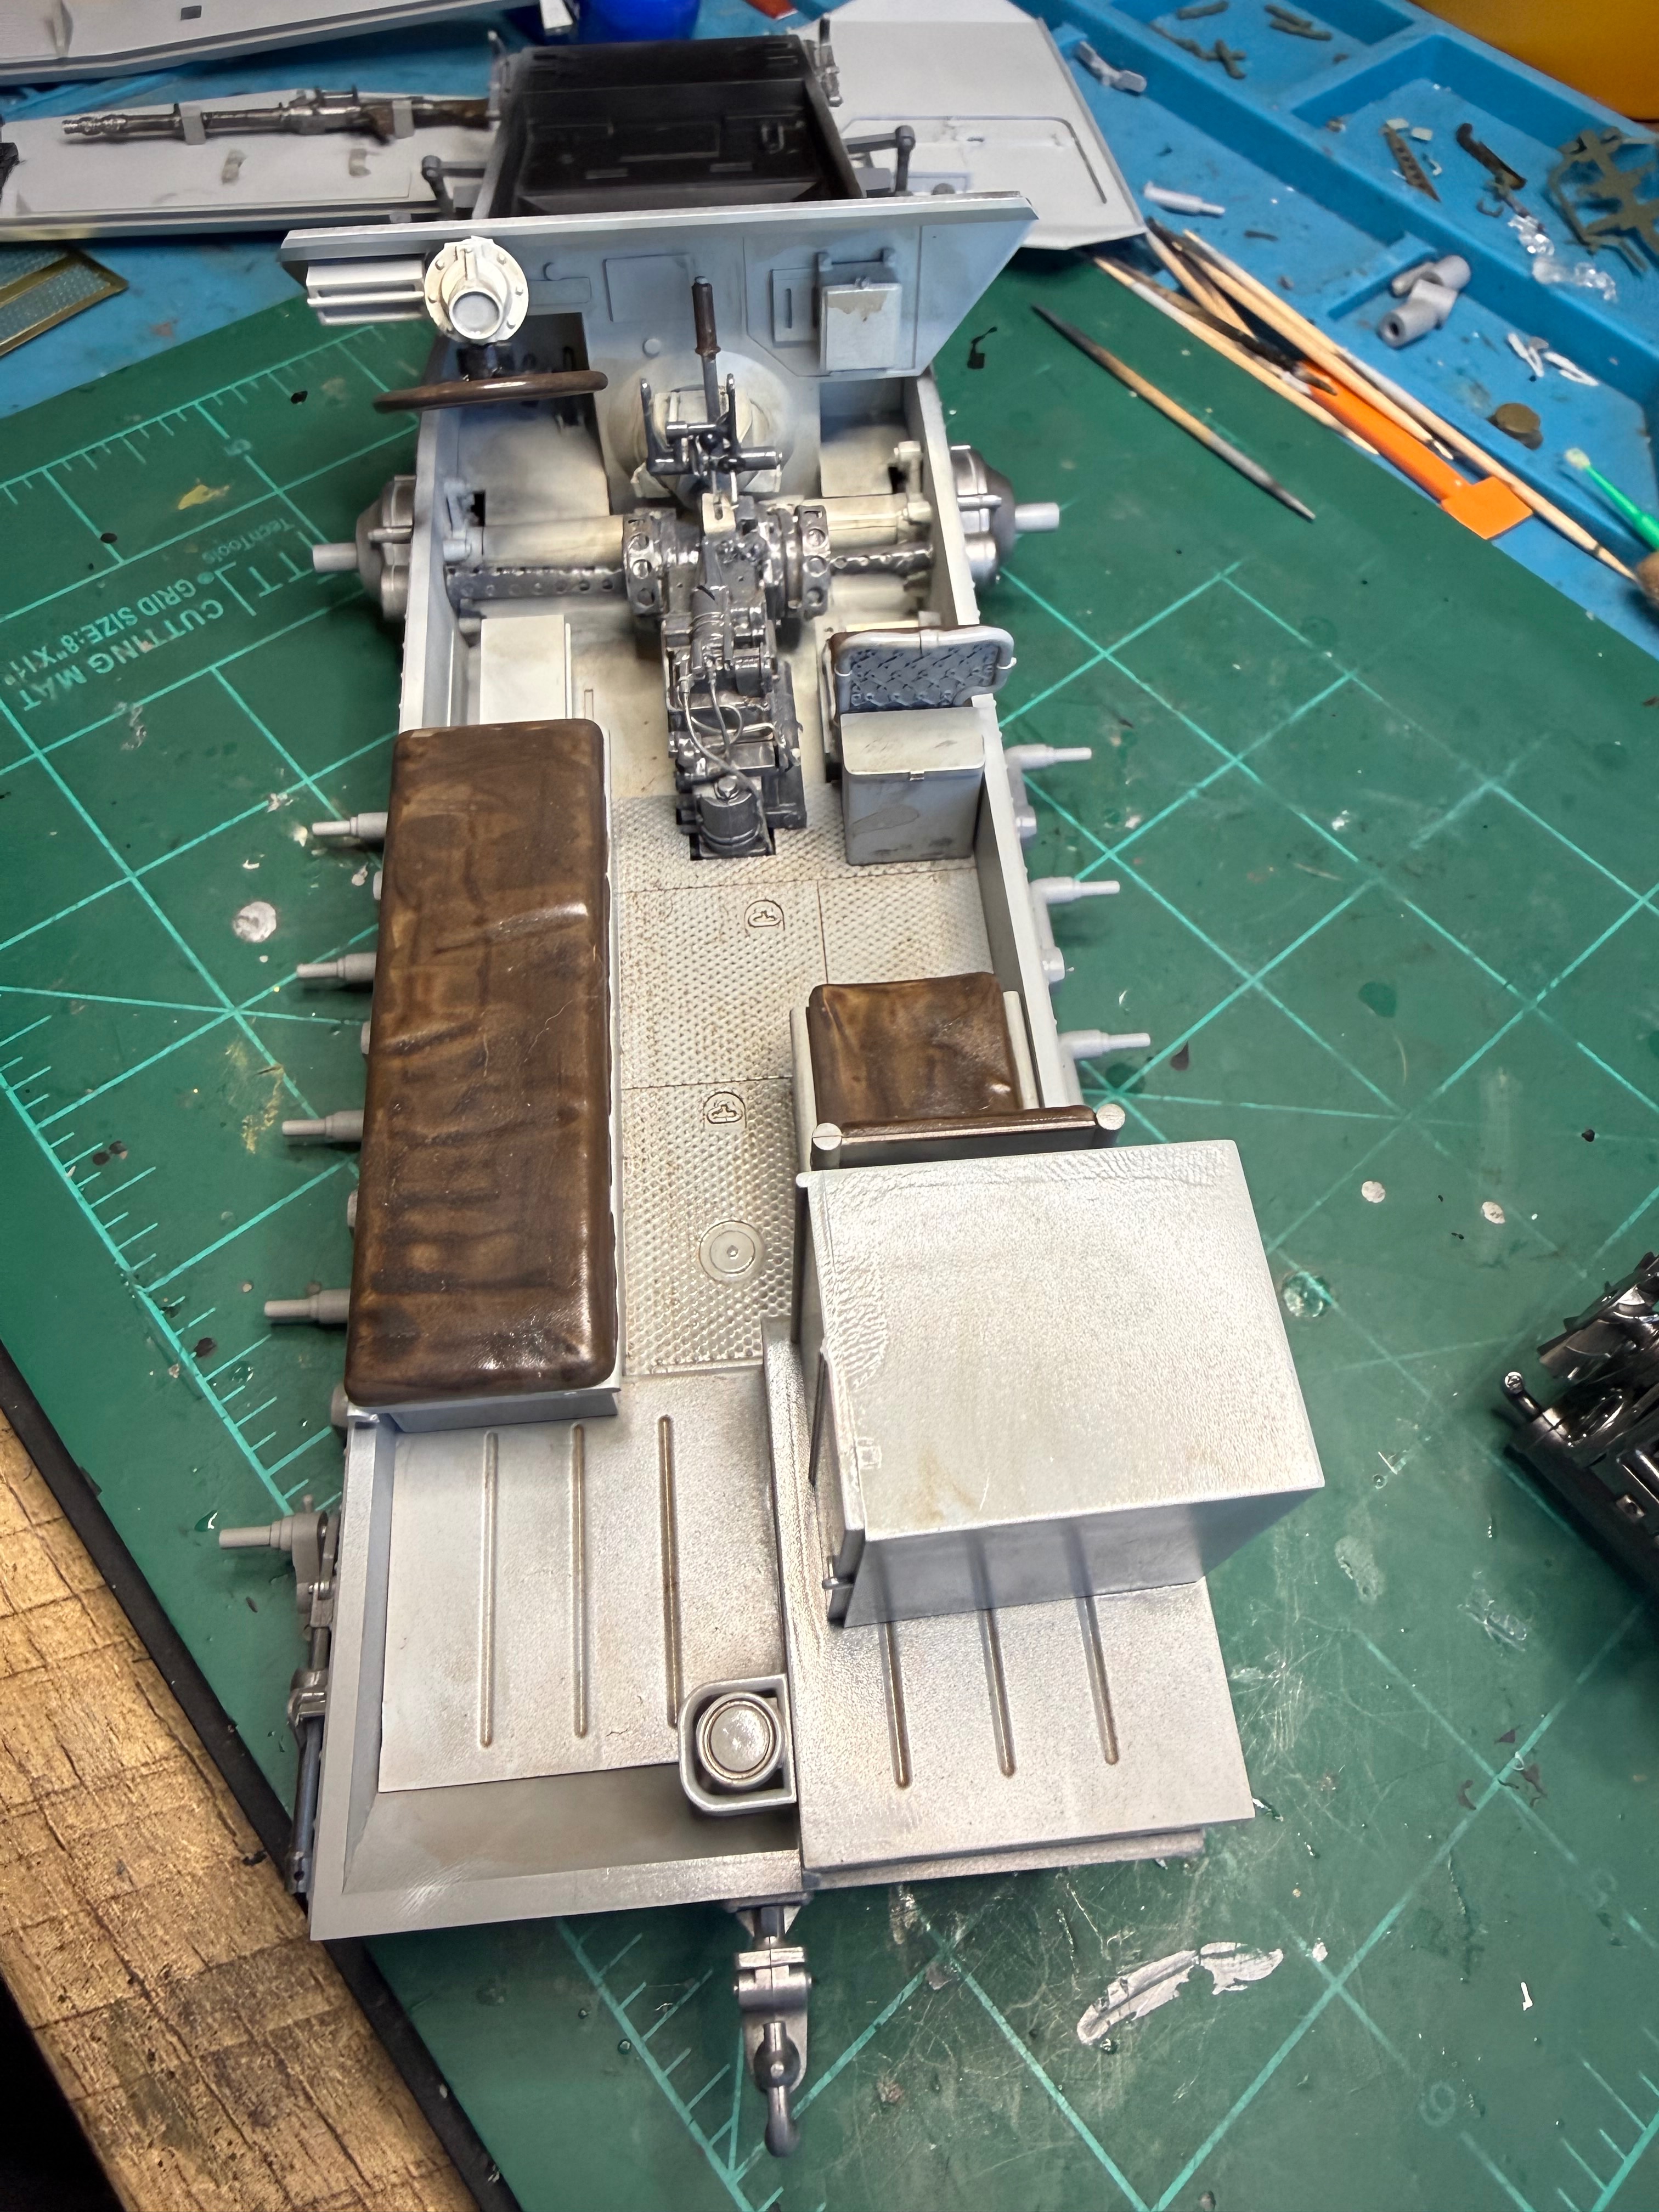
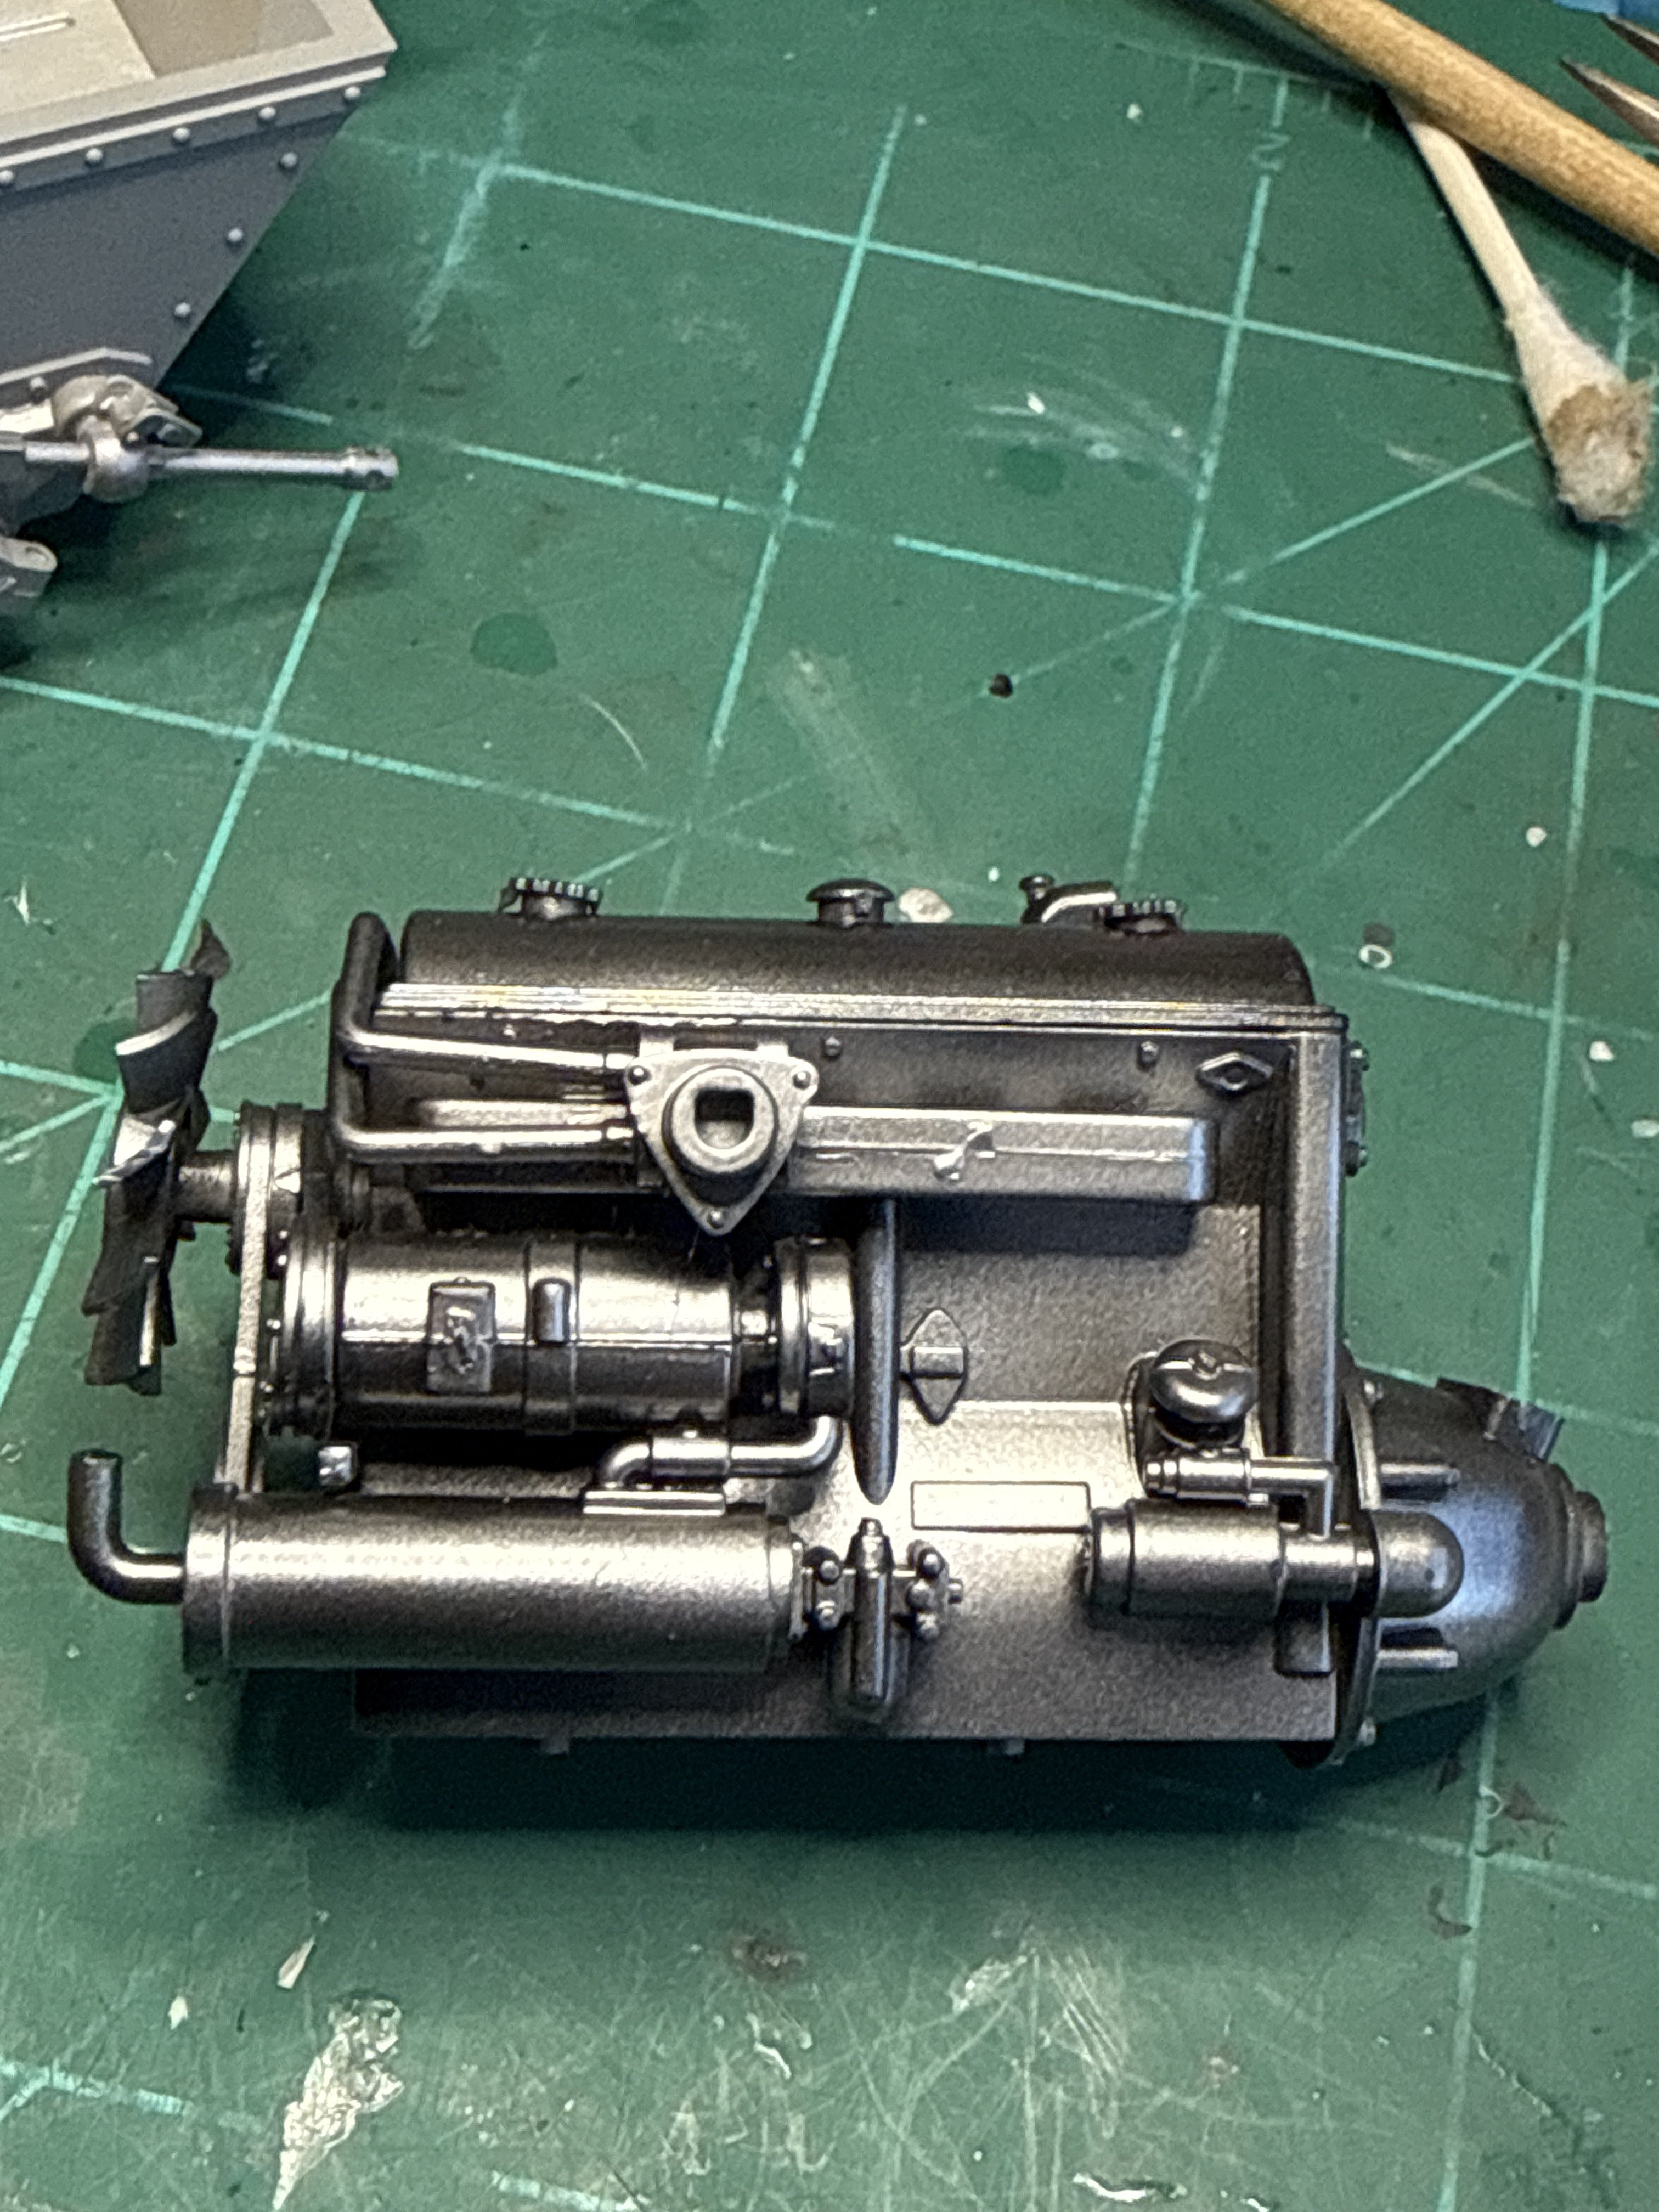
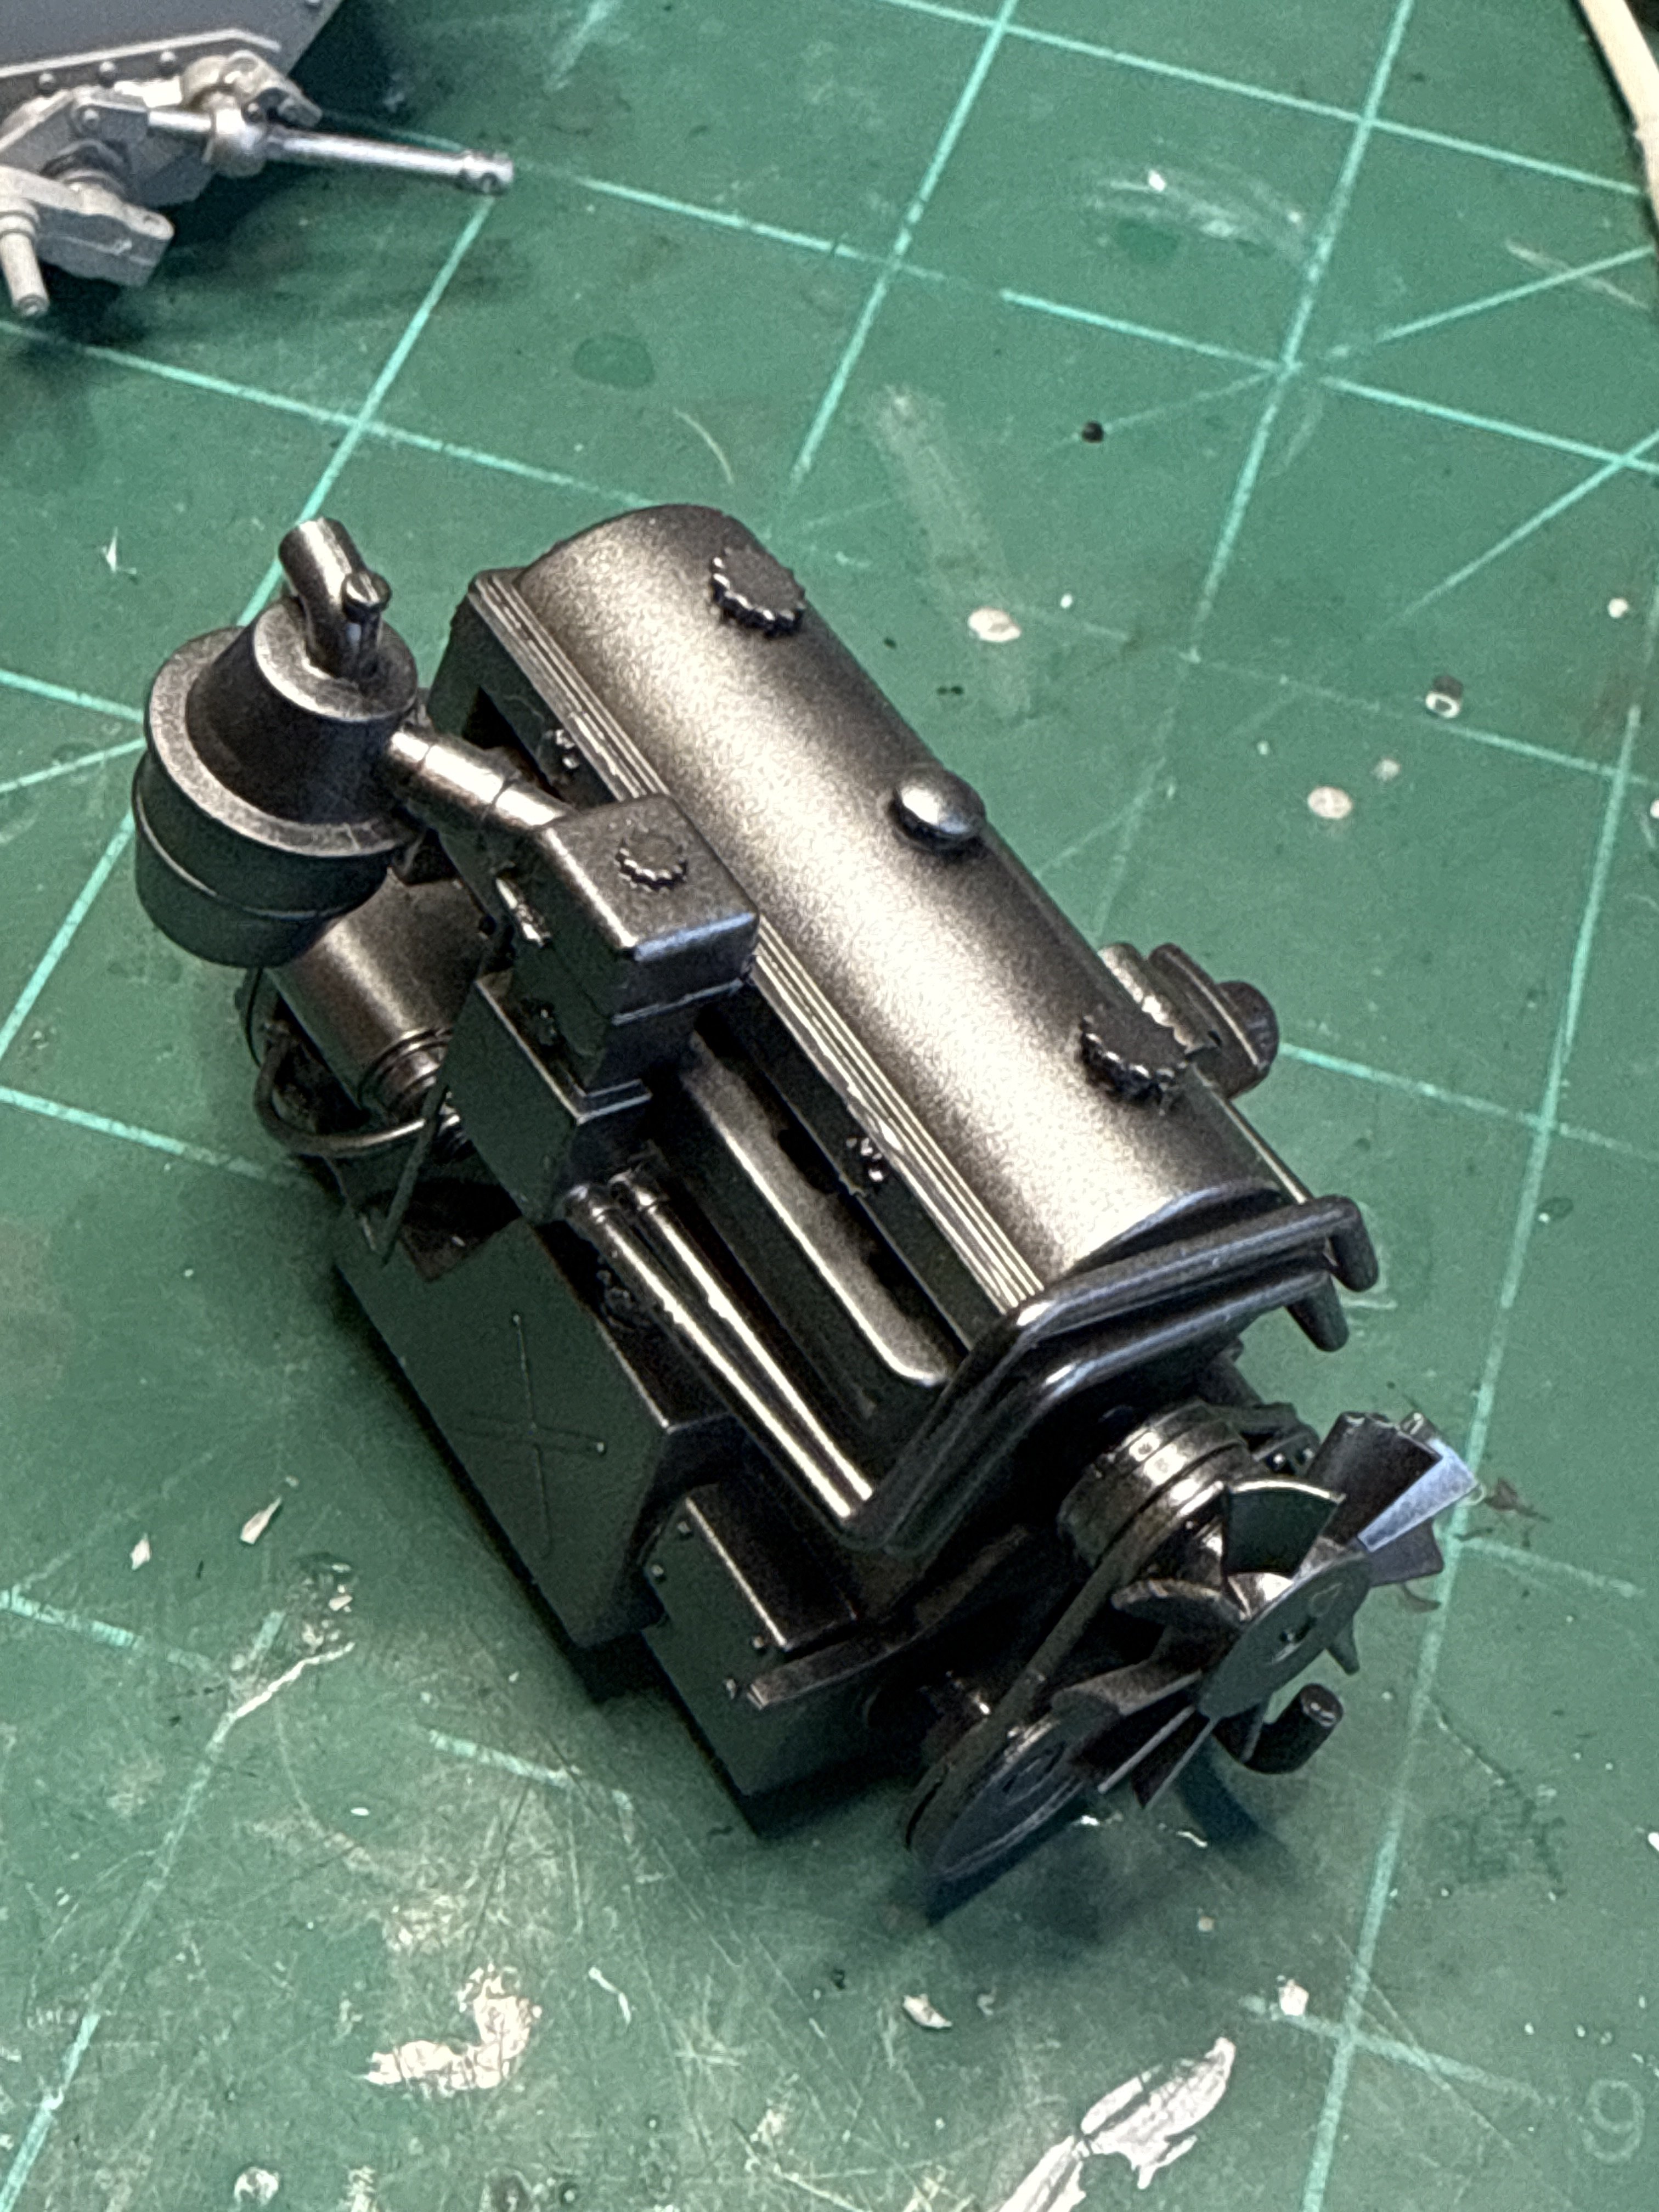
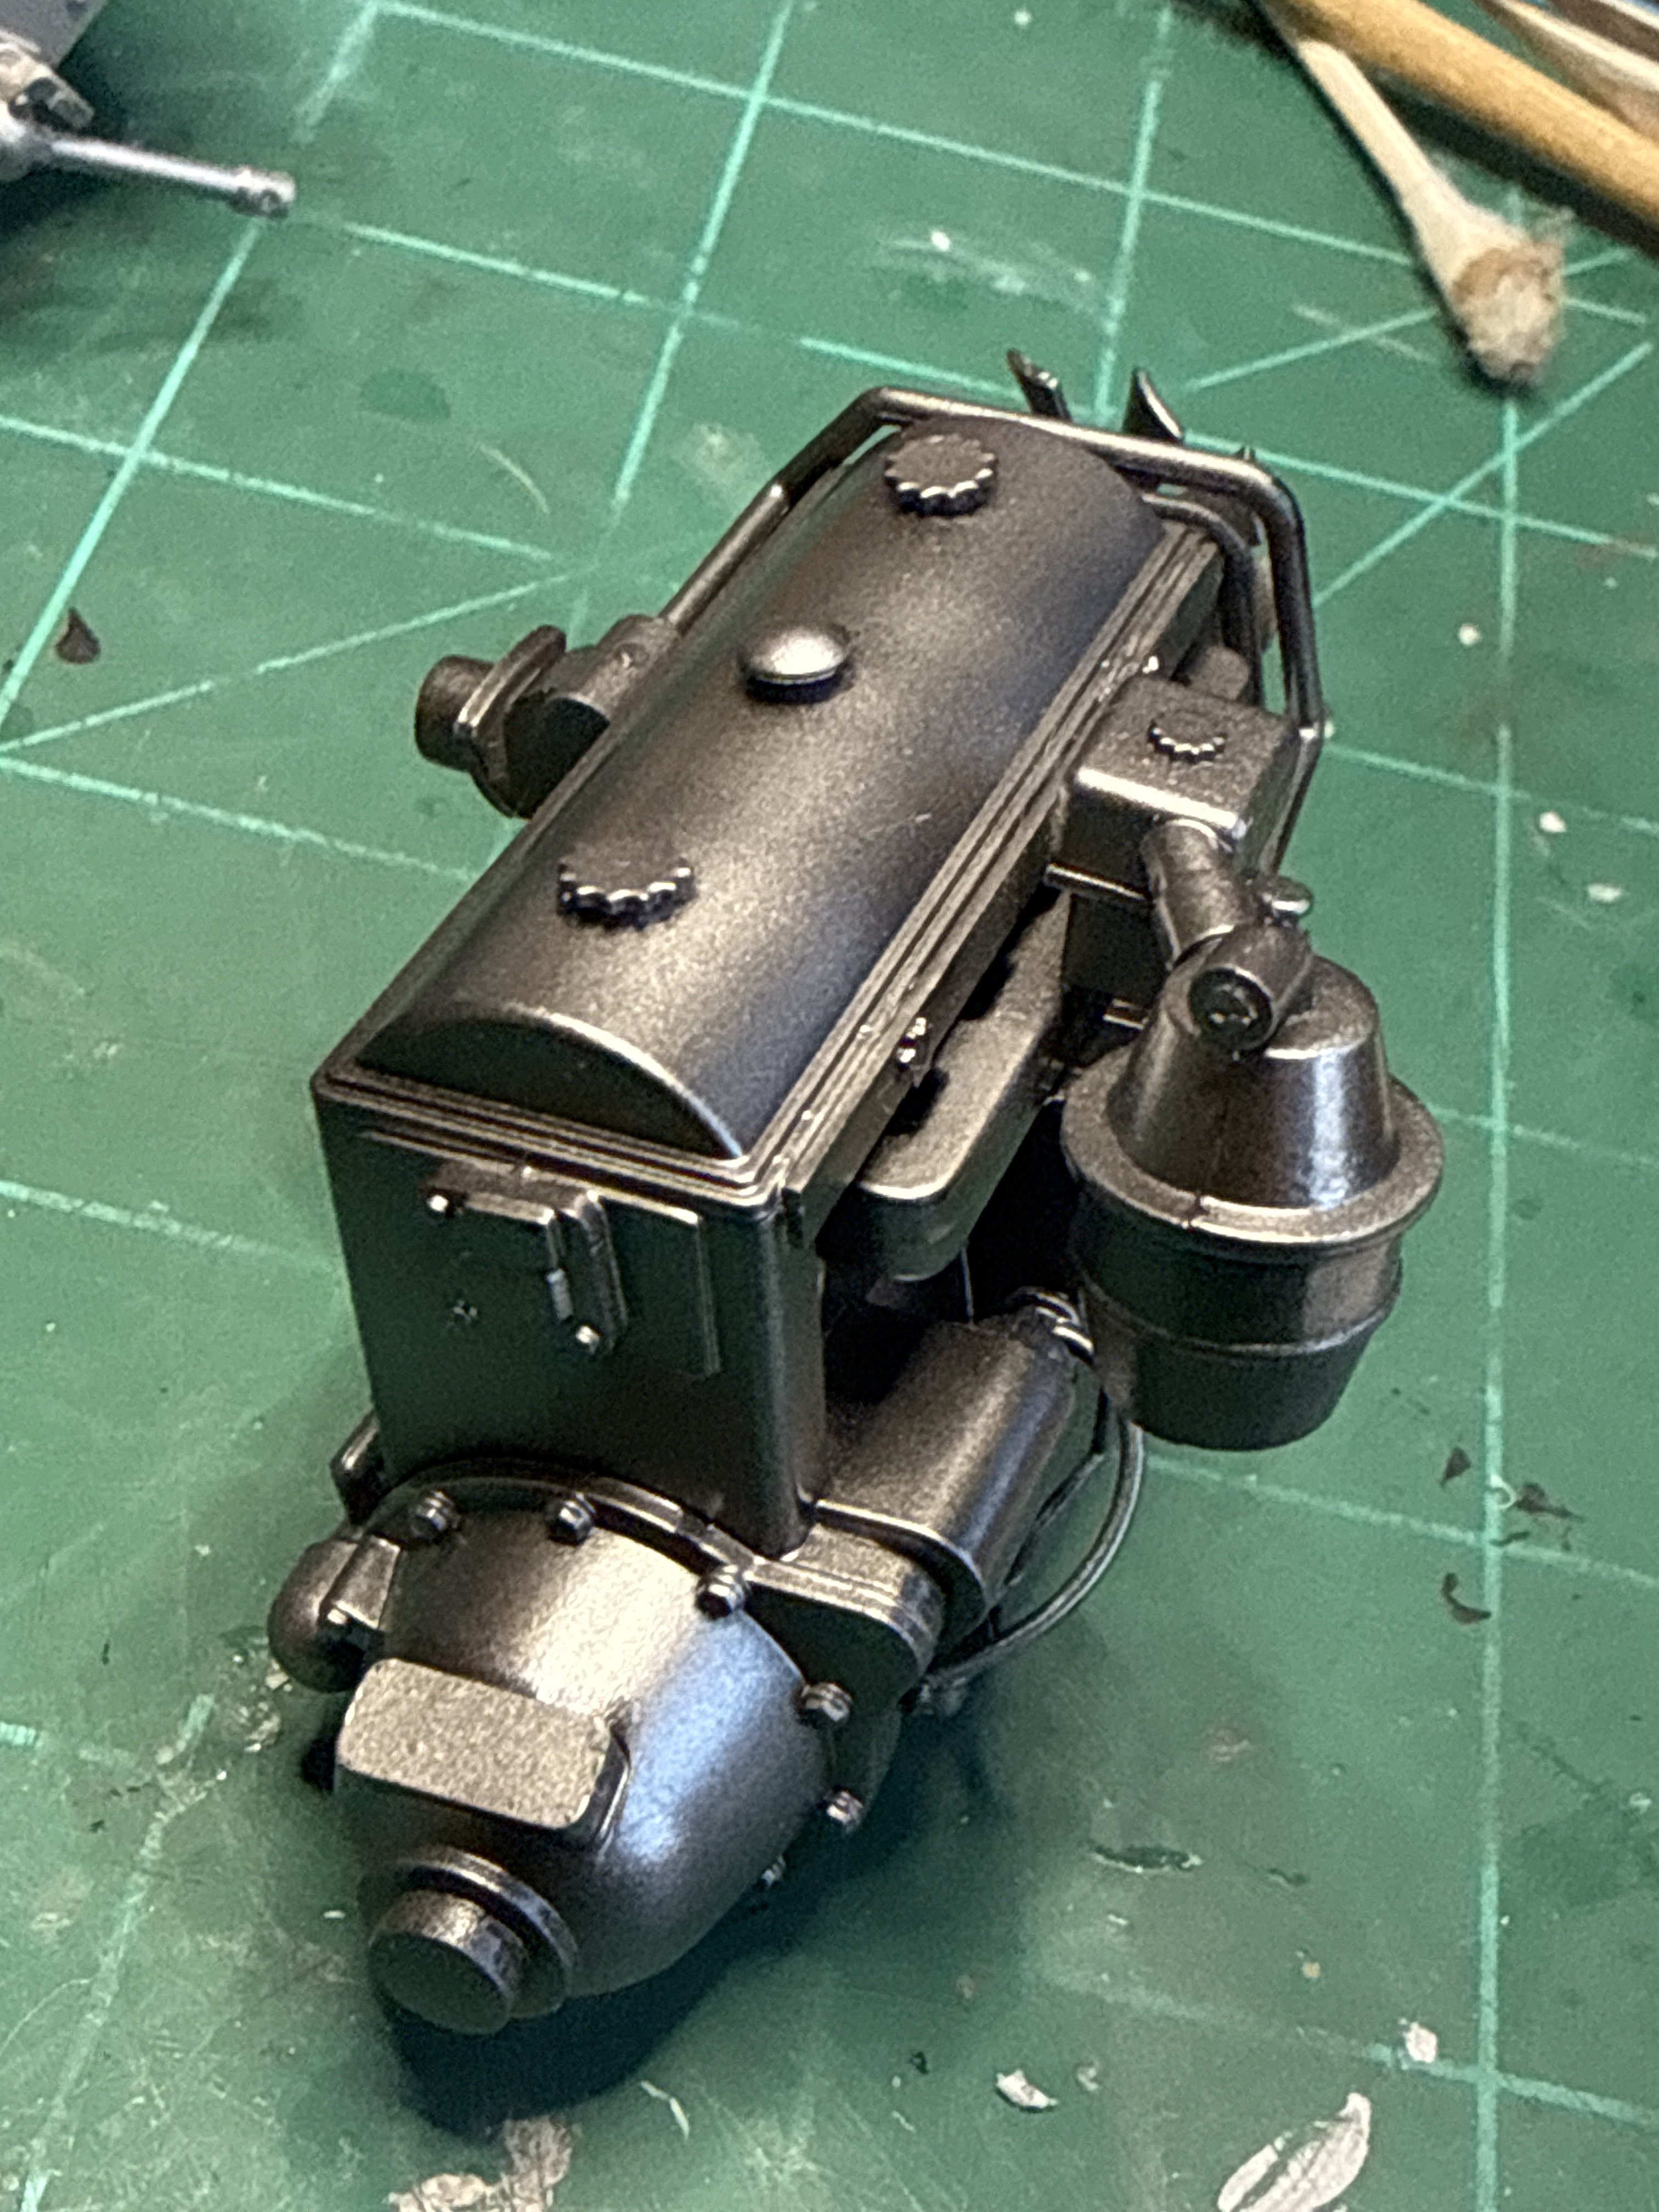
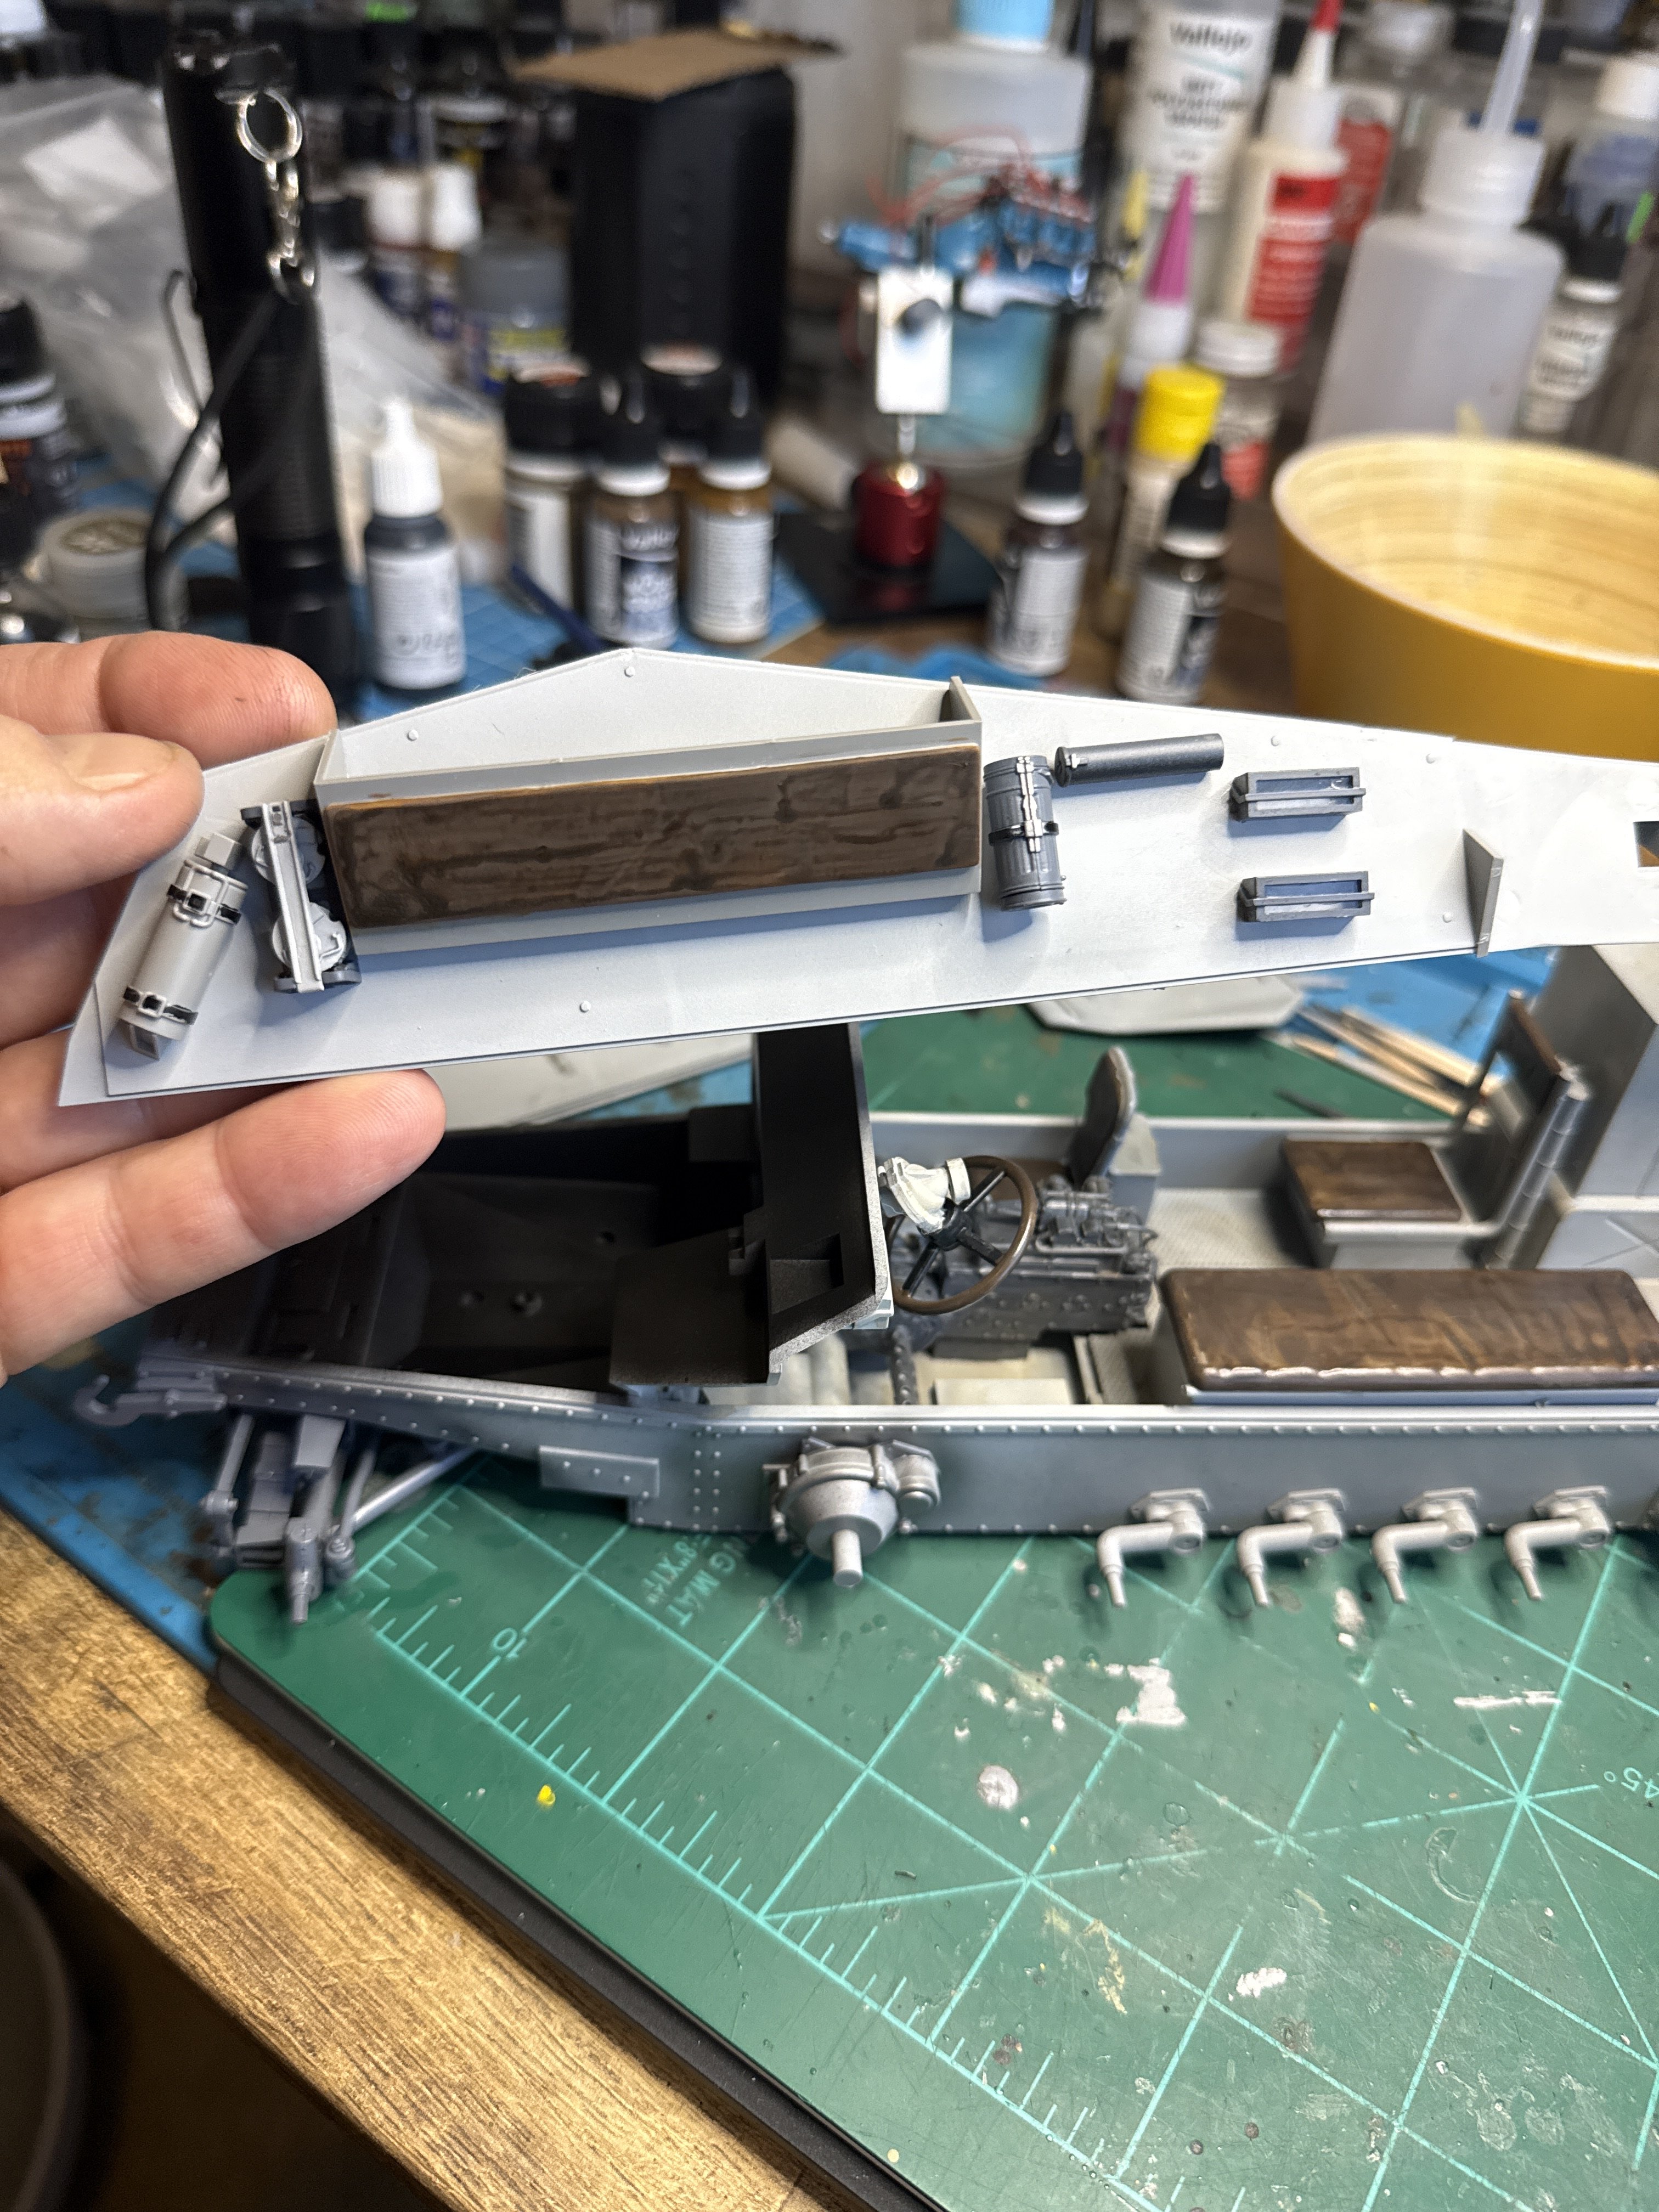
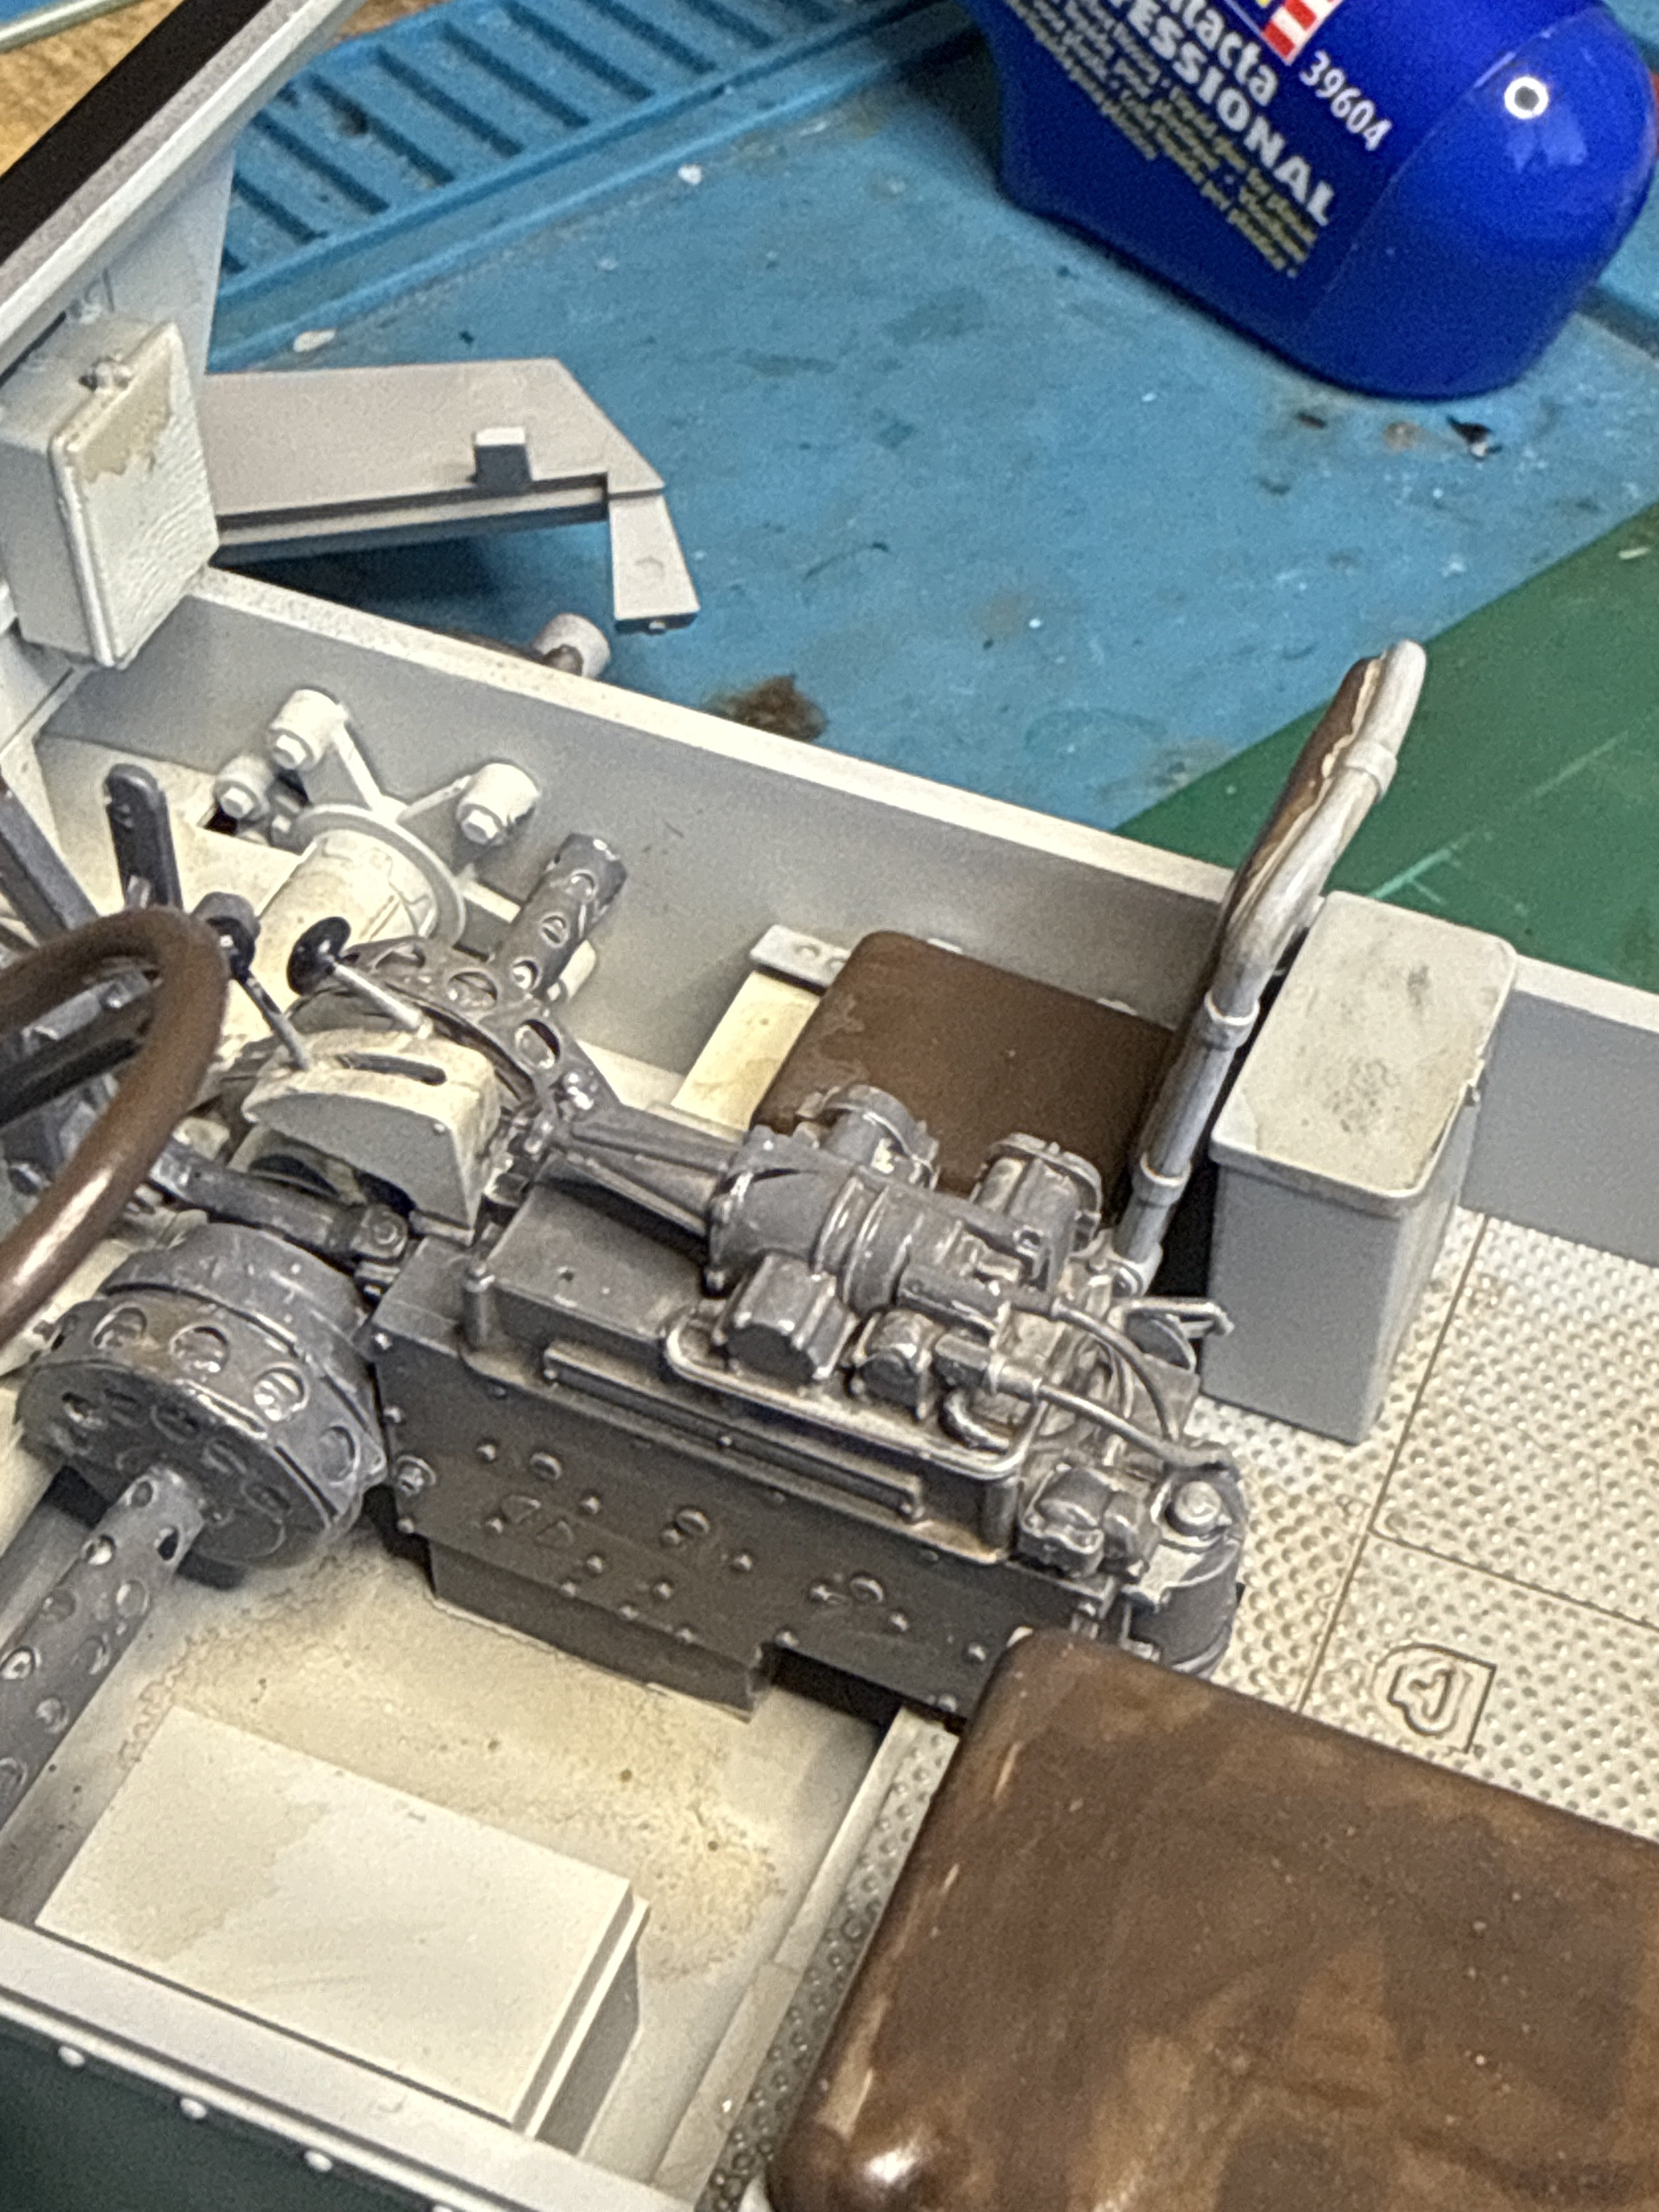
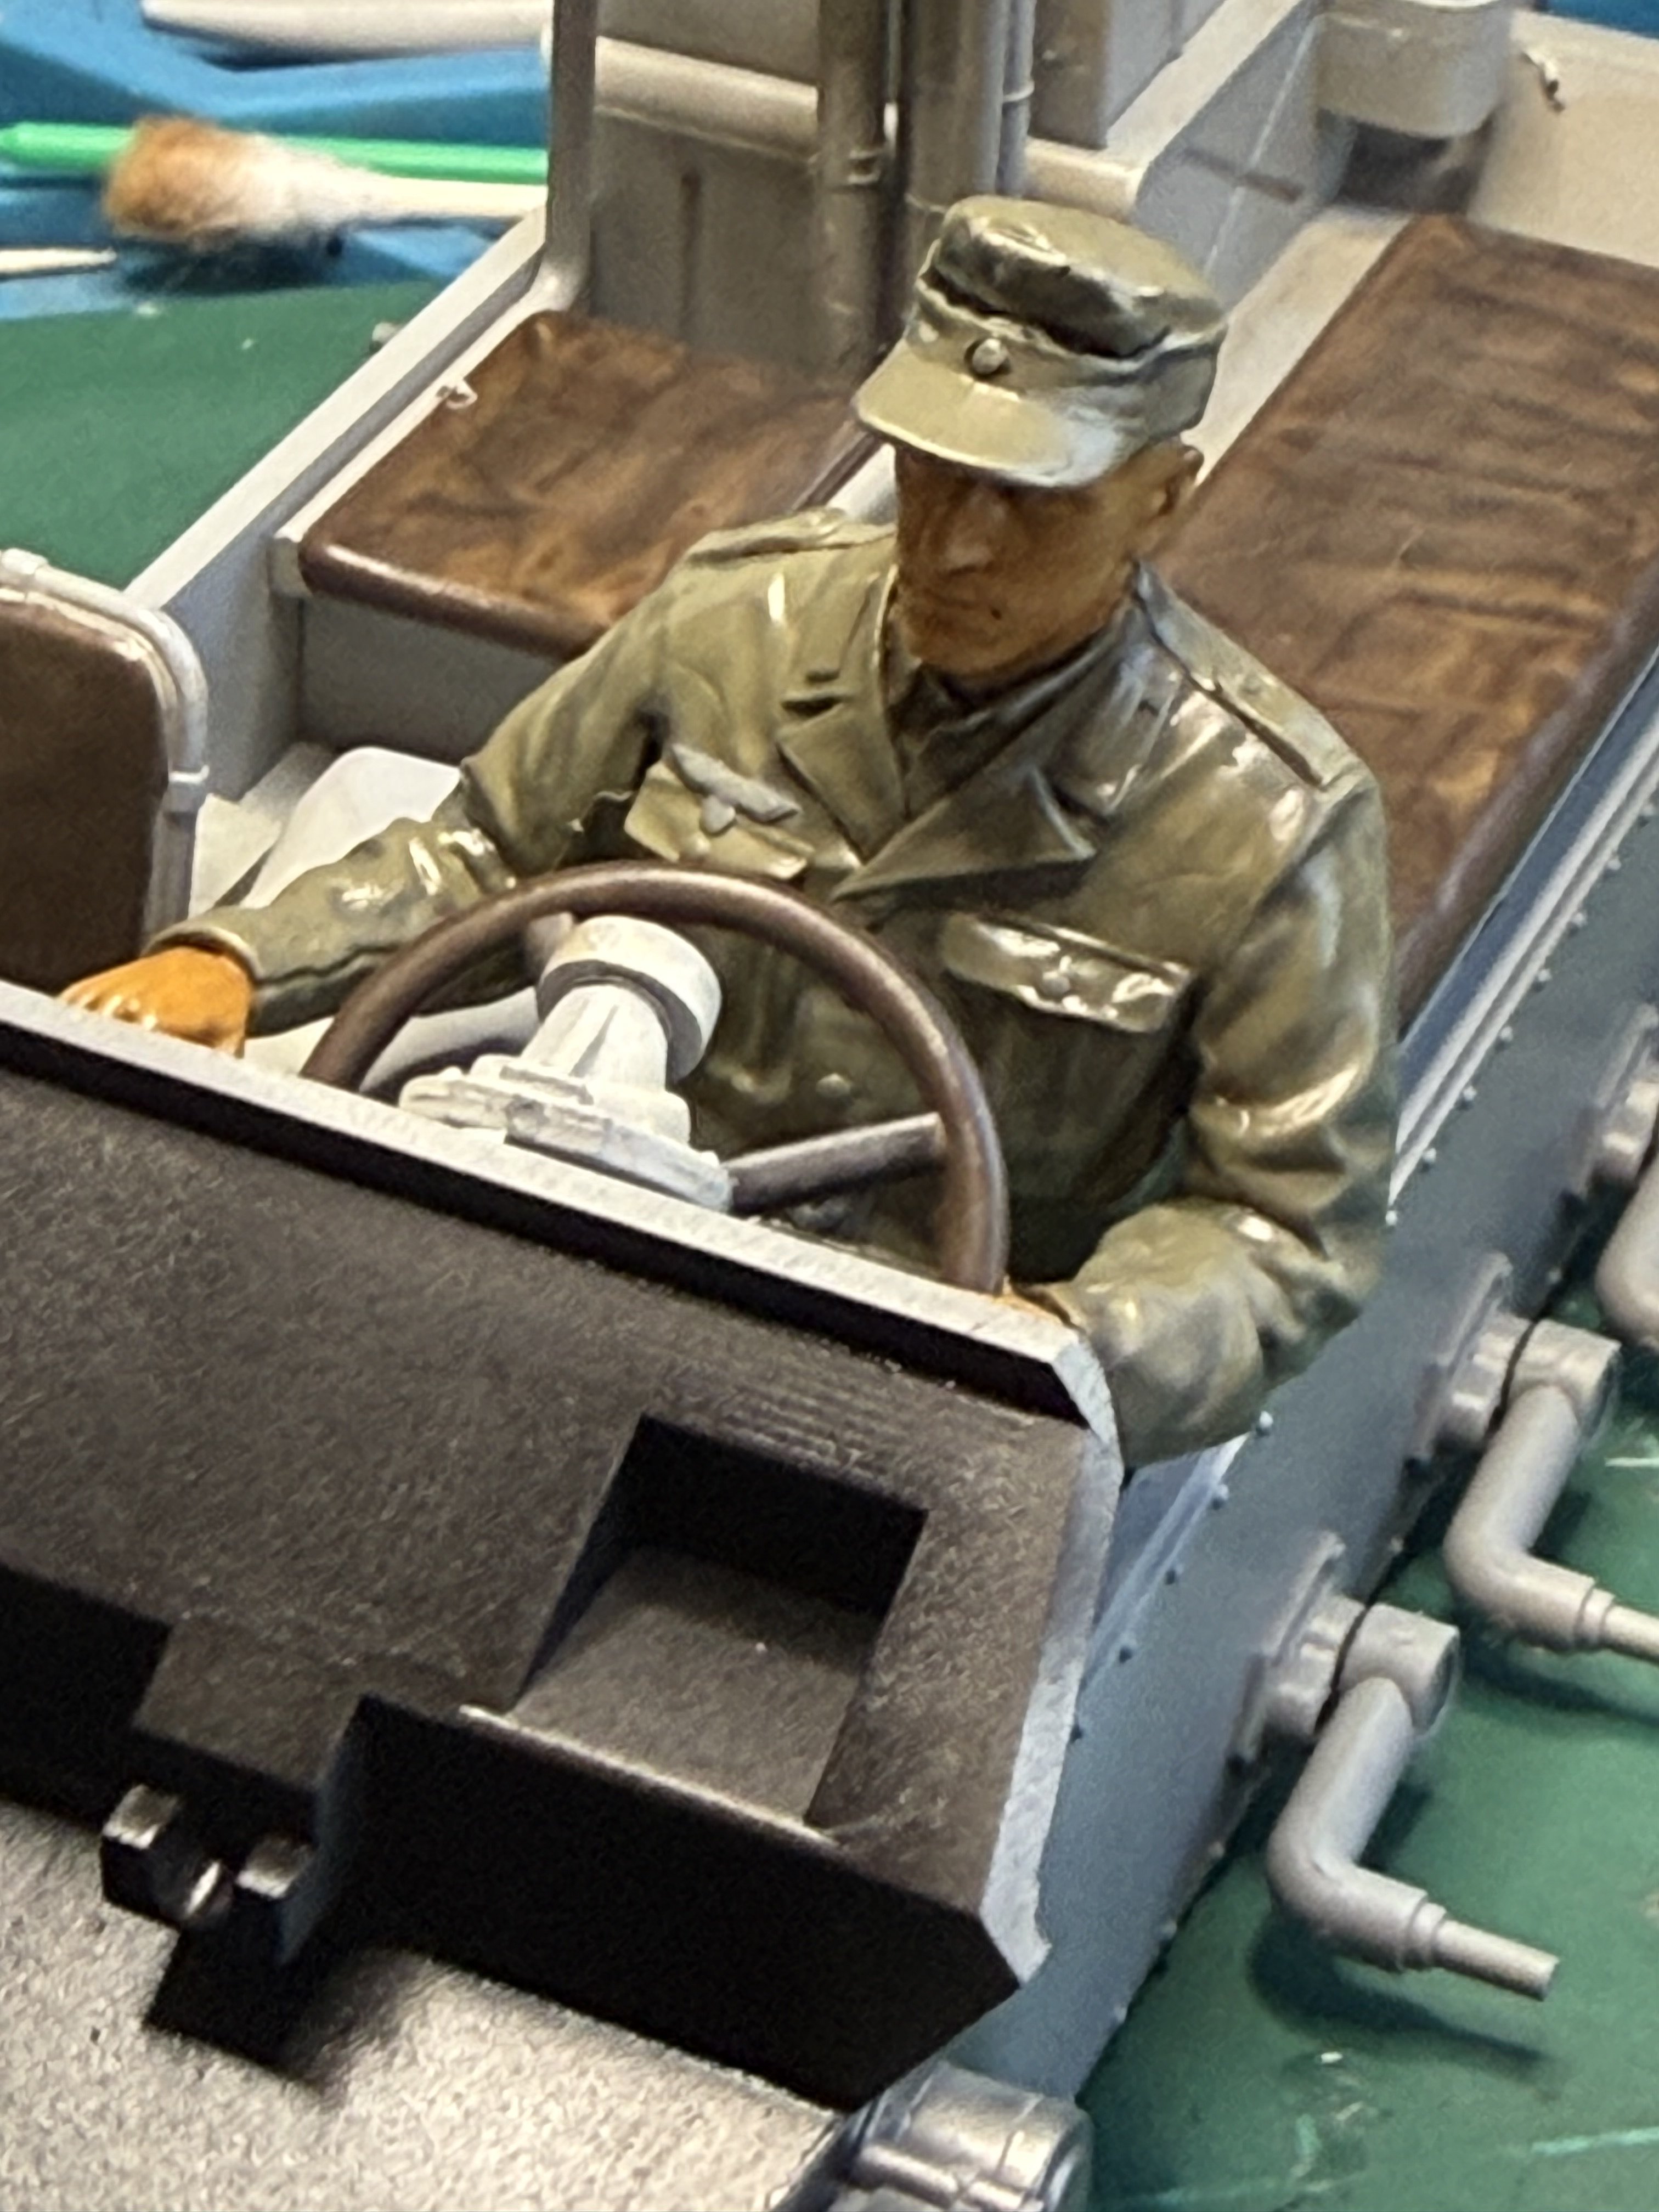
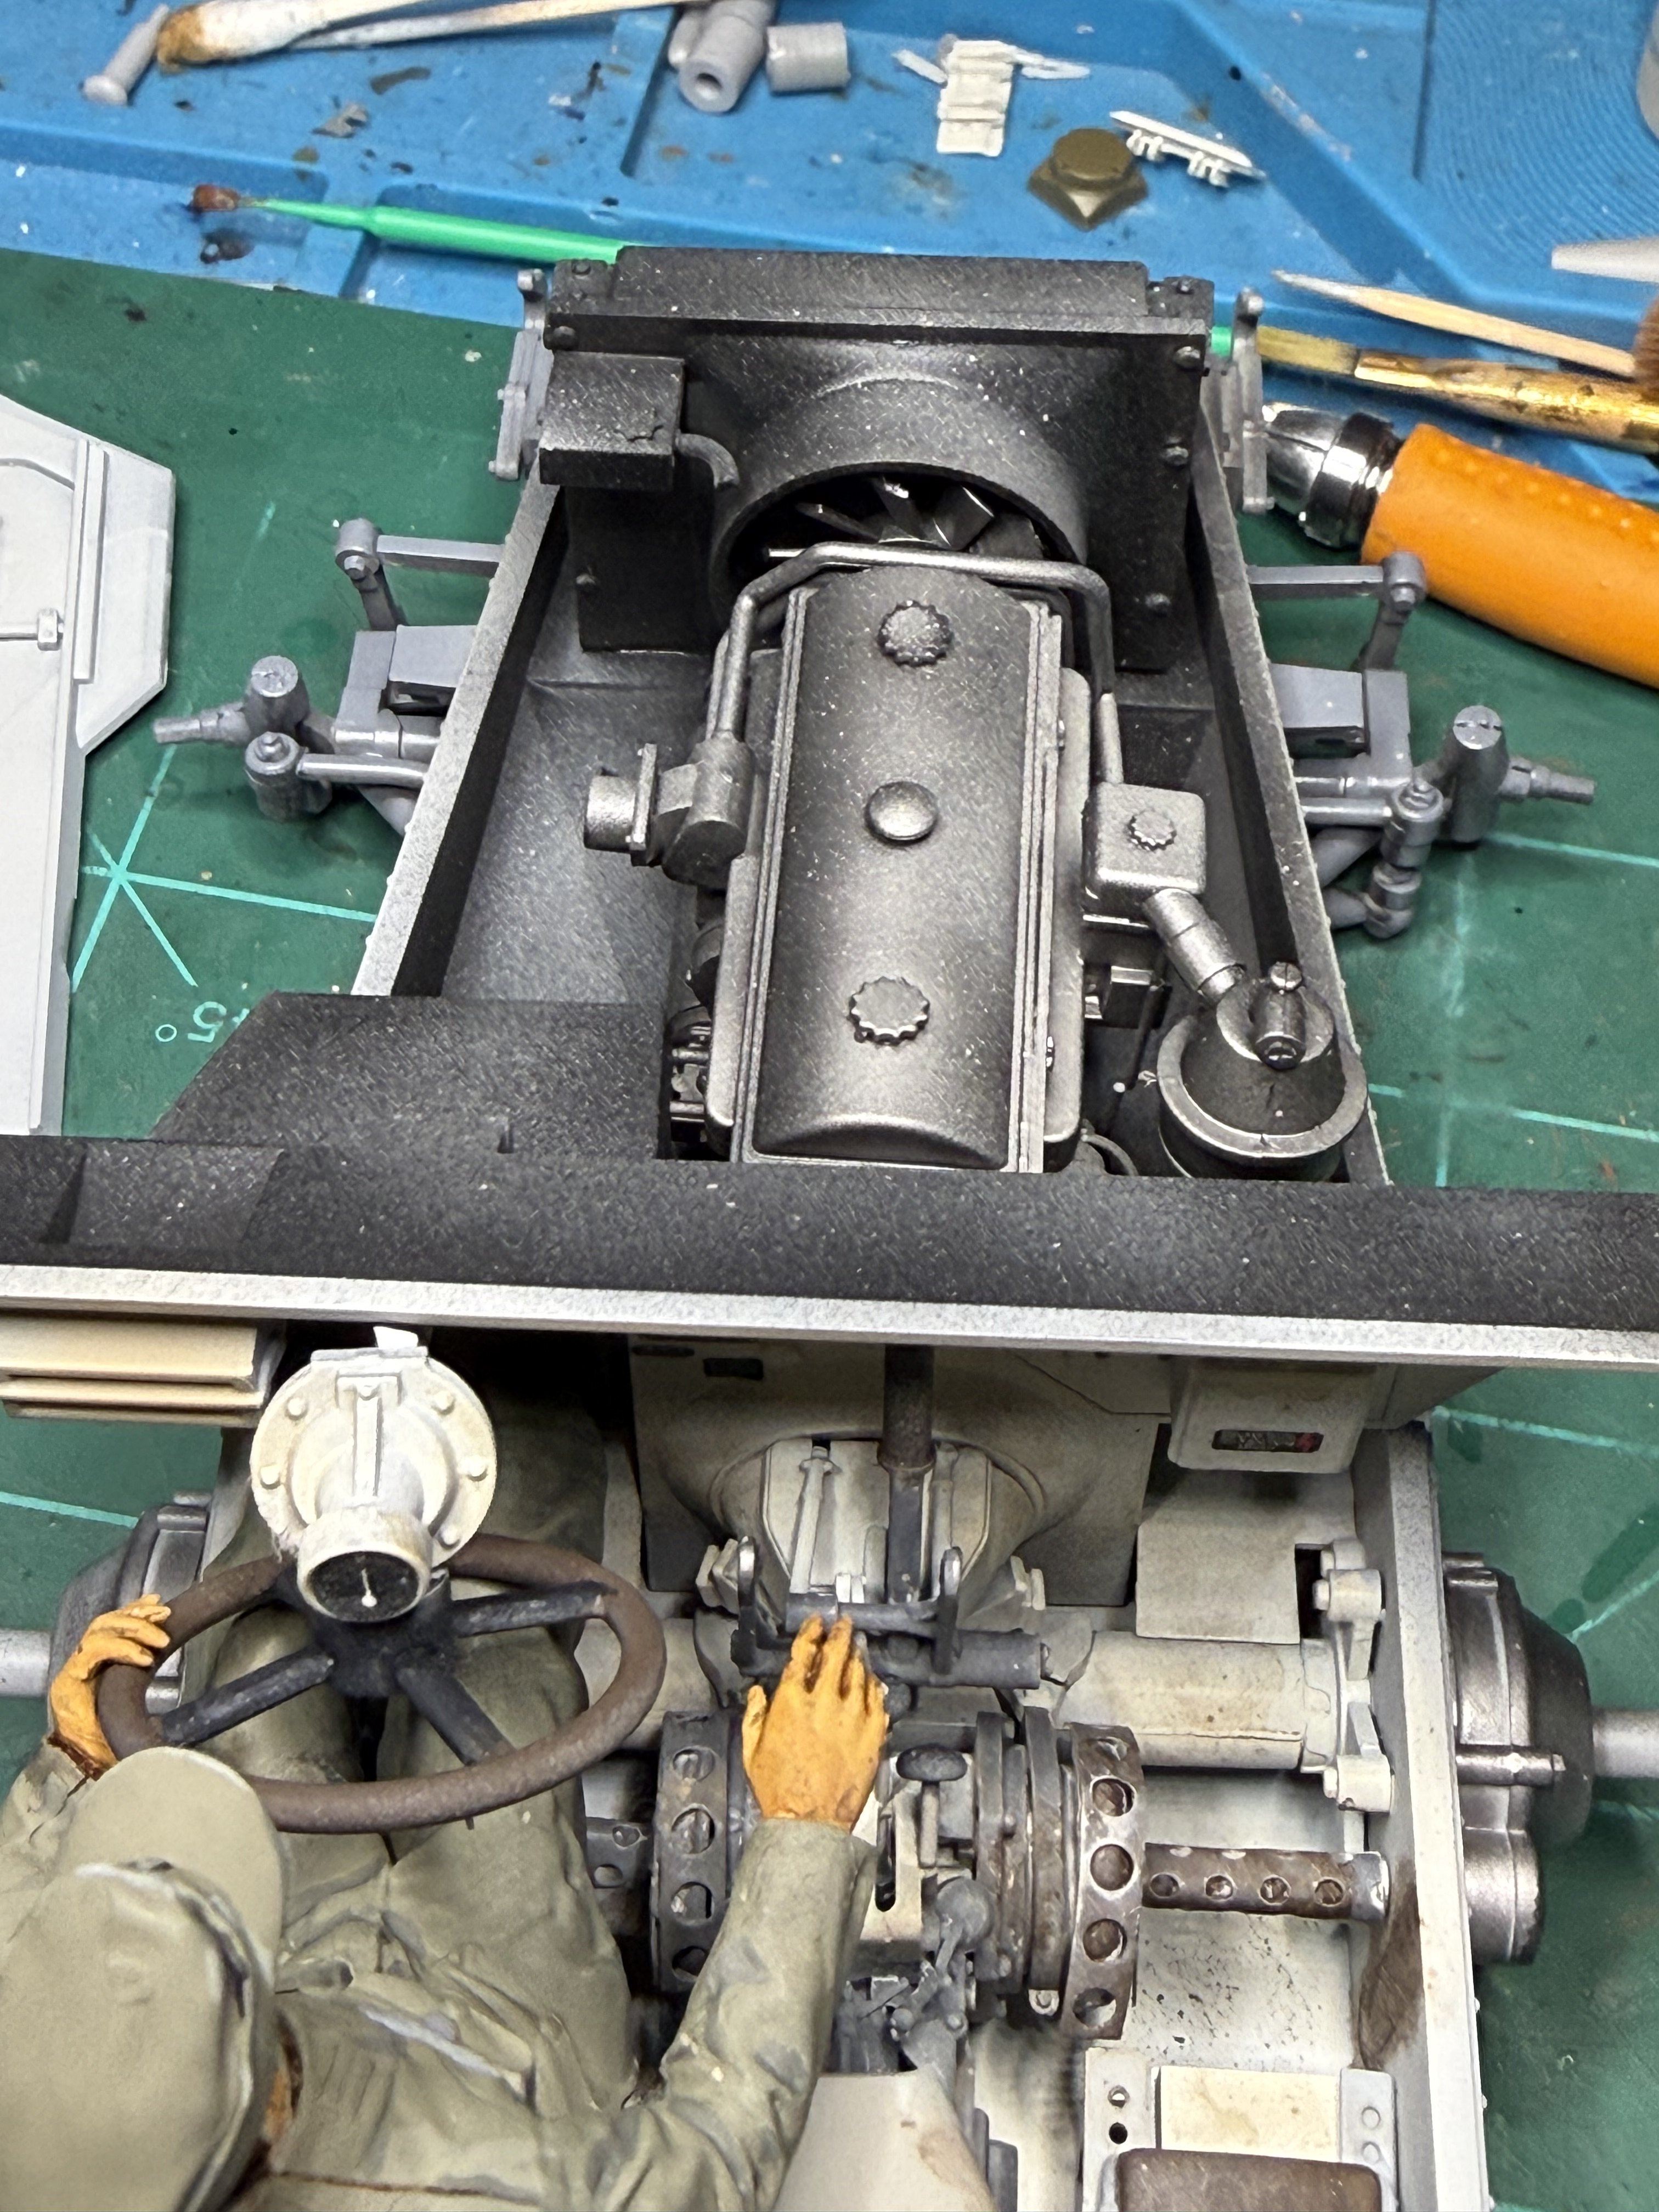
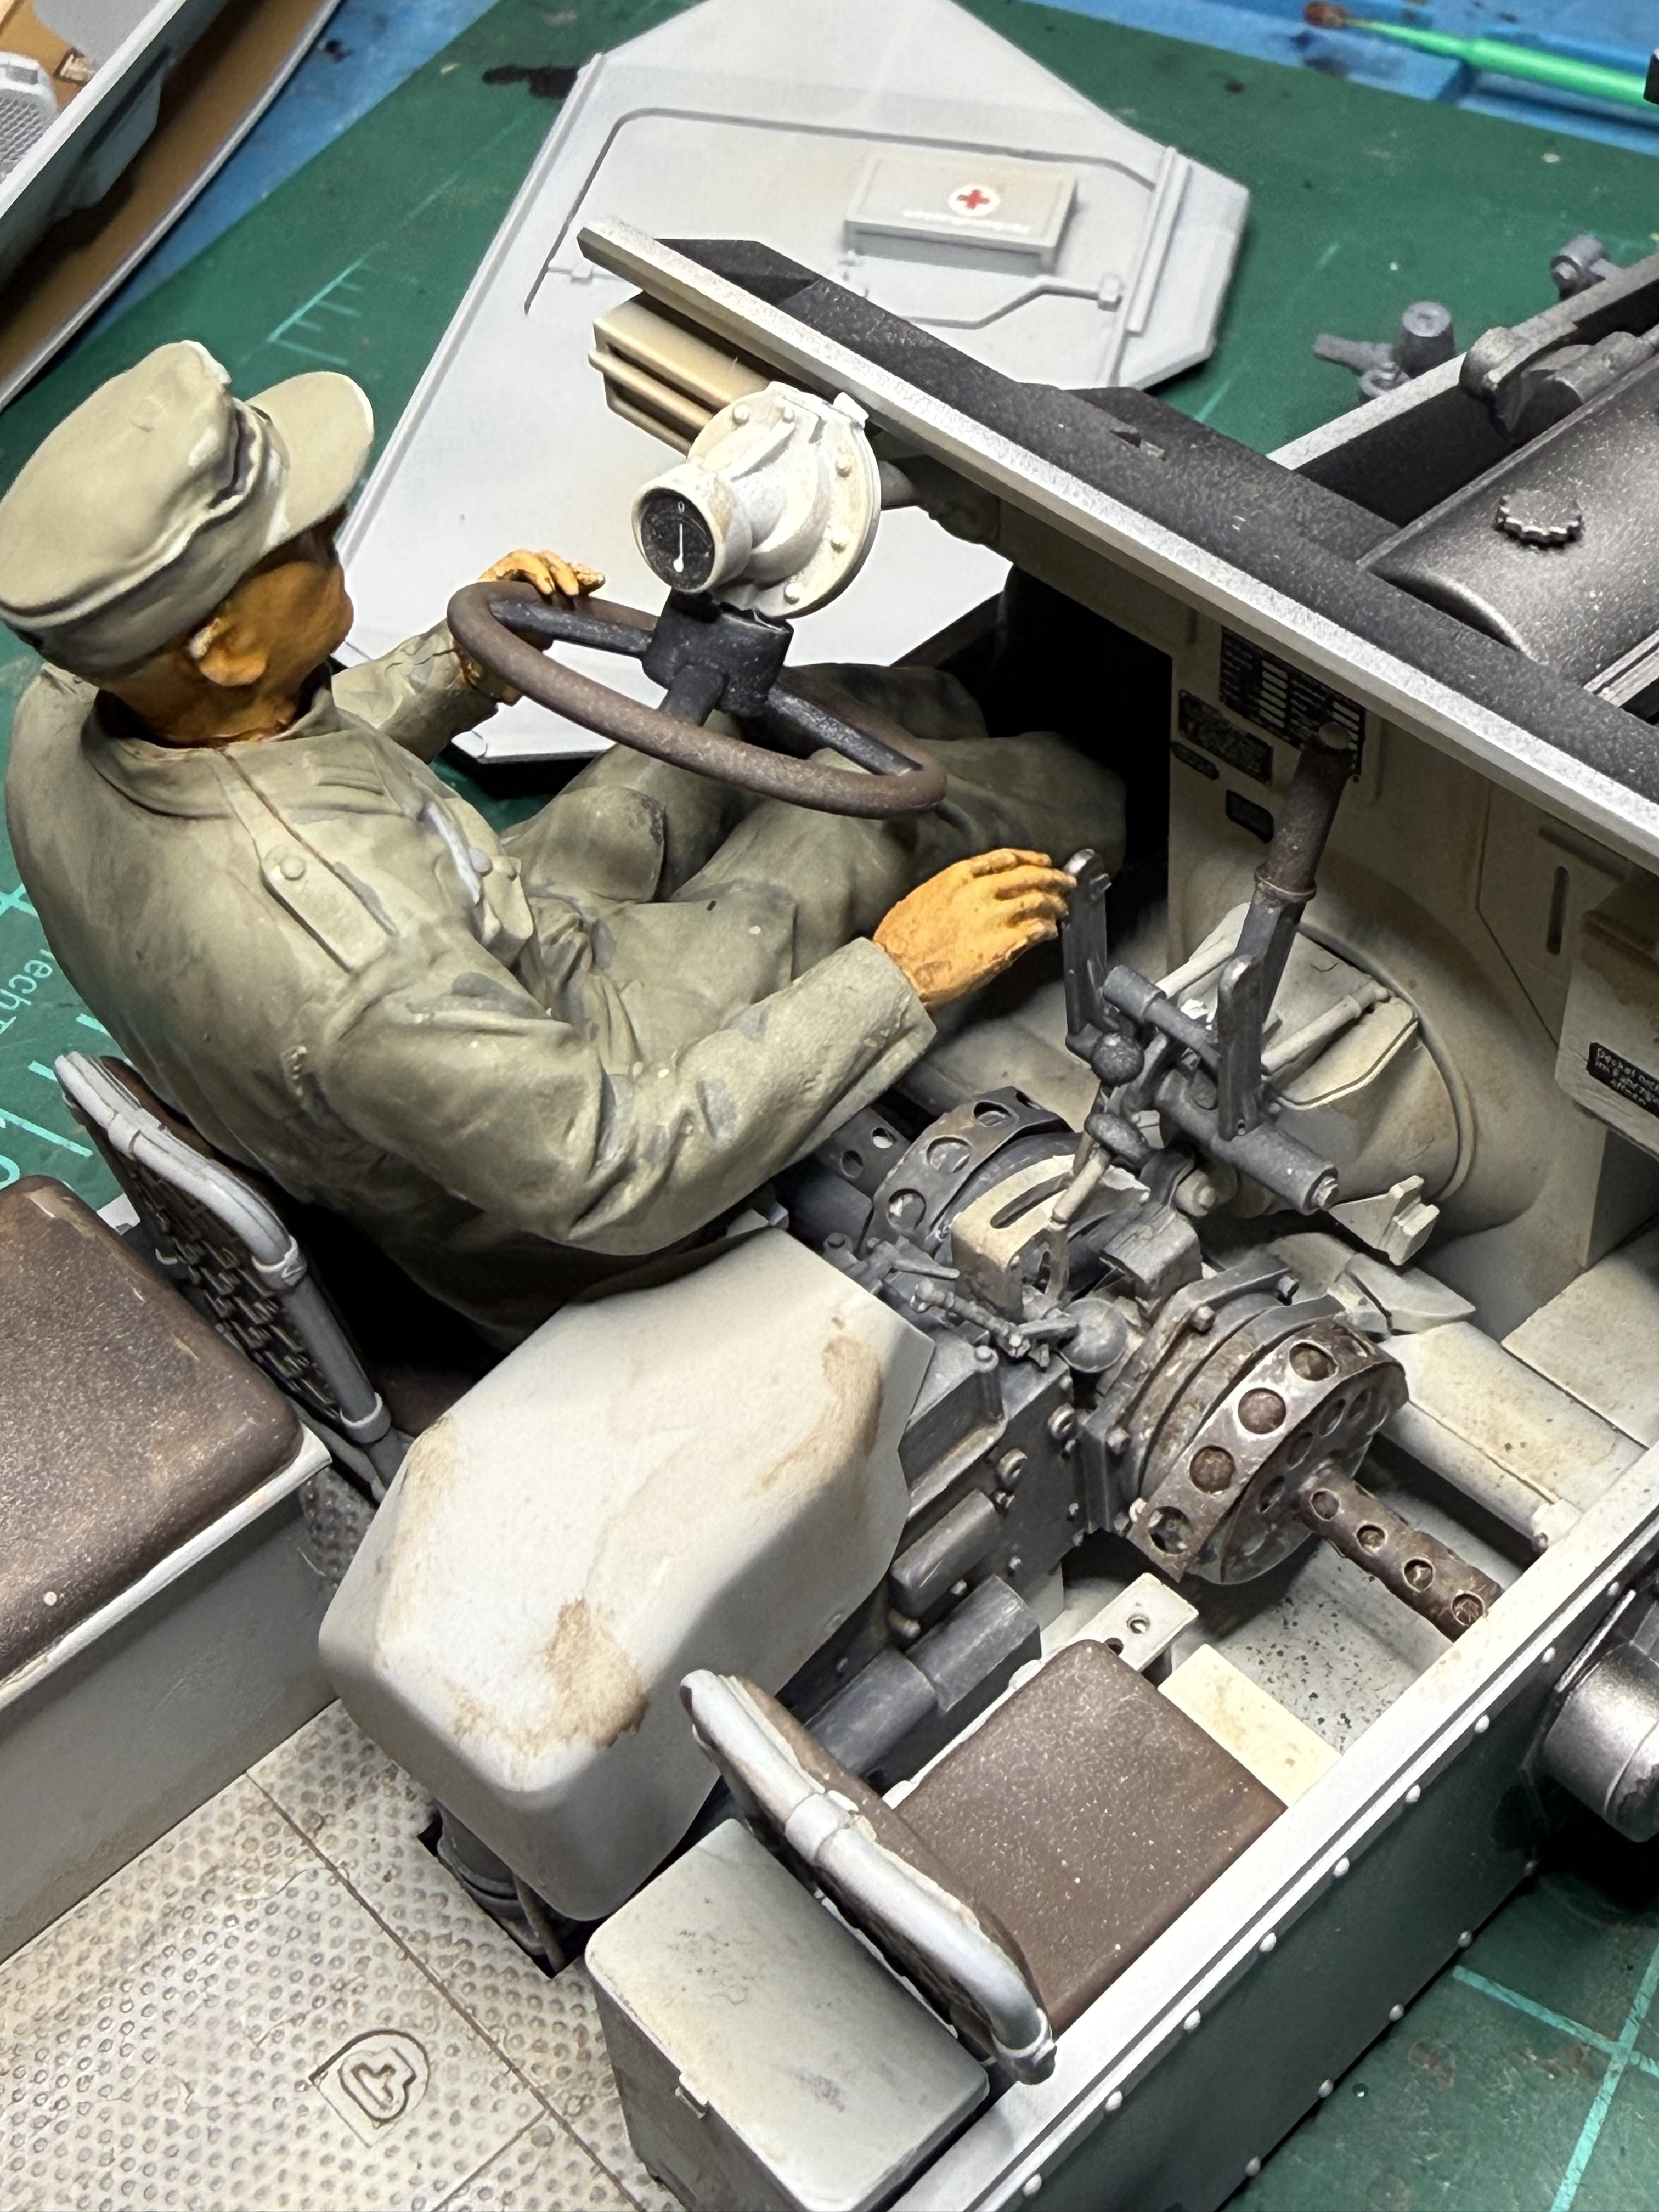
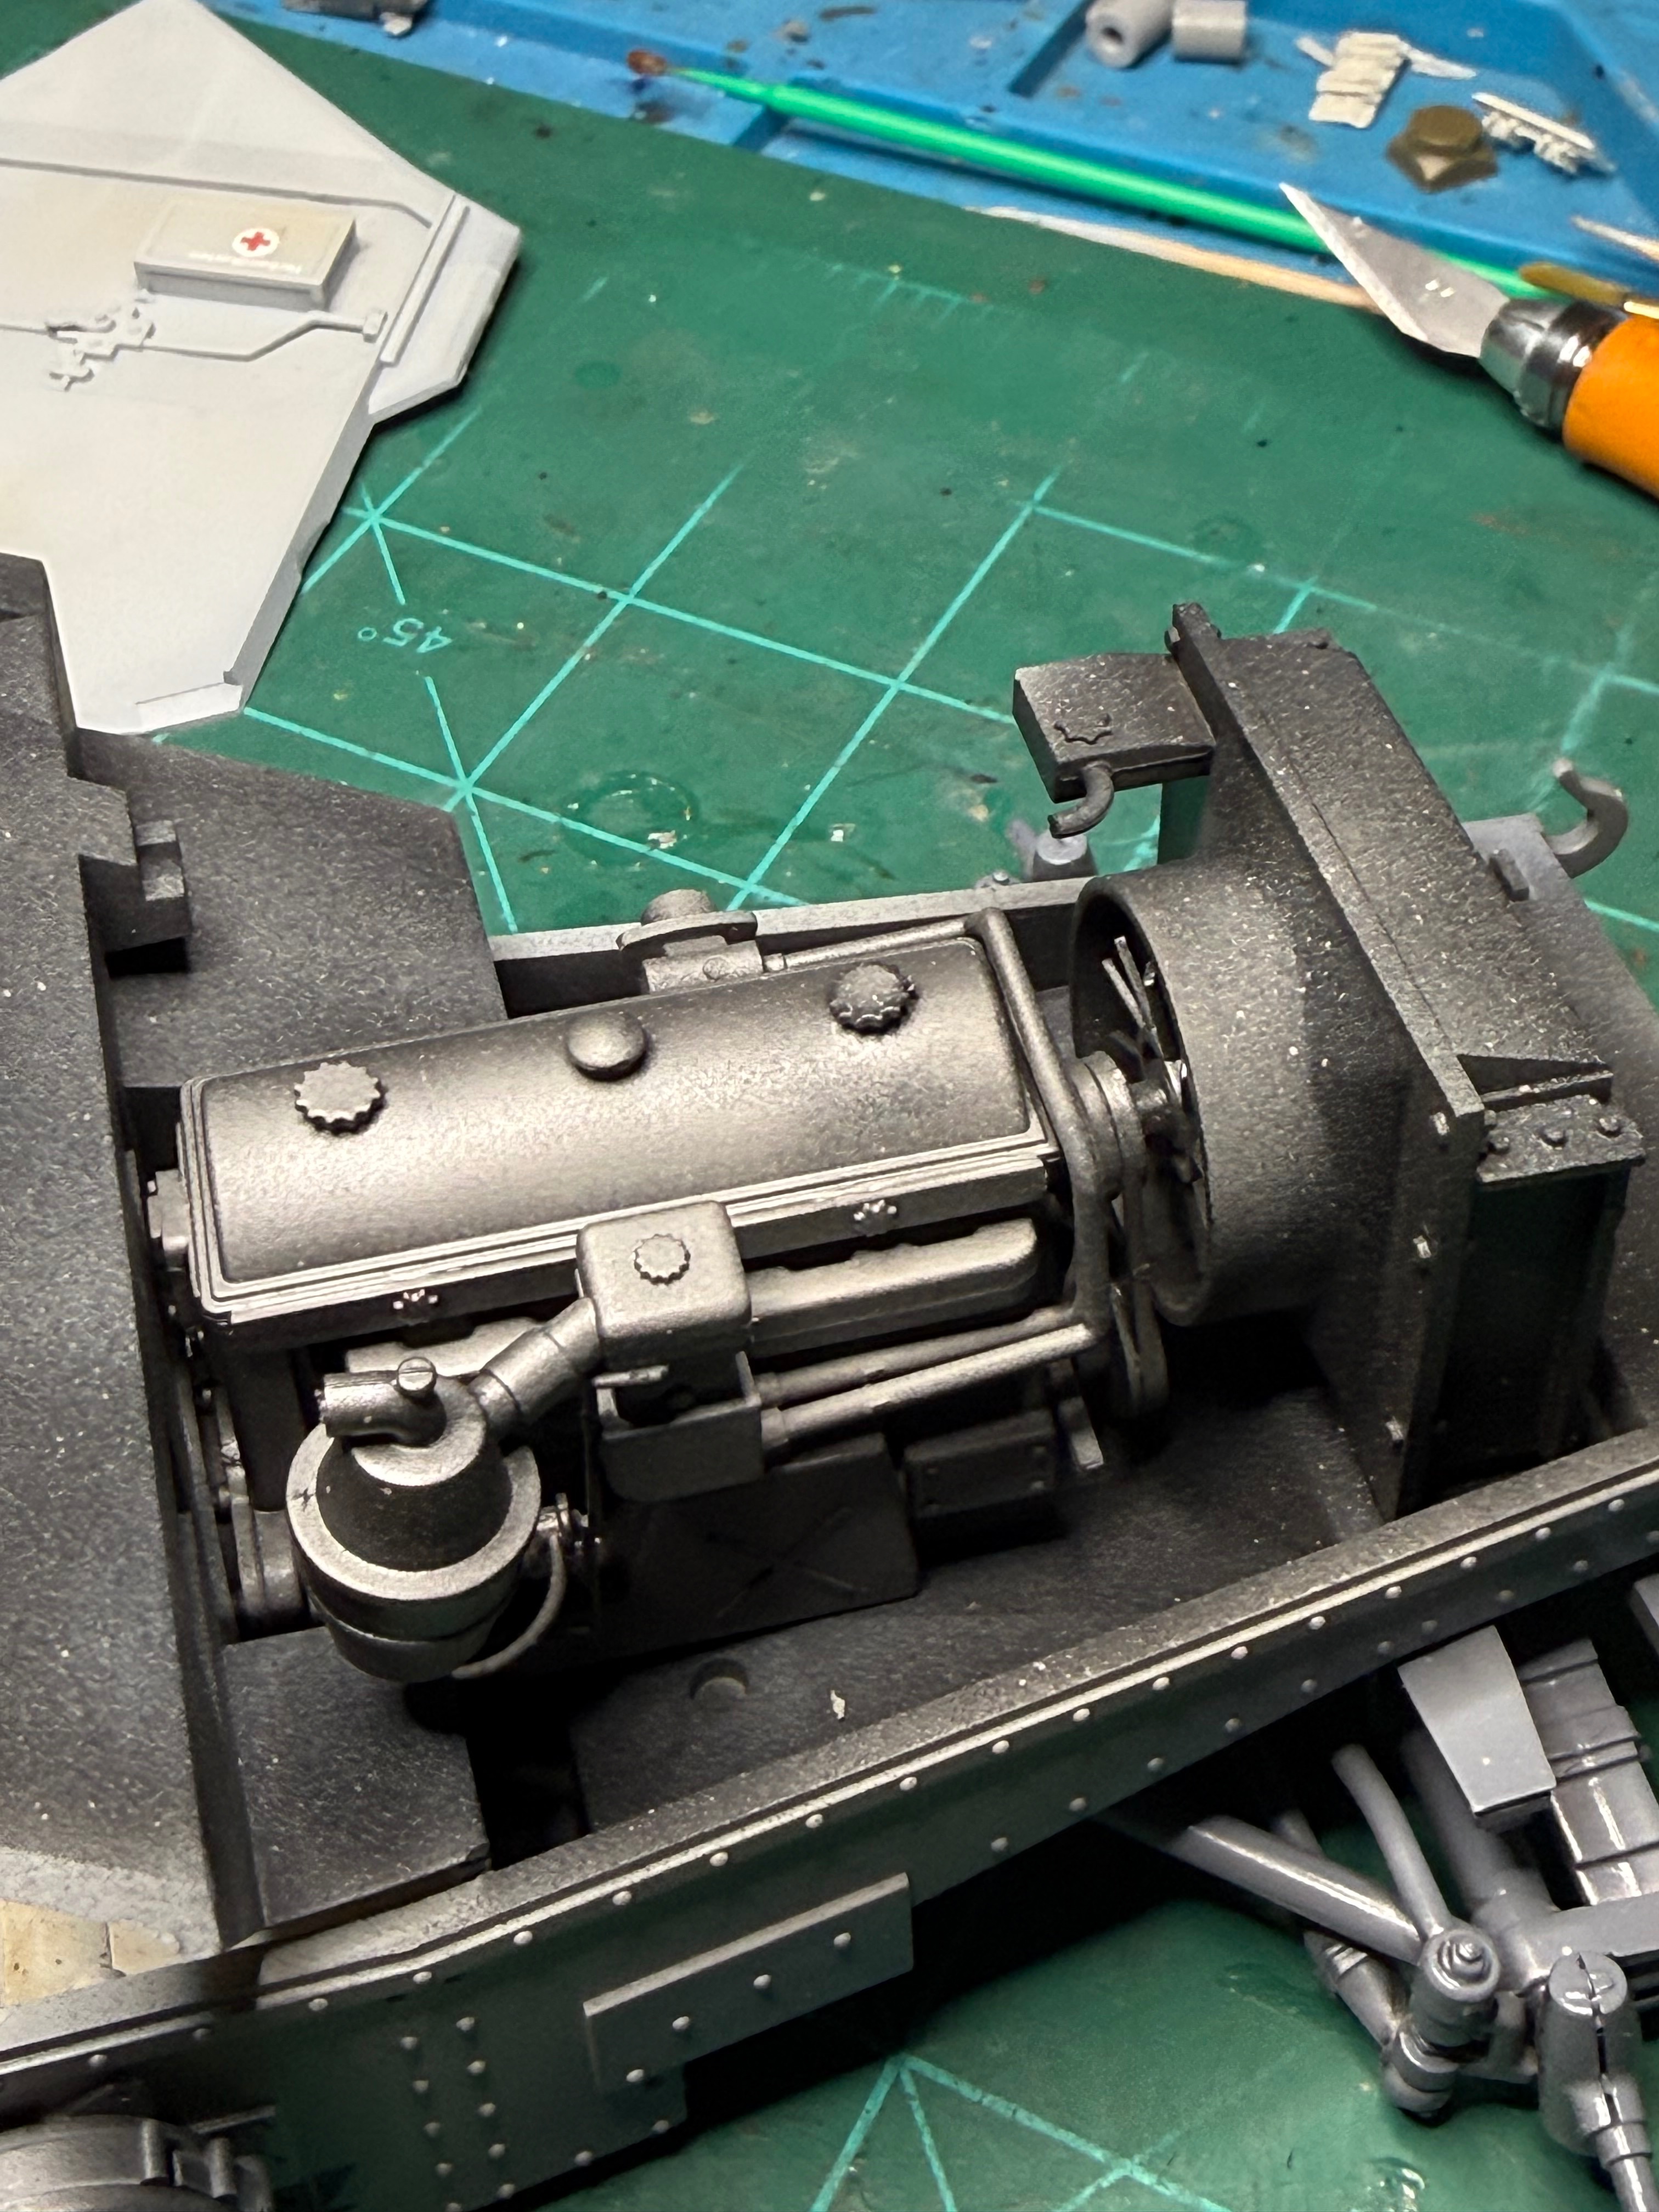
Paint on the seats is still wet. Coming together nicely, fit has not been an issue yet. I'm veering a bit with my color choices. I was going to paint most of the engine black, and I believe that's accurate but I'm digging this metal finish… lots of nice detail in this kit.
Attachments
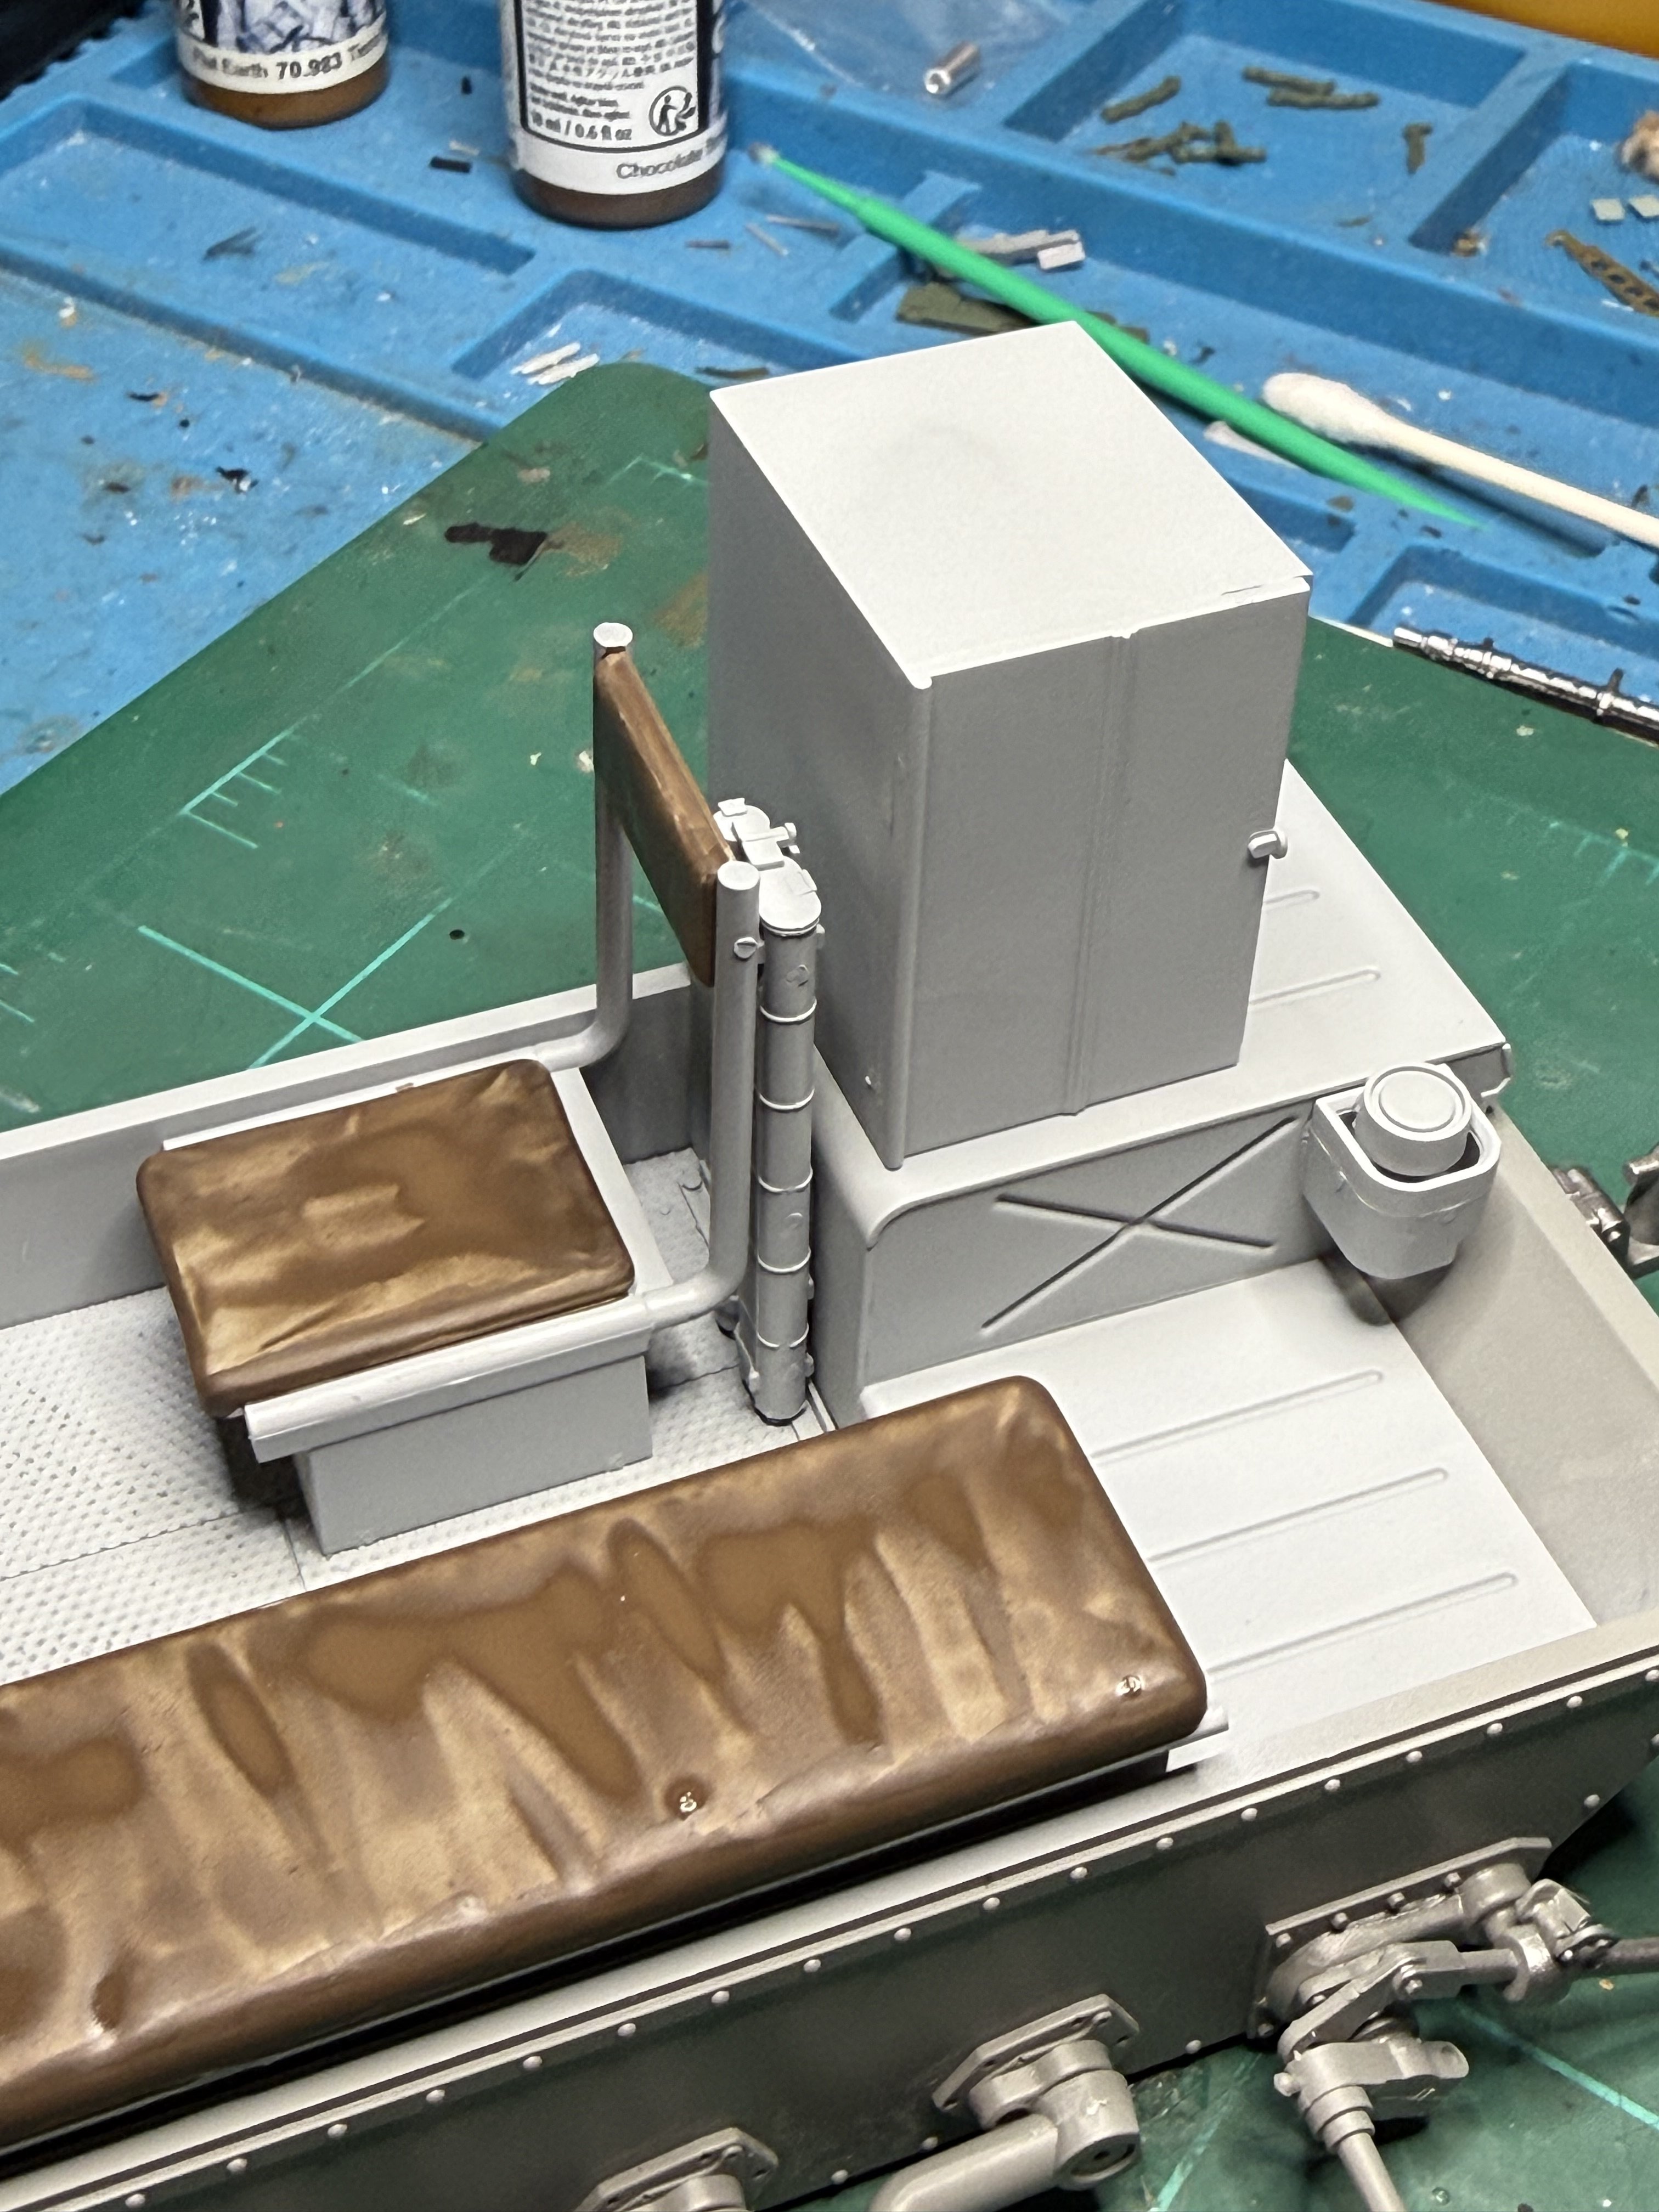
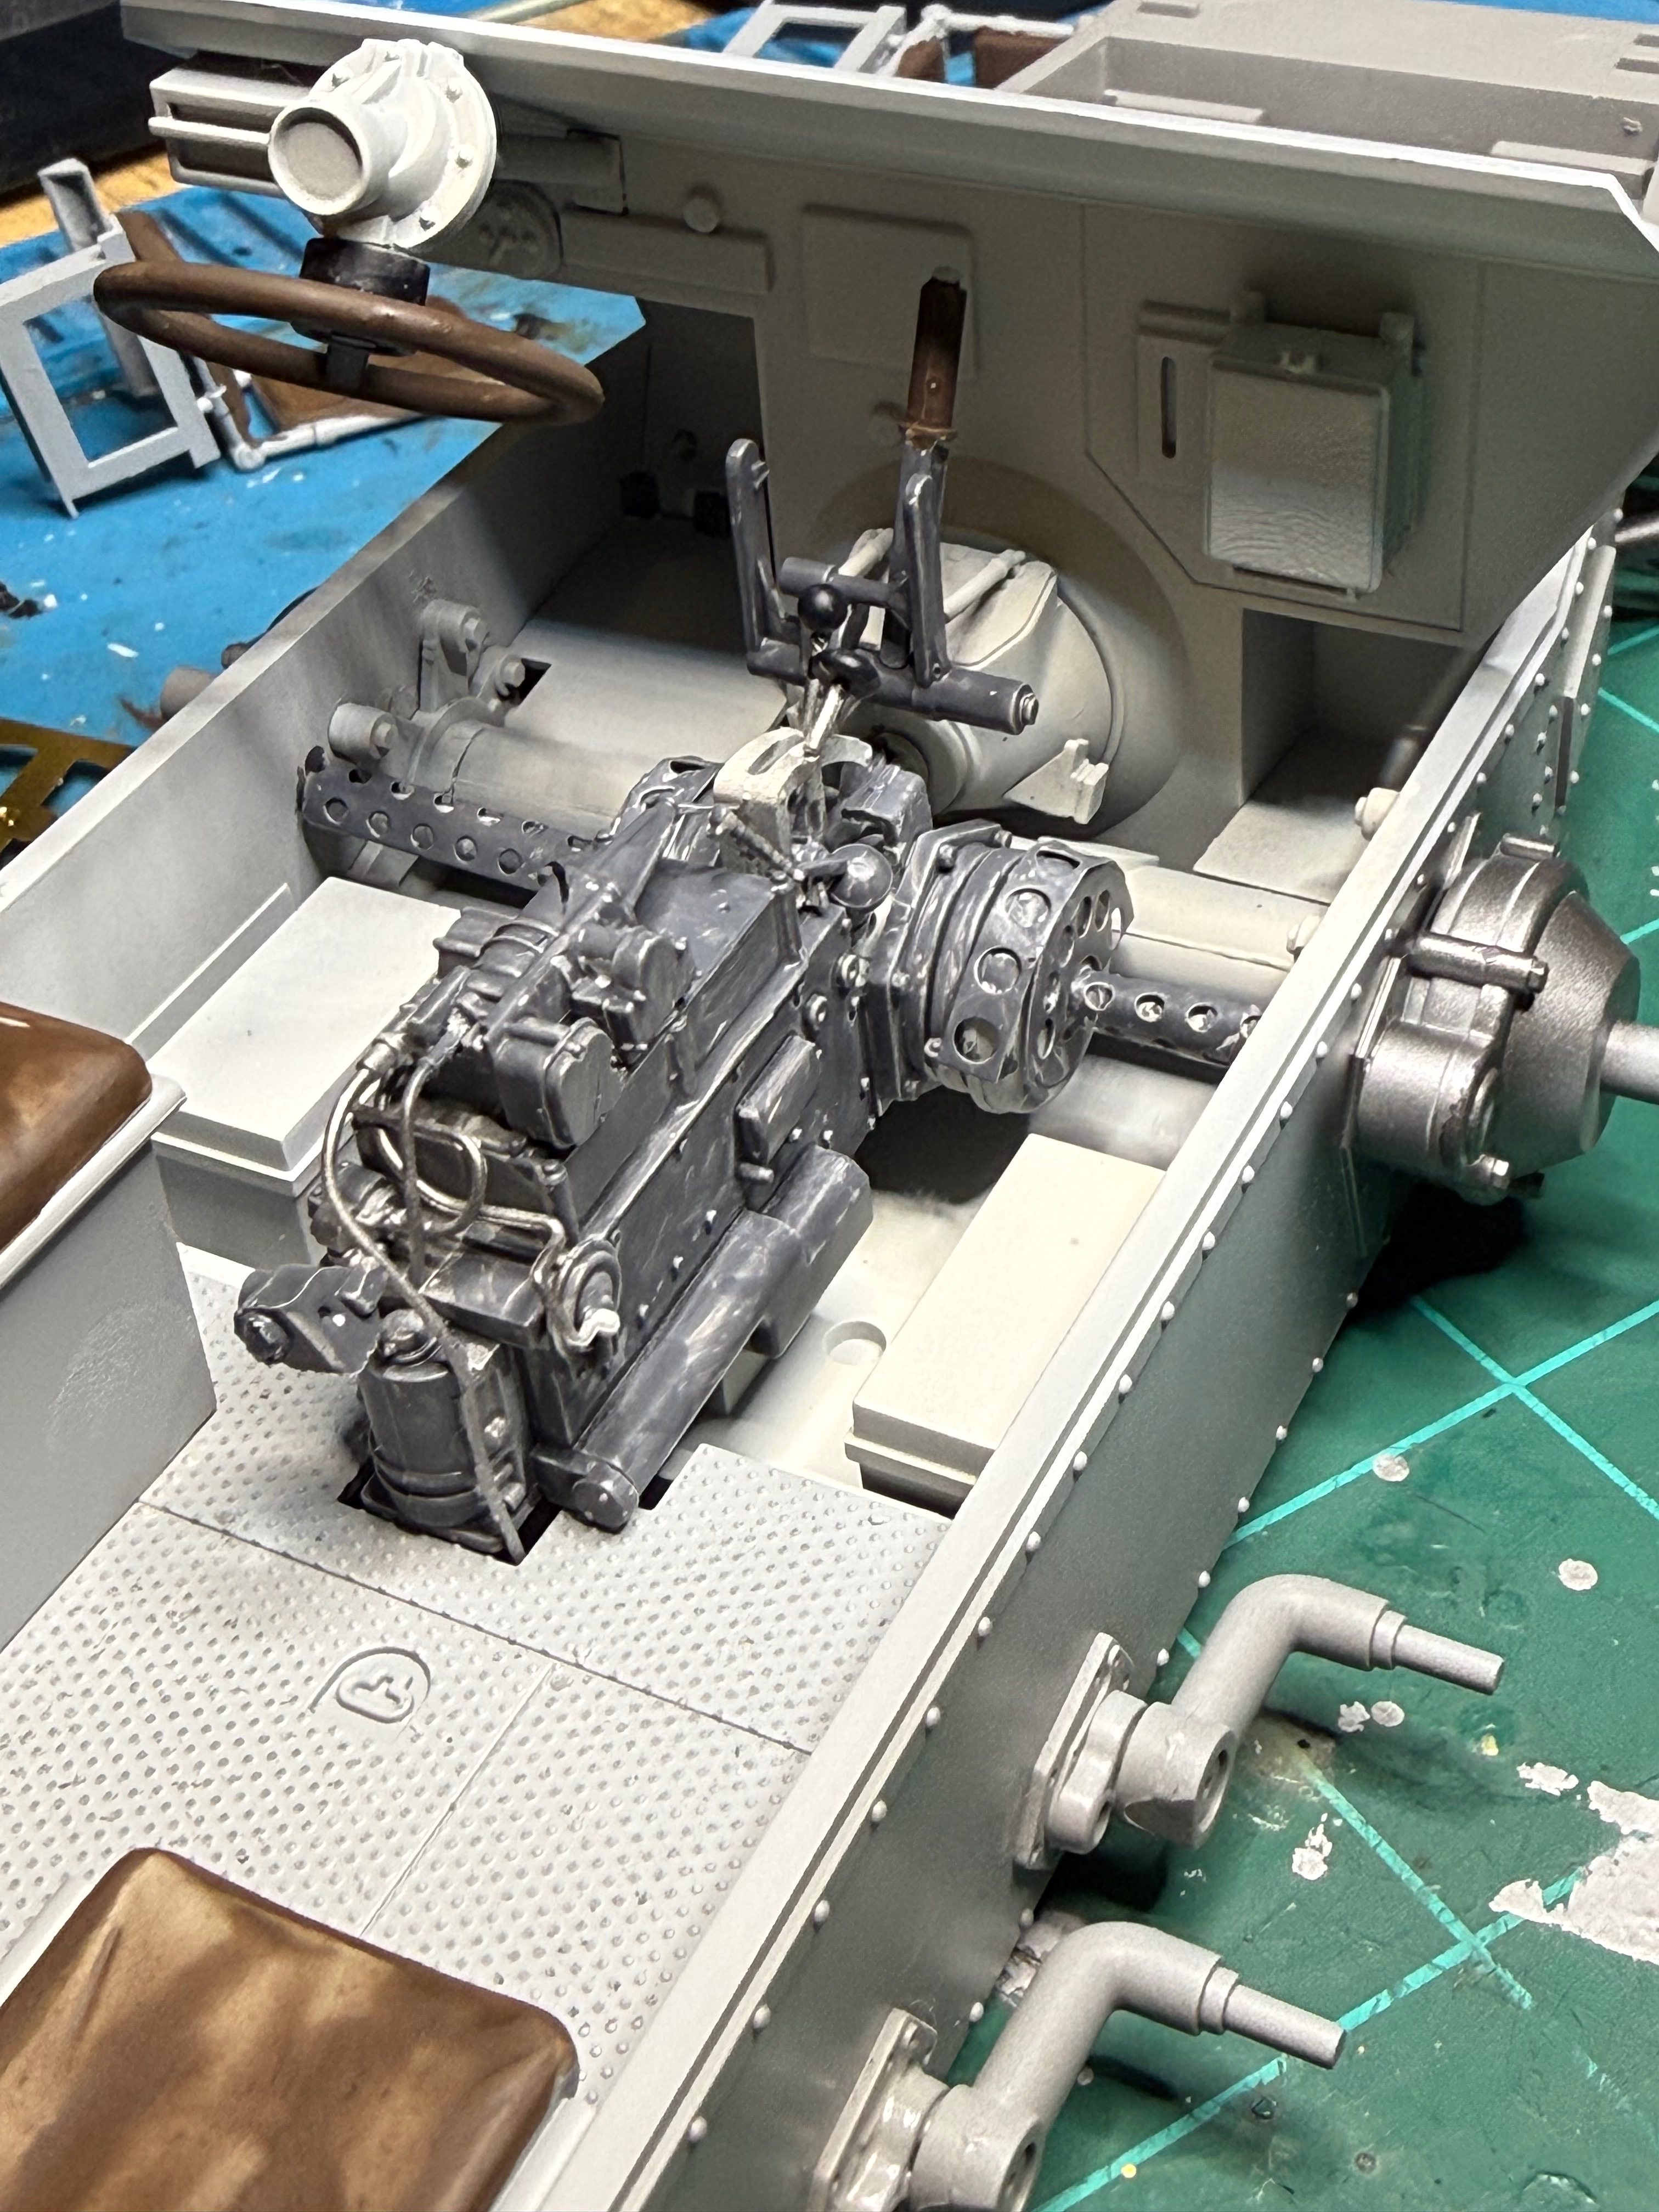
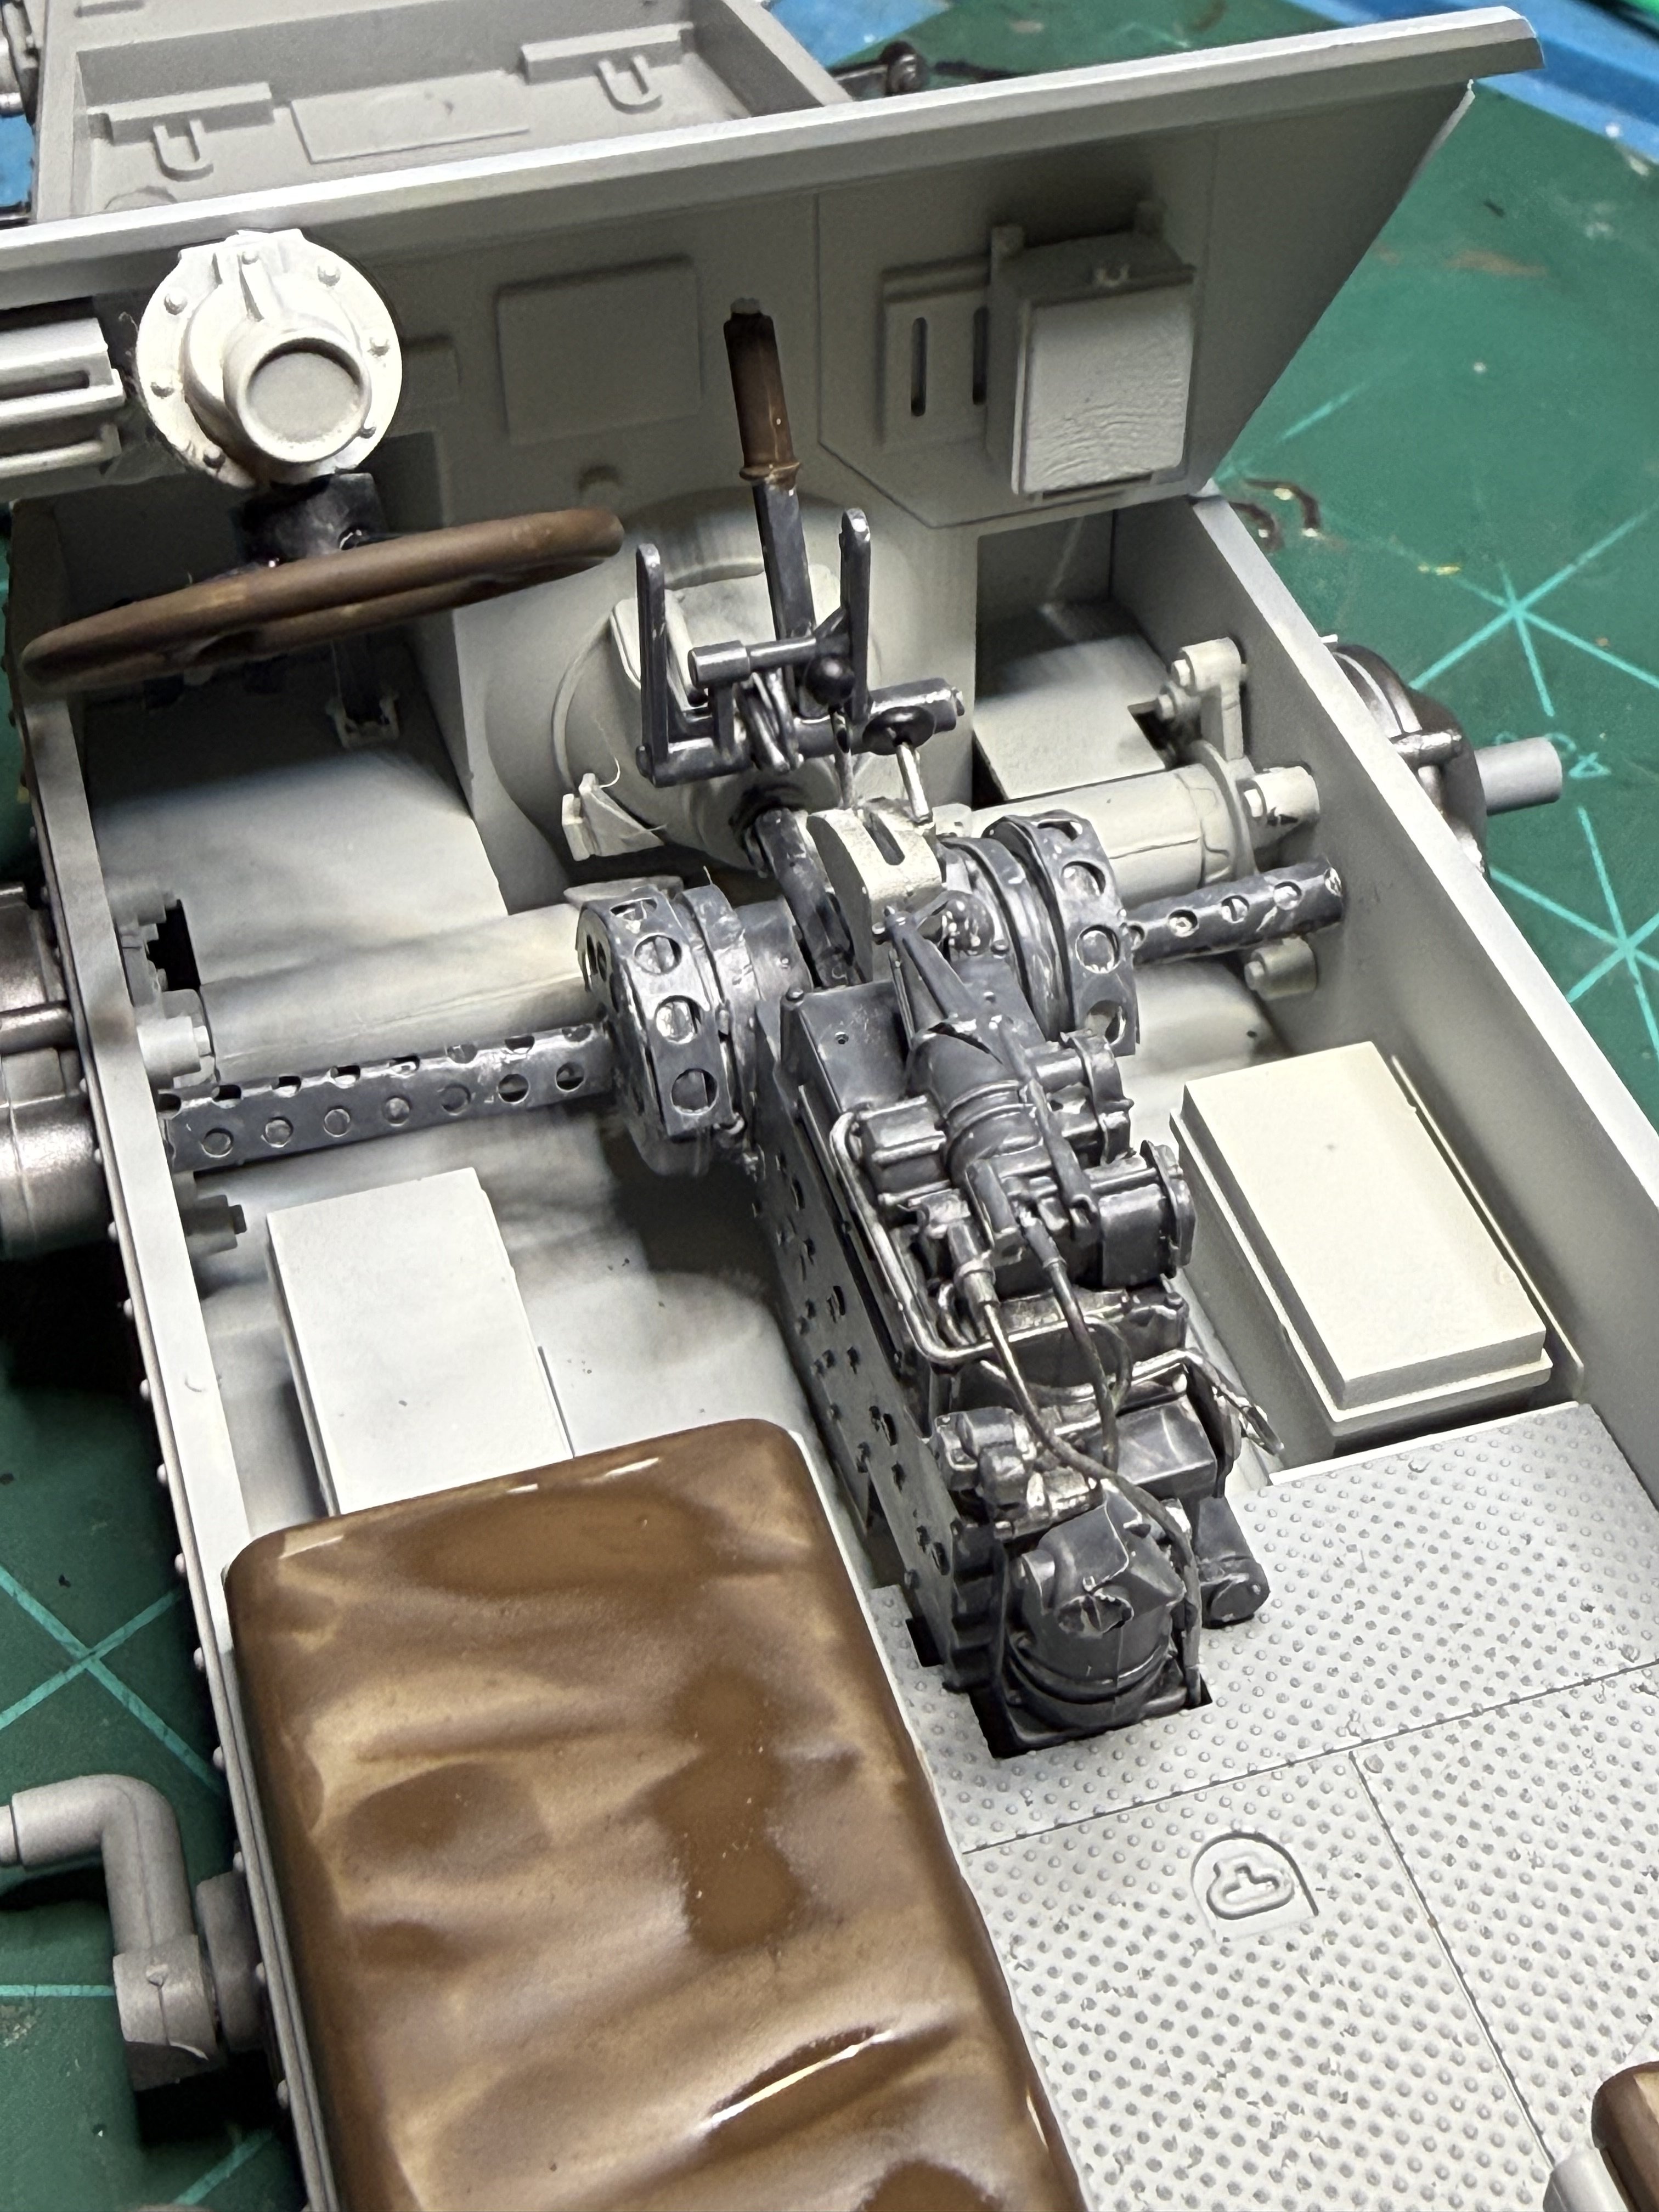
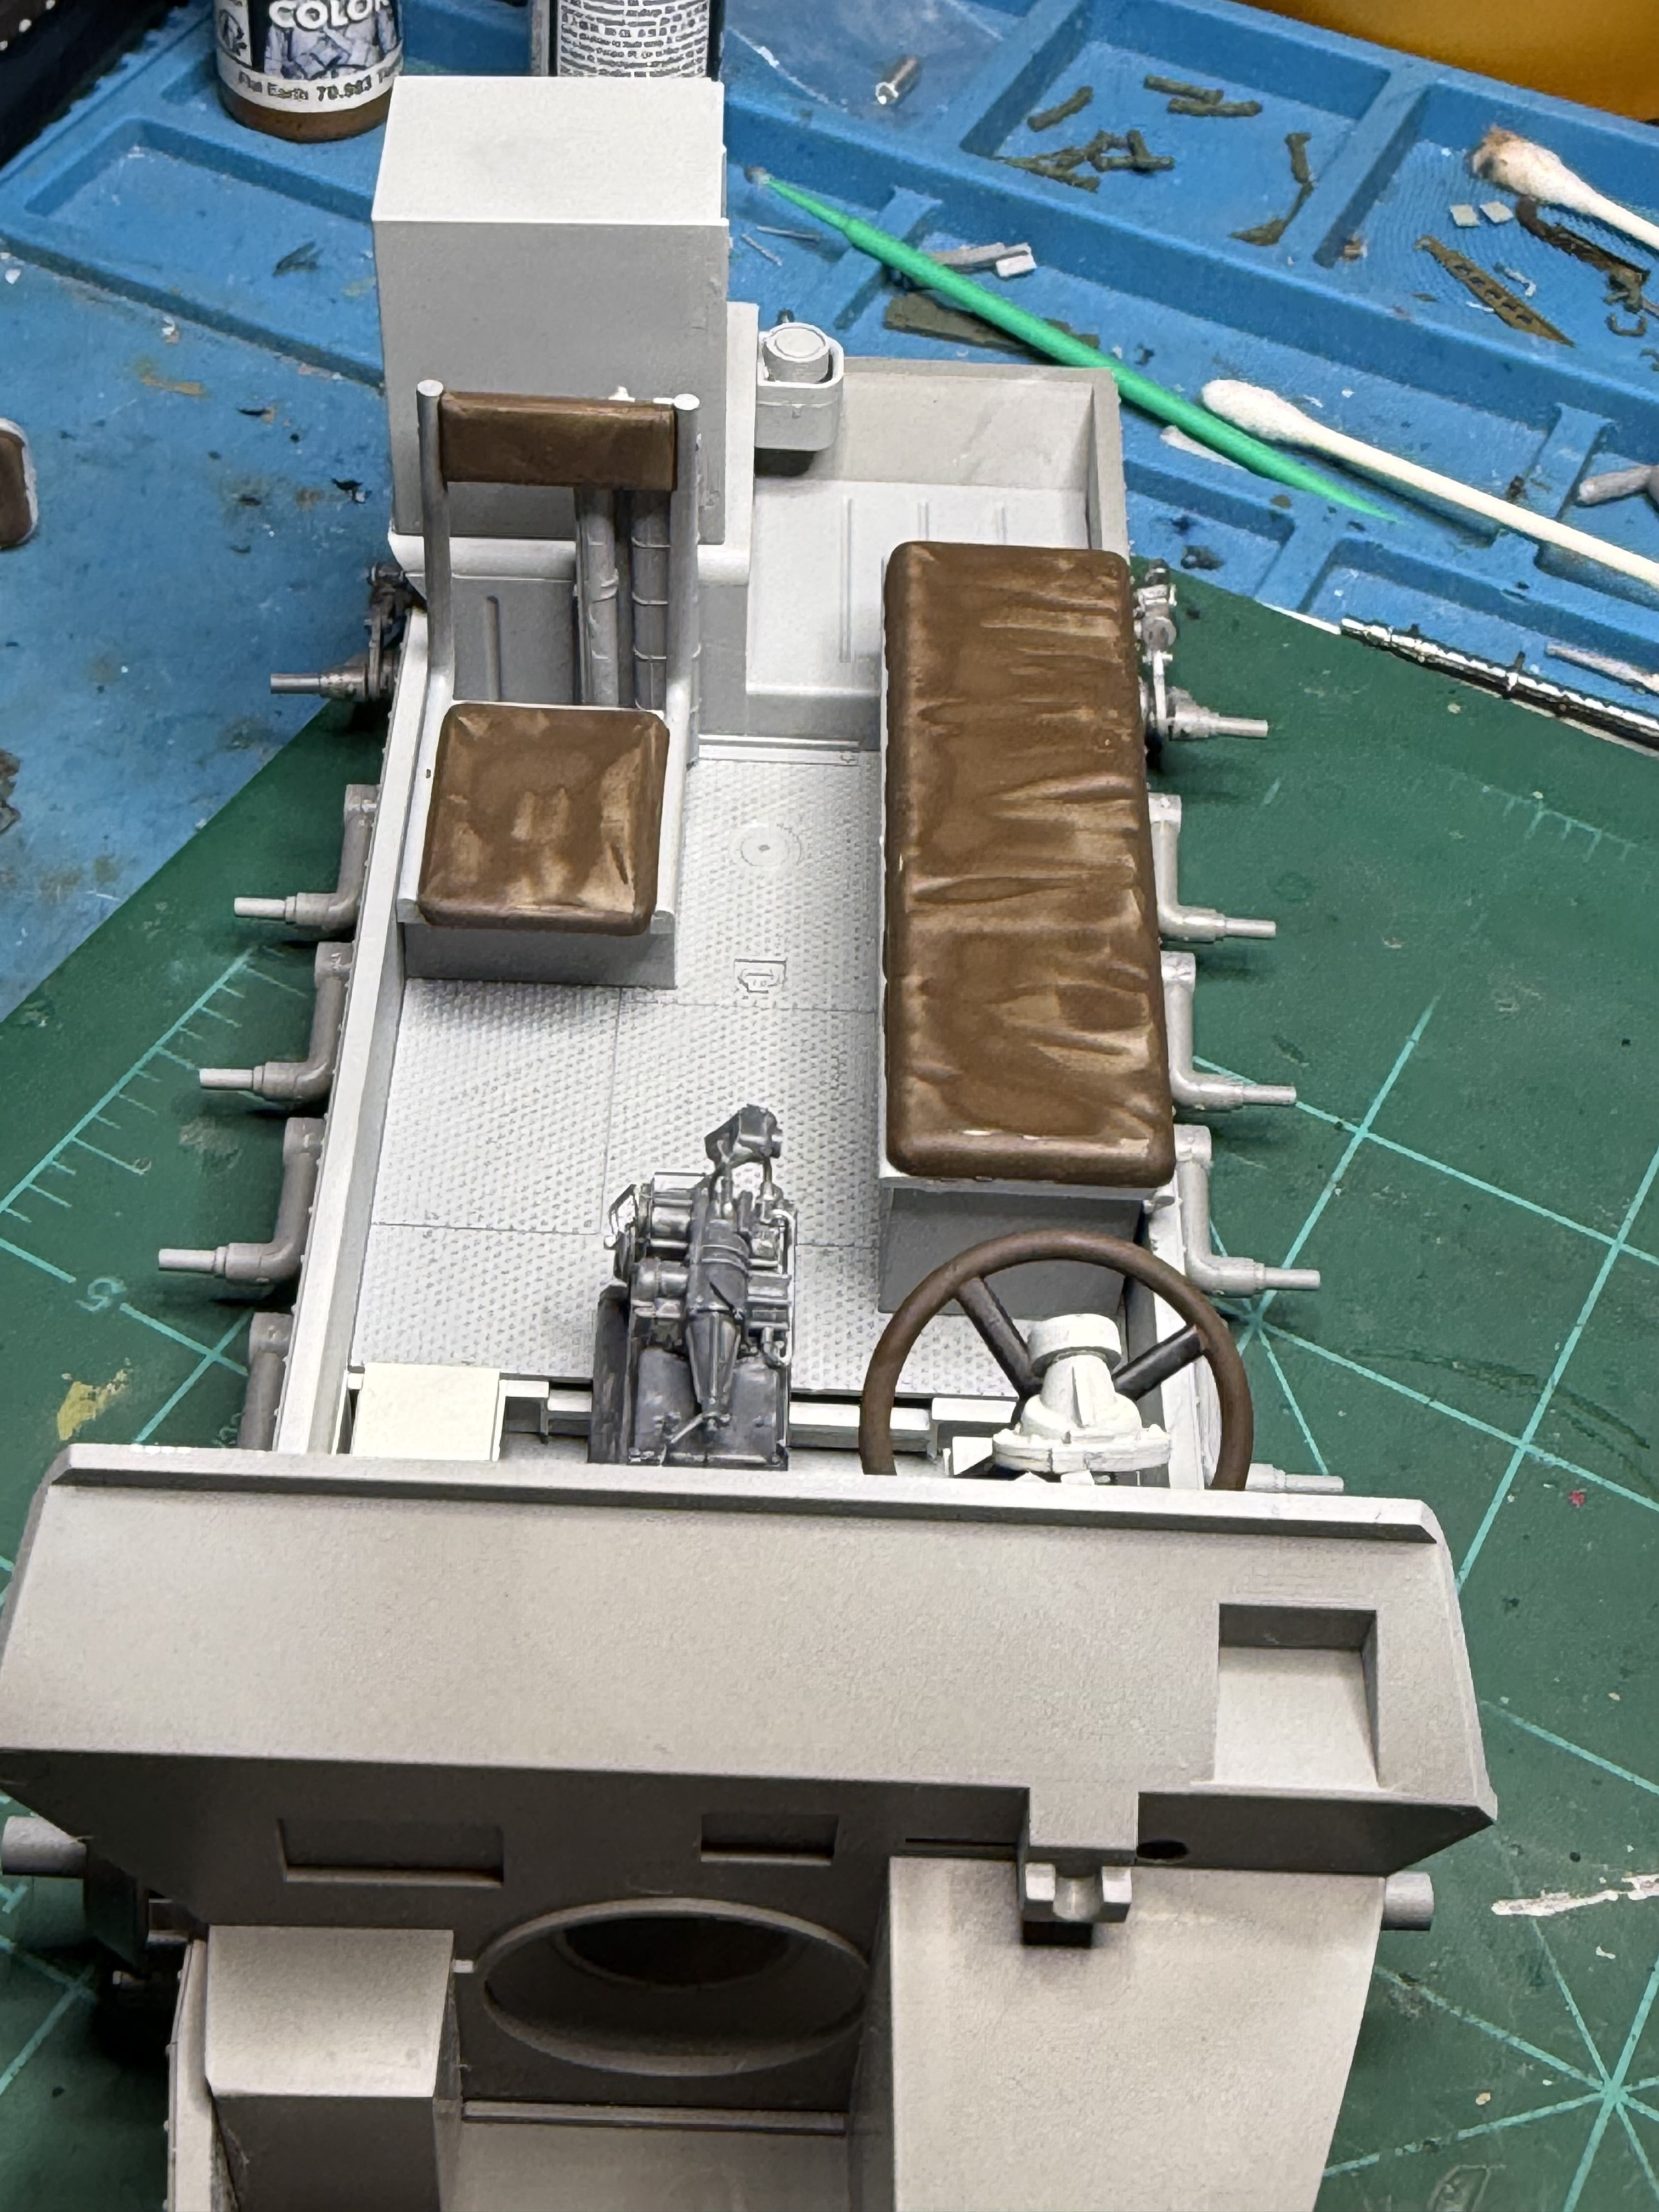

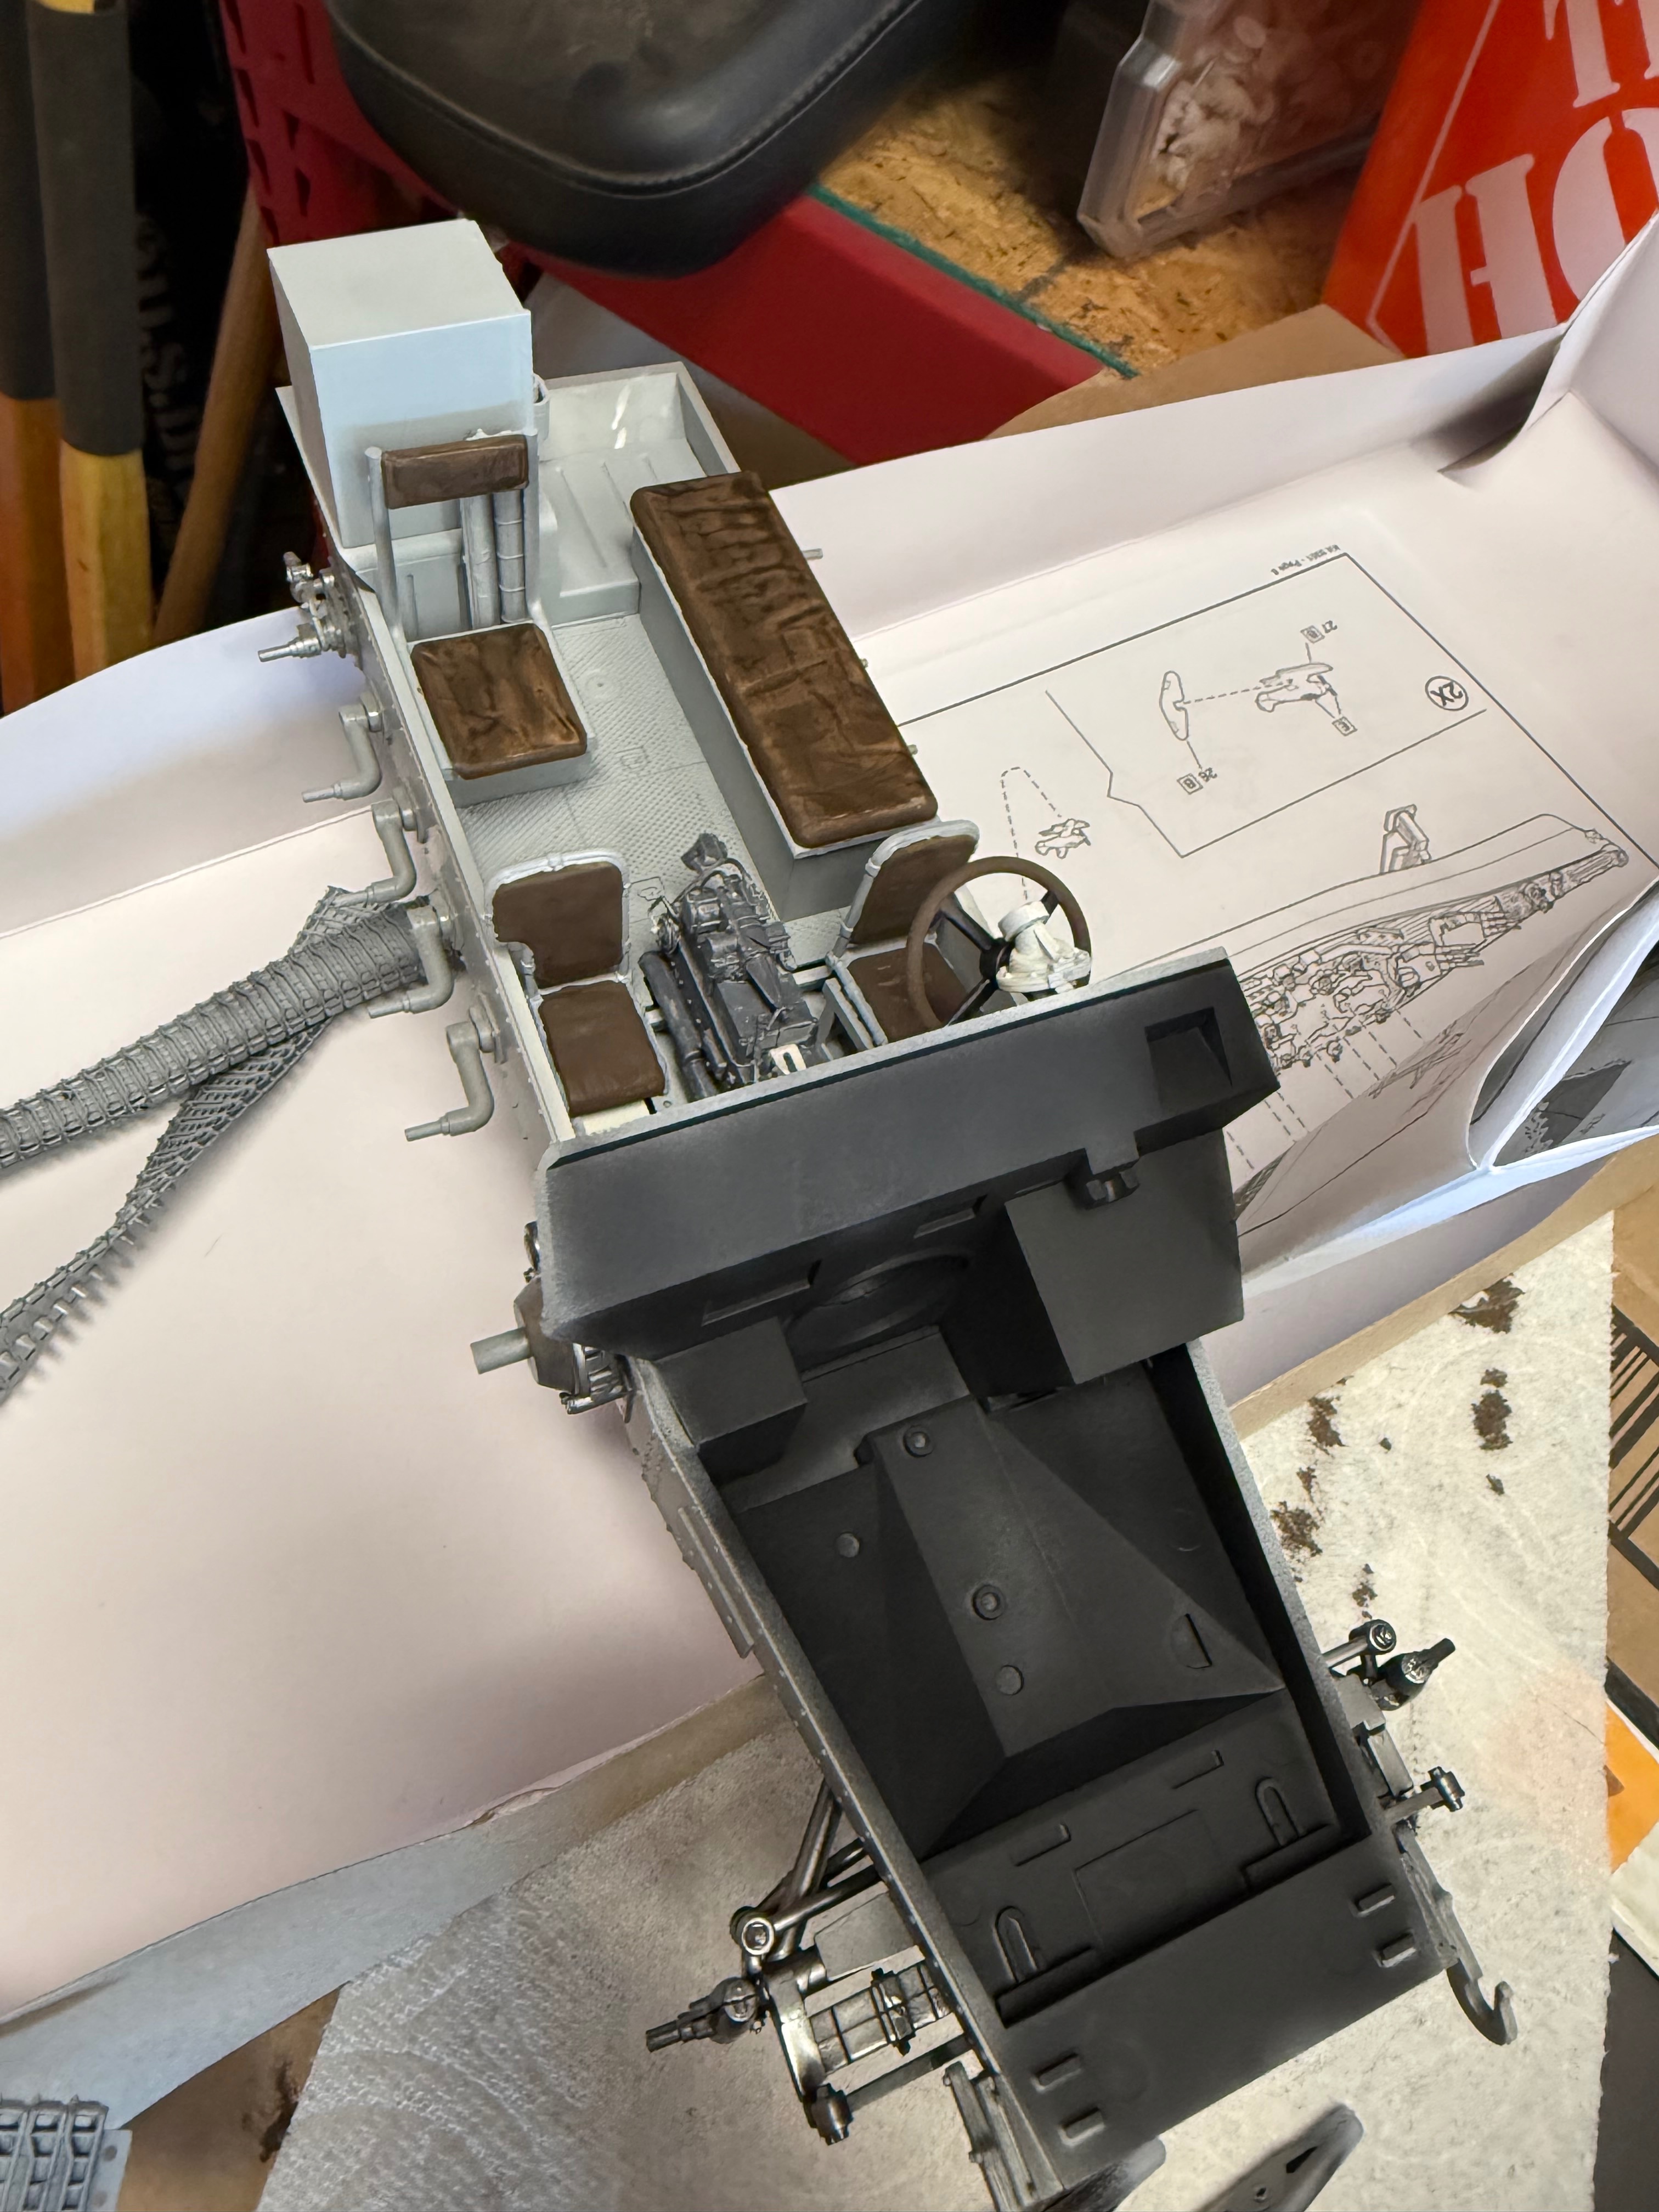
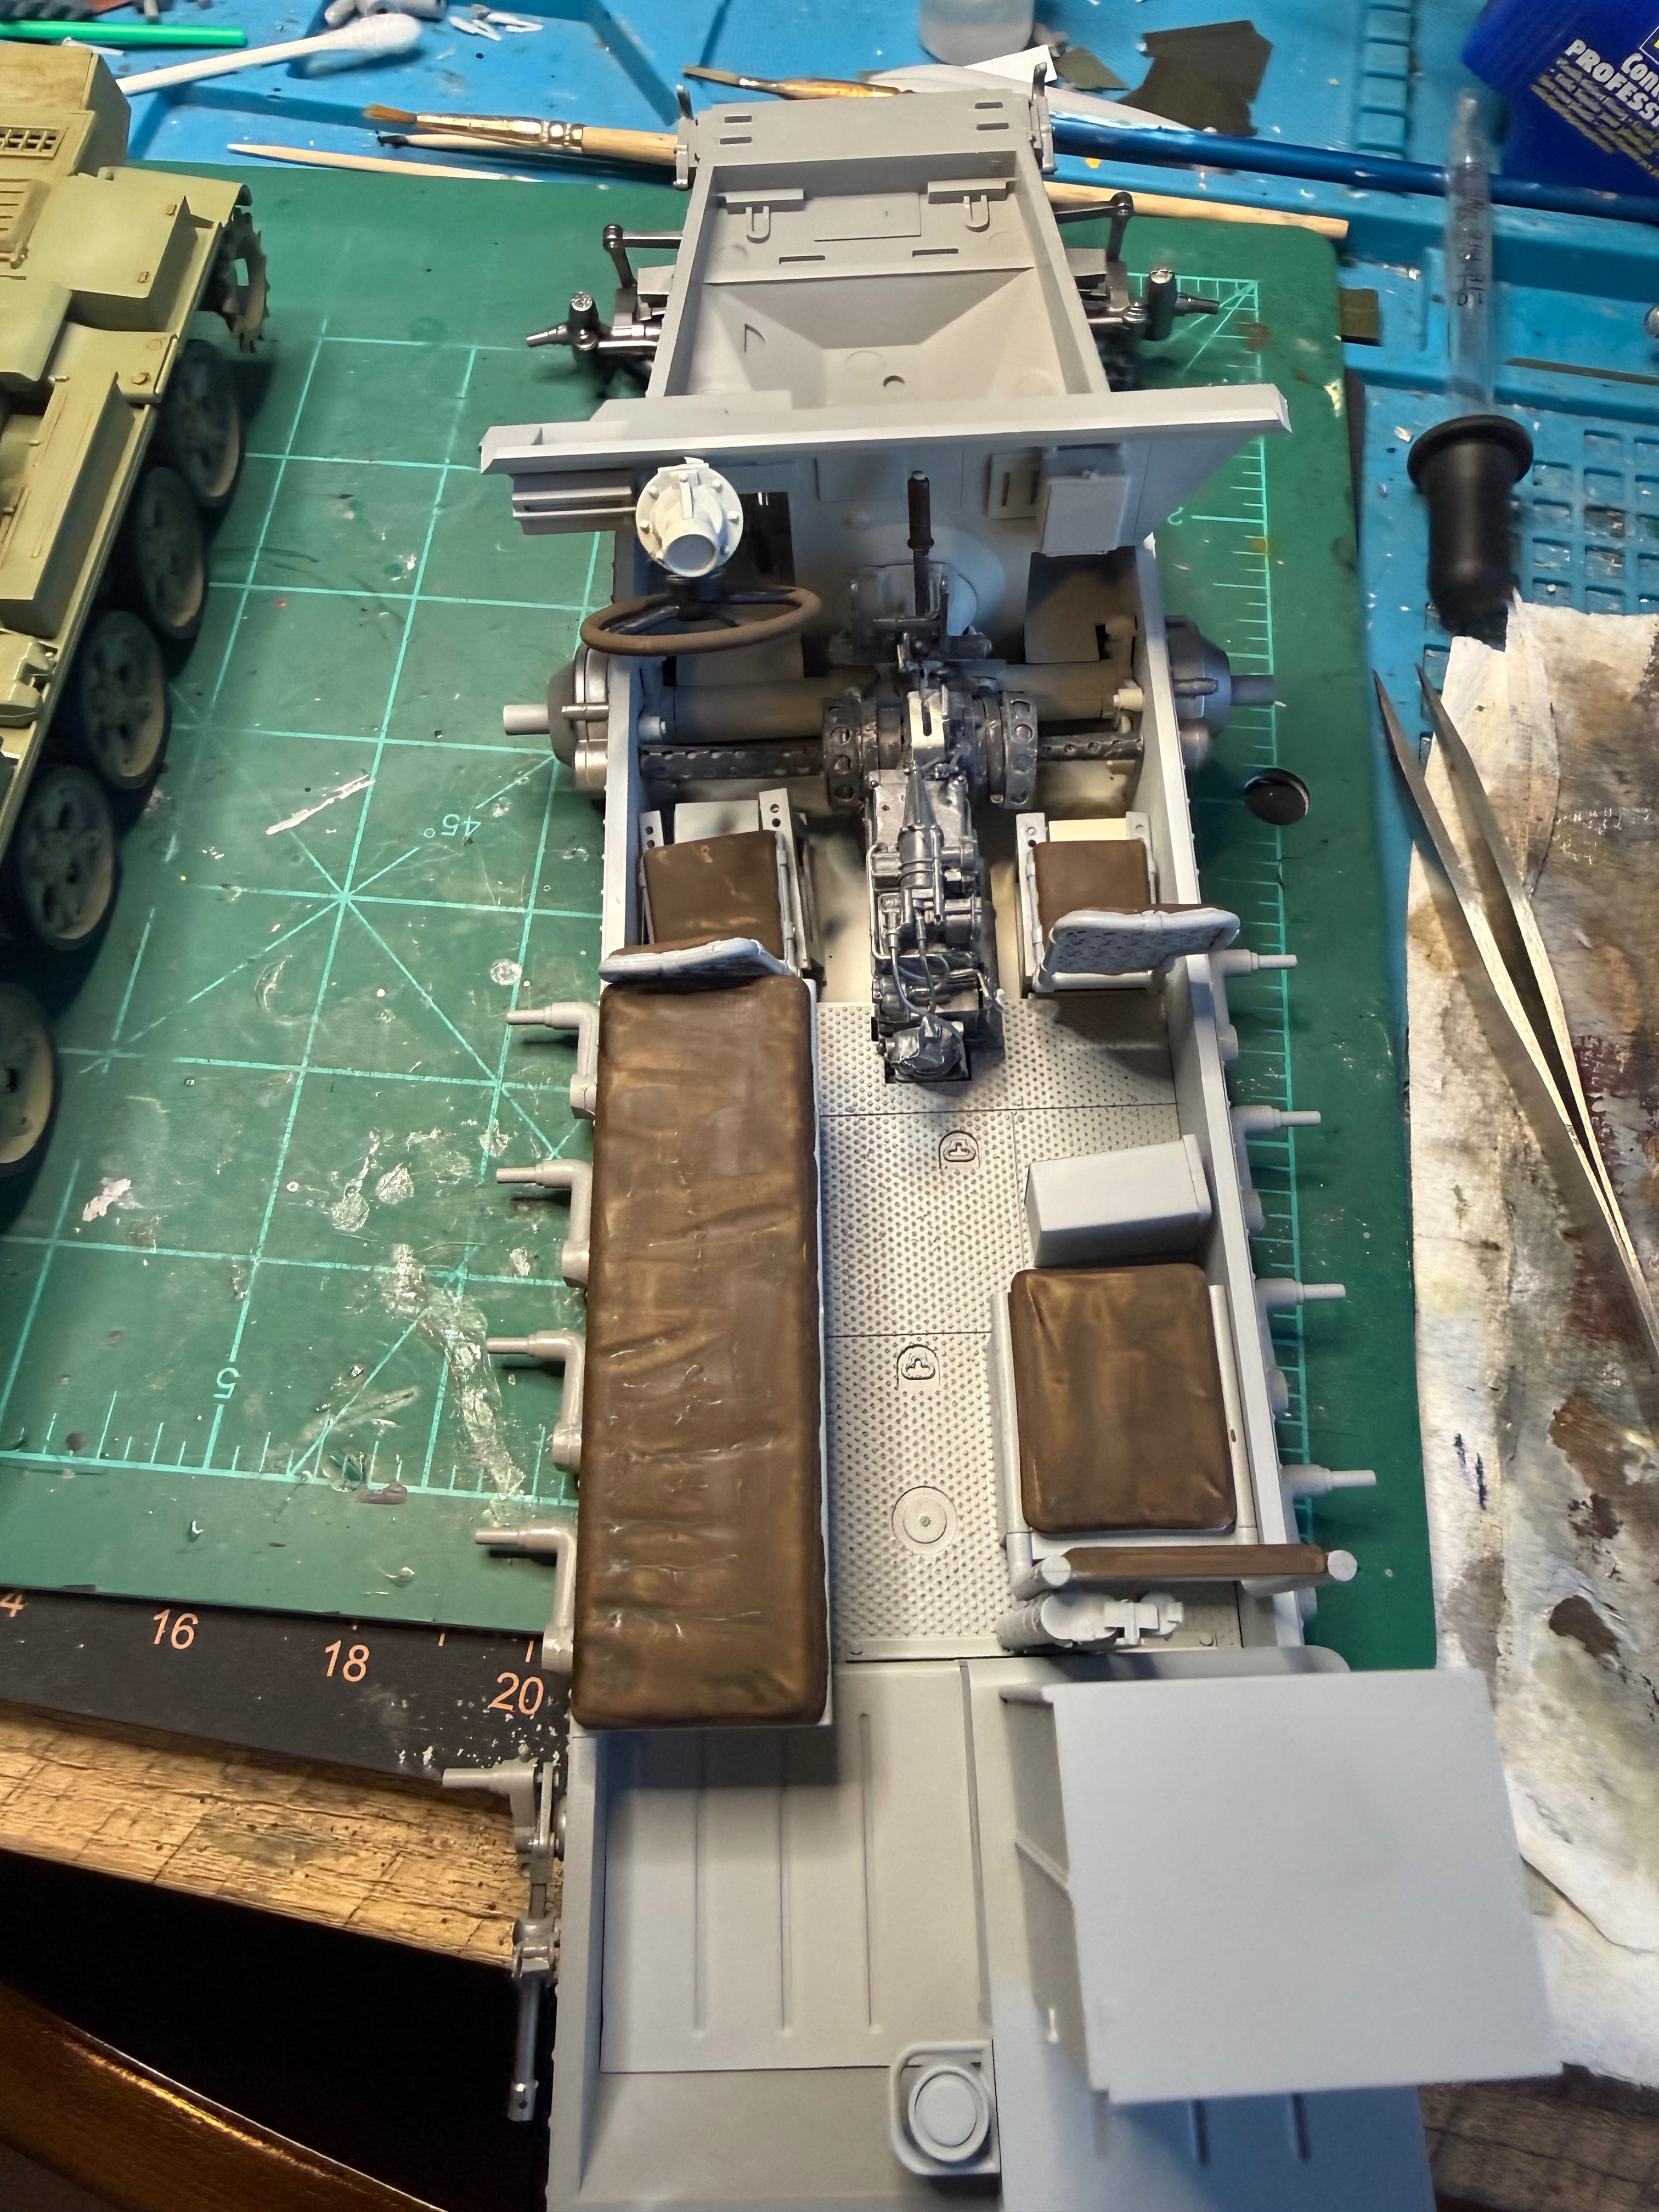
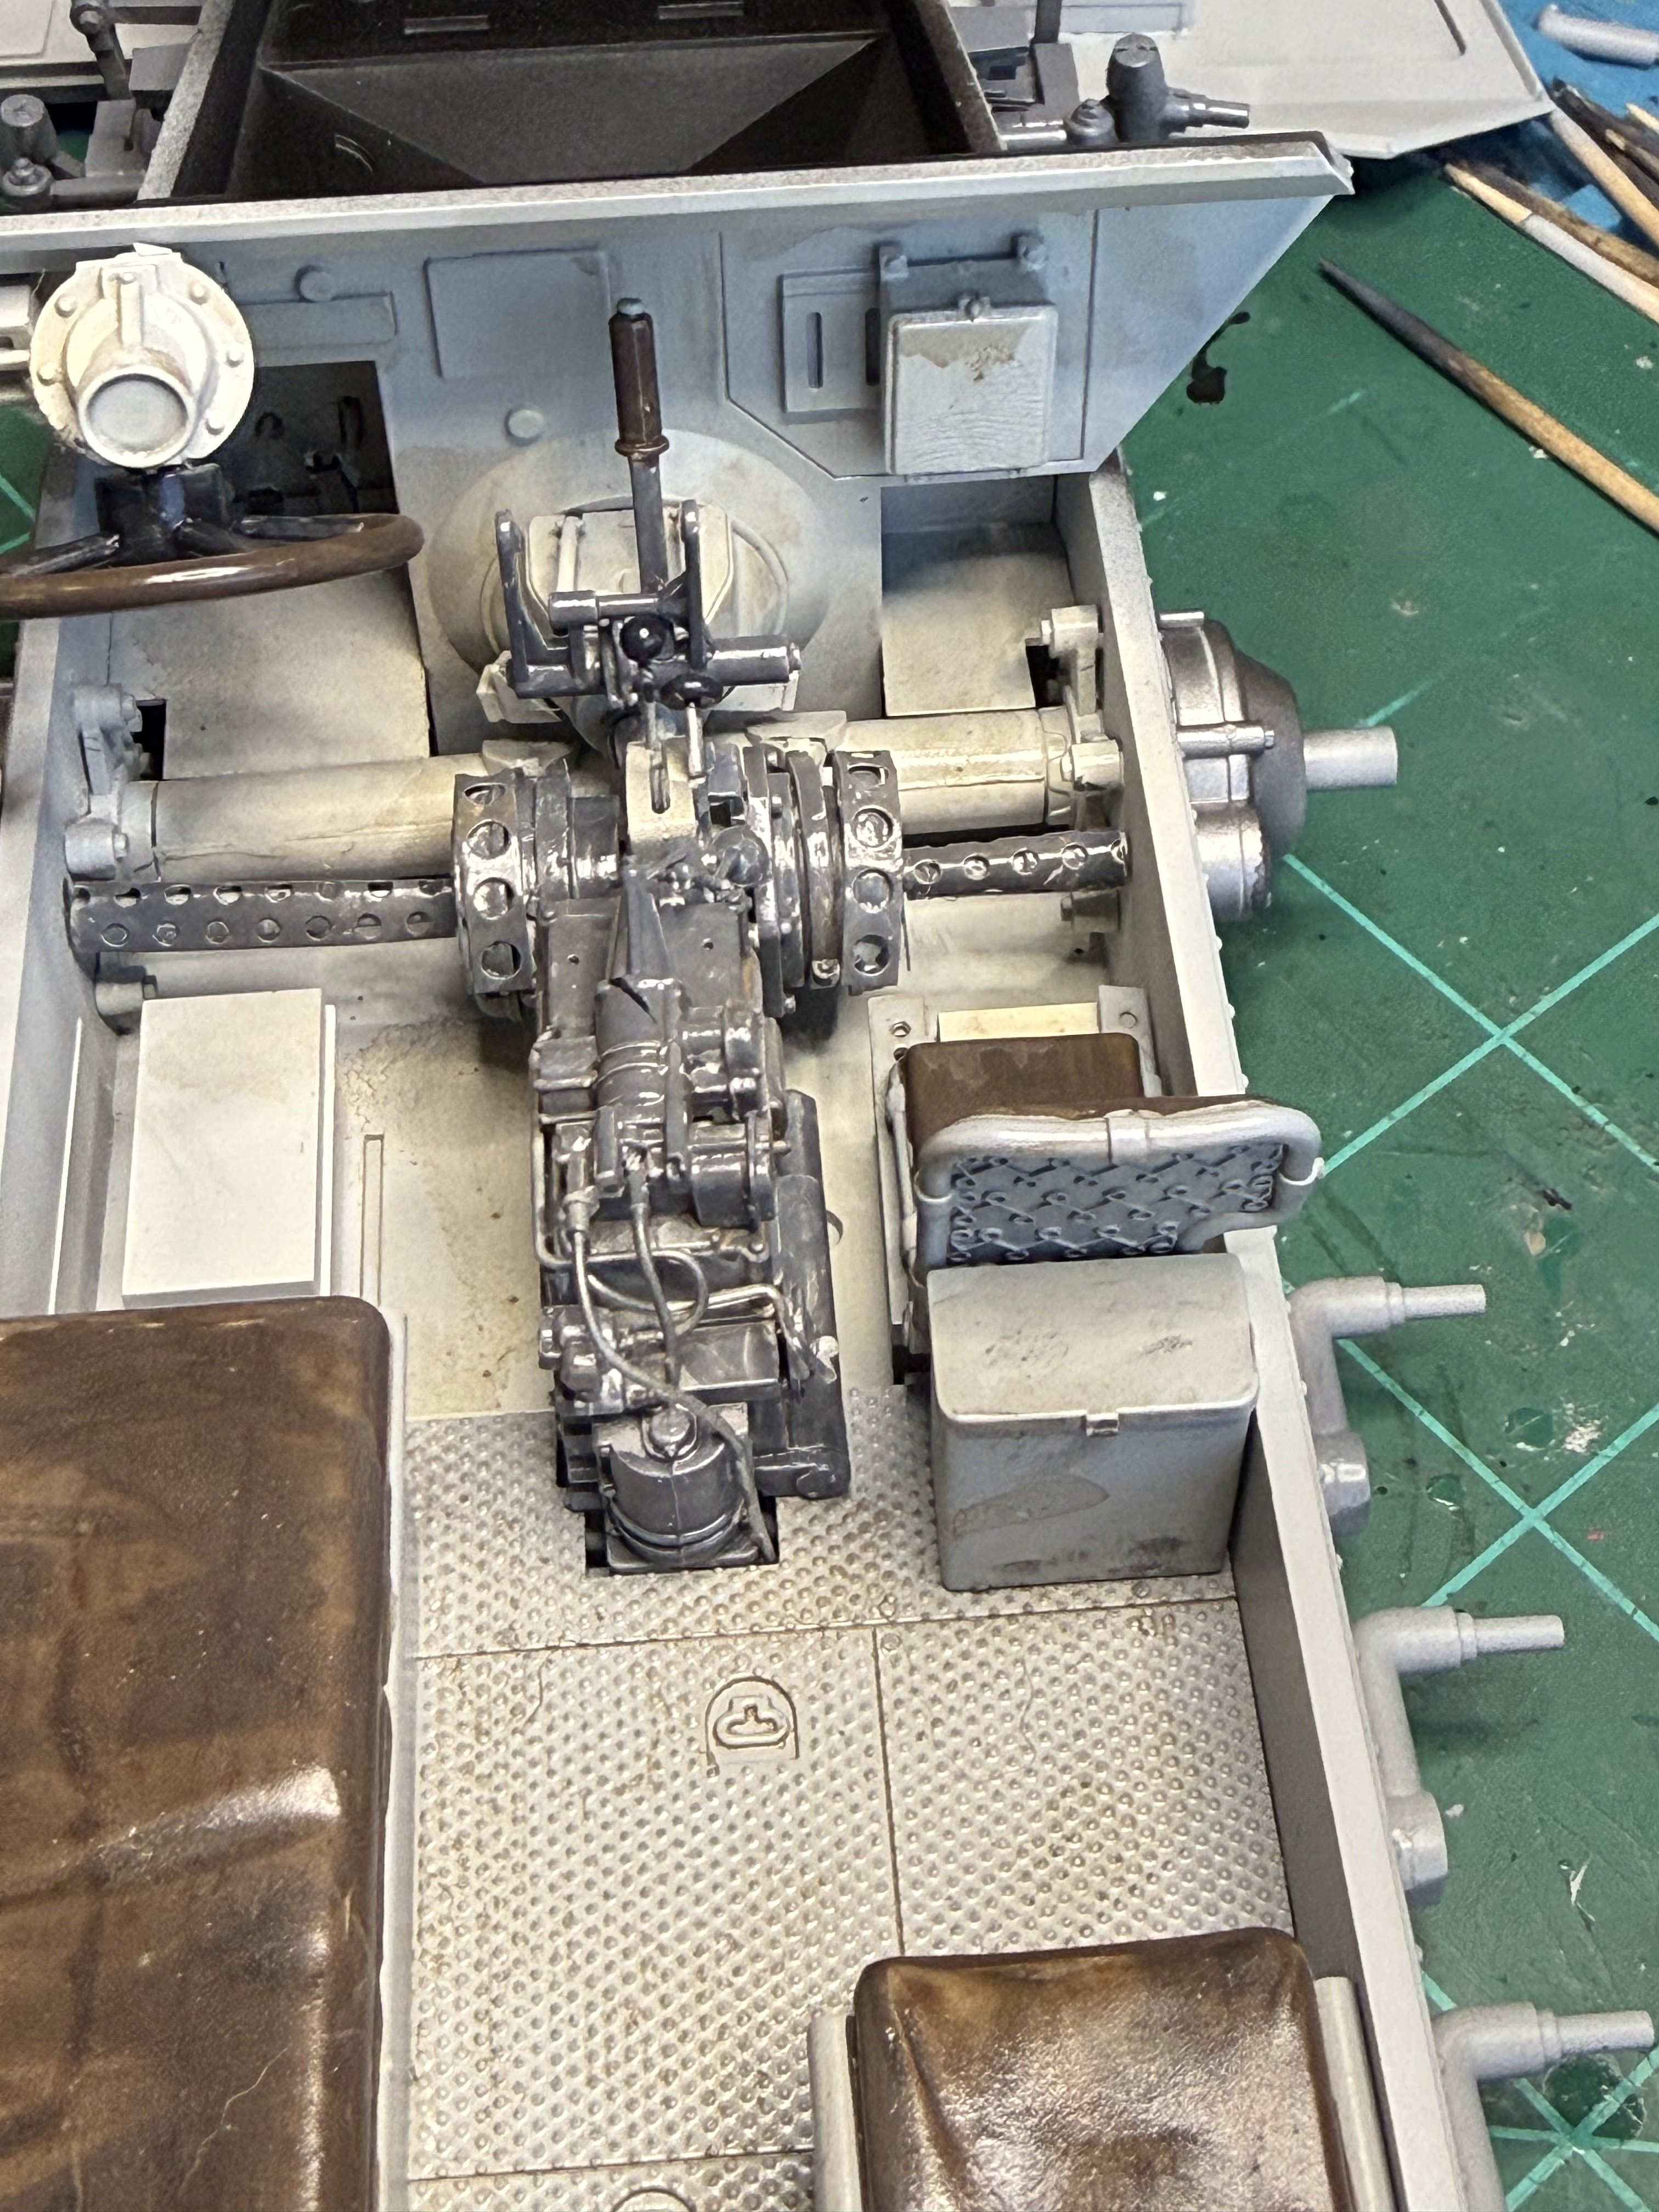
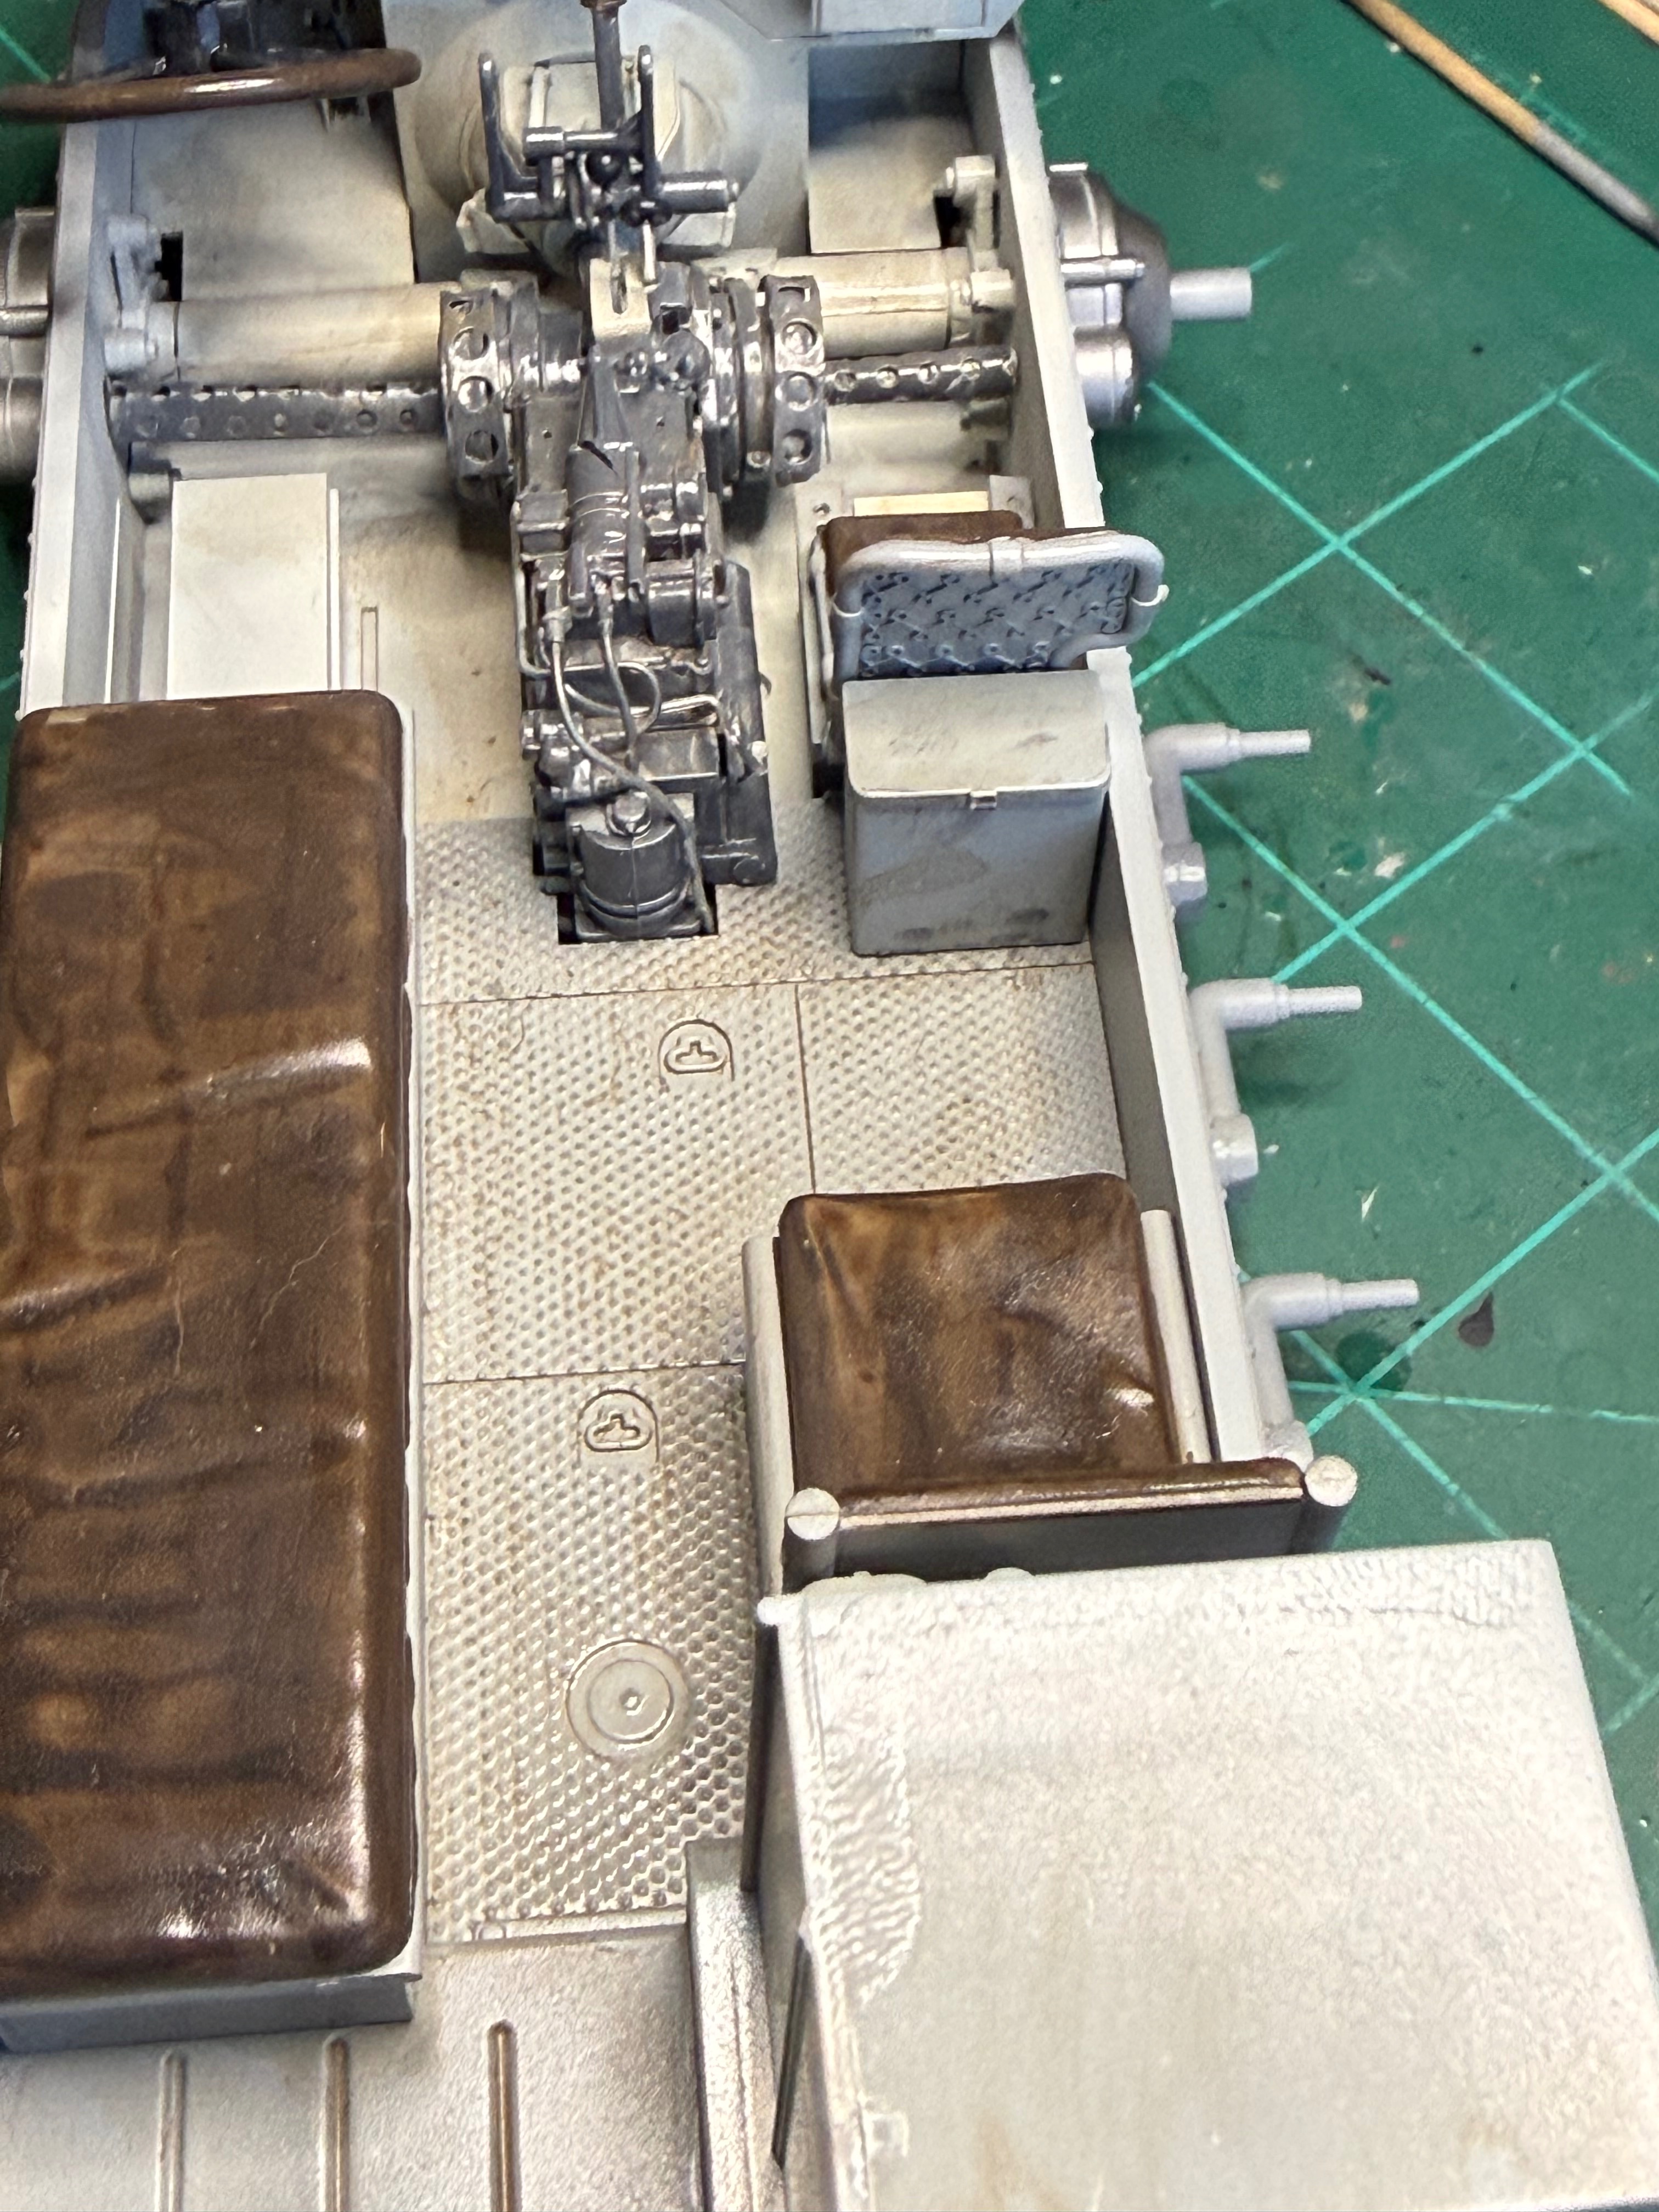
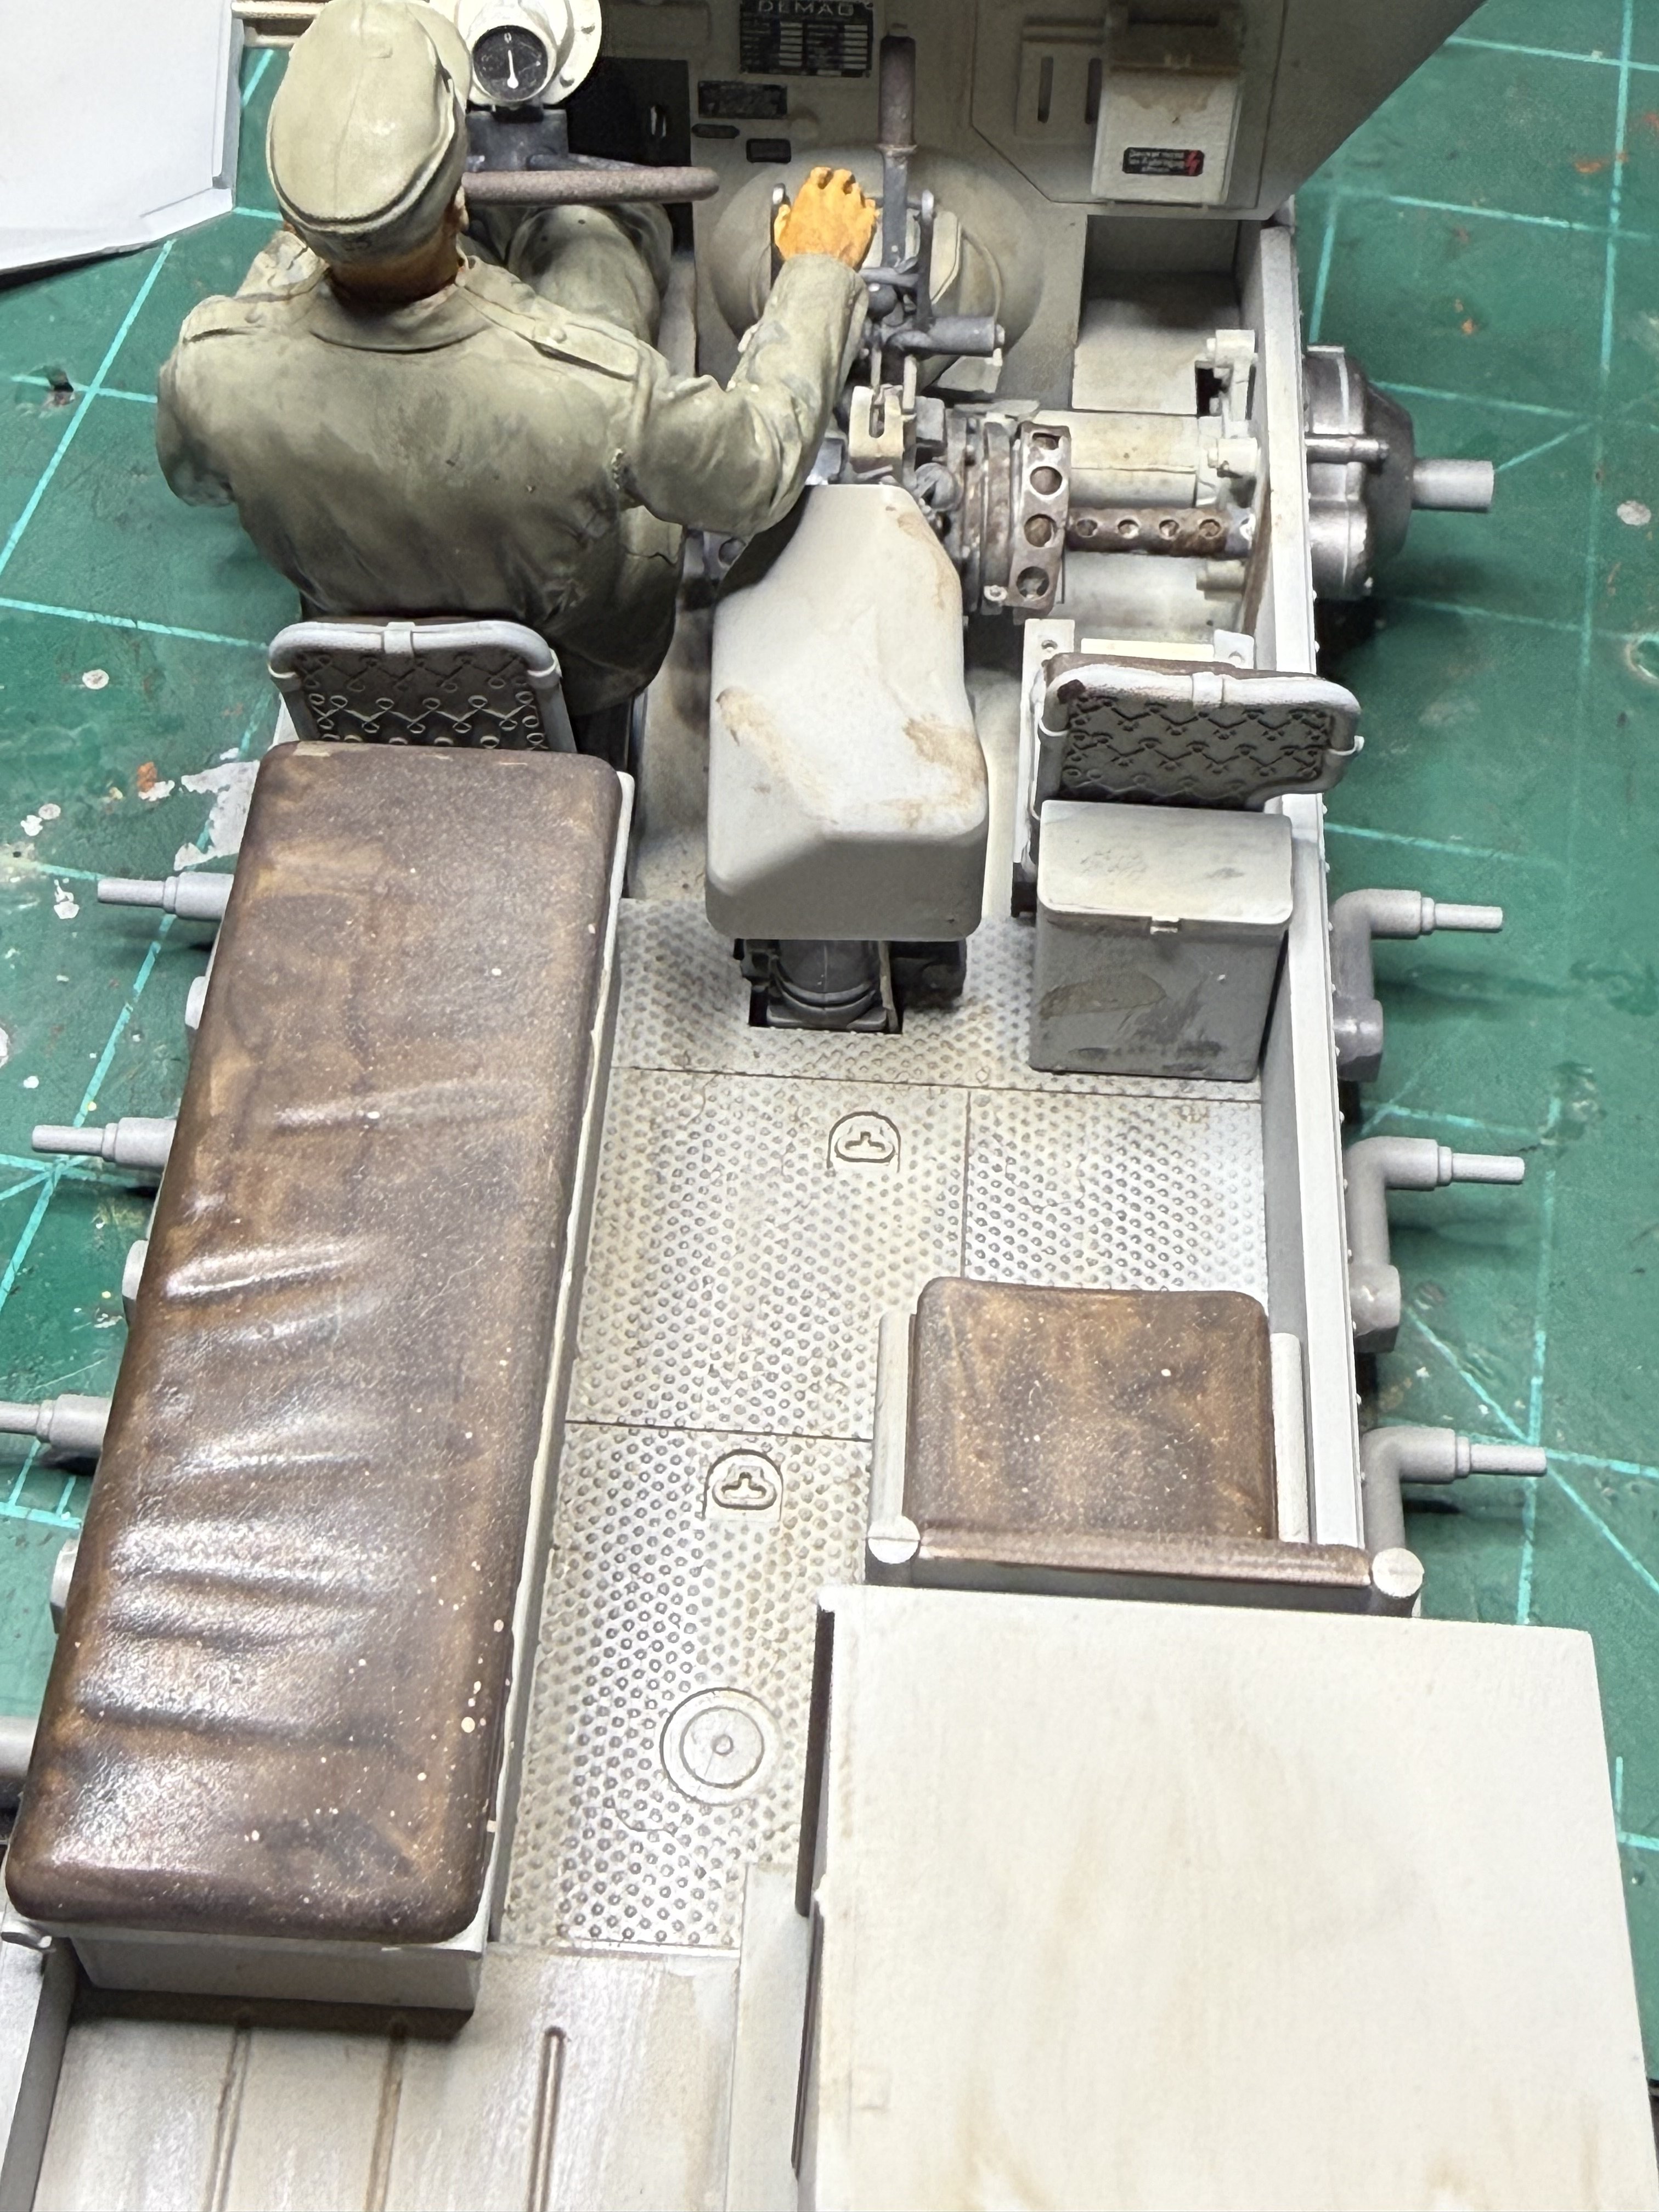
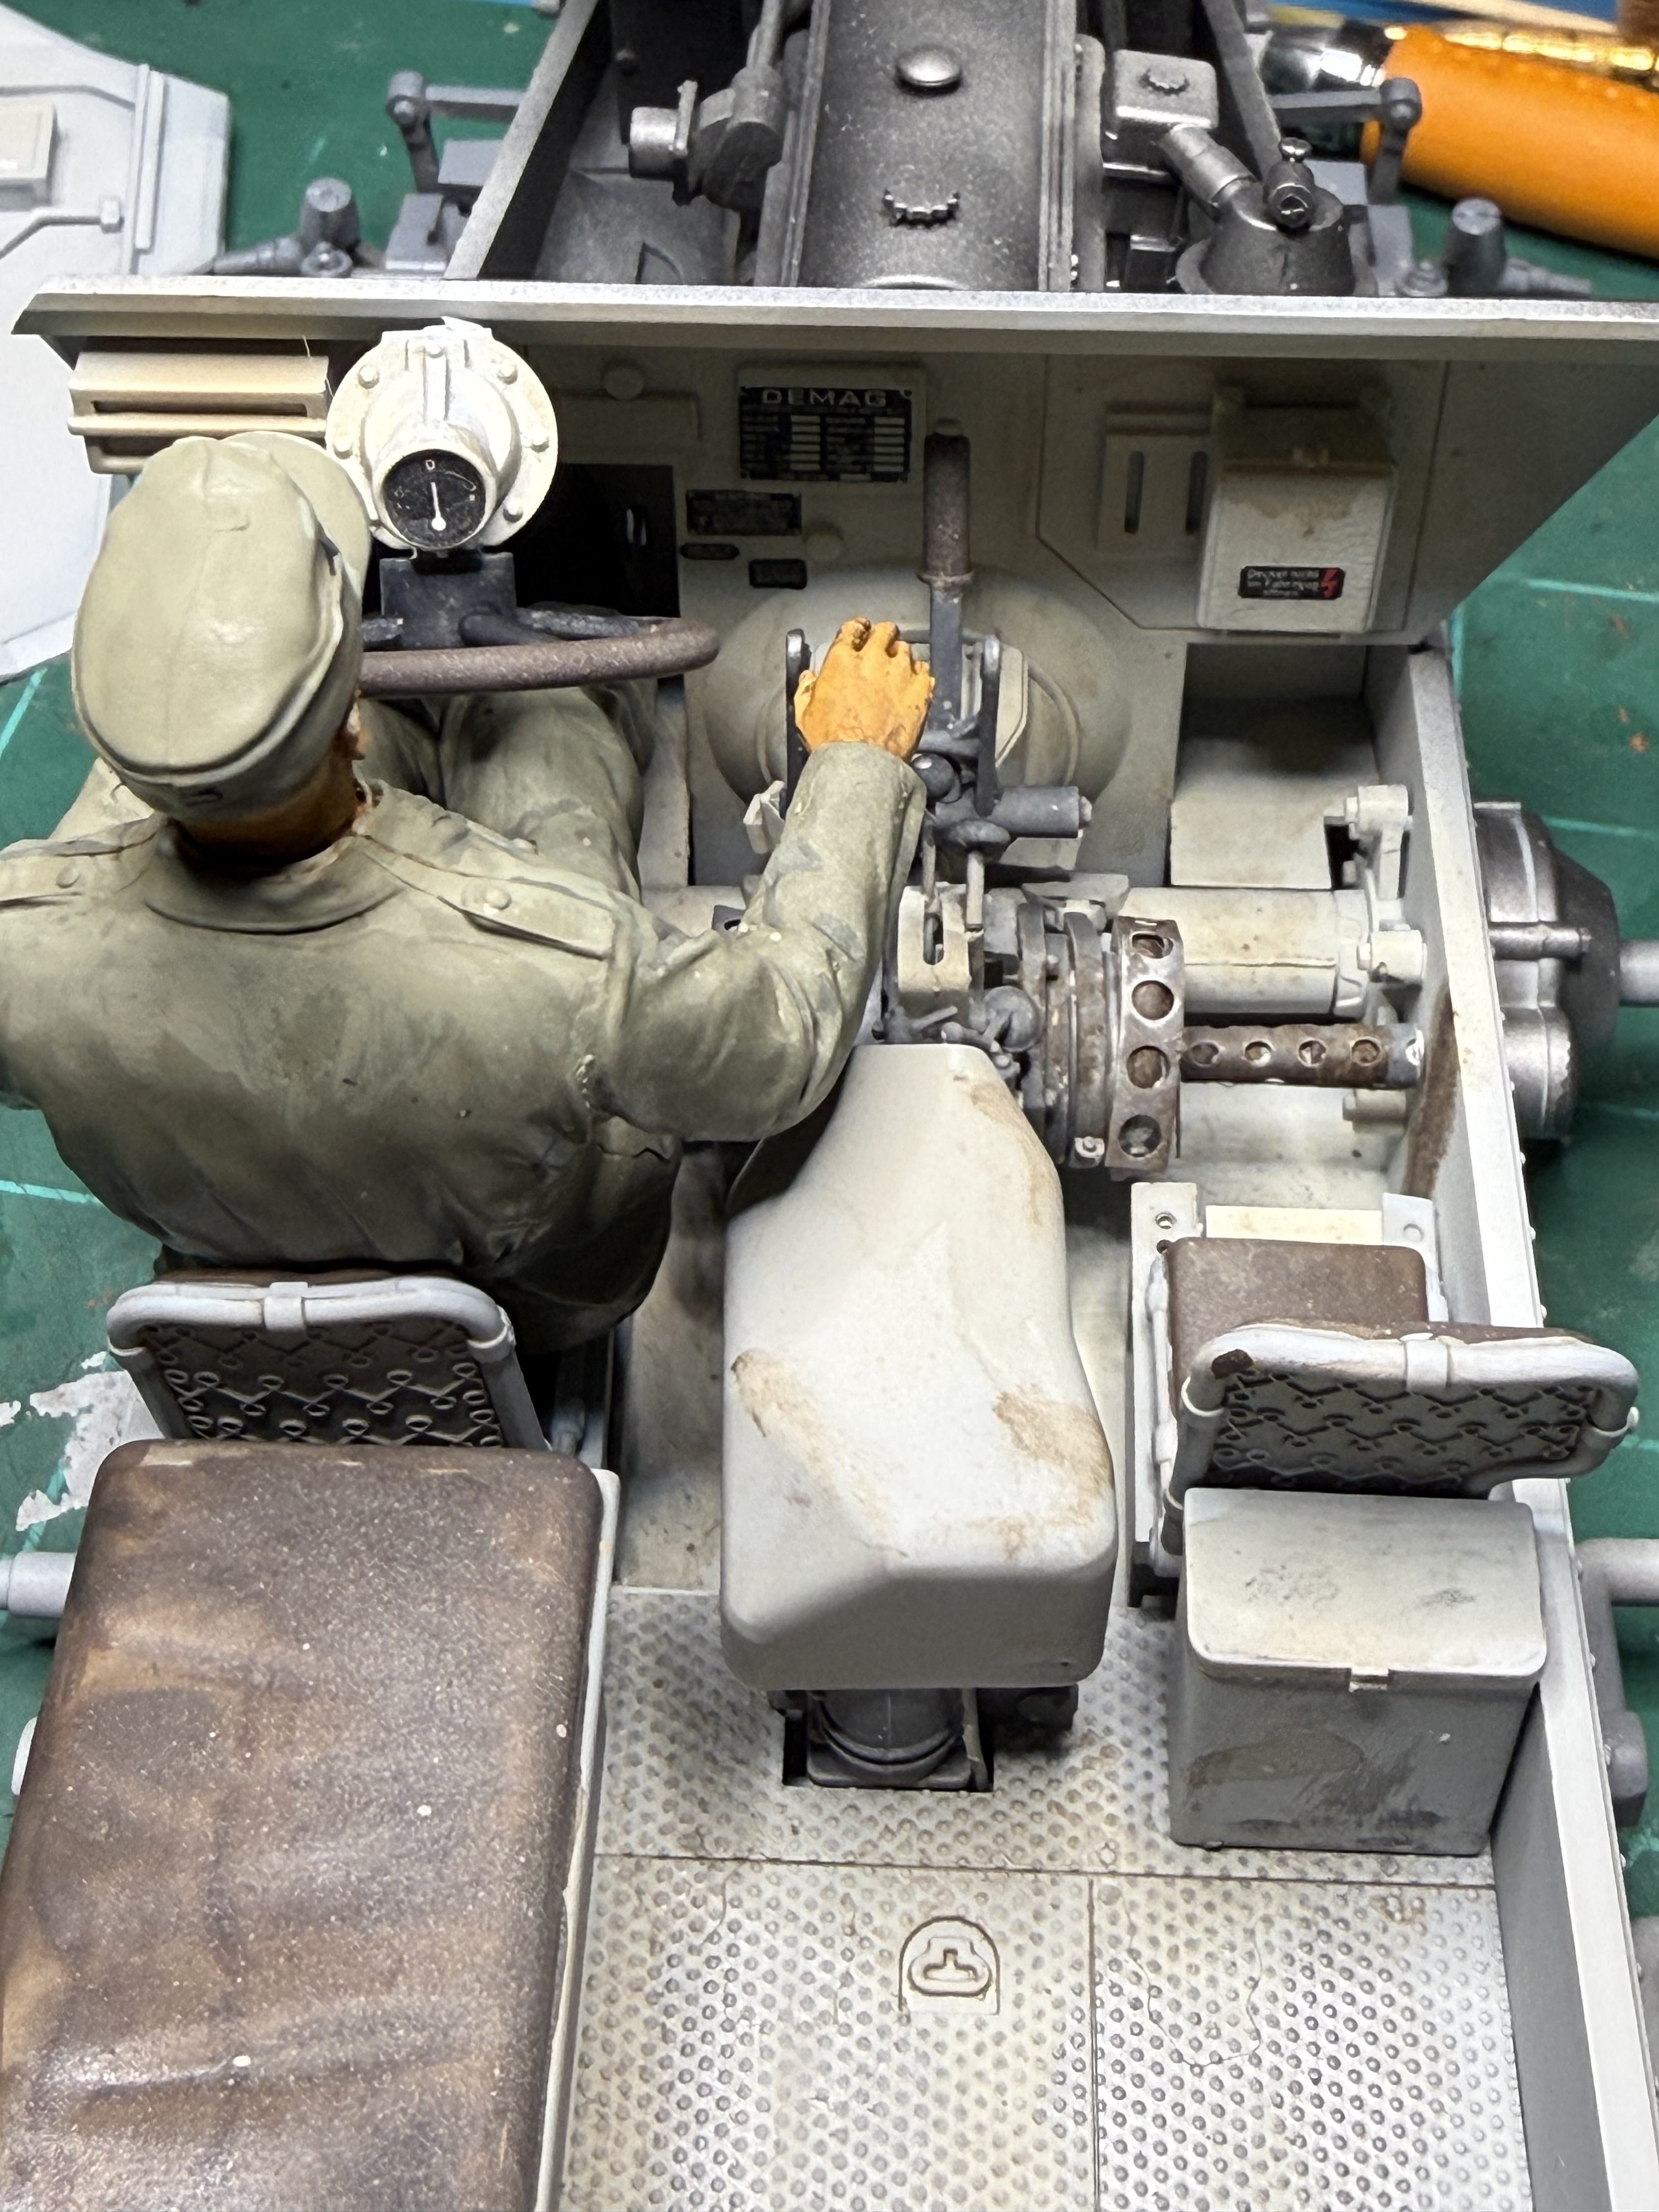
Weathered the interior. Leaving engine natural metal. I've veered slightly from the standard colors in order to bring attention to the details and just for asthetics.
Attachments

kevin
Well-Known Member
Looking pretty good
what do you have in mind for the exterior......grey, dark yellow, camo?
what do you have in mind for the exterior......grey, dark yellow, camo?
That's looking amazing! And the seating, wow.Weathered
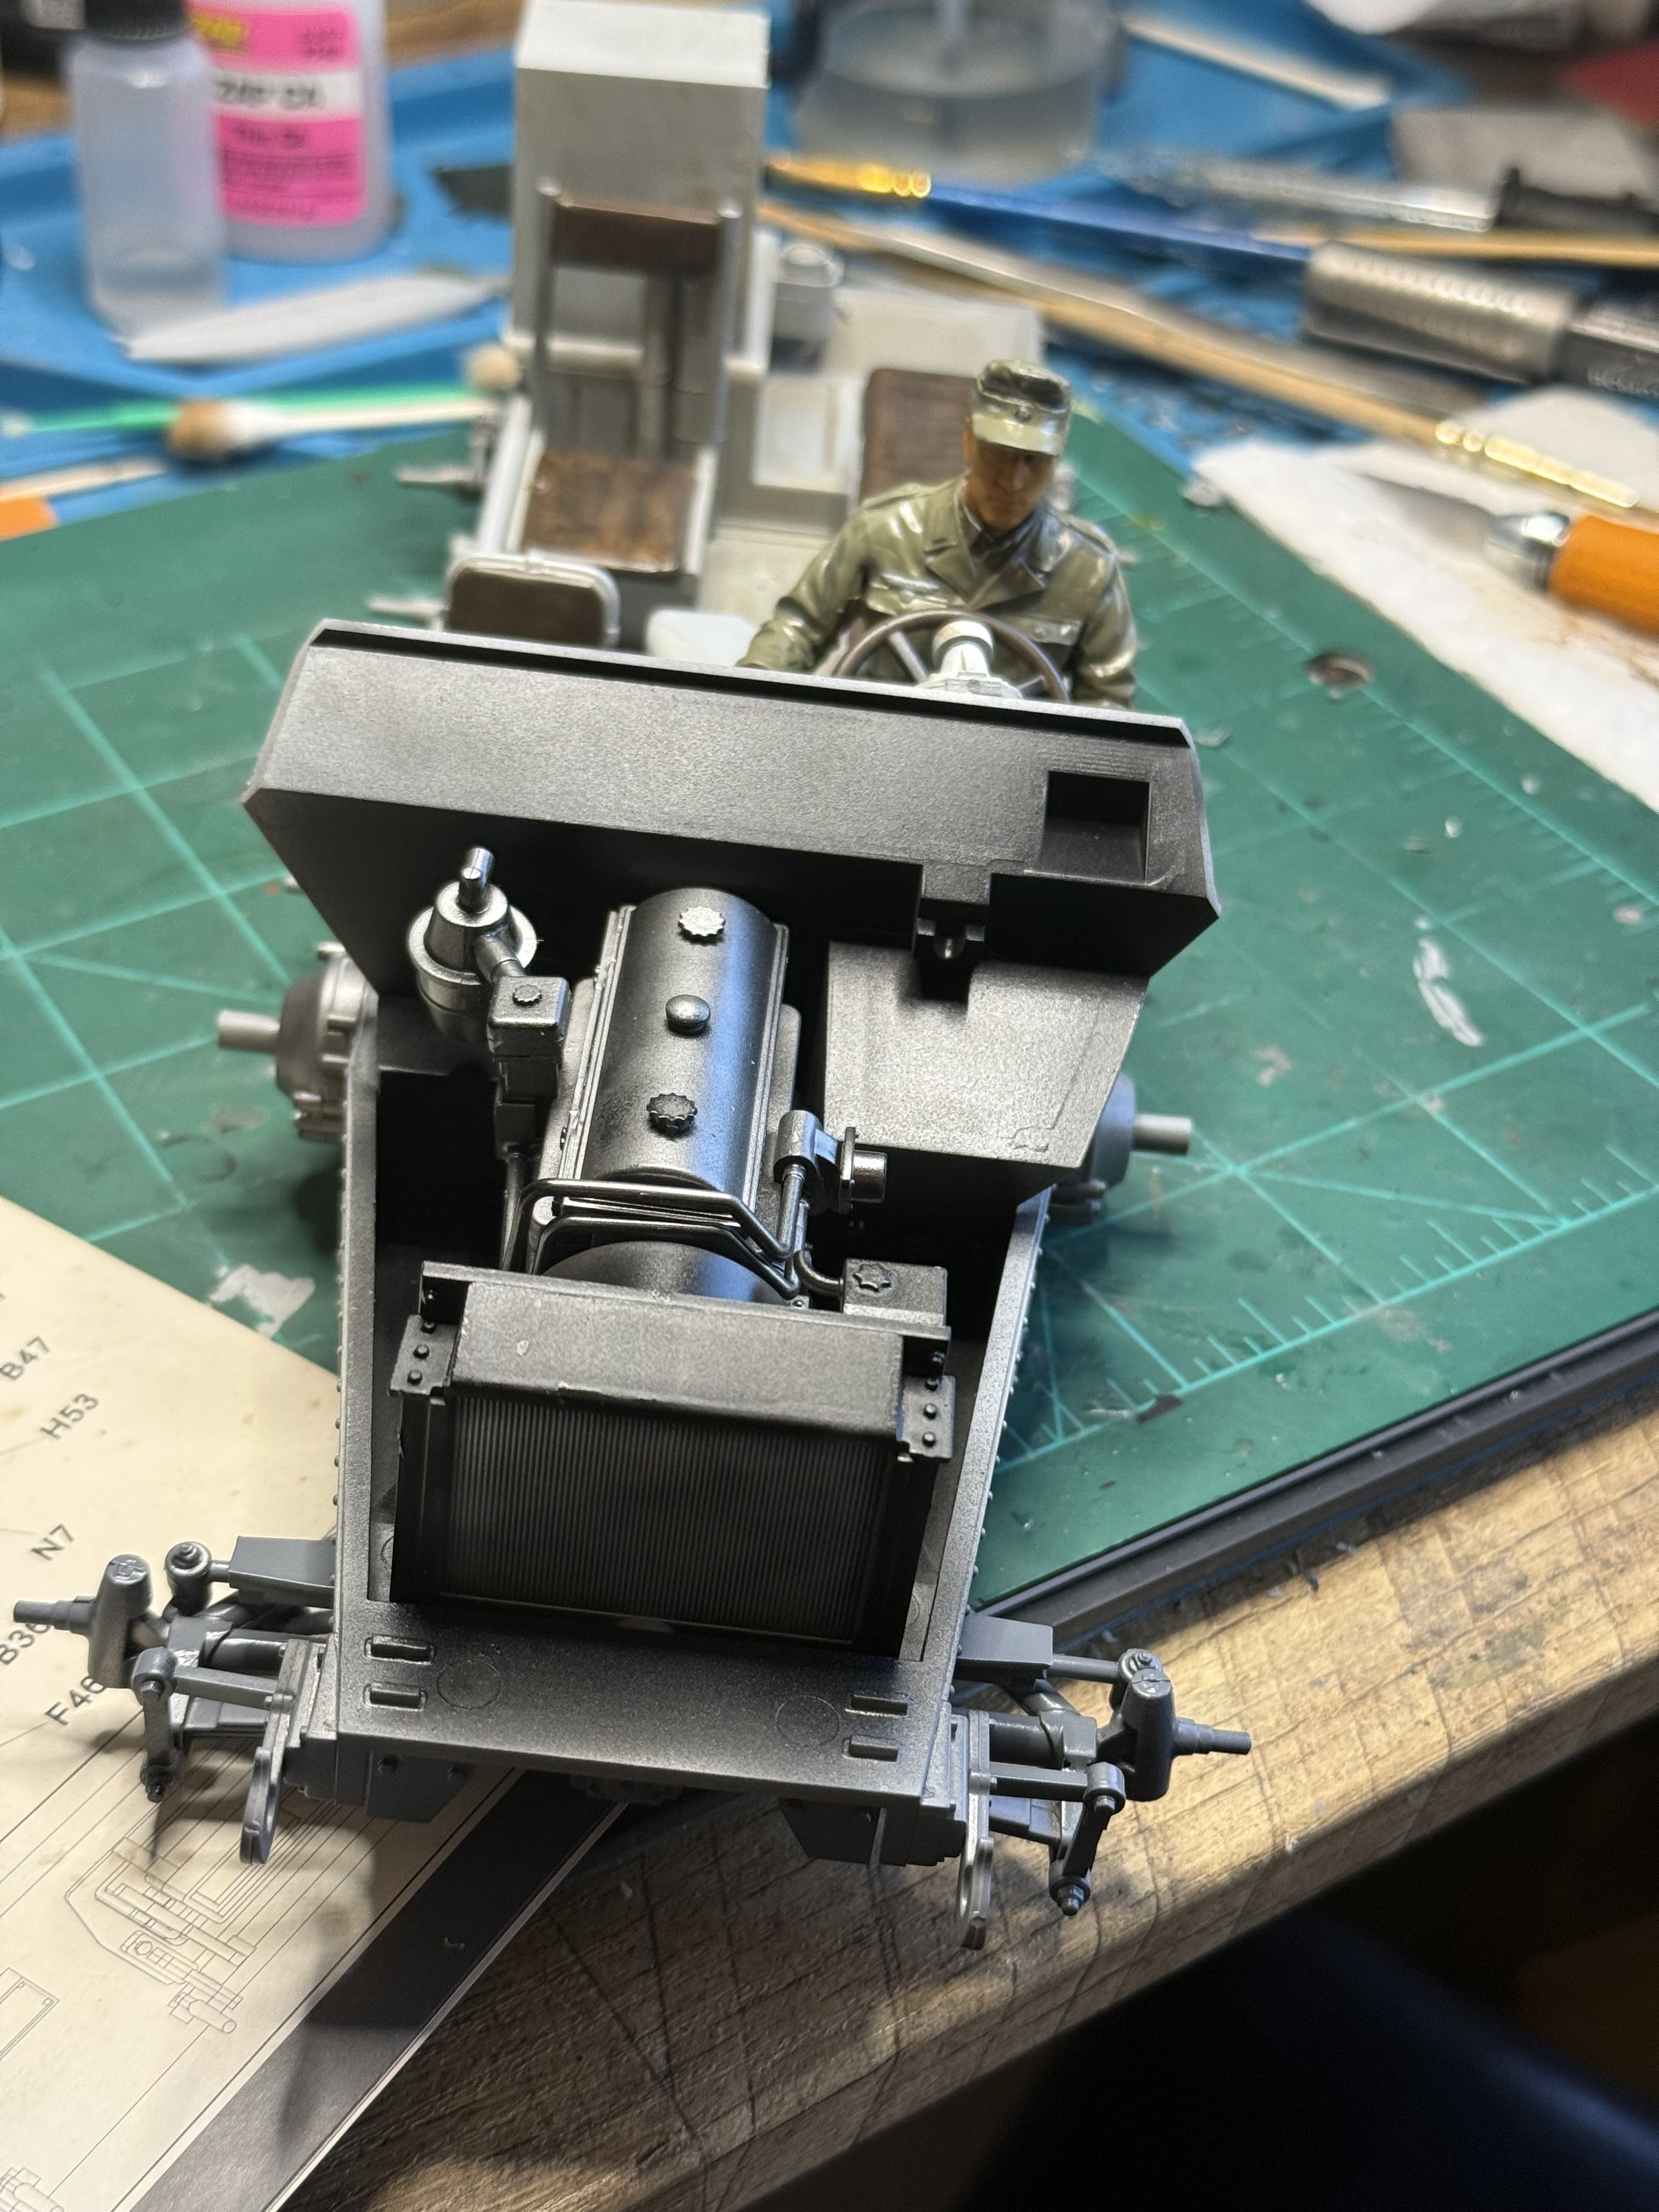
I'm going with grey.Looking pretty good
what do you have in mind for the exterior......grey, dark yellow, camo?
Thanks ! I really need to up my game with the wood grain. - with the tools that I don't have posted yet. I tried the wet on wet method this time but I can't seem to get the patterns other people get. I'm probably rushing it. I do think my leather is improved. I have got to figure out where I'm going to display my work. My office shelving unit is full, have stuff on my desk now. Models on my dresser and on a couple shelves in the dining room- wife is keeping me at bay there. Right now I'm running out of space to work in my hobby room. And I've a few big boats coming in the mail.That's looking amazing! And the seating, wow.
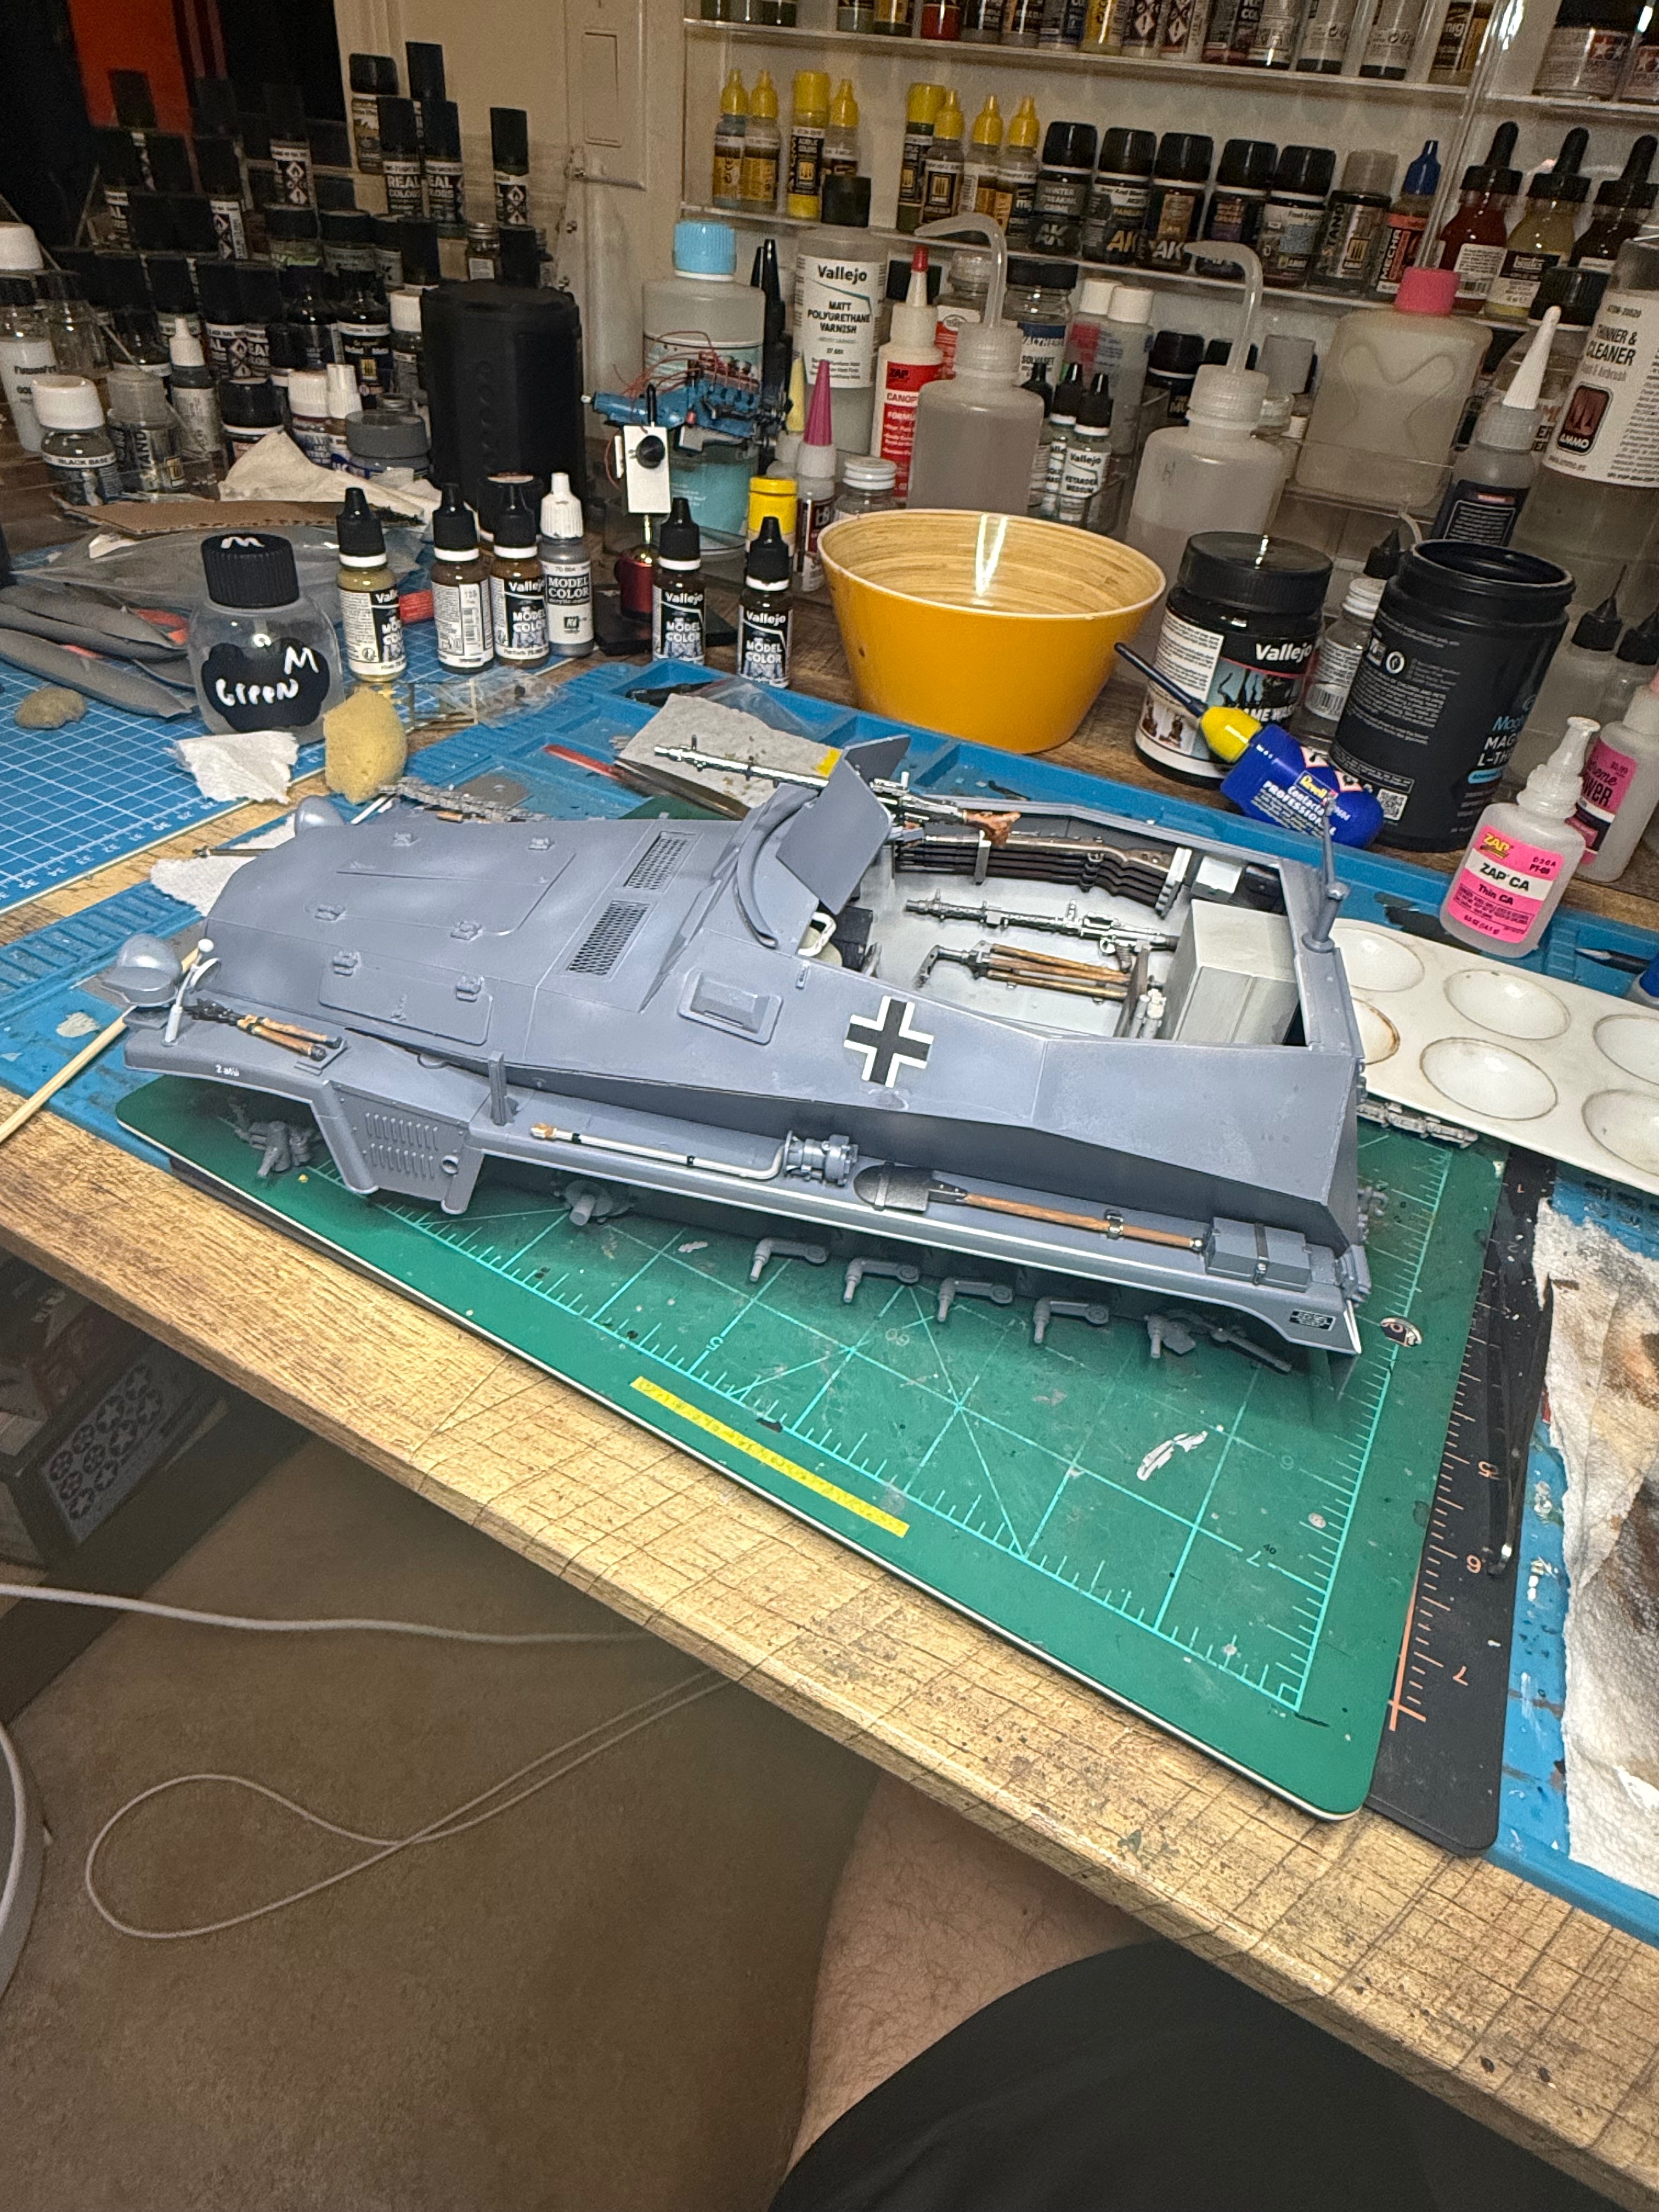
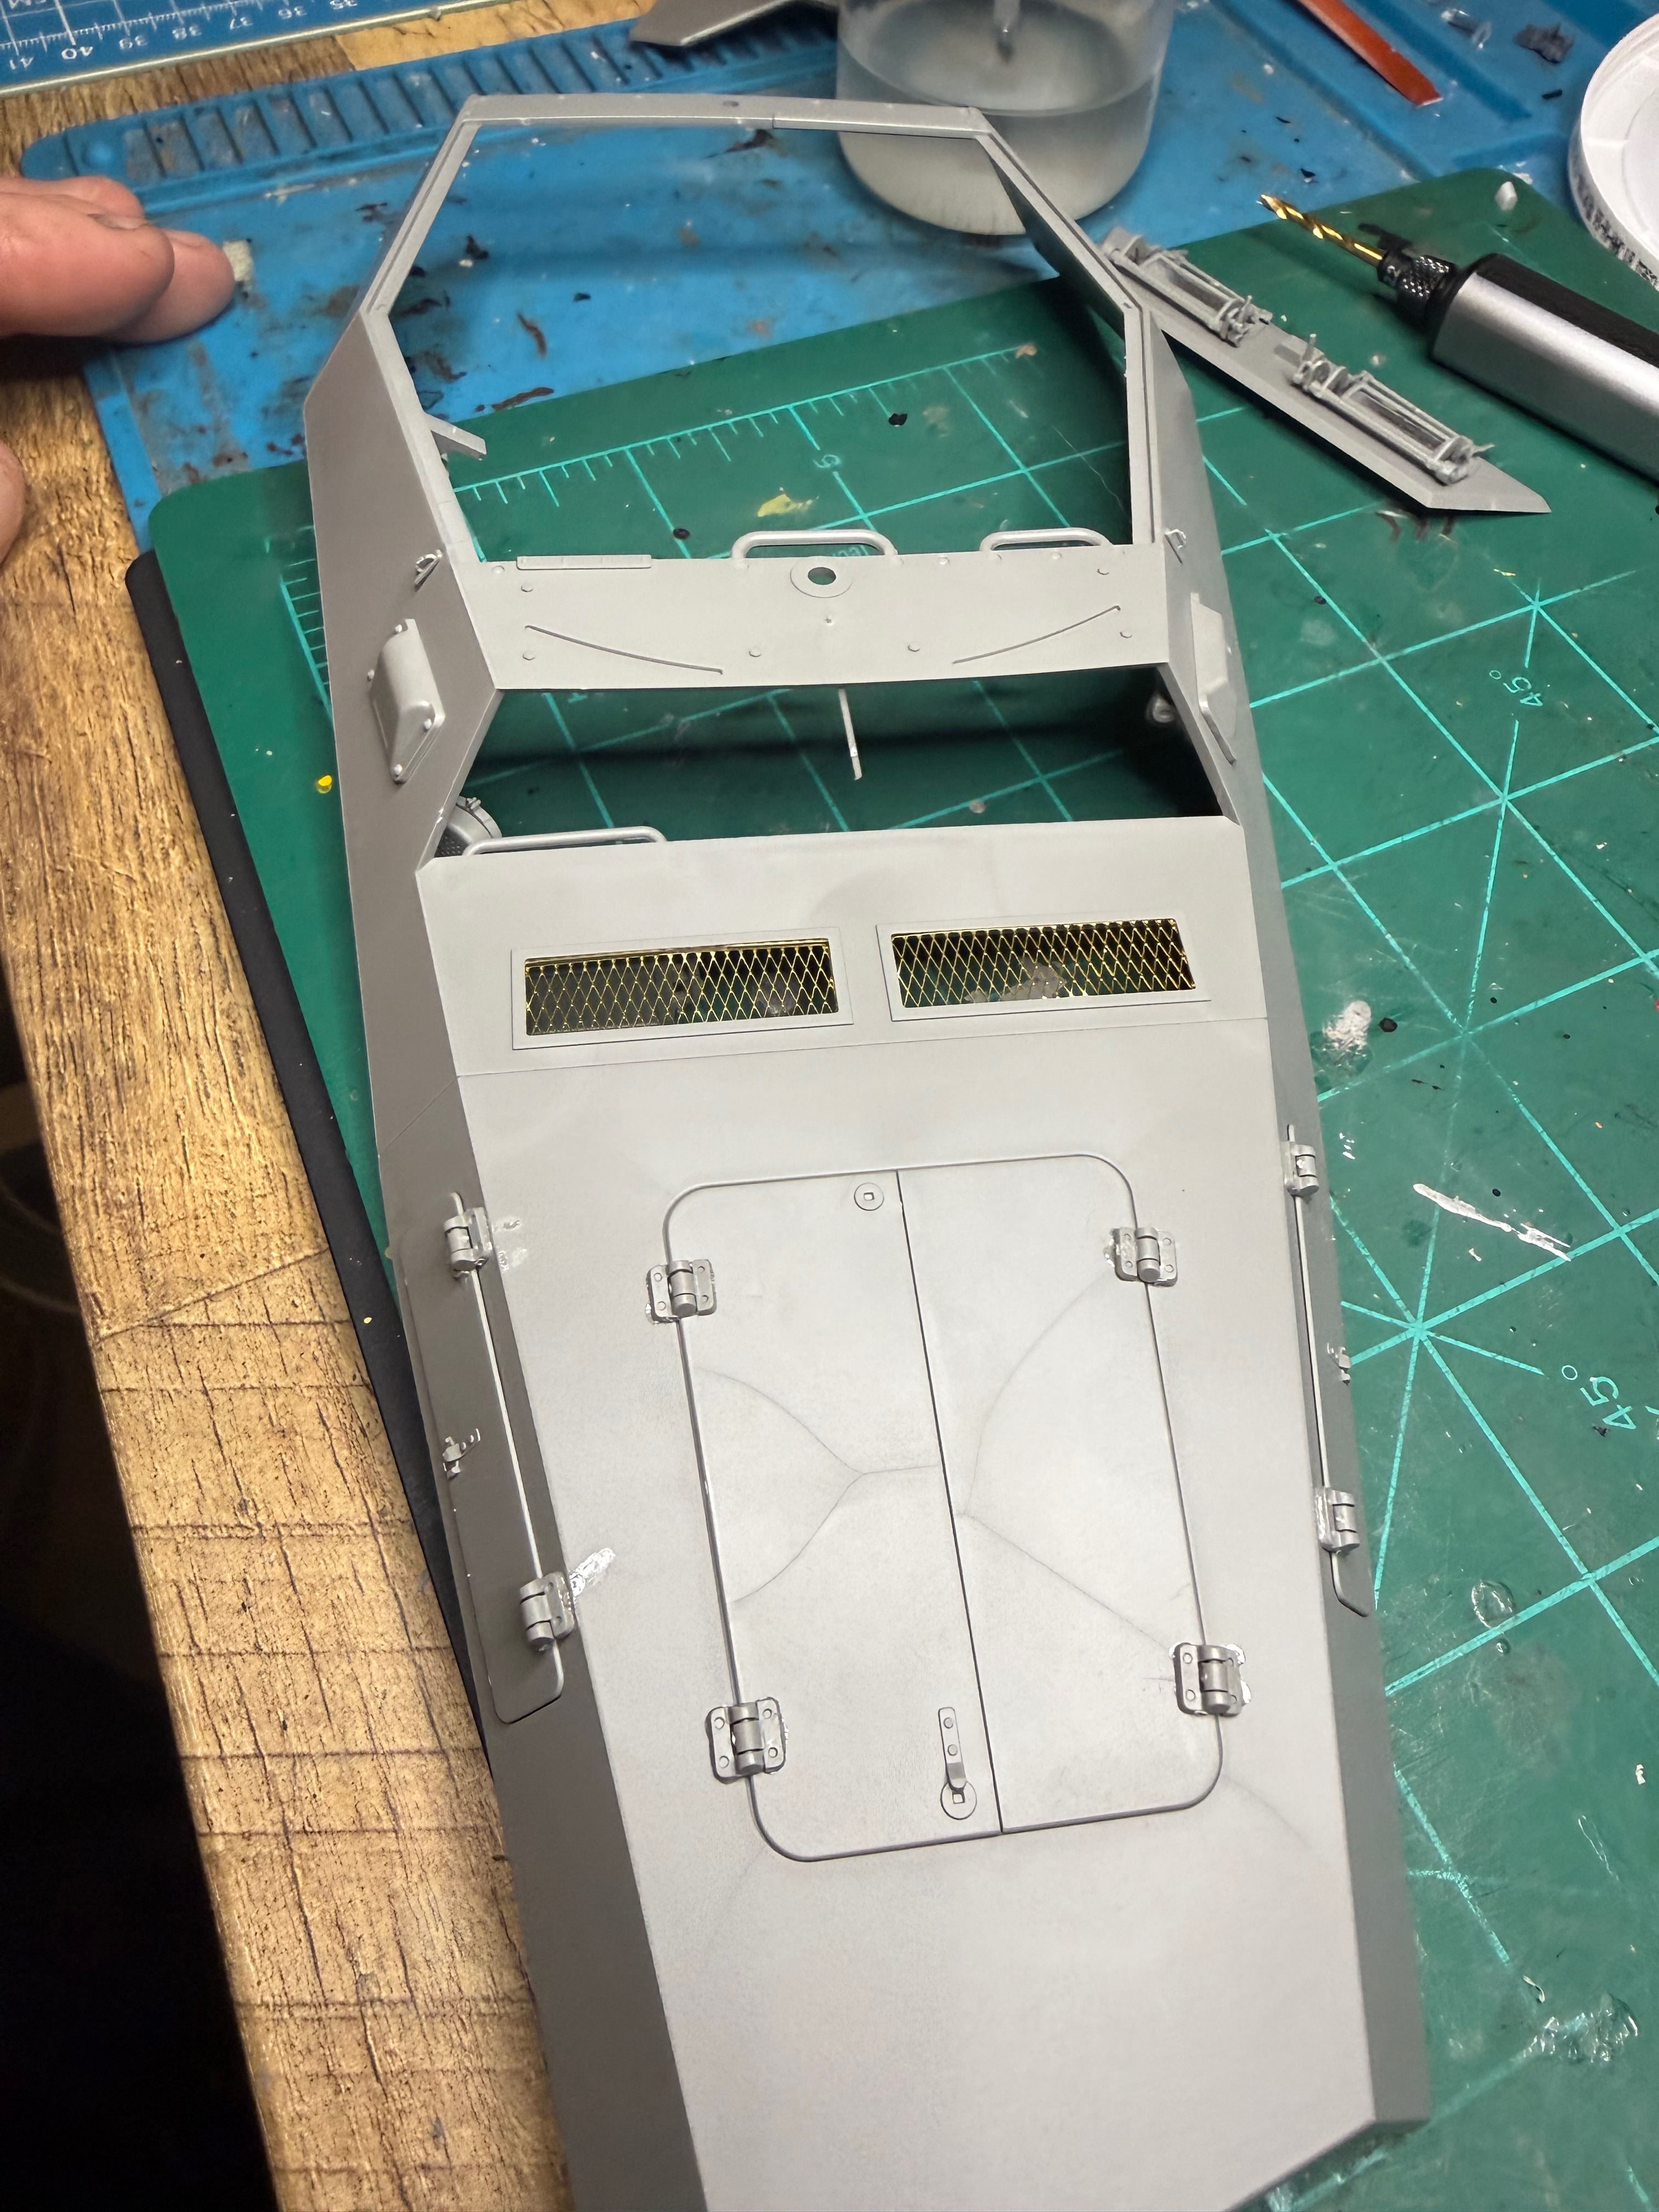
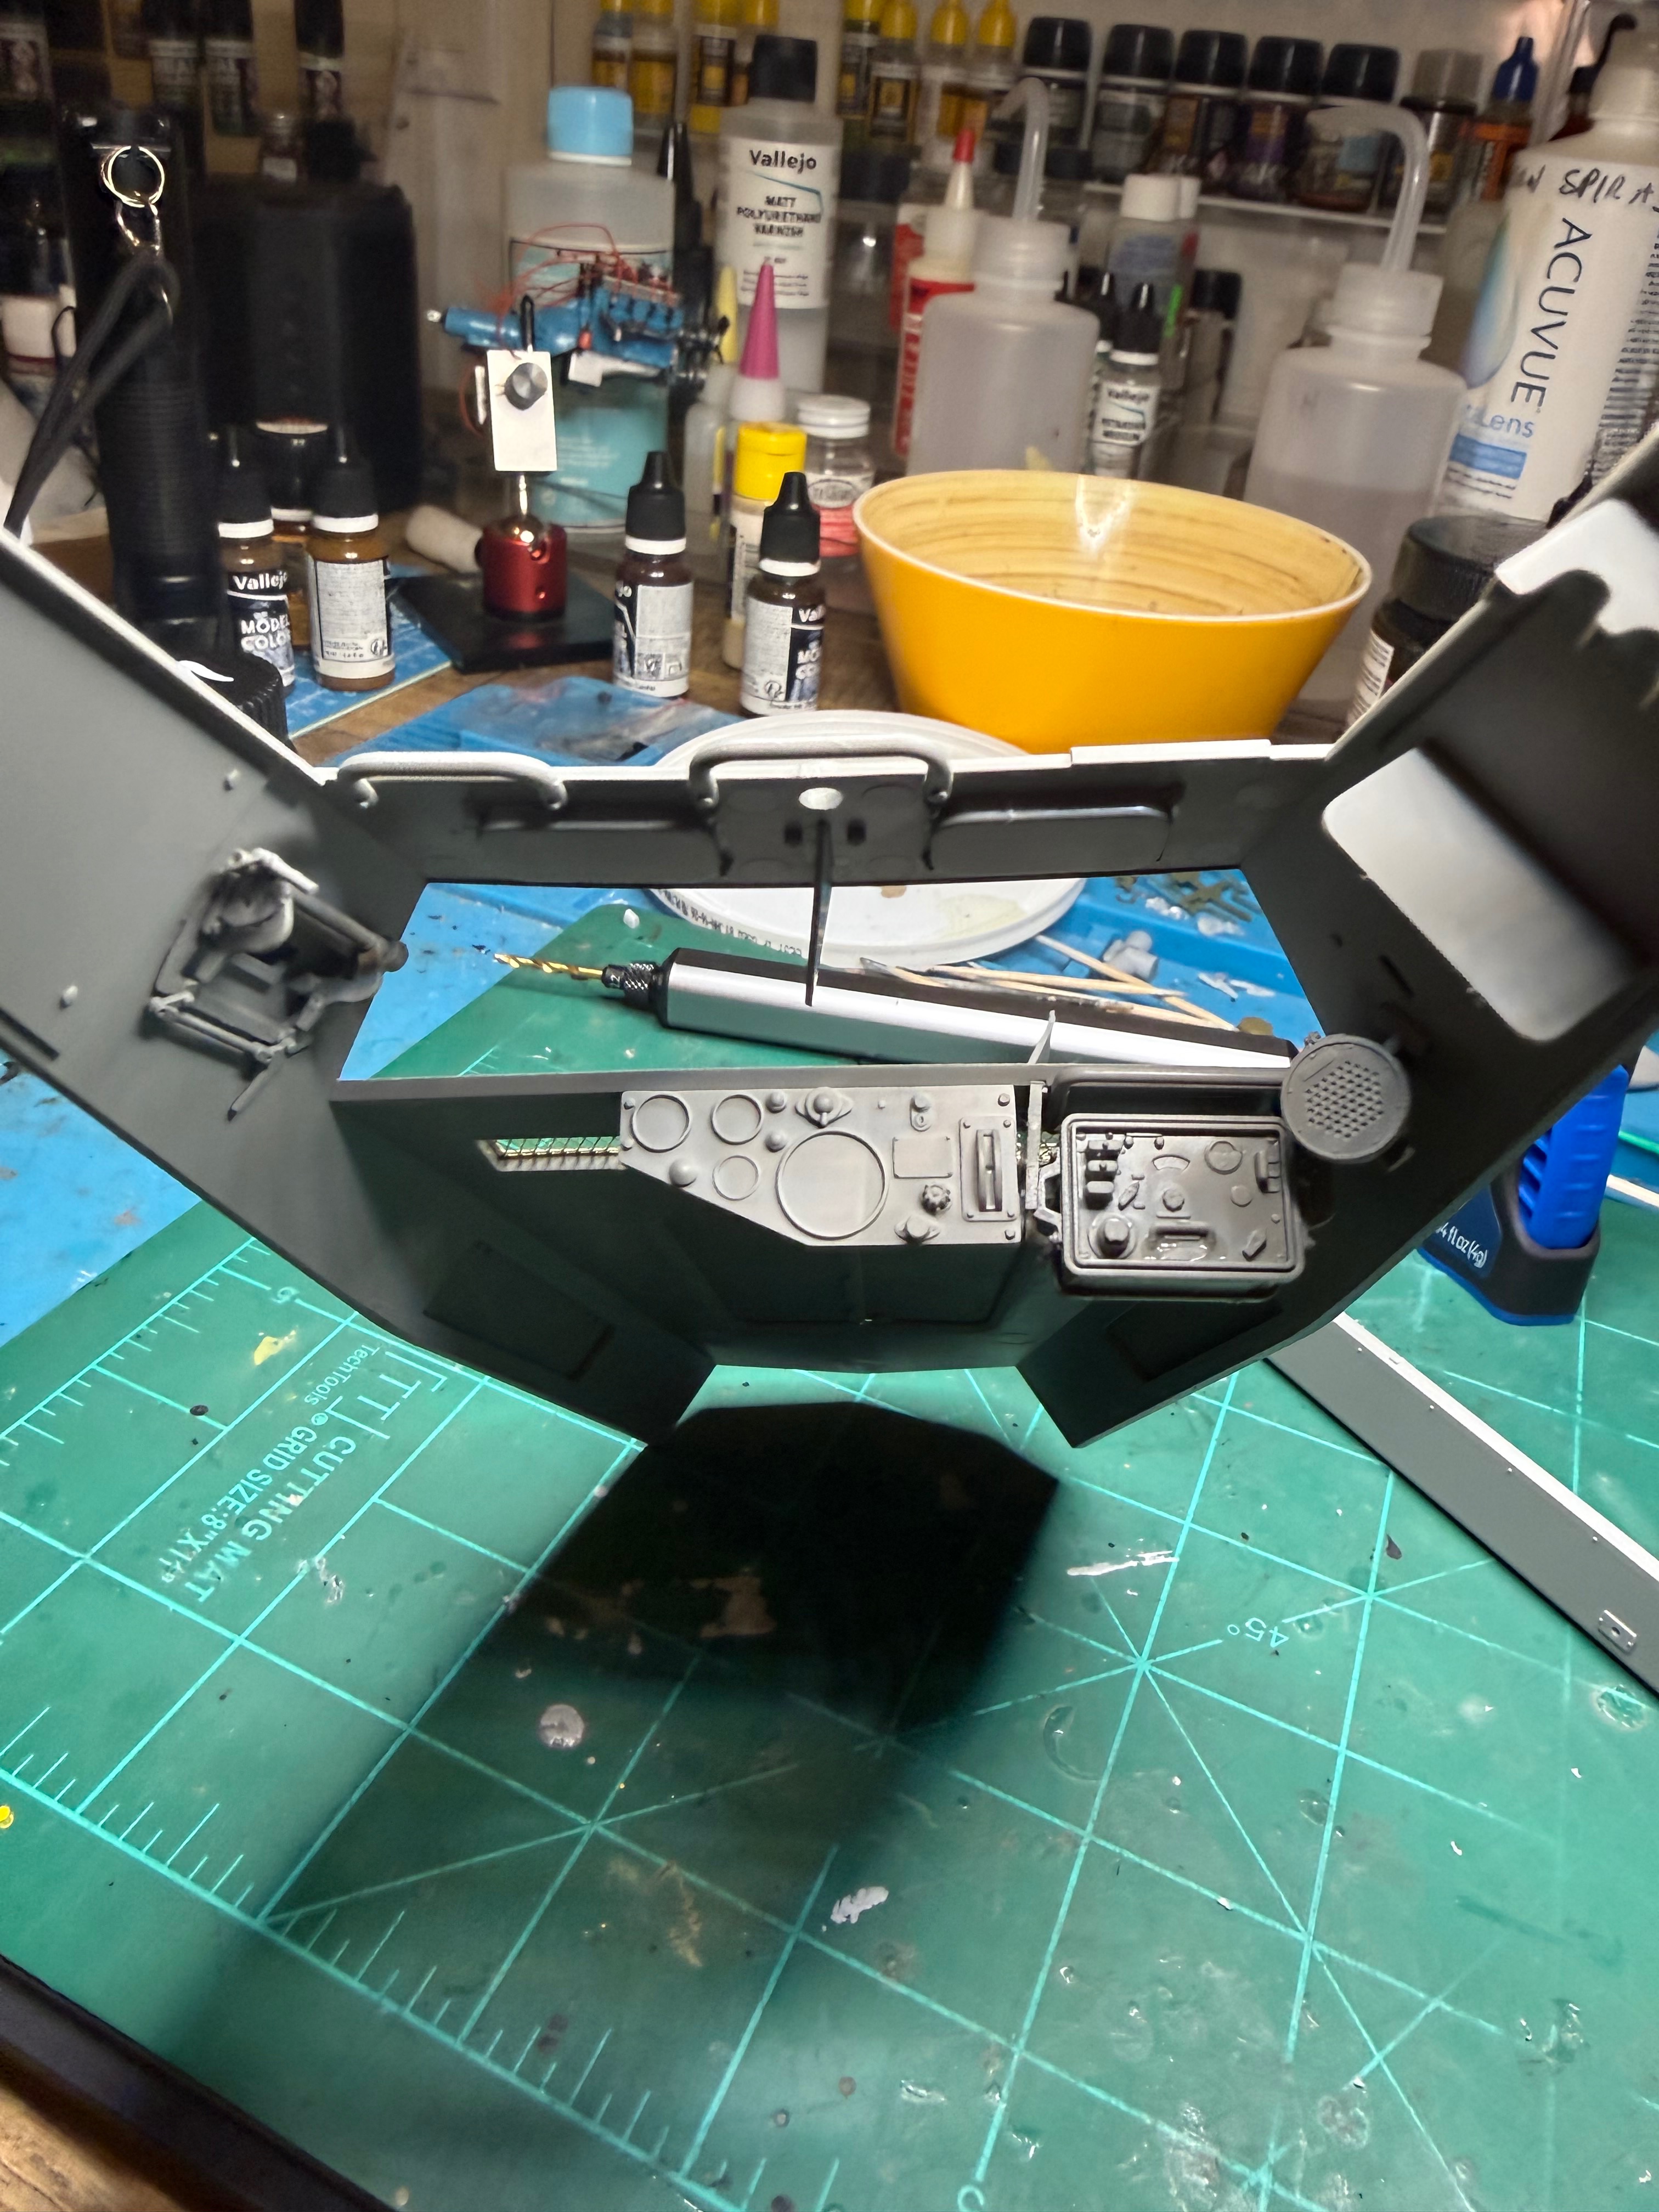
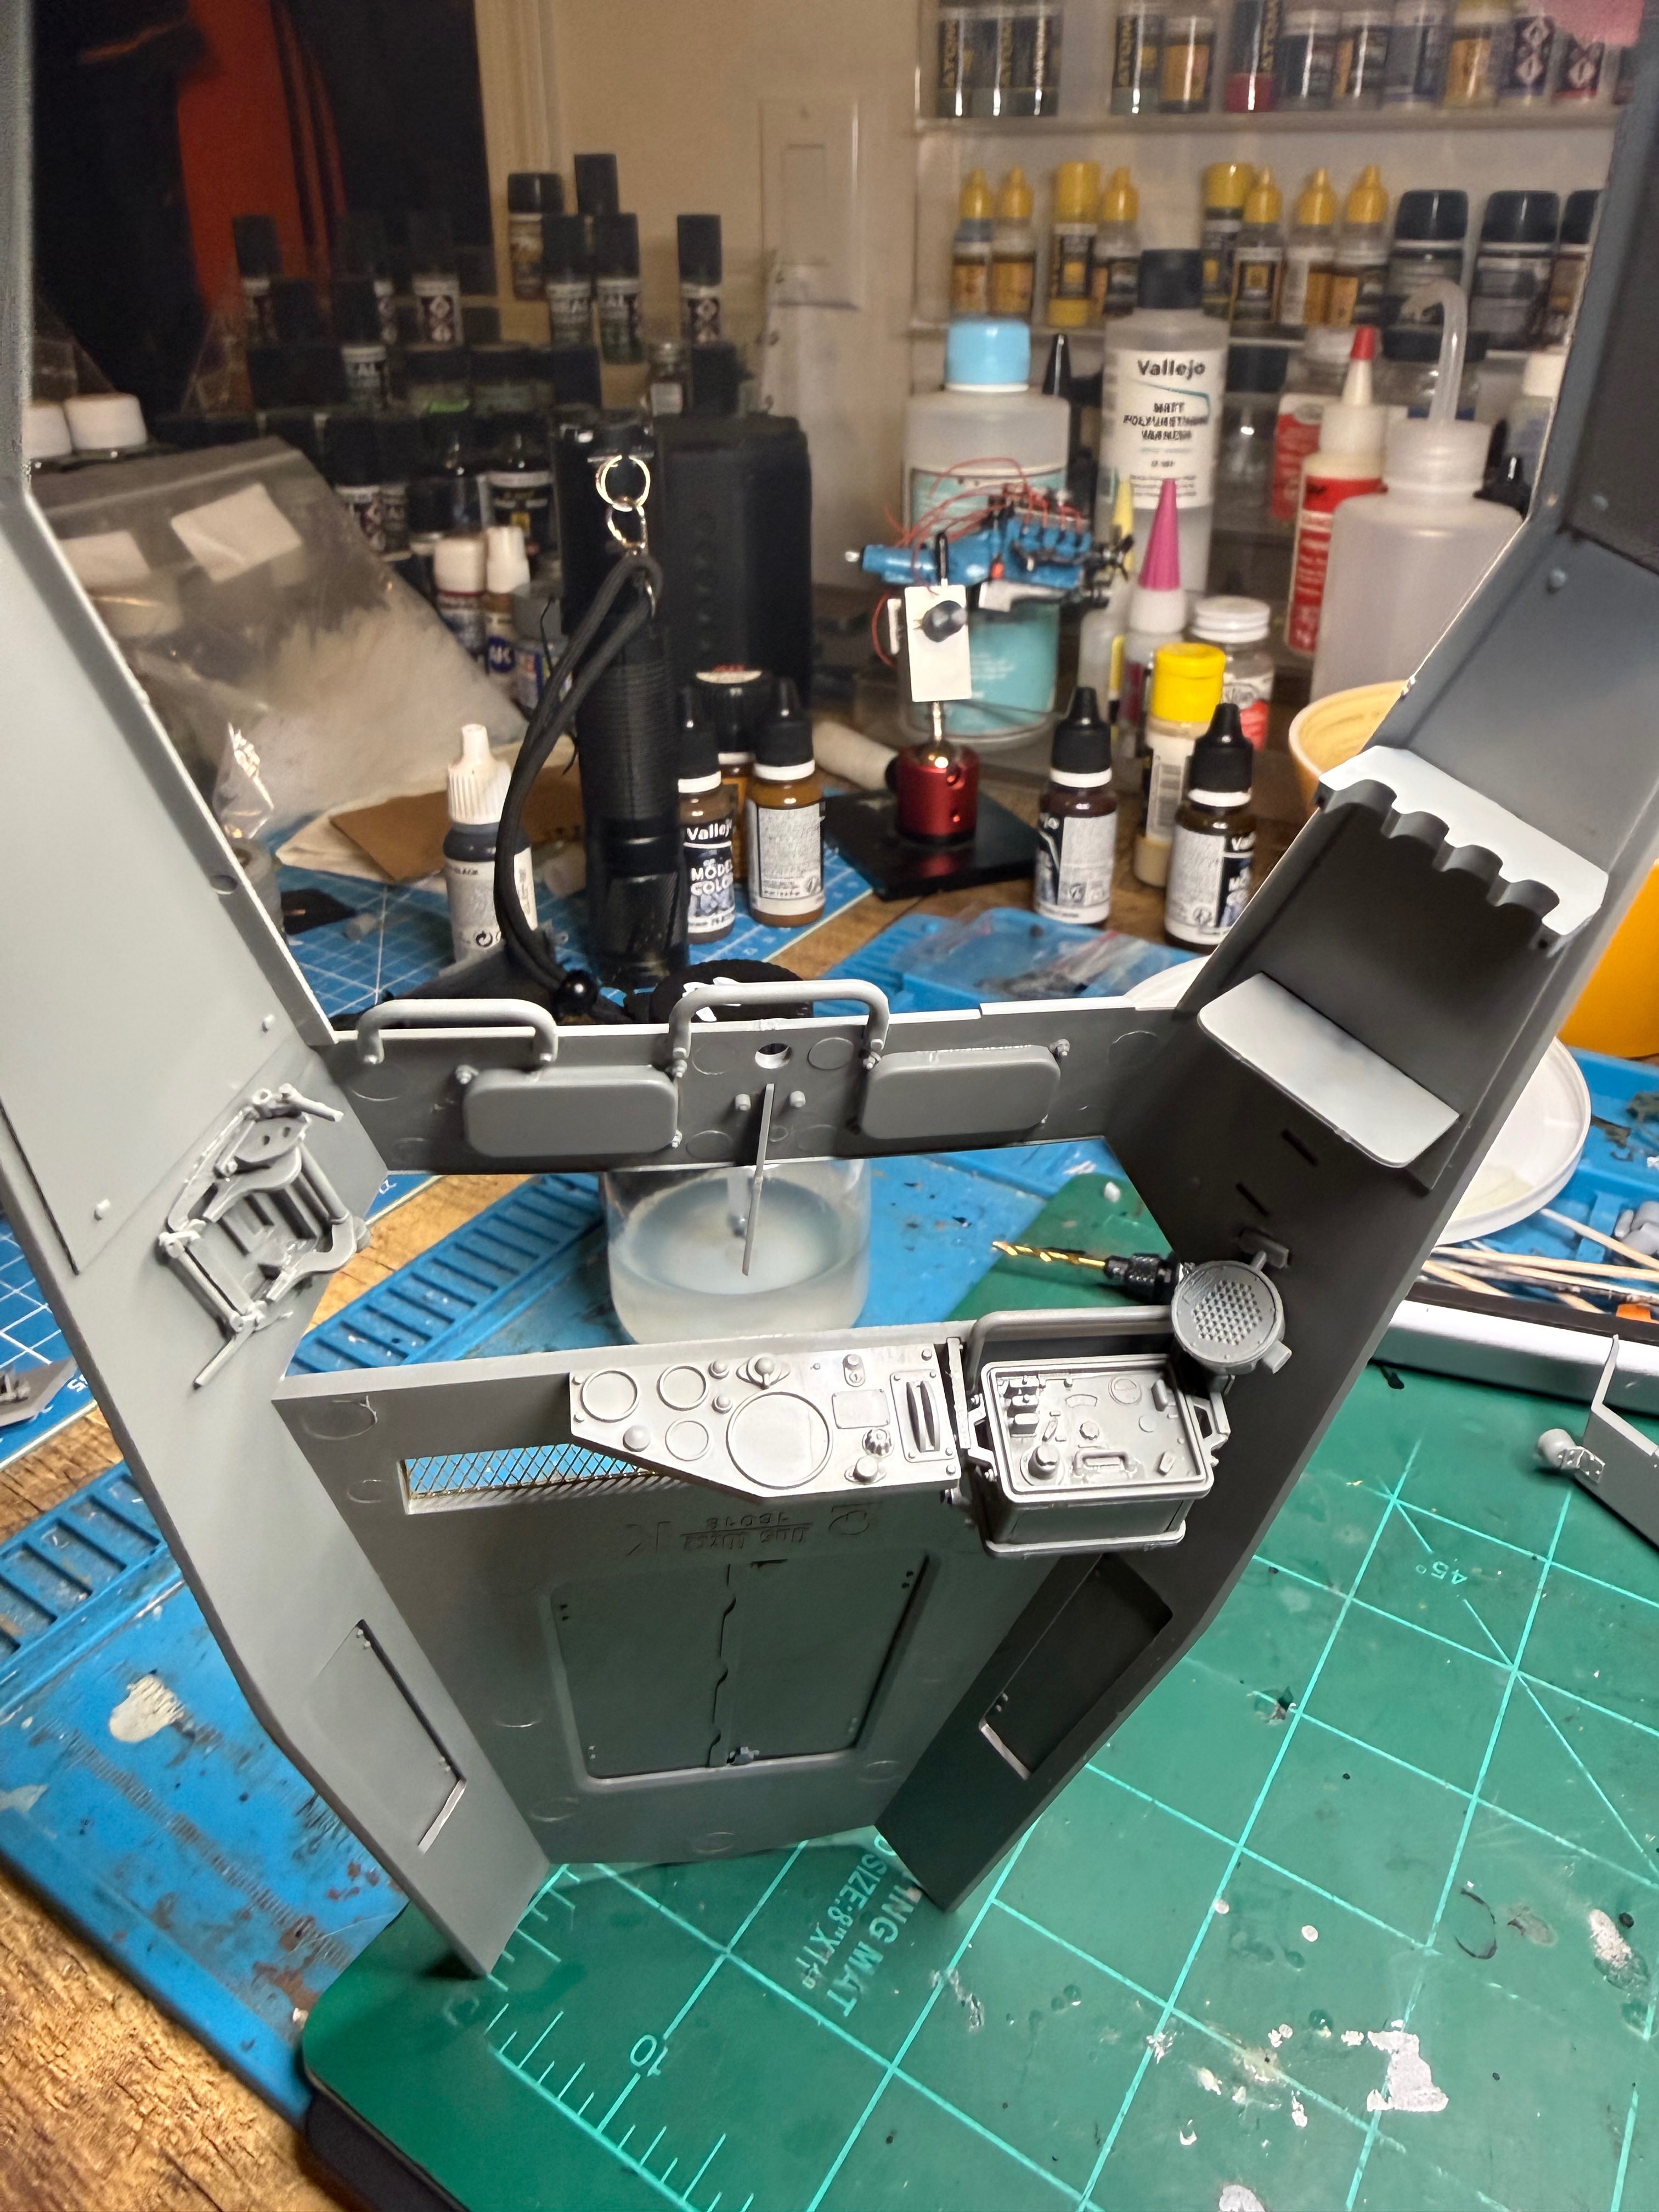
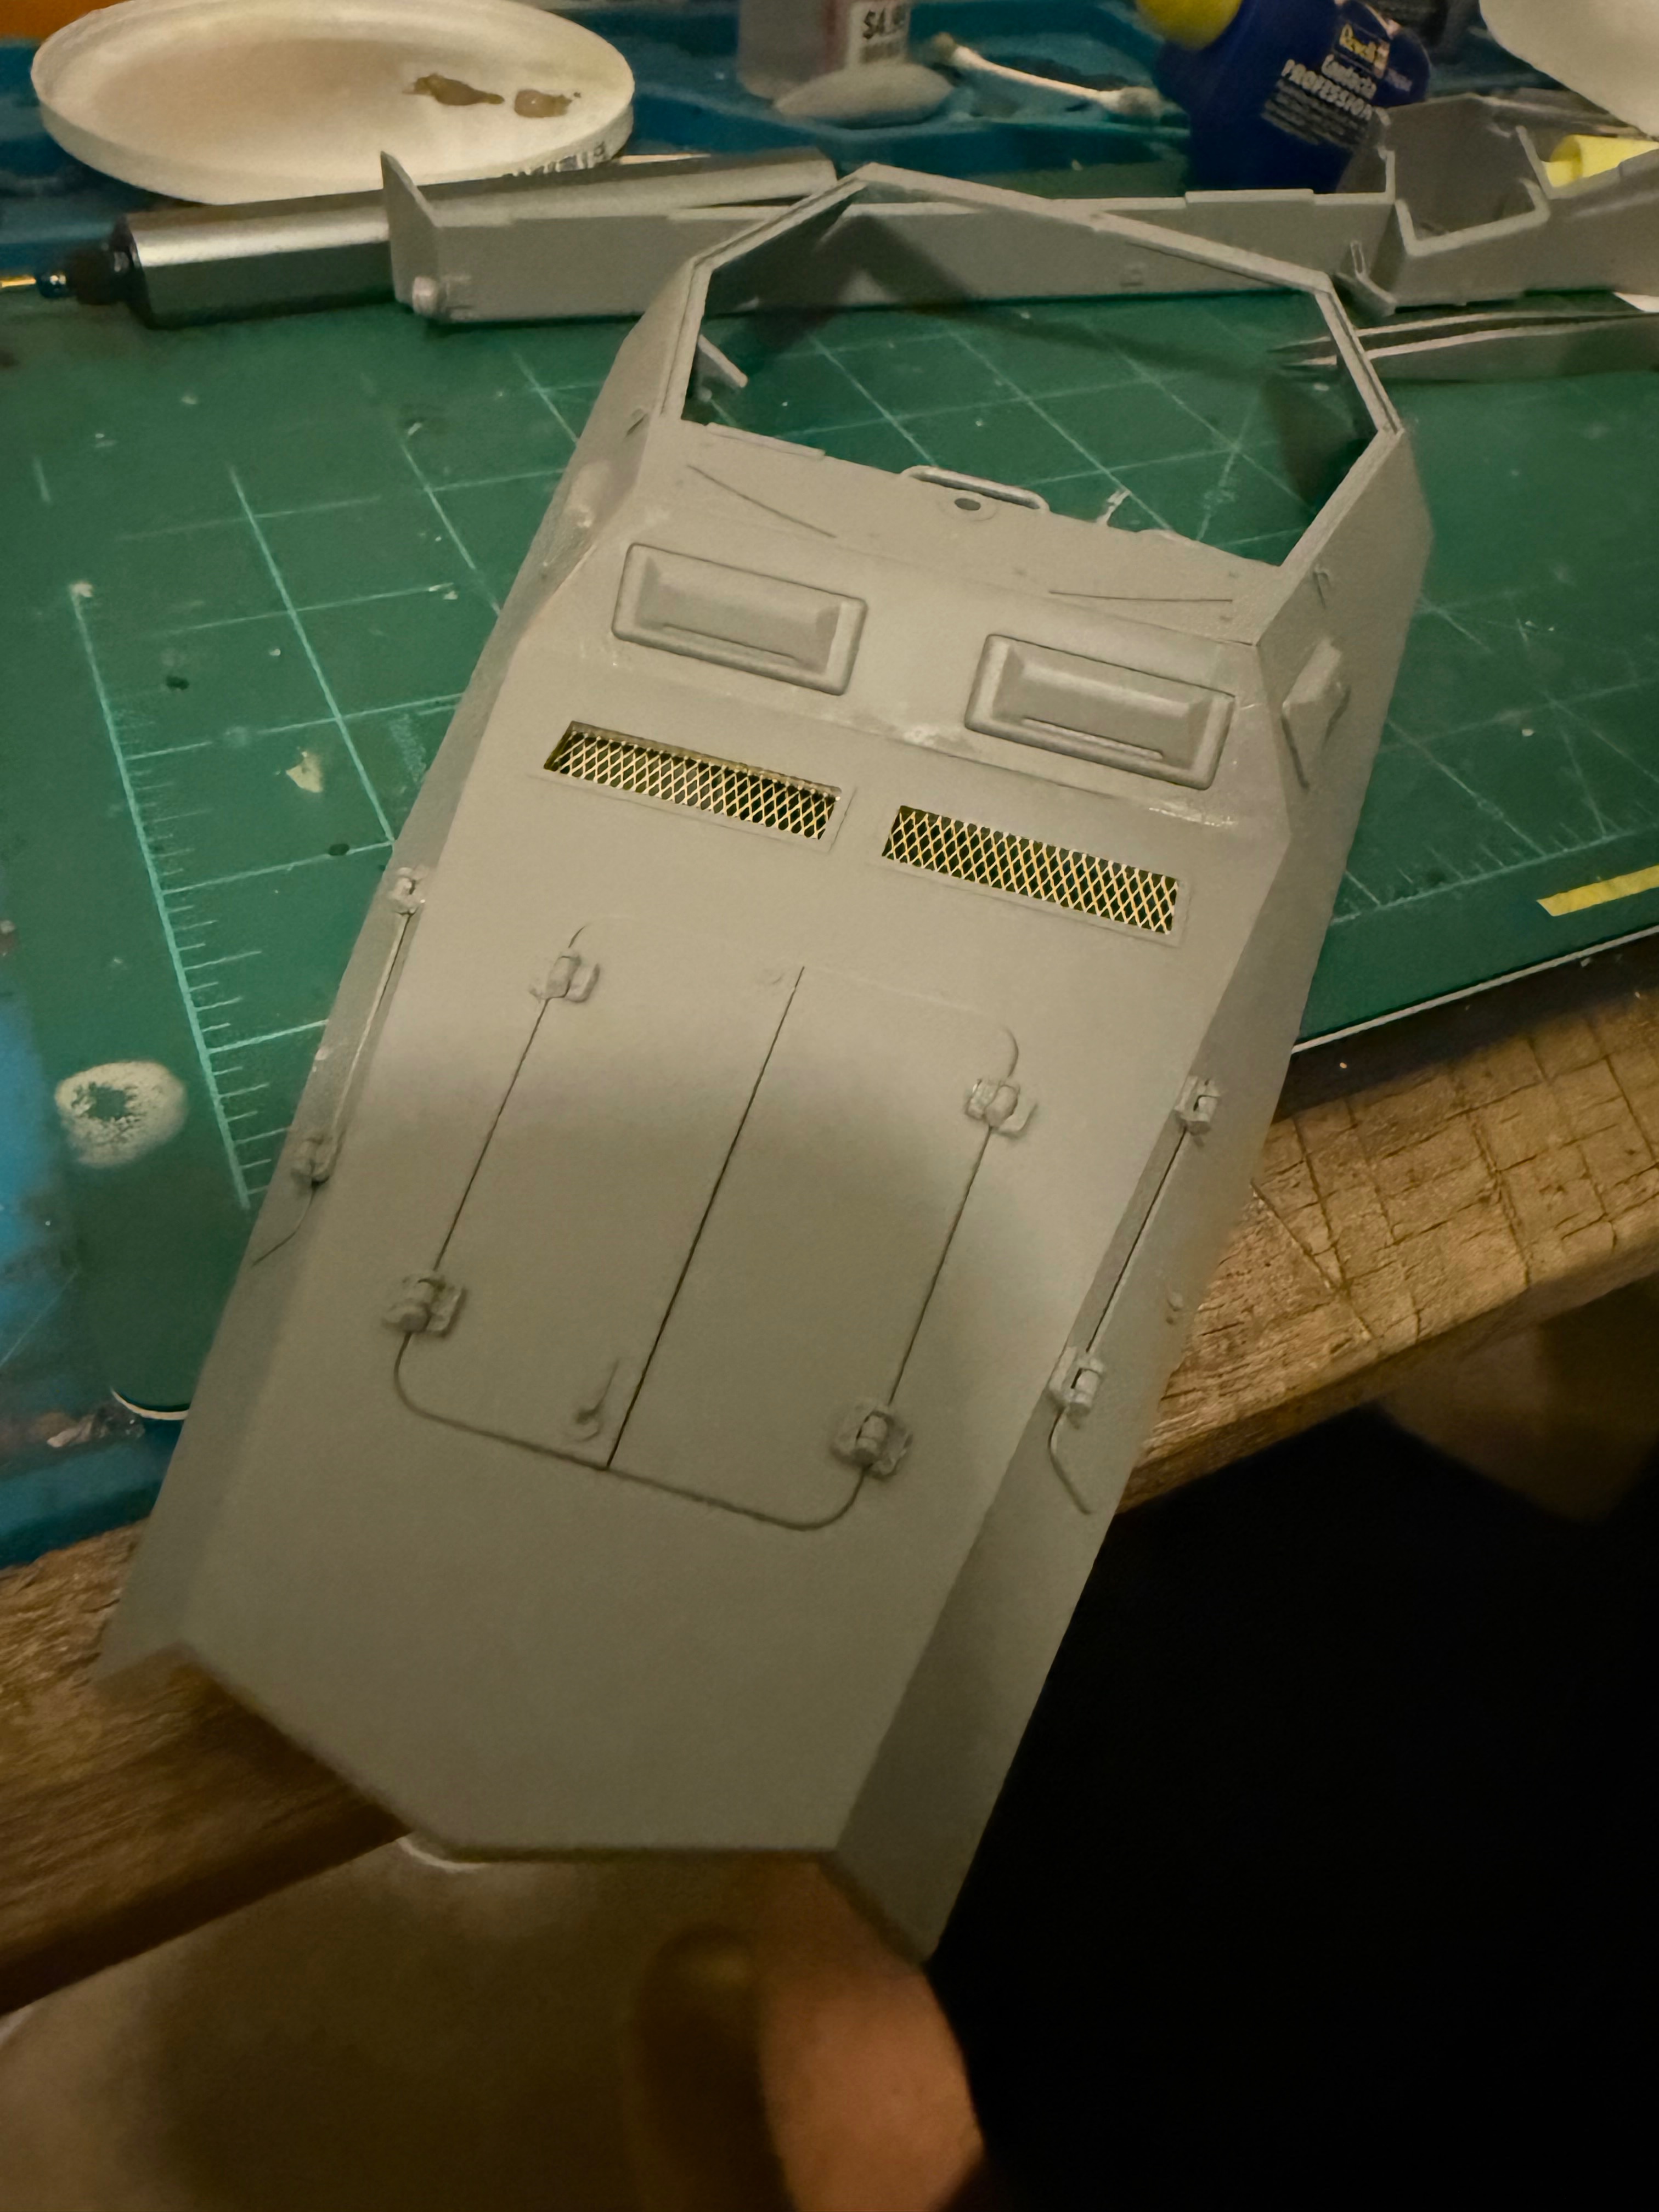
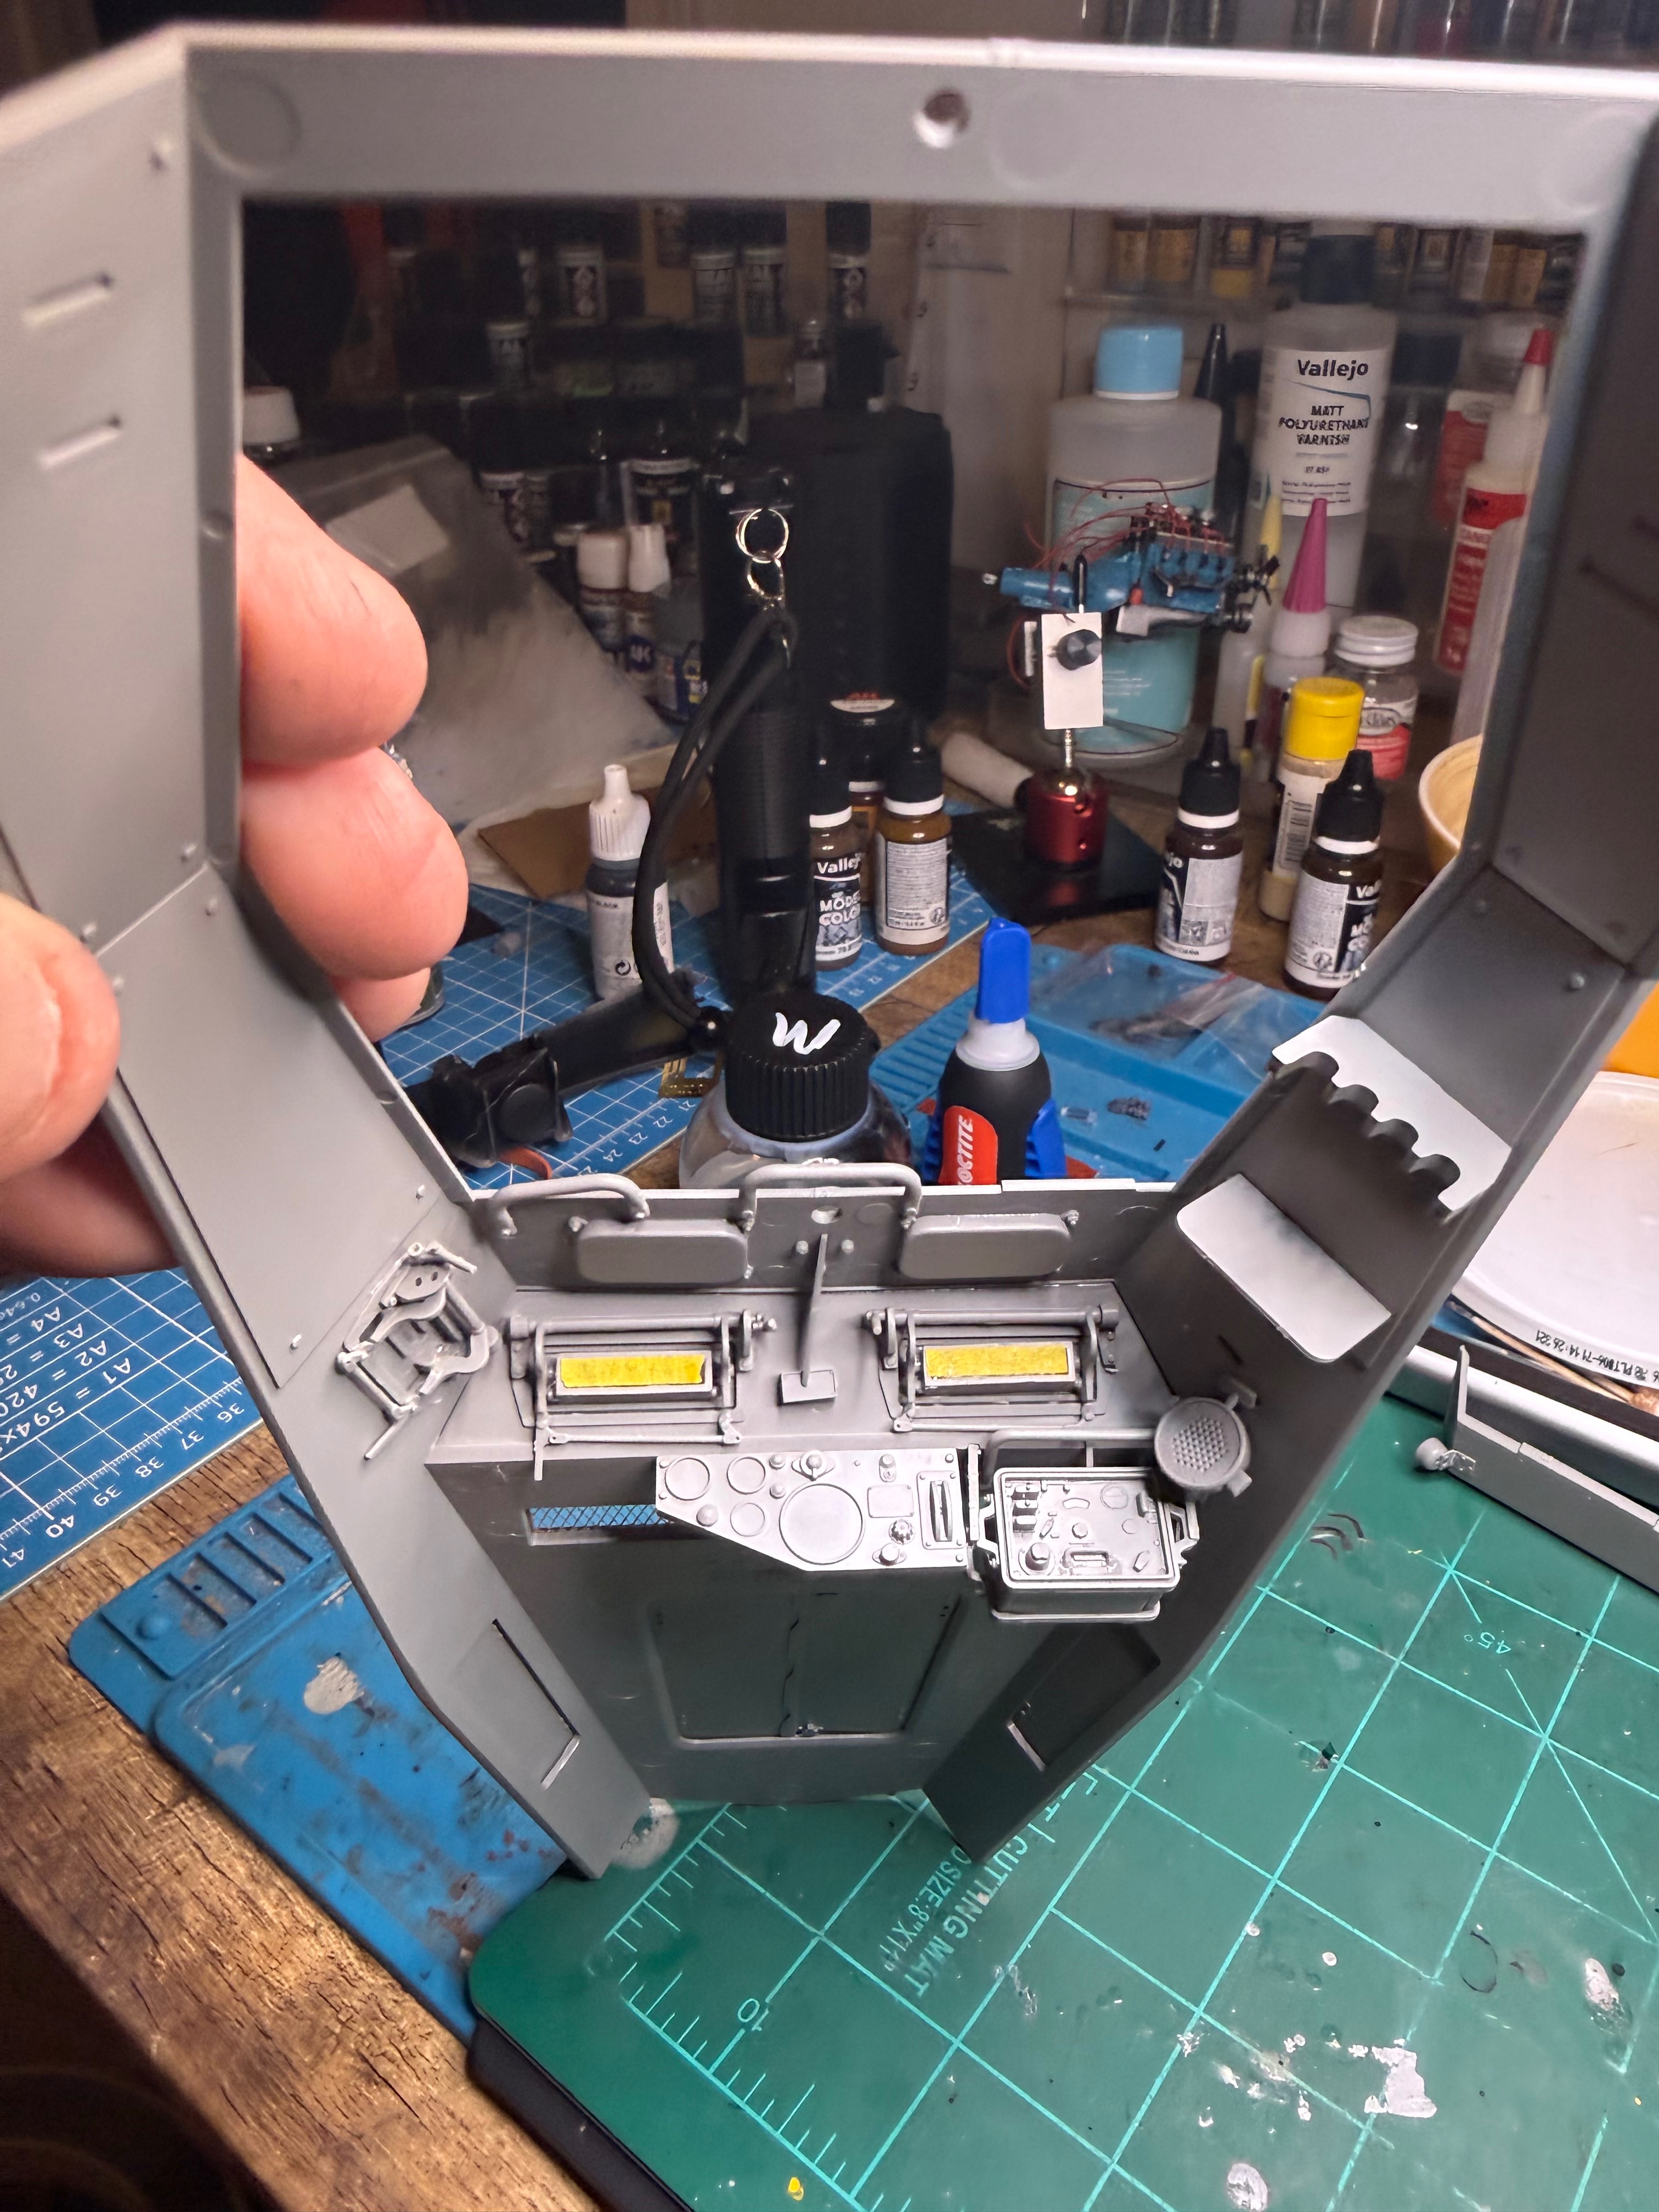
Finished the top of the hull. Primed tonight. Will work on finishing touches for interior, some decal work and then assemble. I really enjoy this kit and plenty to work on!
Attachments

John Waller
Active Member
It looks like you have used an off-white for internal surfaces. The interior would generally be painted in the same colour as the exterior.I'm going with grey.
best regards
John Waller
My research showed they would sometimes paint the drivers compartment an ivory color, back of the bus is painted a lighter grey by choice instead of exterior color. I also didn't paint the engine block black and multiple interior details are not proper color- again by choice. As I said earlier I'm veering from traditional paints as I want the detail to pop.It looks like you have used an off-white for internal surfaces. The interior would generally be painted in the same colour as the exterior.
best regards
John Waller
My mistake John. I thought I had posted this wouldn't be historically accurate at the beginning- apparently I thought that but never posted it! Generally, I will try to get my colors accurate but sometimes I do what I think will look goodIt looks like you have used an off-white for internal surfaces. The interior would generally be painted in the same colour as the exterior.
best regards
John Waller
John Waller
Active Member
No worries Ron, it's your build to do as you wish of course, the information is shared for anyone who may want to be more dogmatic about historical accuracy for these vehicles.My mistake John. I thought I had posted this wouldn't be historically accurate at the beginning- apparently I thought that but never posted it! Generally, I will try to get my colors accurate but sometimes I do what I think will look good
On that front the only instance of an order which may permit use of Elfenbein in the driver's area was for vehicles in North Africa

Re: Motor Vehicle Operations.
All motor vehicles with enclosed bodies must be immediately painted white inside (oil paint!). Paint and brushes are to be requested from W.Kp. 3/33, which will ensure the fastest possible procurement.
Whether this was applied to the driver/RO compartment of a Sd.Kfz.250/1 I am not sure.
best regards
John Waller
Where do you find this information?No worries Ron, it's your build to do as you wish of course, the information is shared for anyone who may want to be more dogmatic about historical accuracy for these vehicles.
On that front the only instance of an order which may permit use of Elfenbein in the driver's area was for vehicles in North Africa
Re: Motor Vehicle Operations.
All motor vehicles with enclosed bodies must be immediately painted white inside (oil paint!). Paint and brushes are to be requested from W.Kp. 3/33, which will ensure the fastest possible procurement.
Whether this was applied to the driver/RO compartment of a Sd.Kfz.250/1 I am not sure.
best regards
John Waller
Jakko
Well-Known Member
Given the way it's worded, I doubt it. It doesn't have an enclosed body, after all — just a bit of roof over the front seats. An Sd.Kfz. 252 or 253, OTOH, should be (off-)white inside.Whether this was applied to the driver/RO compartment of a Sd.Kfz.250/1 I am not sure.
The African troops probably would have had the exterior of the vehicle painted yellow though?No worries Ron, it's your build to do as you wish of course, the information is shared for anyone who may want to be more dogmatic about historical accuracy for these vehicles.
On that front the only instance of an order which may permit use of Elfenbein in the driver's area was for vehicles in North Africa
Re: Motor Vehicle Operations.
All motor vehicles with enclosed bodies must be immediately painted white inside (oil paint!). Paint and brushes are to be requested from W.Kp. 3/33, which will ensure the fastest possible procurement.
Whether this was applied to the driver/RO compartment of a Sd.Kfz.250/1 I am not sure.
best regards
John Waller
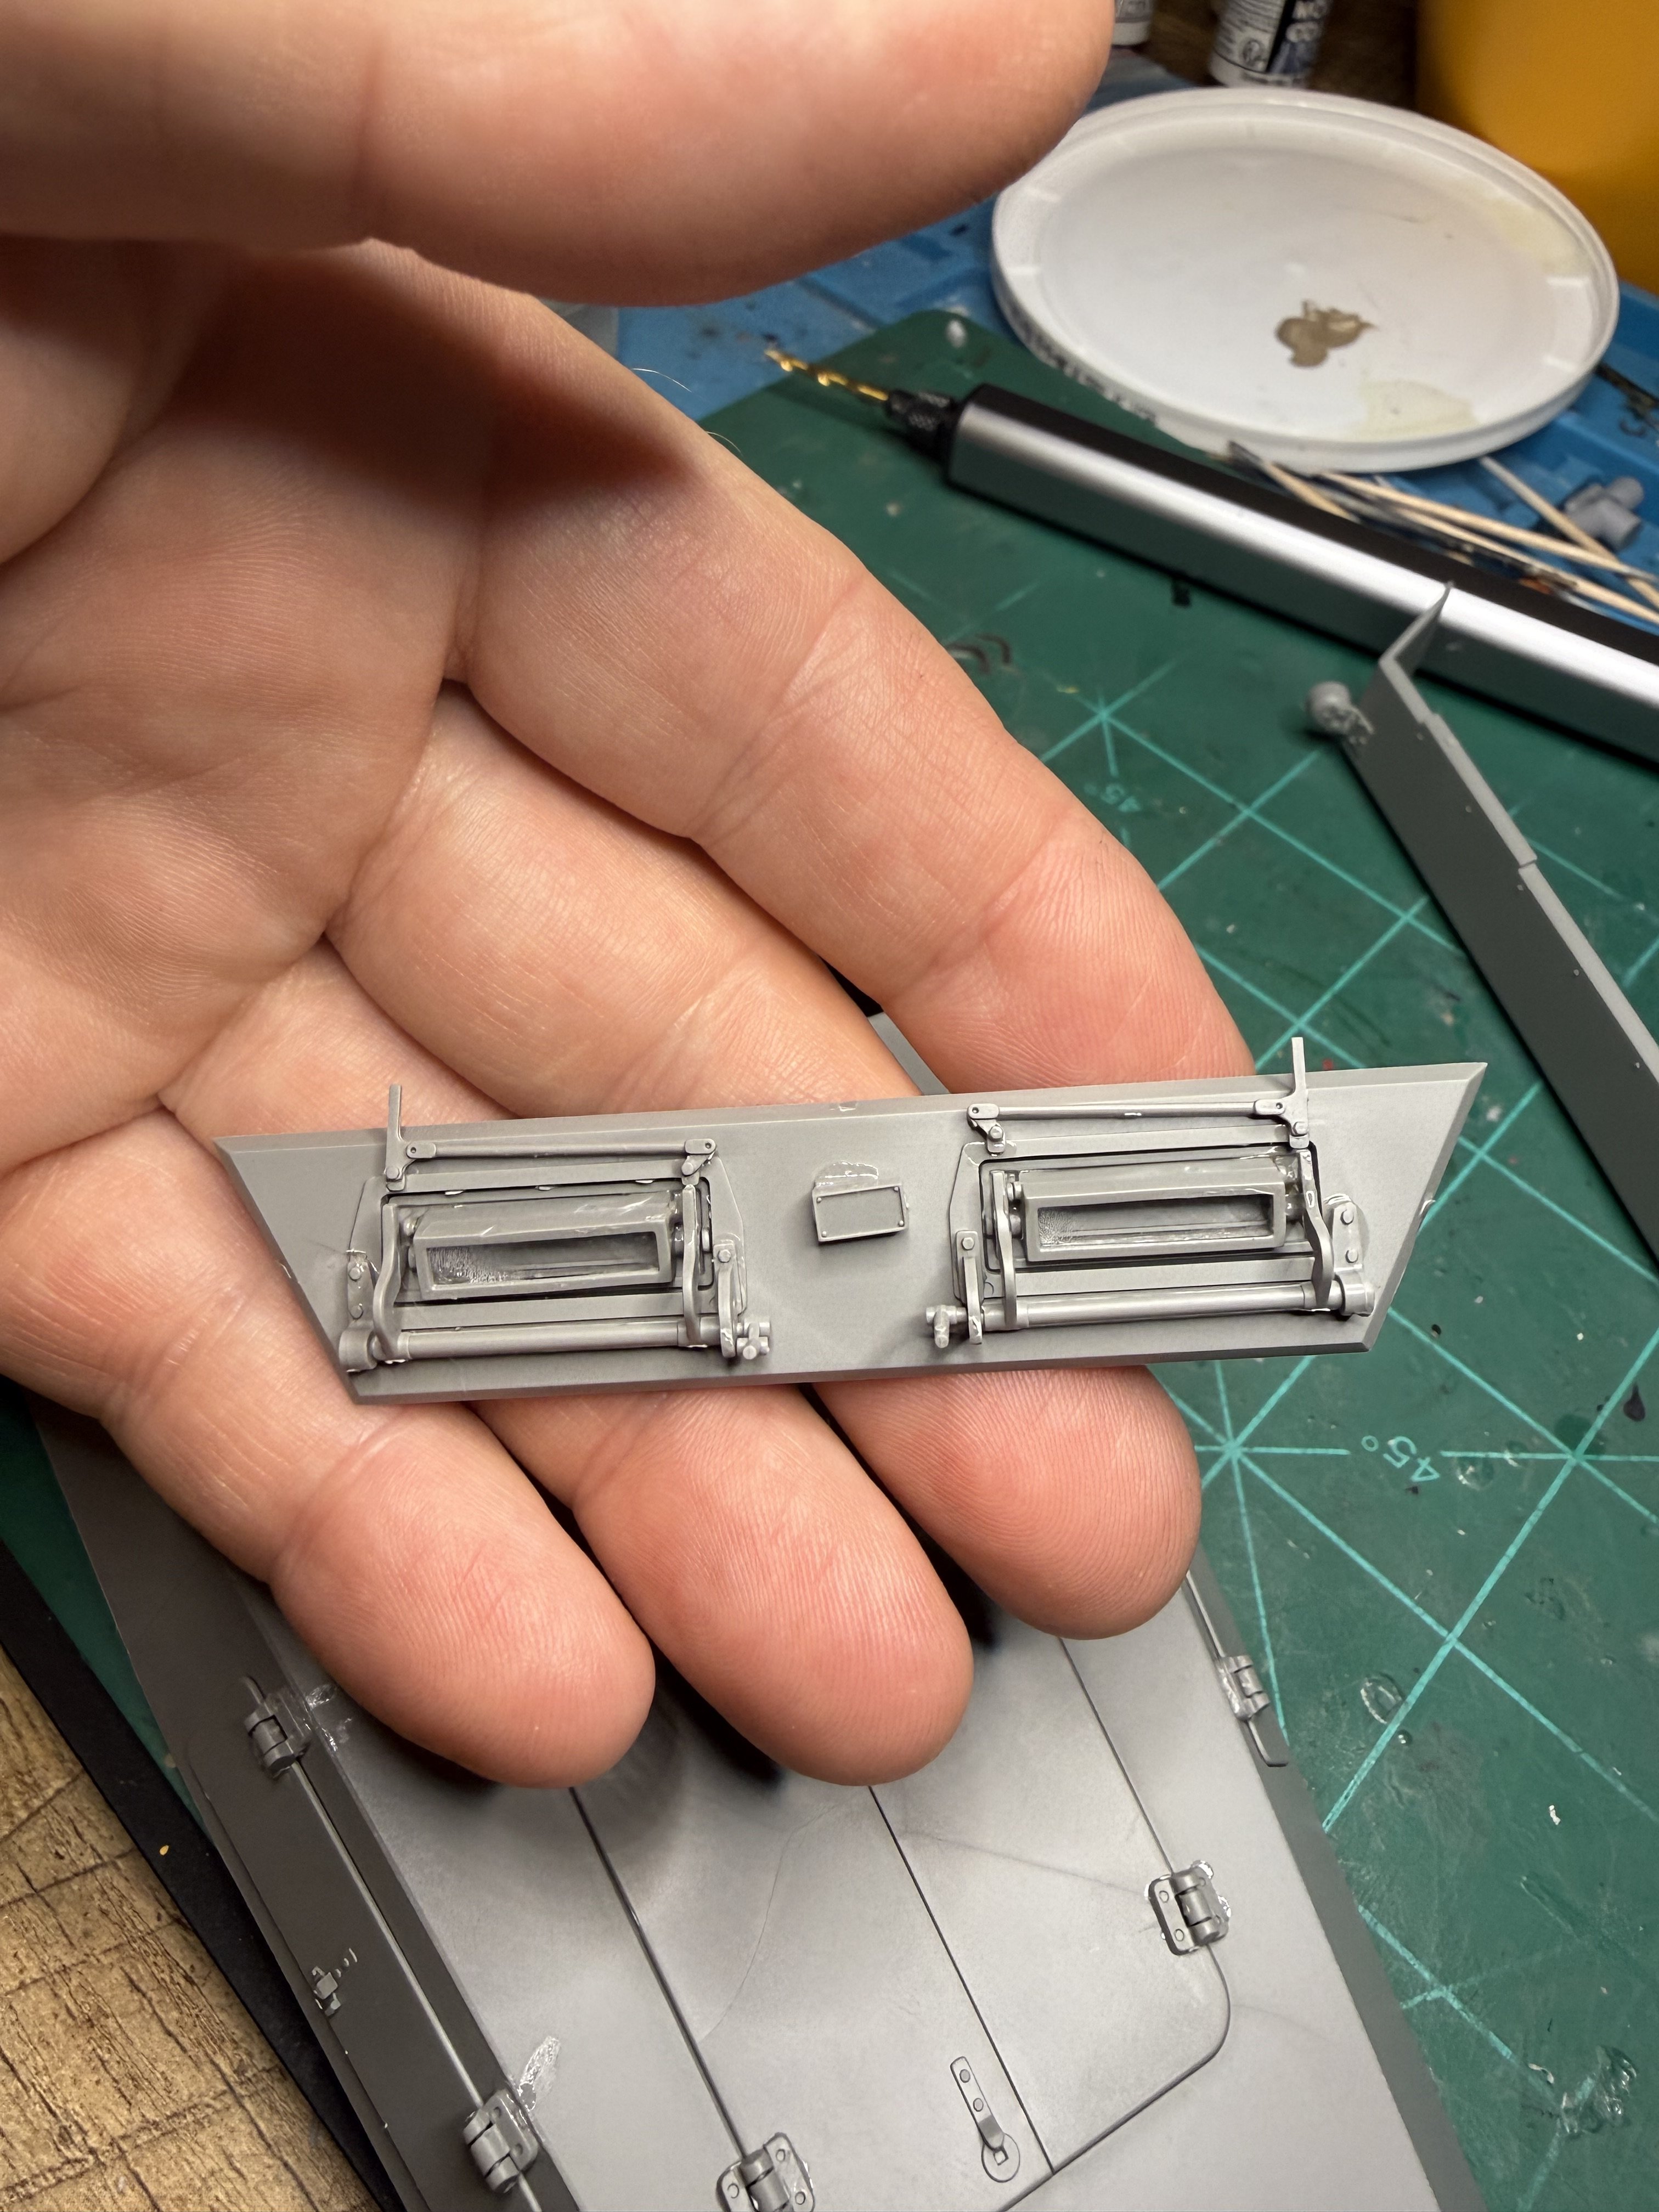
Also, the kit has a few cabinets inside that are supplied with glass for the doors- would these have really had glass doors? Seems unlikely.No worries Ron, it's your build to do as you wish of course, the information is shared for anyone who may want to be more dogmatic about historical accuracy for these vehicles.
On that front the only instance of an order which may permit use of Elfenbein in the driver's area was for vehicles in North Africa
Re: Motor Vehicle Operations.
All motor vehicles with enclosed bodies must be immediately painted white inside (oil paint!). Paint and brushes are to be requested from W.Kp. 3/33, which will ensure the fastest possible procurement.
Whether this was applied to the driver/RO compartment of a Sd.Kfz.250/1 I am not sure.
best regards
John Waller
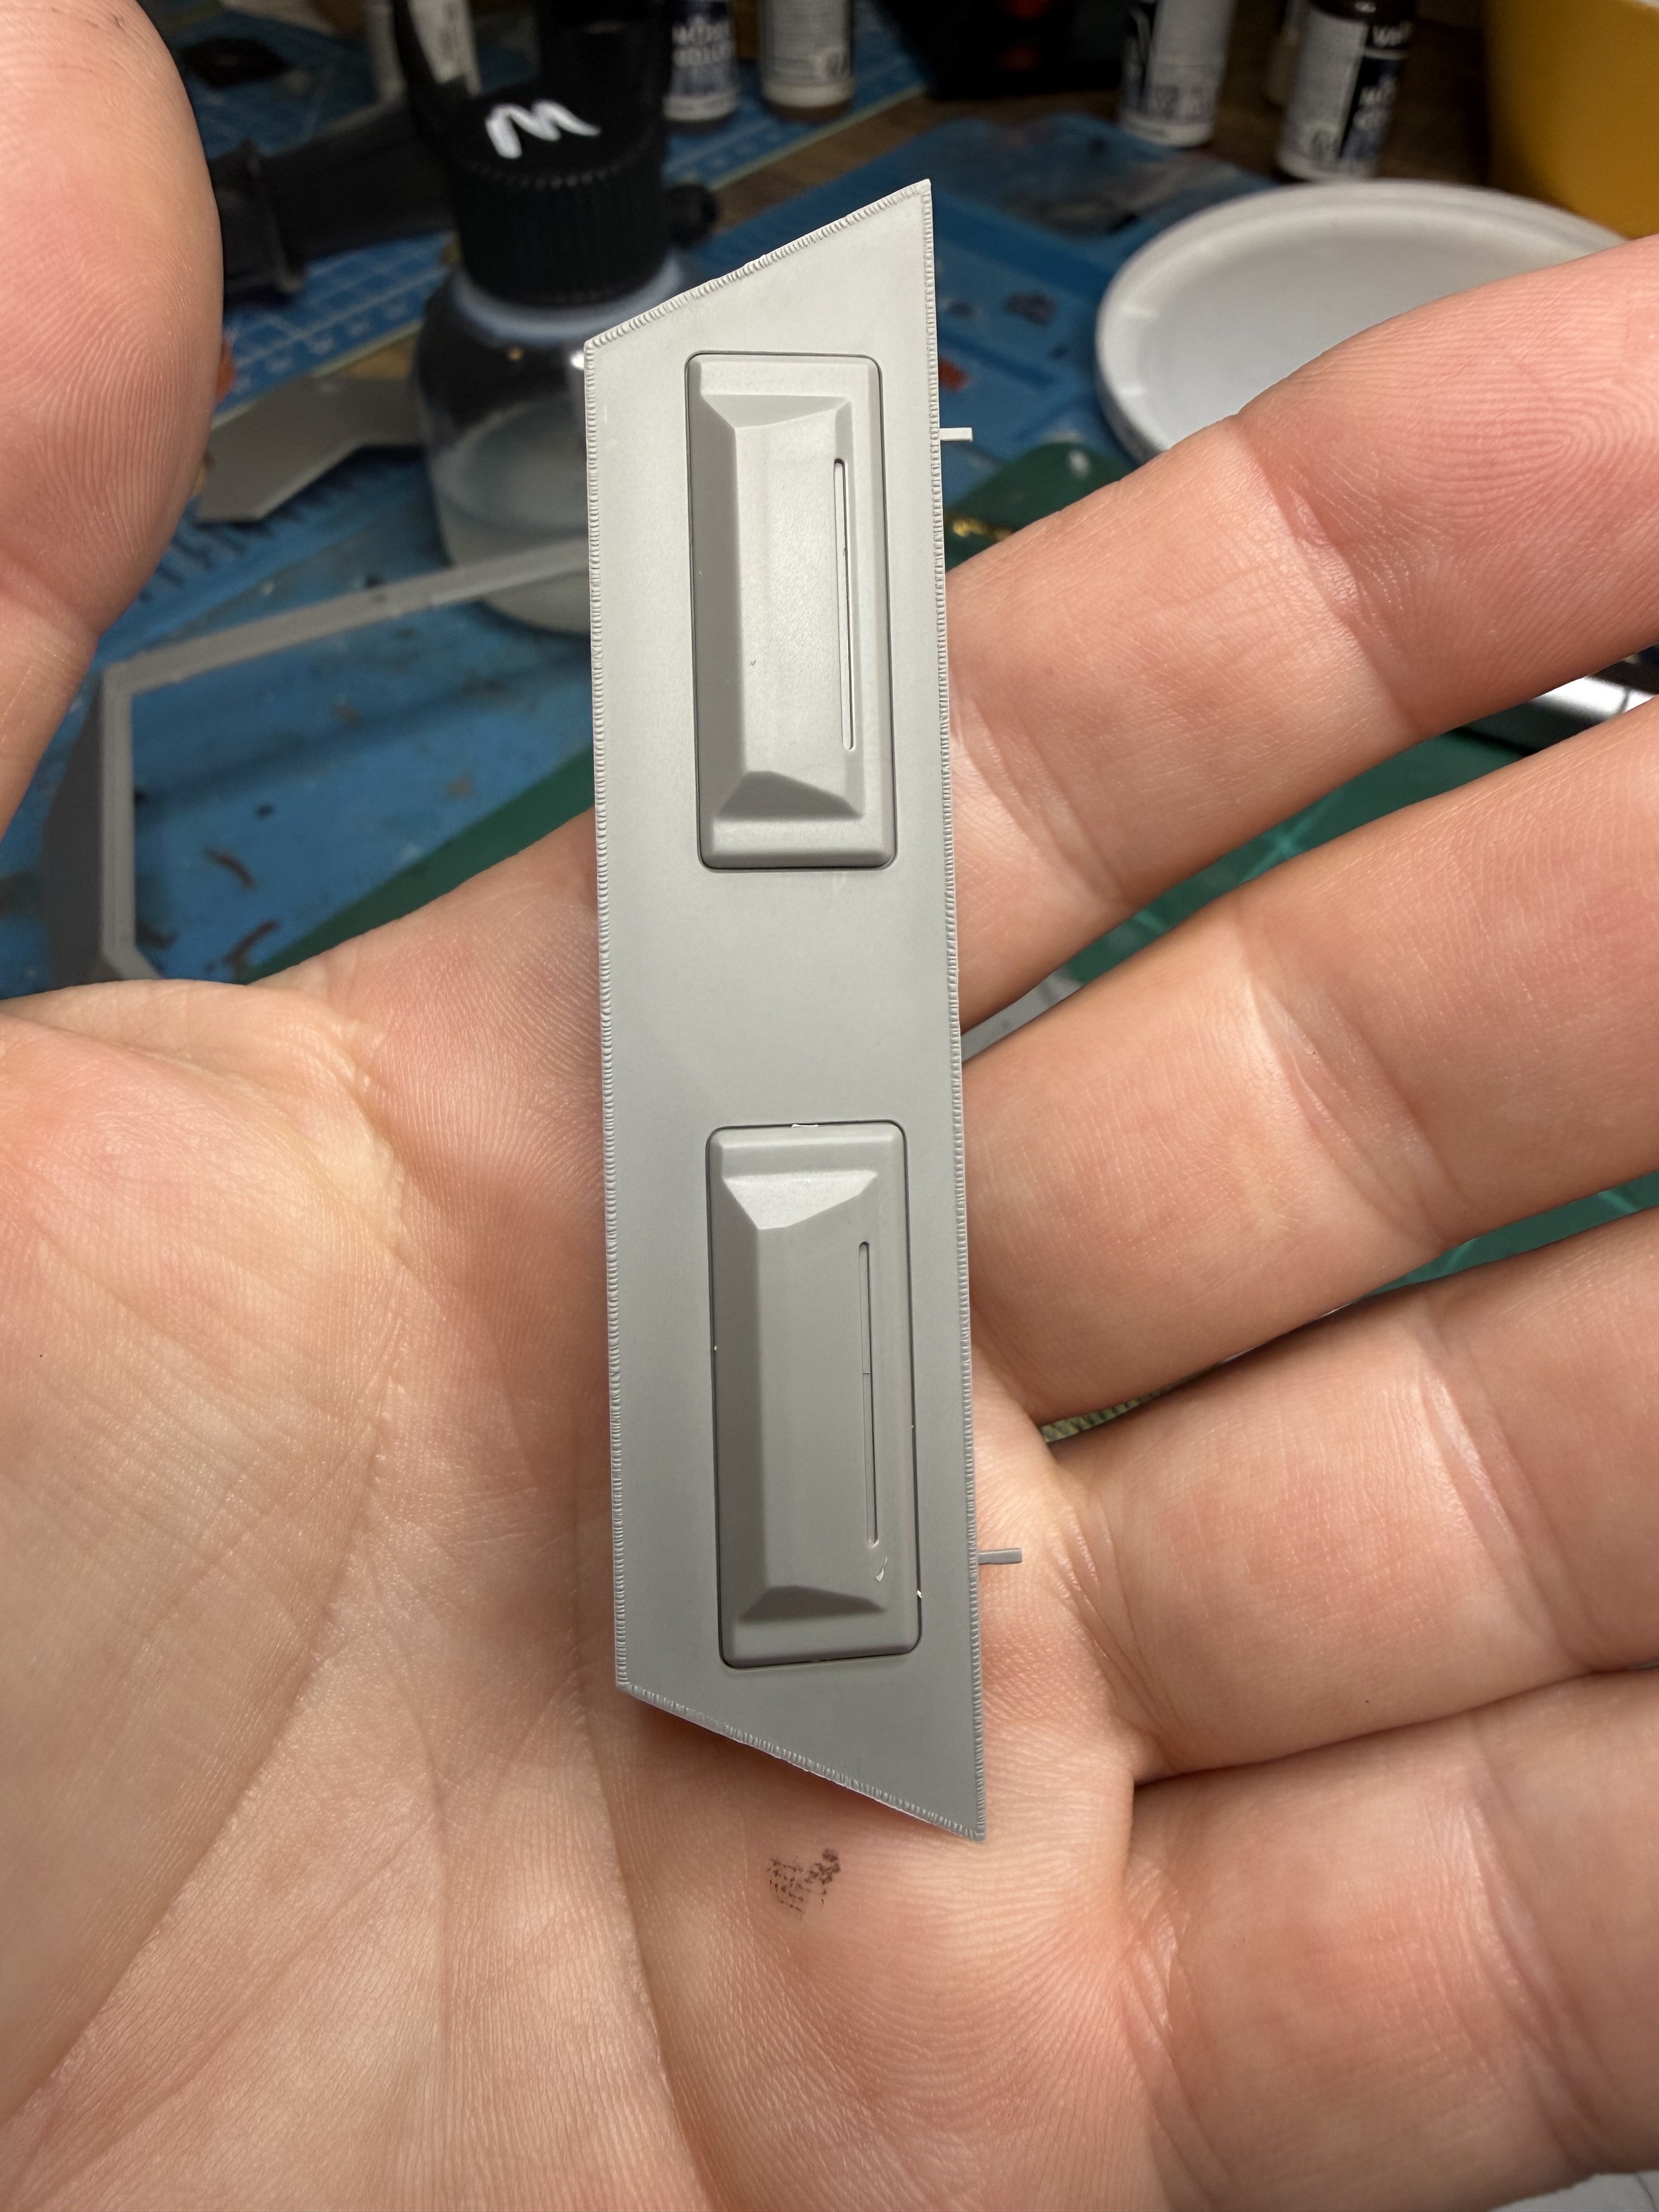
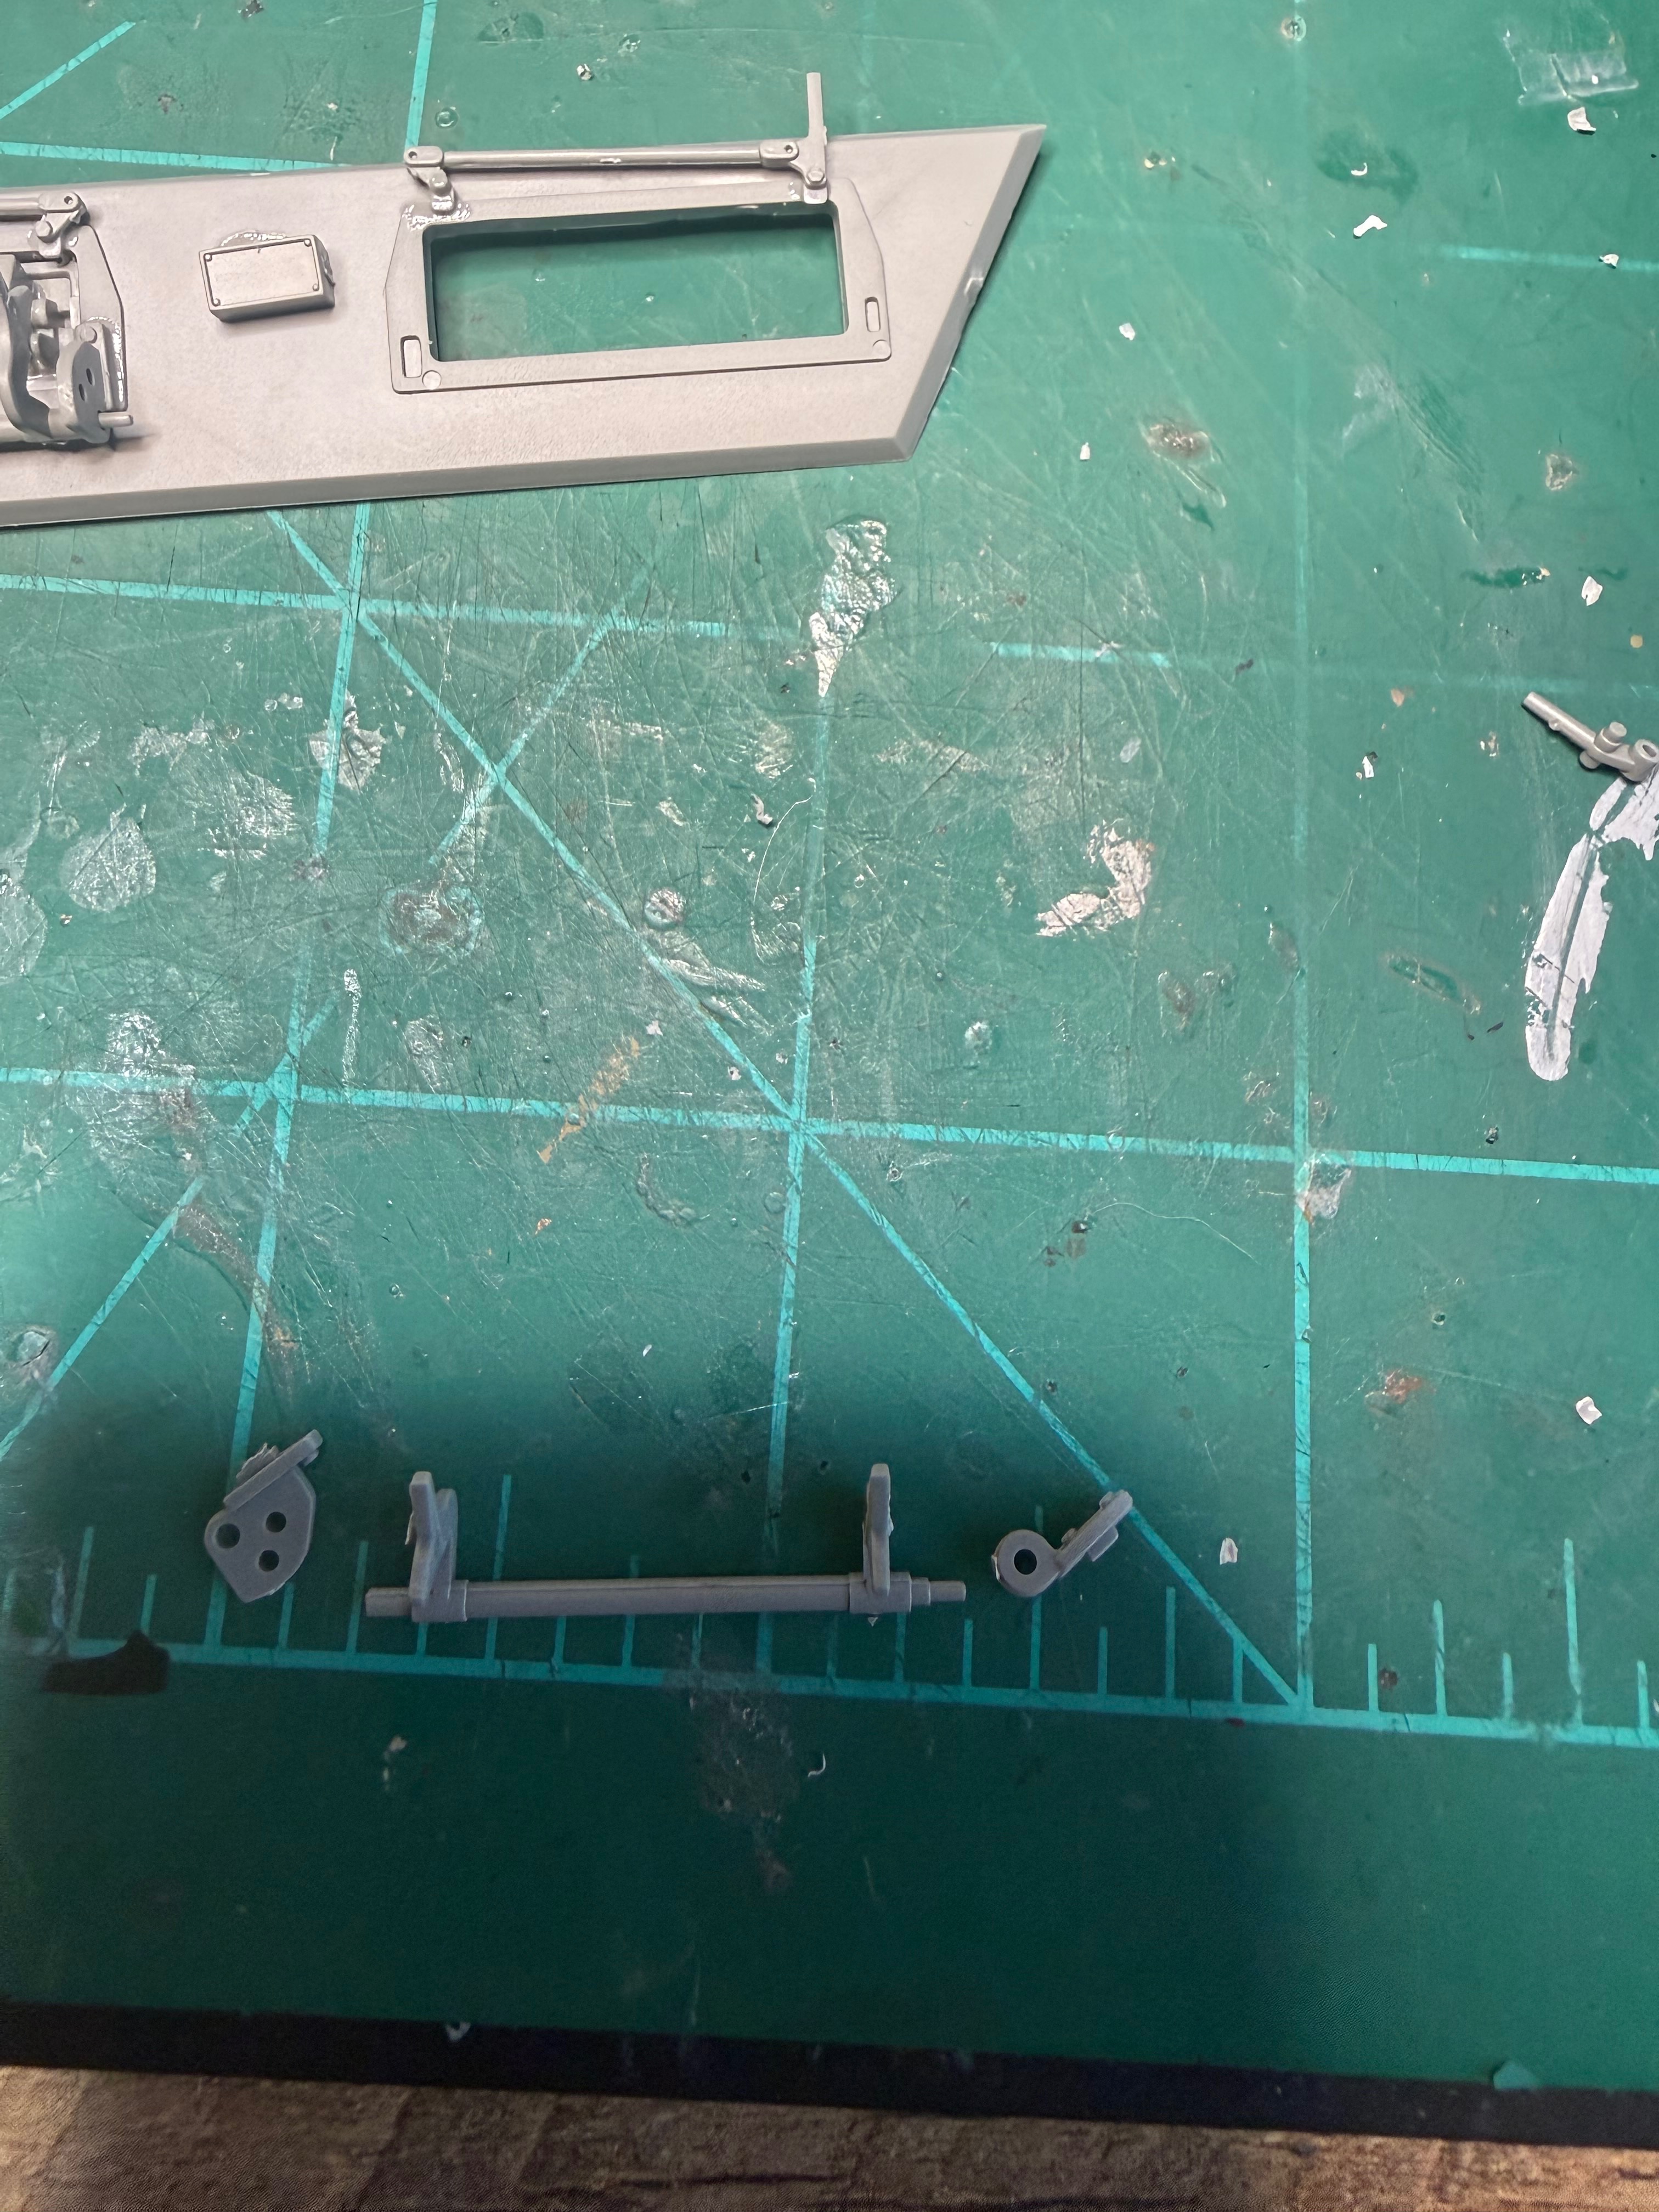
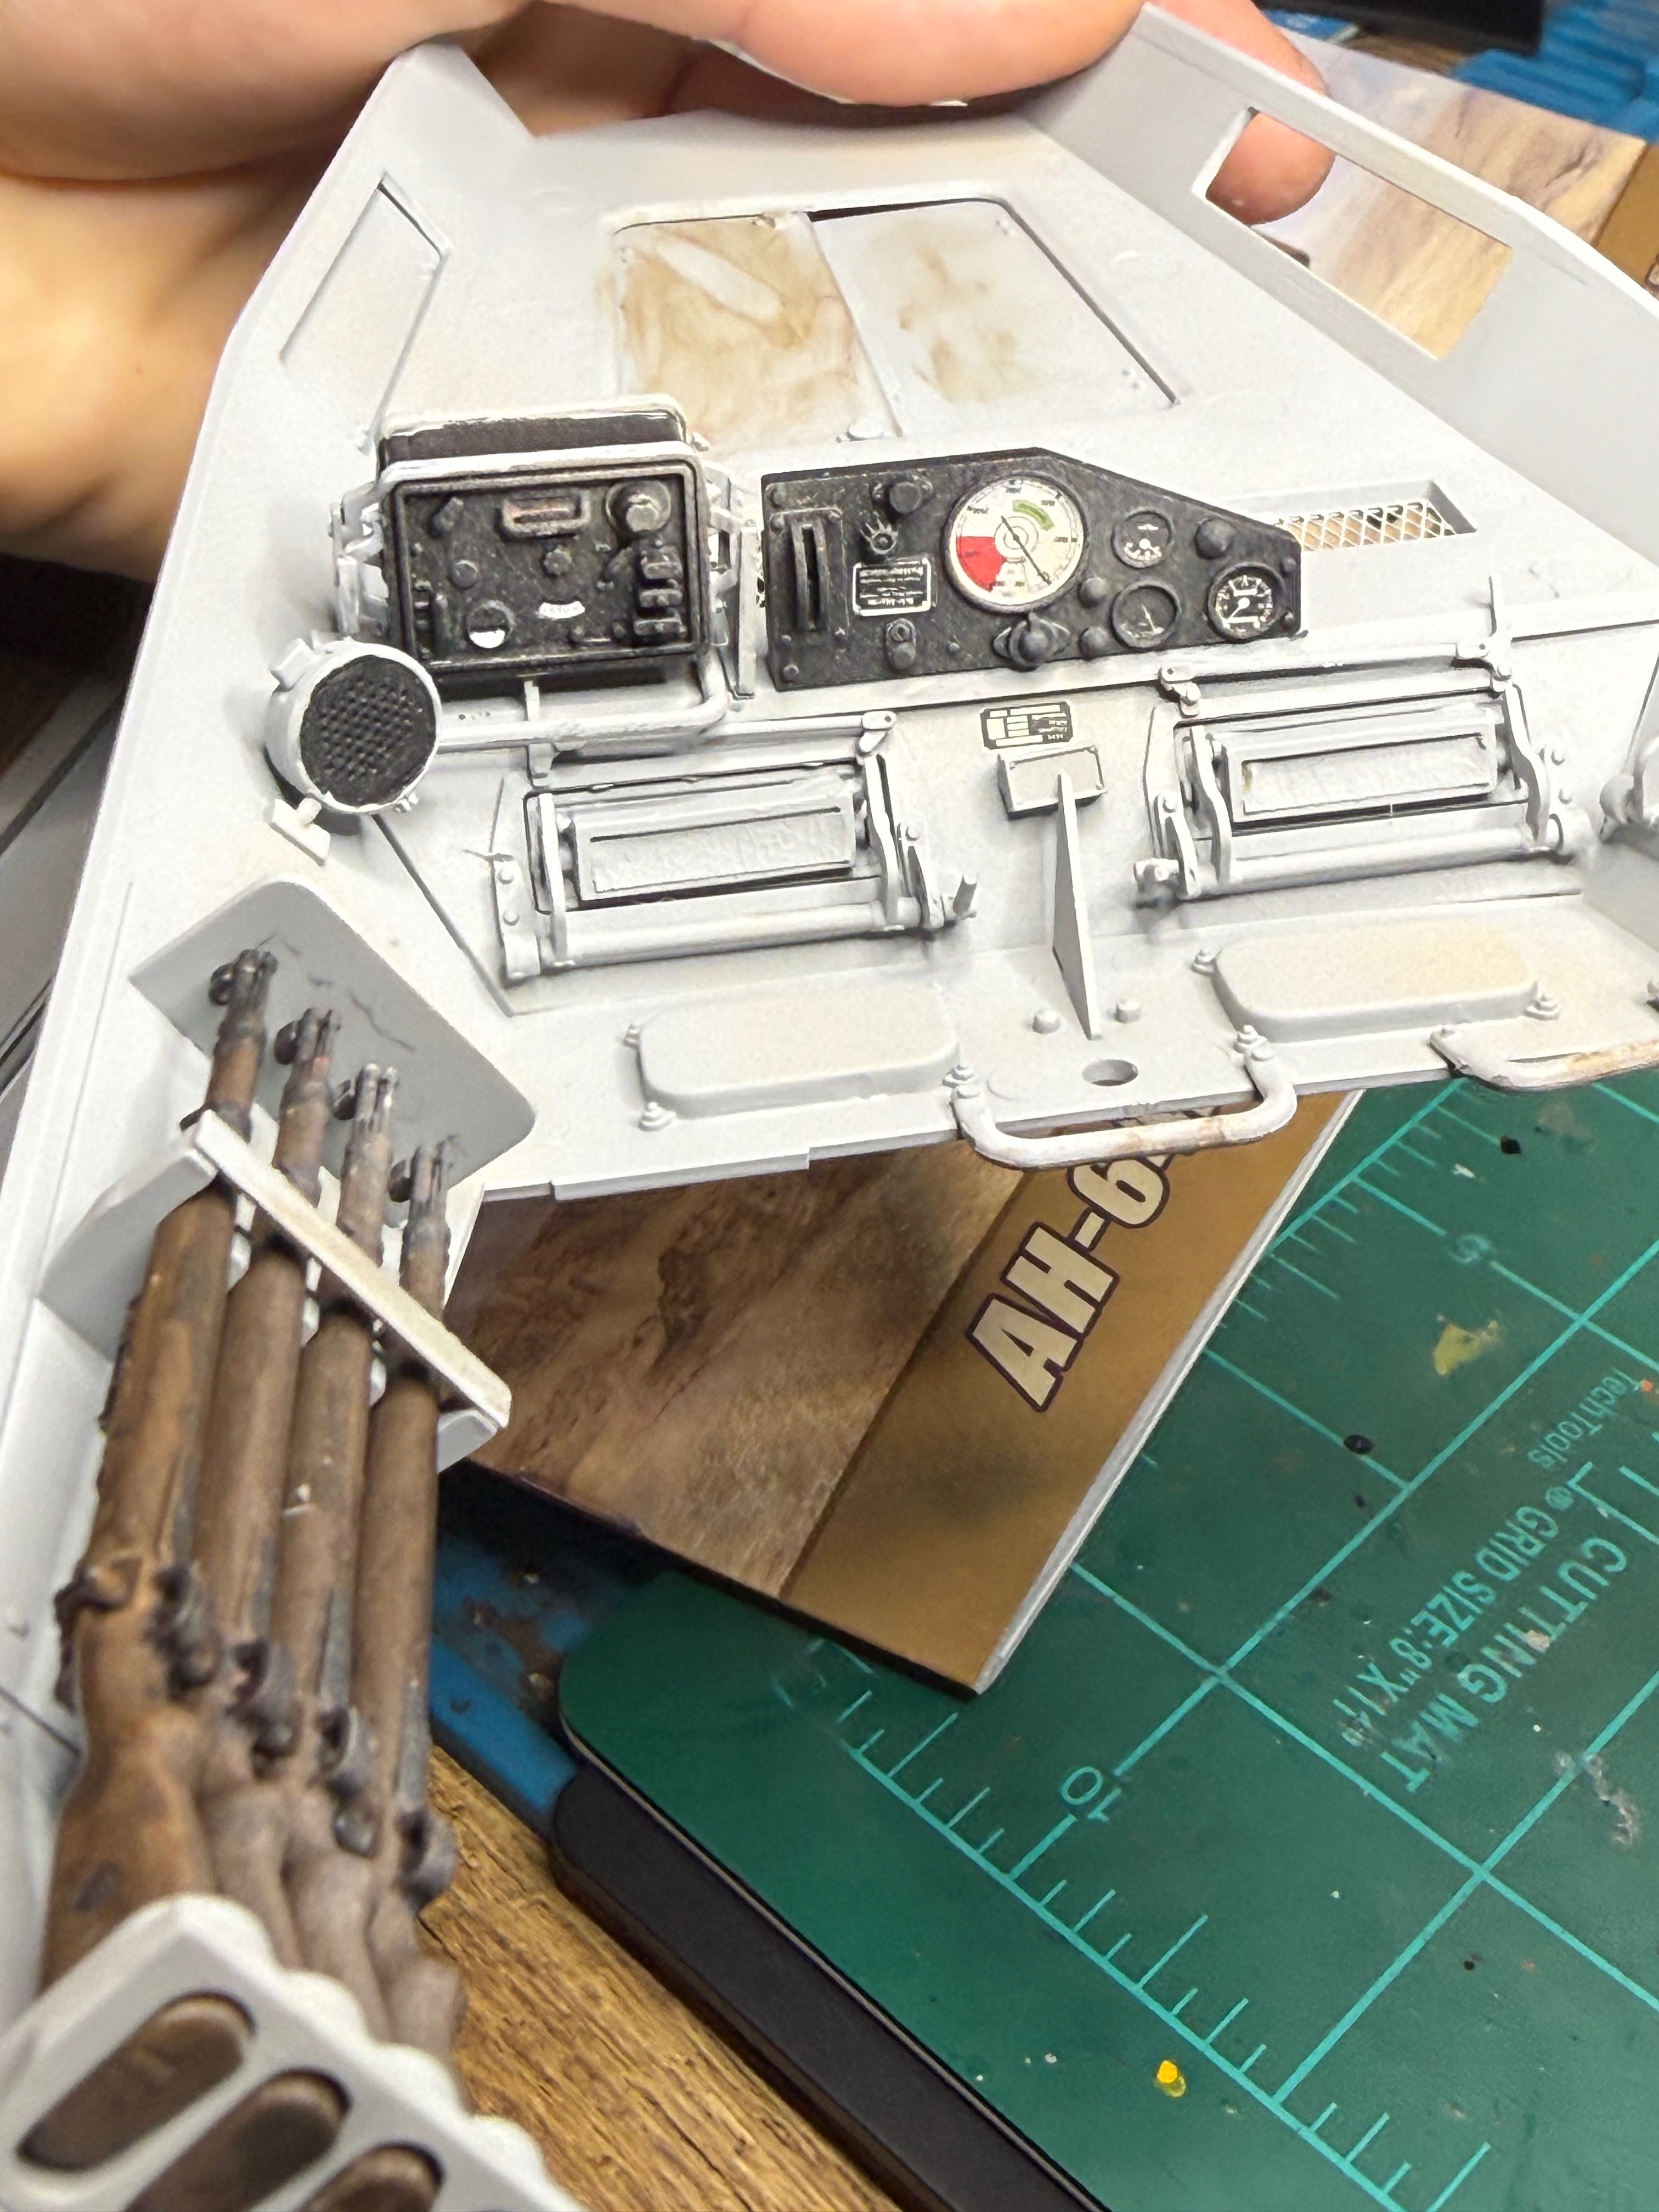
Meant to include this pic earlier. The "window" mechanisms consisted of approx 12 parts. These are some of them. They may be operational, haven't tried them yet. I did not take any precautions and just painted it as assembled. I did keep the hood segments operational as I want to be able to park it with engine exposed. The fit on the window parts was excellent. Some tiny parts but it went together quite well.
Attachments
John Waller
Active Member
That is a whole other kettle of fish. Initially all vehicles were in Dark Grey, and later in two versions of two-colour Tropen scheme. No vehicles would be in Dark Yellow (Dunkelgelb) as its prescribed use did not come in until 1943. There is still debate about how the first vehicles were re-coloured in-theatre.The African troops probably would have had the exterior of the vehicle painted yellow though?
Mostly these orders are revealed through the diligent archival research of clever guys like John Cross and Takashi Takamatsu on Missing Links.Where do you find this information?
"Kettle of fish"? I like it.That is a whole other kettle of fish. Initially all vehicles were in Dark Grey, and later in two versions of two-colour Tropen scheme. No vehicles would be in Dark Yellow (Dunkelgelb) as its prescribed use did not come in until 1943. There is still debate about how the first vehicles were re-coloured in-theatre.
Mostly these orders are revealed through the diligent archival research of clever guys like John Cross and Takashi Takamatsu on Missing Links.
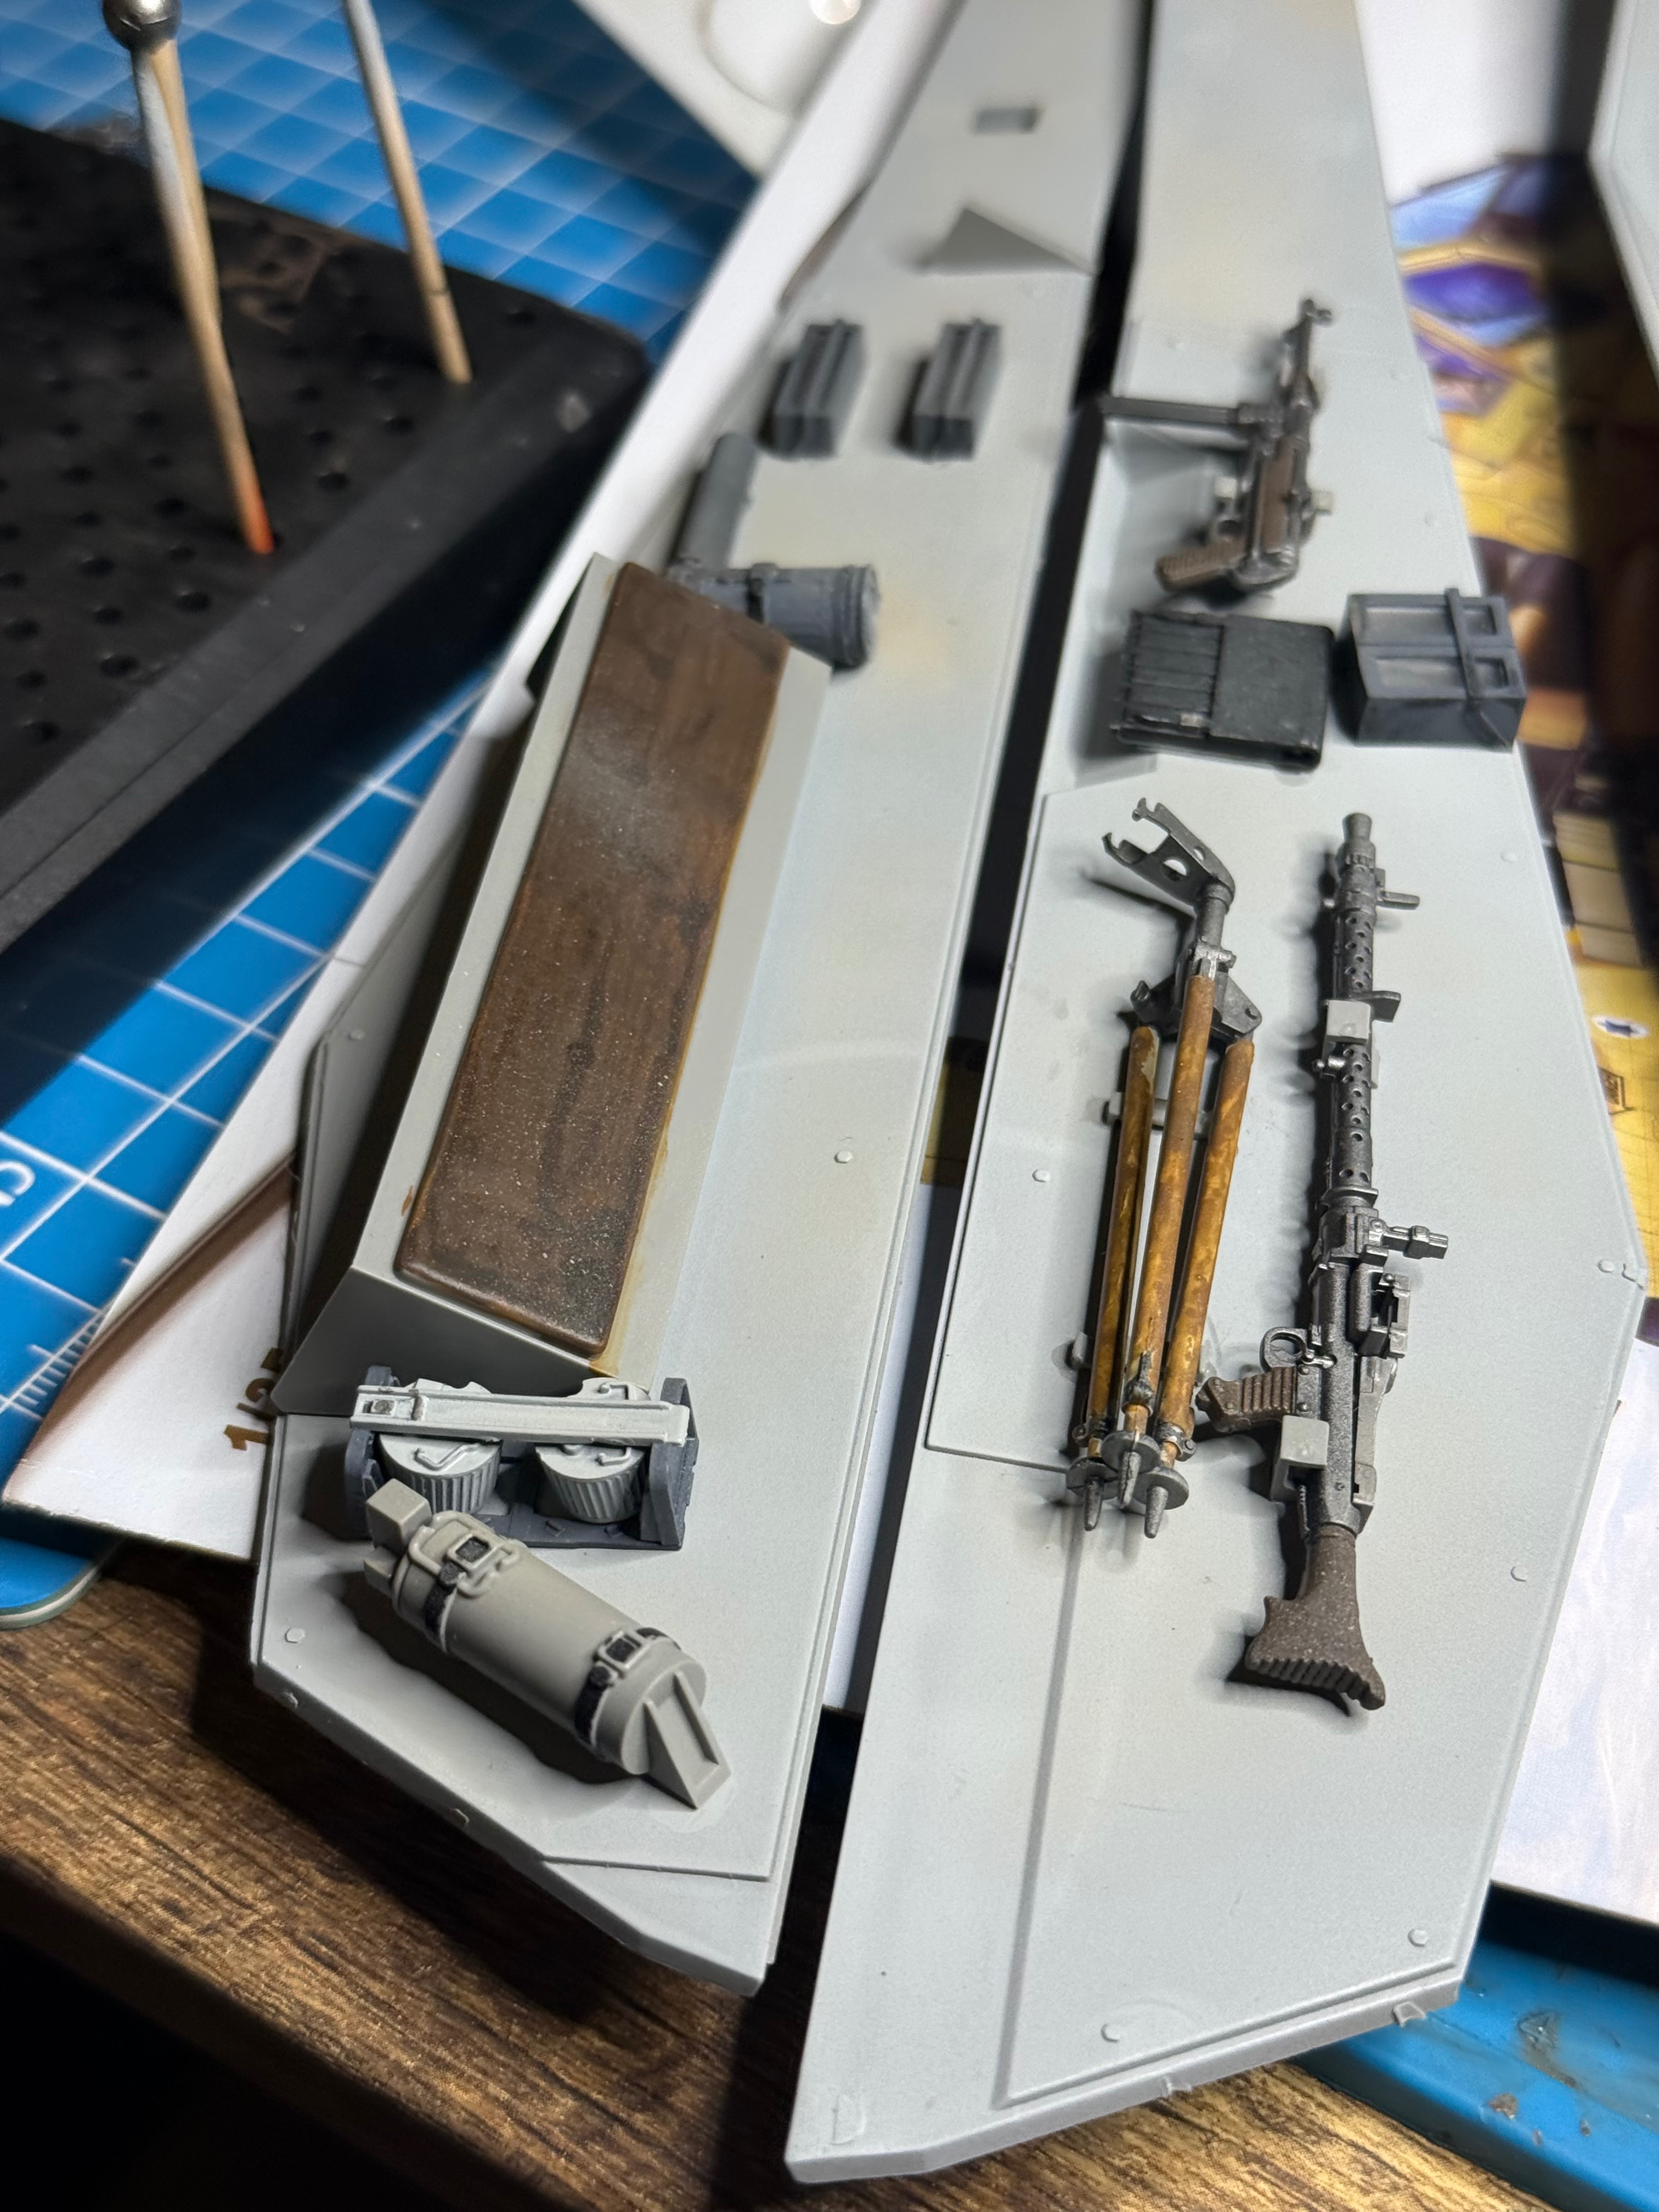
Did some final weathering on interior and assembled the top and side sections. It went together surprisingly well but I will have some minor filing to do, probably will be able to get away with simply using my black filler ca.
Attachments
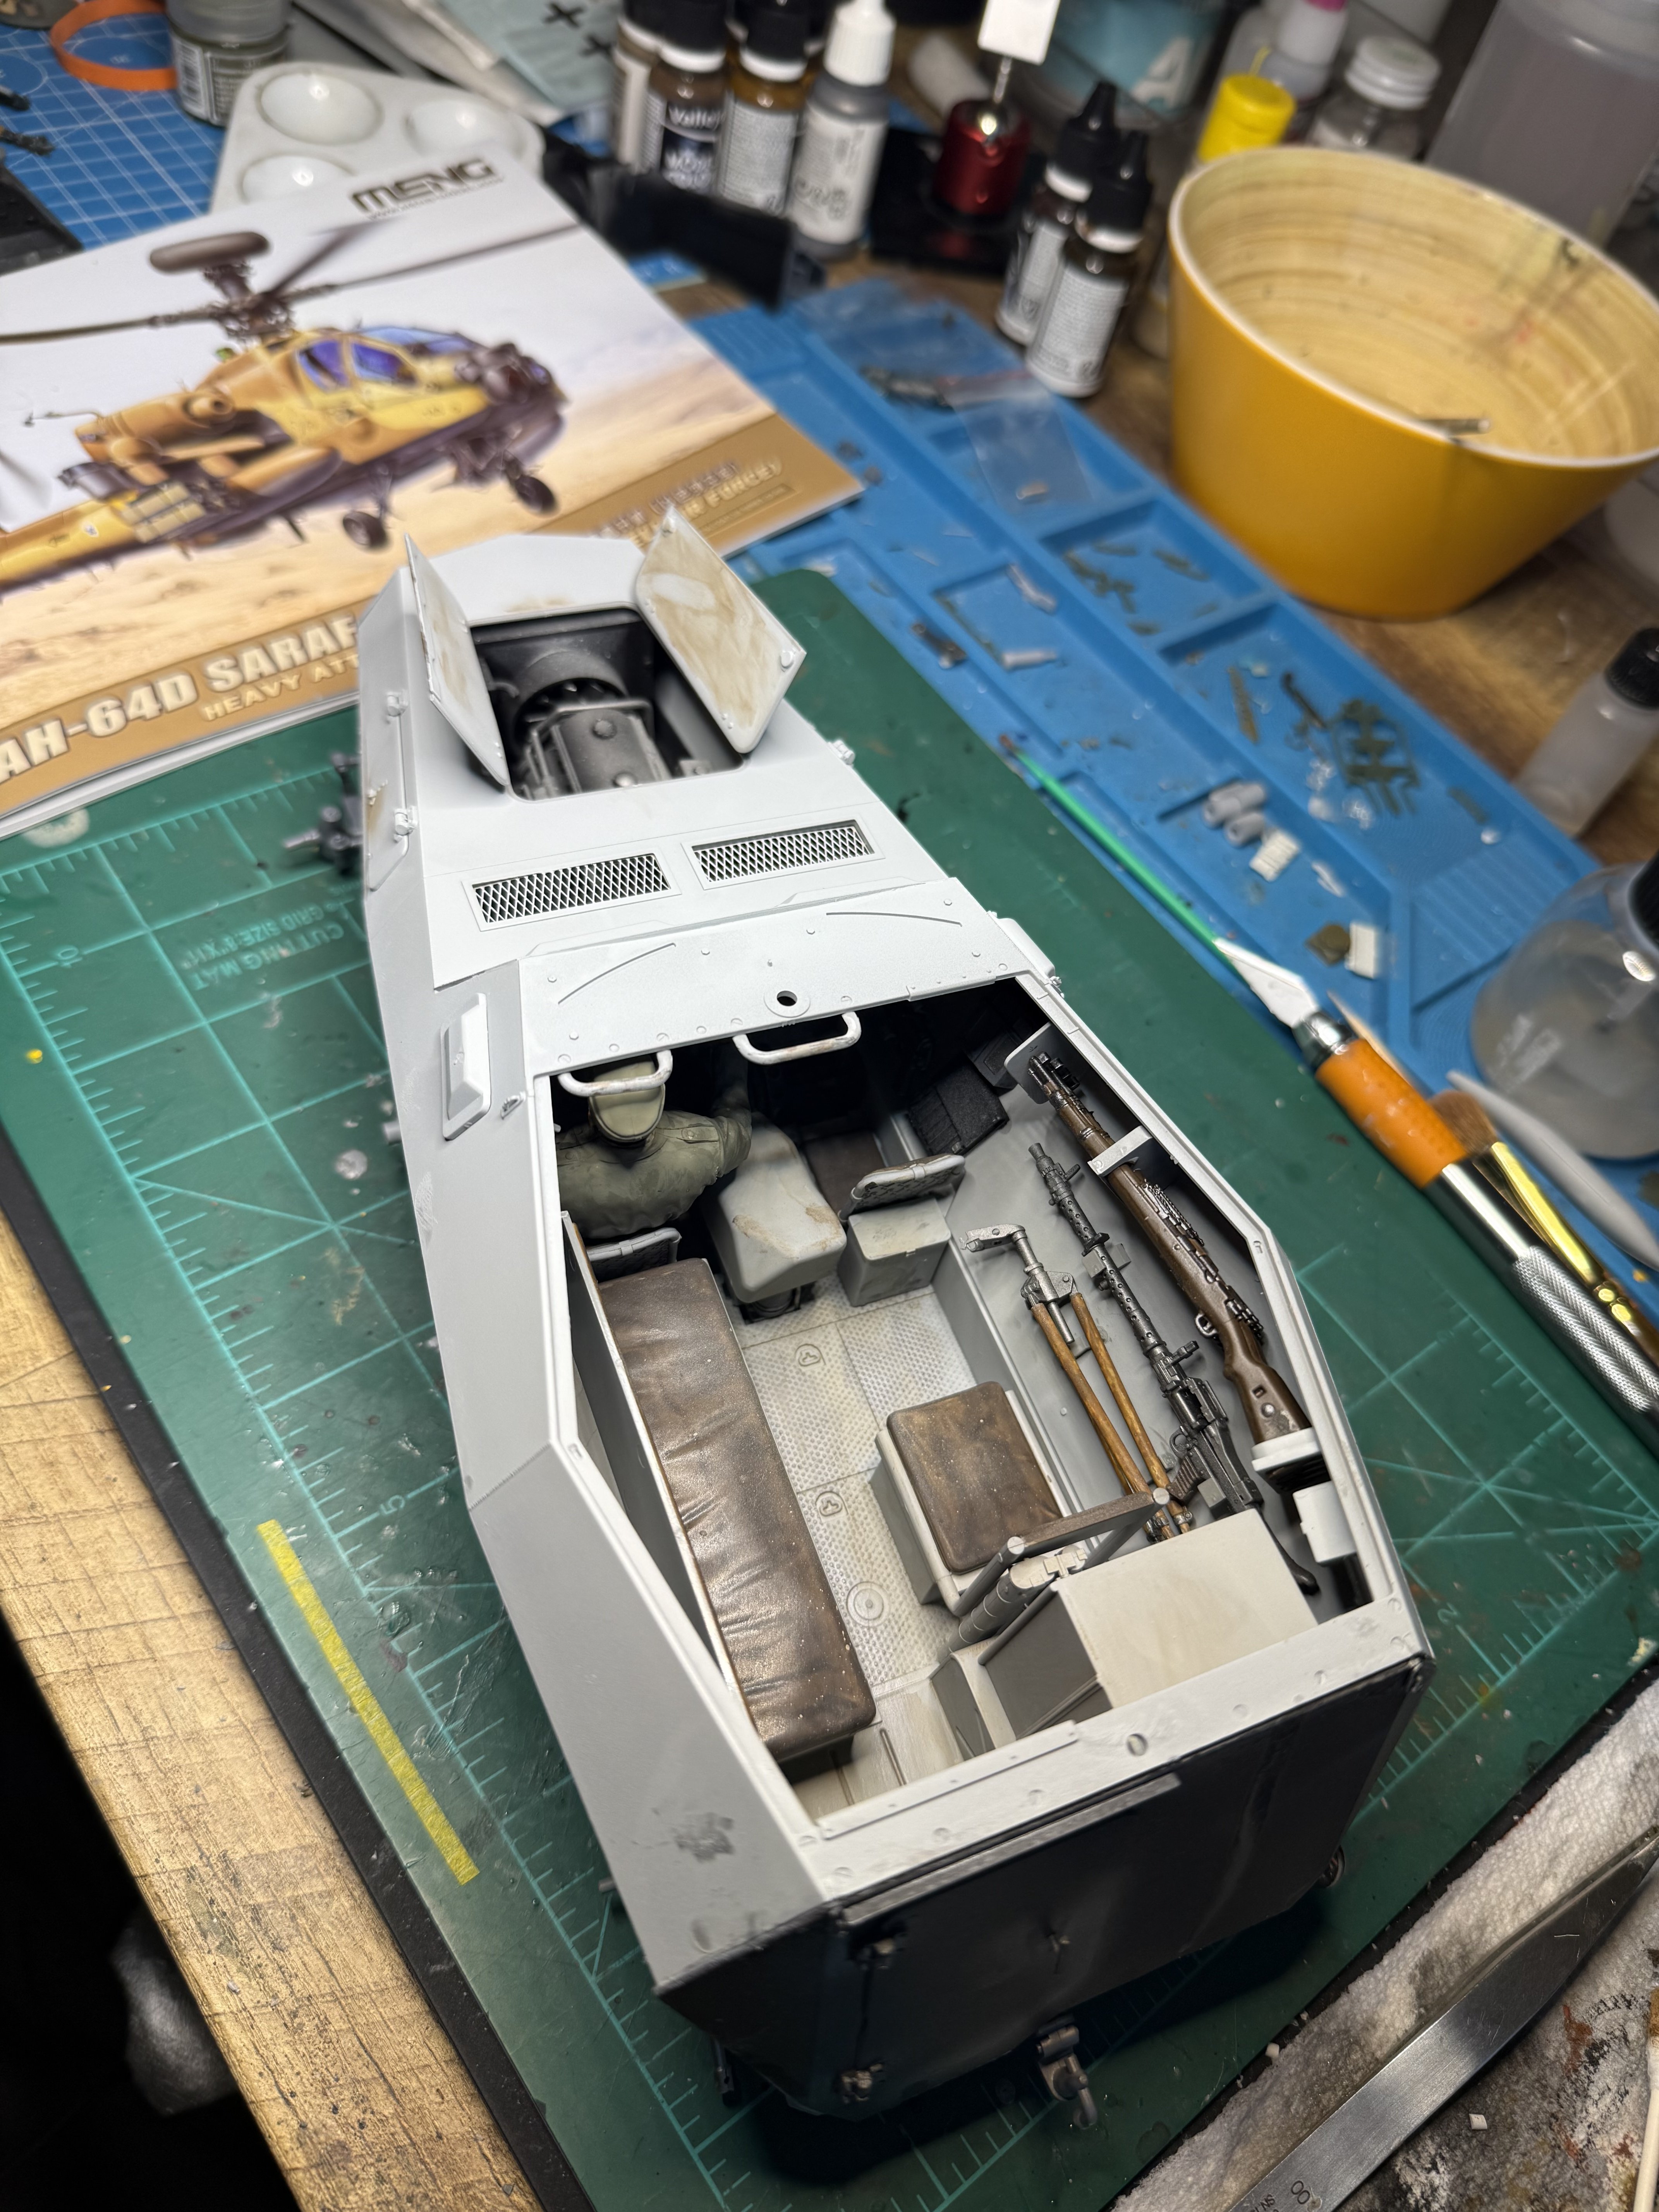
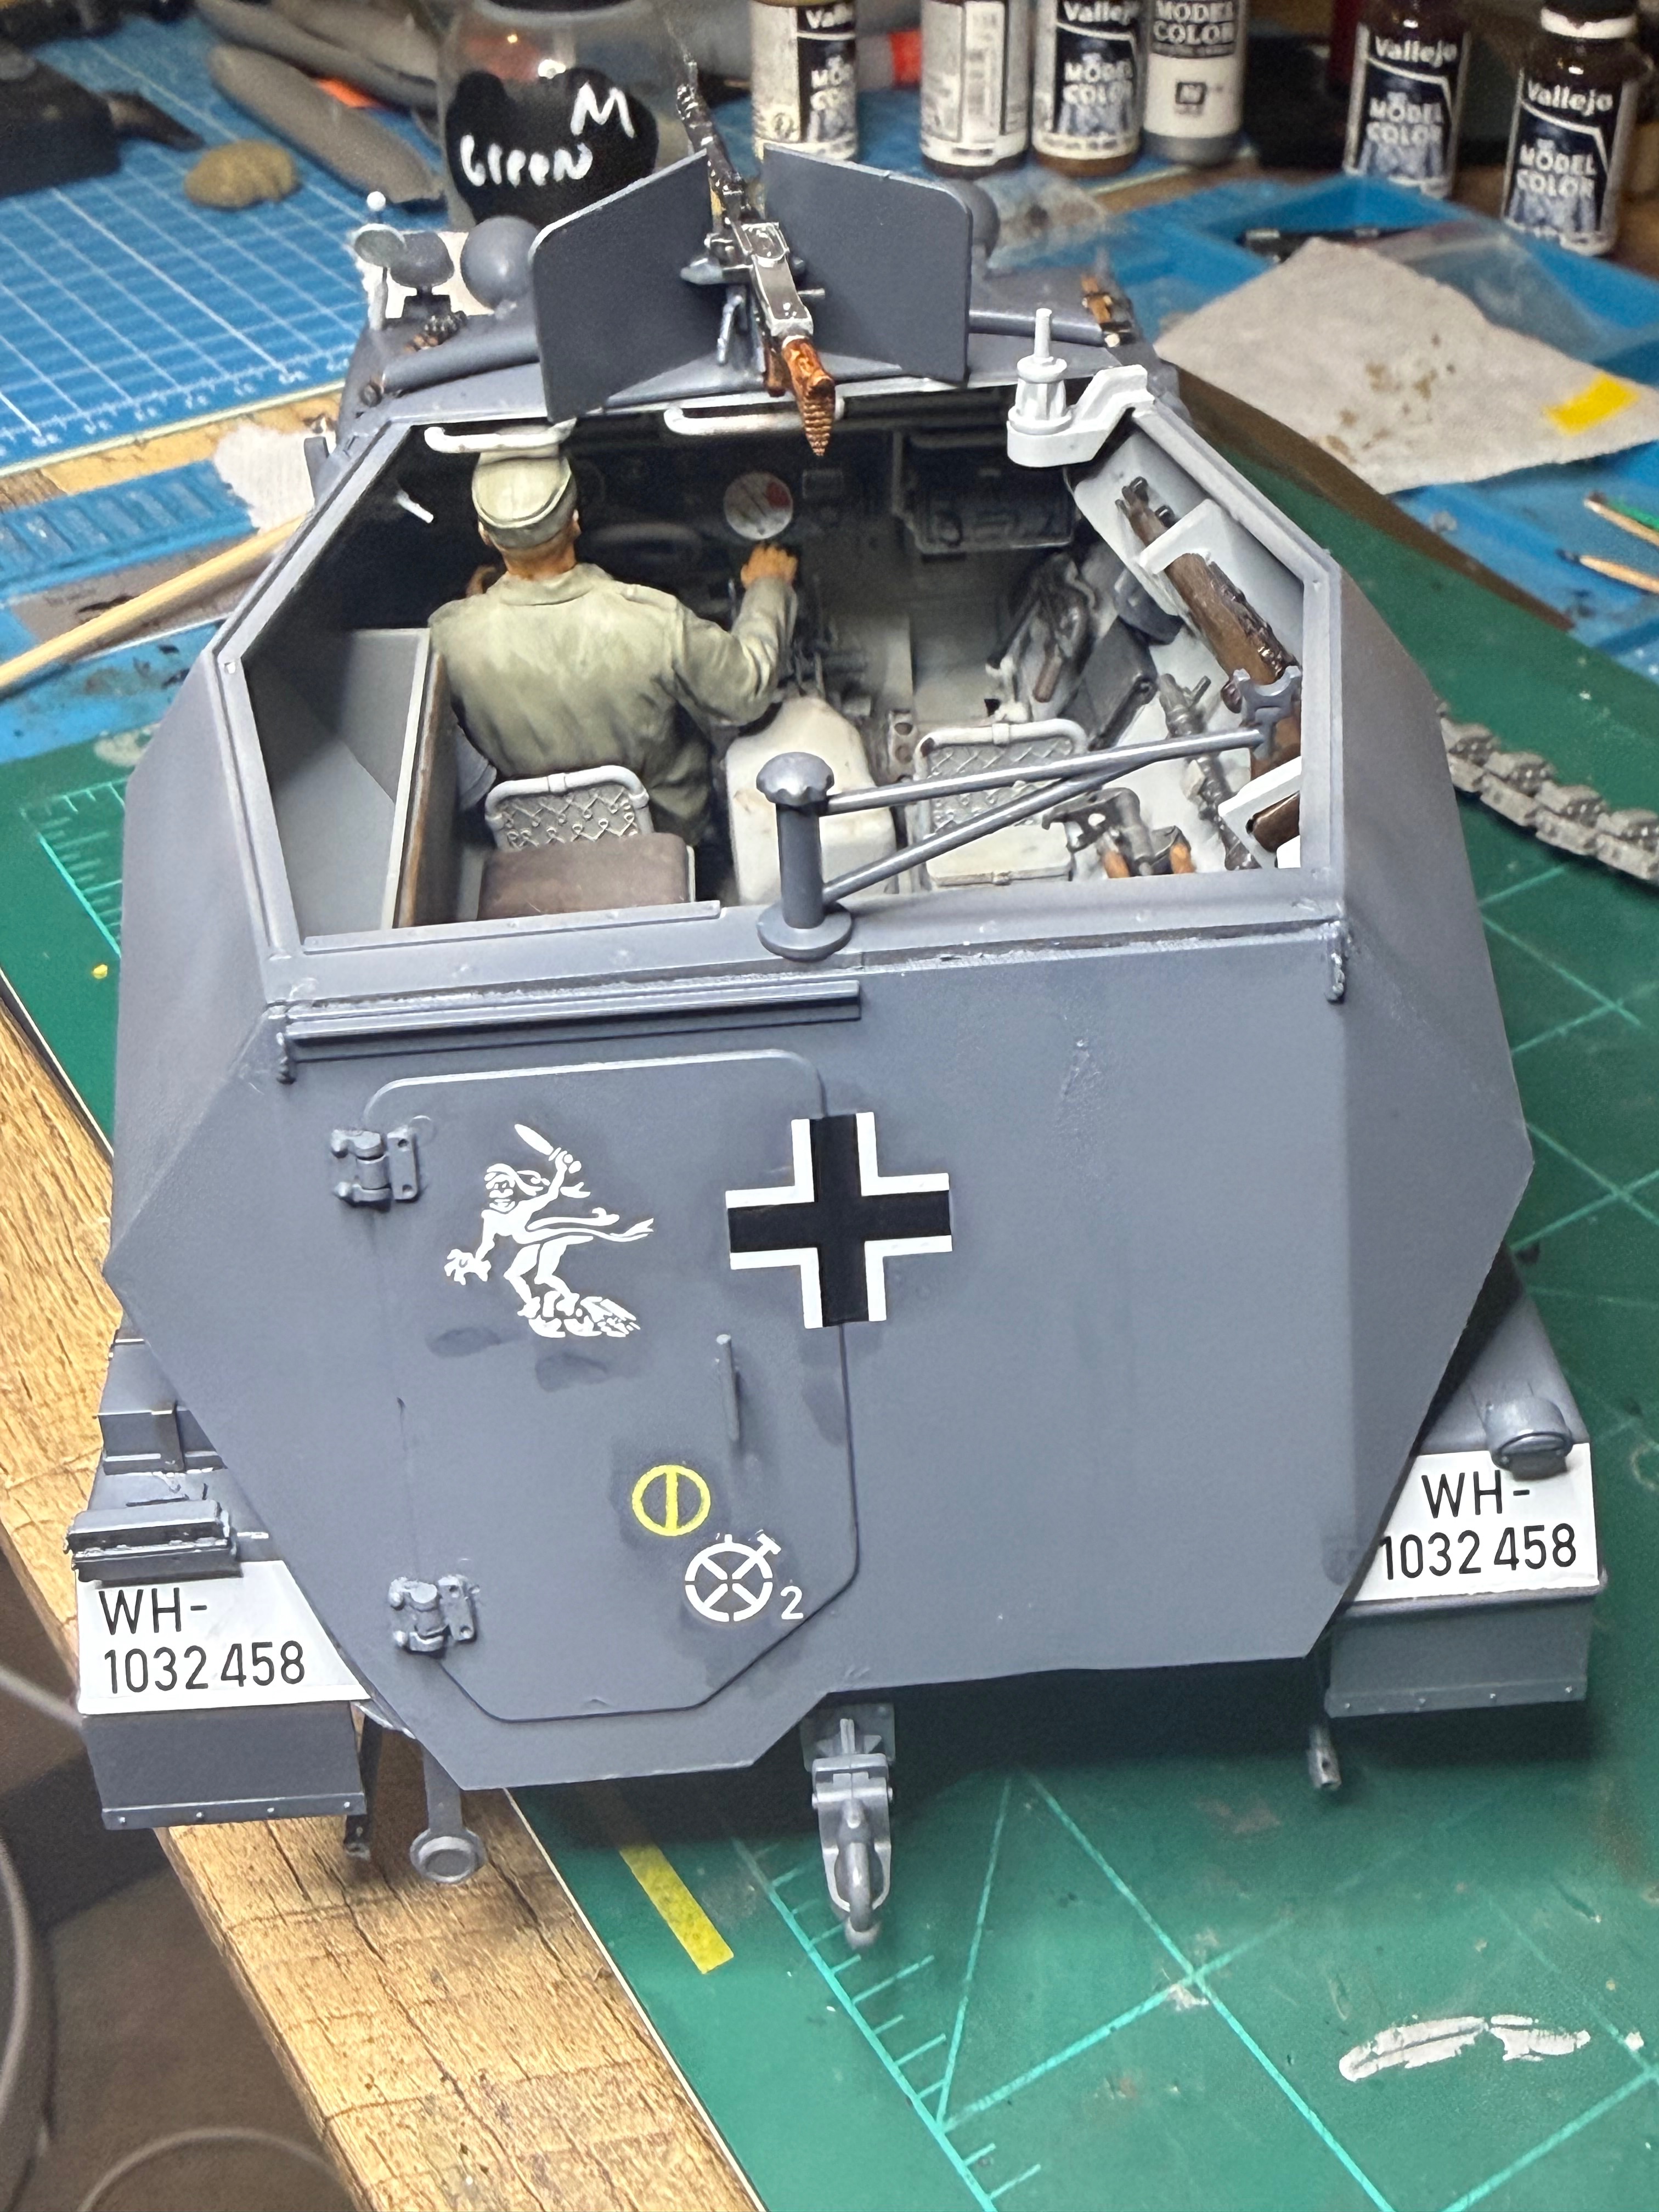
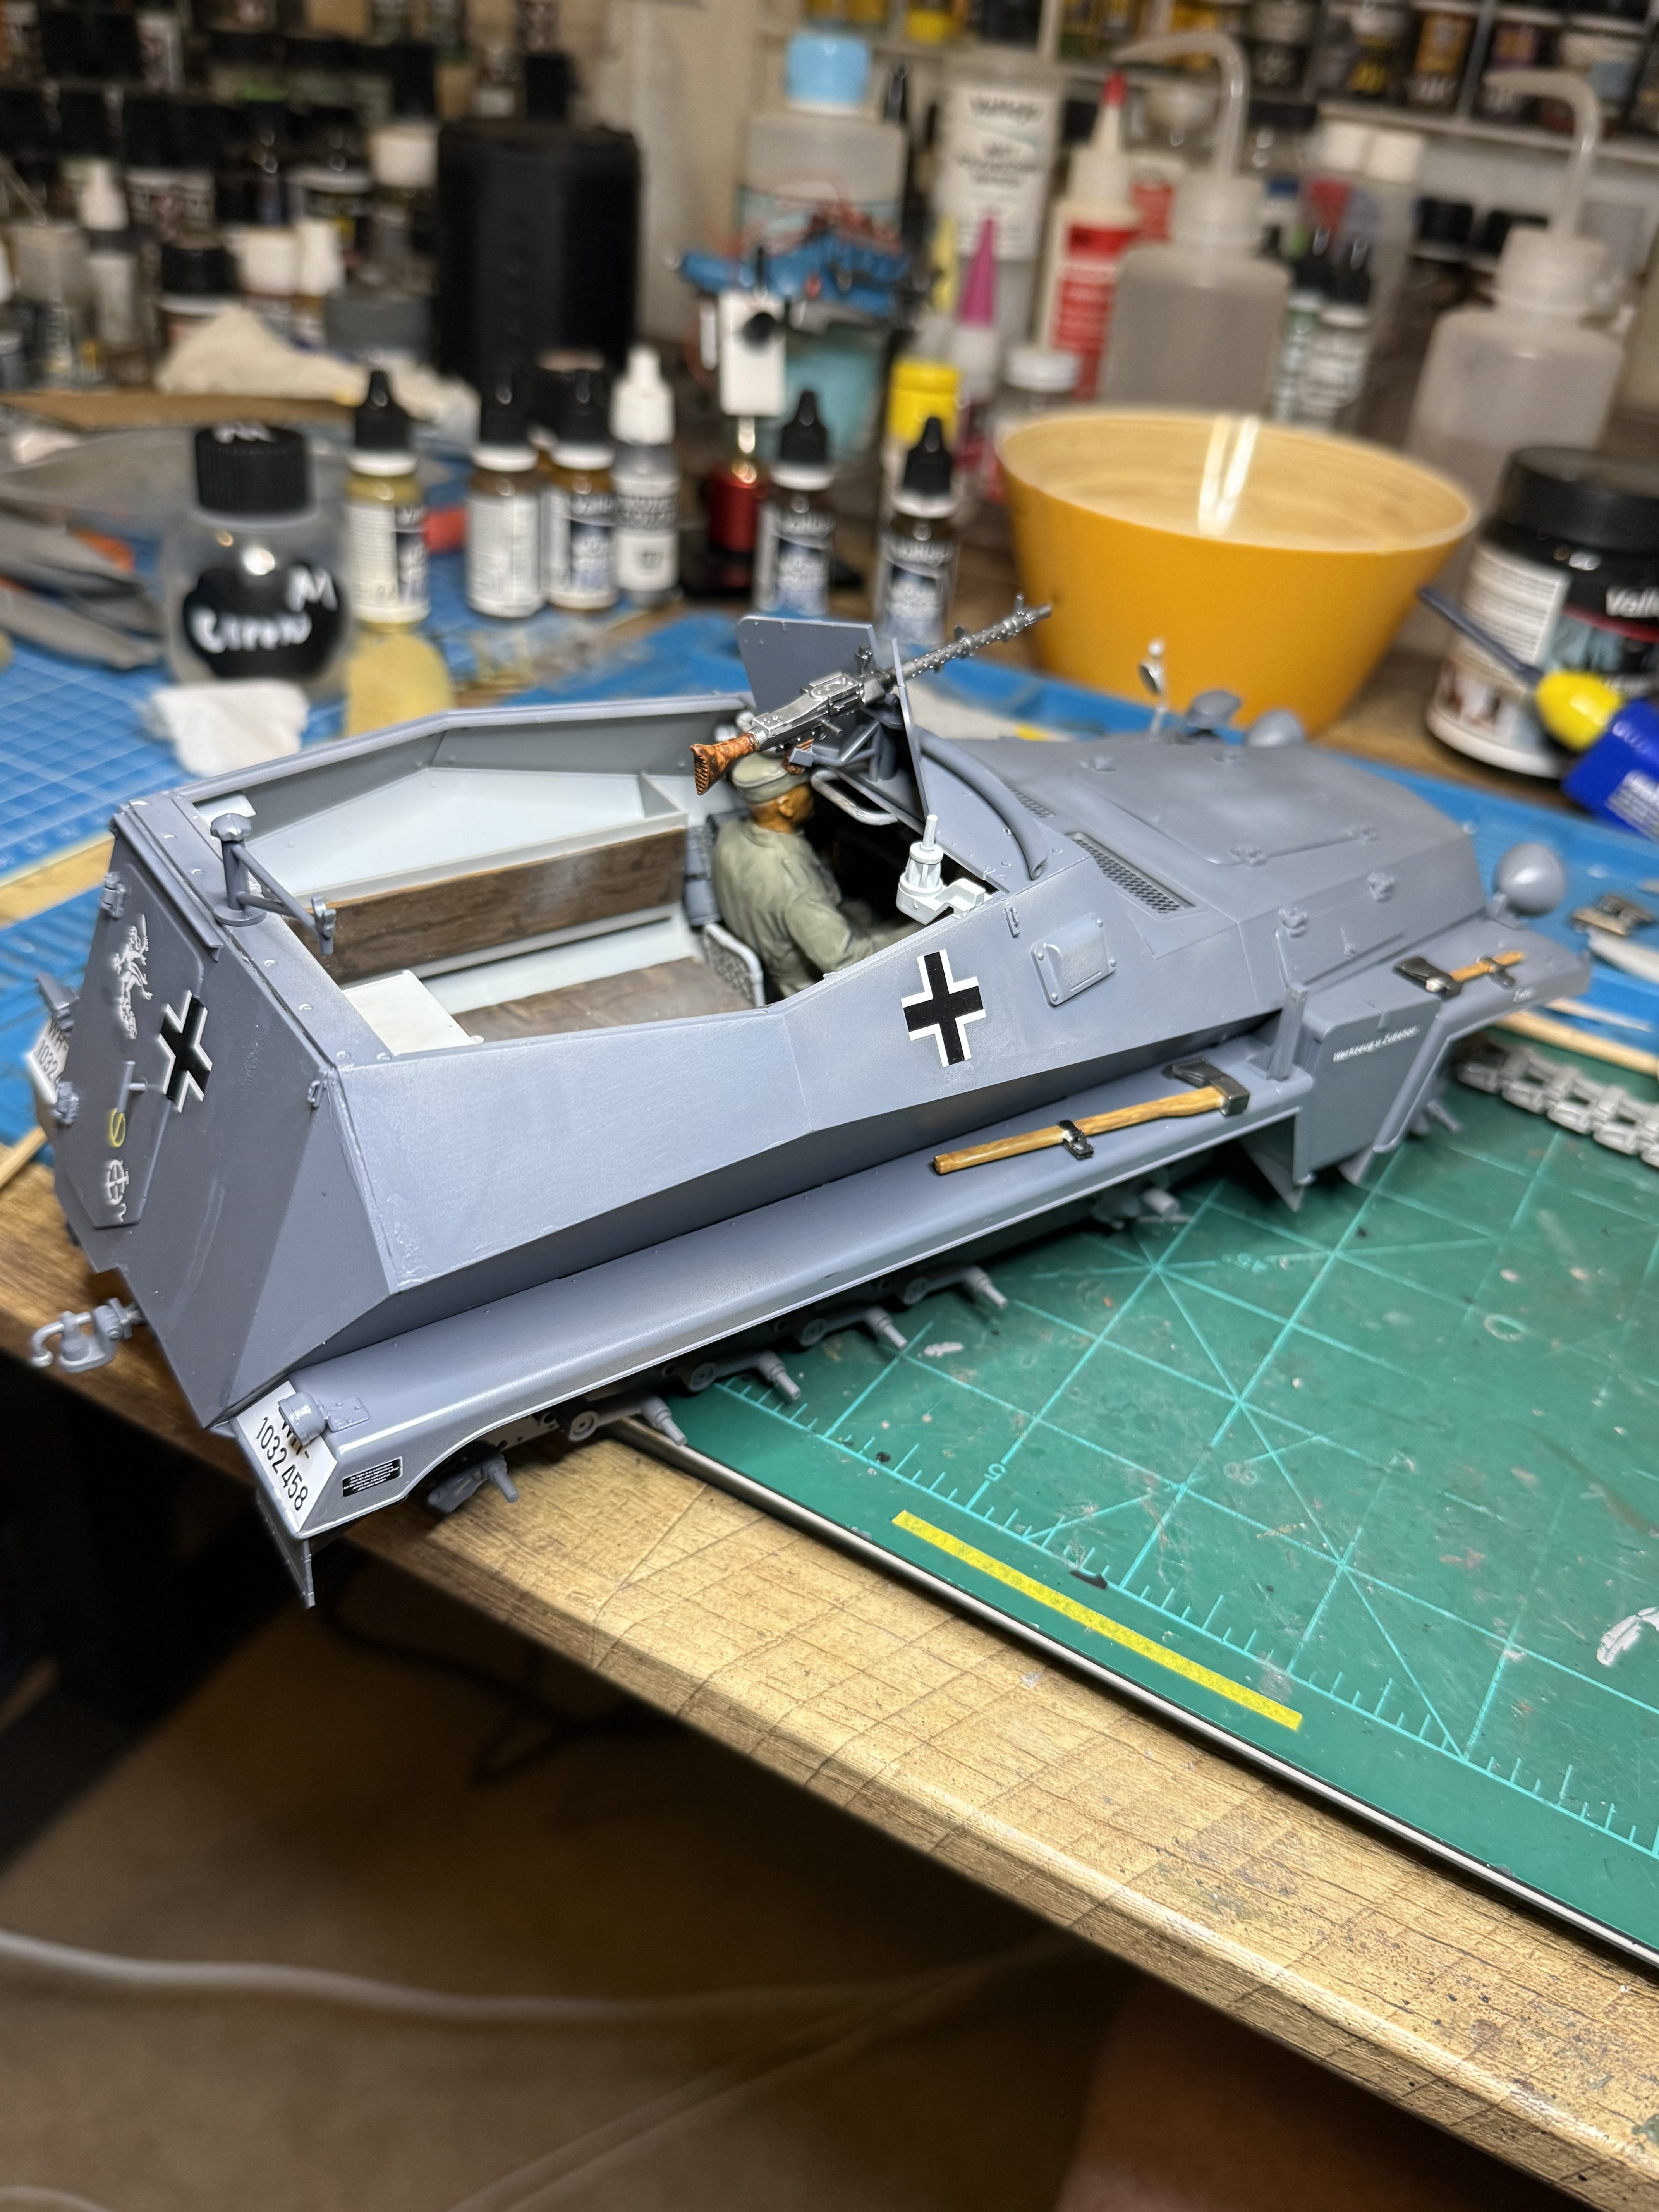
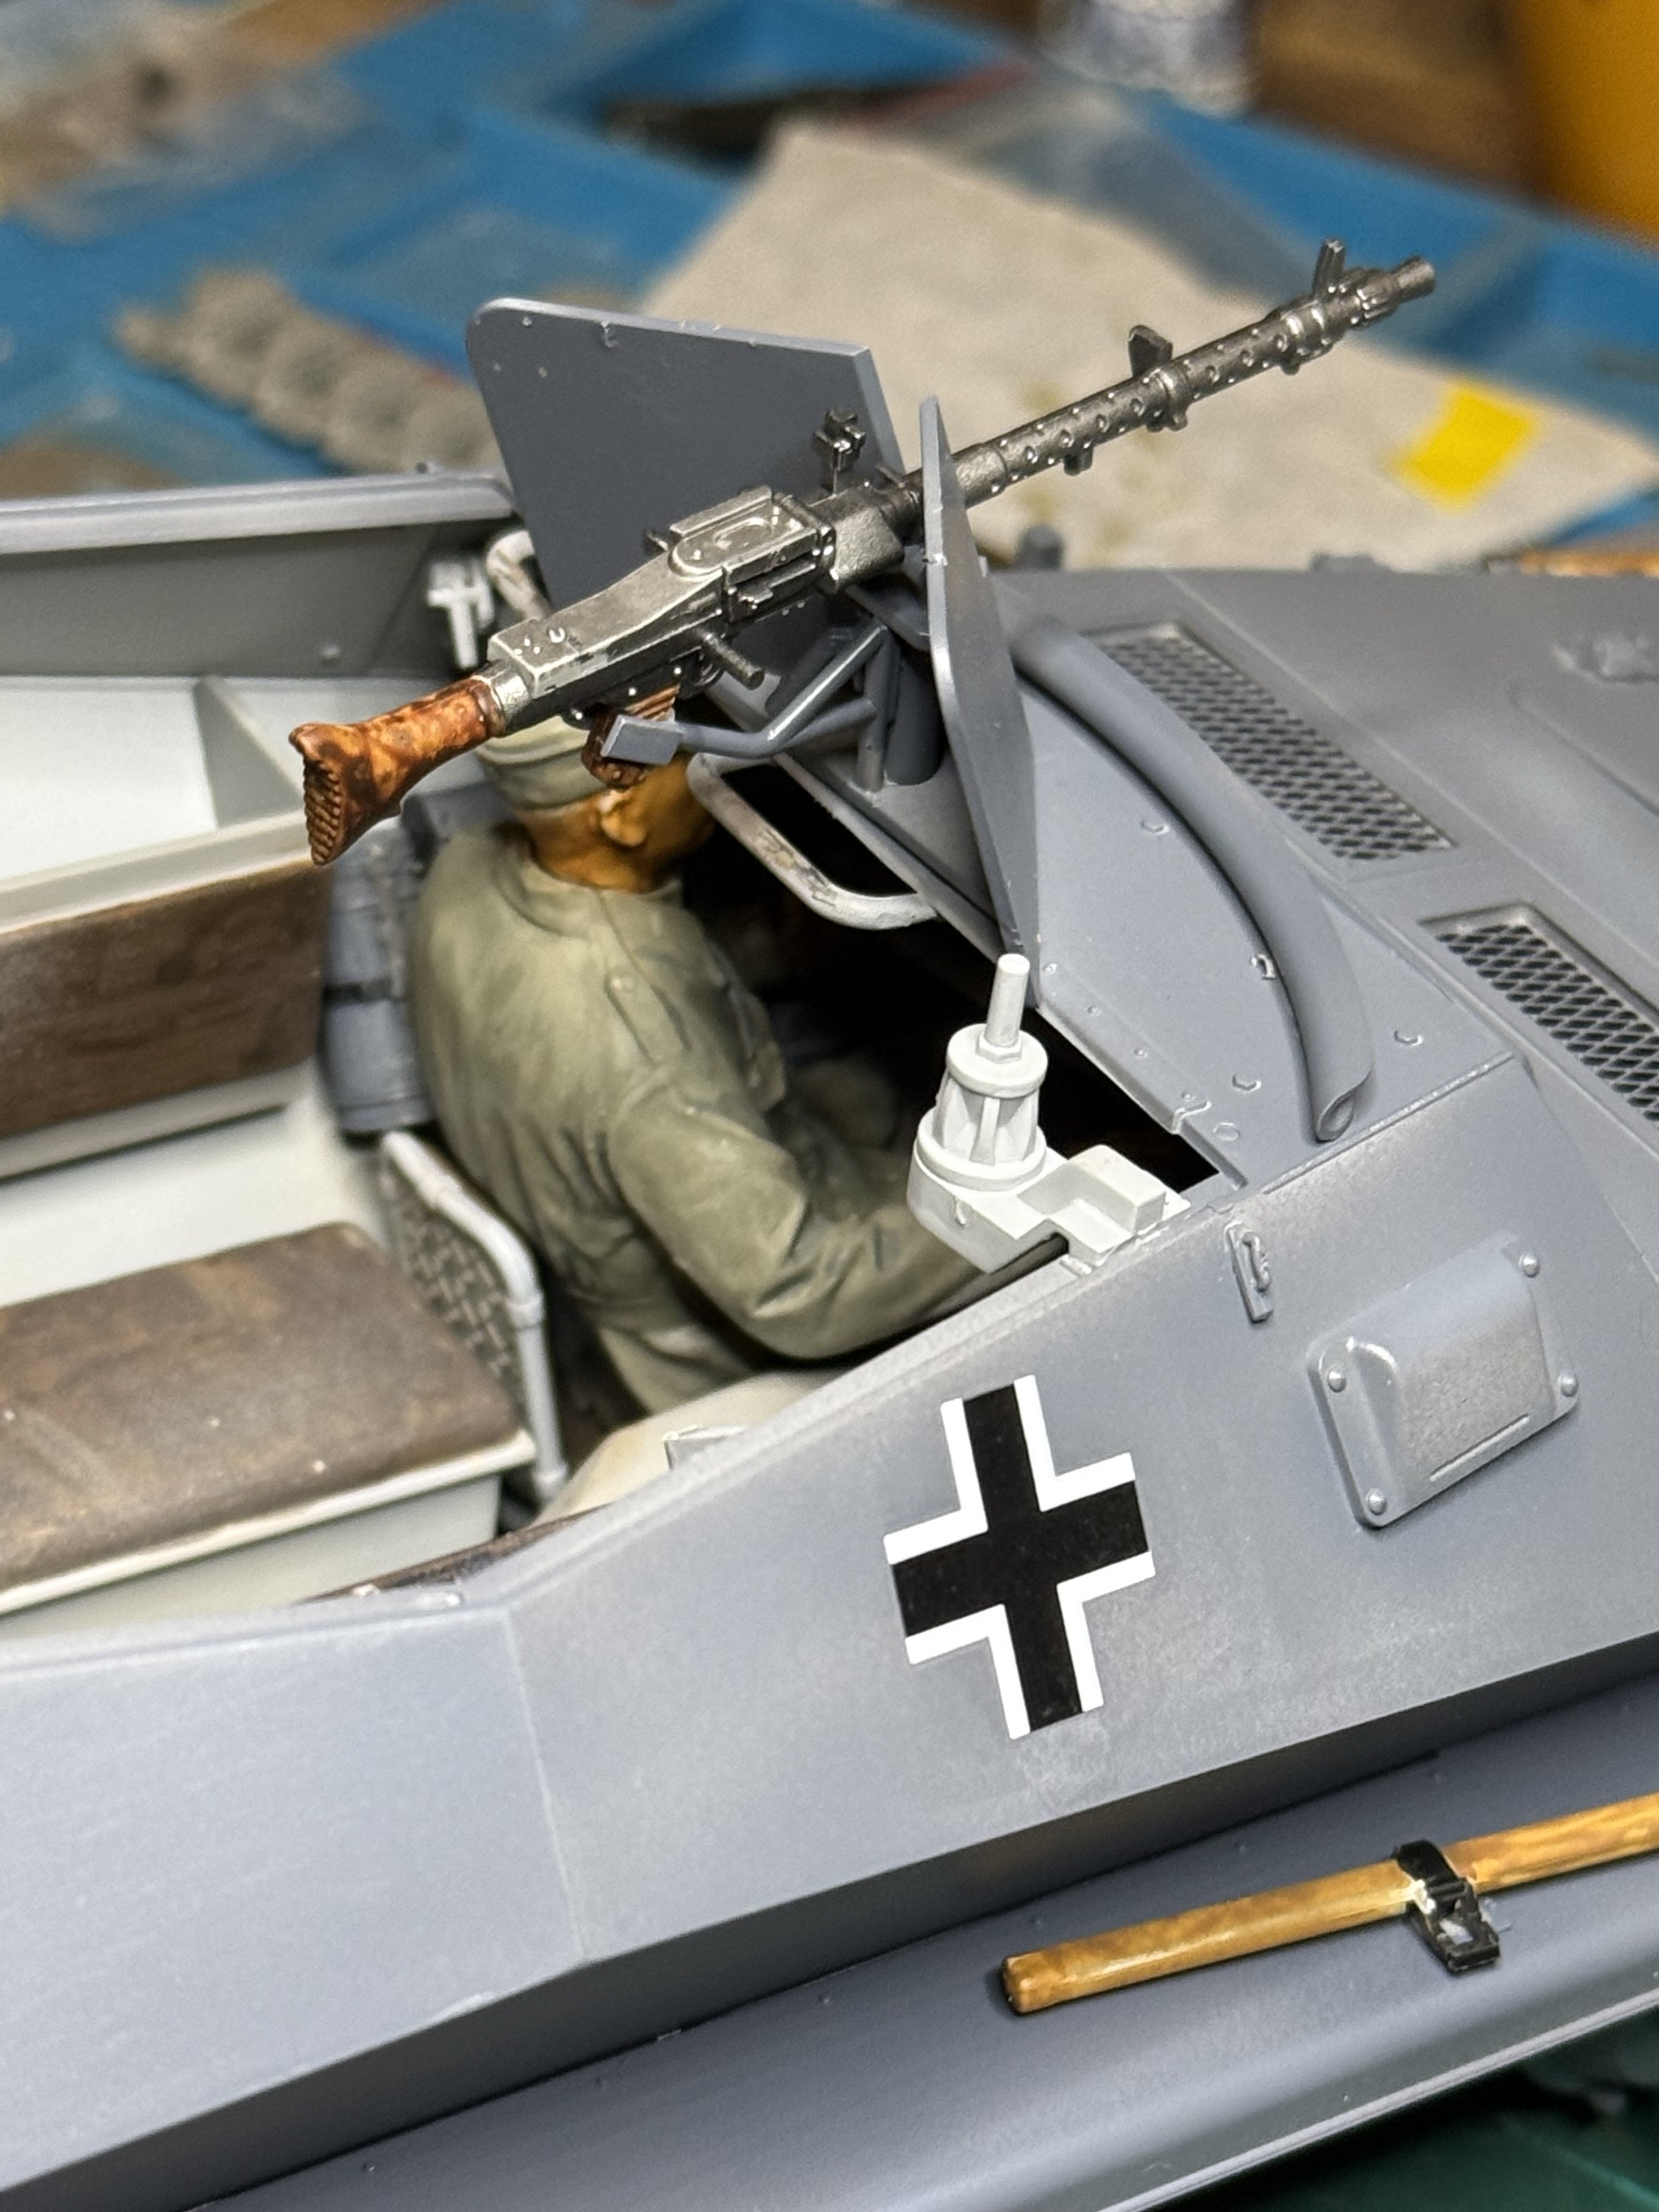
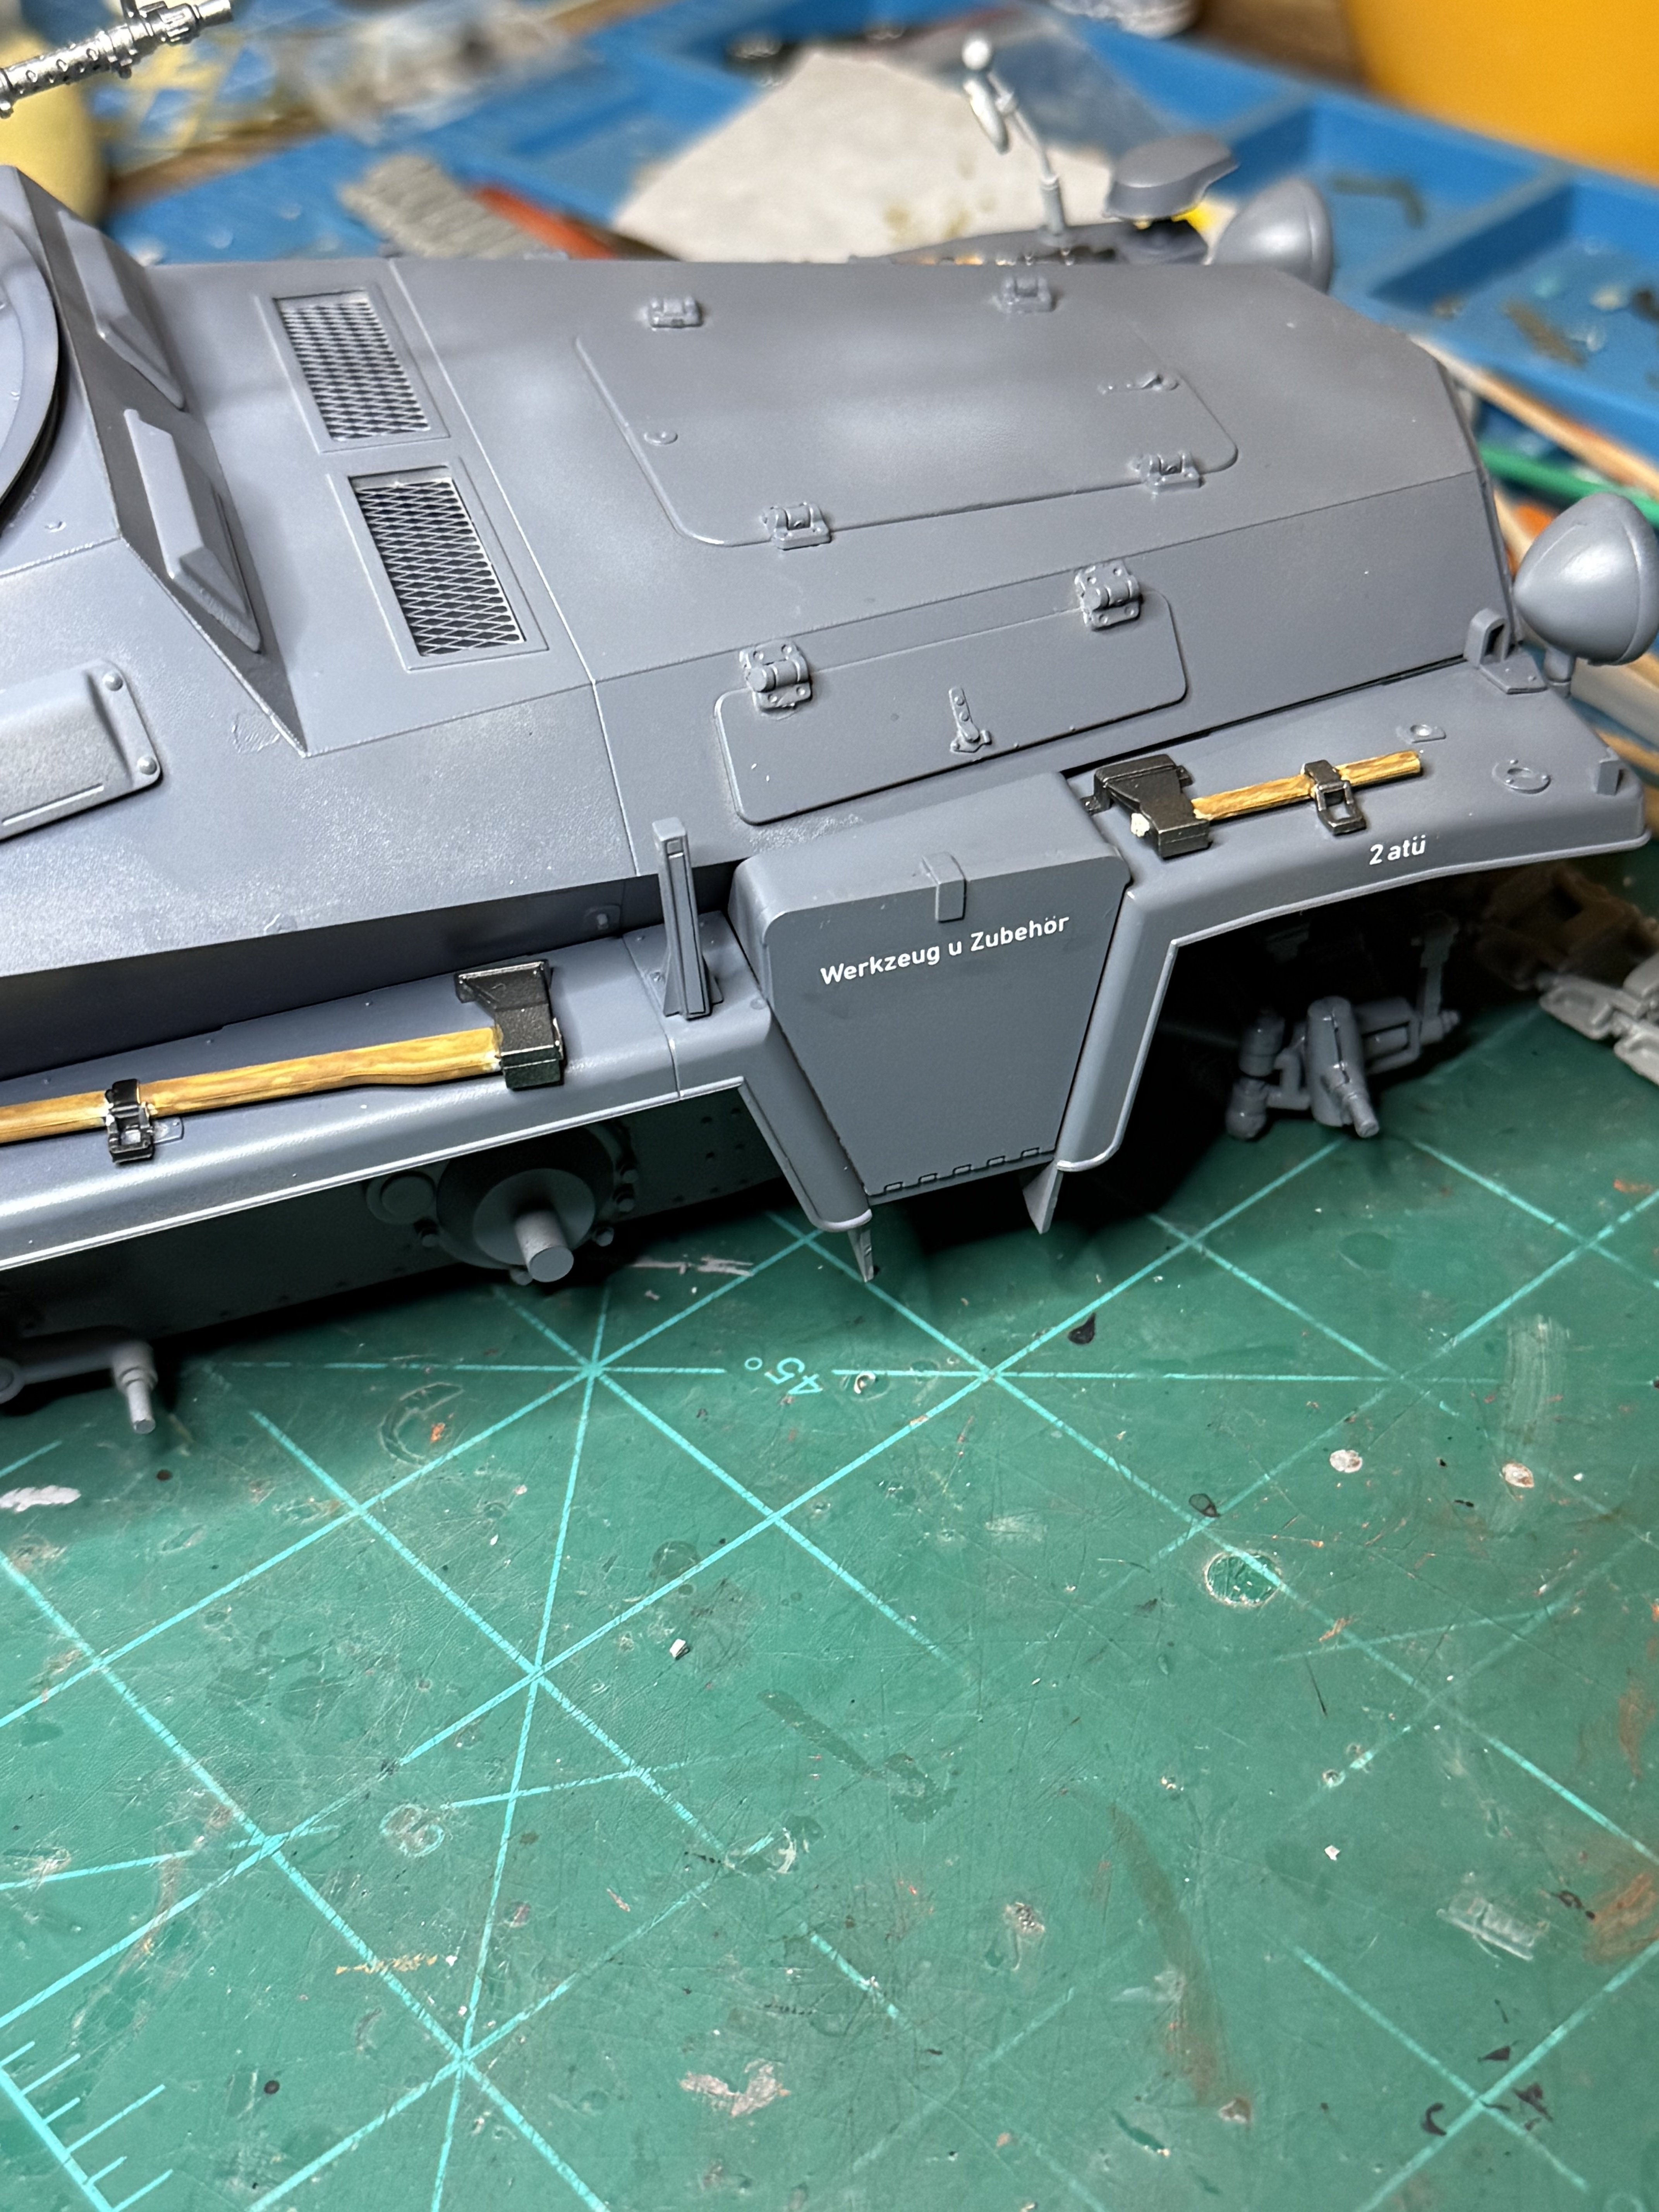
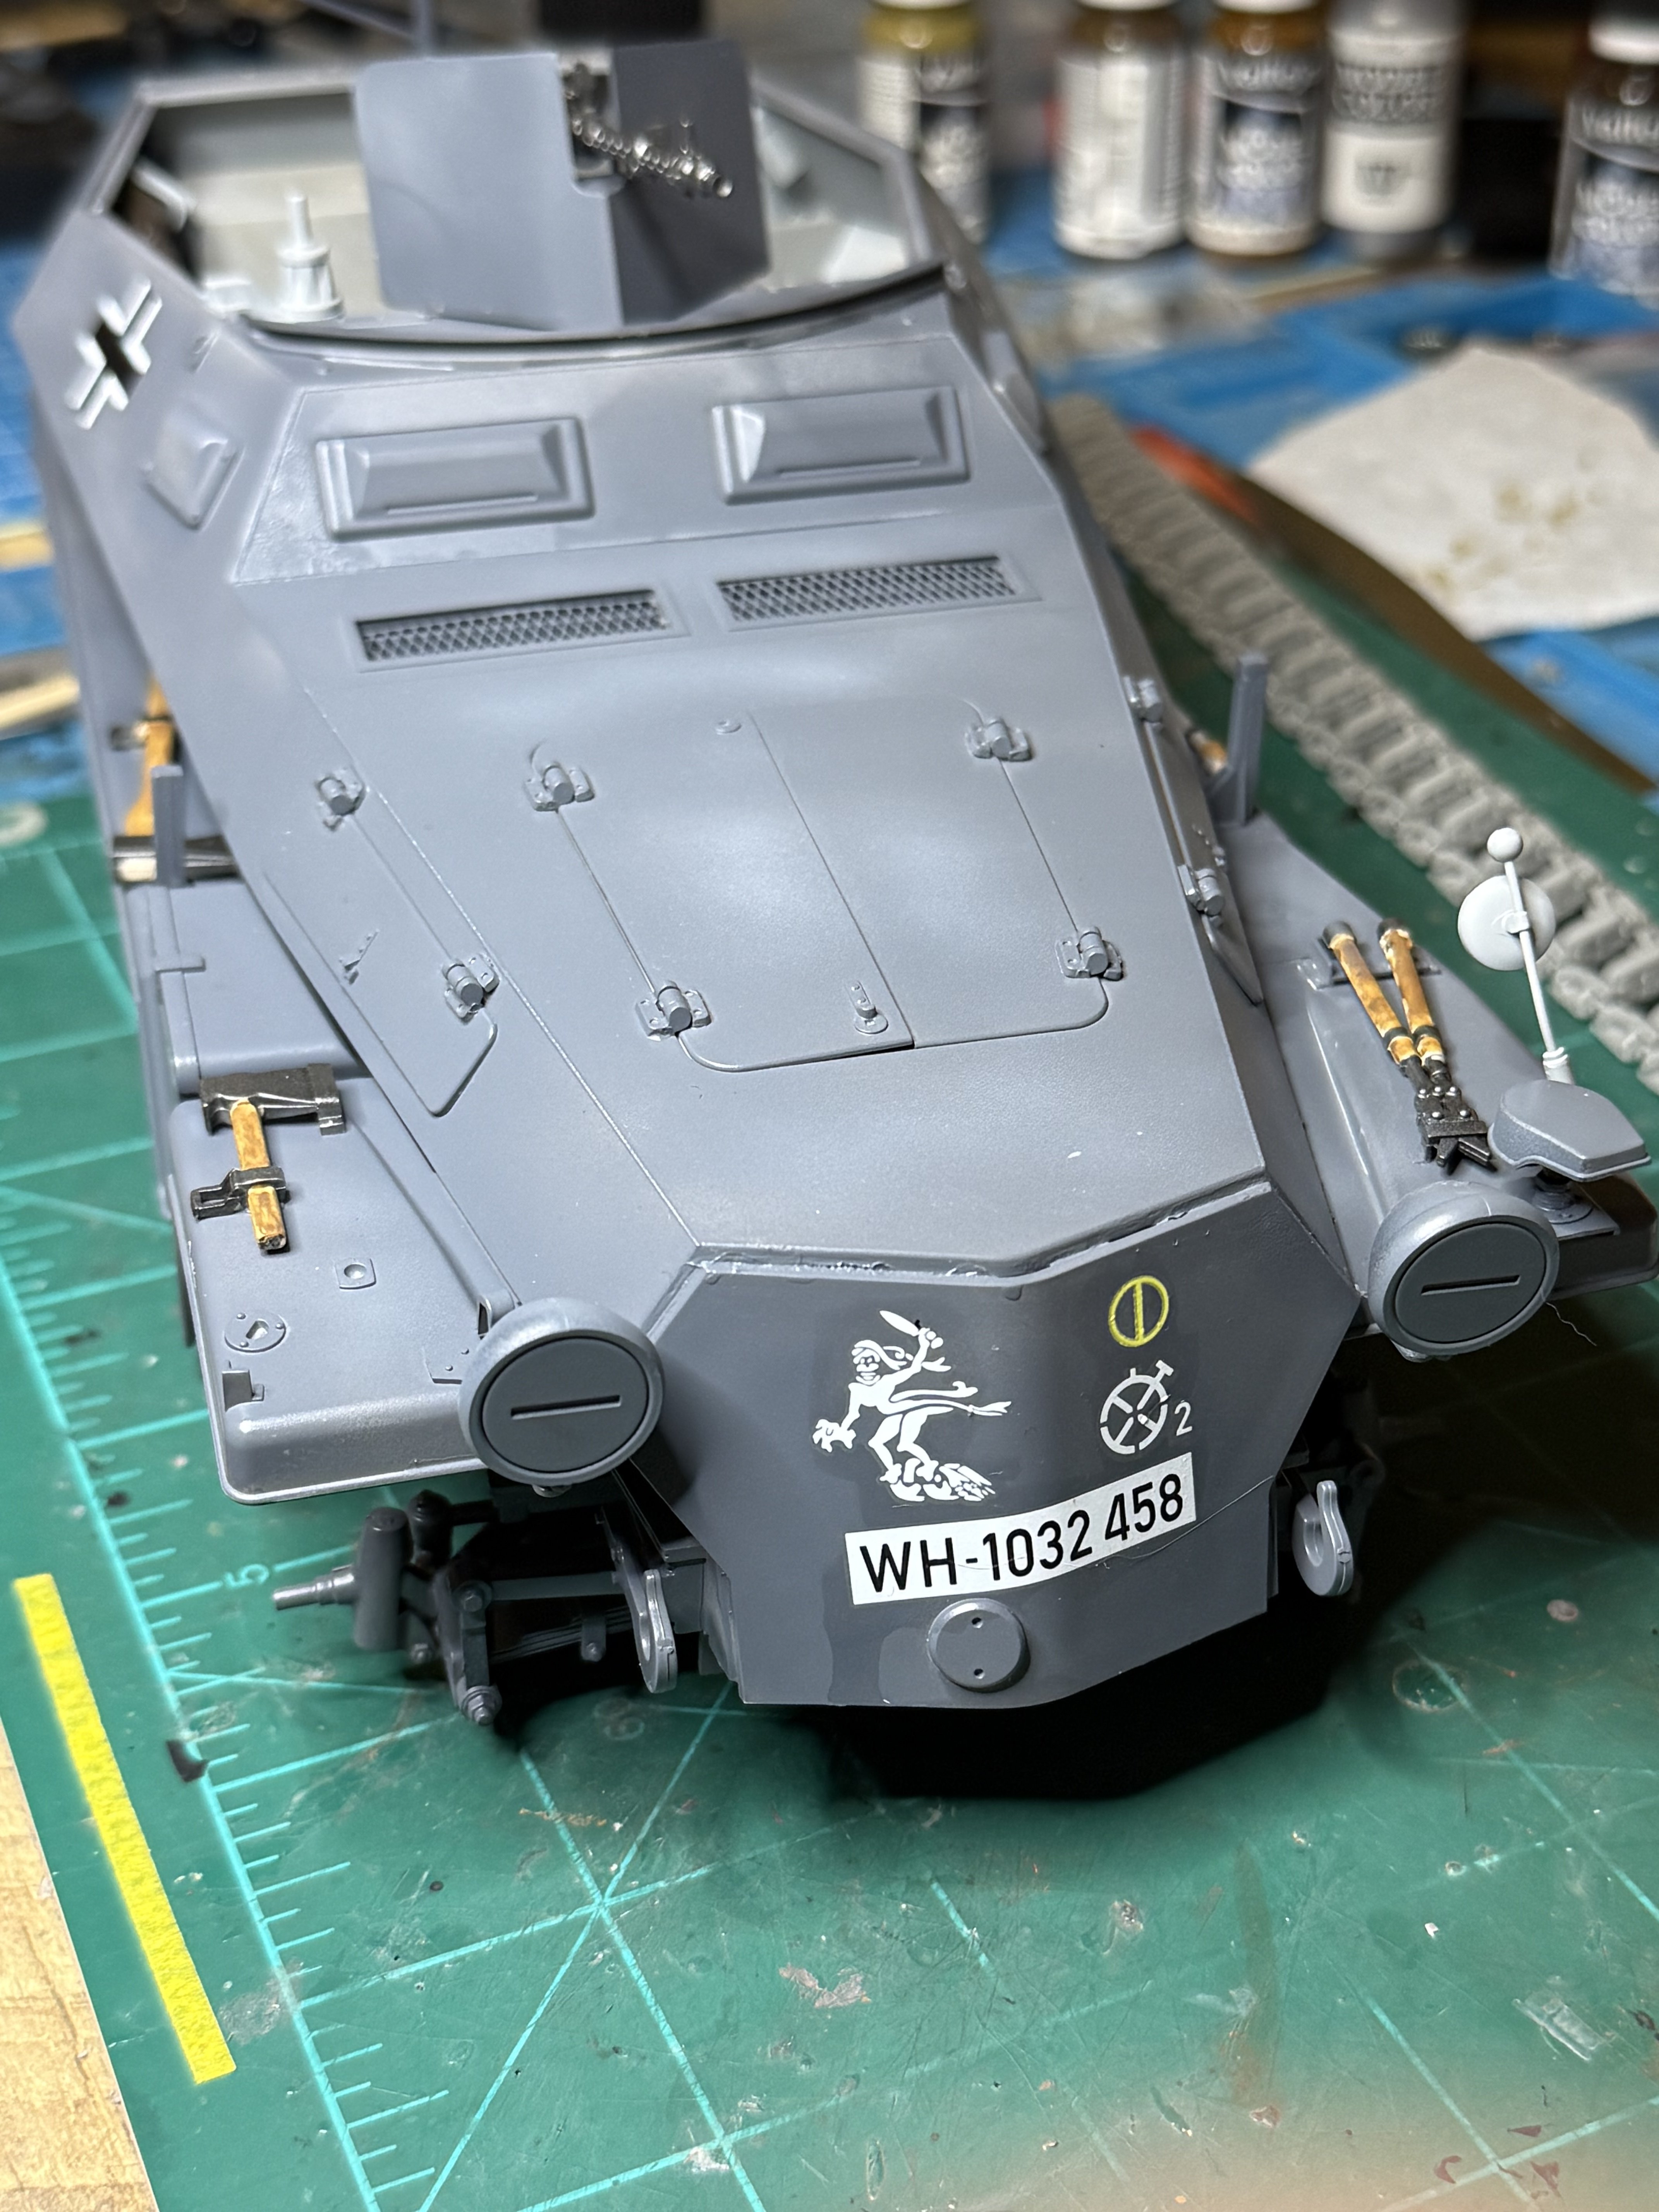
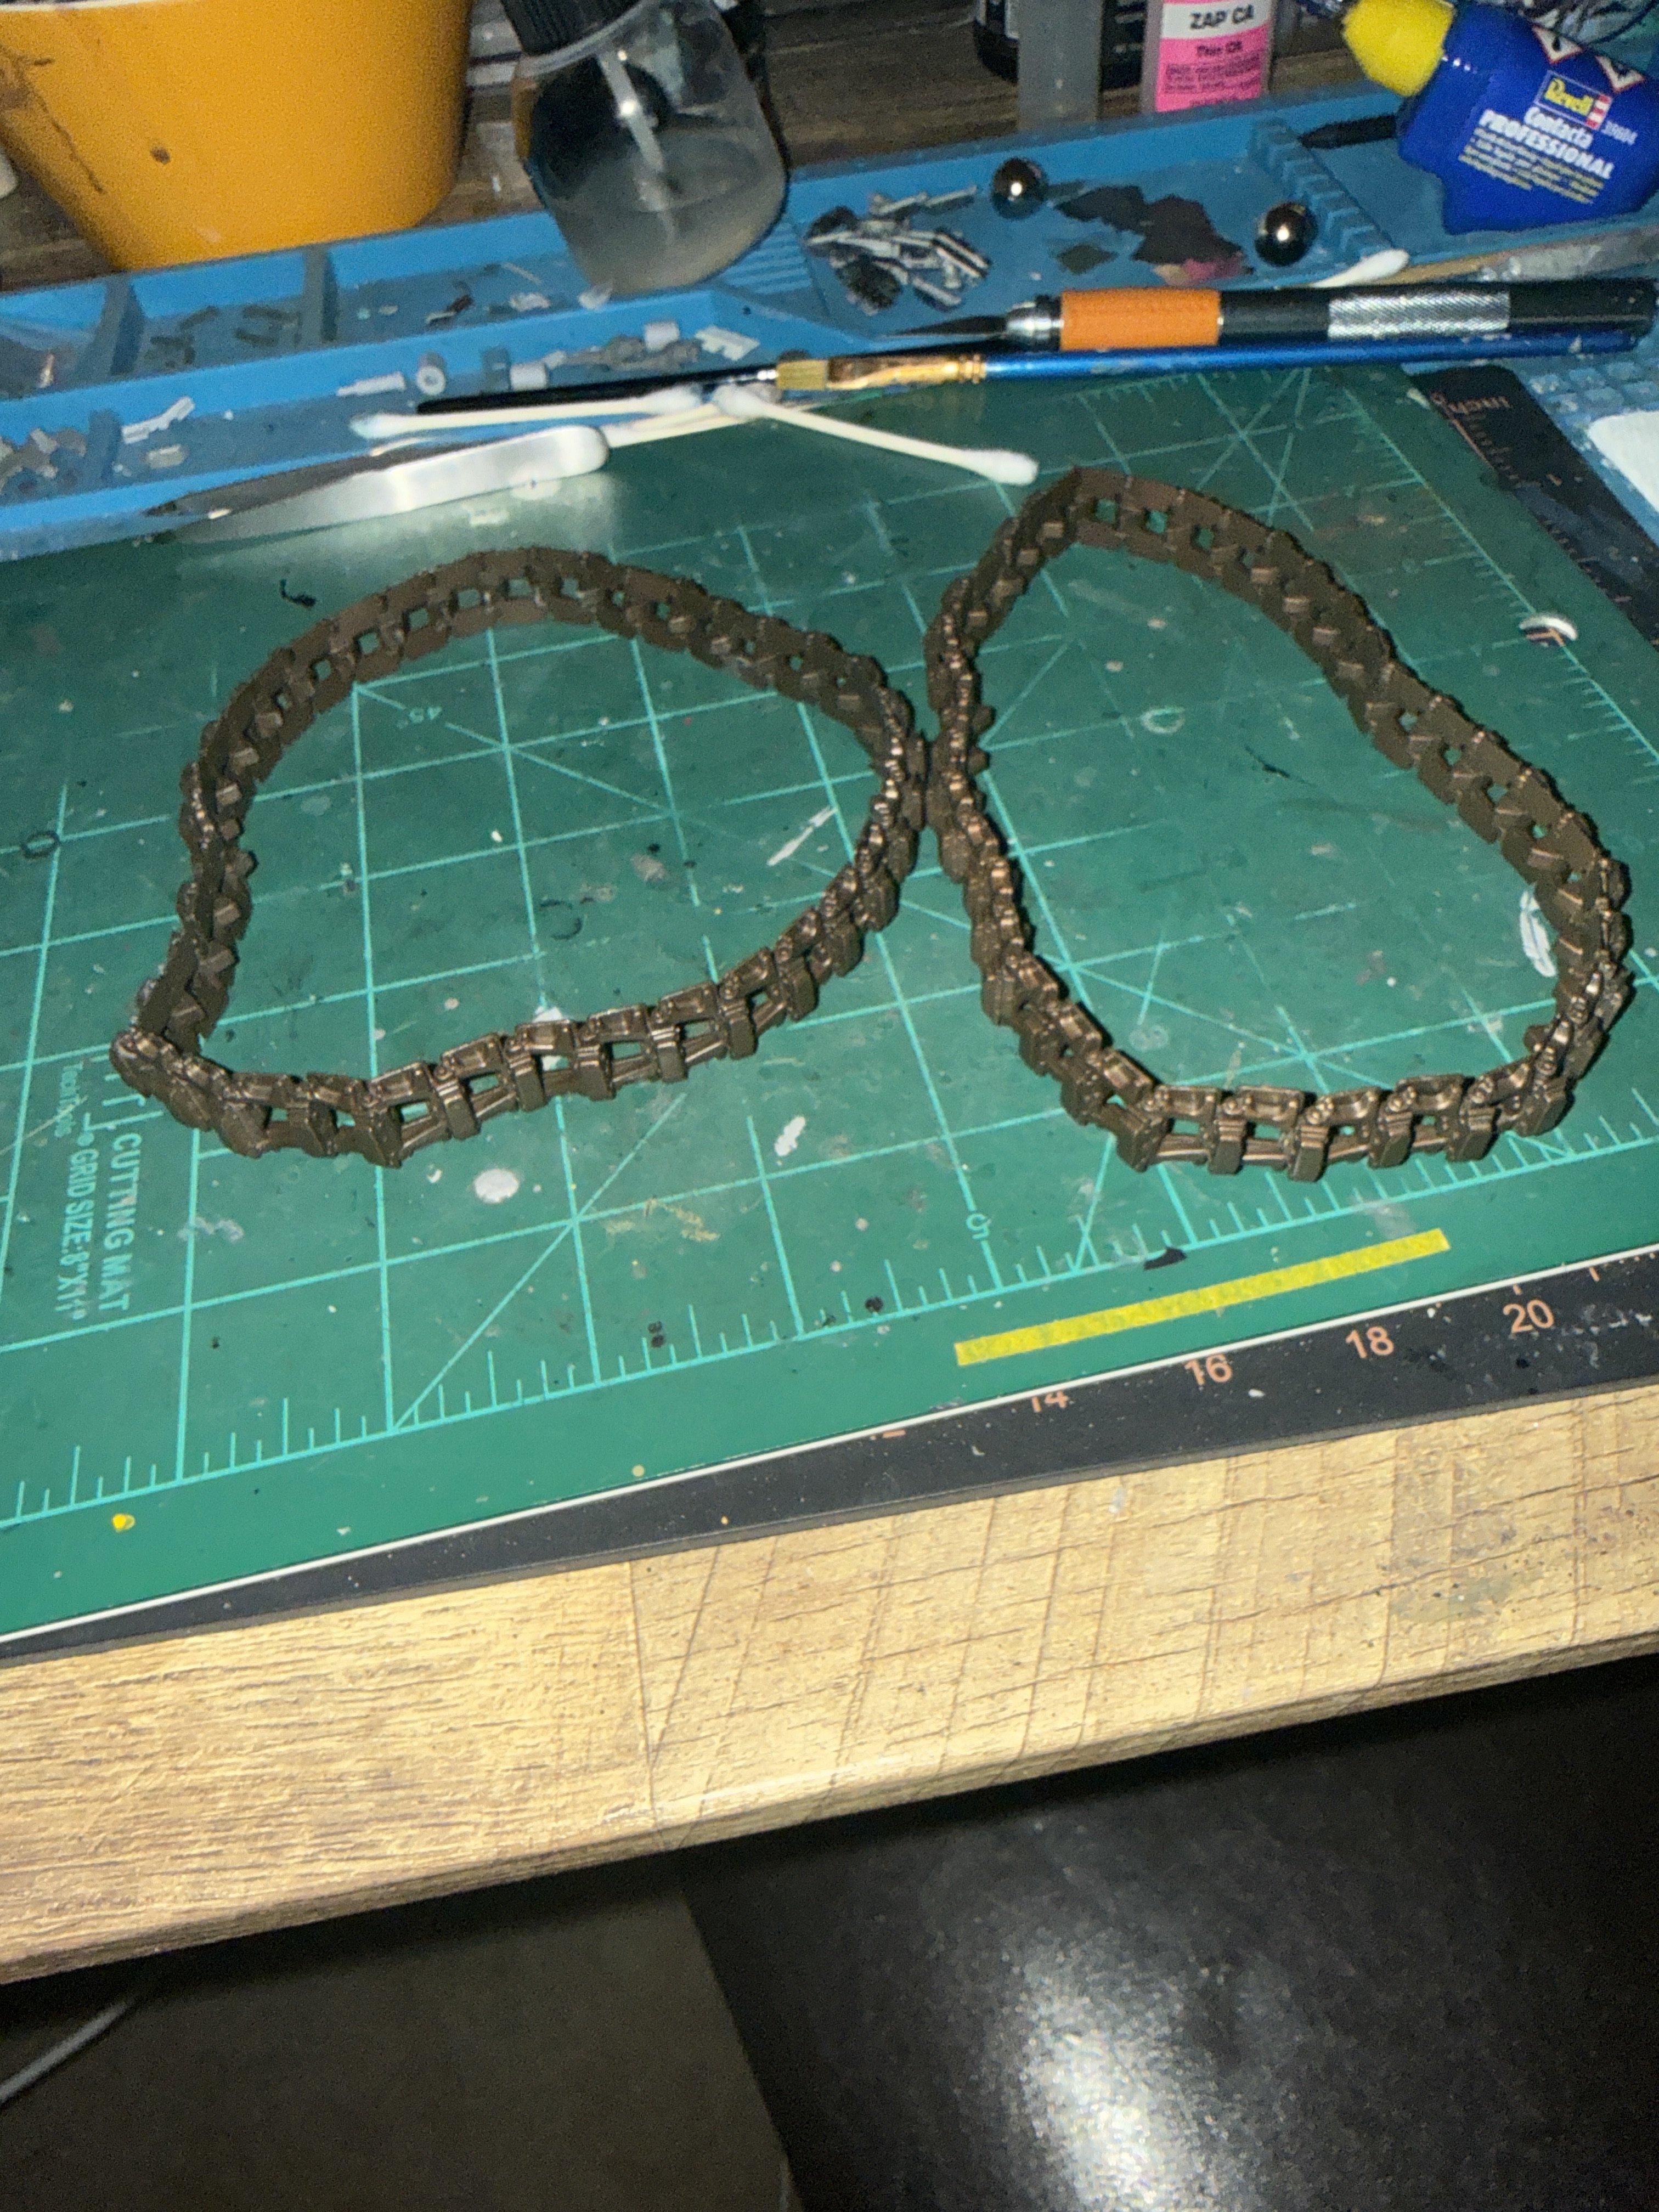
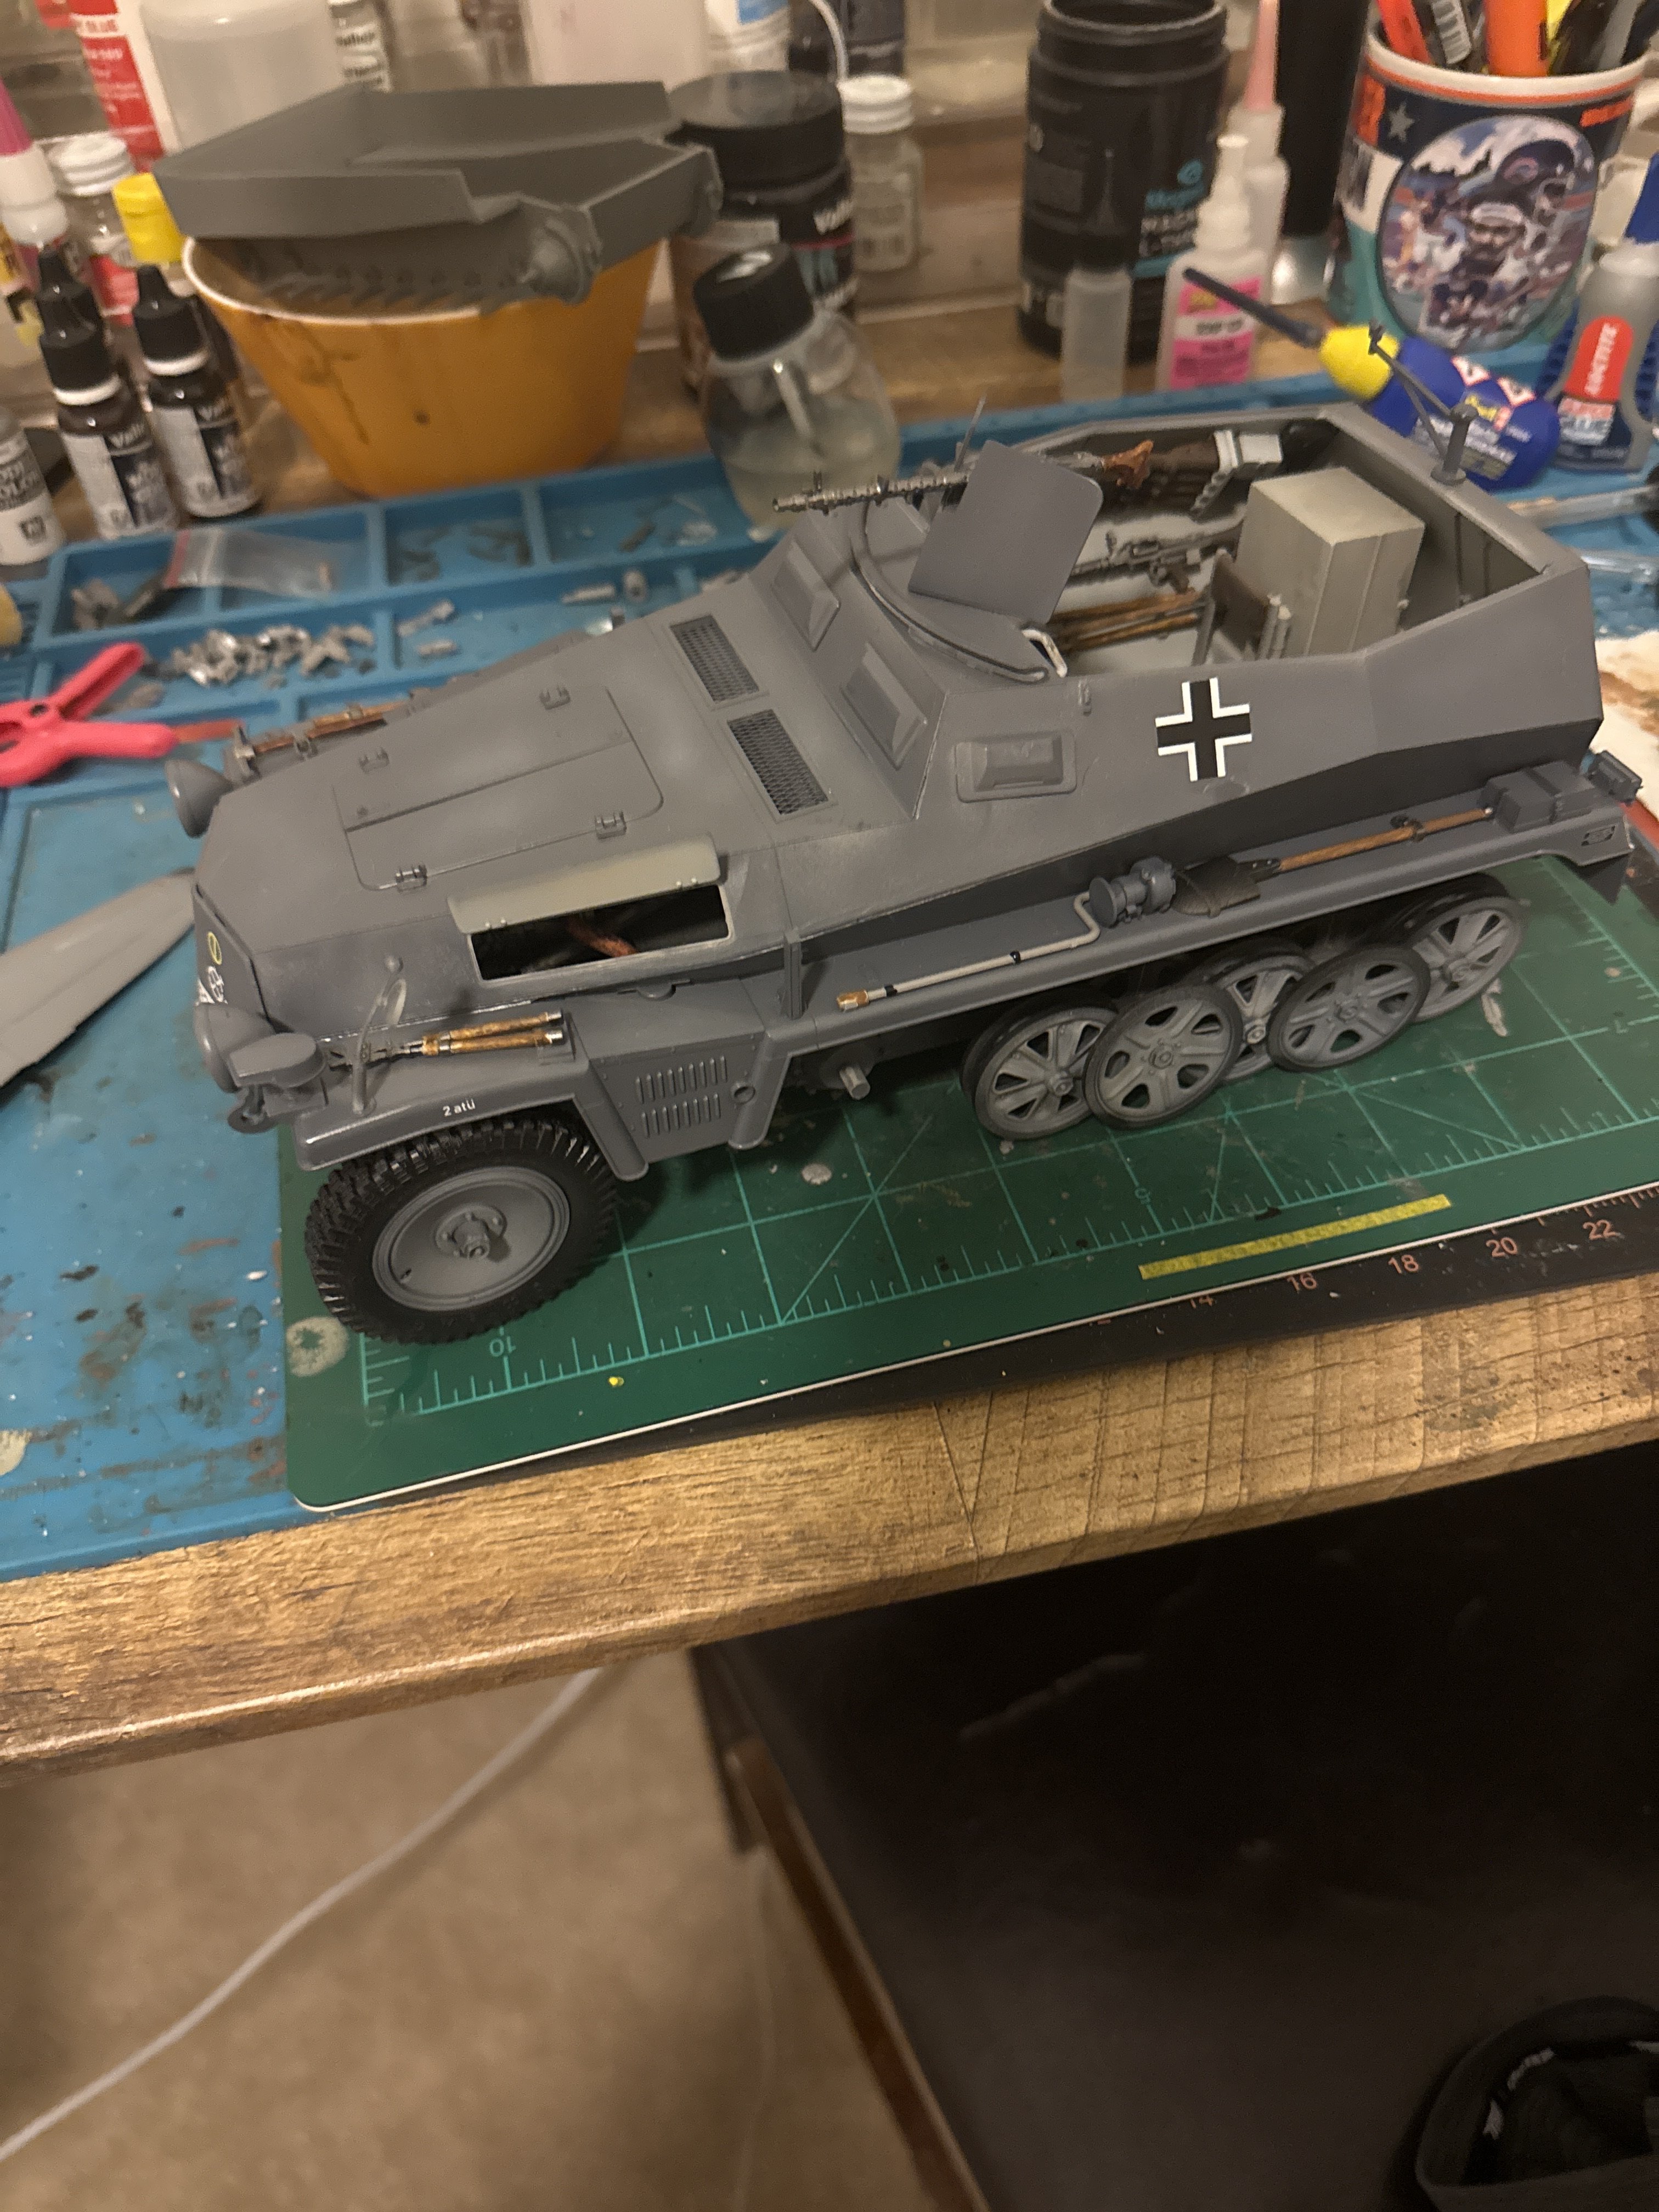
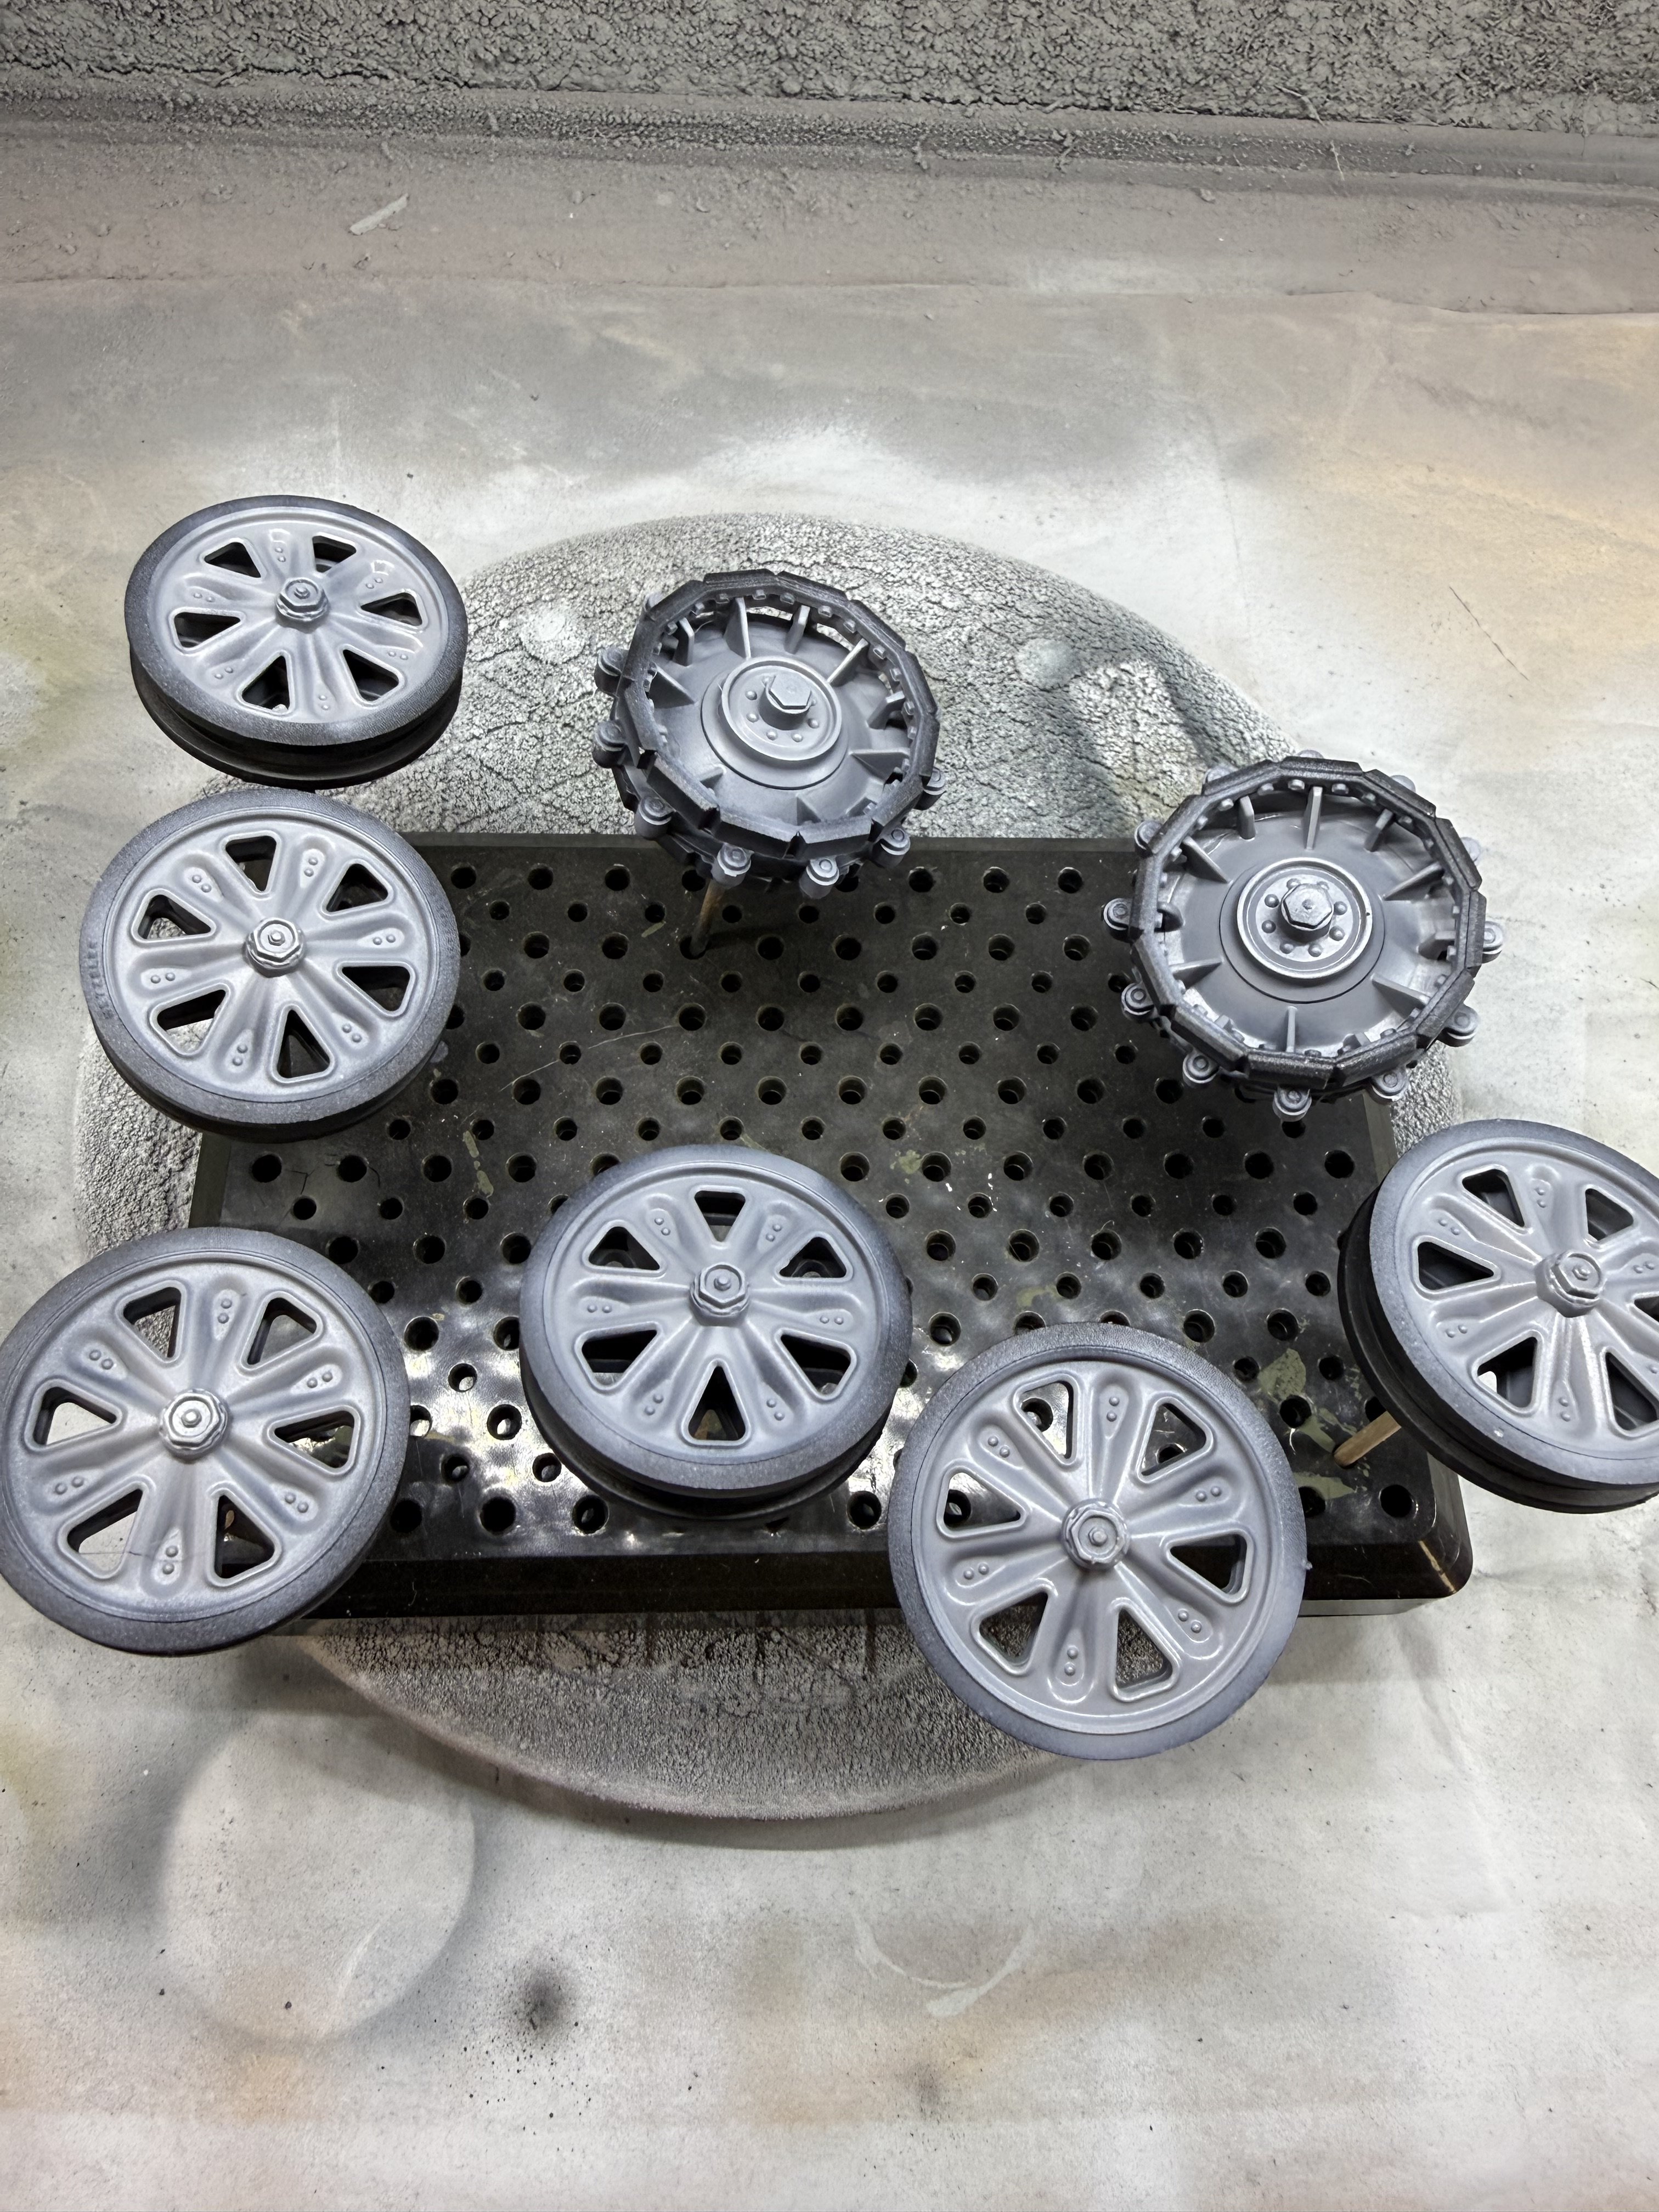
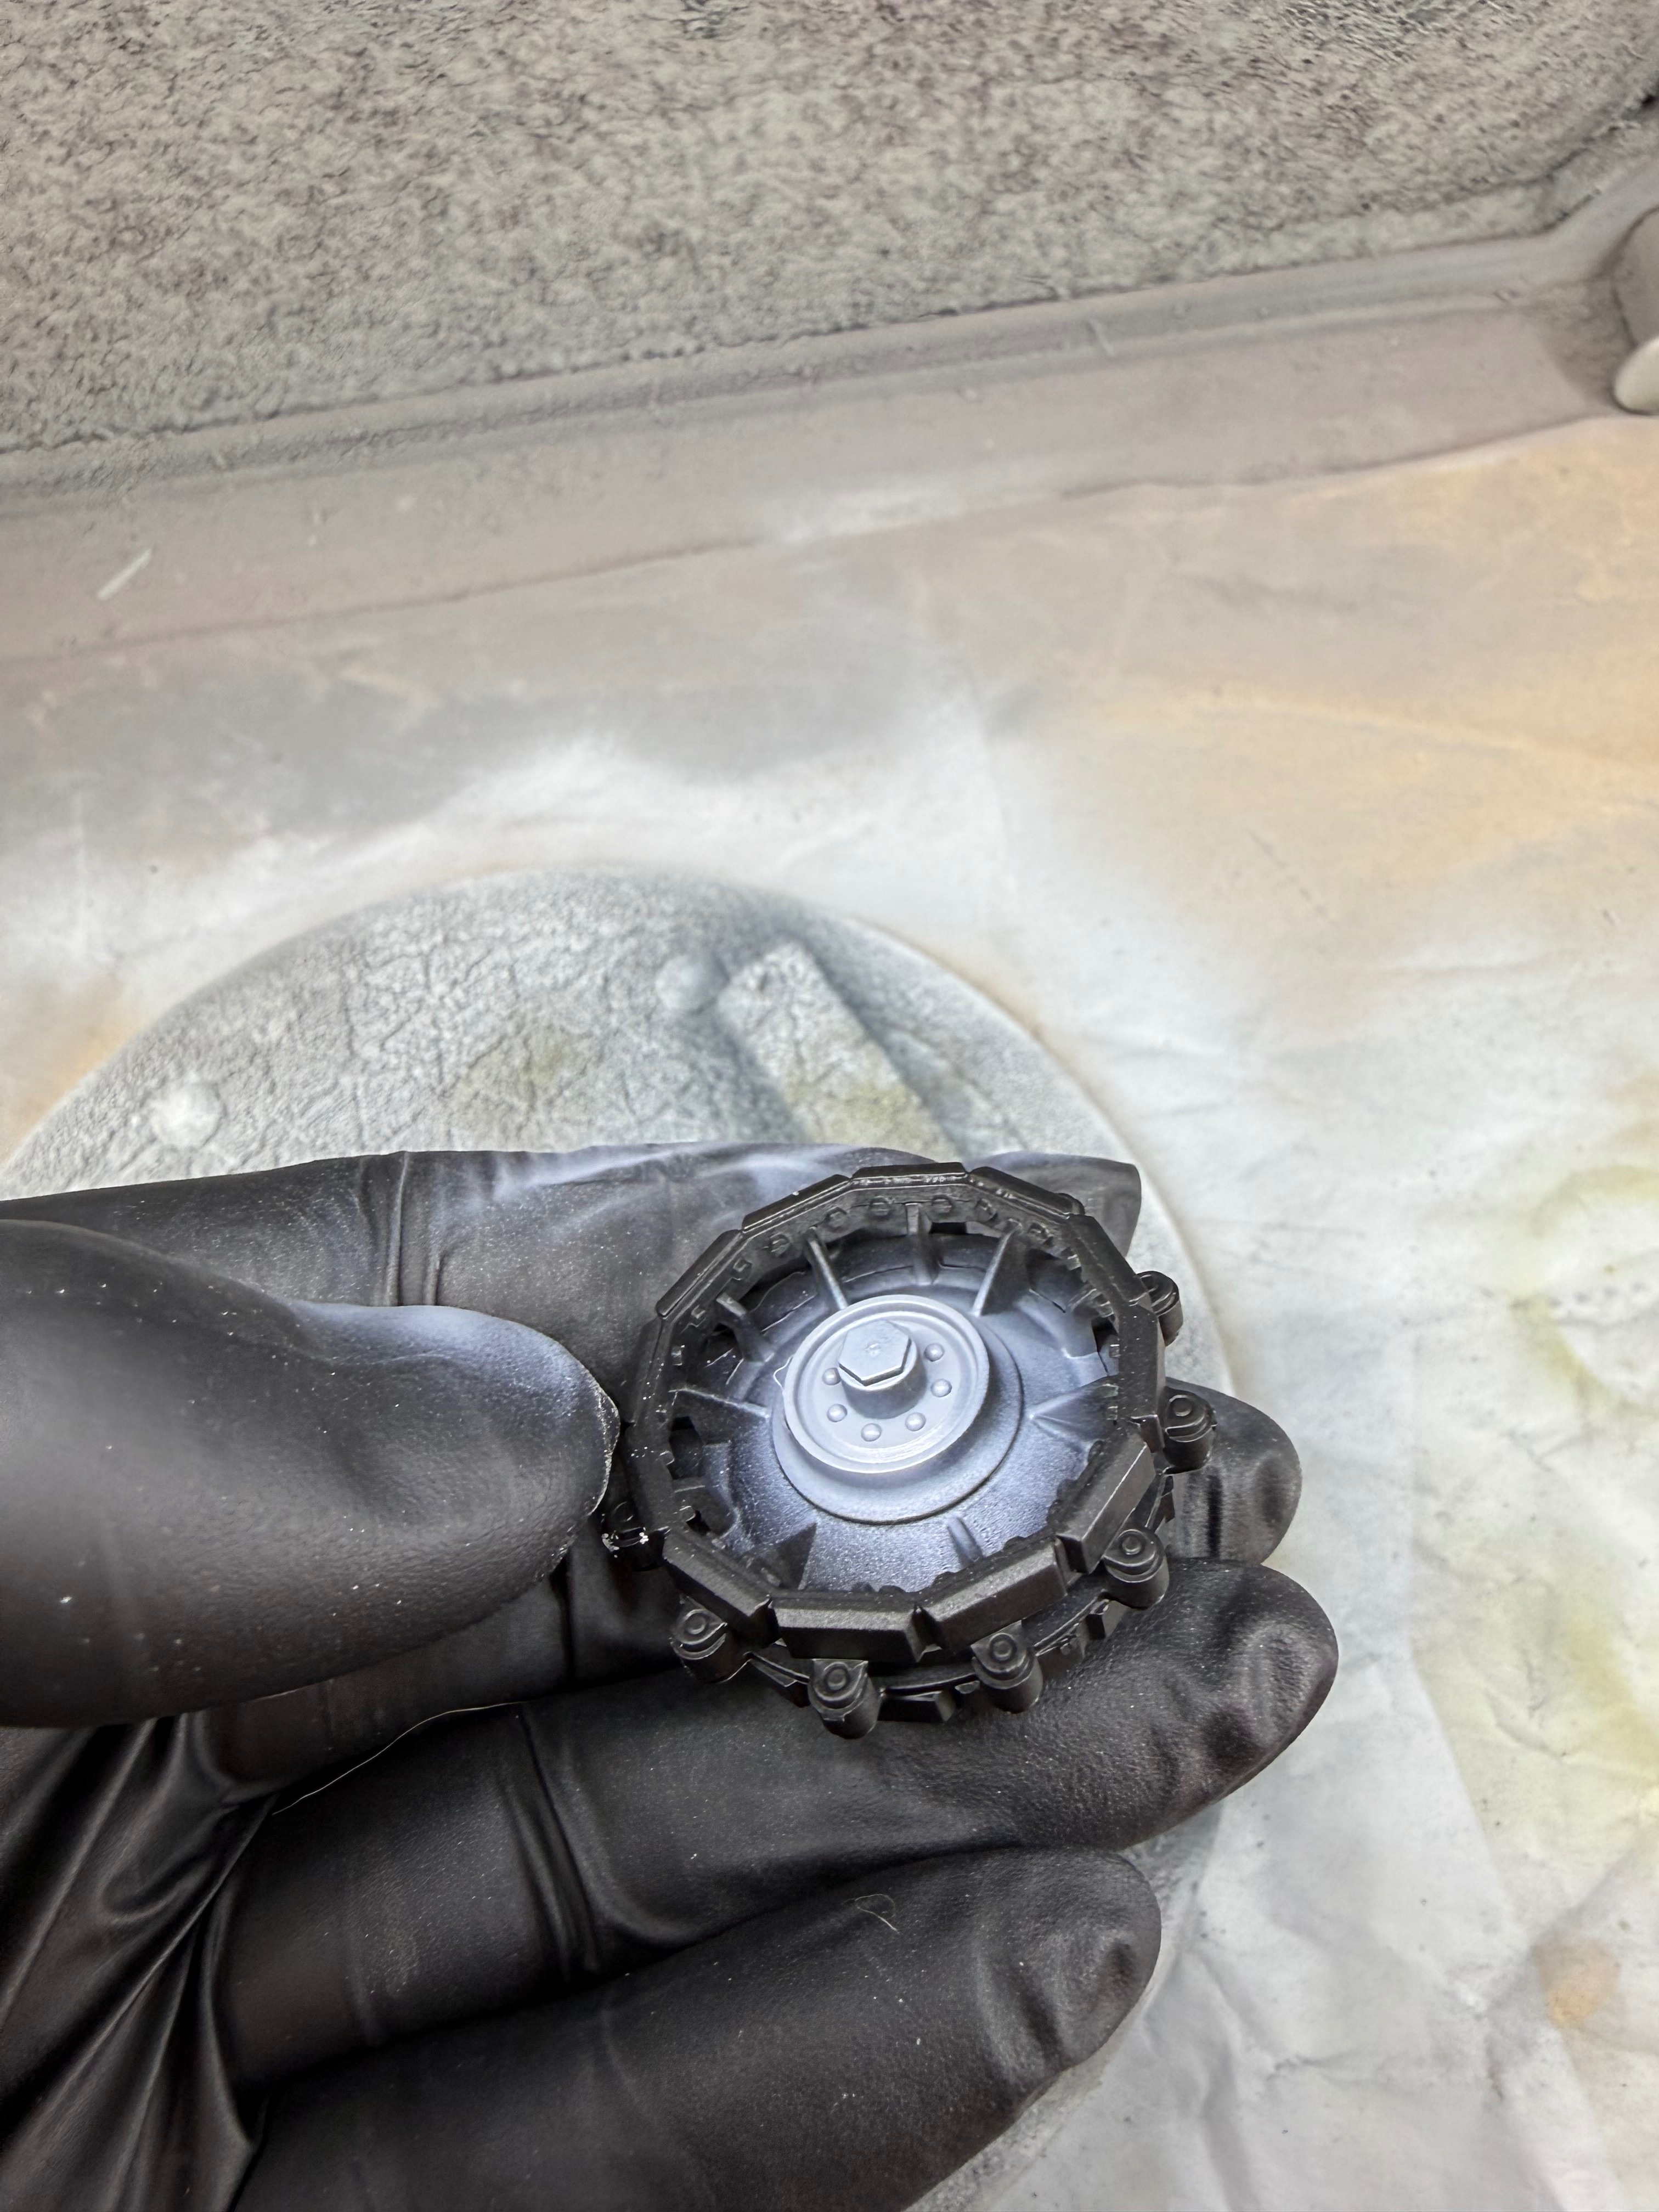
So I'm a bit further. I mixed neutral grey and a bit of black to get the exterior grey. Fit for sides and uppers went together pretty well, a bit tricky just because of trying to align four side panels, a back panel and the front panel to merge with the top. Decals are on, gloss coat applied. Worked on the tracks today and will panel line it. I may touch up a few things that I'm not sure I like the look of. I did paint the front suspension grey. This thing is heavy!