Jantk14
Well-Known Member
Really nice build


Now that I have better lighting, I should try DSLR again. At least we don't have to wait to get film developed!available light


Photographing models (I've barely begun other than a cell phone snap on a dirty bench) is both interesting and challenging. Perhaps the biggest issue is lighting, other than something that will melt plastic, I do not think you can have too much. But a close 2nd is the F-stop.Ever tried a macro lens? I suppose the depth of field (lack thereof) would be challenging.

Macro lenses are great, and most cameras made in the last 10+ years can do focus stacking. (multiple exposures to capture the depth of field)Now that I have better lighting, I should try DSLR again. At least we don't have to wait to get film developed!
Ever tried a macro lens? I suppose the depth of field (lack thereof) would be challenging.
Hmm, on the older side, but not impossible I suppose... Nikon D5500 with macro lens. I see there are rails available I could use with my tripod.most cameras
I understand the principle of stacking, but is the final composition compiled by the camera itself? I thought that would have to be done in Darkroom or whatever software one uses.Macro lenses are great, and most cameras made in the last 10+ years can do focus stacking. (multiple exposures to capture the depth of field)
If I understand correctly, some newer cameras can do it in camera ... I would have to use my software to 'merge' the raw files.compiled by the camera

Yeah, I just looked up mine, a D800, it cannot do it internally. They suggest manually focusing on the front and taking 3 to 5 shots slowly/manually focusing towards the rear. Then compile them using editing software.If I understand correctly, some newer cameras can do it in camera ... I would have to use my software to 'merge' the raw files.

She'll be rounding us up for the camera off topic diversion!Wife's Jail System

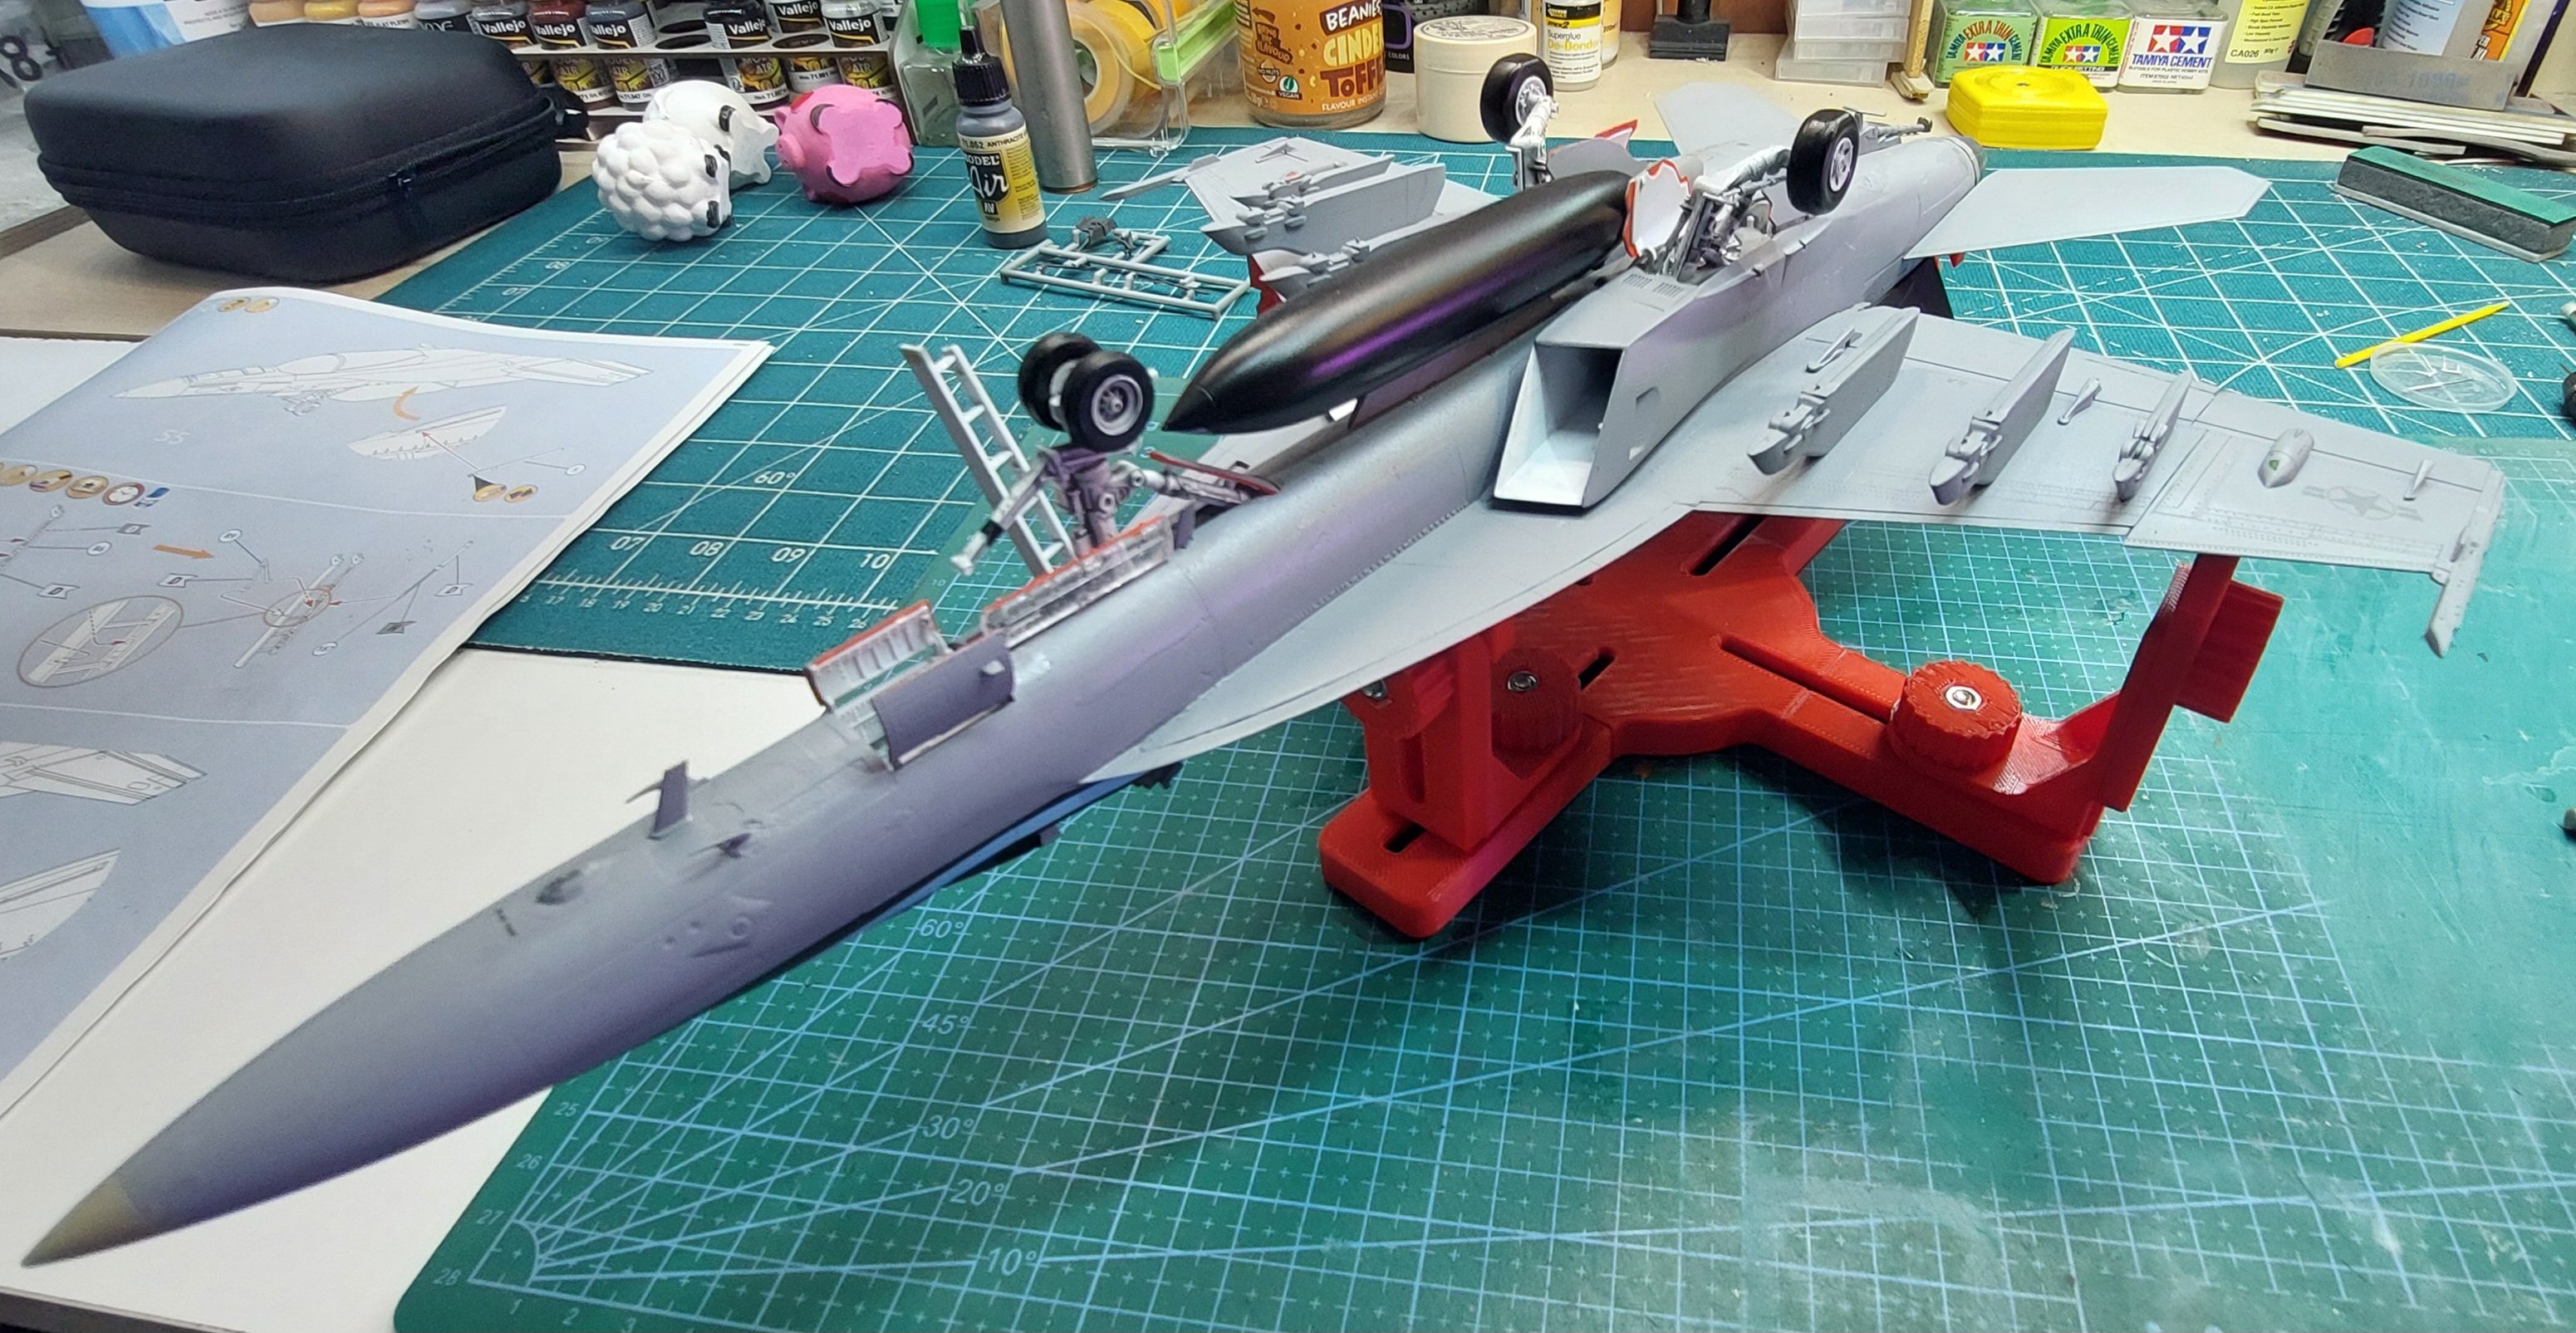
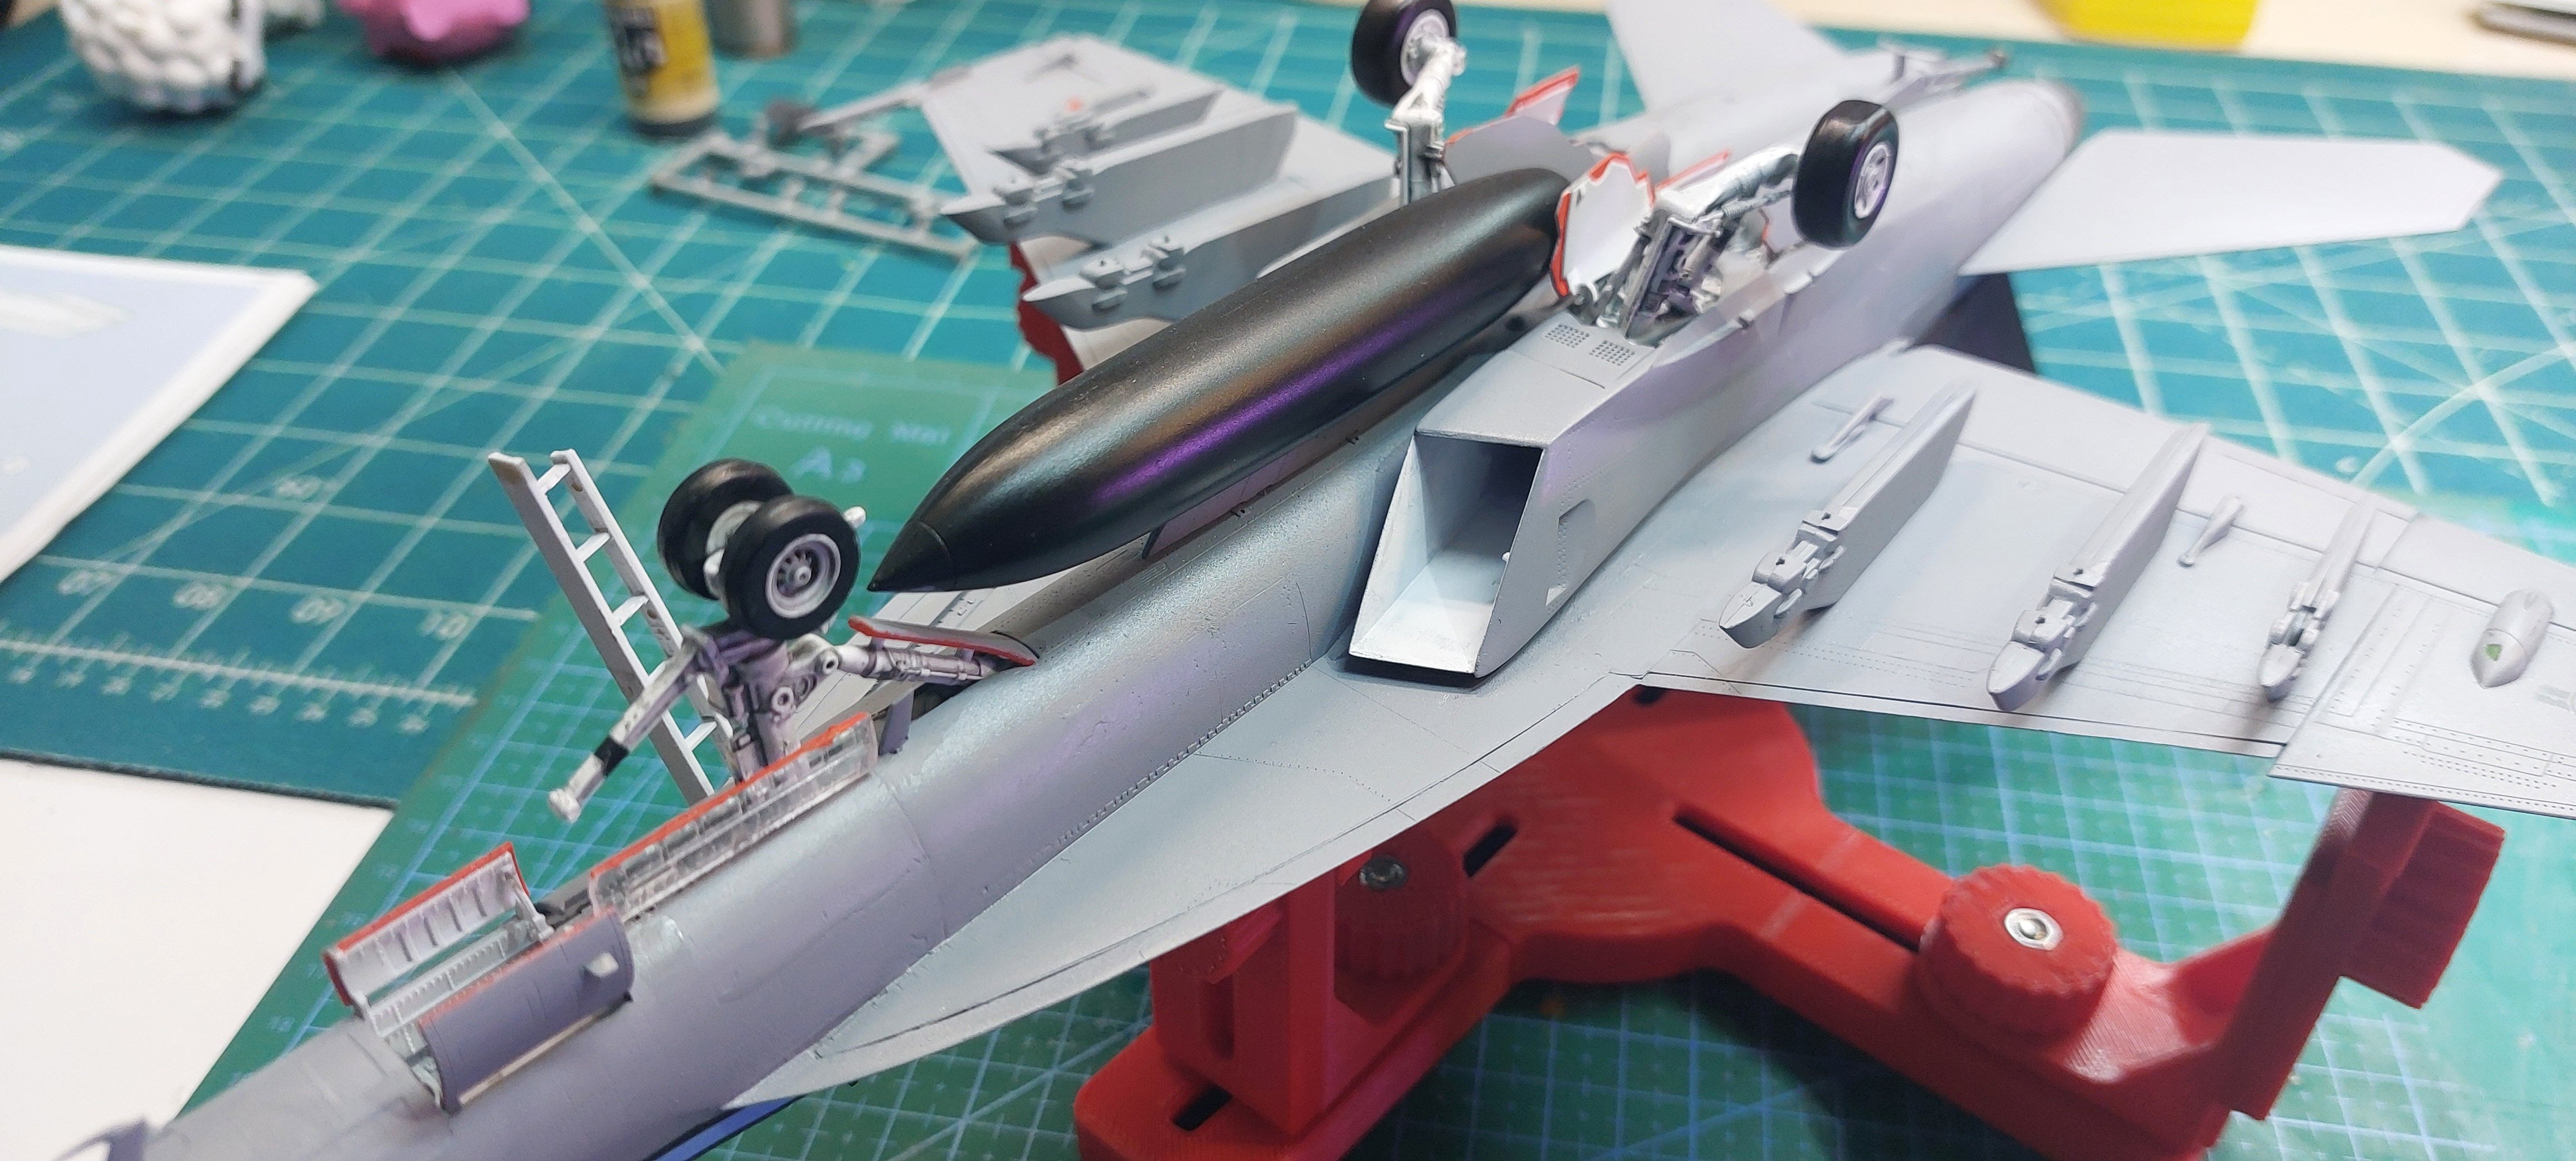
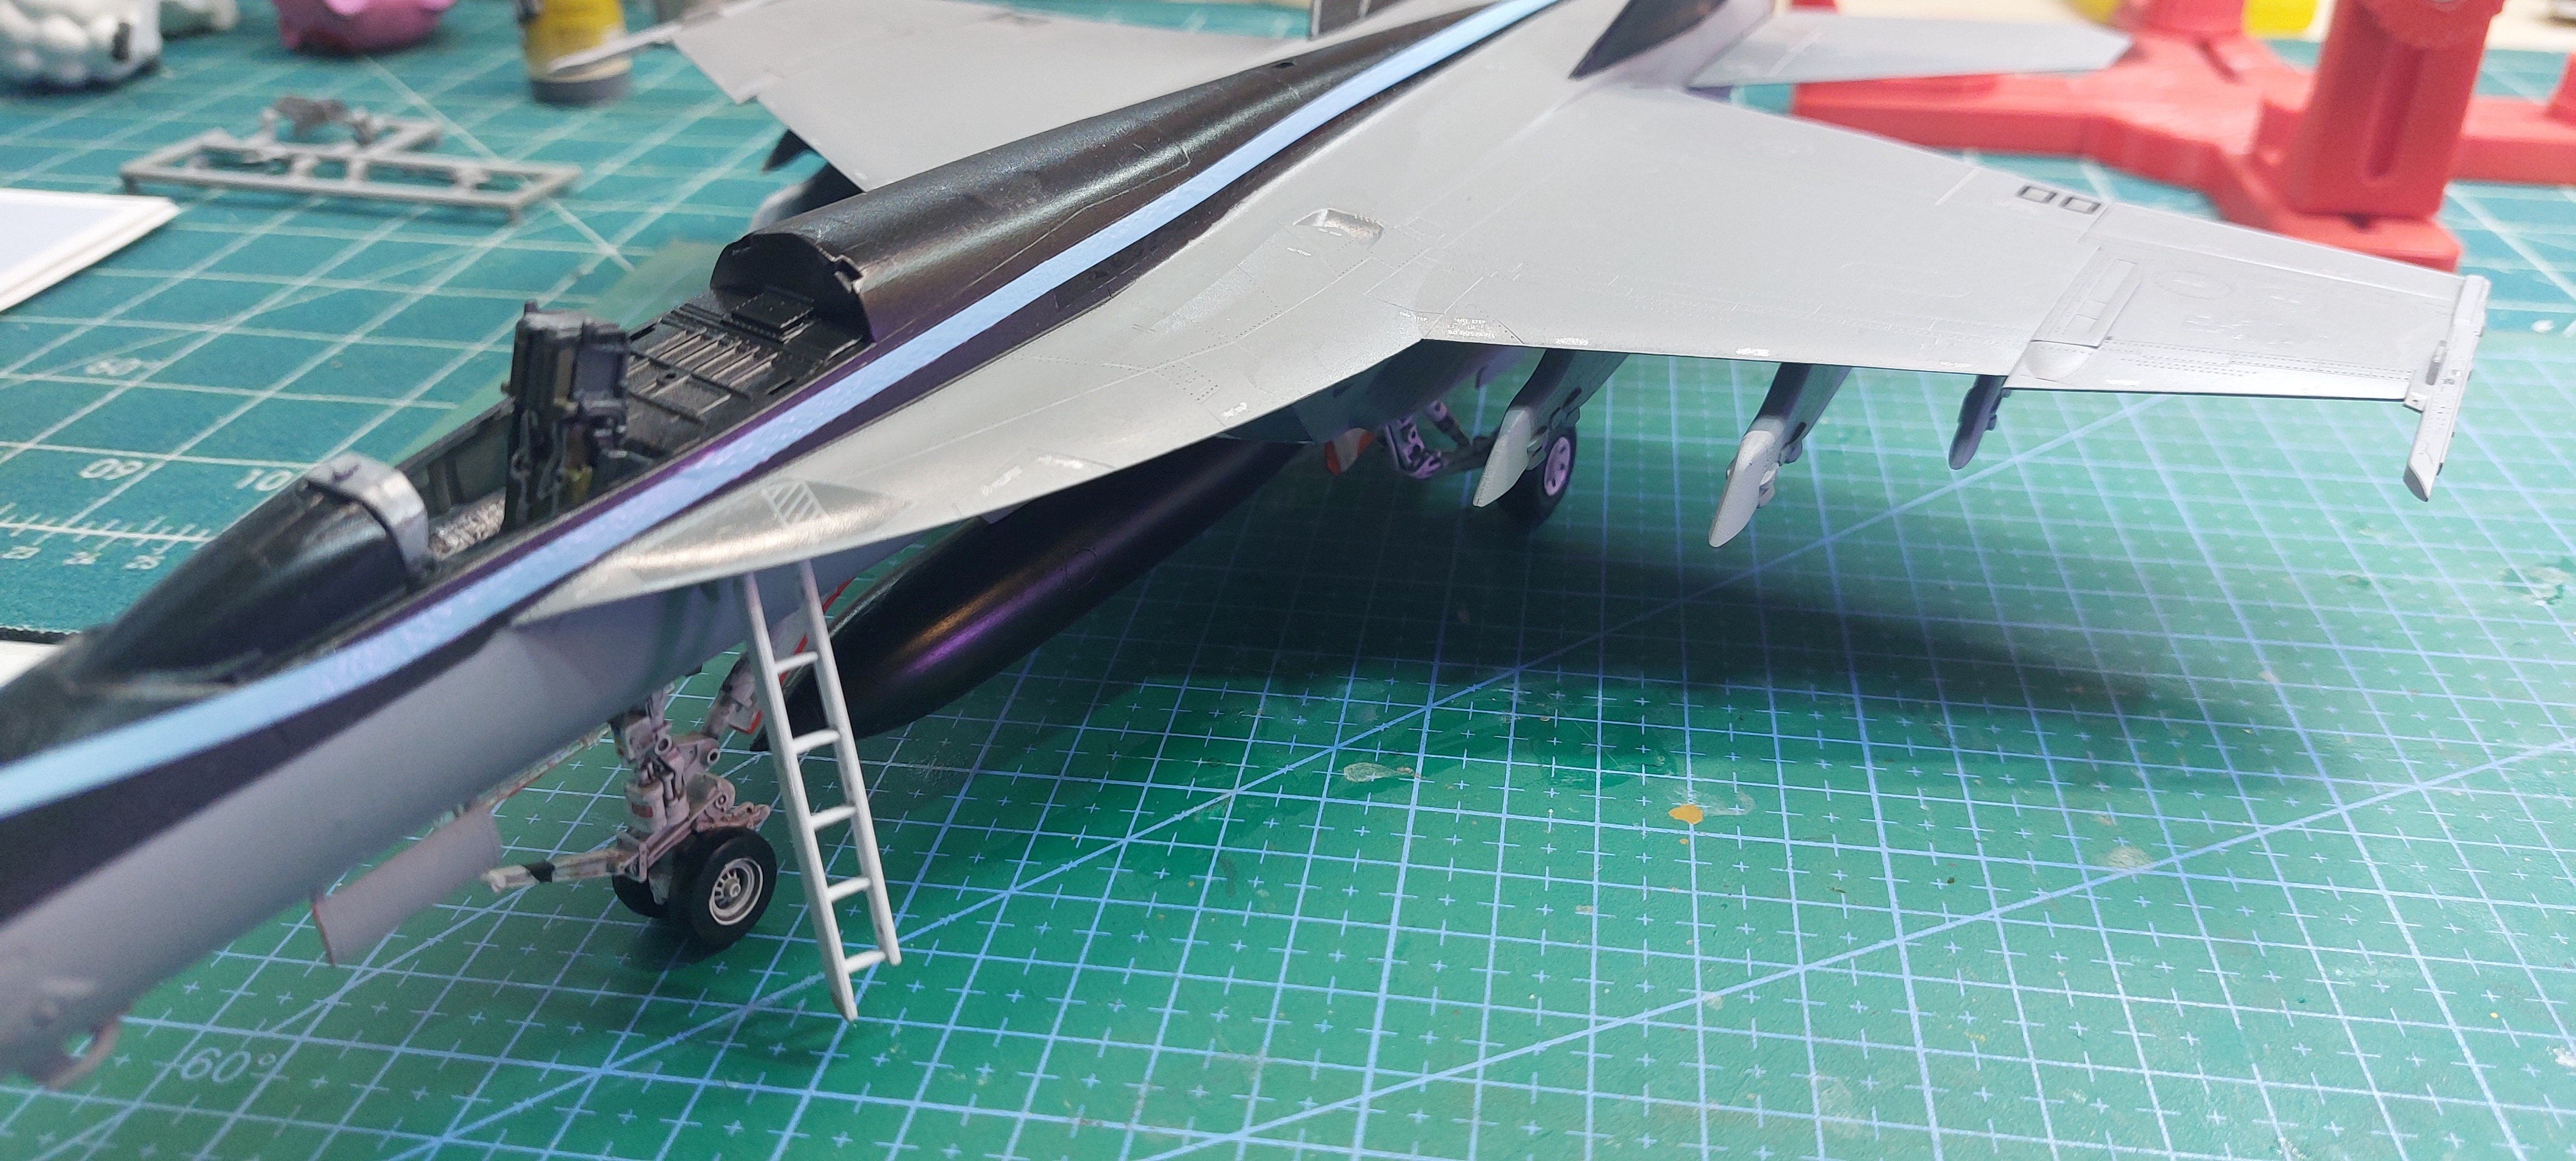
Looks really good!Getting close to tying a bow on her and calling it done. But I keep finding more stuff to fix, then it needs a dullcoat.
But the end is near, I've so many other WIPs to wrap up!
View attachment 190911
...much further than I'm ever gonna get anytime soon!Reached the point where,
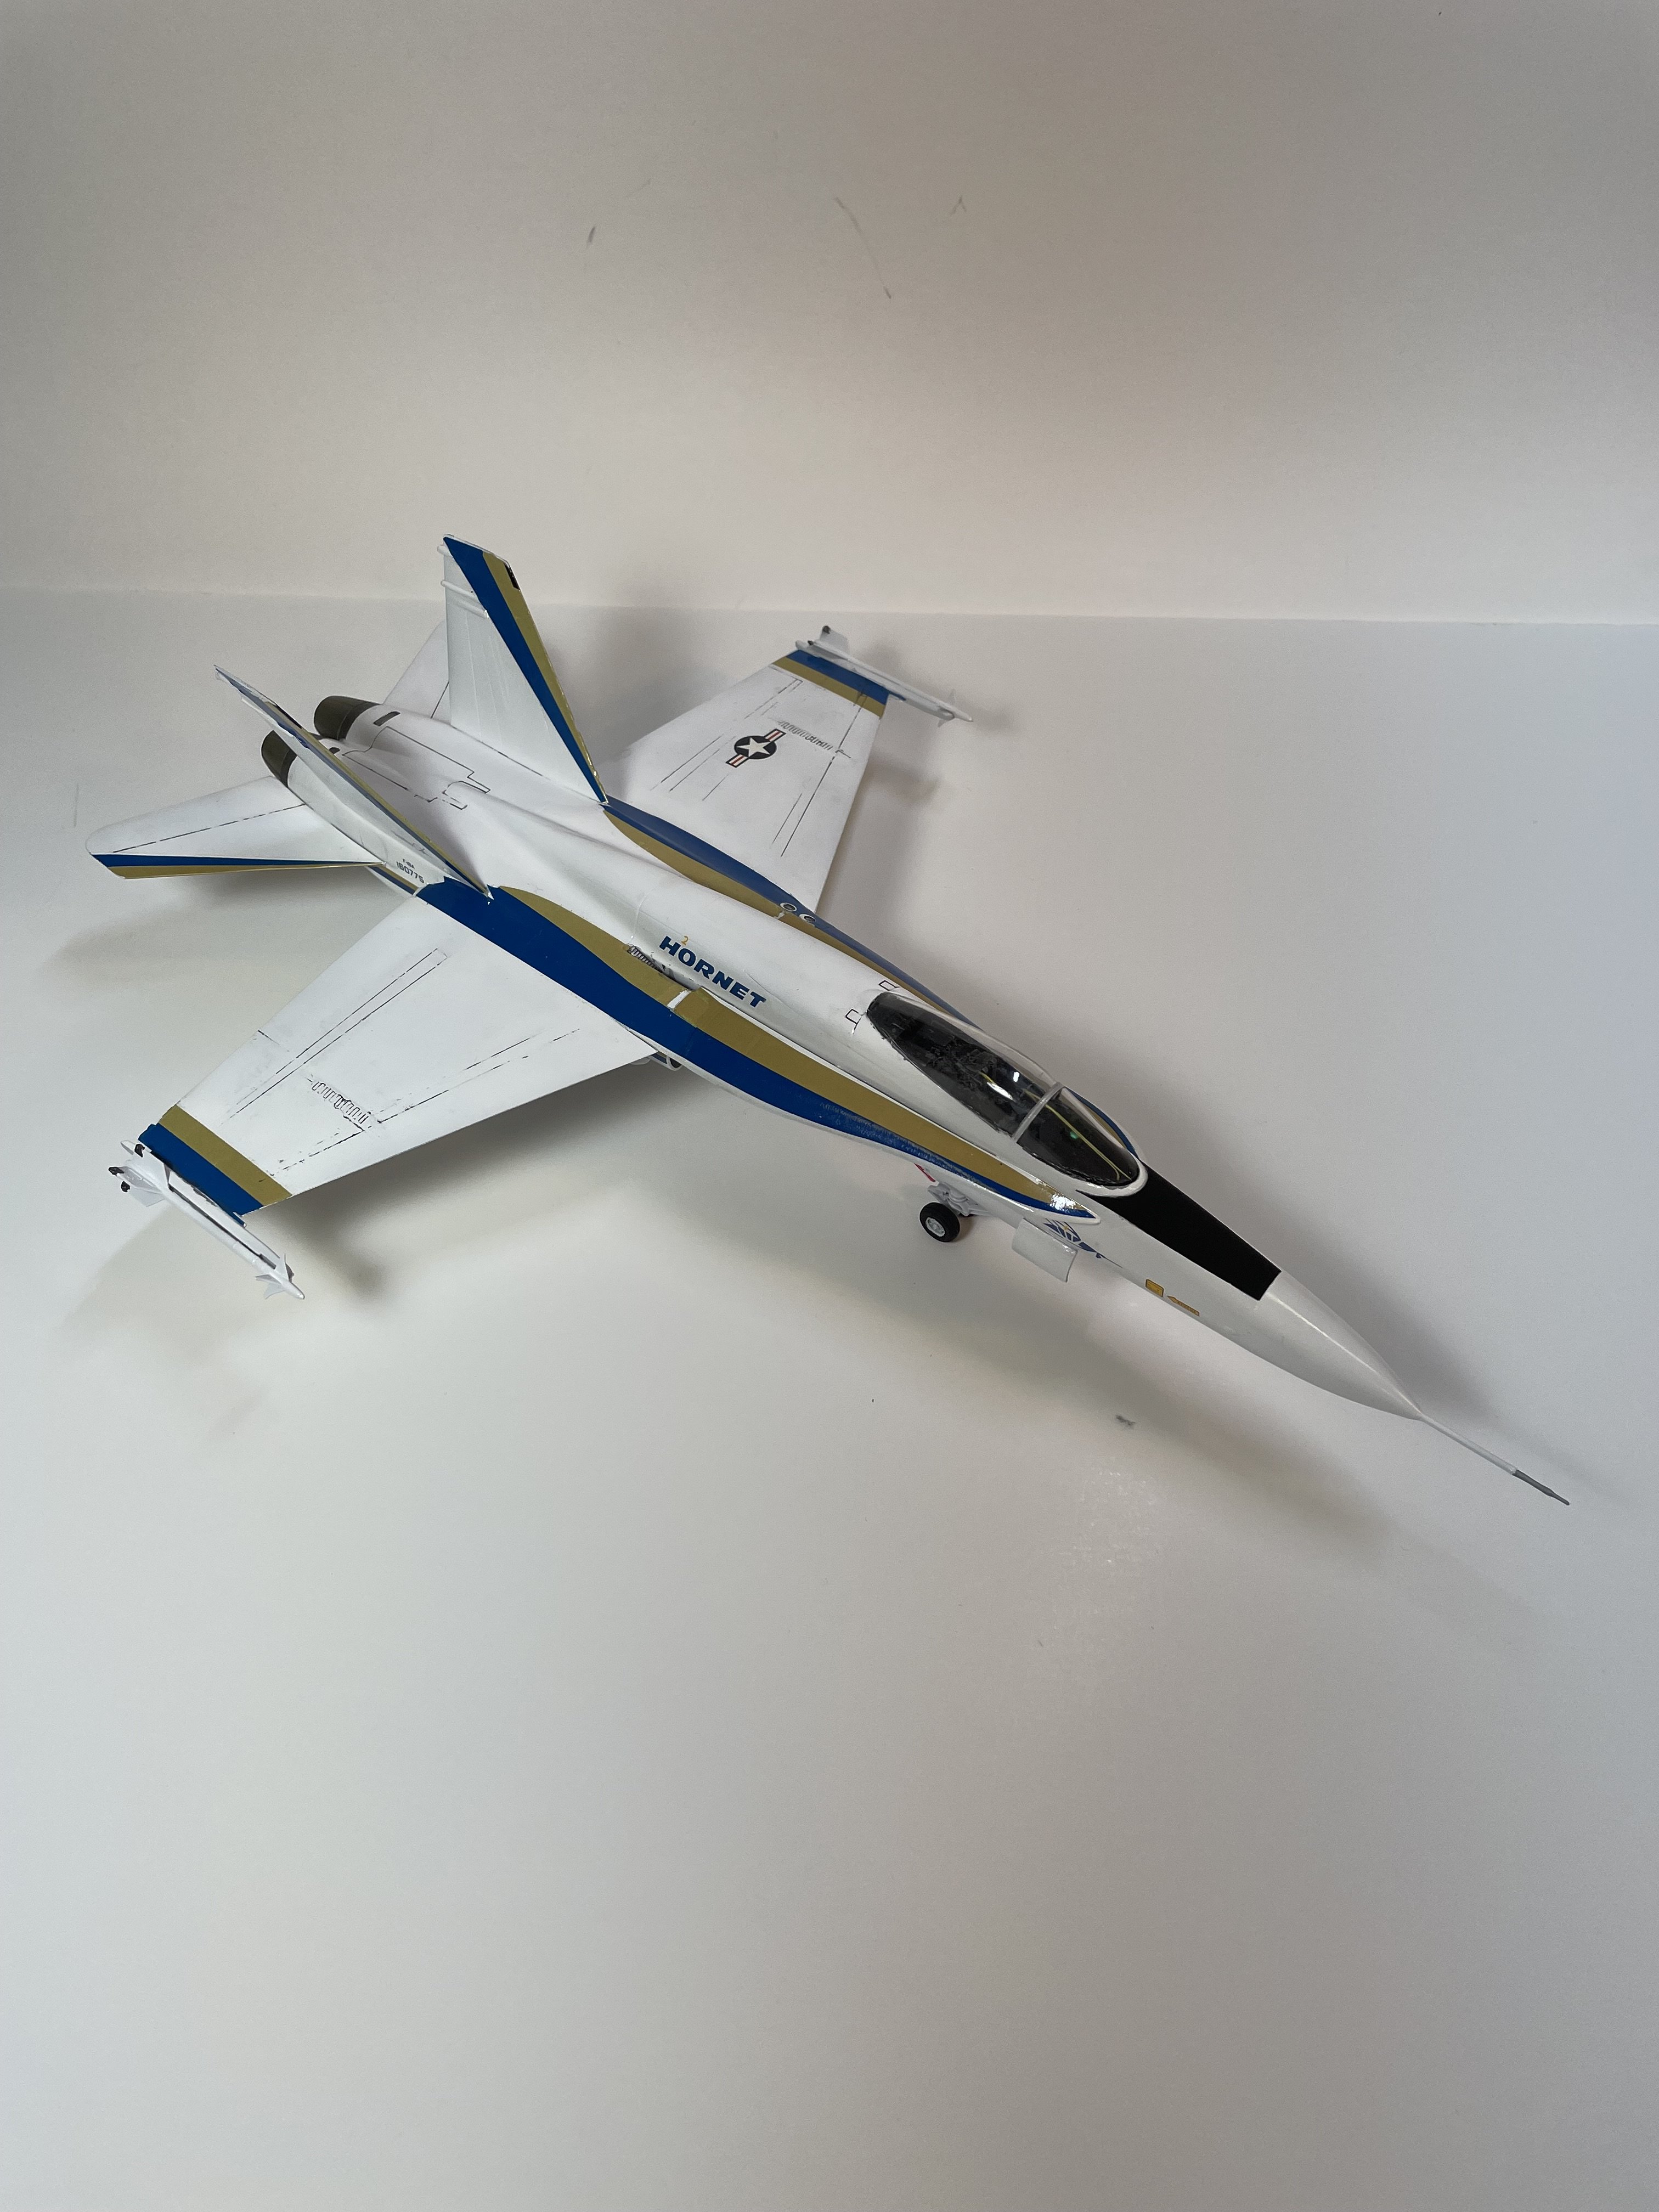
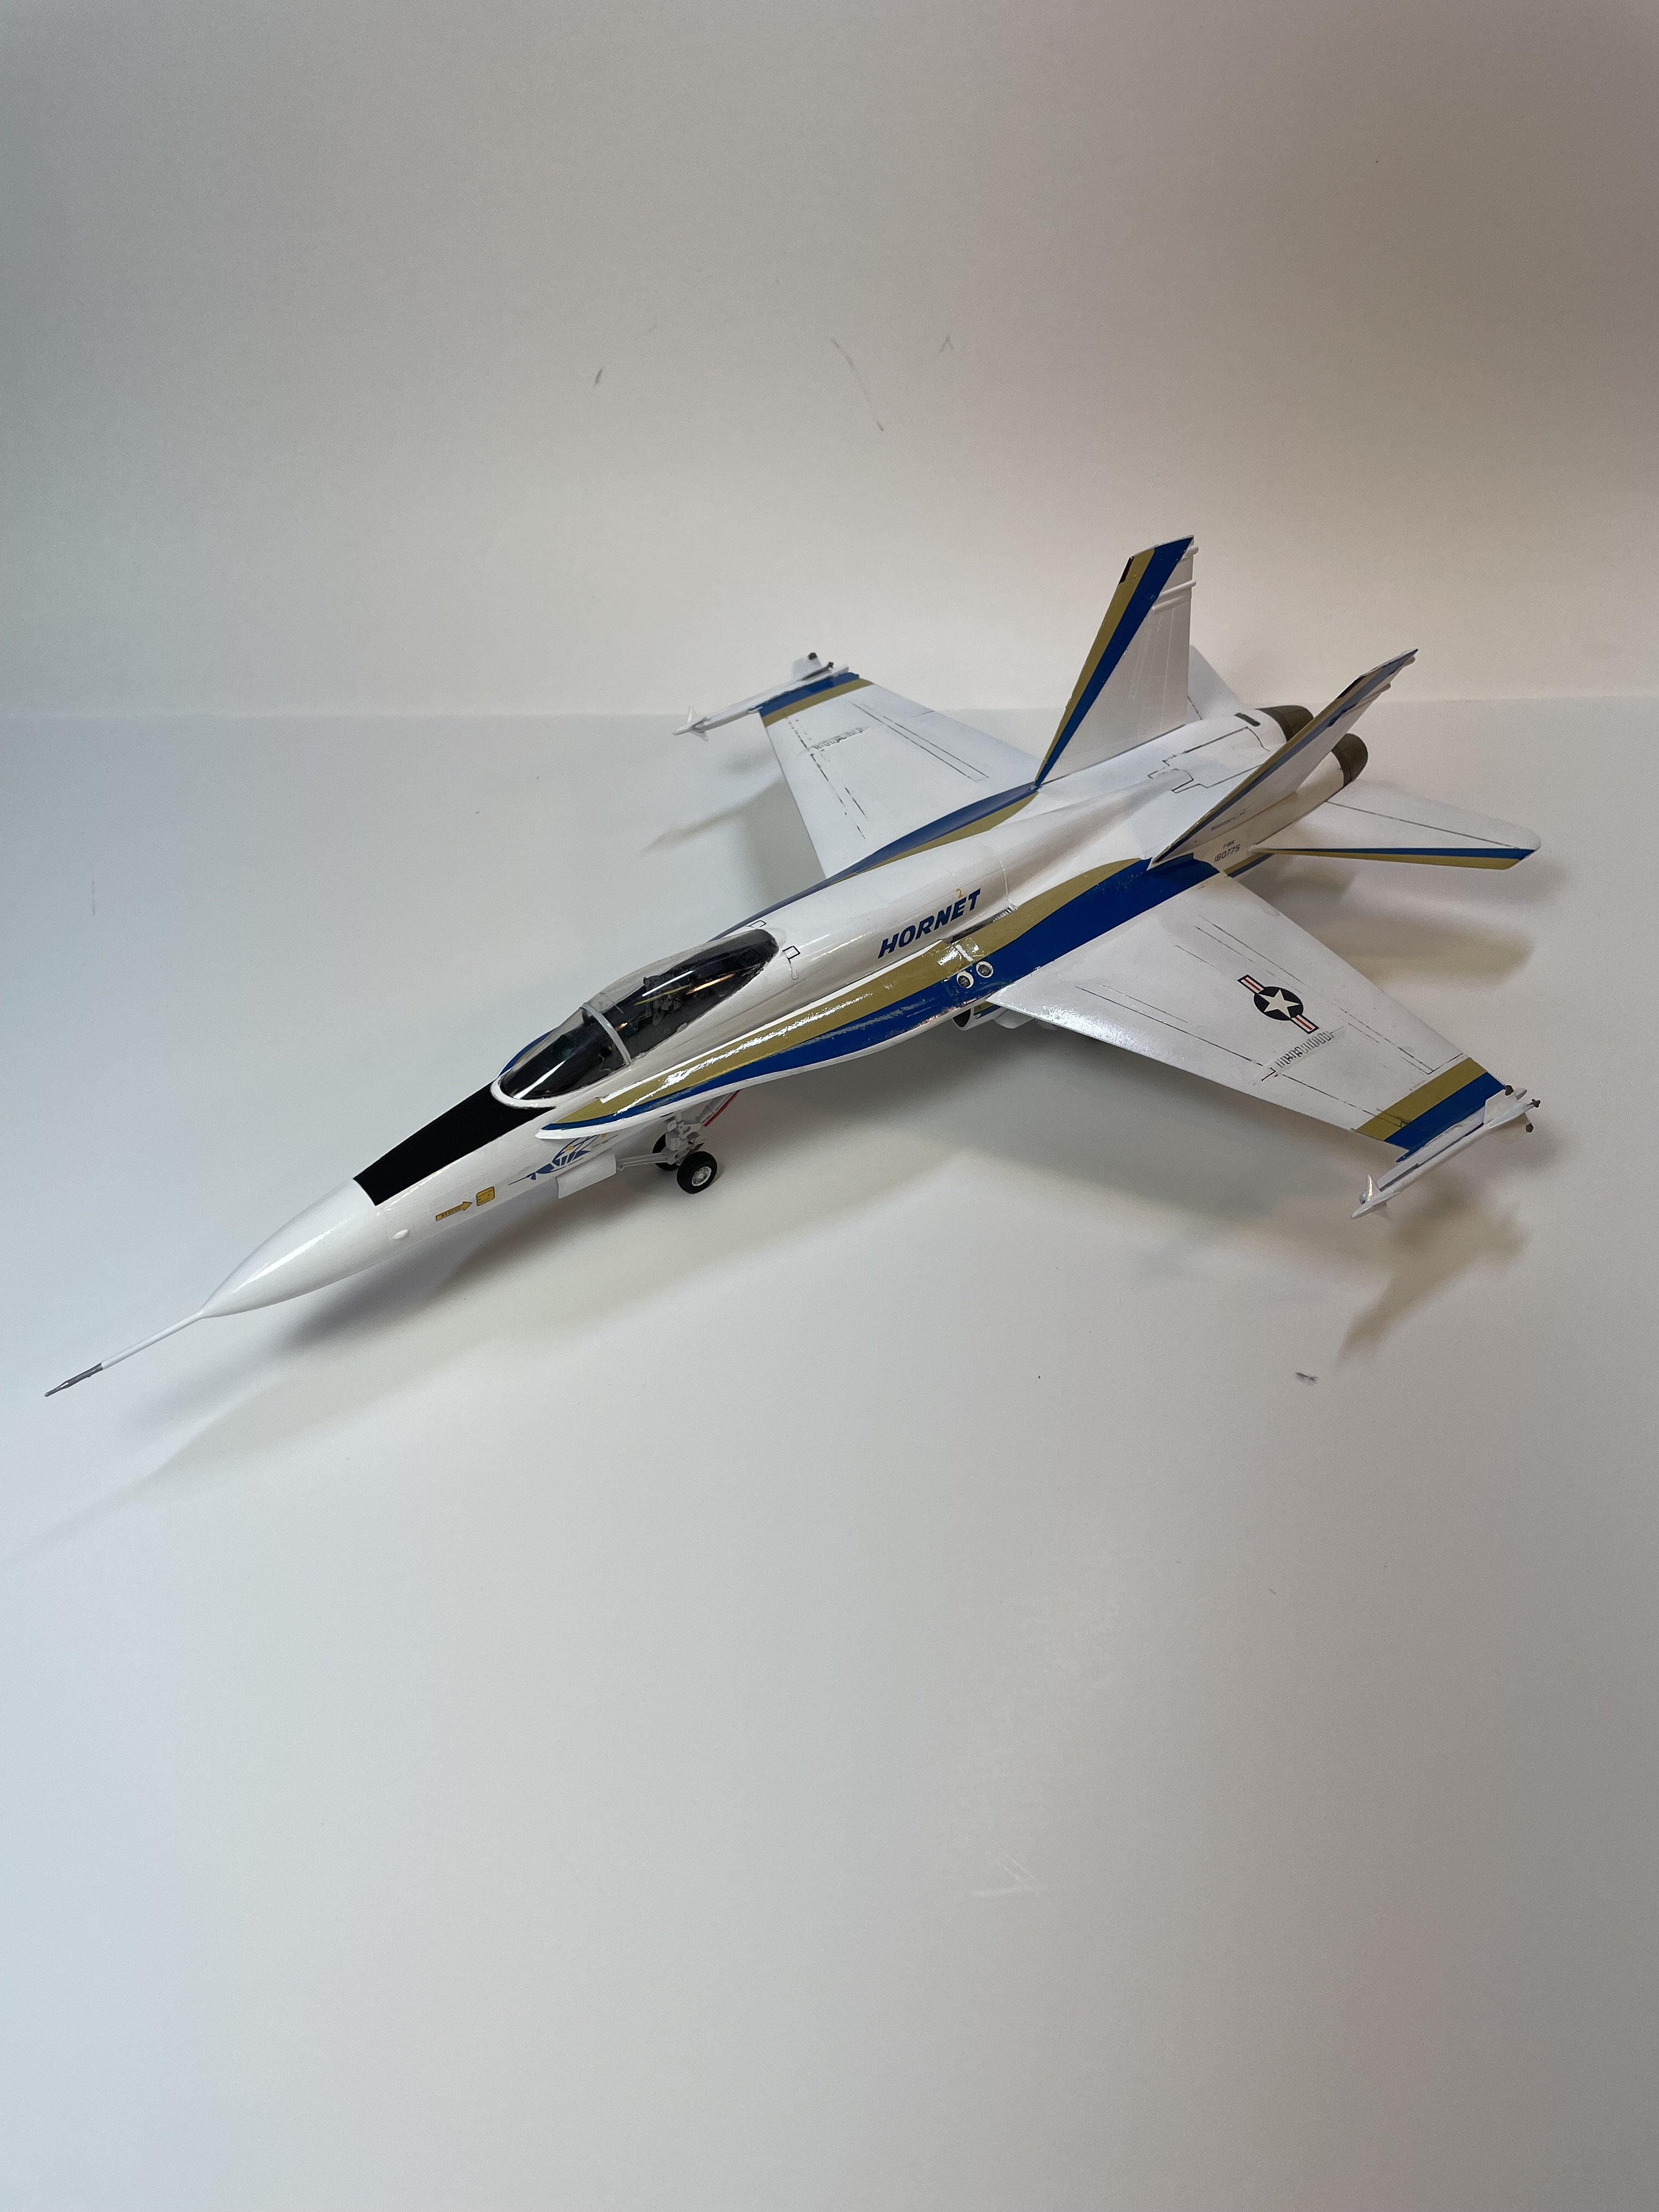
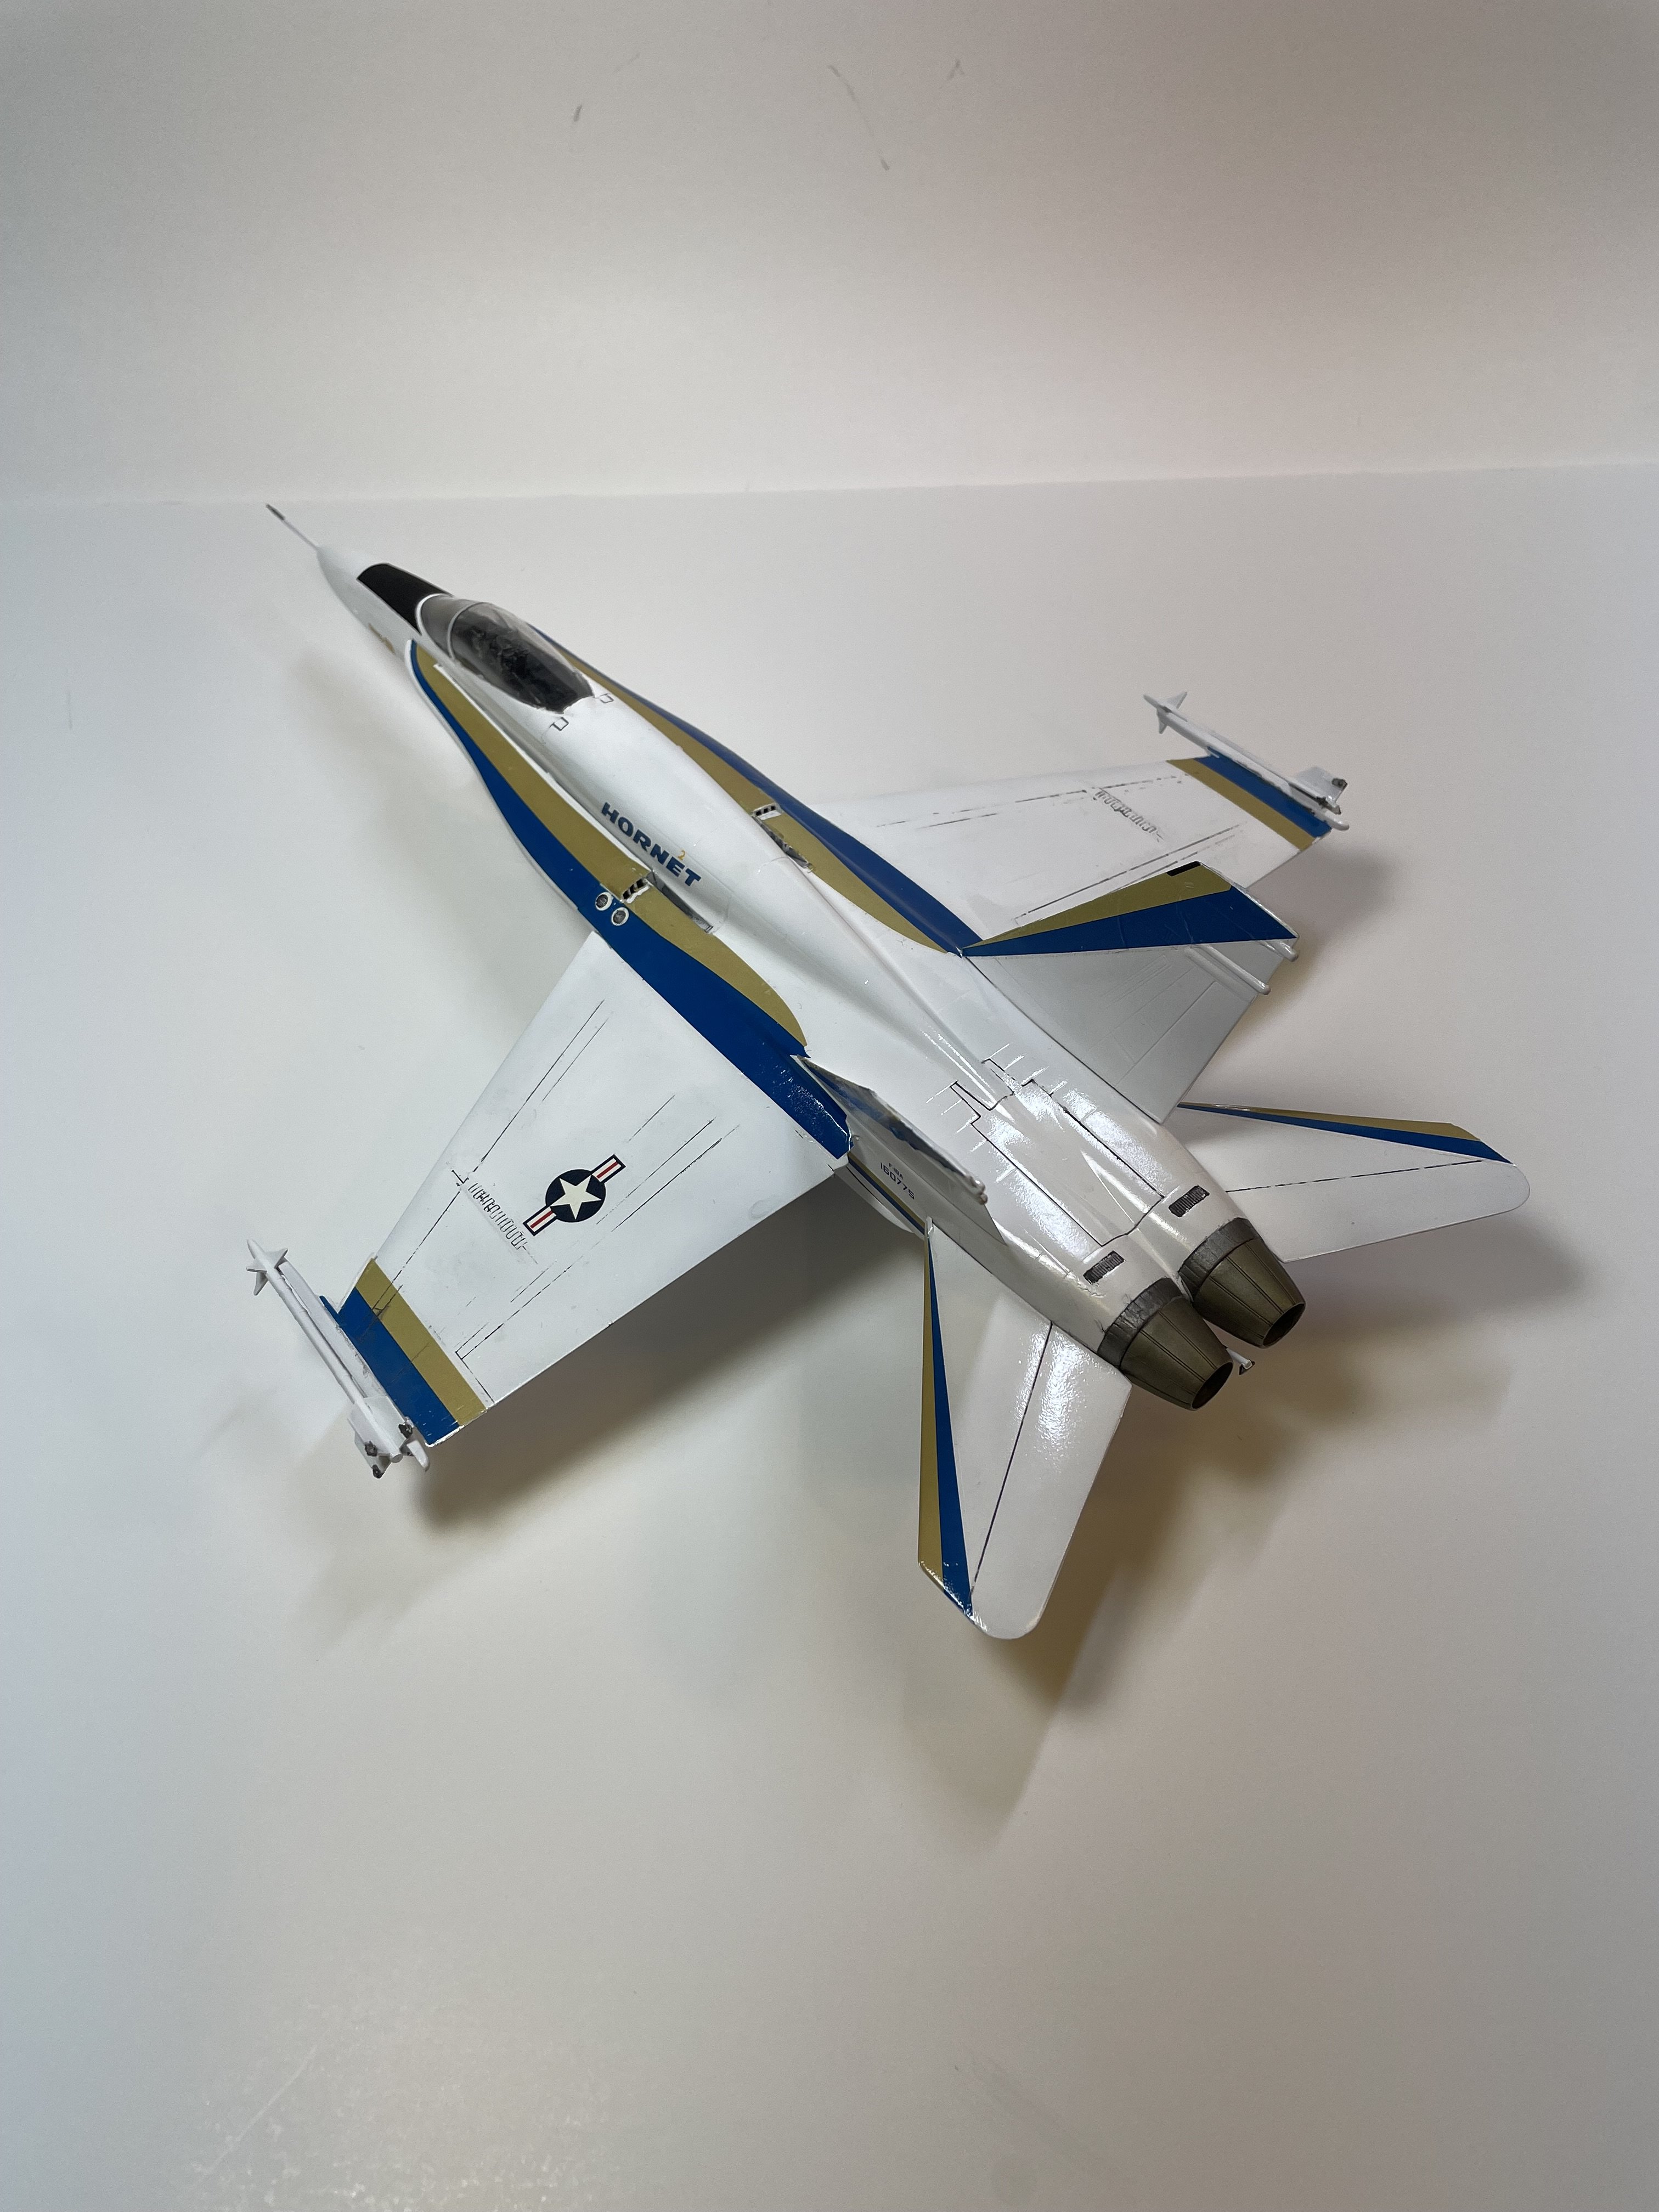
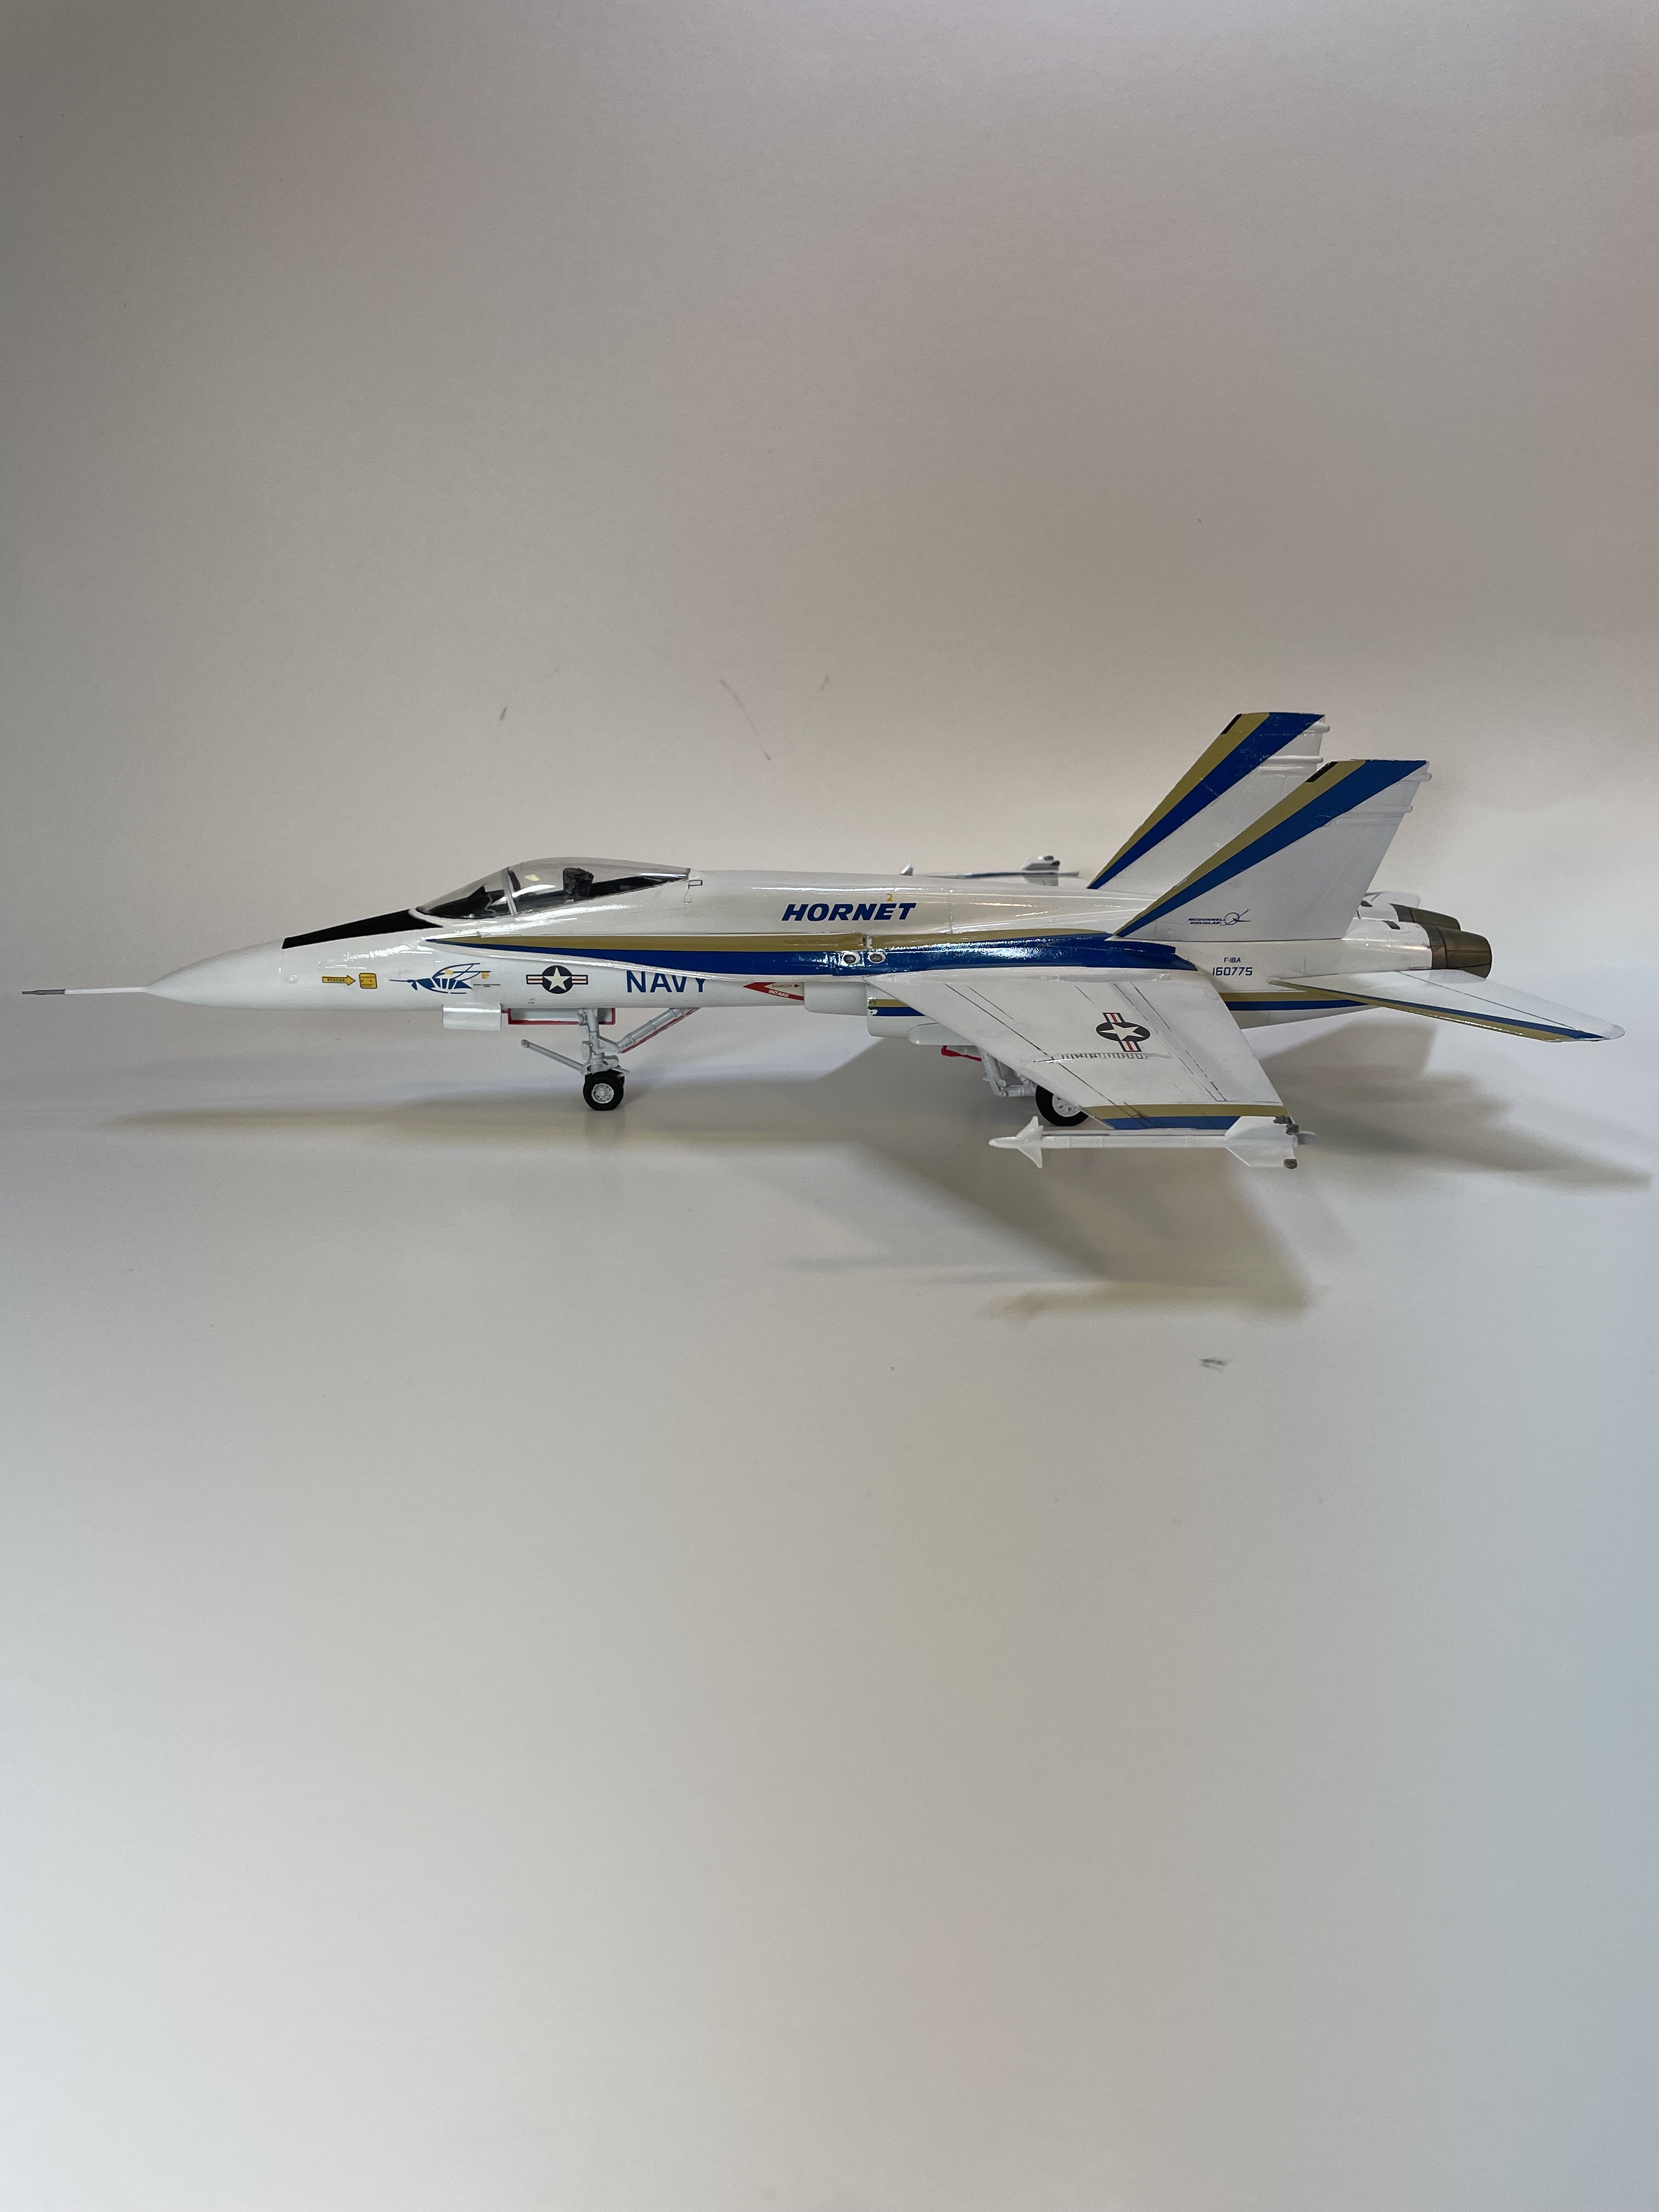
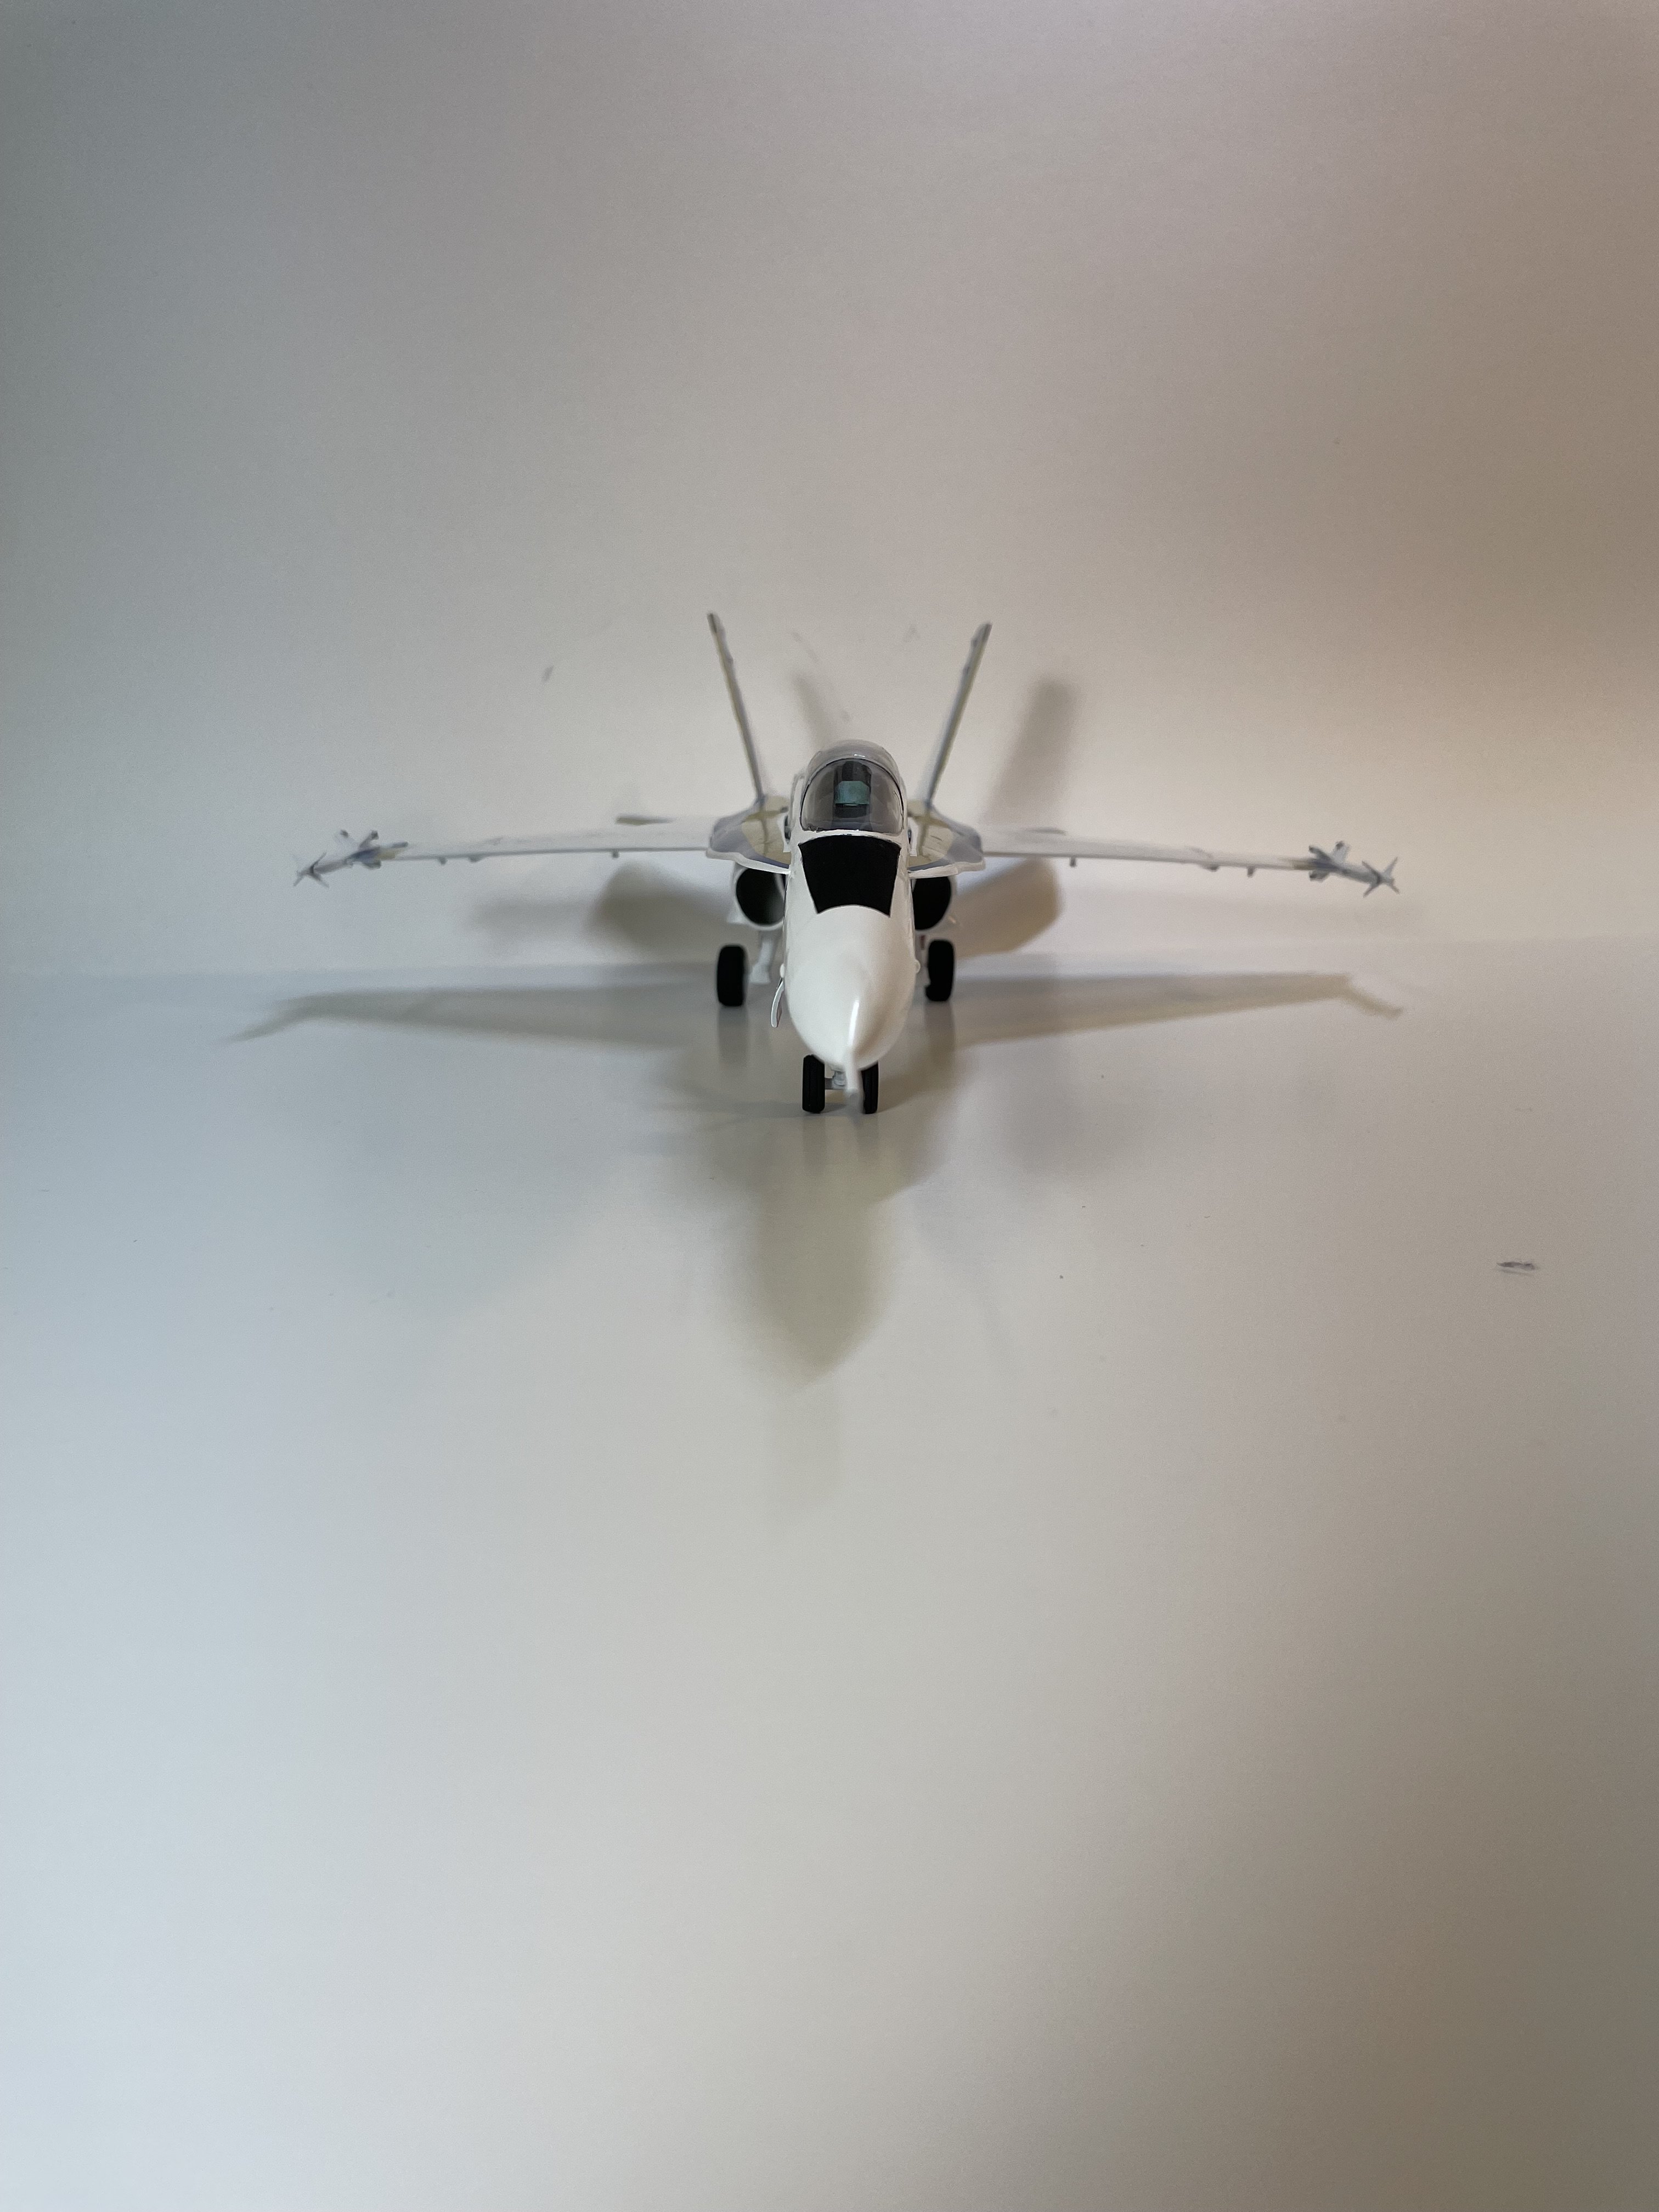
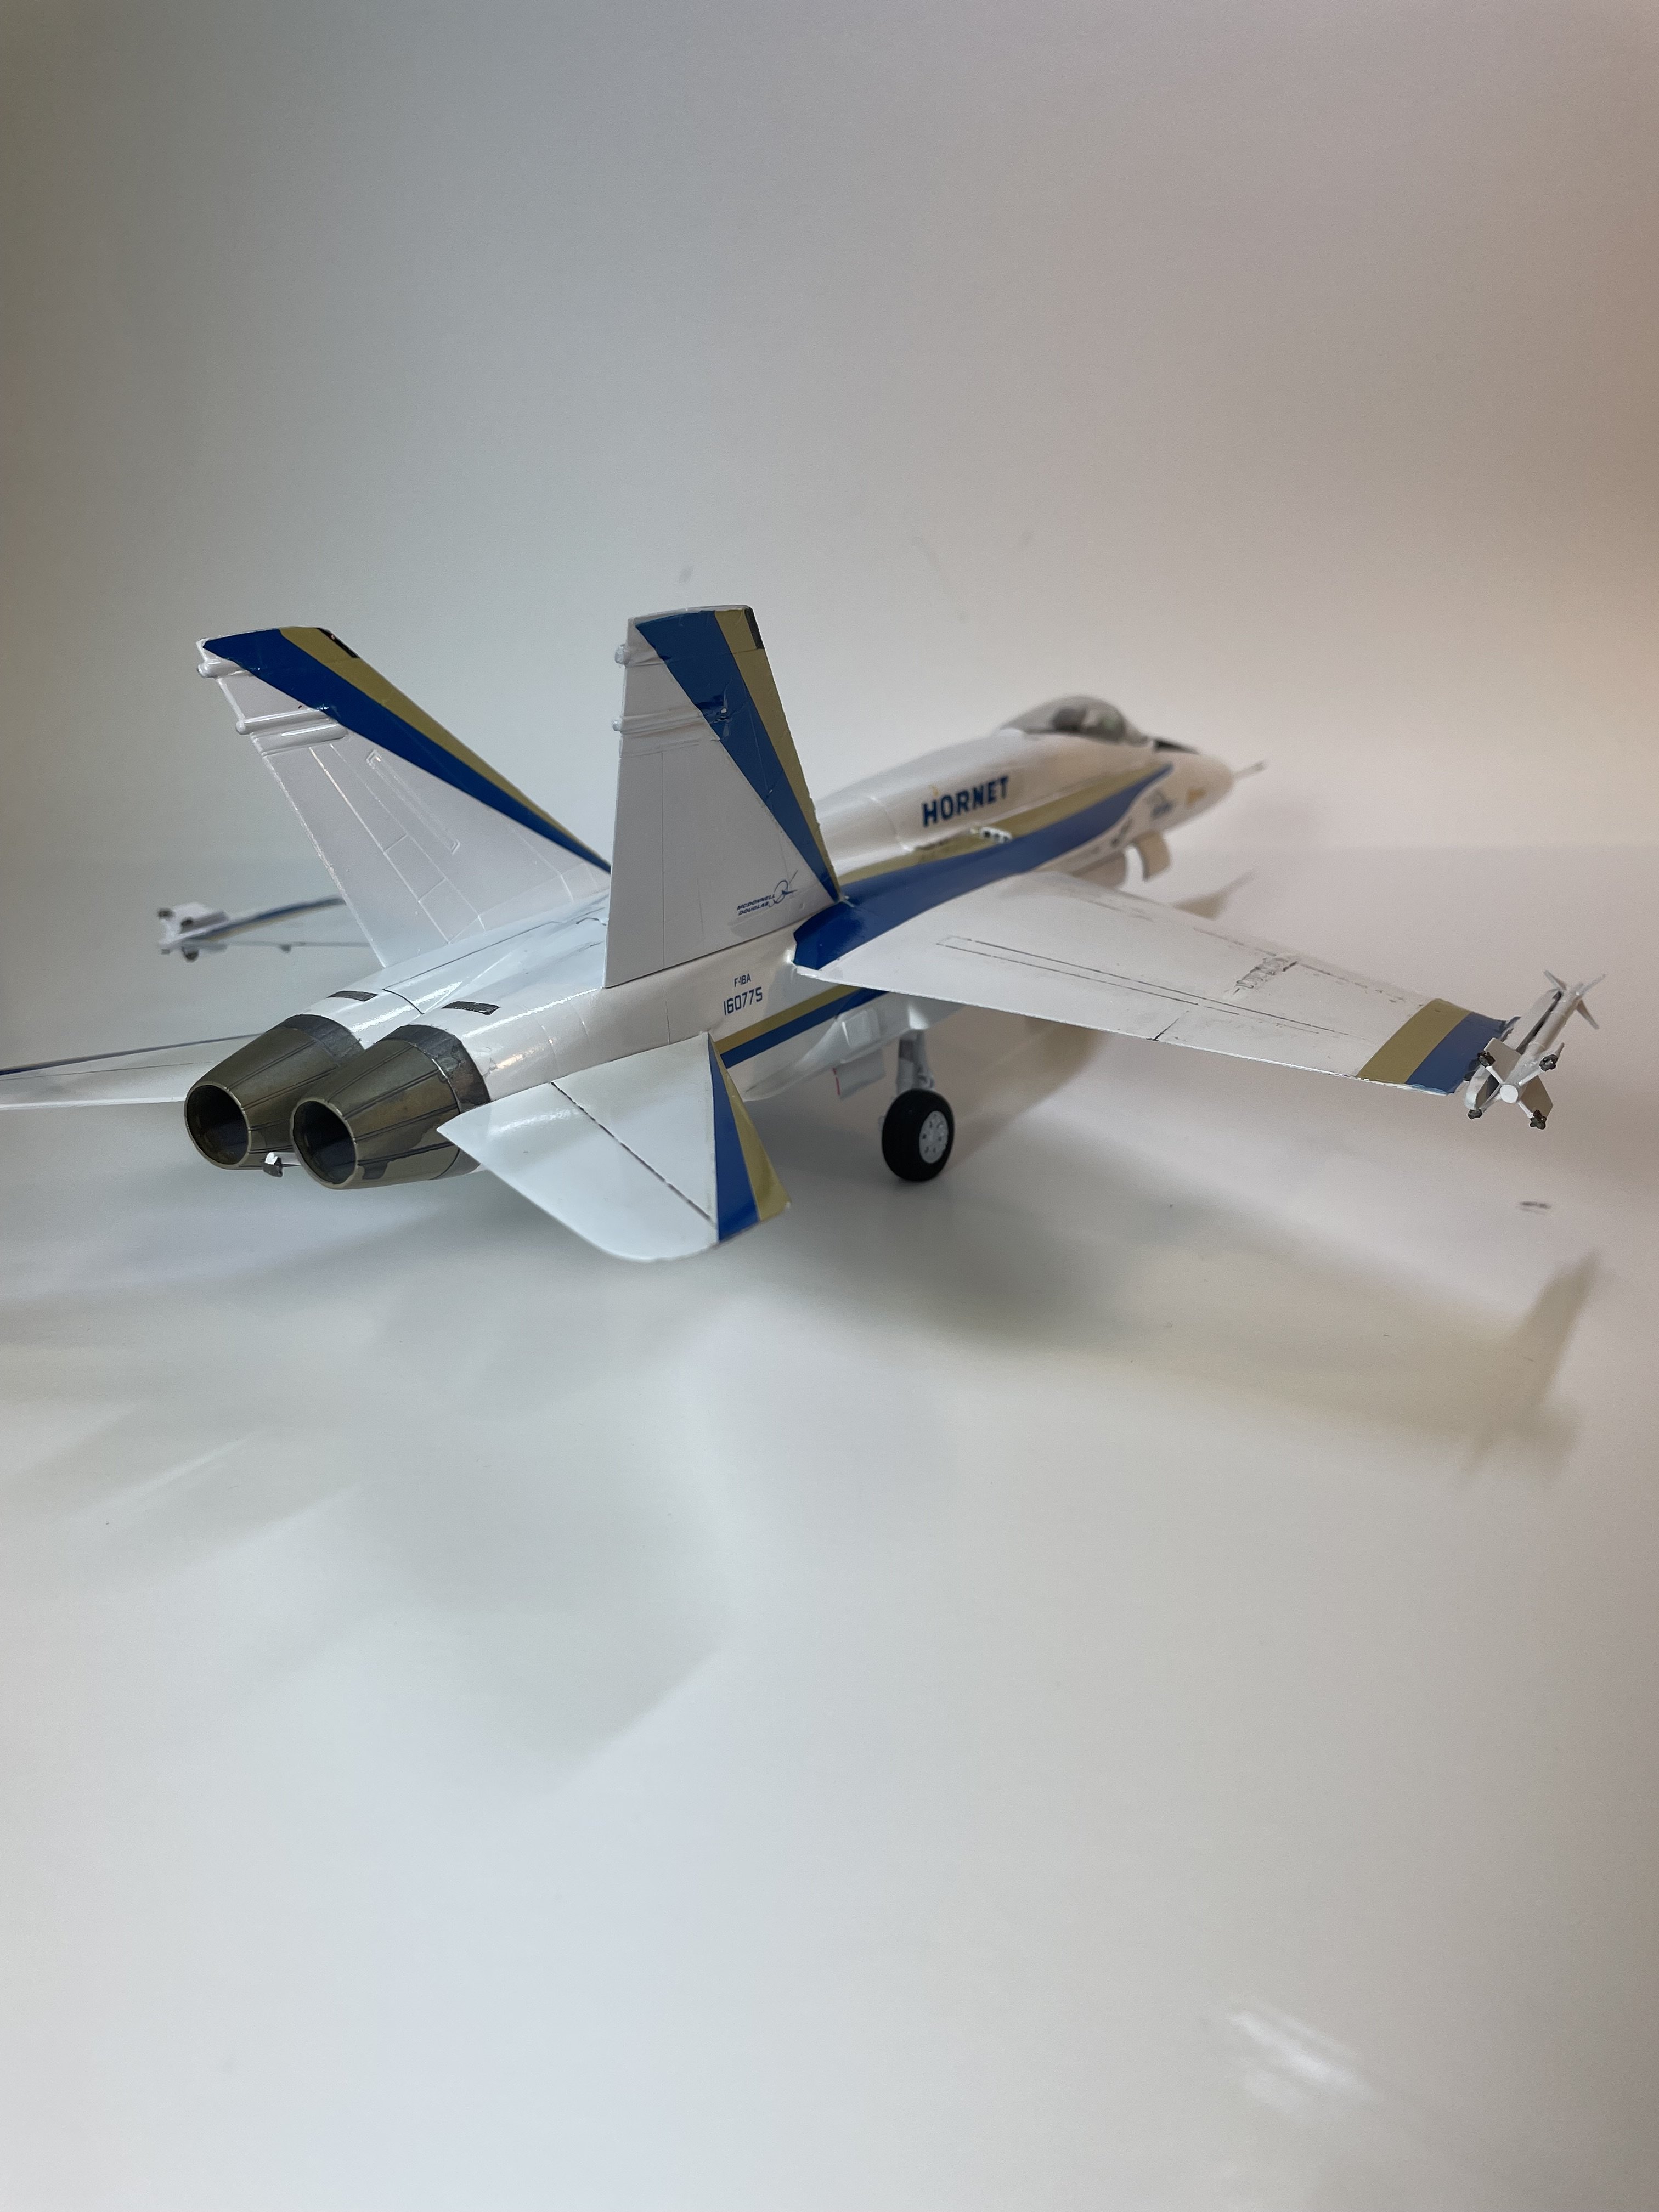
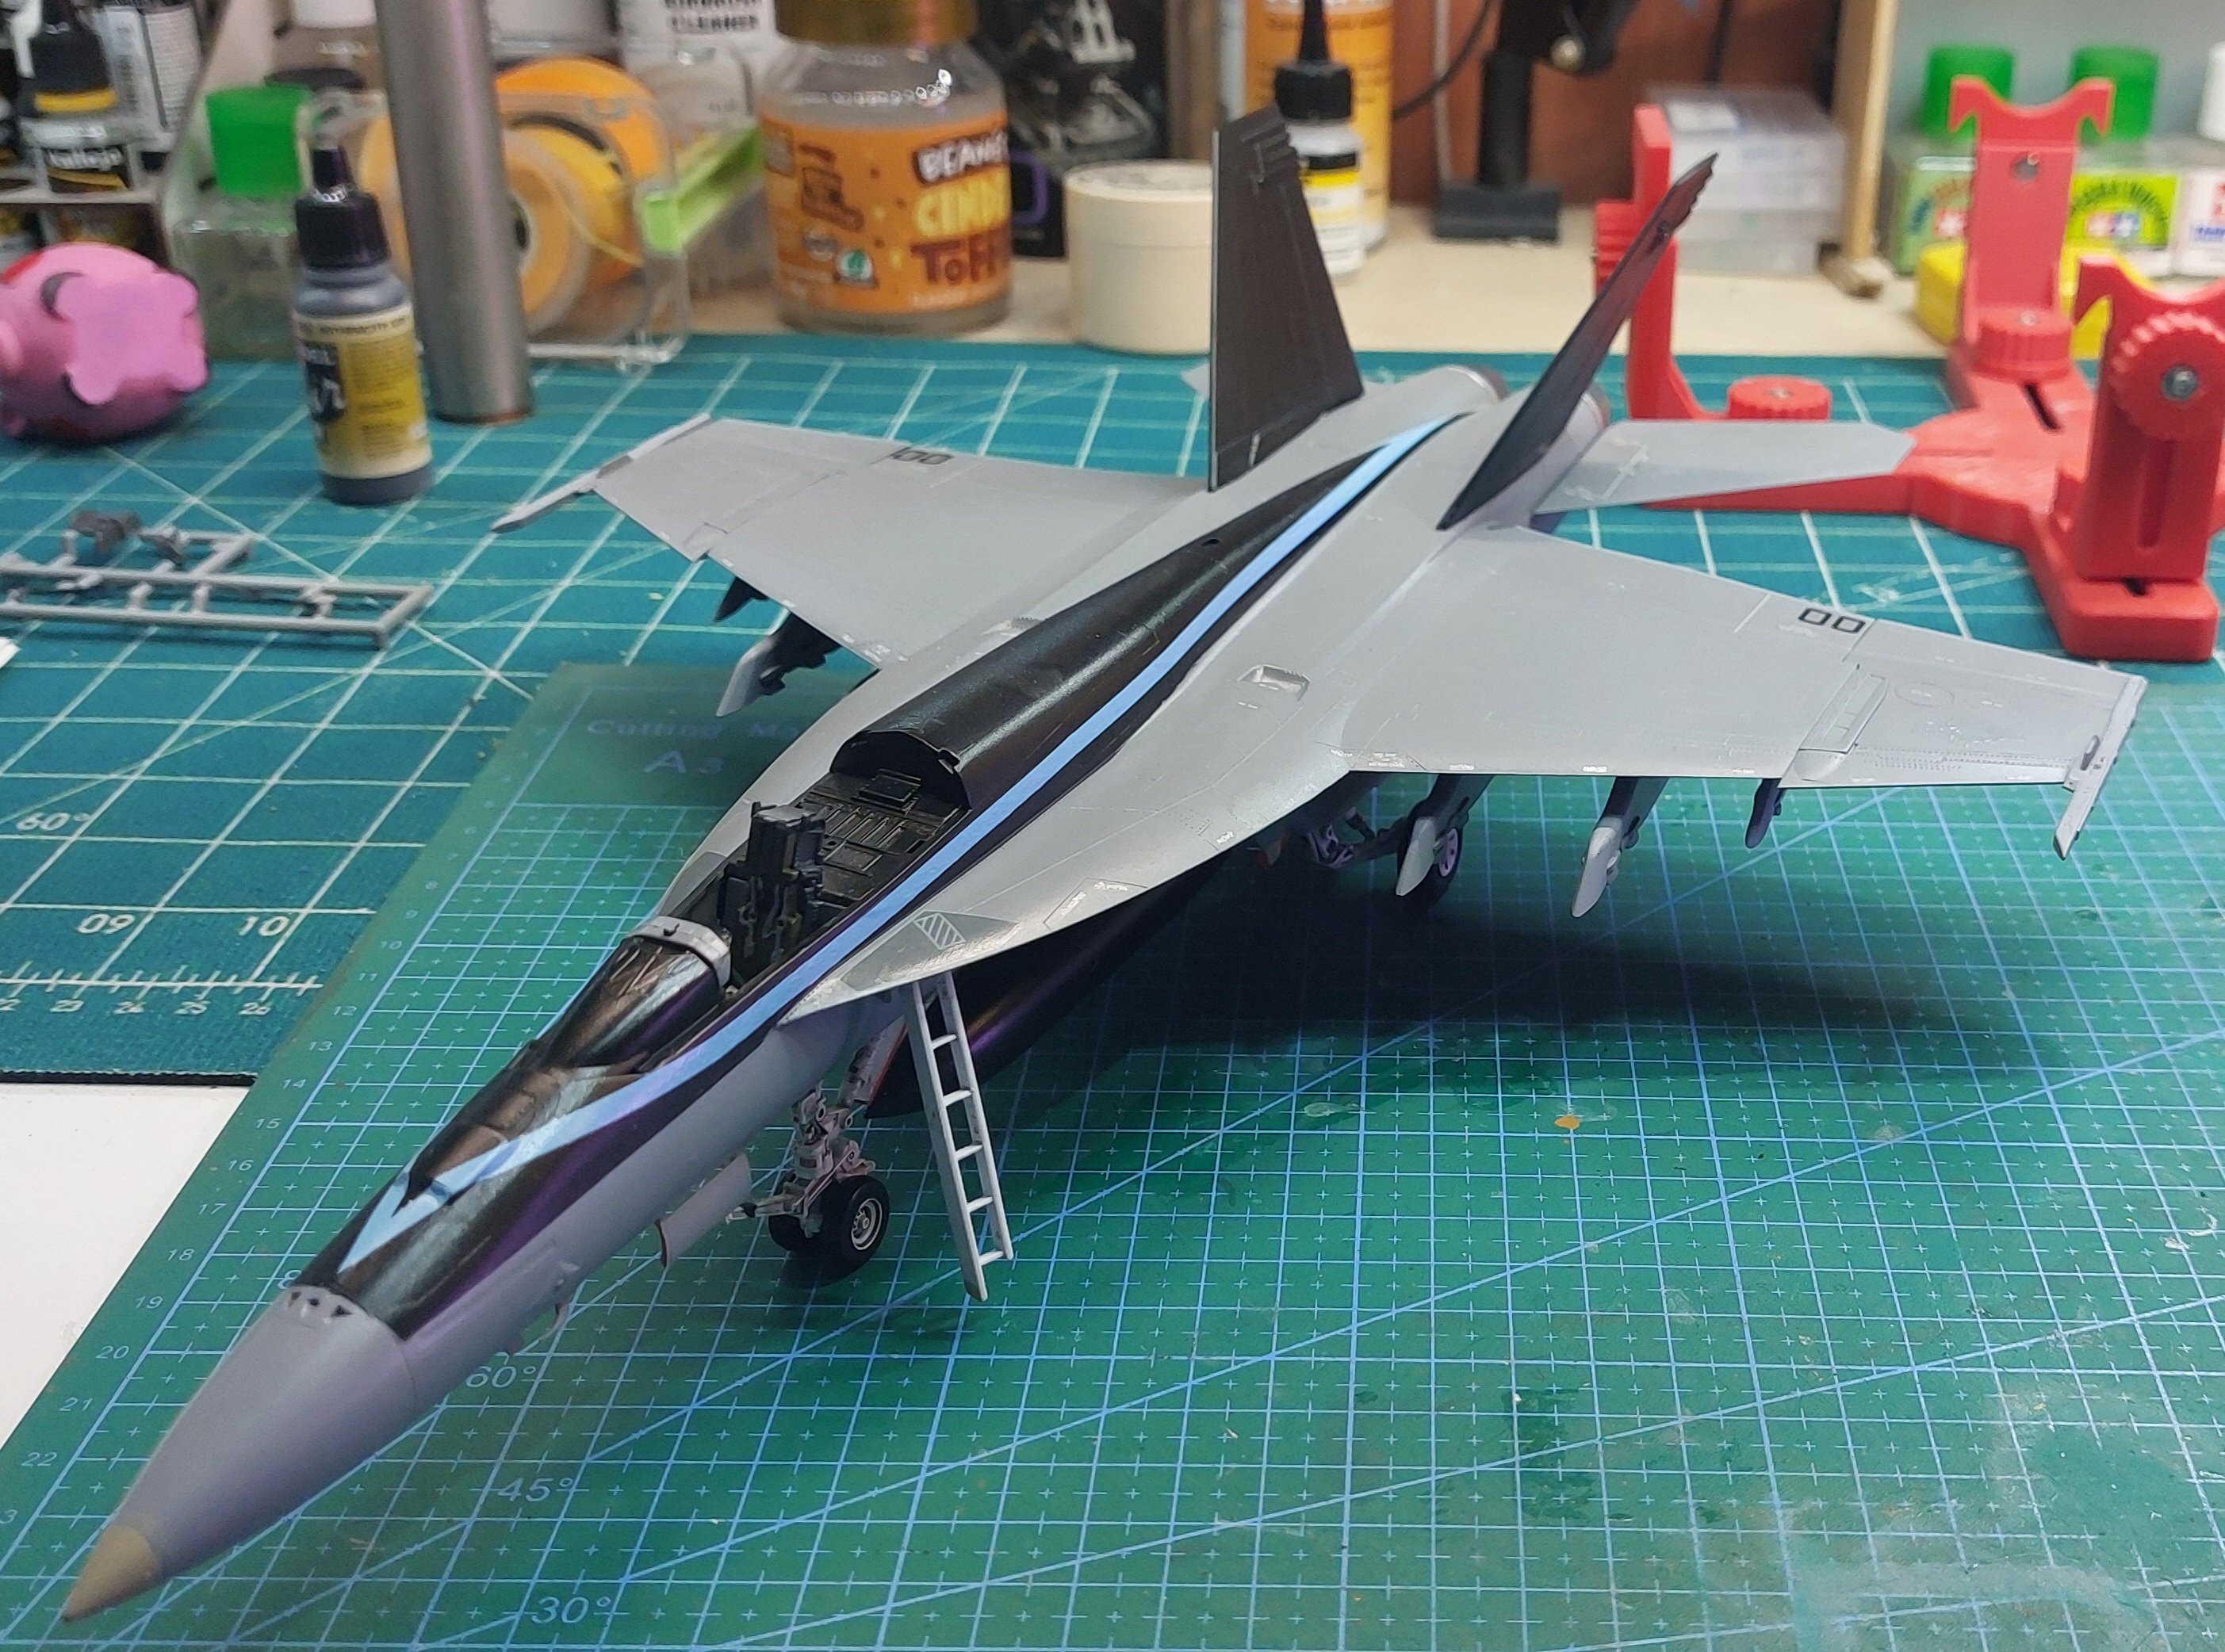
I have finished my Testors 1/48 Hornet. Reached the point where, yeah I could do more but I really don't want to and I'm glad to be done with it. Not a good kit at all, poor detail, poor fitting and not really able to build into an F/A-18 A or B, at least not by my standards. So here it is … don't look too hard as there are errors galore!
I think it looks great! That paint scheme made me think it was an executive jet at first! Be a heck of a personal jet!I have finished my Testors 1/48 Hornet. Reached the point where, yeah I could do more but I really don't want to and I'm glad to be done with it. Not a good kit at all, poor detail, poor fitting and not really able to build into an F/A-18 A or B, at least not by my standards. So here it is … don't look too hard as there are errors galore!


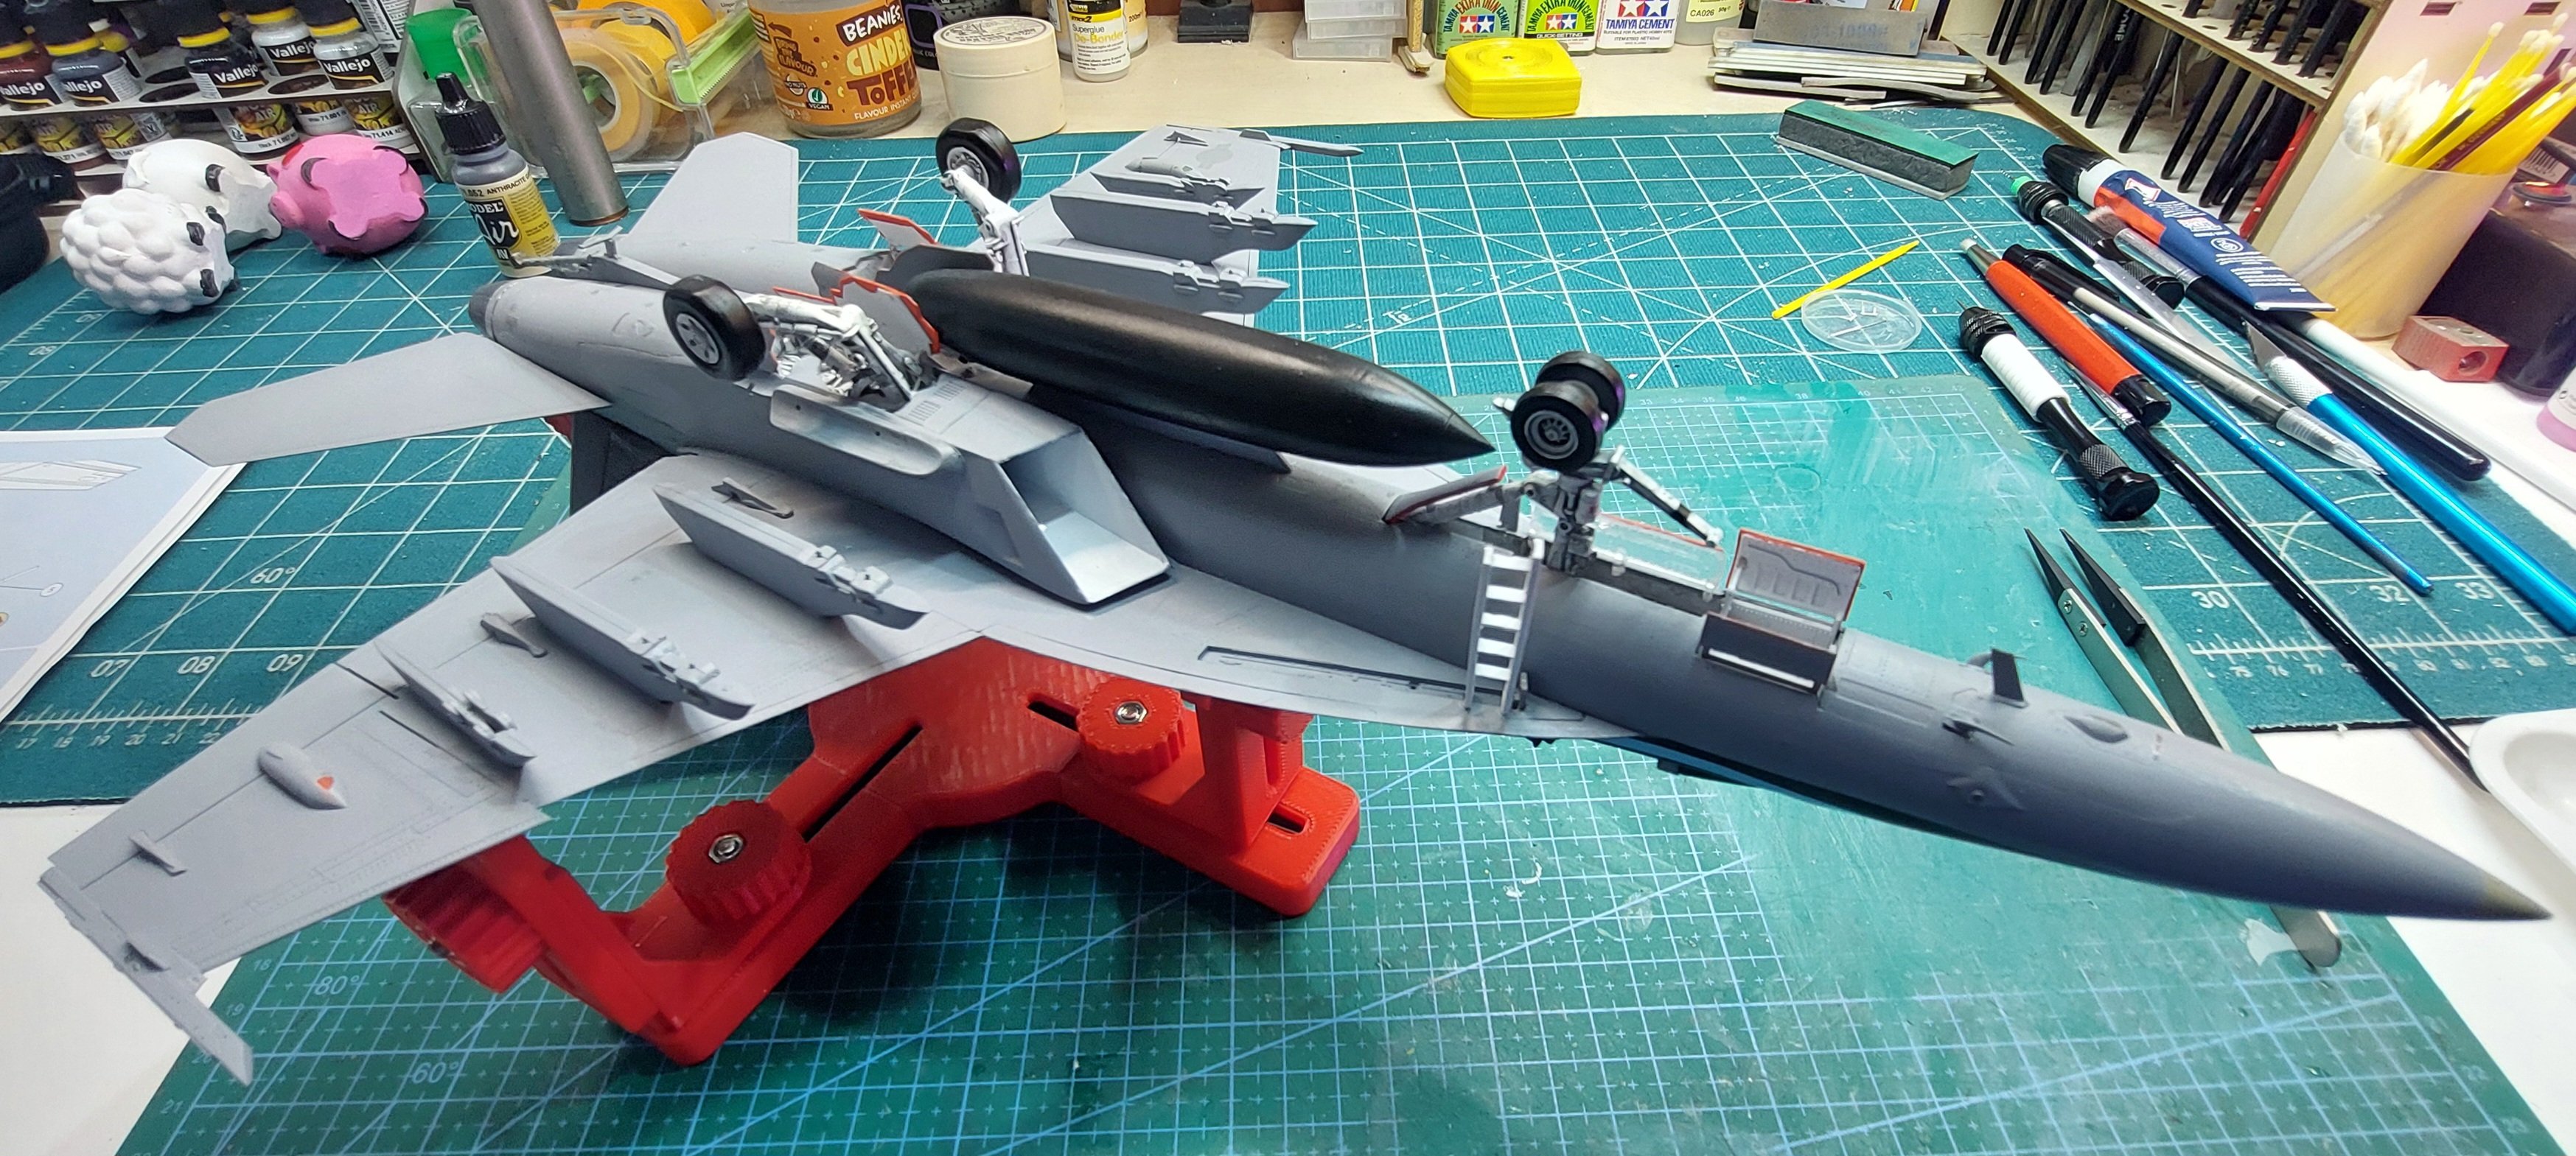
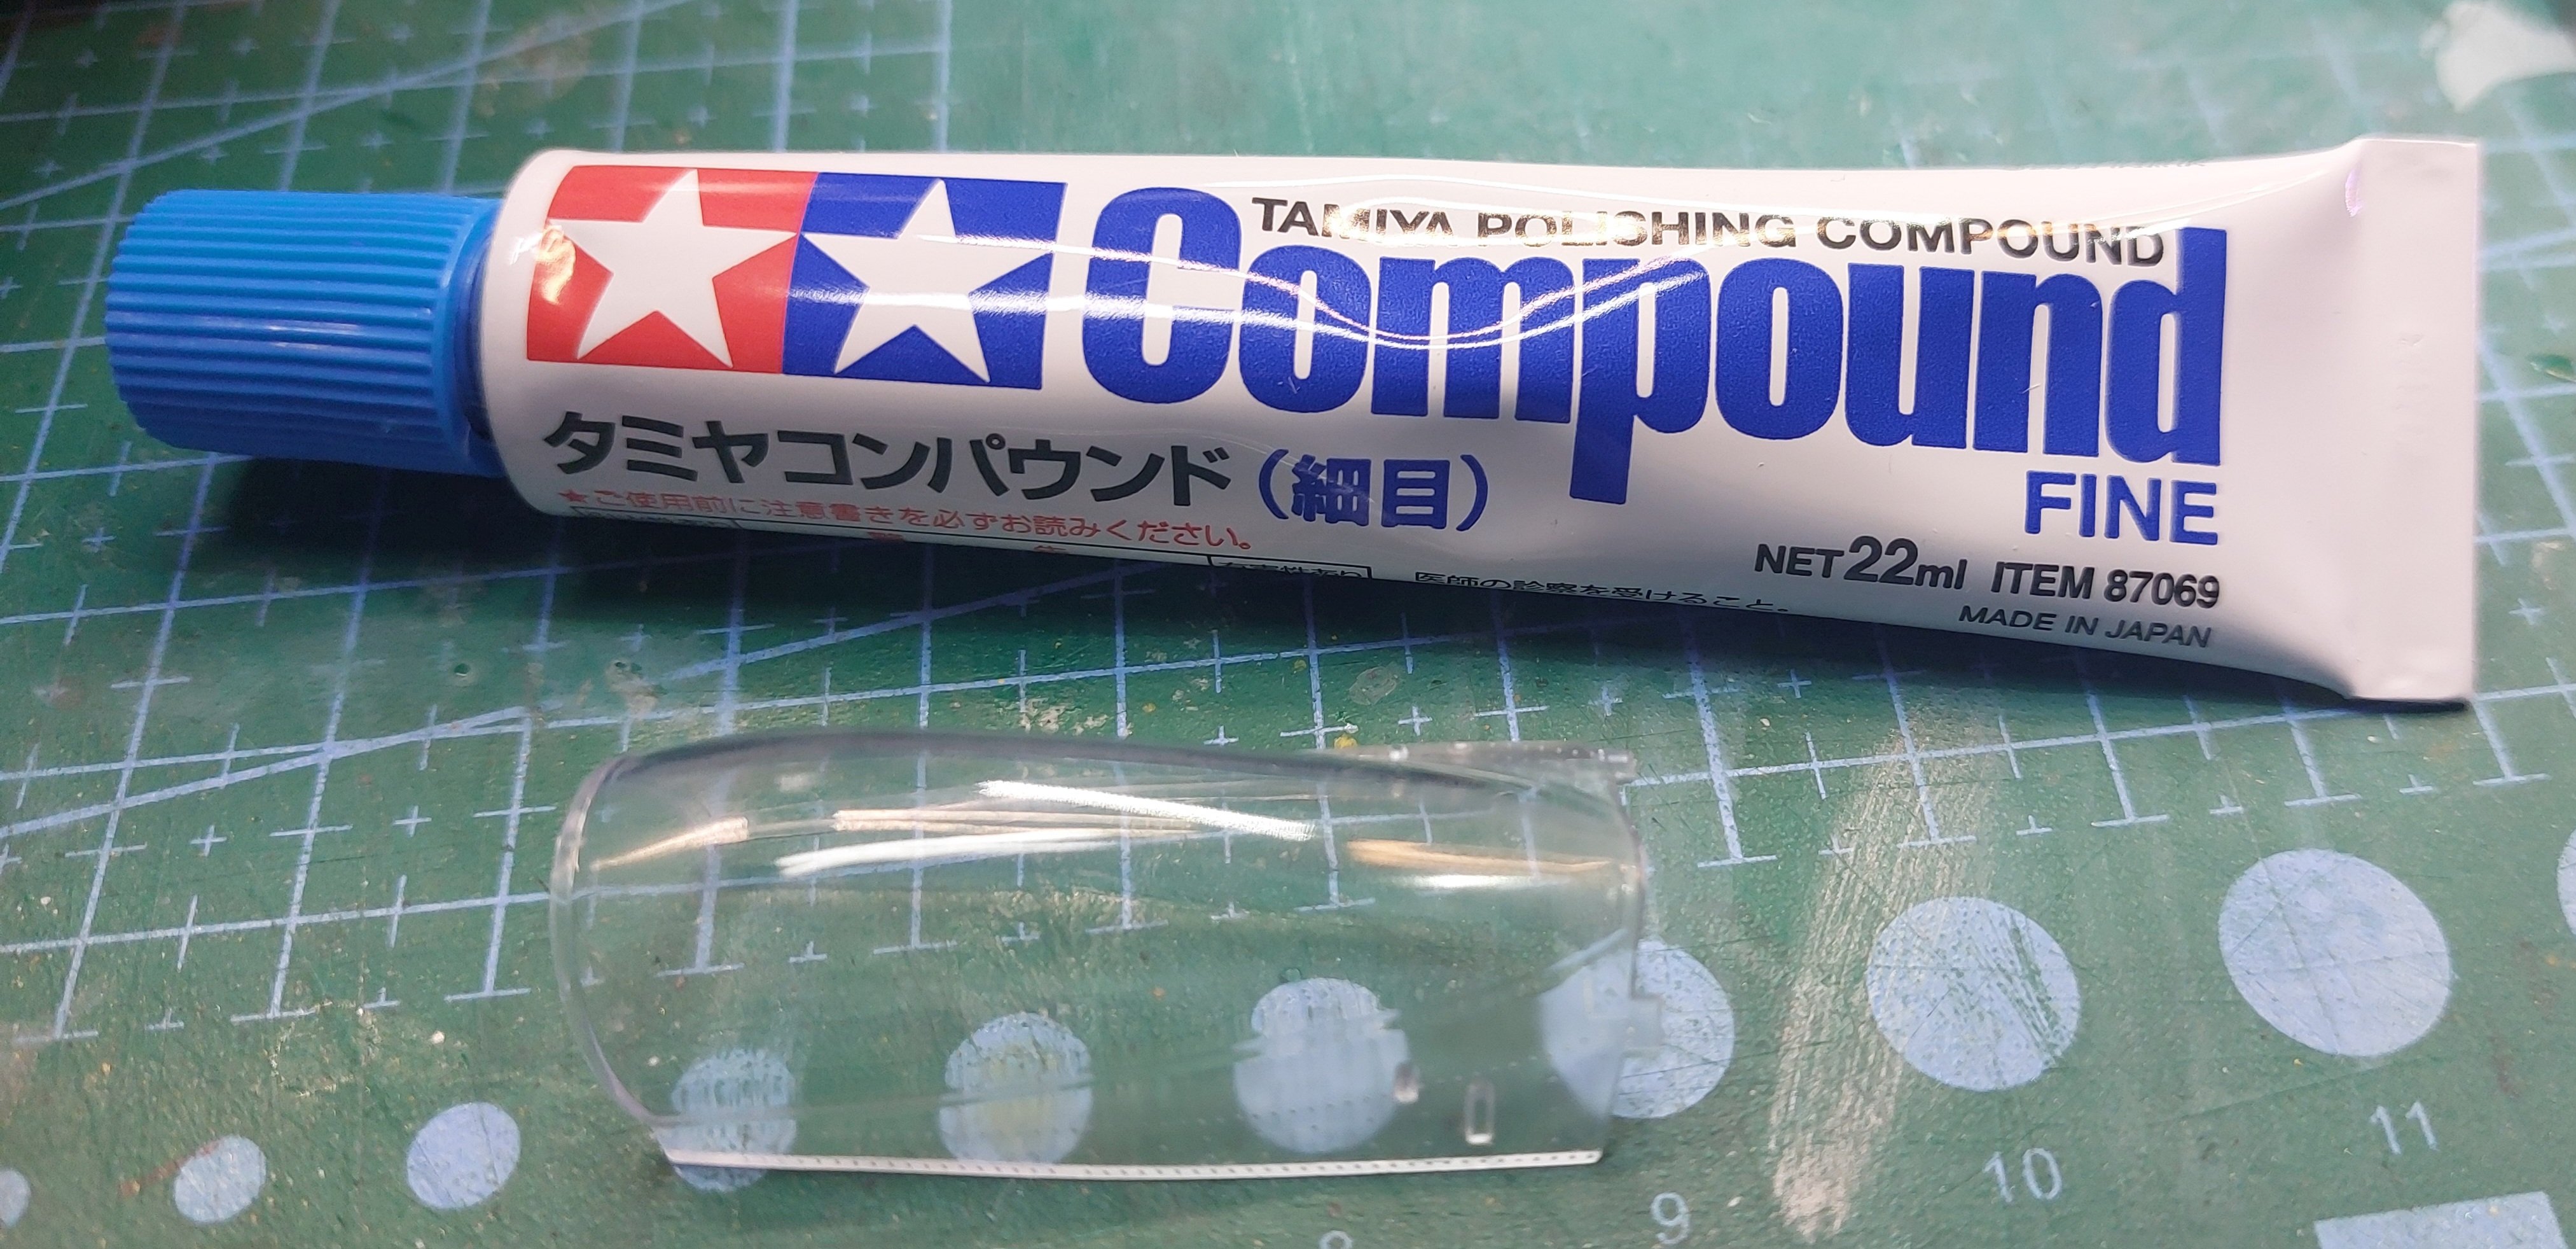
So how do you use that stuff?tamiya compound
Wax on, wax off. Come to my house and I'll teach you, but first you wash my cars.So how do you use that stuff?
I thought I would try with just a dab of paste on a piece of paper towel, it works well. I was going to try the dremel if it needed more umph but it worked really well without the powered buffer. PanthermanSo how do you use that stuff?
I scrape the seam off with a blade than sand it with 3000, 5000, 10000, then I also just use a paper towel and the Tamiya compound. Canopy comes out sparkling.I thought I would try with just a dab of paste on a piece of paper towel, it works well. I was going to try the dremel if it needed more umph but it worked really well without the powered buffer. Pantherman
I gotta chime in here for anyone reading. I was terrified with scraping and sanding my canopy to remove a seam, but it is easier than you think. DO IT!Bought some tamiya compound and I'm really impressed with the results.
I'll add my 2 cents here as well. I don't use polishing compound either. I use Zona sanding papers that are generally used to polish crystal clear resins, so they work extremely well and are very easy to use without worry of over doing it.I gotta chime in here for anyone reading. I was terrified with scraping and sanding my canopy to remove a seam, but it is easier than you think. DO IT!
All it takes is patience, I did not use Tamiya compound, but obviously it works.
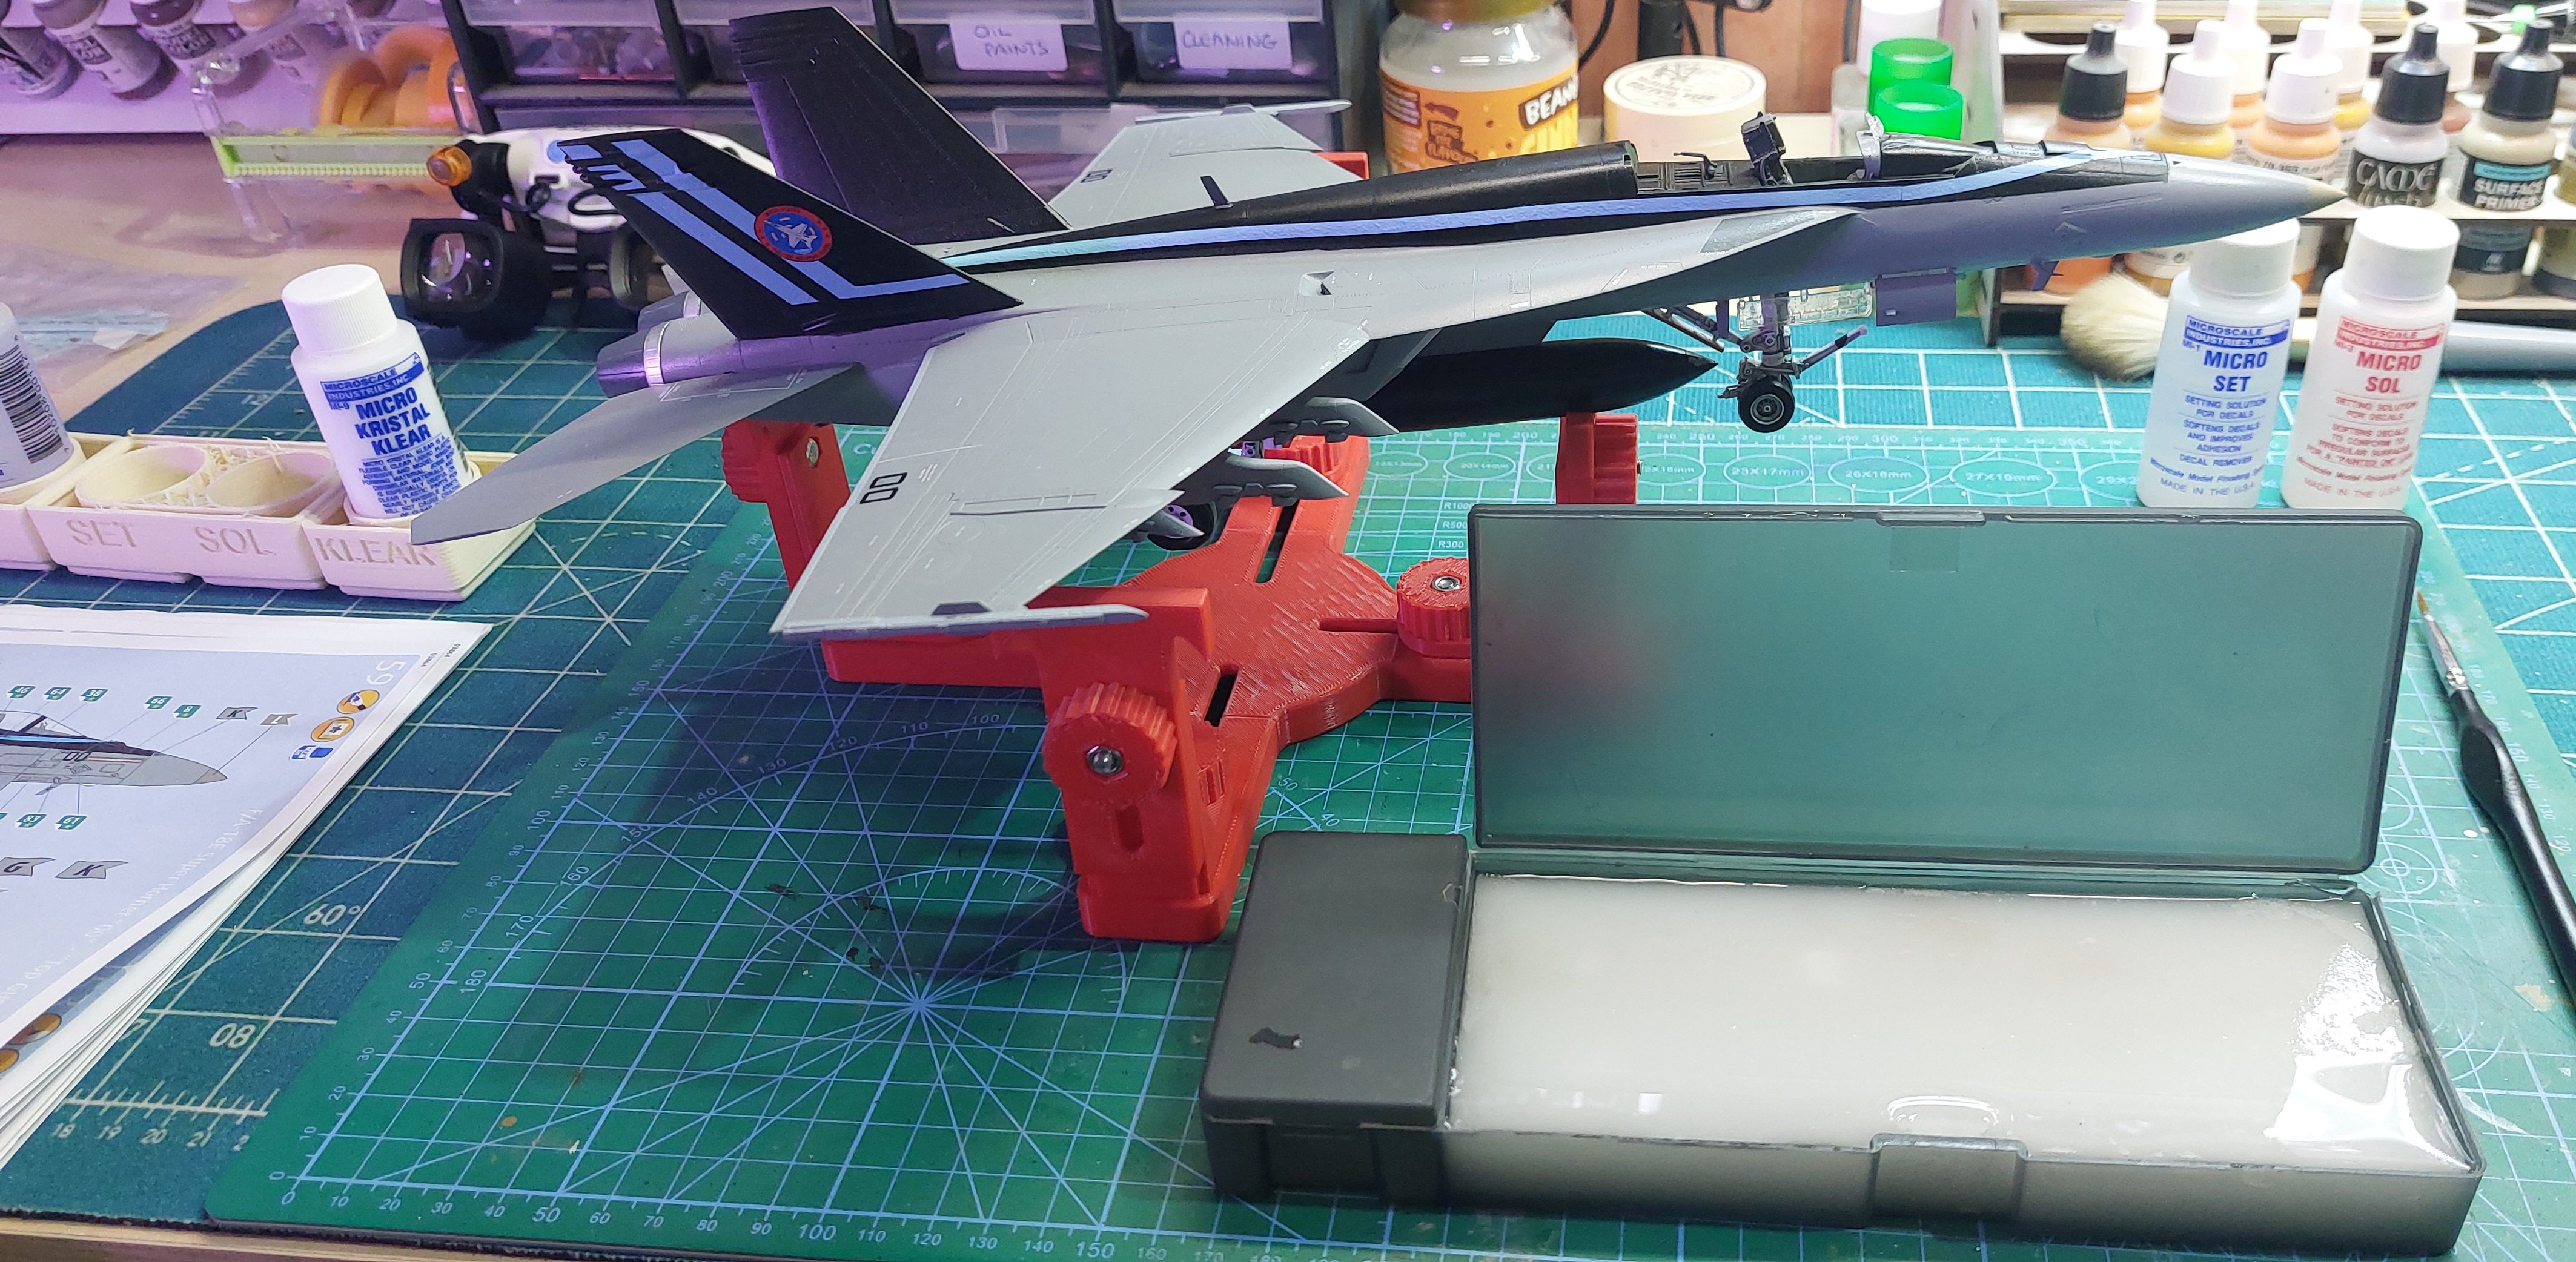
Just imagine that you are working with PE that has been playing on a slip-and-slide!Now I know why I prefer ship's to aircraft, alot less decals.
I am happy for hours doing PE but decals just frustrate me beyond belief. Pantherman