Group Build: F/A-18A-G Super Hornet/Growler

Scale Model Addict - Model Tips, Guides, Tools & Tech, Tutorials, and Community

Help Support Scale Model Addict:

Well is nt this interesting! I am actually part of a F/A-18 group build on another forum that I ahve jsut started. If youll allow me to join with that, Ill gladly post all my work here. Its only my 2nd ever plane, and my very first modern plane I will be building. So I am not afraid to admit I could use the advice as I move forward. Even though my GB is a Jan-Dec build I have only now jsut started.

Here is the Kit:
i-pLQBHVf-L.jpg


I chose this kit as I heard many good things about it online, and from other forum members. I was interested in doing a plane from seeing those amazing quinta 3D decals, and have ordered some for this. I have already started onthe pit, but have not progressed further than that.

If I am good to join Ill create my own build thread but also update progress in here.
 
Well is nt this interesting! I am actually part of a F/A-18 group build on another forum that I ahve jsut started. If youll allow me to join with that, Ill gladly post all my work here. Its only my 2nd ever plane, and my very first modern plane I will be building. So I am not afraid to admit I could use the advice as I move forward. Even though my GB is a Jan-Dec build I have only now jsut started.

Here is the Kit:
i-pLQBHVf-L.jpg


I chose this kit as I heard many good things about it online, and from other forum members. I was interested in doing a plane from seeing those amazing quinta 3D decals, and have ordered some for this. I have already started onthe pit, but have not progressed further than that.

If I am good to join Ill create my own build thread but also update progress in here.
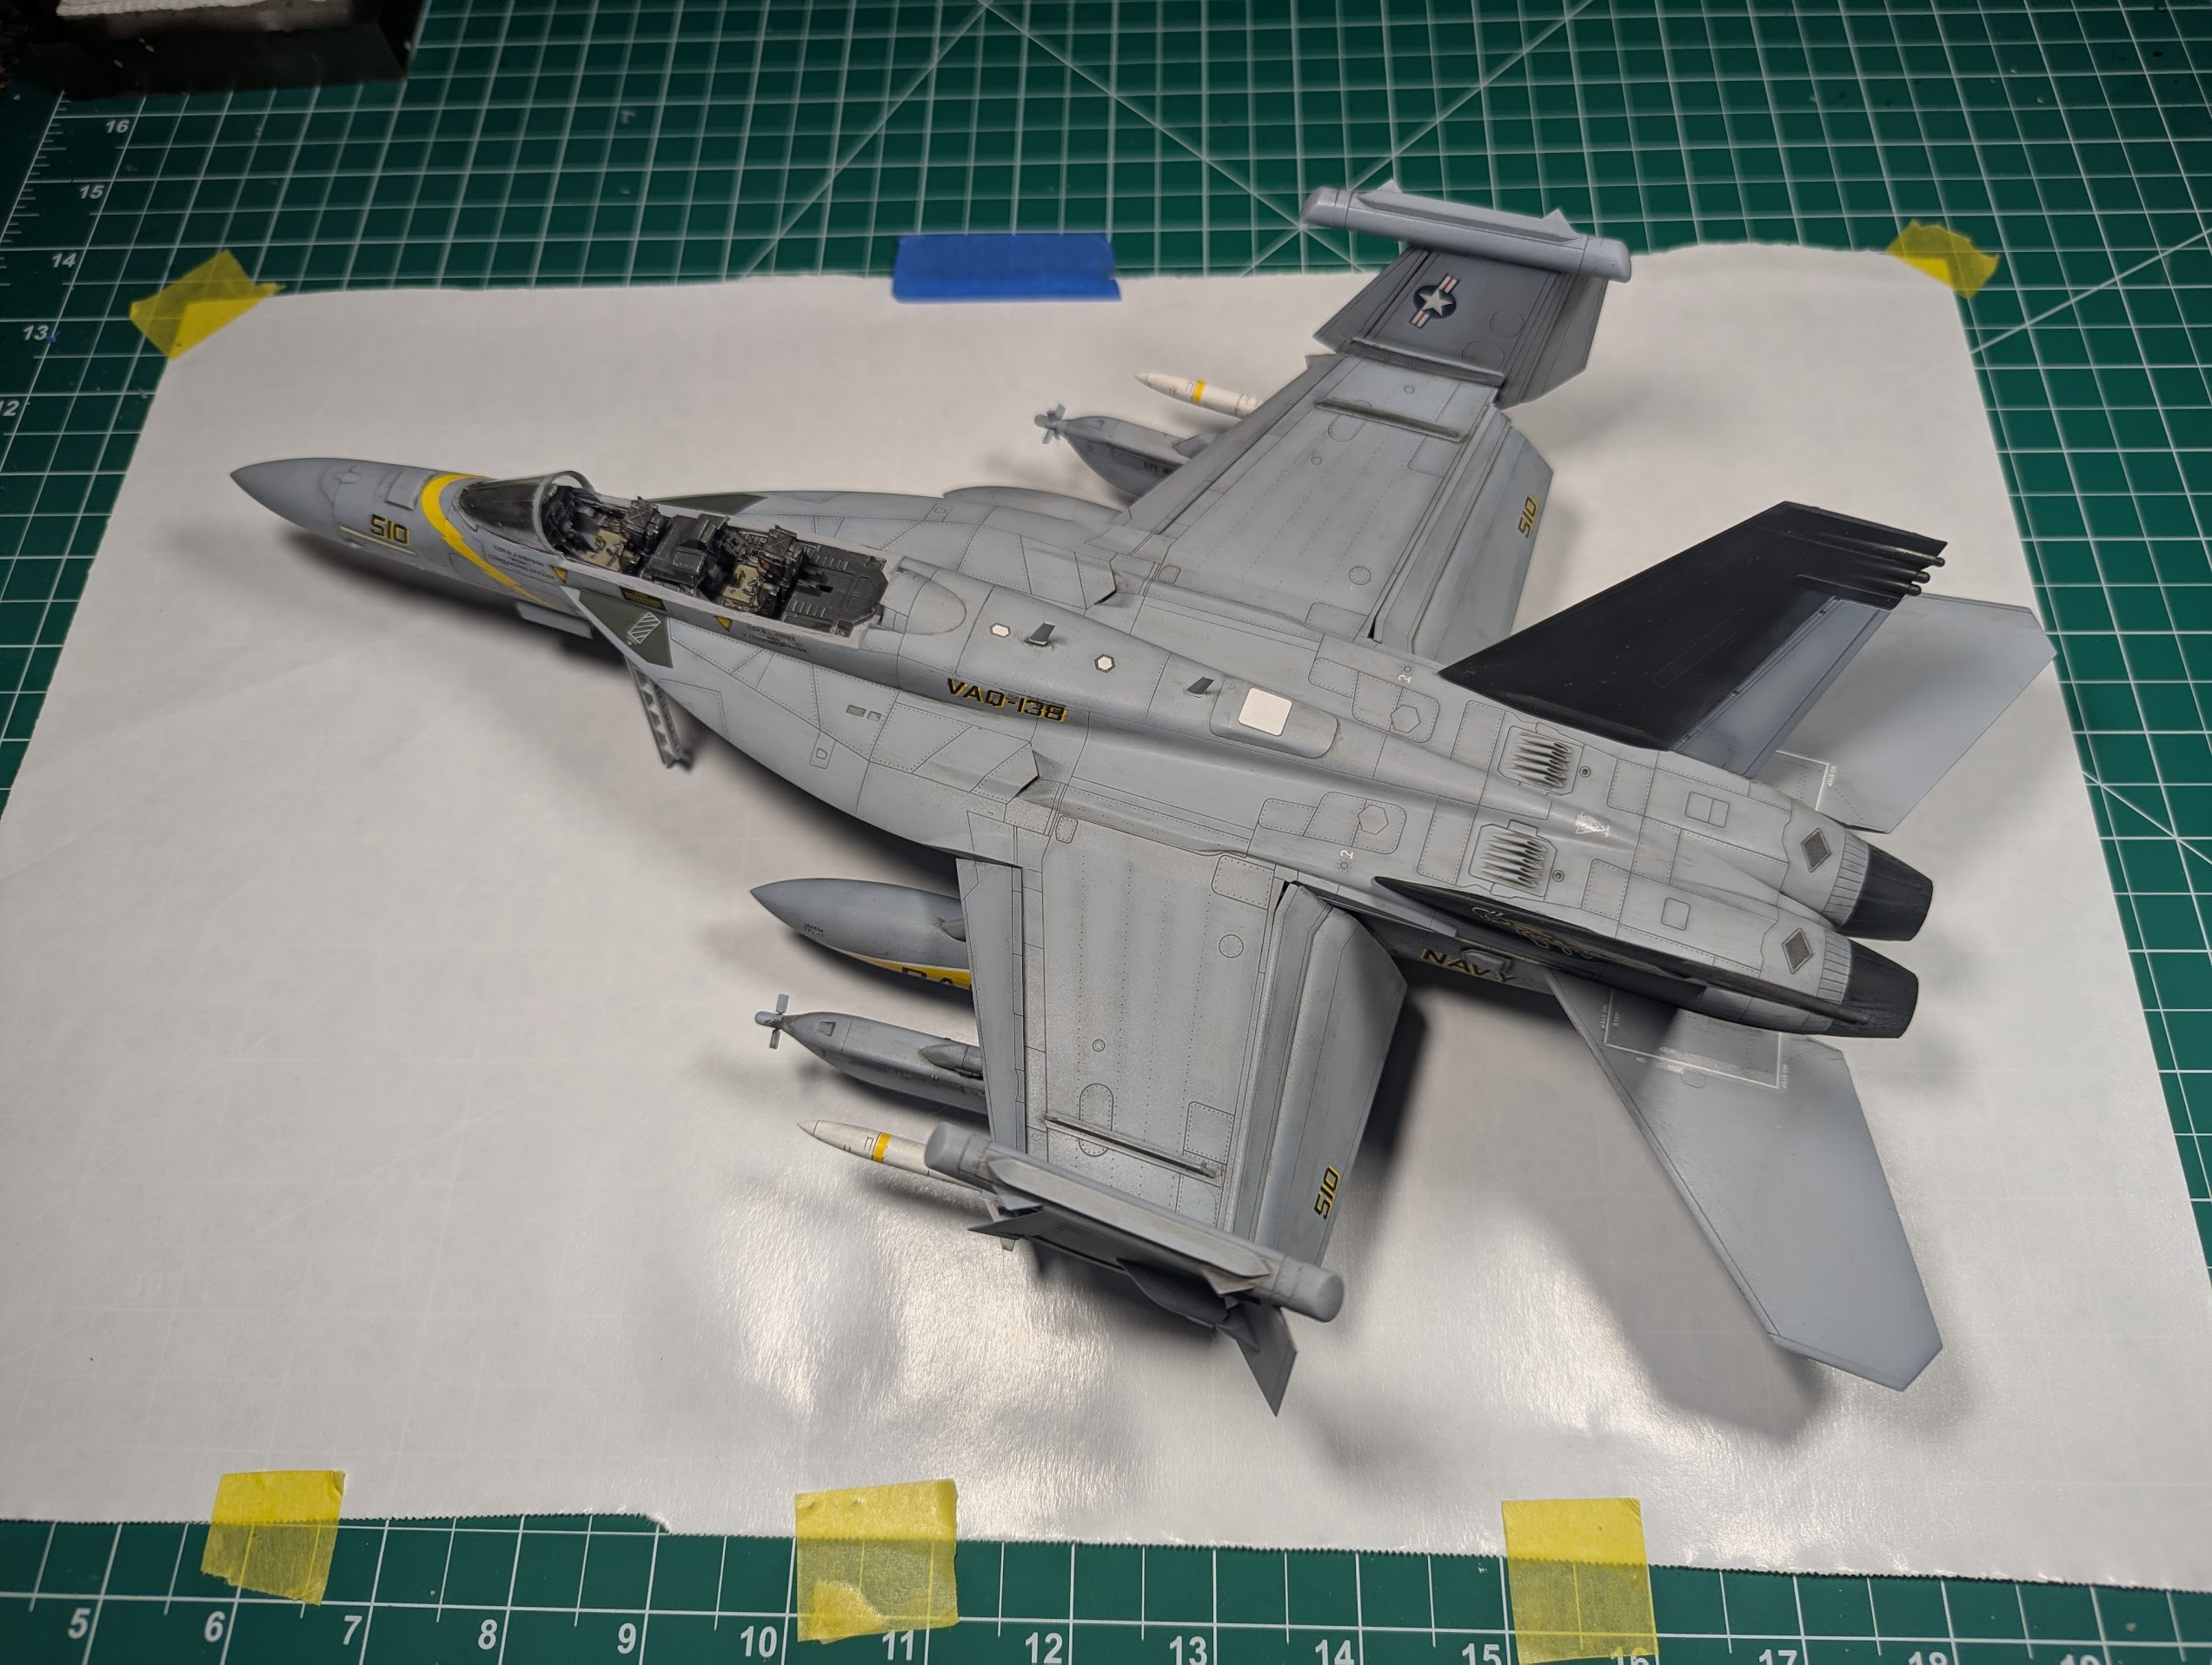
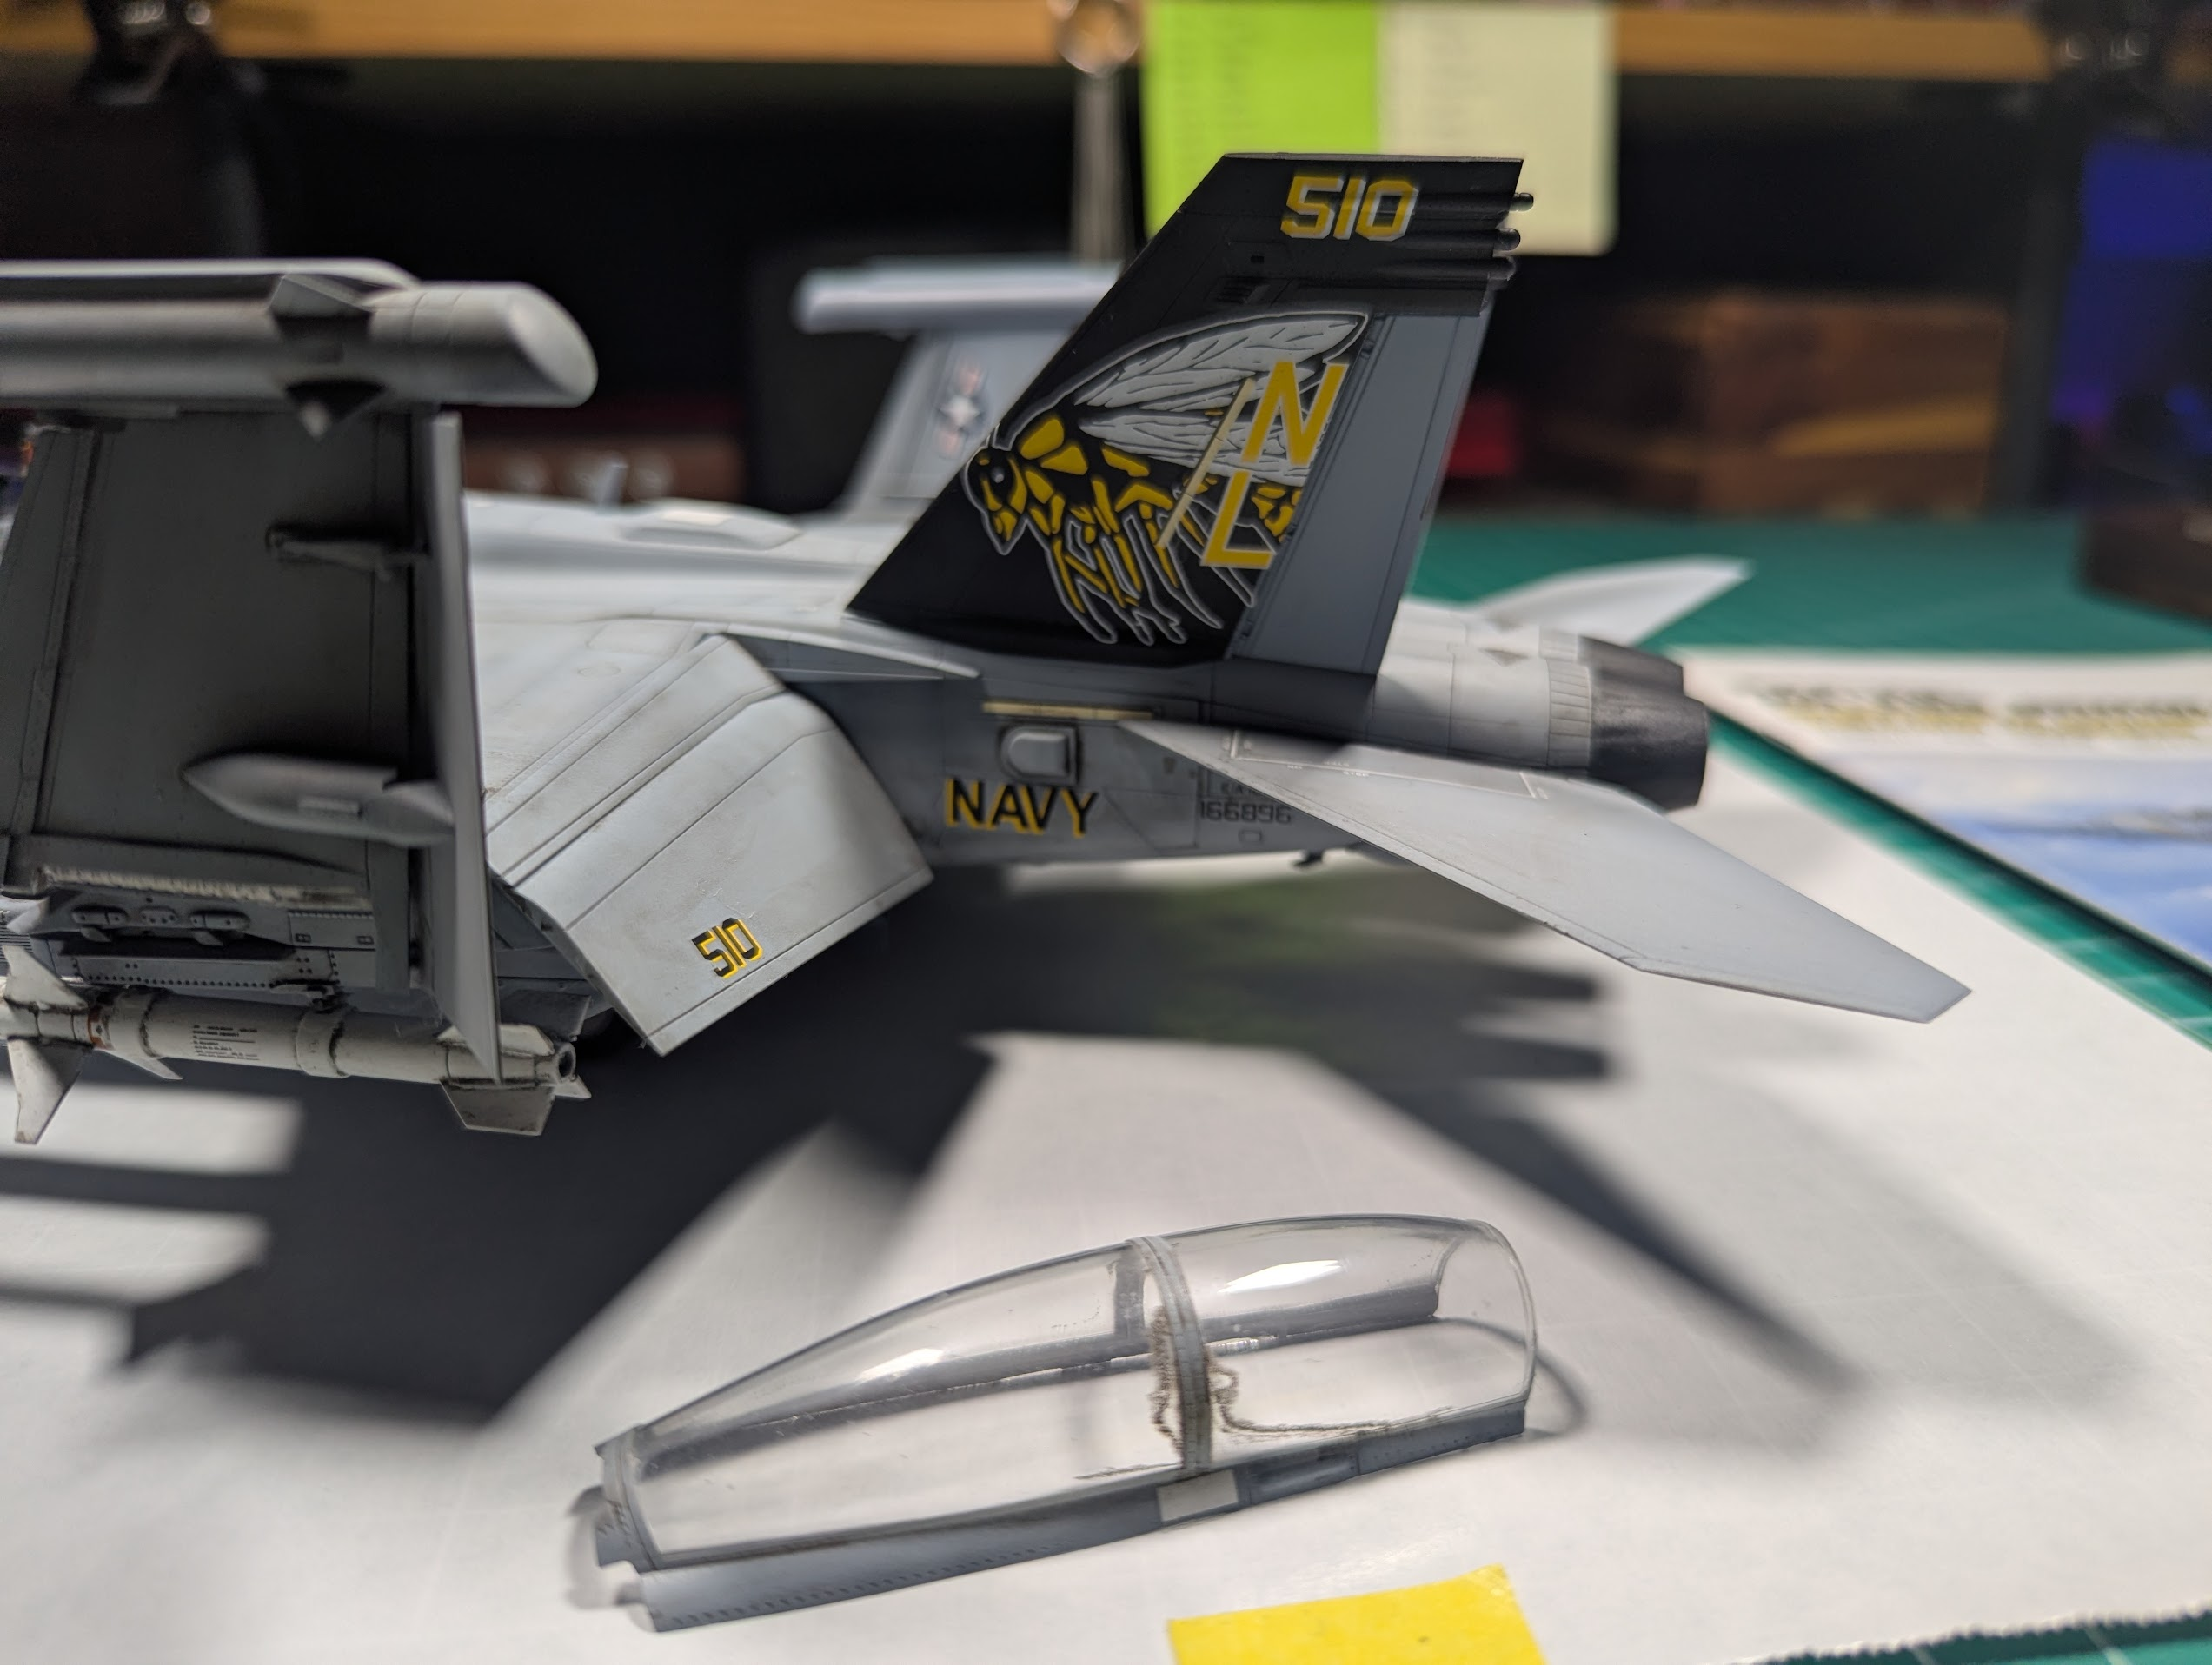
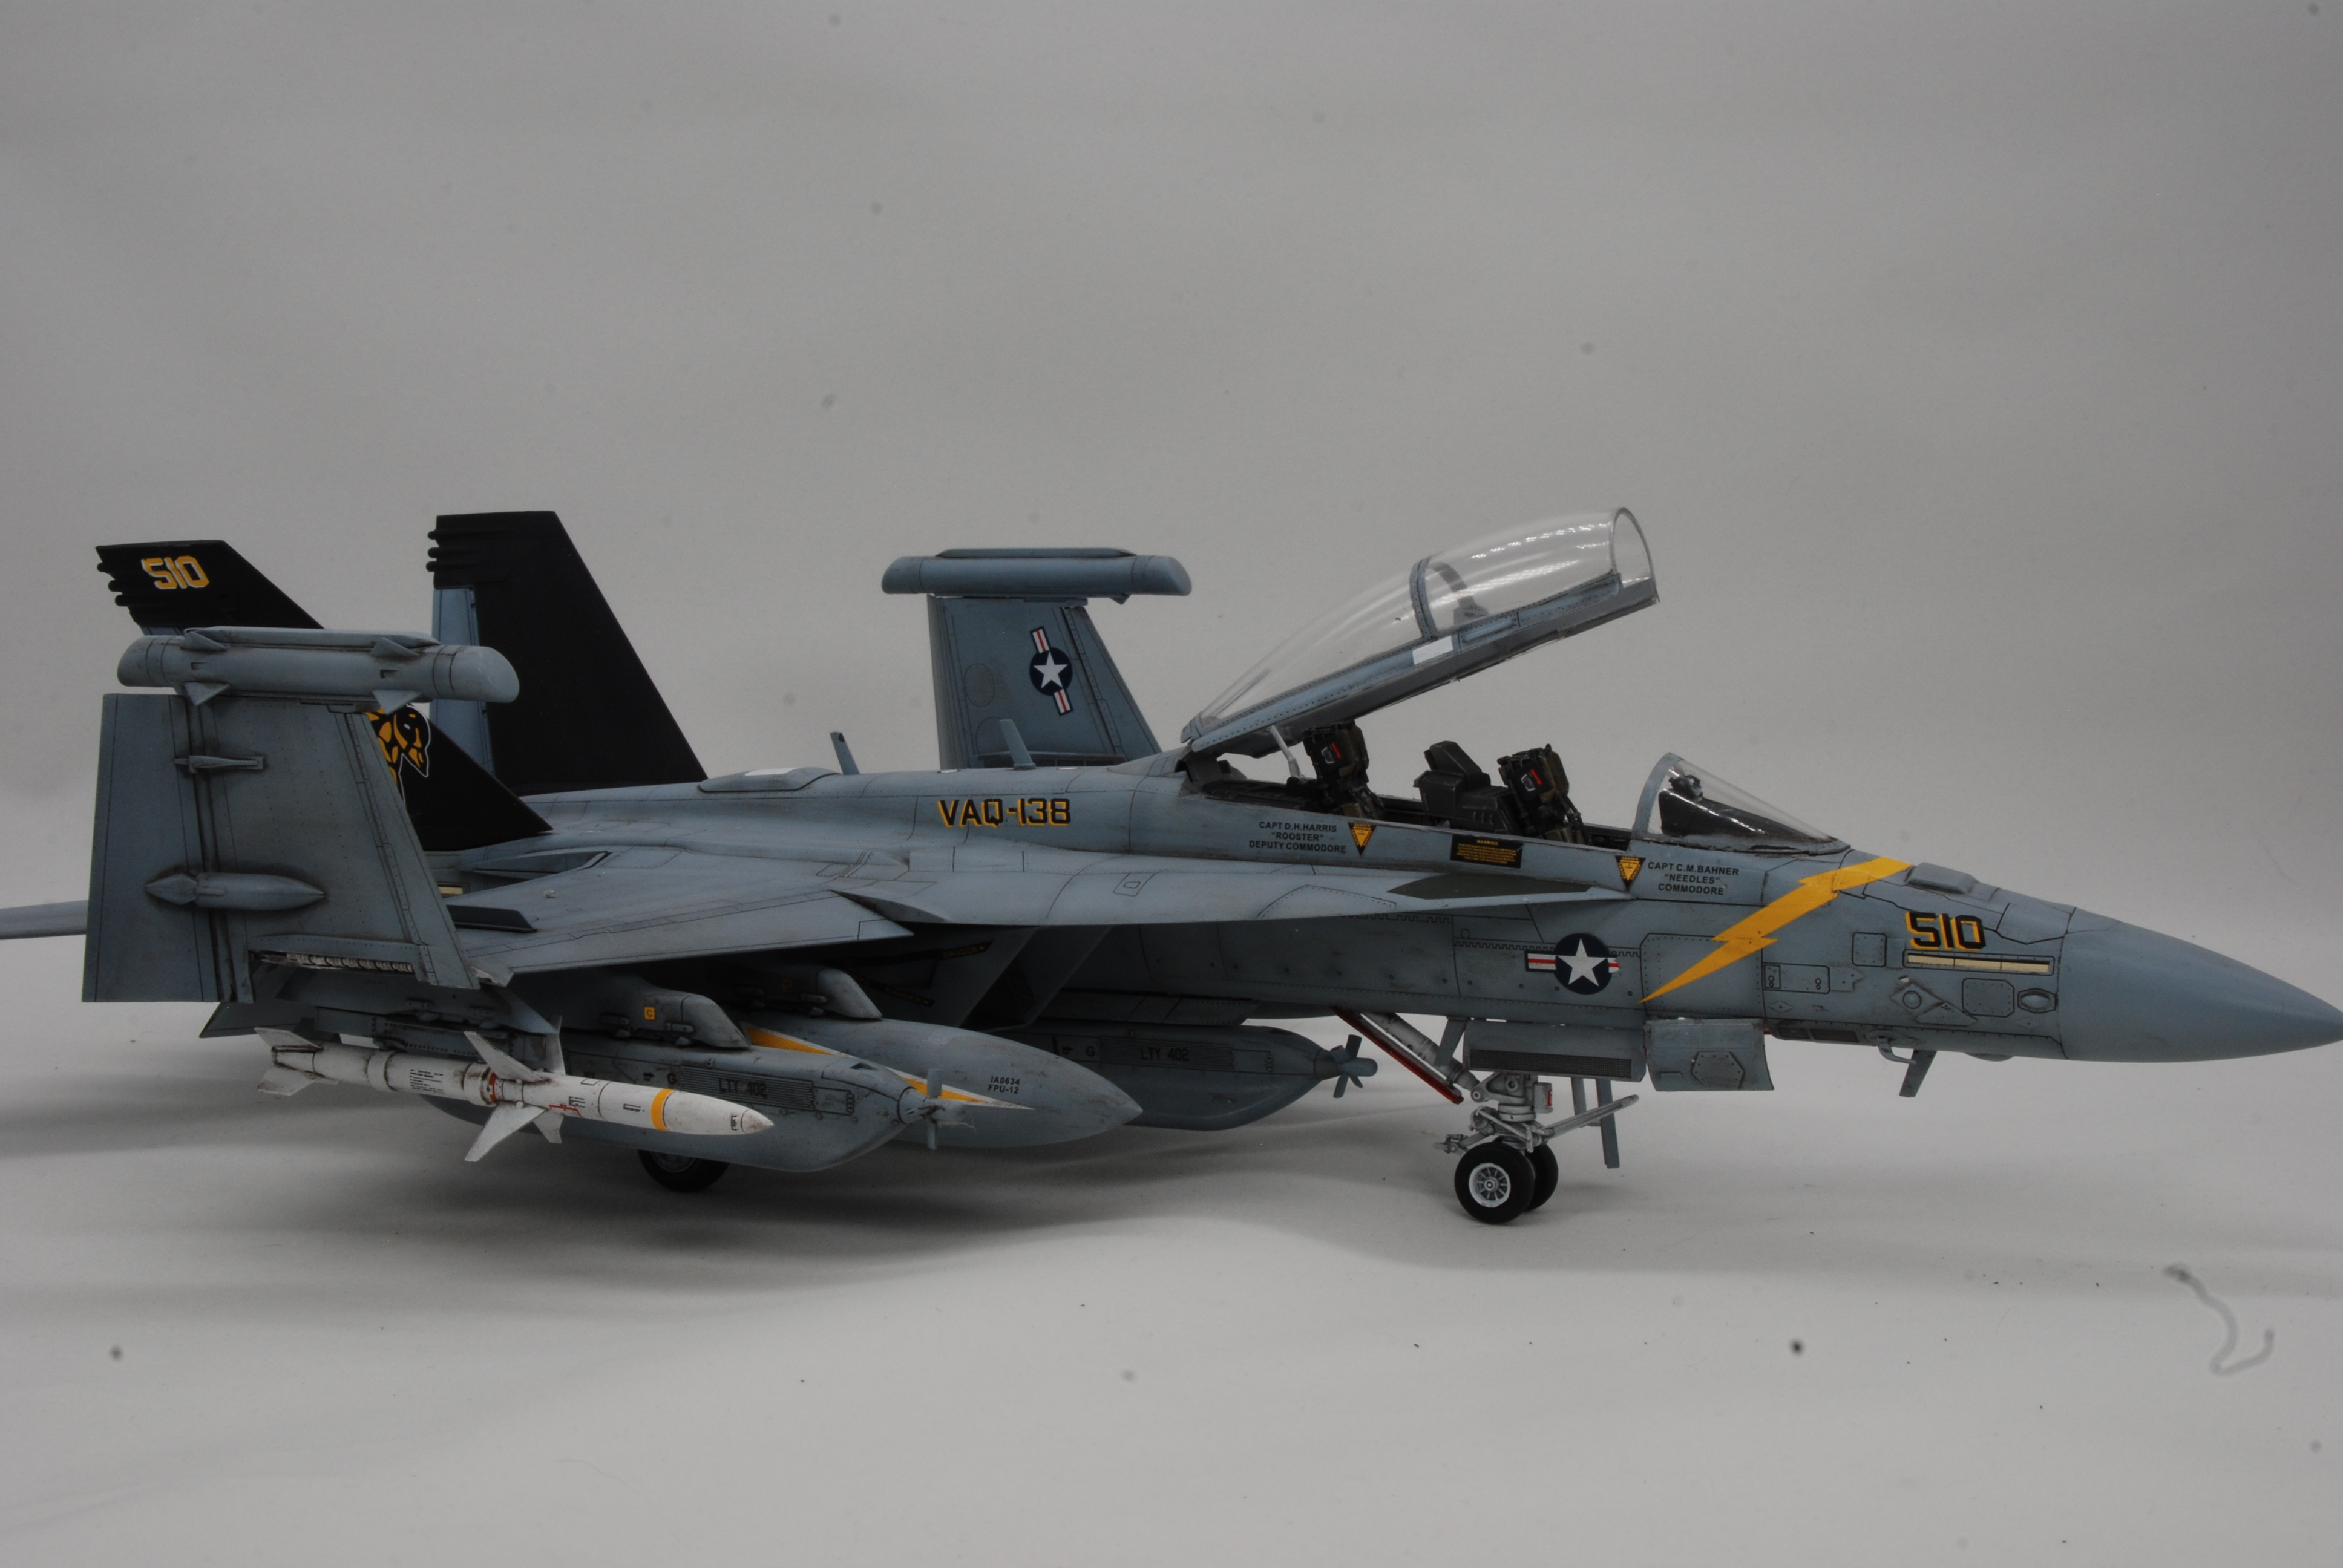
This the kit I built for the group build. Good kit. I didn't use the box art squadron Jolly Roger's though. I used the diamondbacks. I posted lots of pics in this thread.
 
Well is nt this interesting! I am actually part of a F/A-18 group build on another forum that I ahve jsut started. If youll allow me to join with that, Ill gladly post all my work here. Its only my 2nd ever plane, and my very first modern plane I will be building. So I am not afraid to admit I could use the advice as I move forward. Even though my GB is a Jan-Dec build I have only now jsut started.

Here is the Kit:
i-pLQBHVf-L.jpg


I chose this kit as I heard many good things about it online, and from other forum members. I was interested in doing a plane from seeing those amazing quinta 3D decals, and have ordered some for this. I have already started onthe pit, but have not progressed further than that.

If I am good to join Ill create my own build thread but also update progress in here.
Jump on in. Pantherman
 
You're more than welcome to join in the fun here! You can just post everything here in the GB so you don't have to bounce around posting!
Awesomne, thank you will do!
This the kit I built for the group build. Good kit. I didn't use the box art squadron Jolly Roger's though. I used the diamondbacks. I posted lots of pics in this thread.
Great news! I will have an expert available to guide me if I make any major mistakes lol. Also, I was unsure how the decals were for a Hasegawa plane, so I bught these:

i-C536tJp-L.jpg
 
Here is where I am as of now on the build:

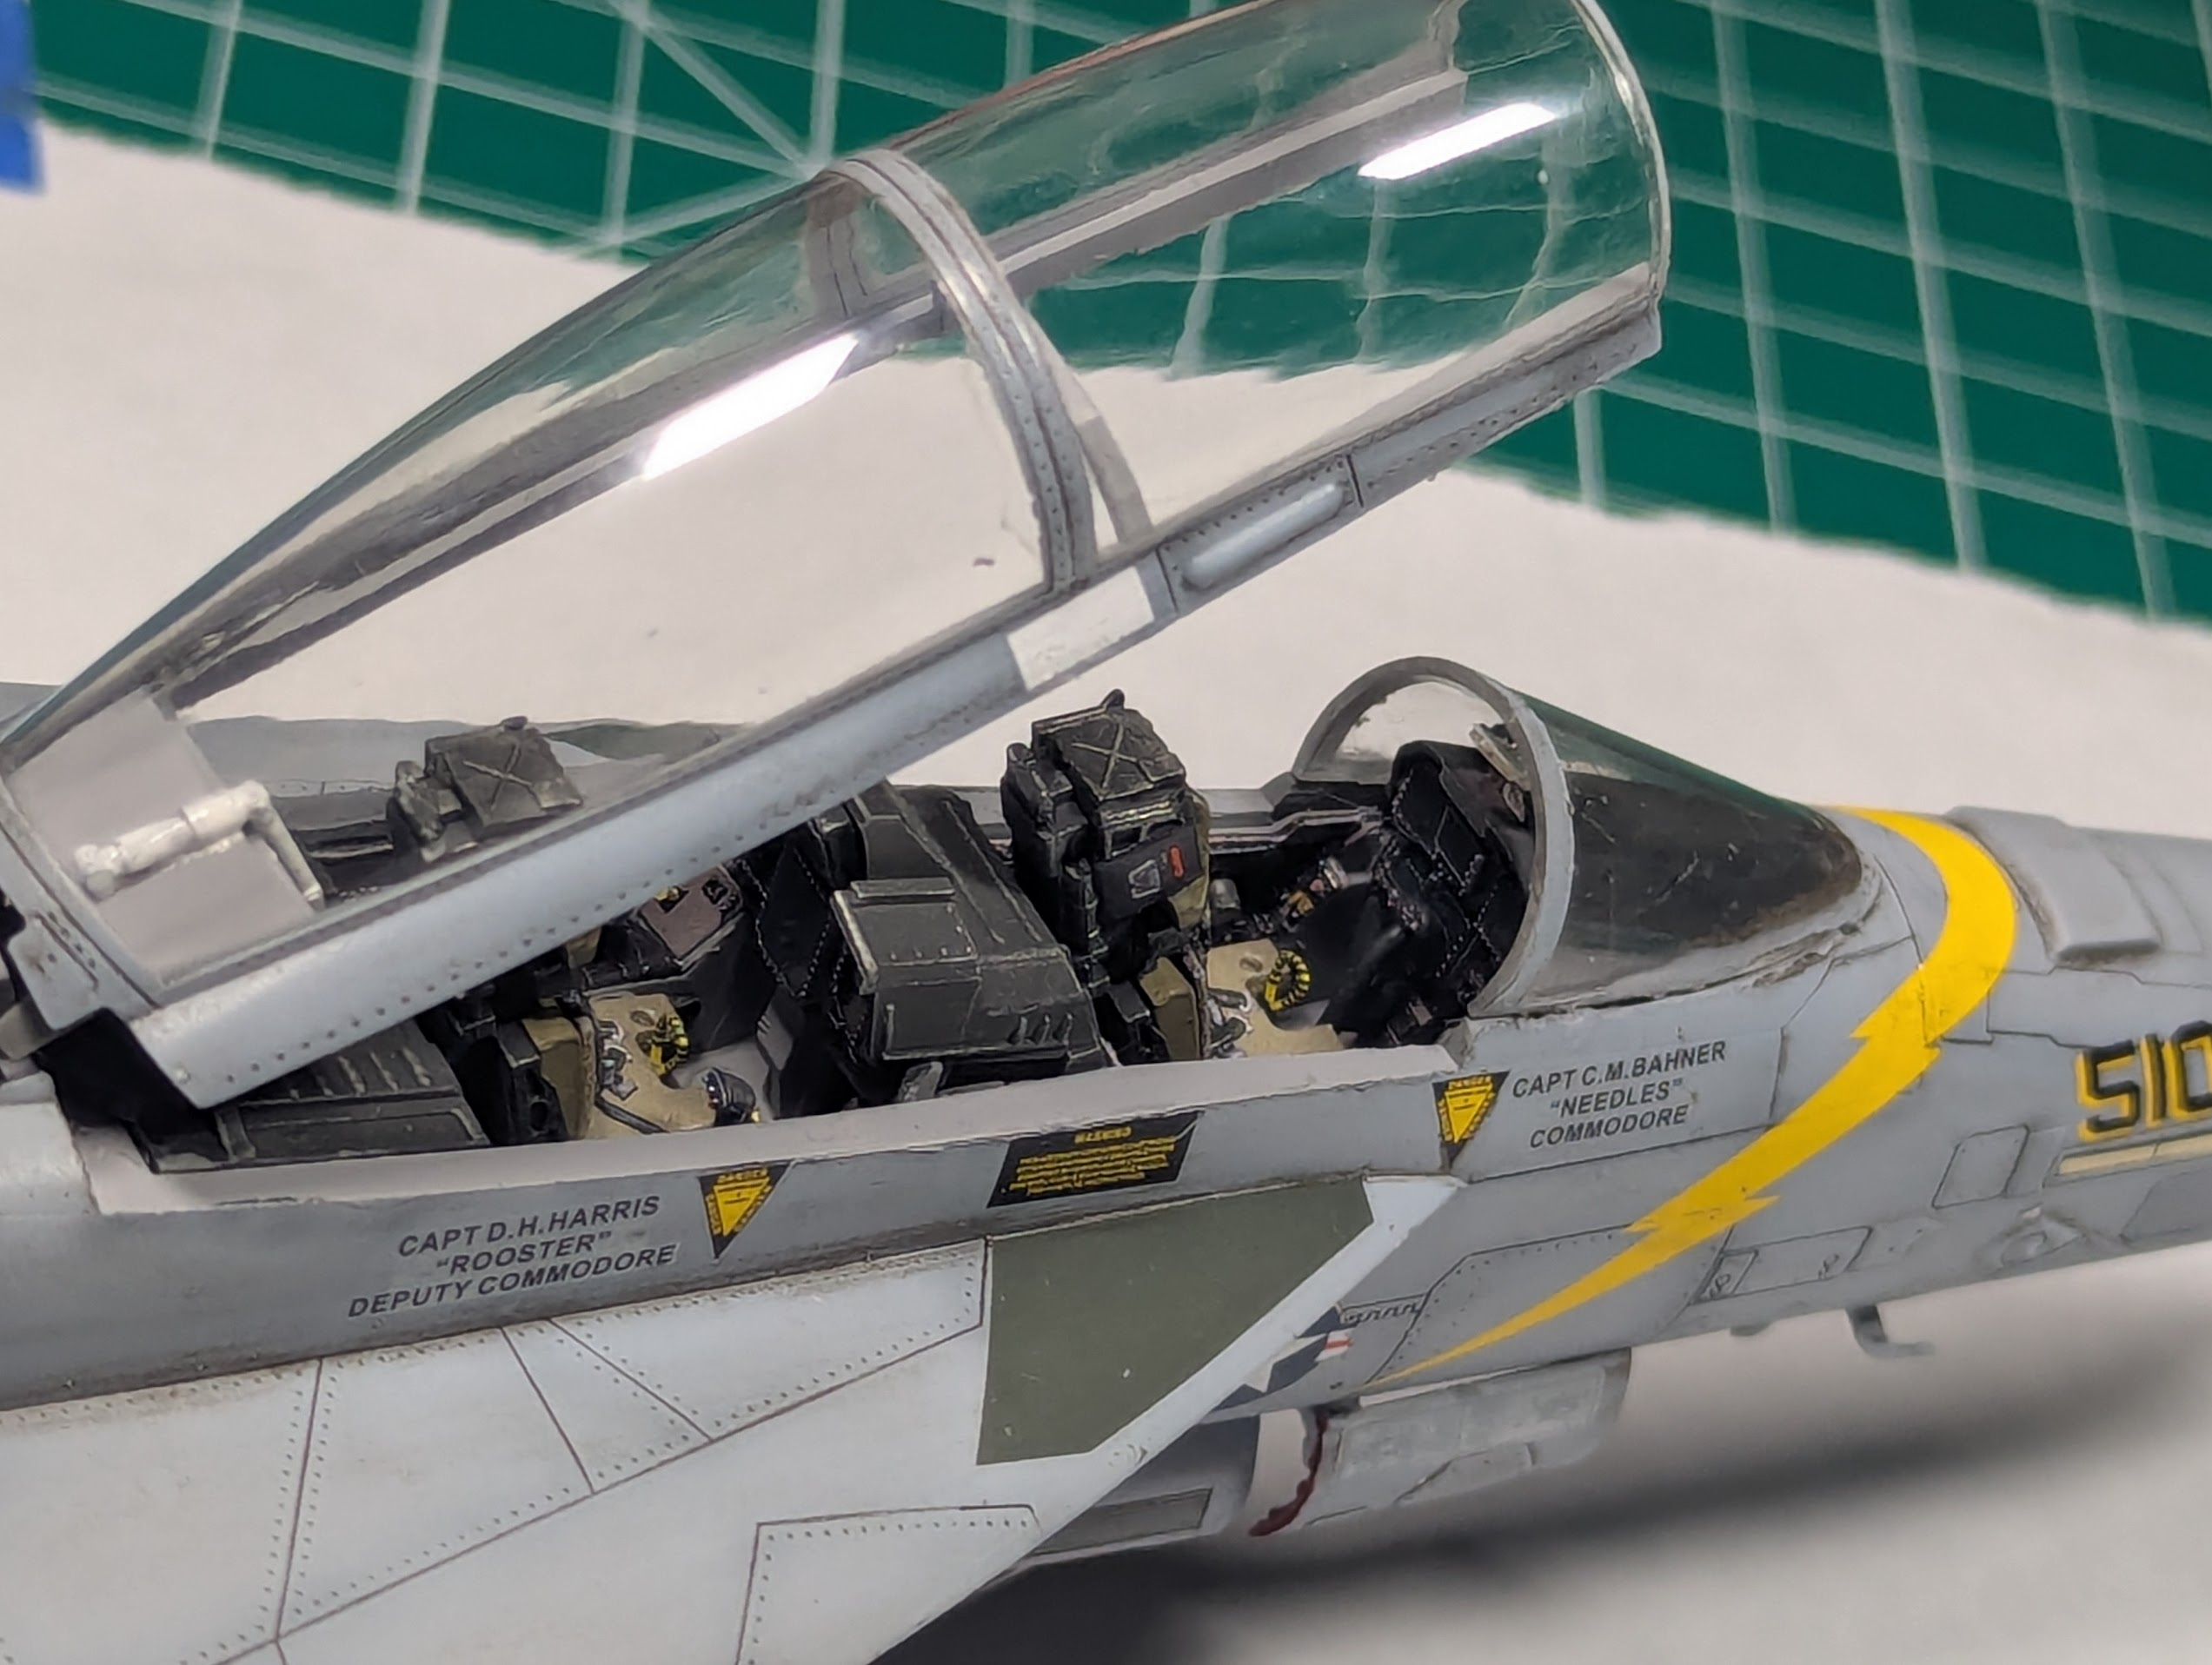
Quinta decals are on. My first time using them. I assumed they were a normal decal. There was no application instructions included so I assumed a typical water slide. Nope. Found out the hard way. THey are now glued on. Wow, these are amazing. It feels like cheating, but there is no way I could get this level or detail with my poor eyesight and shaky hands.

i-xWVvHtp-L.jpg


Seats: Seat cusions are very flat in the kit, so so I tried to add some weathering I guess you coudl cal lit, shading? to add depth. make them look less liek a plastic square painted green. I dont think you can see it in the photos. Oh well. Its all a learning experience!

i-nFXKtdS-L.jpg
 
As an Amazon Associate we earn from qualifying purchases. Product prices and availability are accurate as of the date/time indicated and are subject to change.
Here is where I am as of now on the build:

Quinta decals are on. My first time using them. I assumed they were a normal decal. There was no application instructions included so I assumed a typical water slide. Nope. Found out the hard way. THey are now glued on. Wow, these are amazing. It feels like cheating, but there is no way I could get this level or detail with my poor eyesight and shaky hands.

i-xWVvHtp-L.jpg


Seats: Seat cusions are very flat in the kit, so so I tried to add some weathering I guess you coudl cal lit, shading? to add depth. make them look less liek a plastic square painted green. I dont think you can see it in the photos. Oh well. Its all a learning experience!

i-nFXKtdS-L.jpg
Looks good to me. Pantherman
 
So, you're obviously using post shading of some type to dirty it up, what's your technique for that? It looks great!
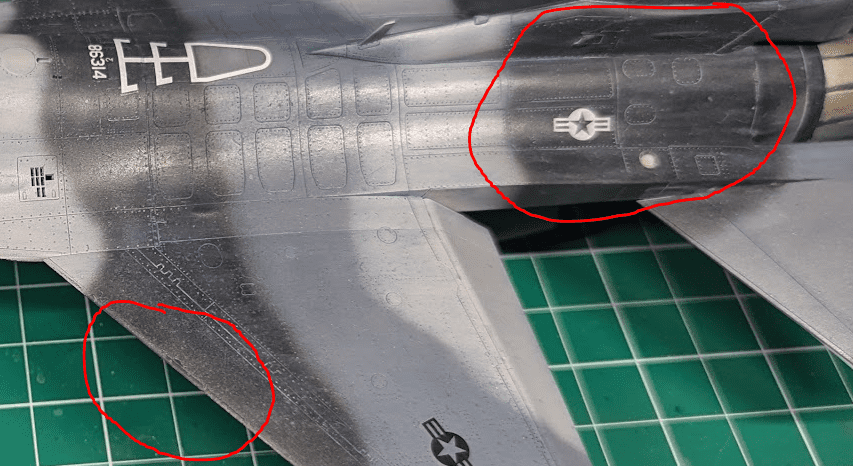
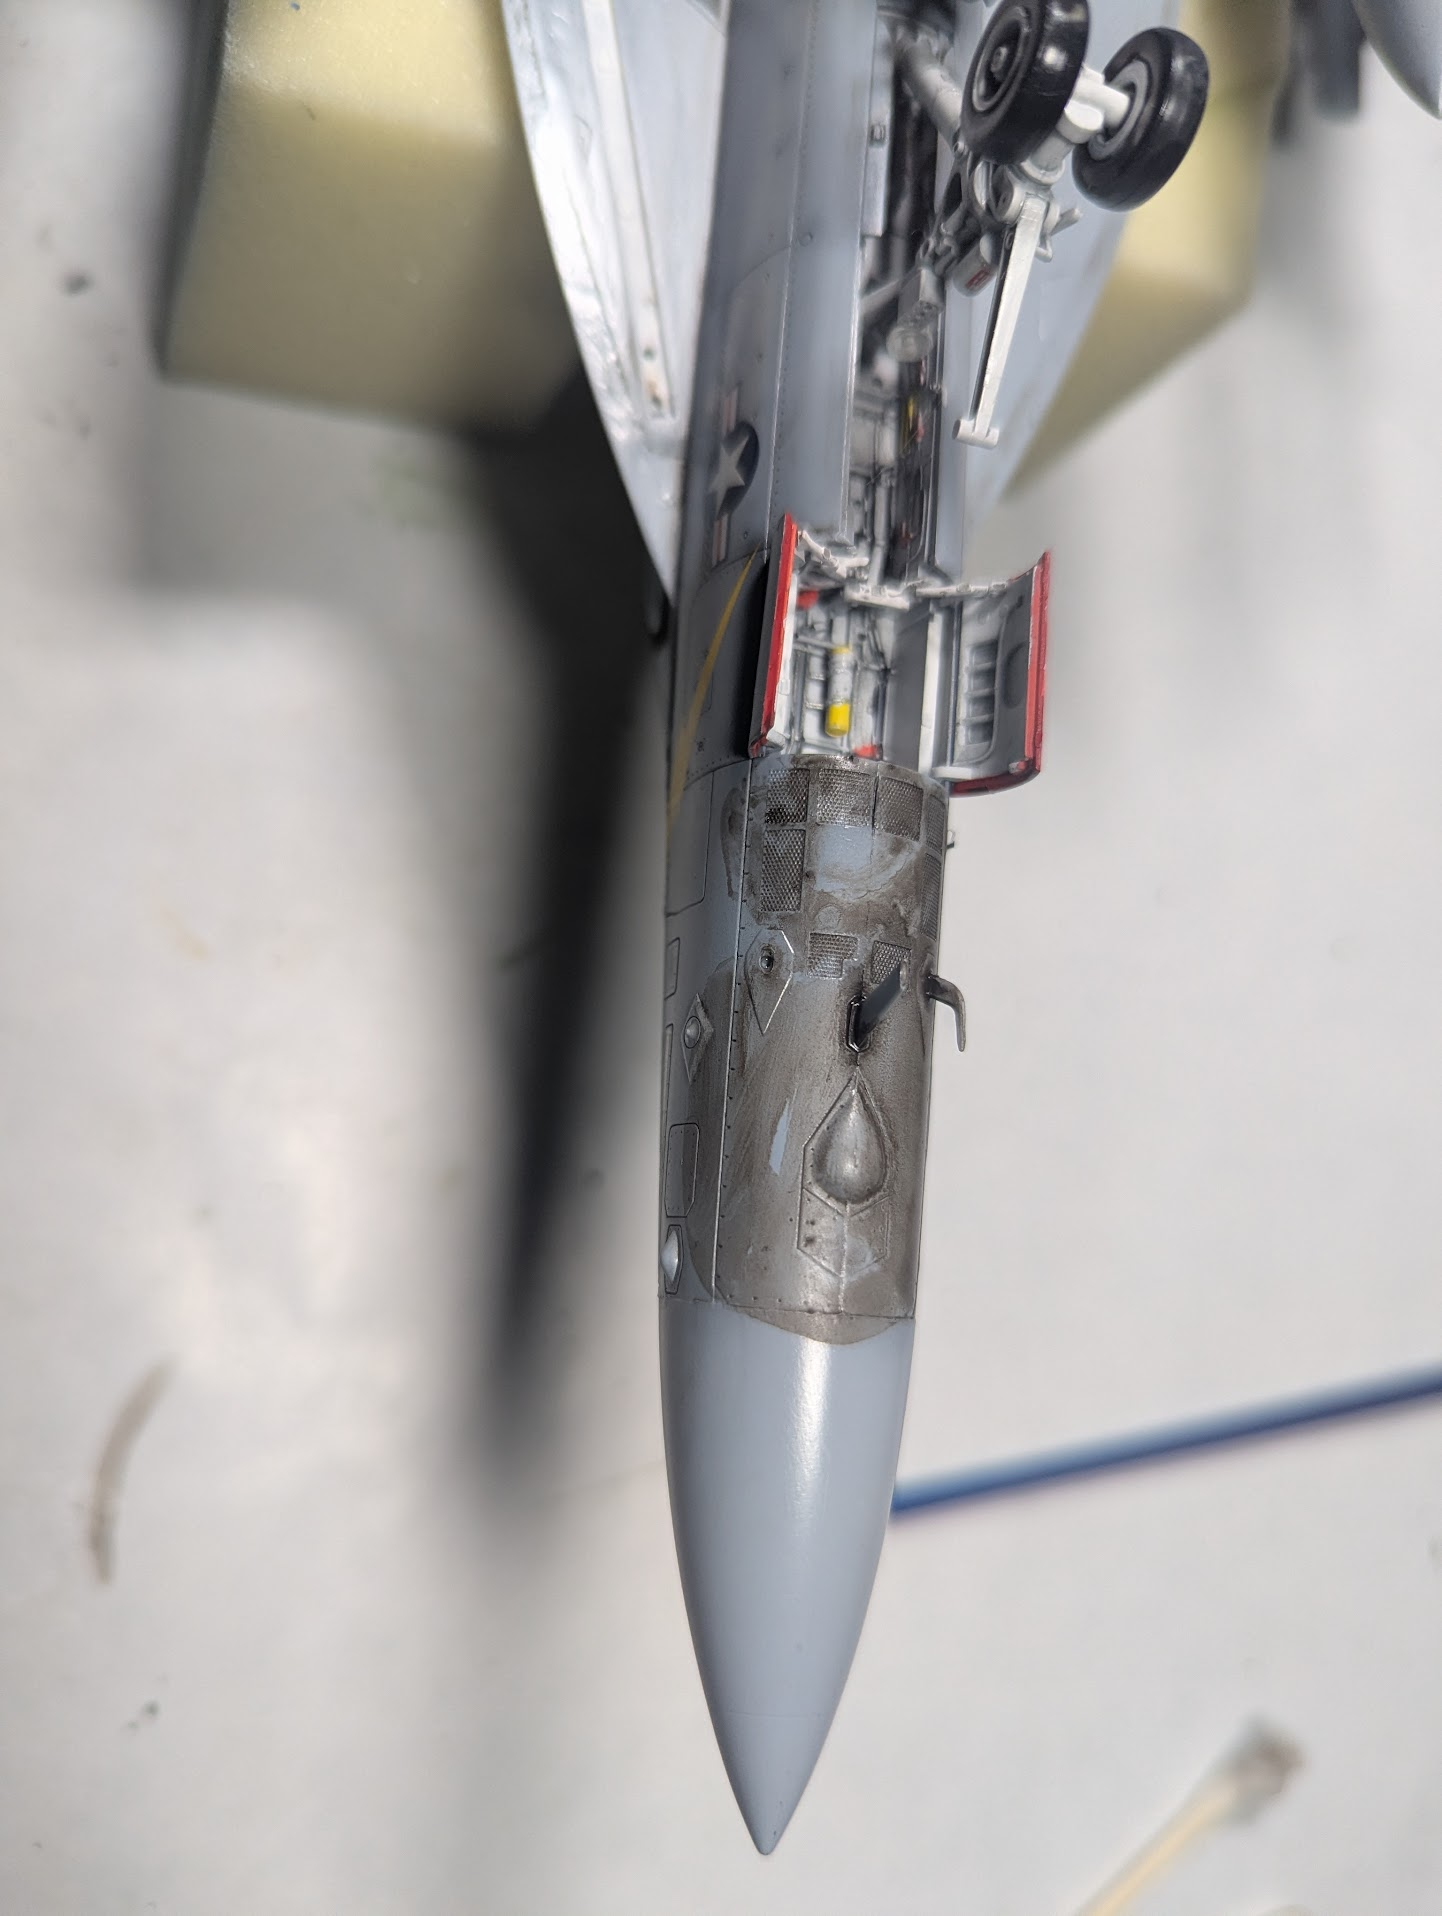
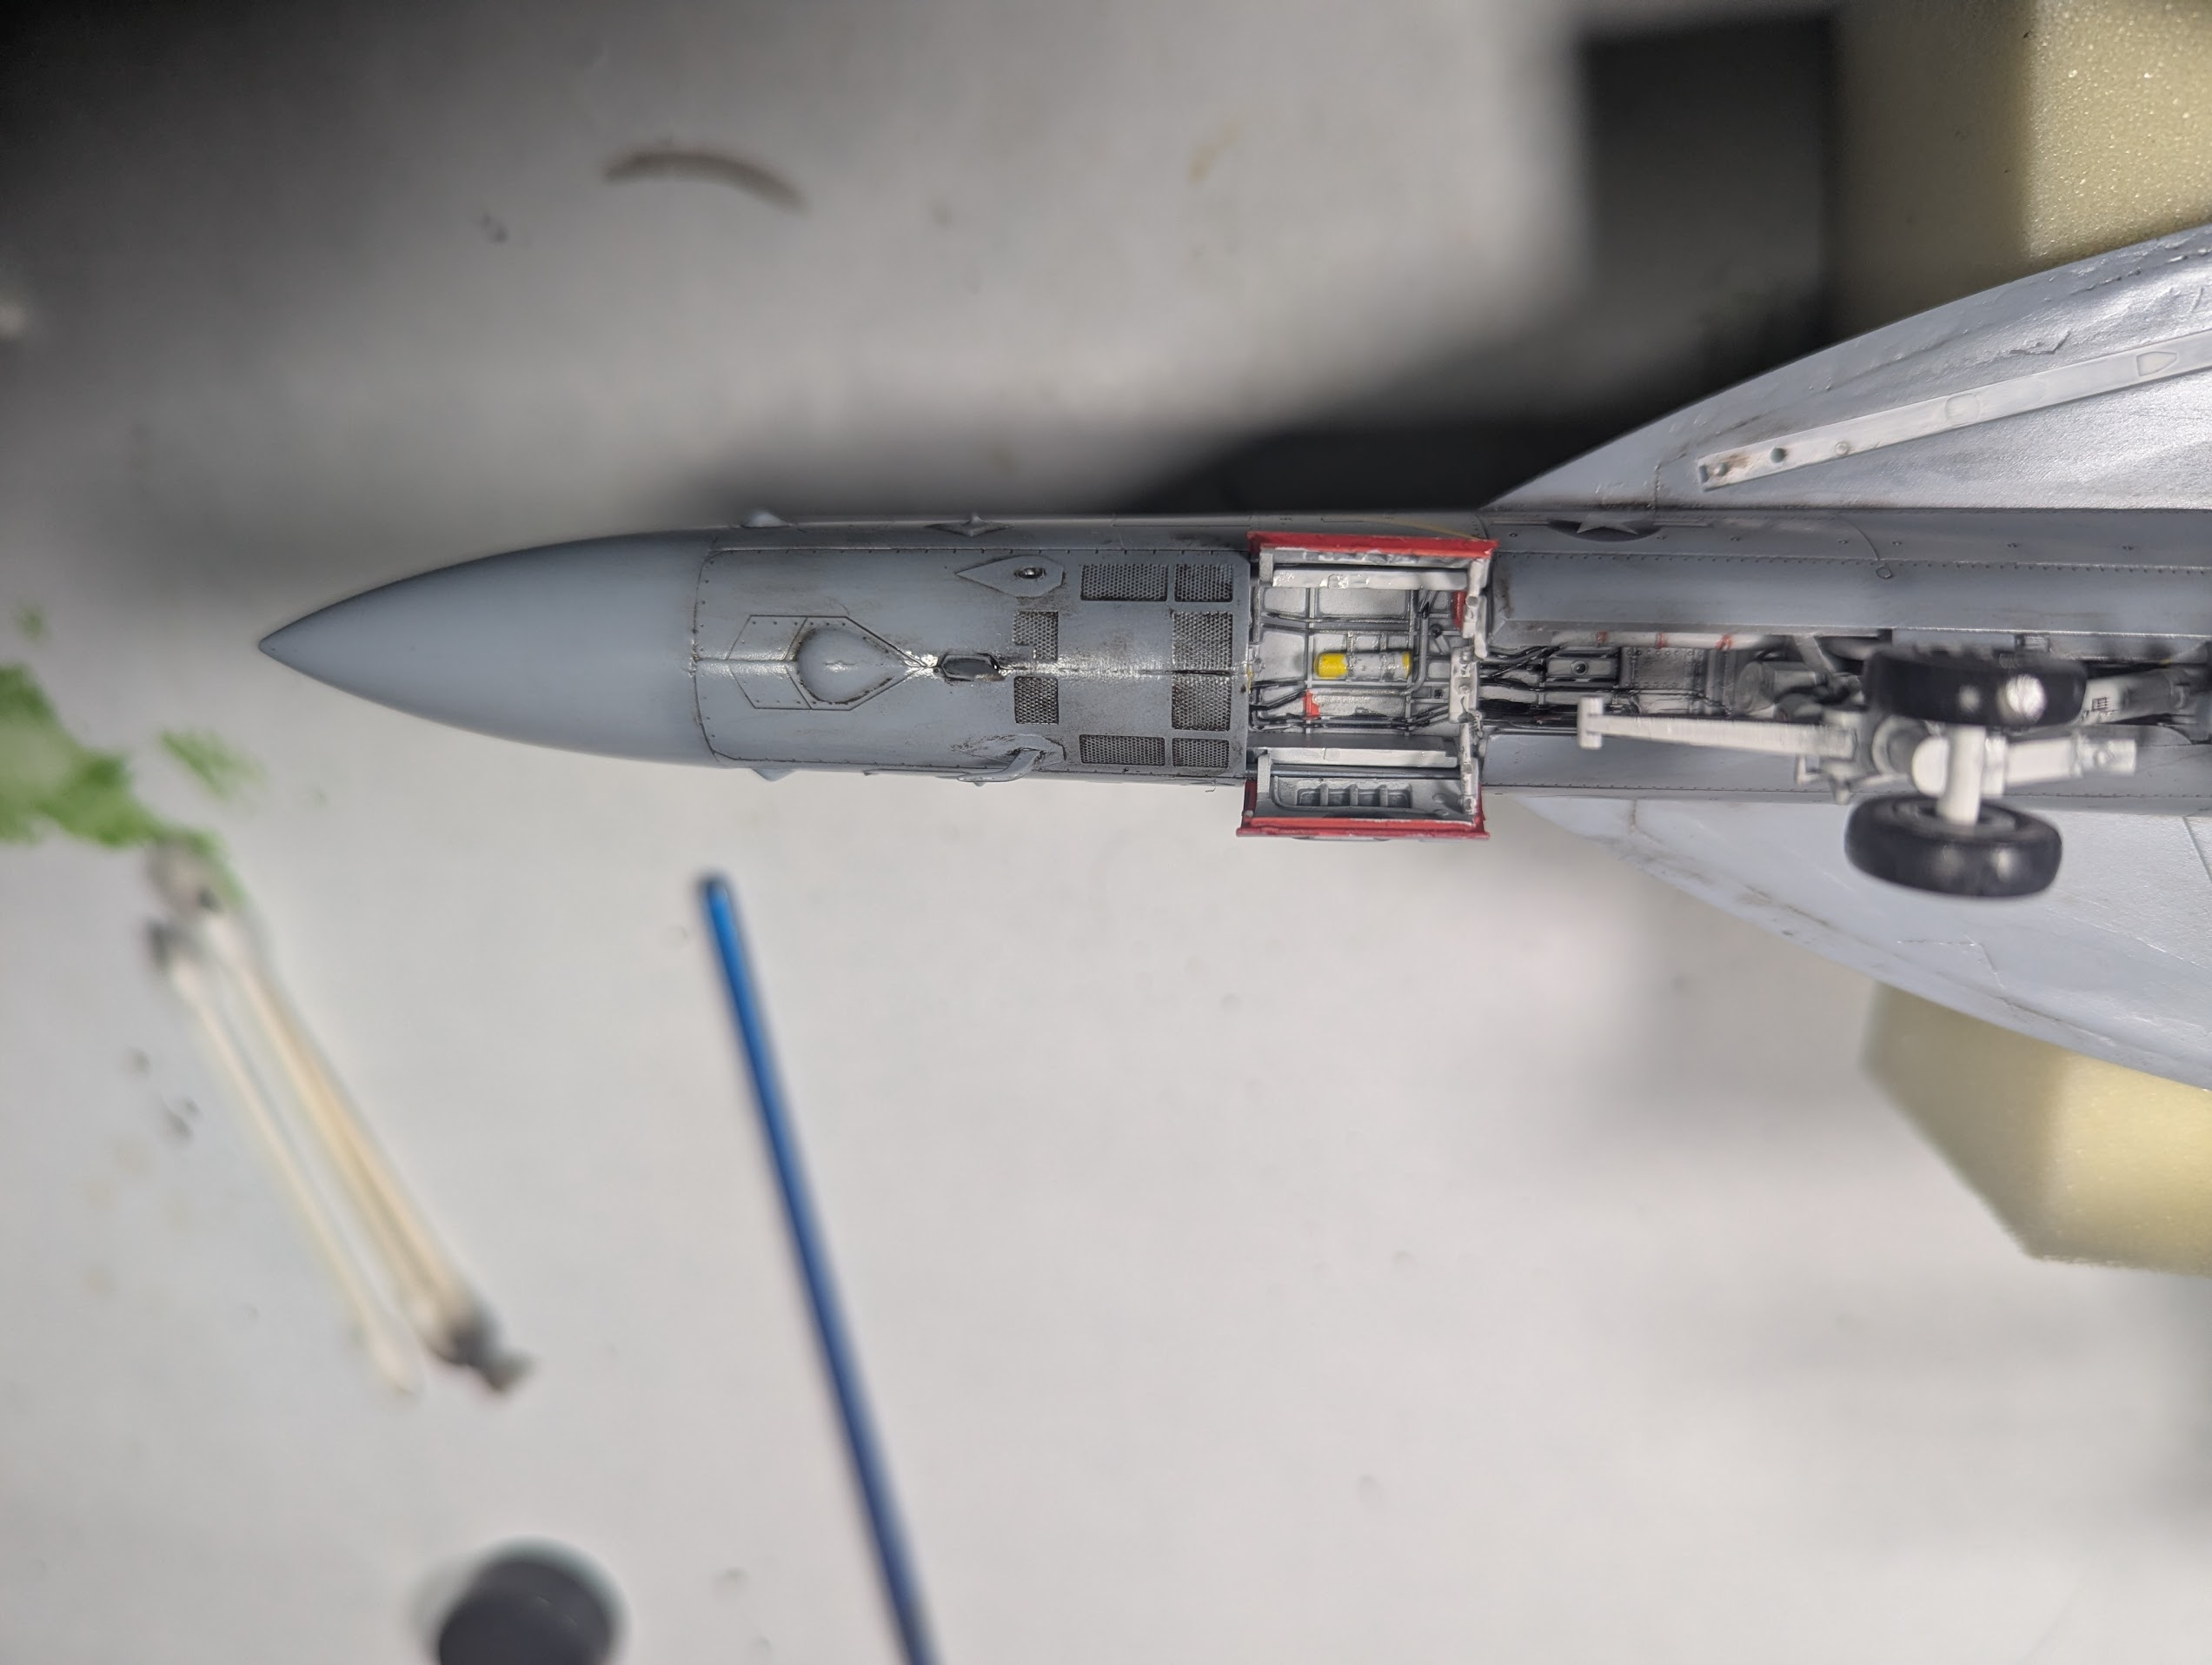
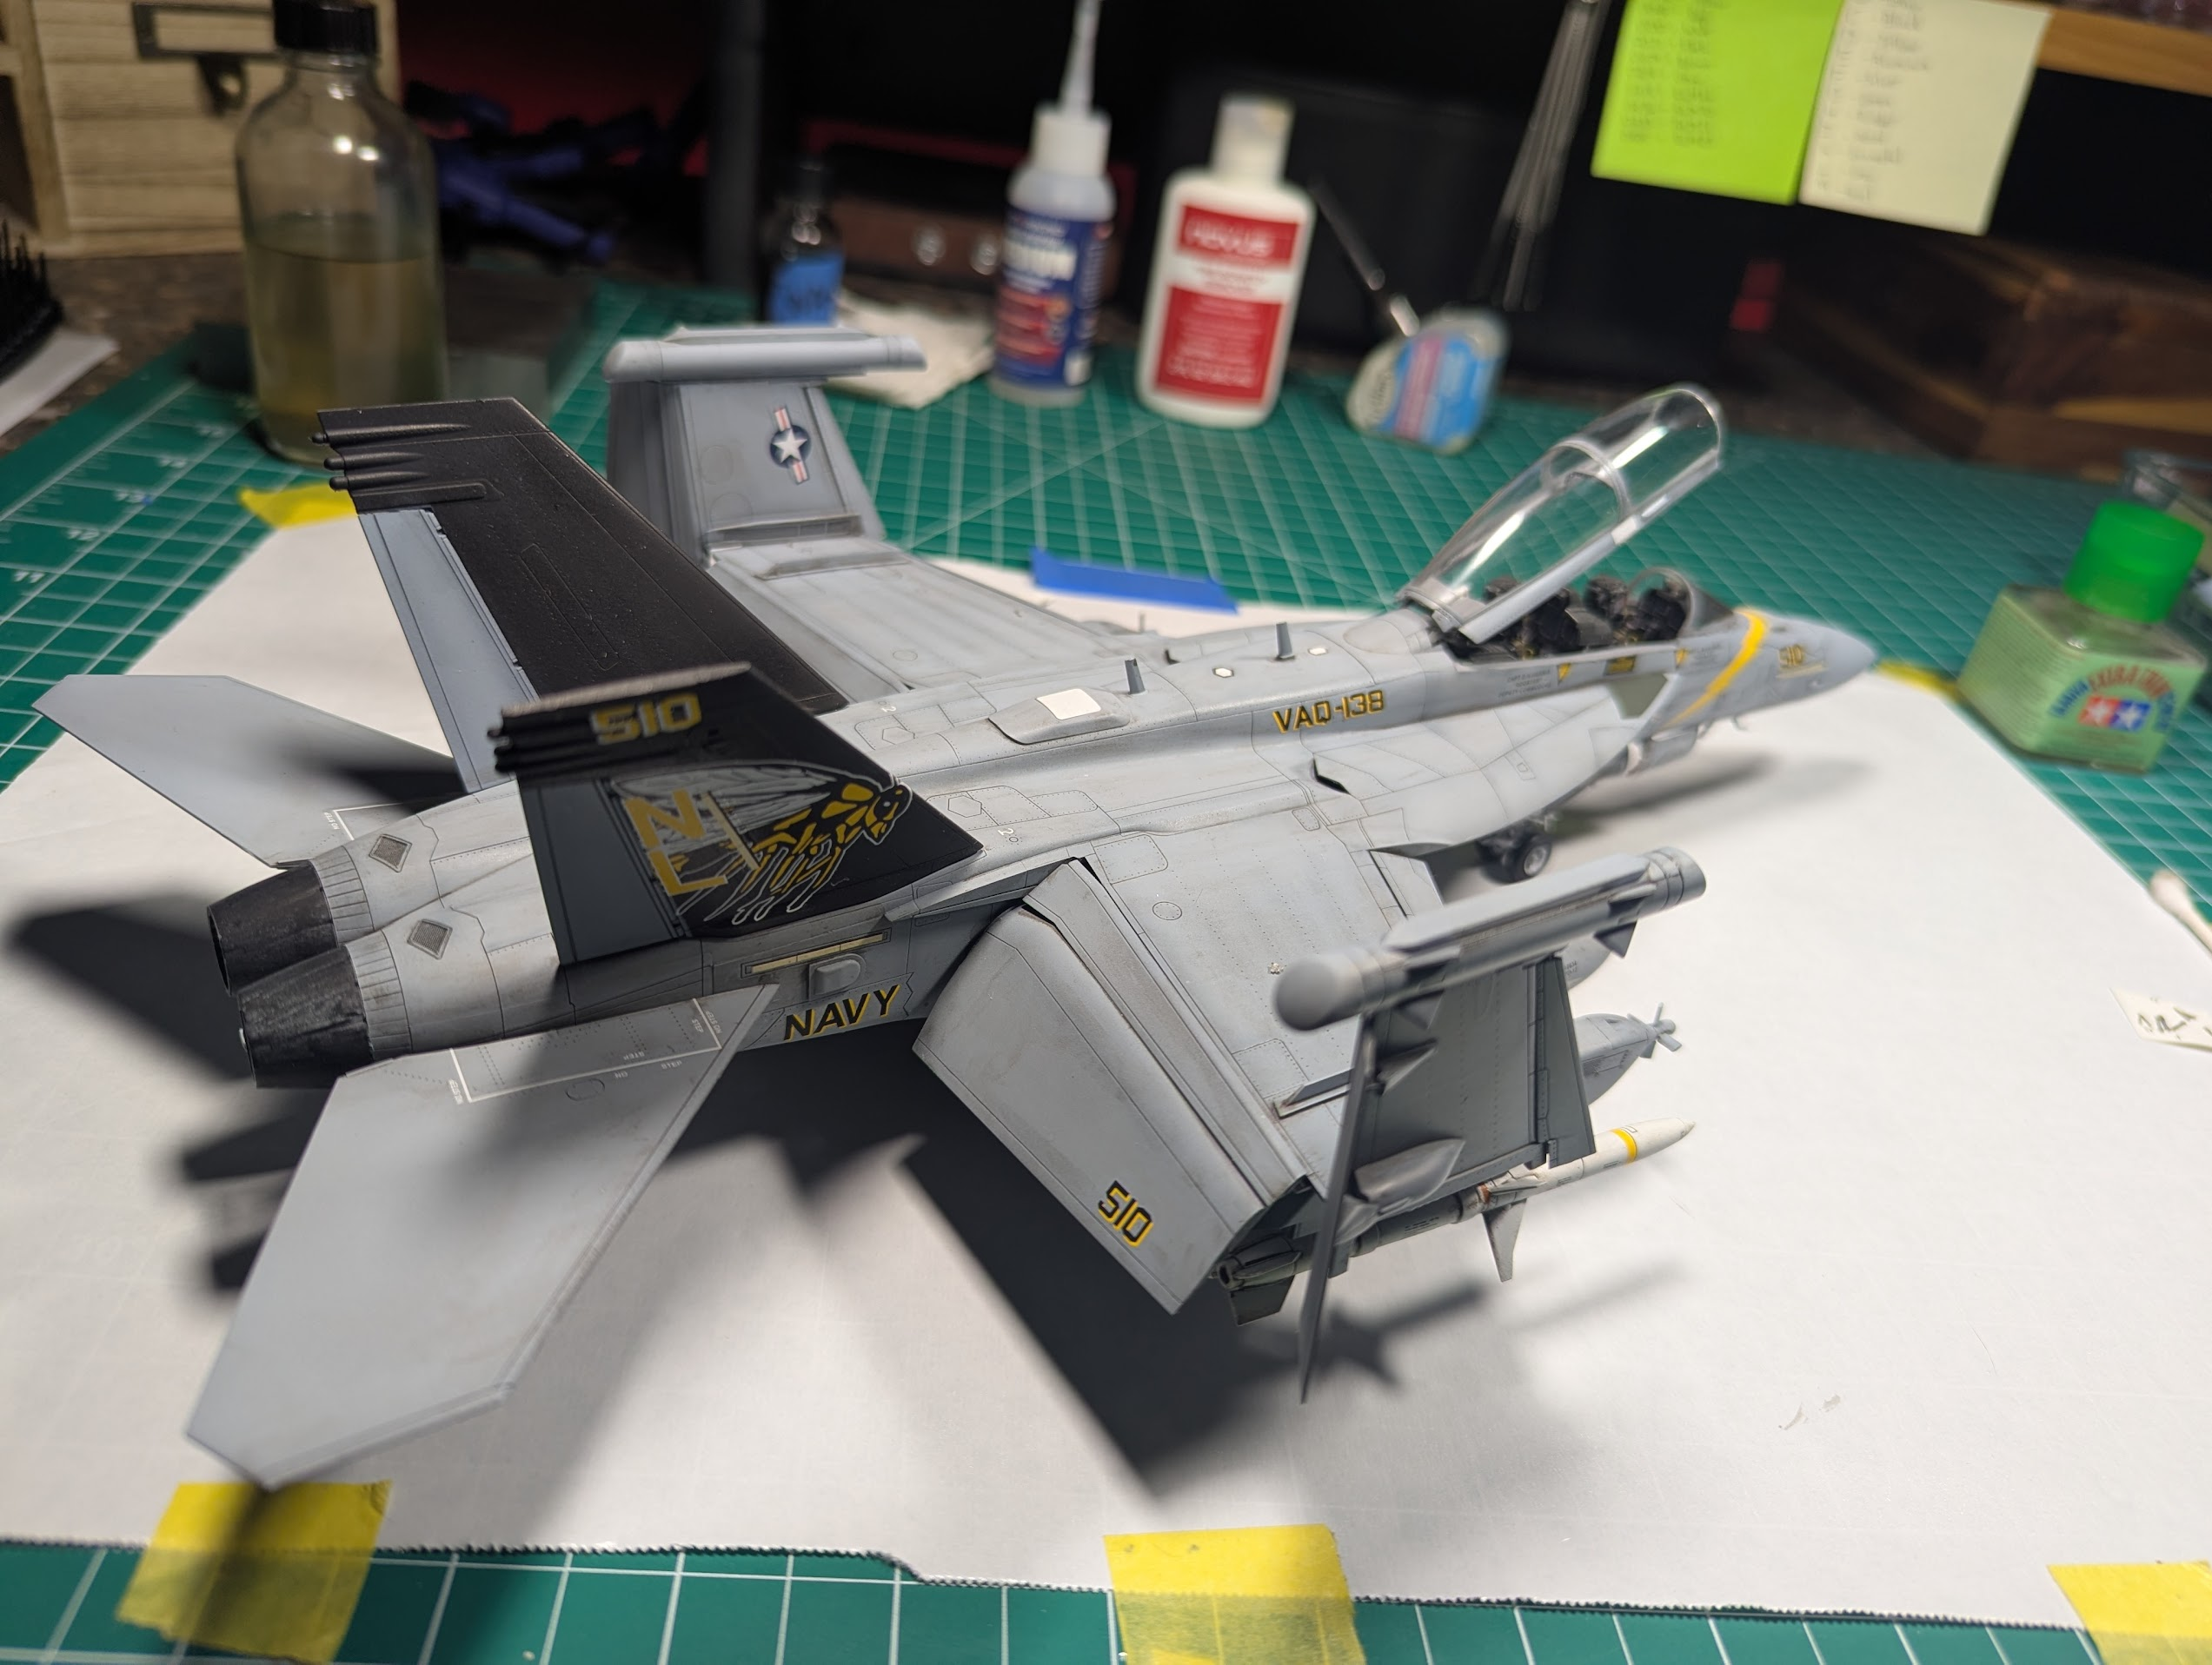
The post shading was done prior to the clear coat and decals. It involved both darkened and lightened versions of the base color applied wherever they looked right. Sort of a highlight/lowlight thing.

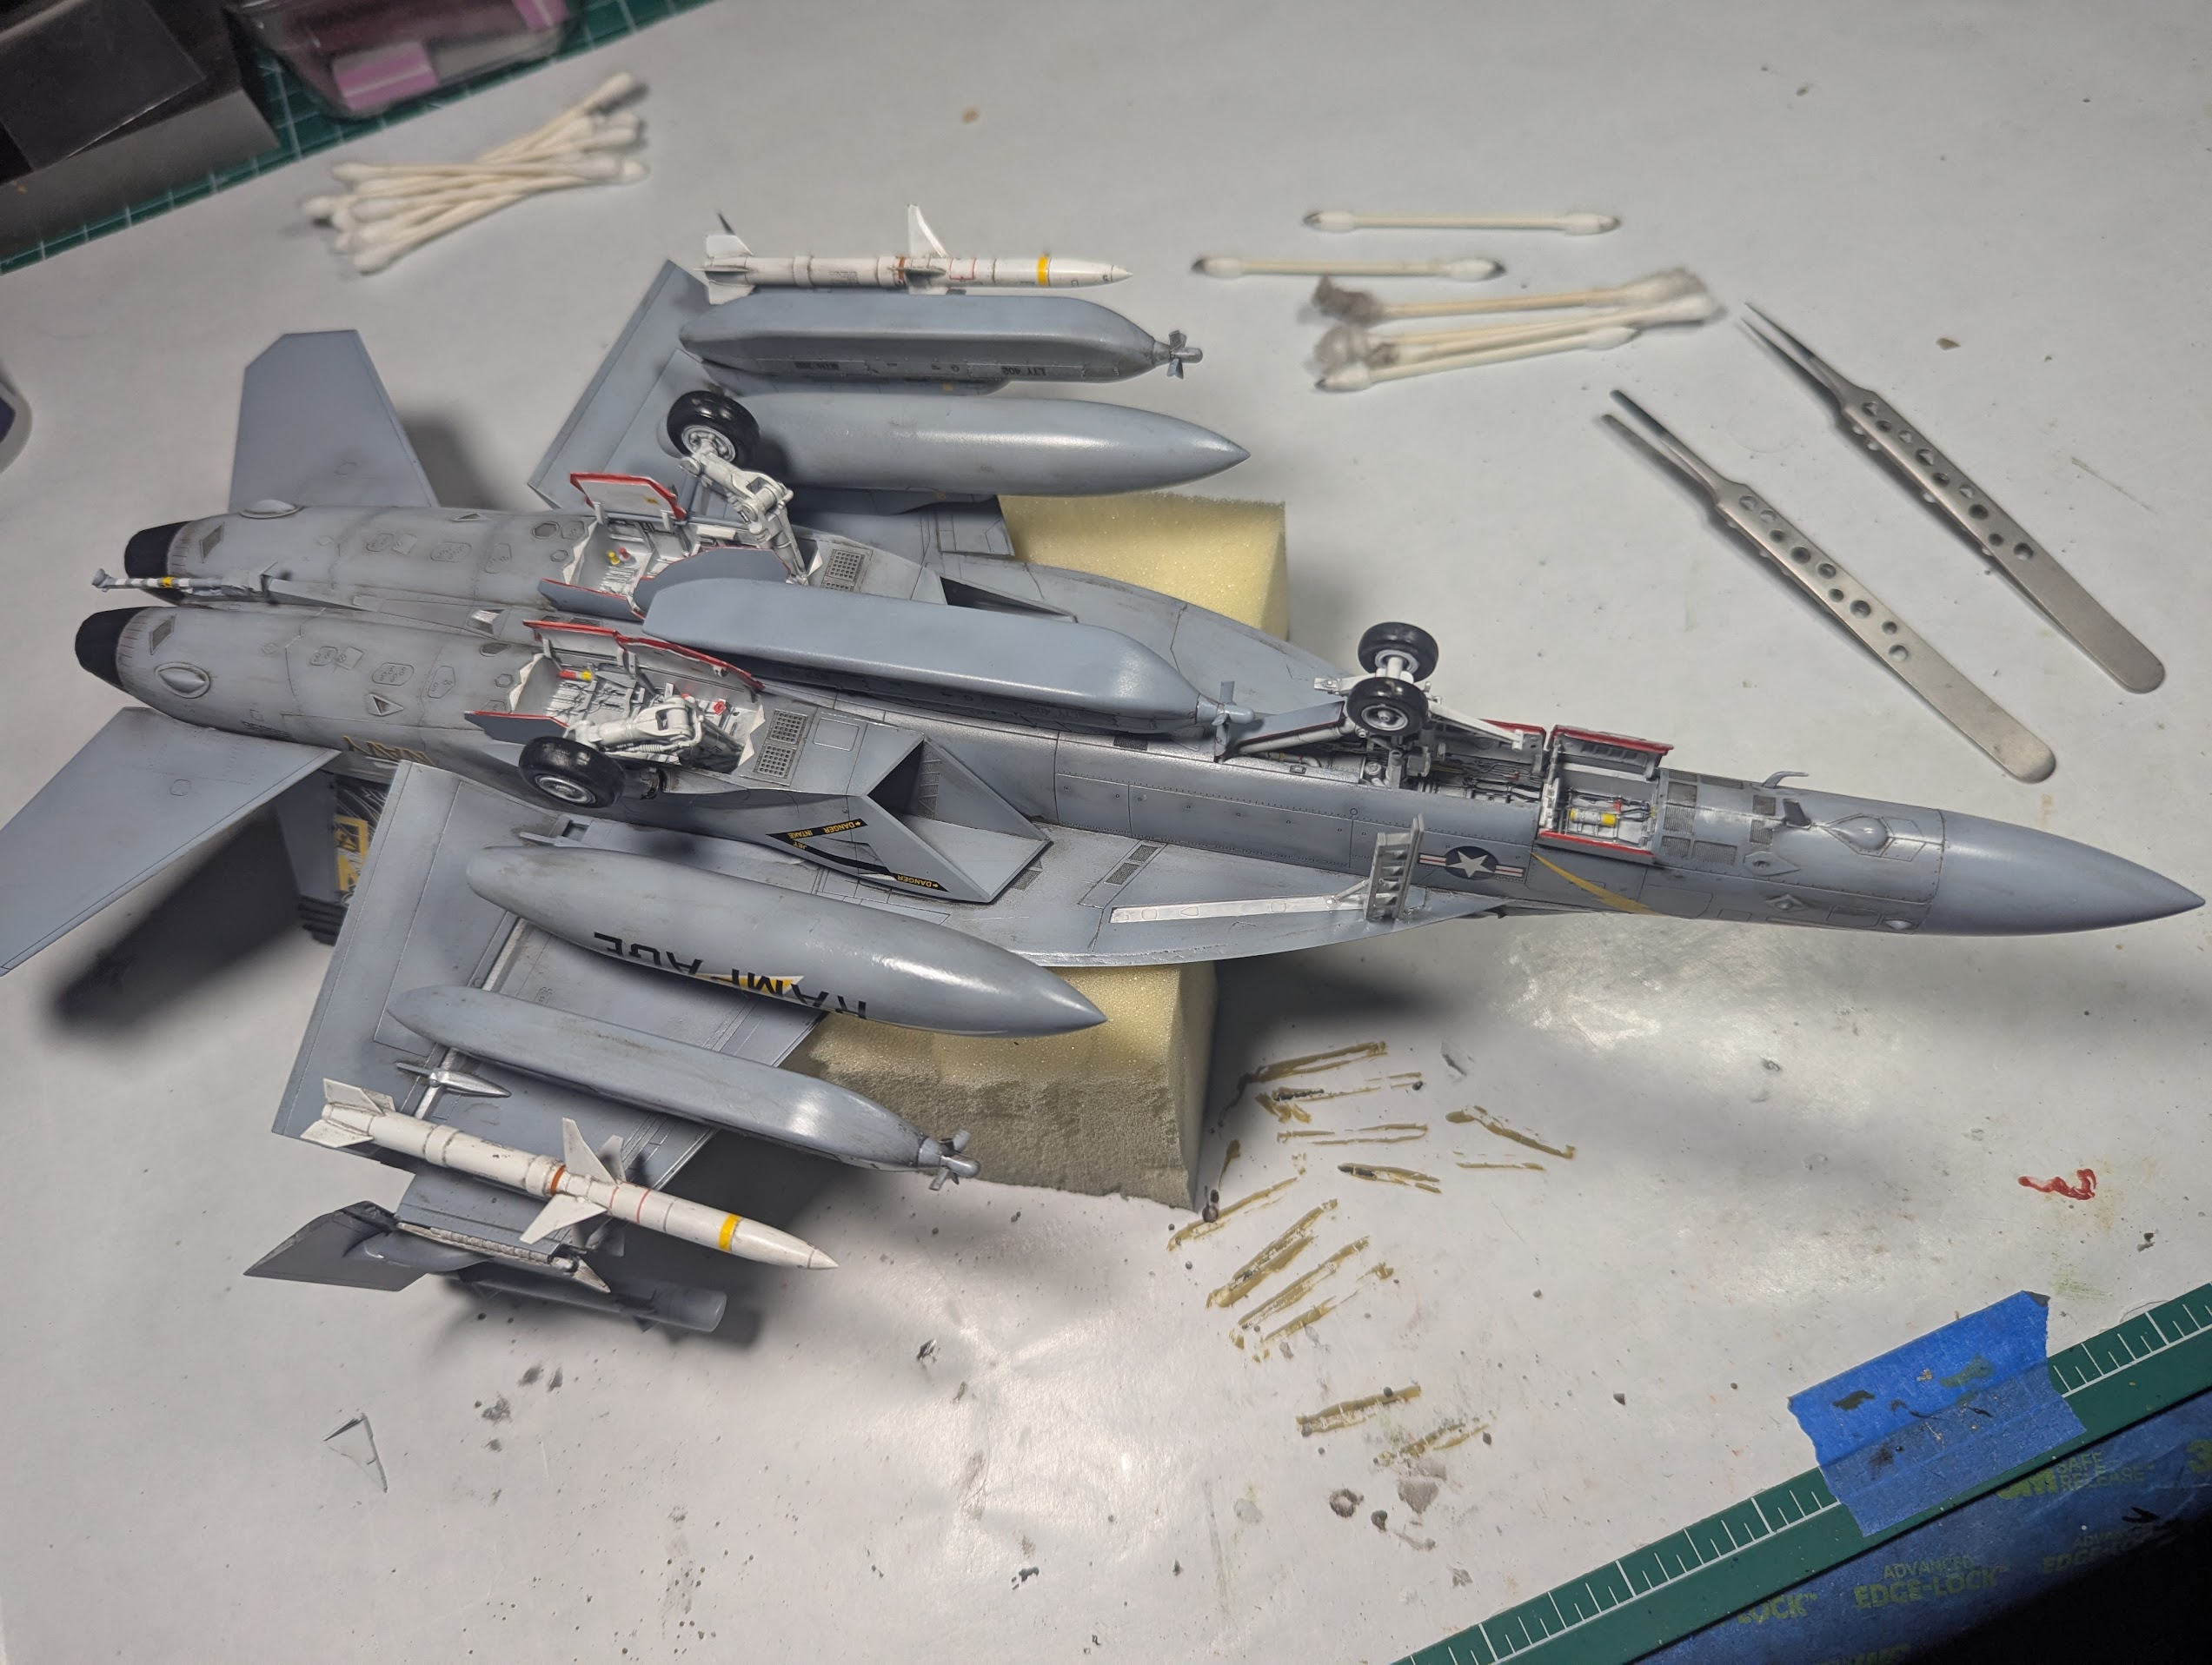
What i am doing now is glopping on a wash I made out of some black but mostly brown enamel paint thinnned like 90 to 95% with a mild turpentine. I let it dry pretty completely them wipe off excess with a slightly wet Q-tip. I use the soft ones for the most part, but also the harder sharp one to get into tight areas or to rub harder to remove stains.

The clear is Tamiya X-22, now that I finally learned to use clear coats right, it is essentially impervious to the turpentine.

I nearly ruined a series of models a while back after coming to the hobby again since the 1990s. Here's an example of one I nearly ruined...
1780086731235.png


While I'm picking your brain, what is your method with the X-22?
That is what took a lot of practice or trial and error (emphasis on error), the key is to basically flood the surface, in a nutshell, that is it.

I have a long hard learned tendency to paint in super-thin layers, building color up over time. That works great in many ways. but not a clear-coat that is deigned to seal something in.

So yeah, that is it, I change to a 0.5mm tip and just put as much clear down as I can while trying not to fill in the surface details.
 
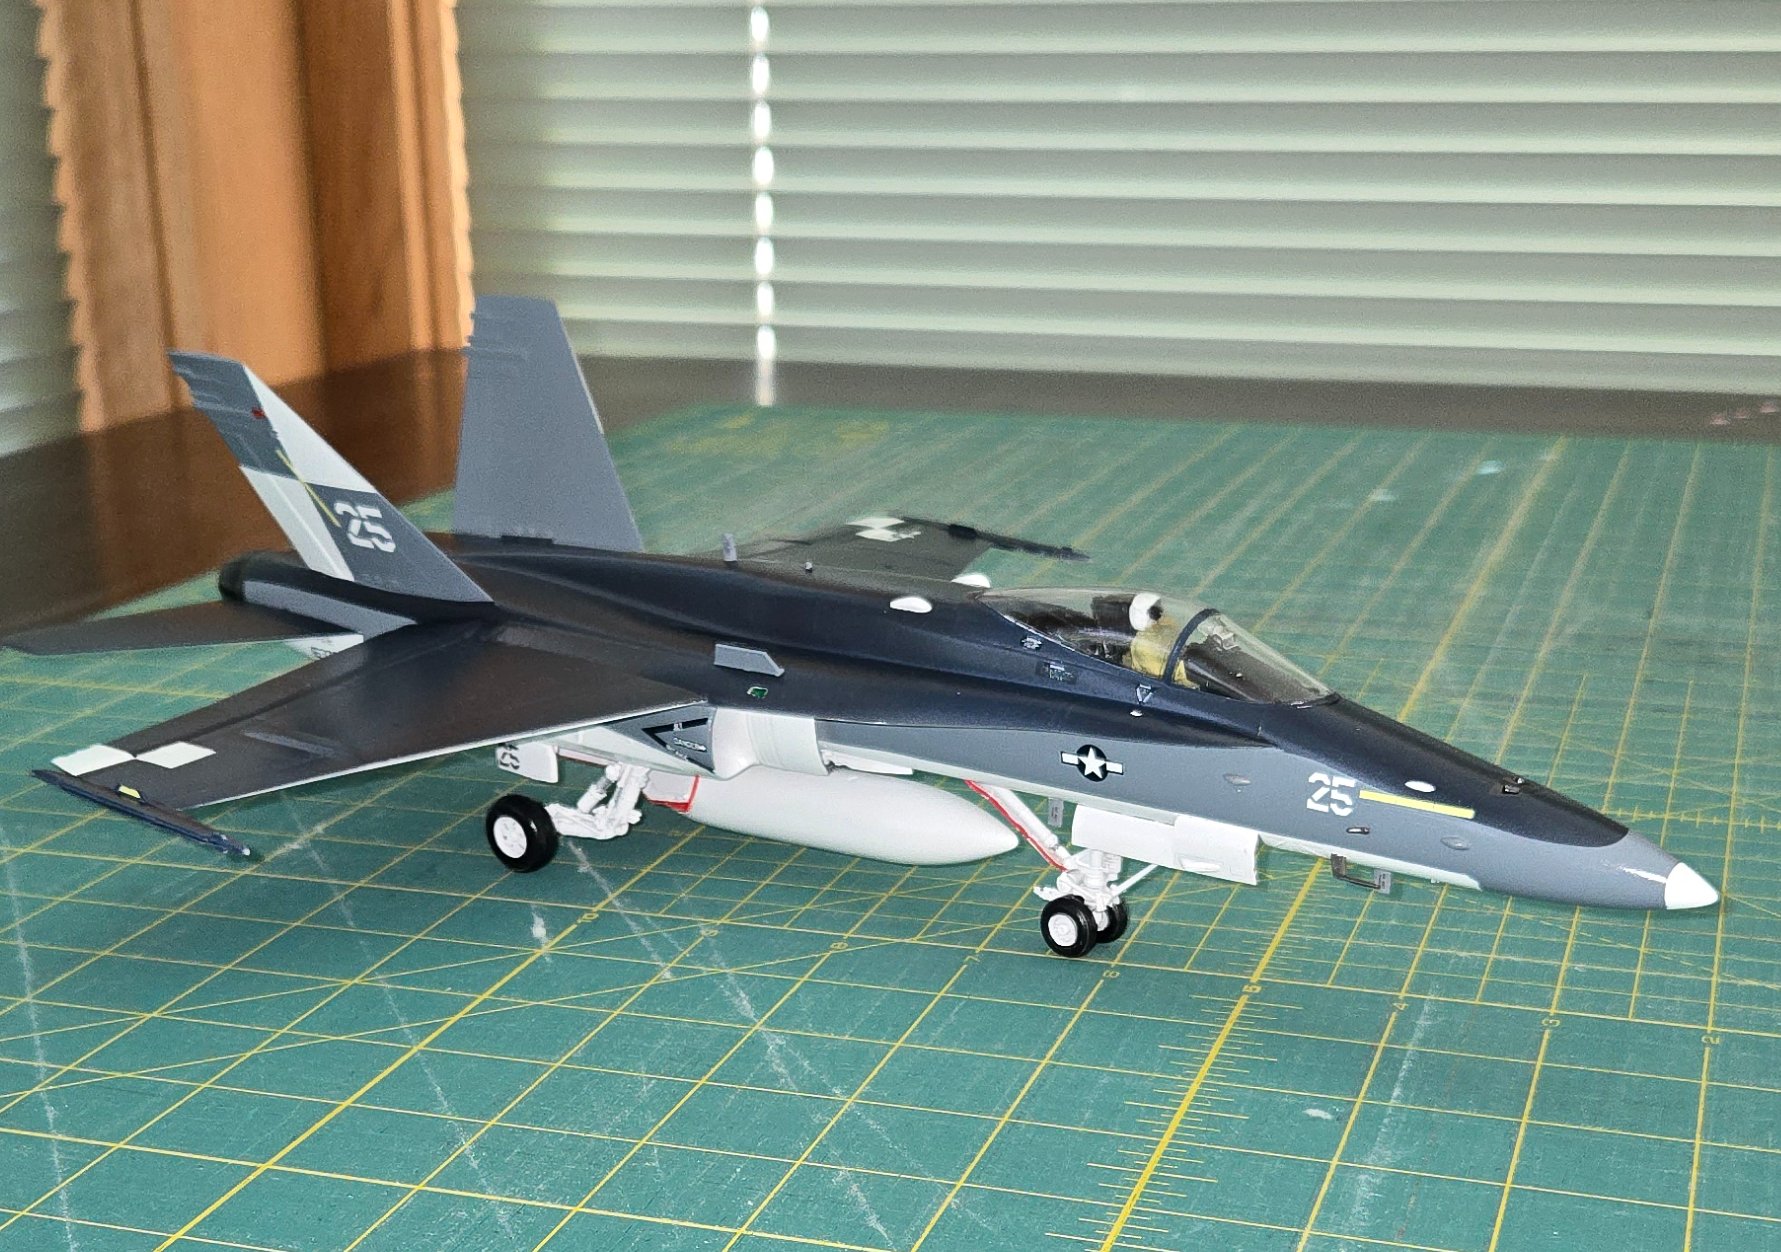
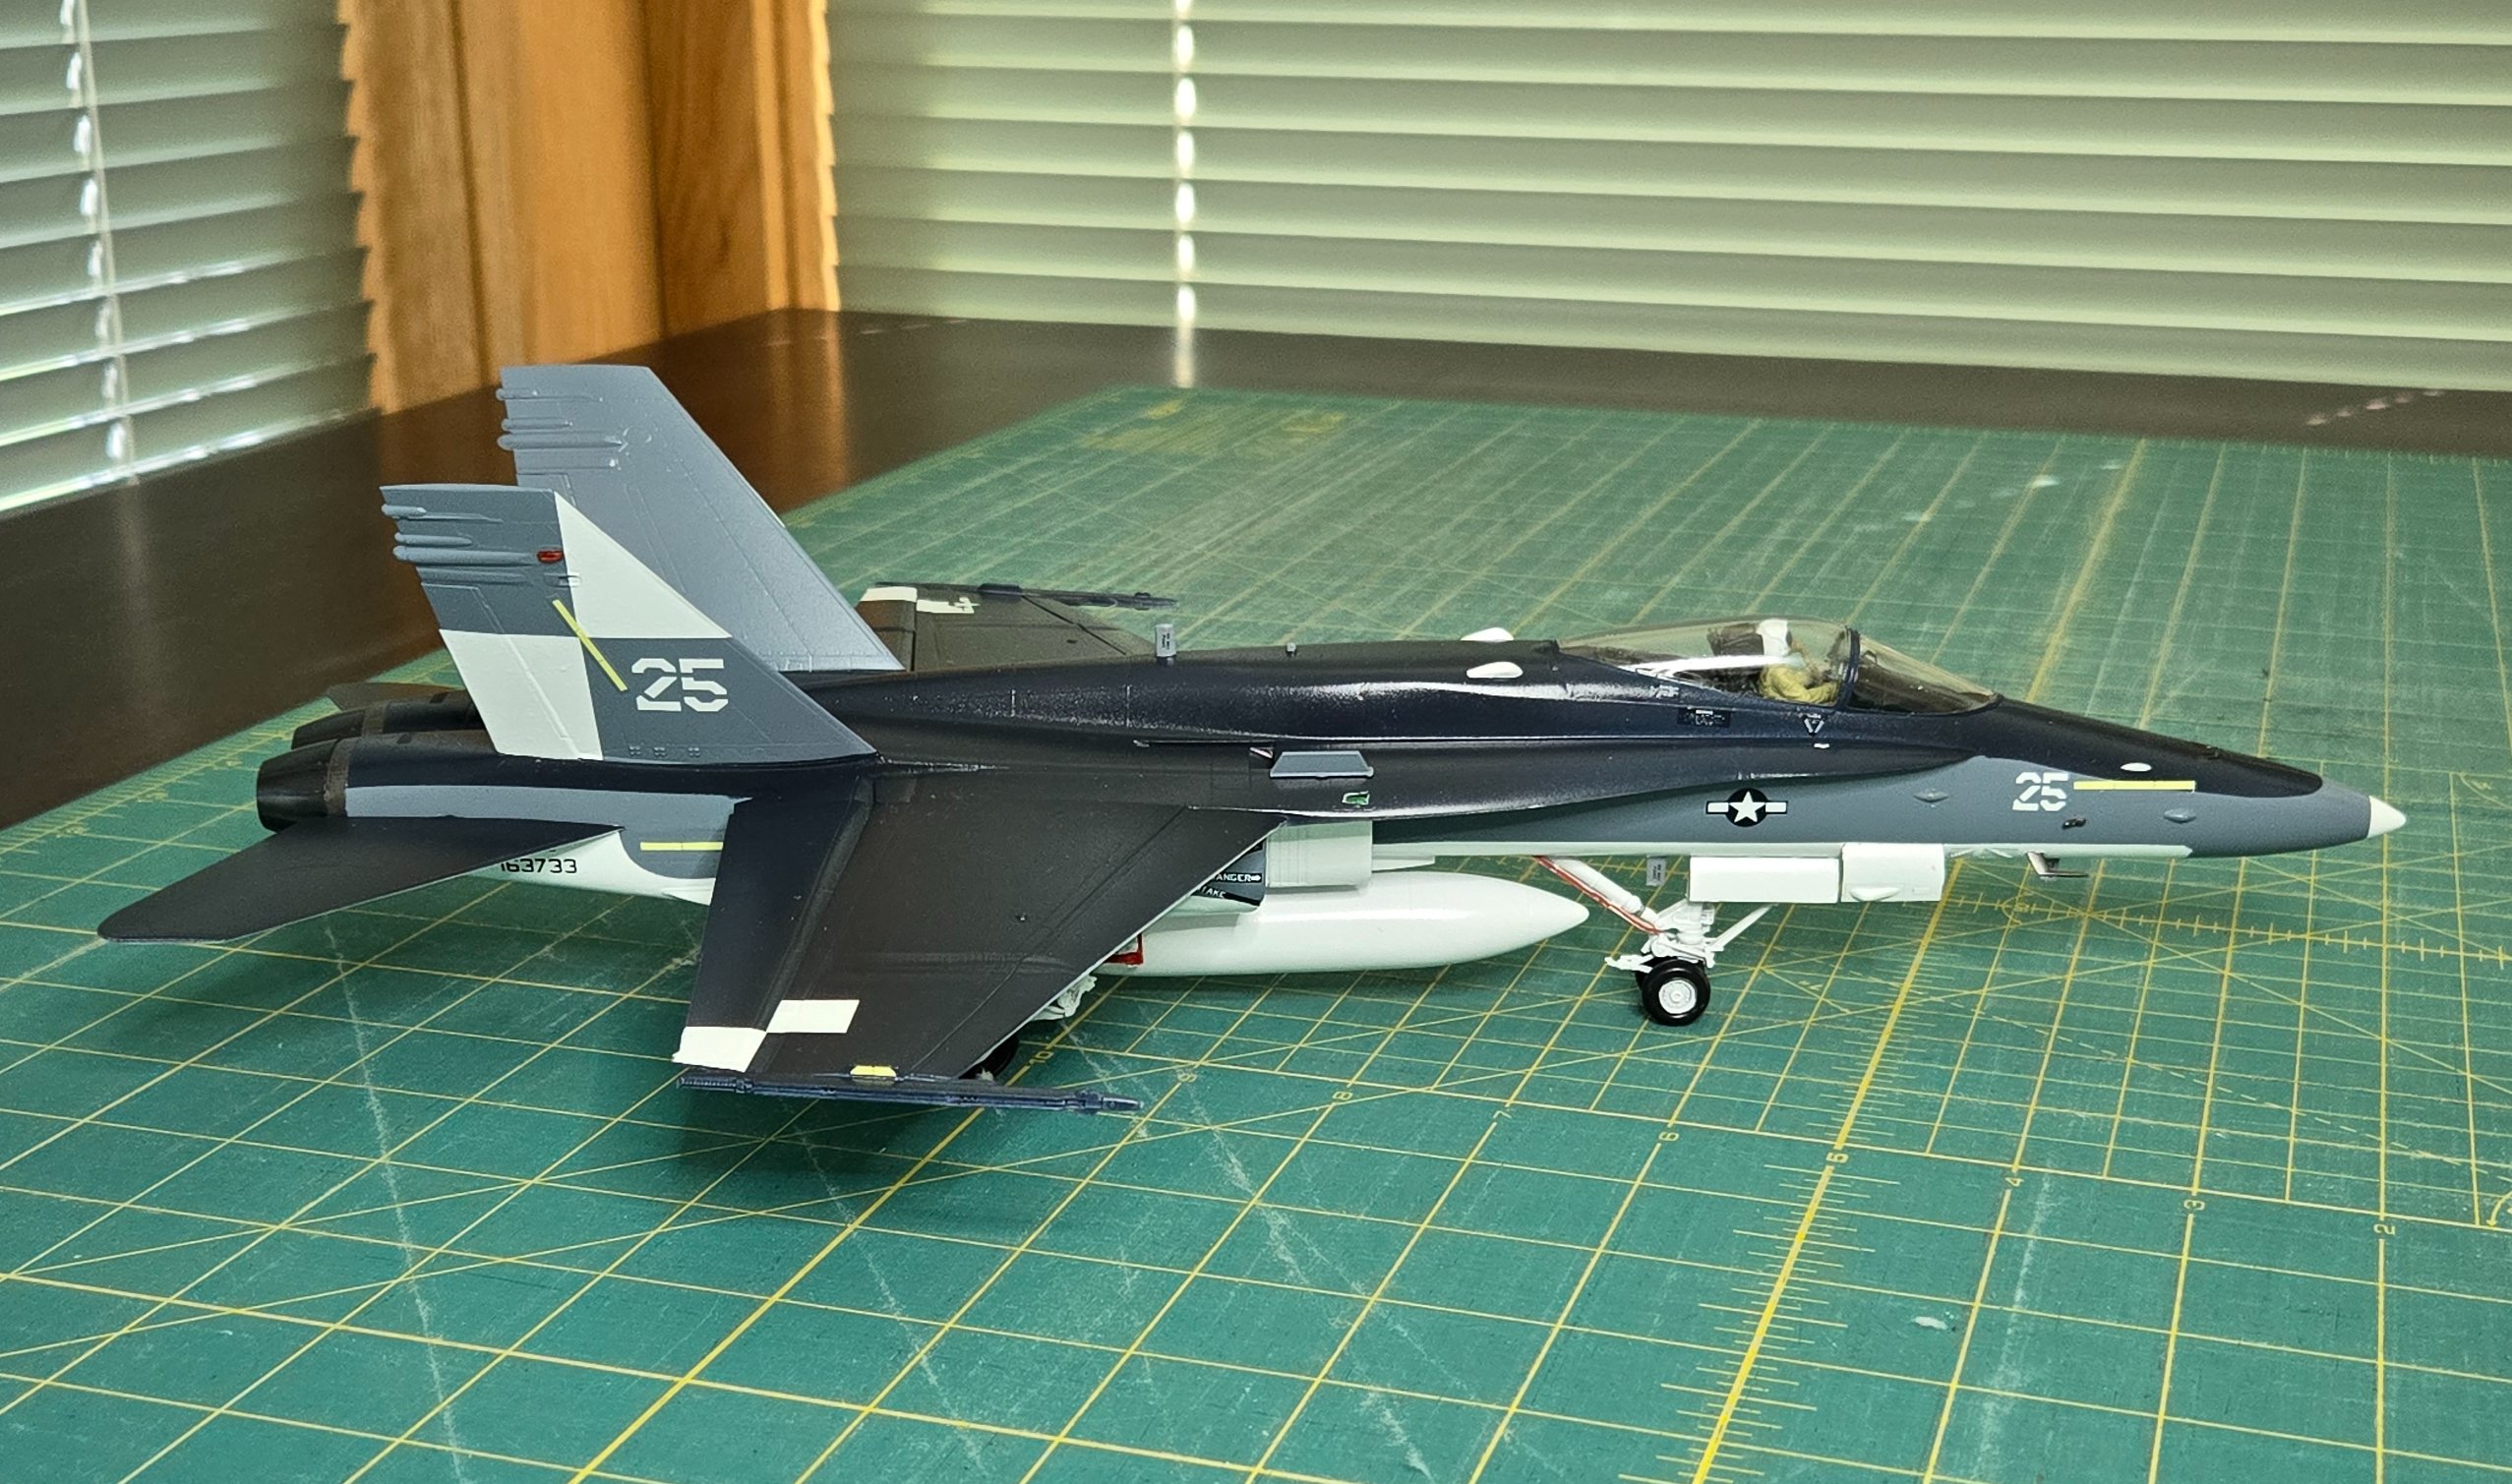
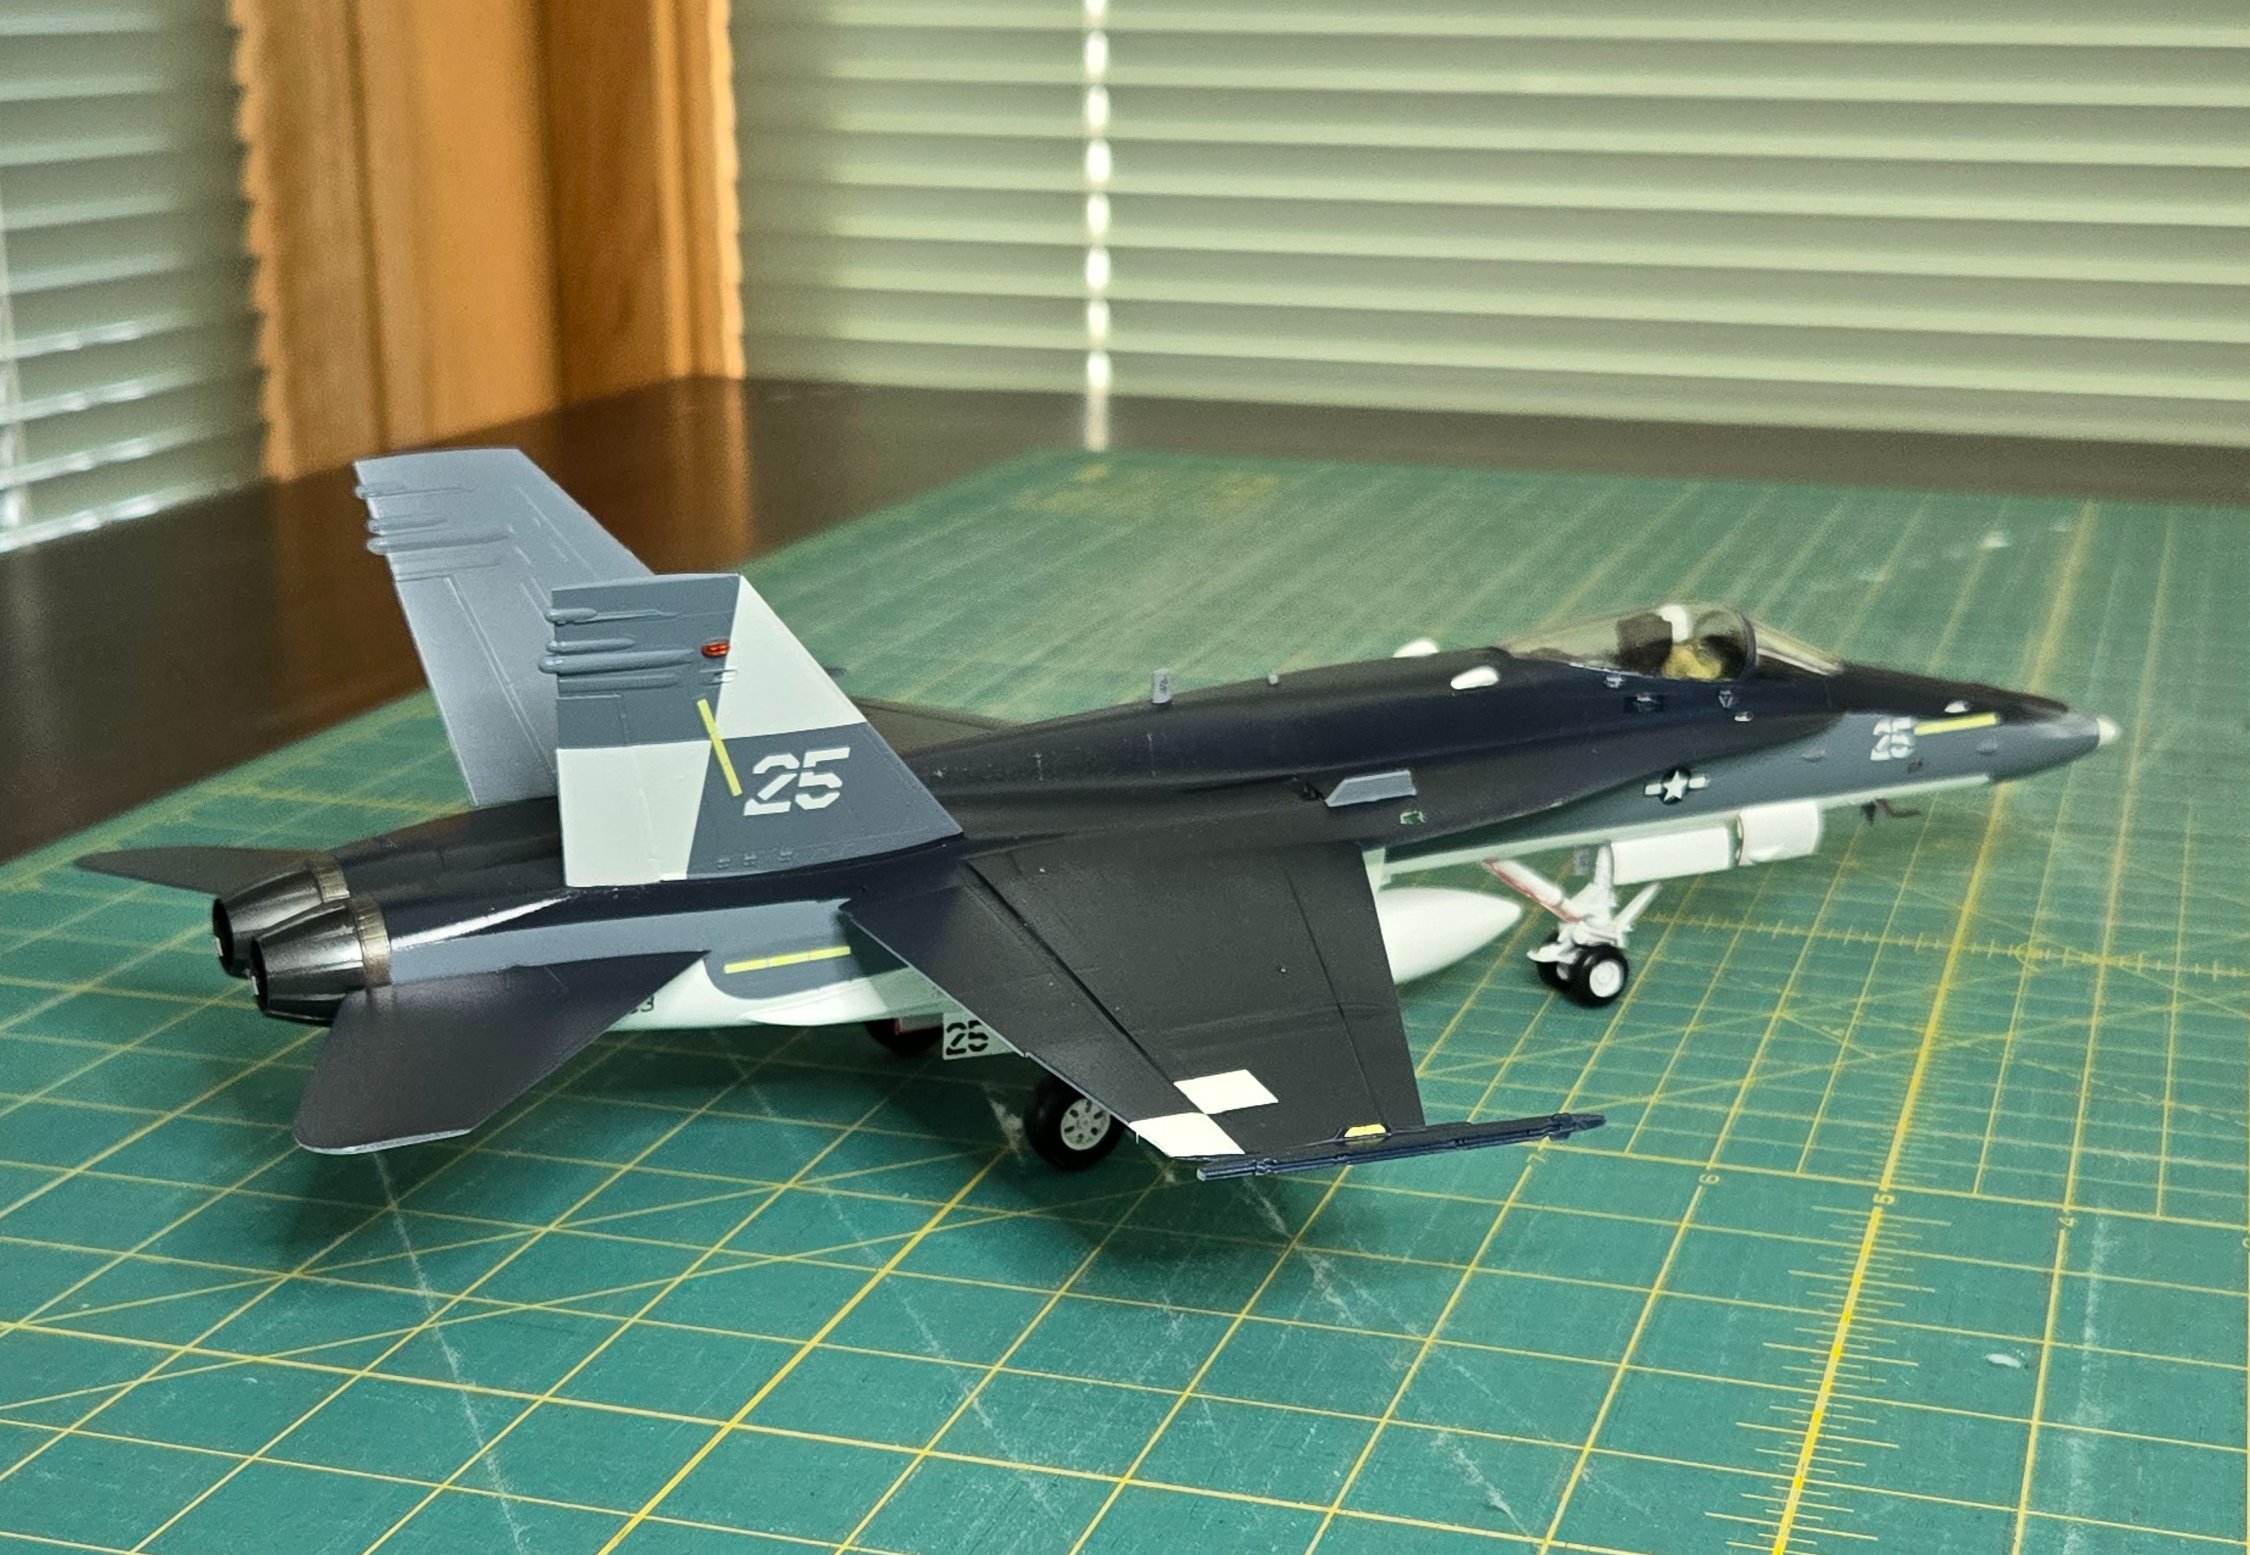
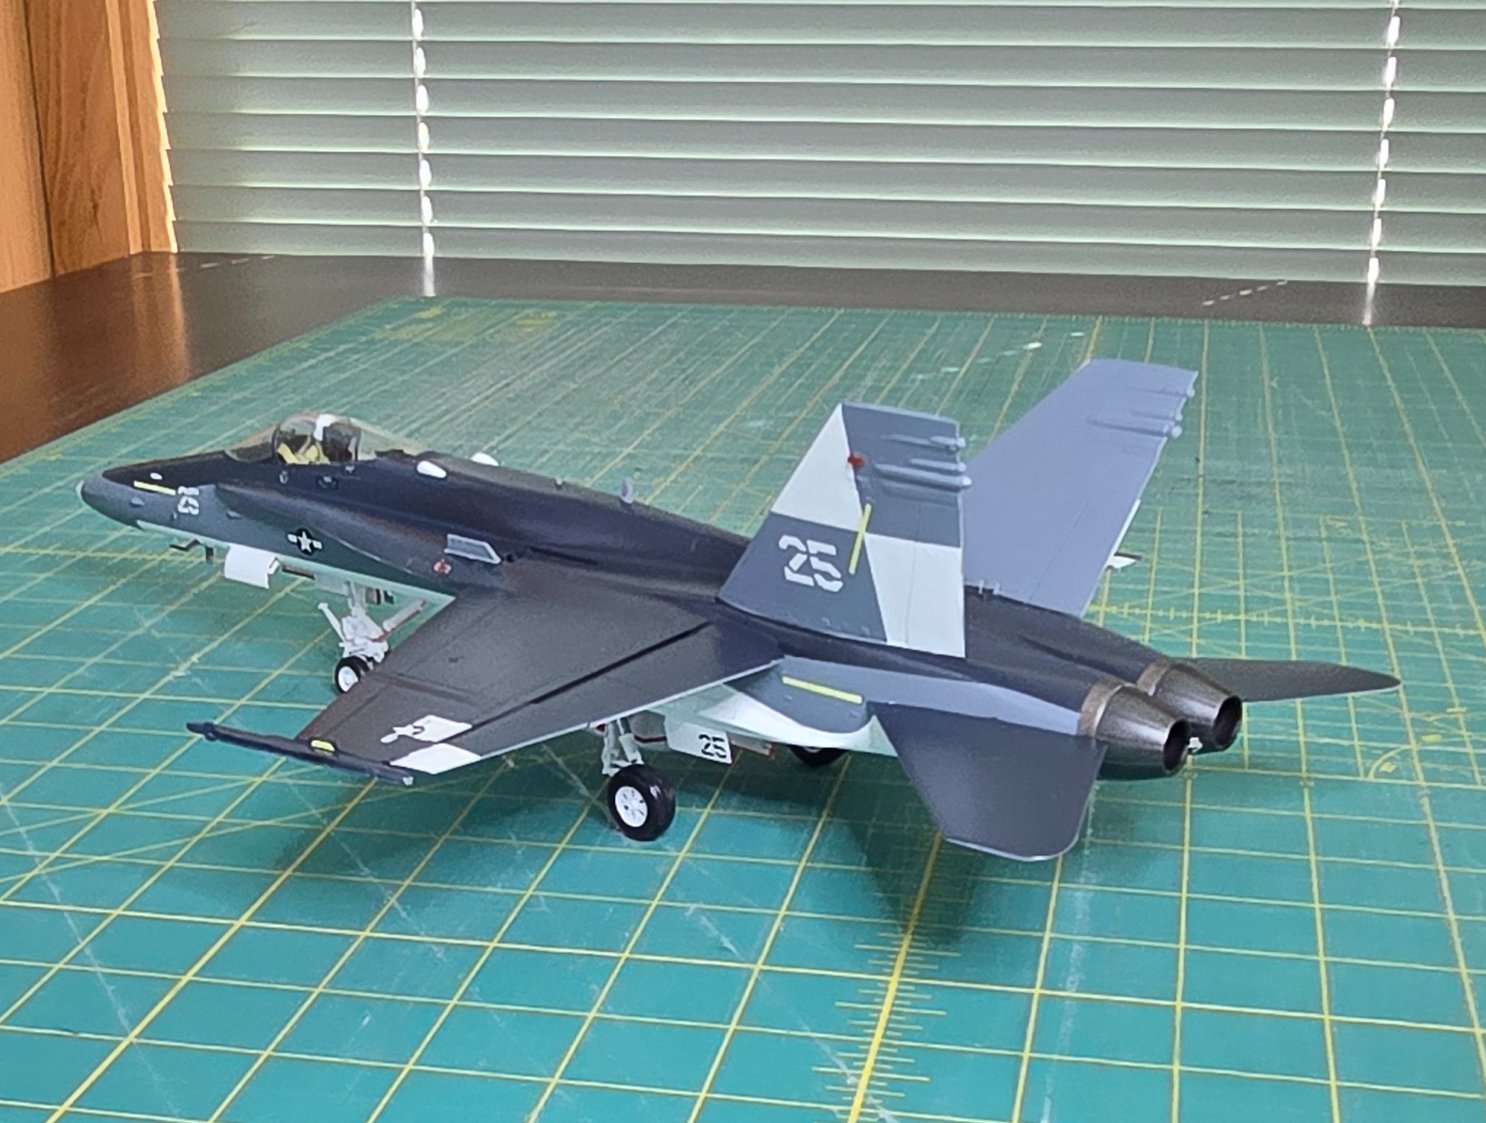
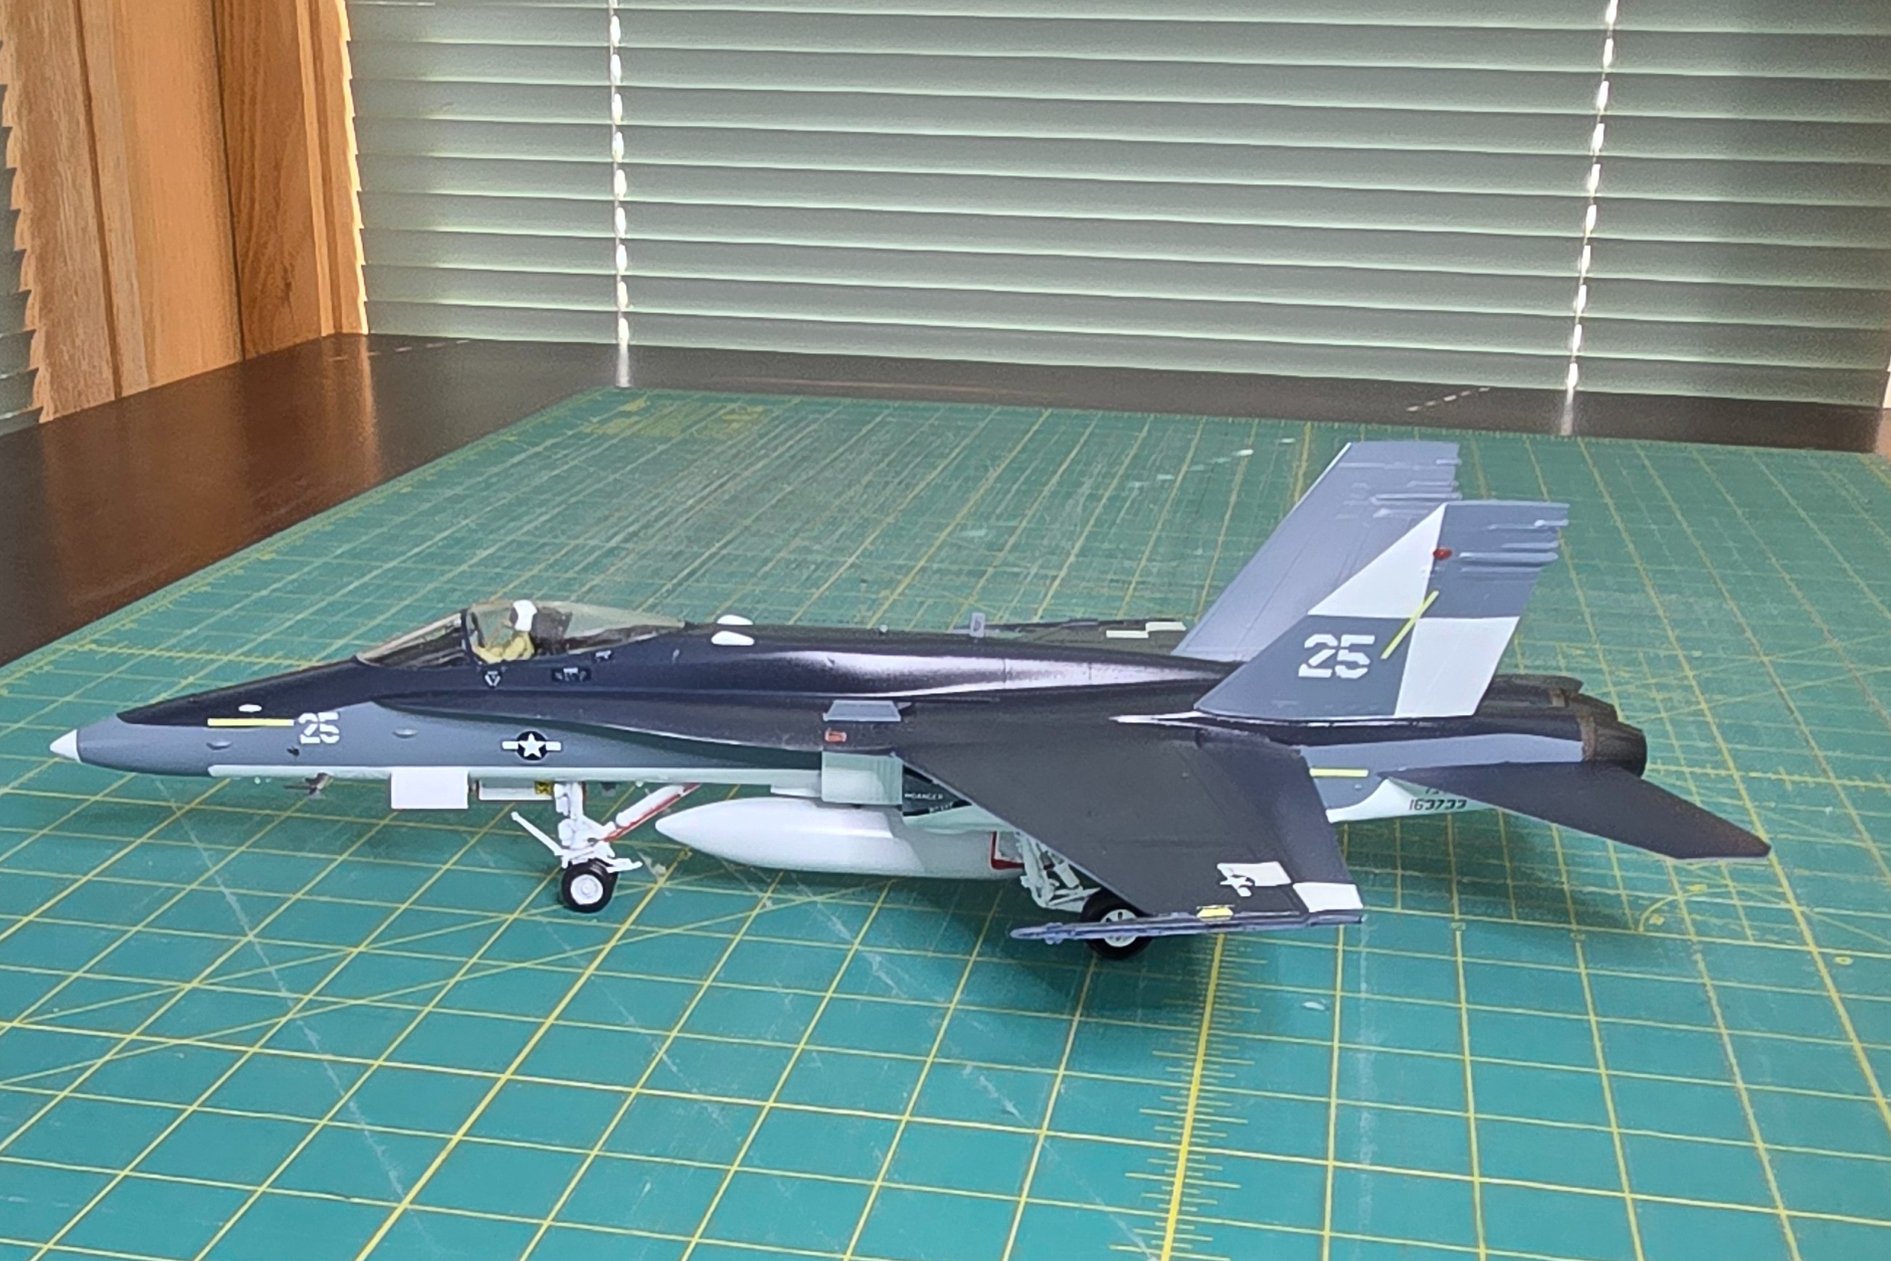
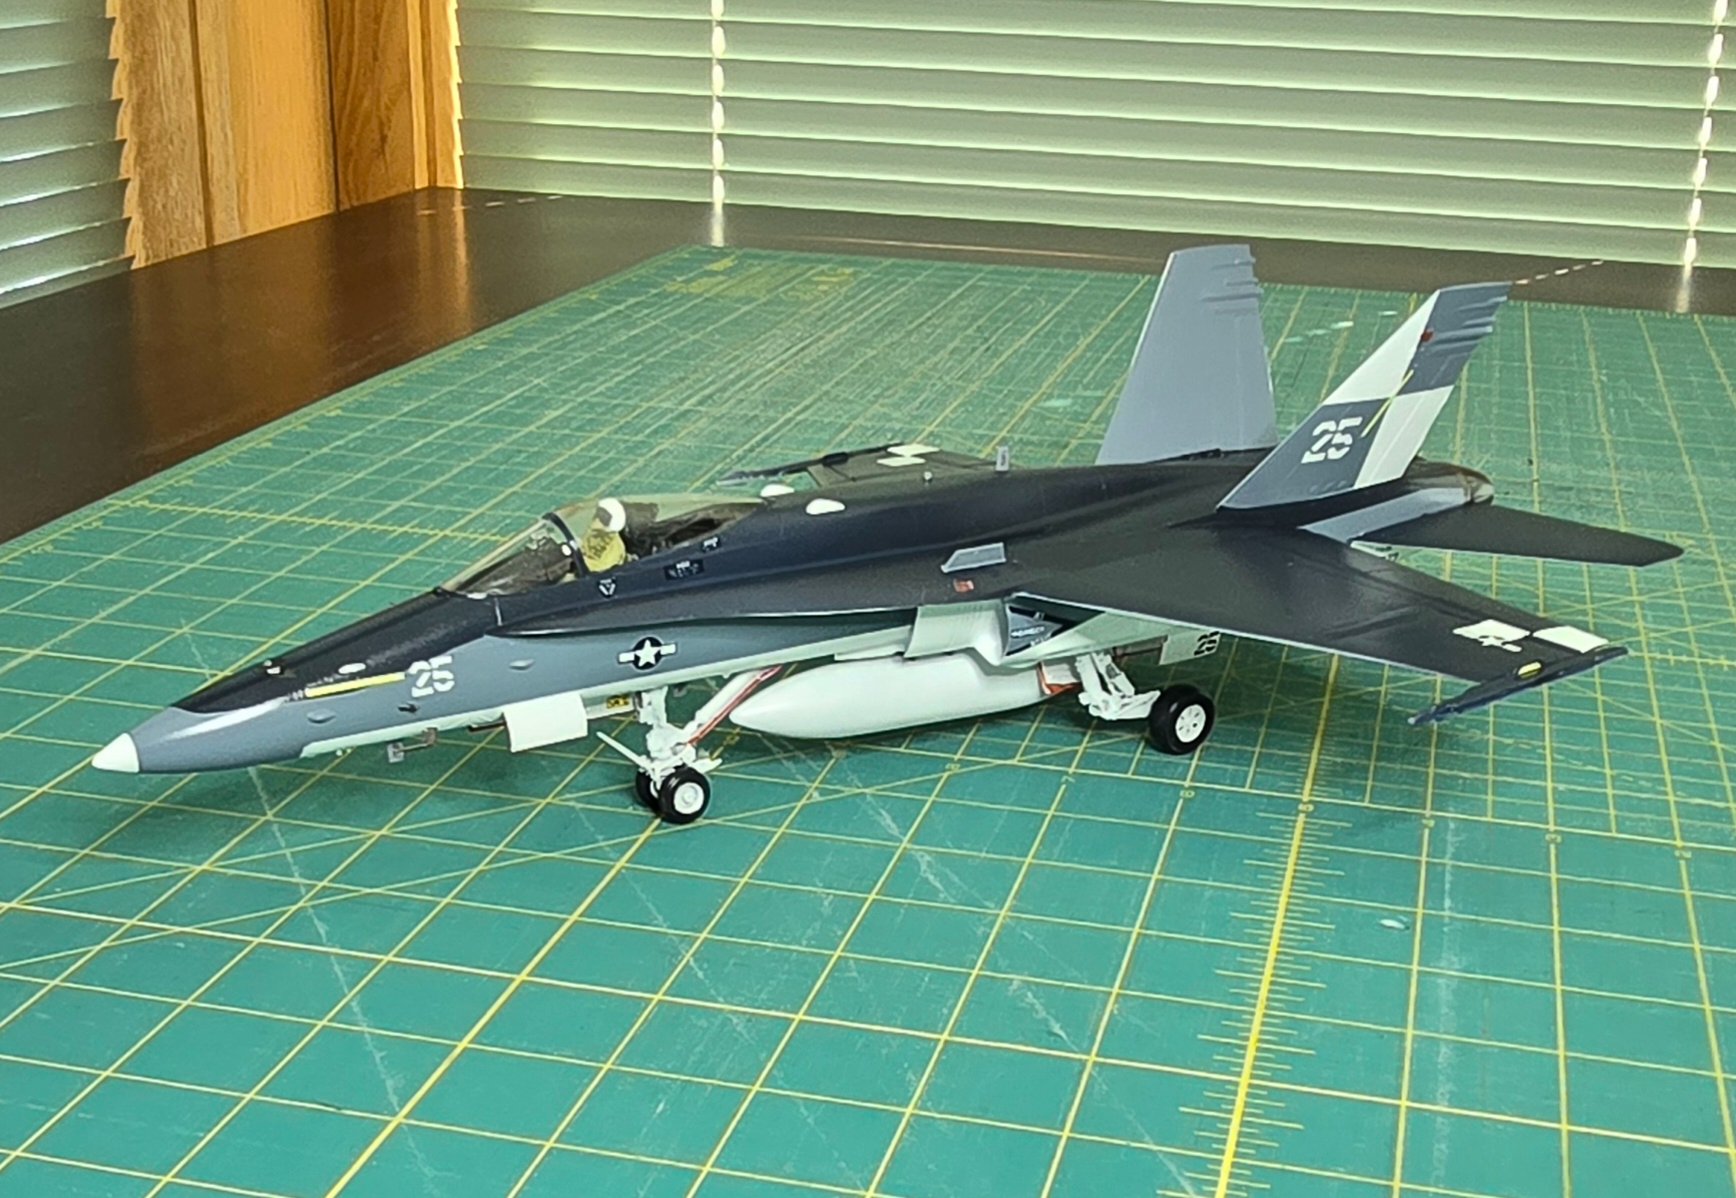
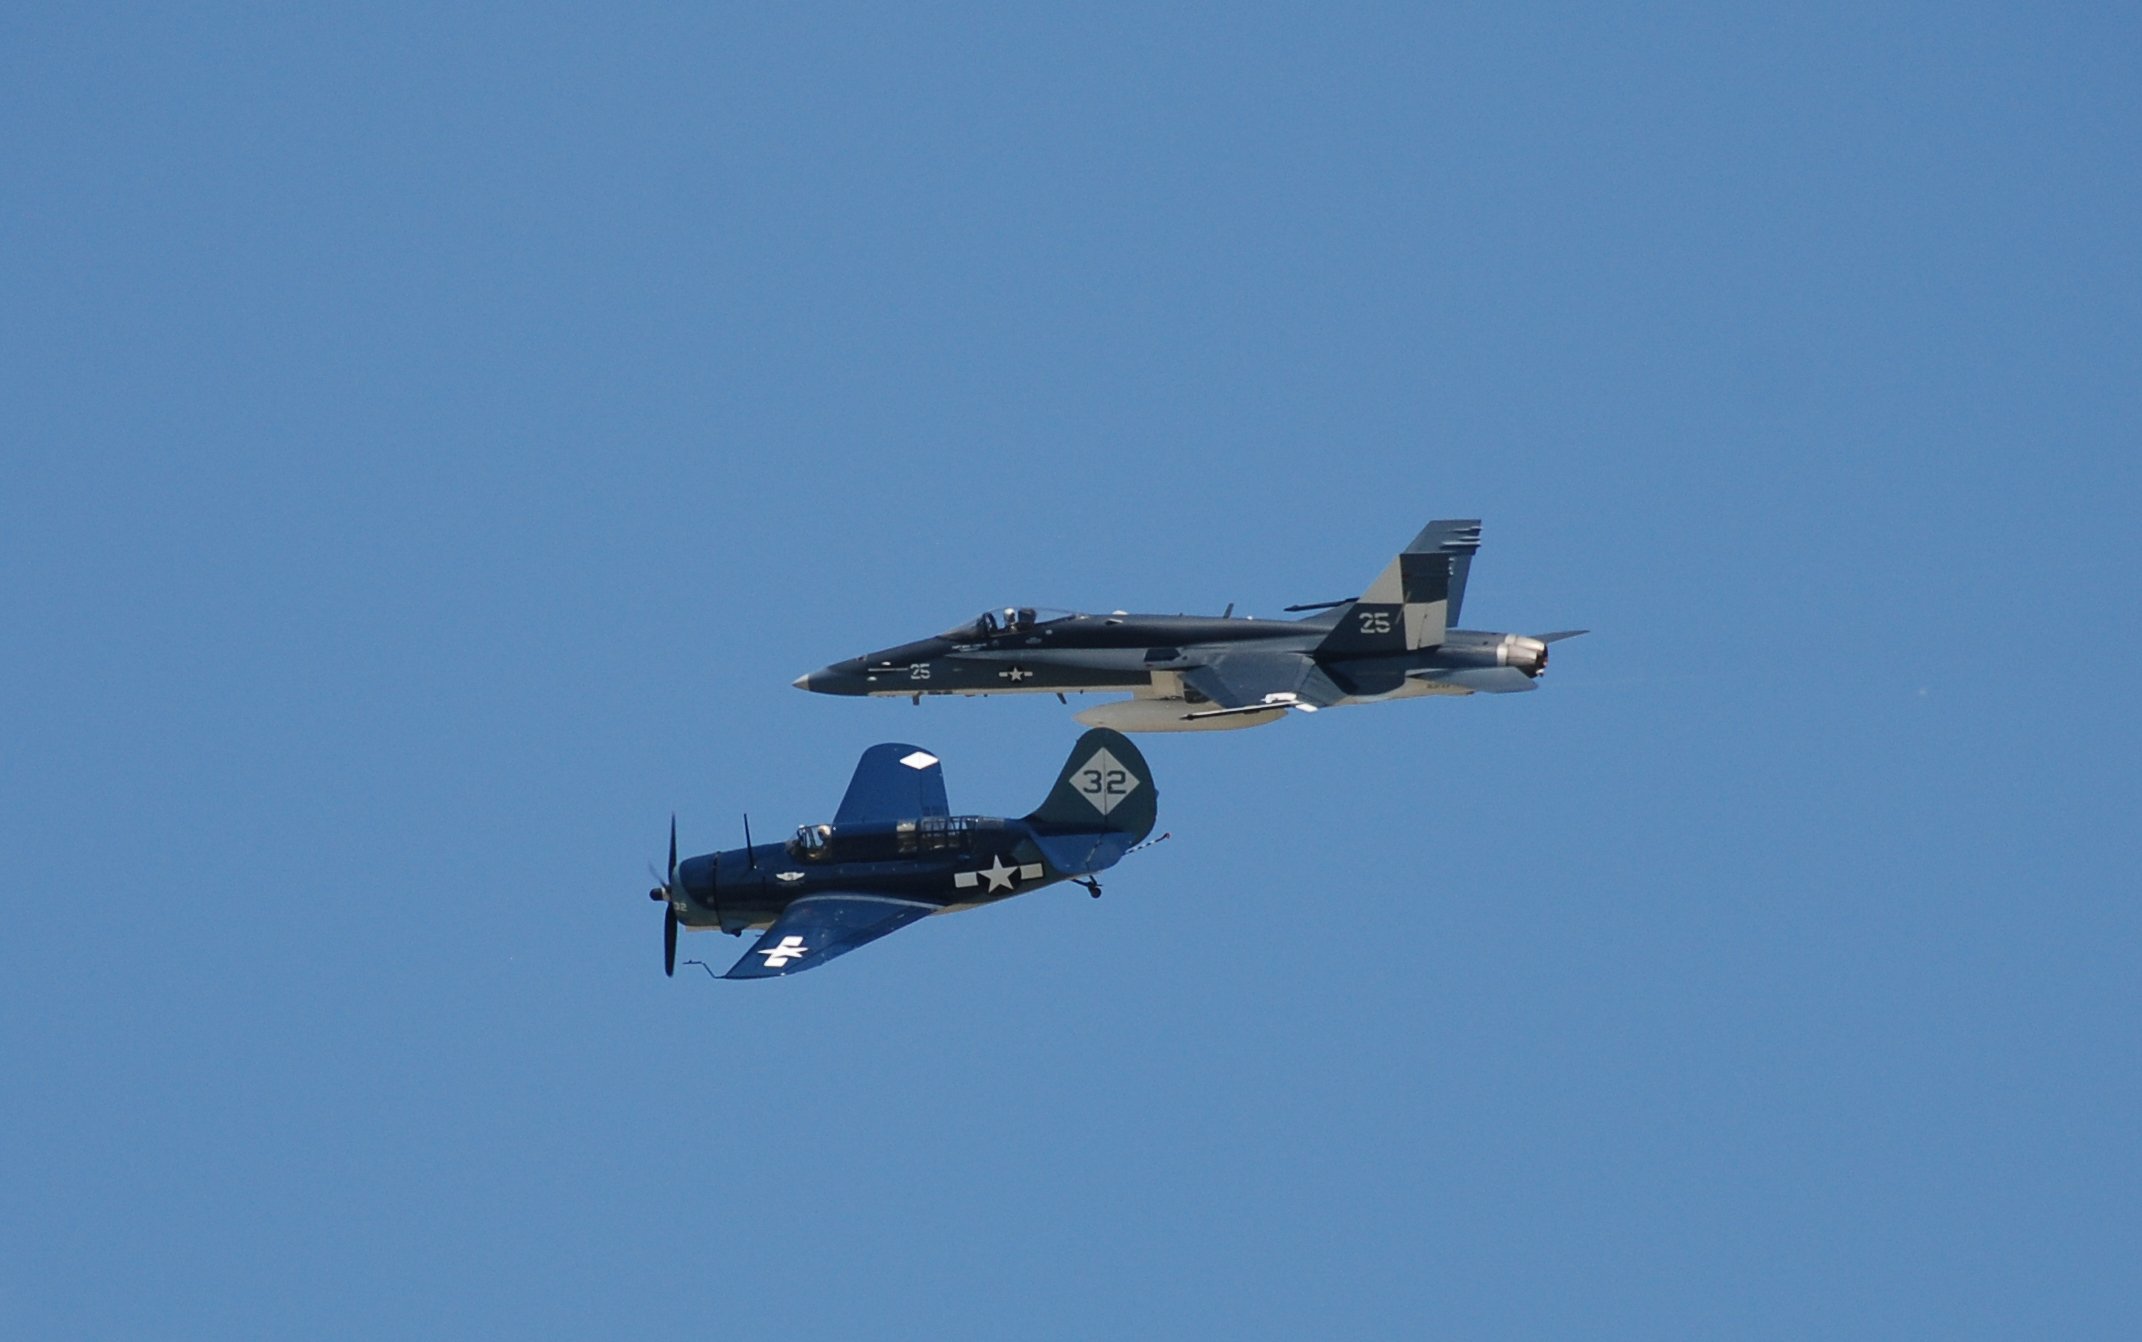
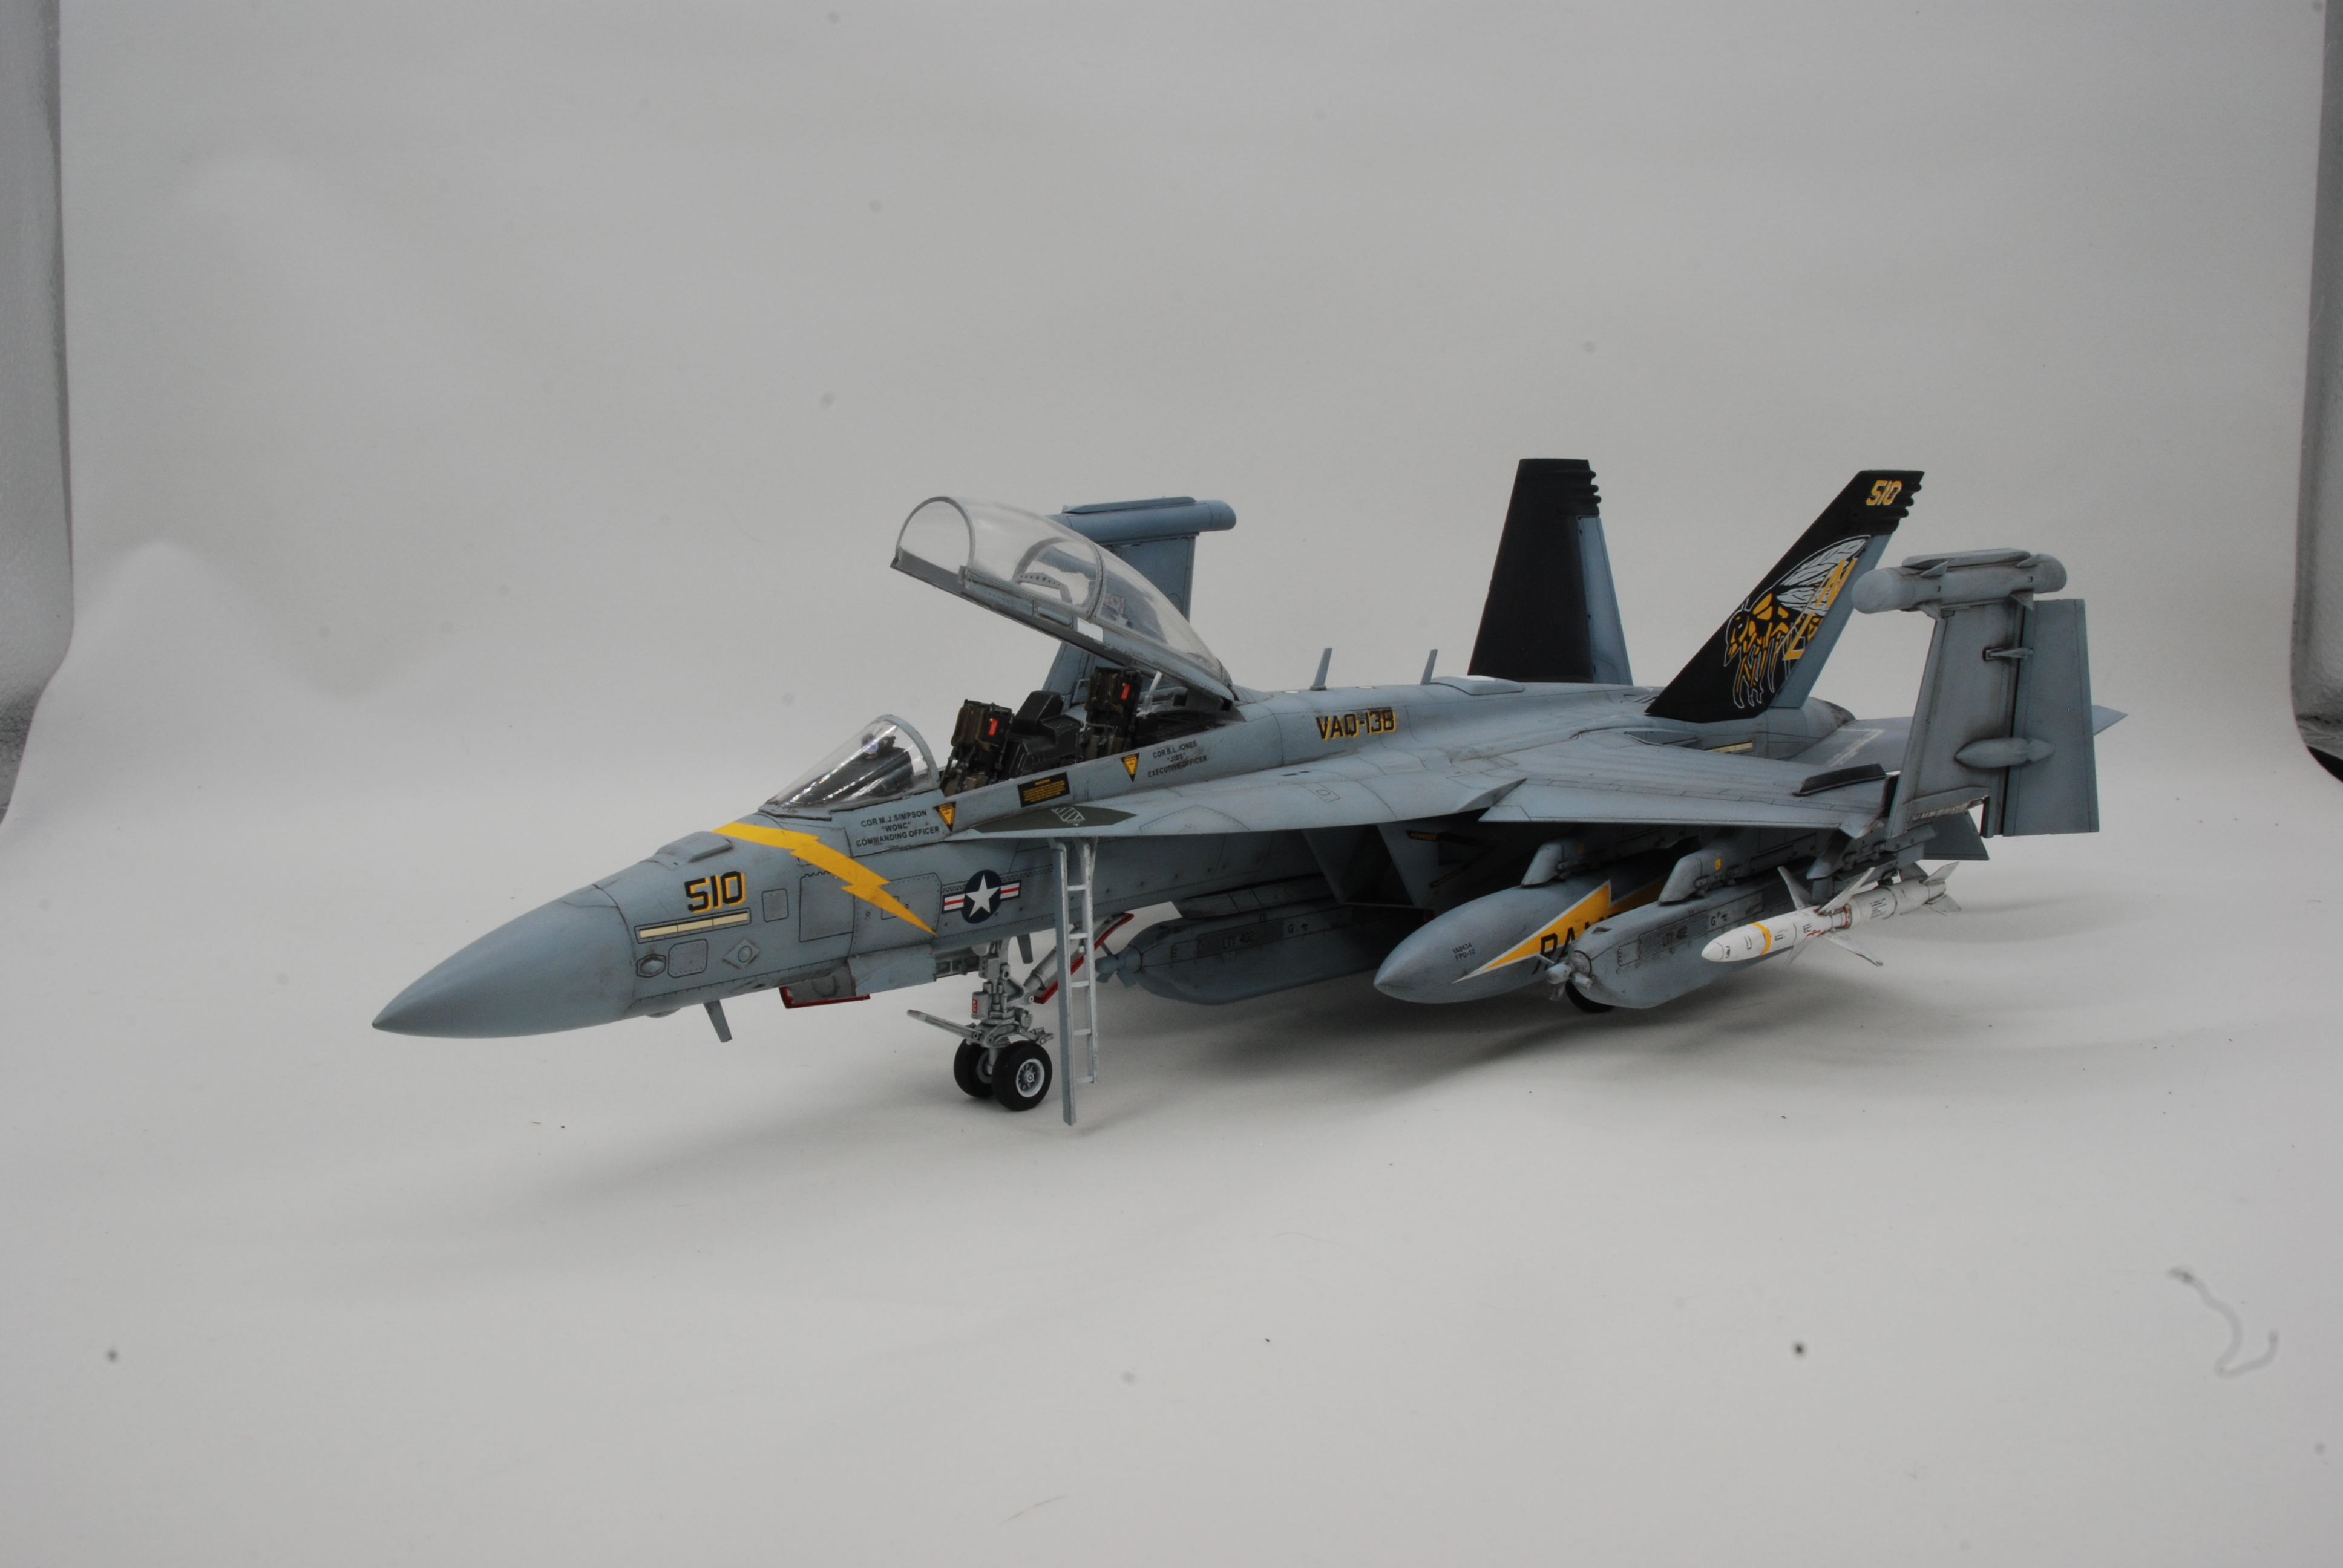
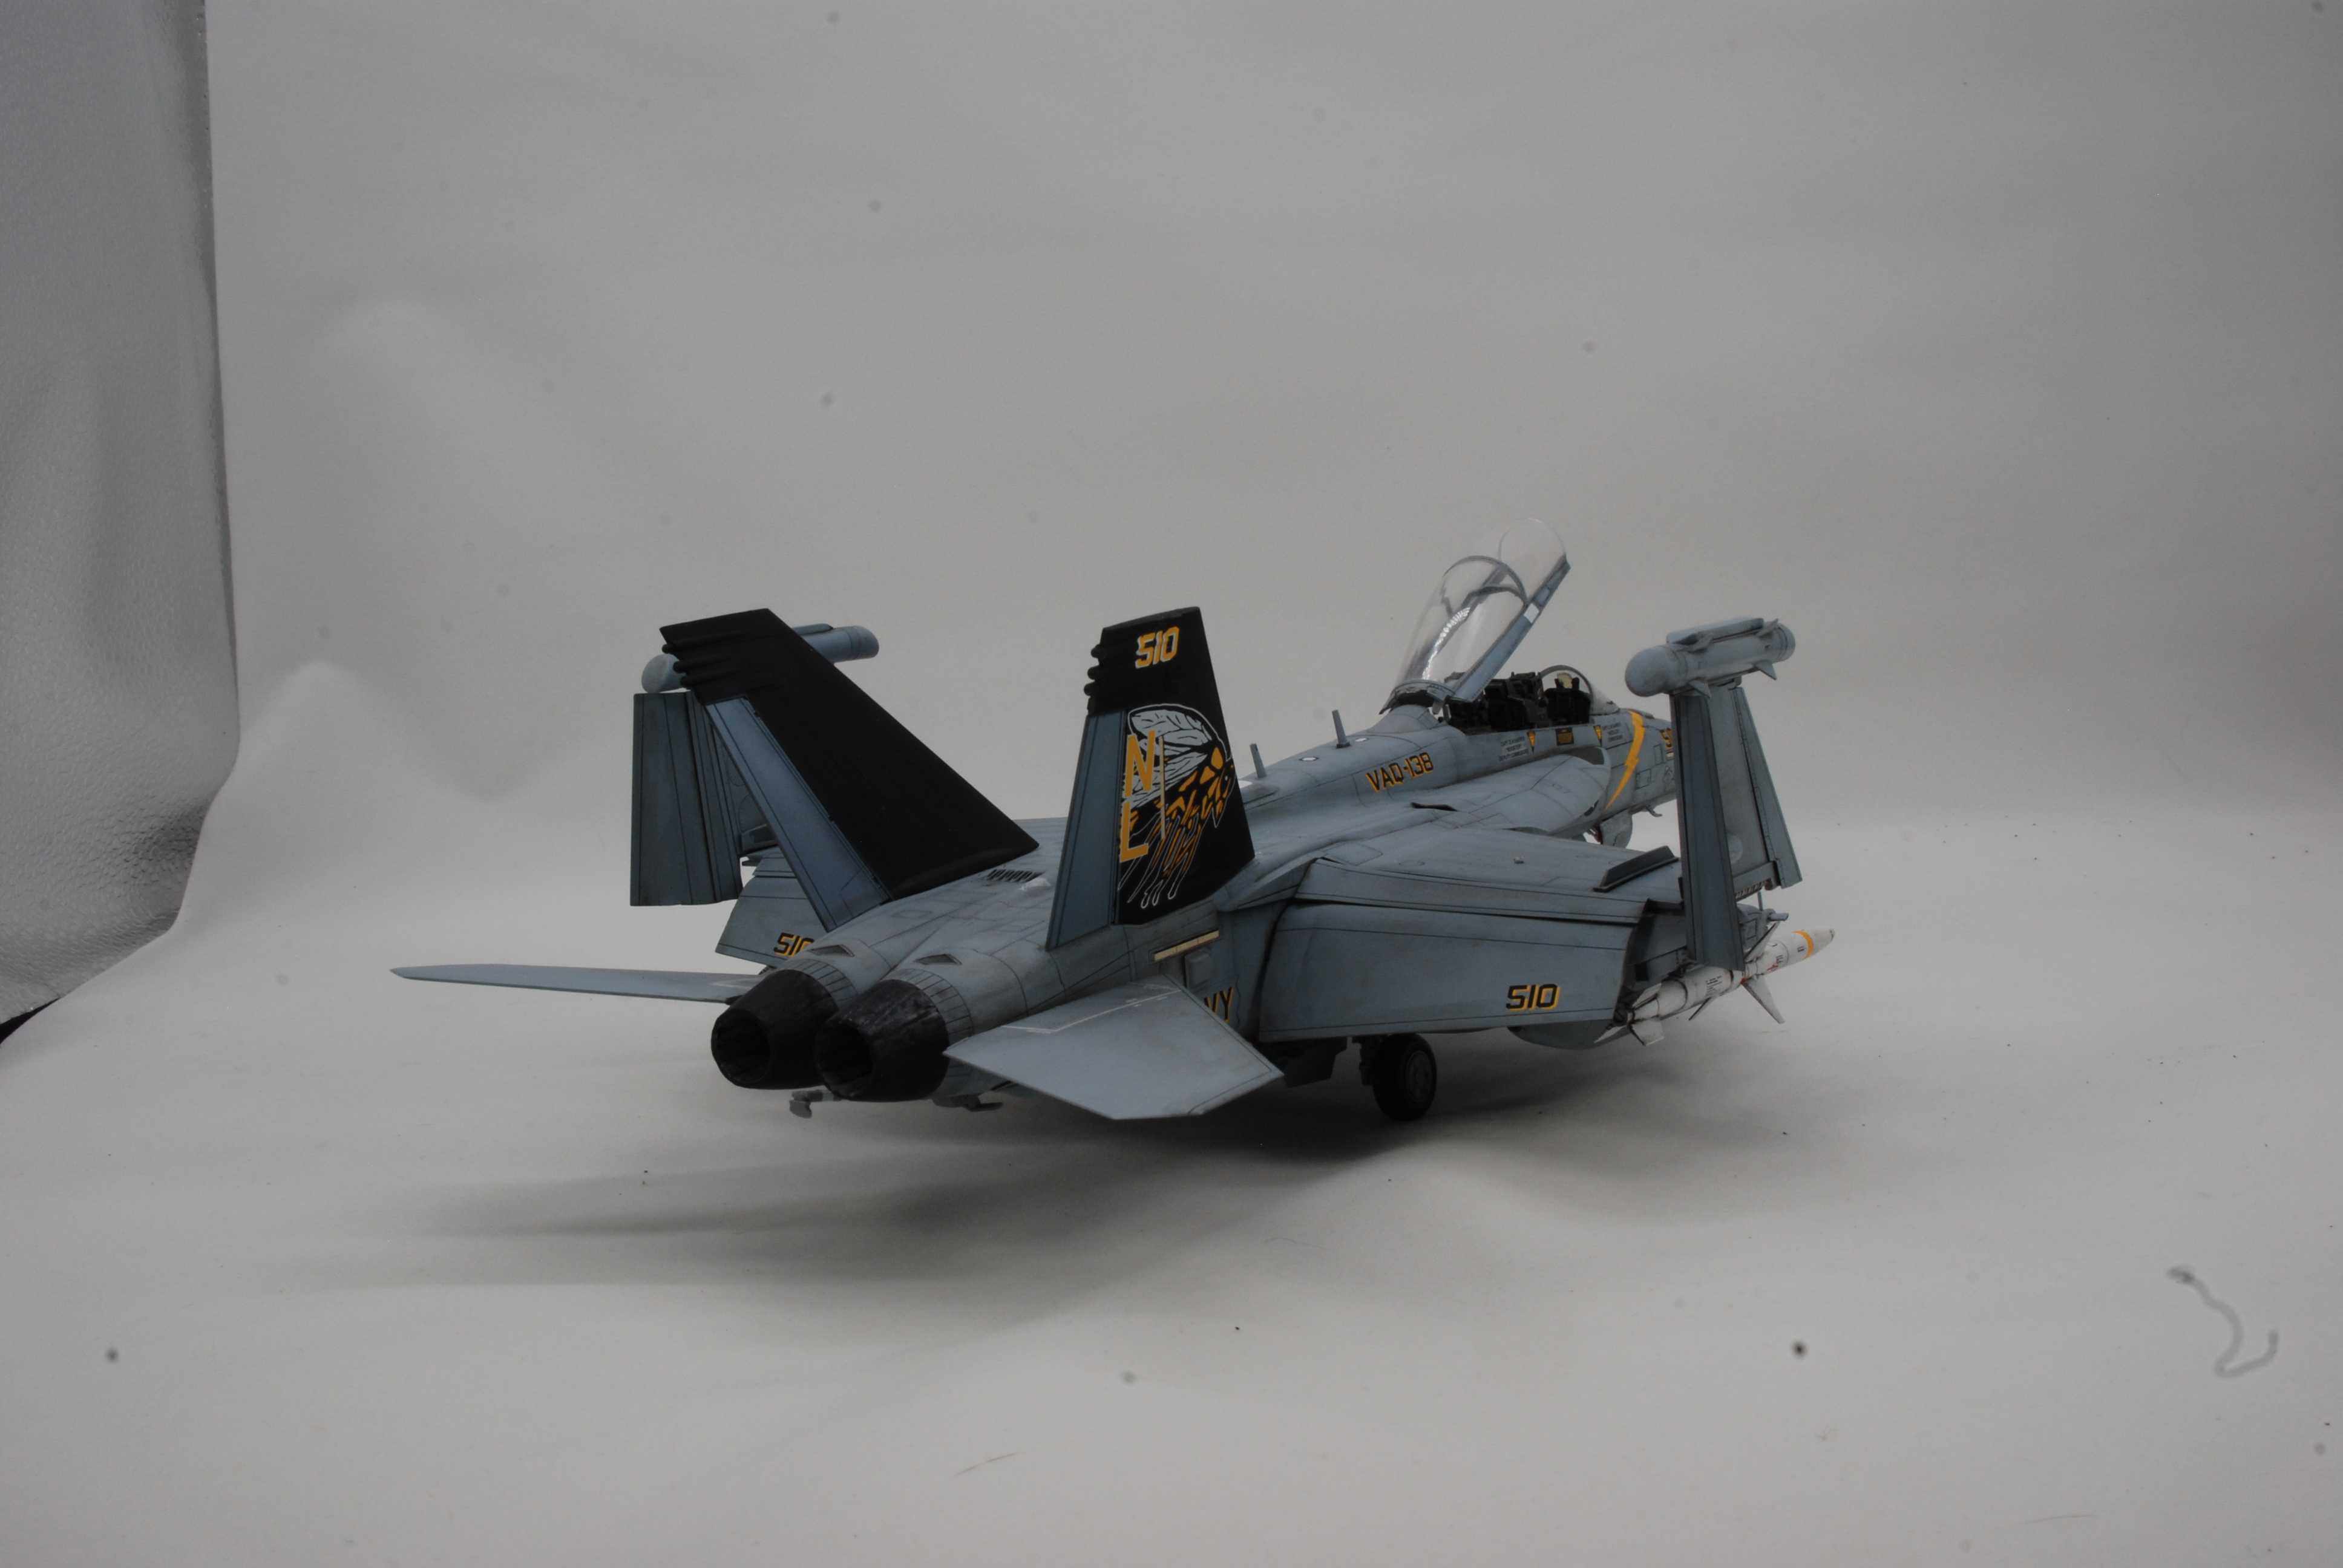
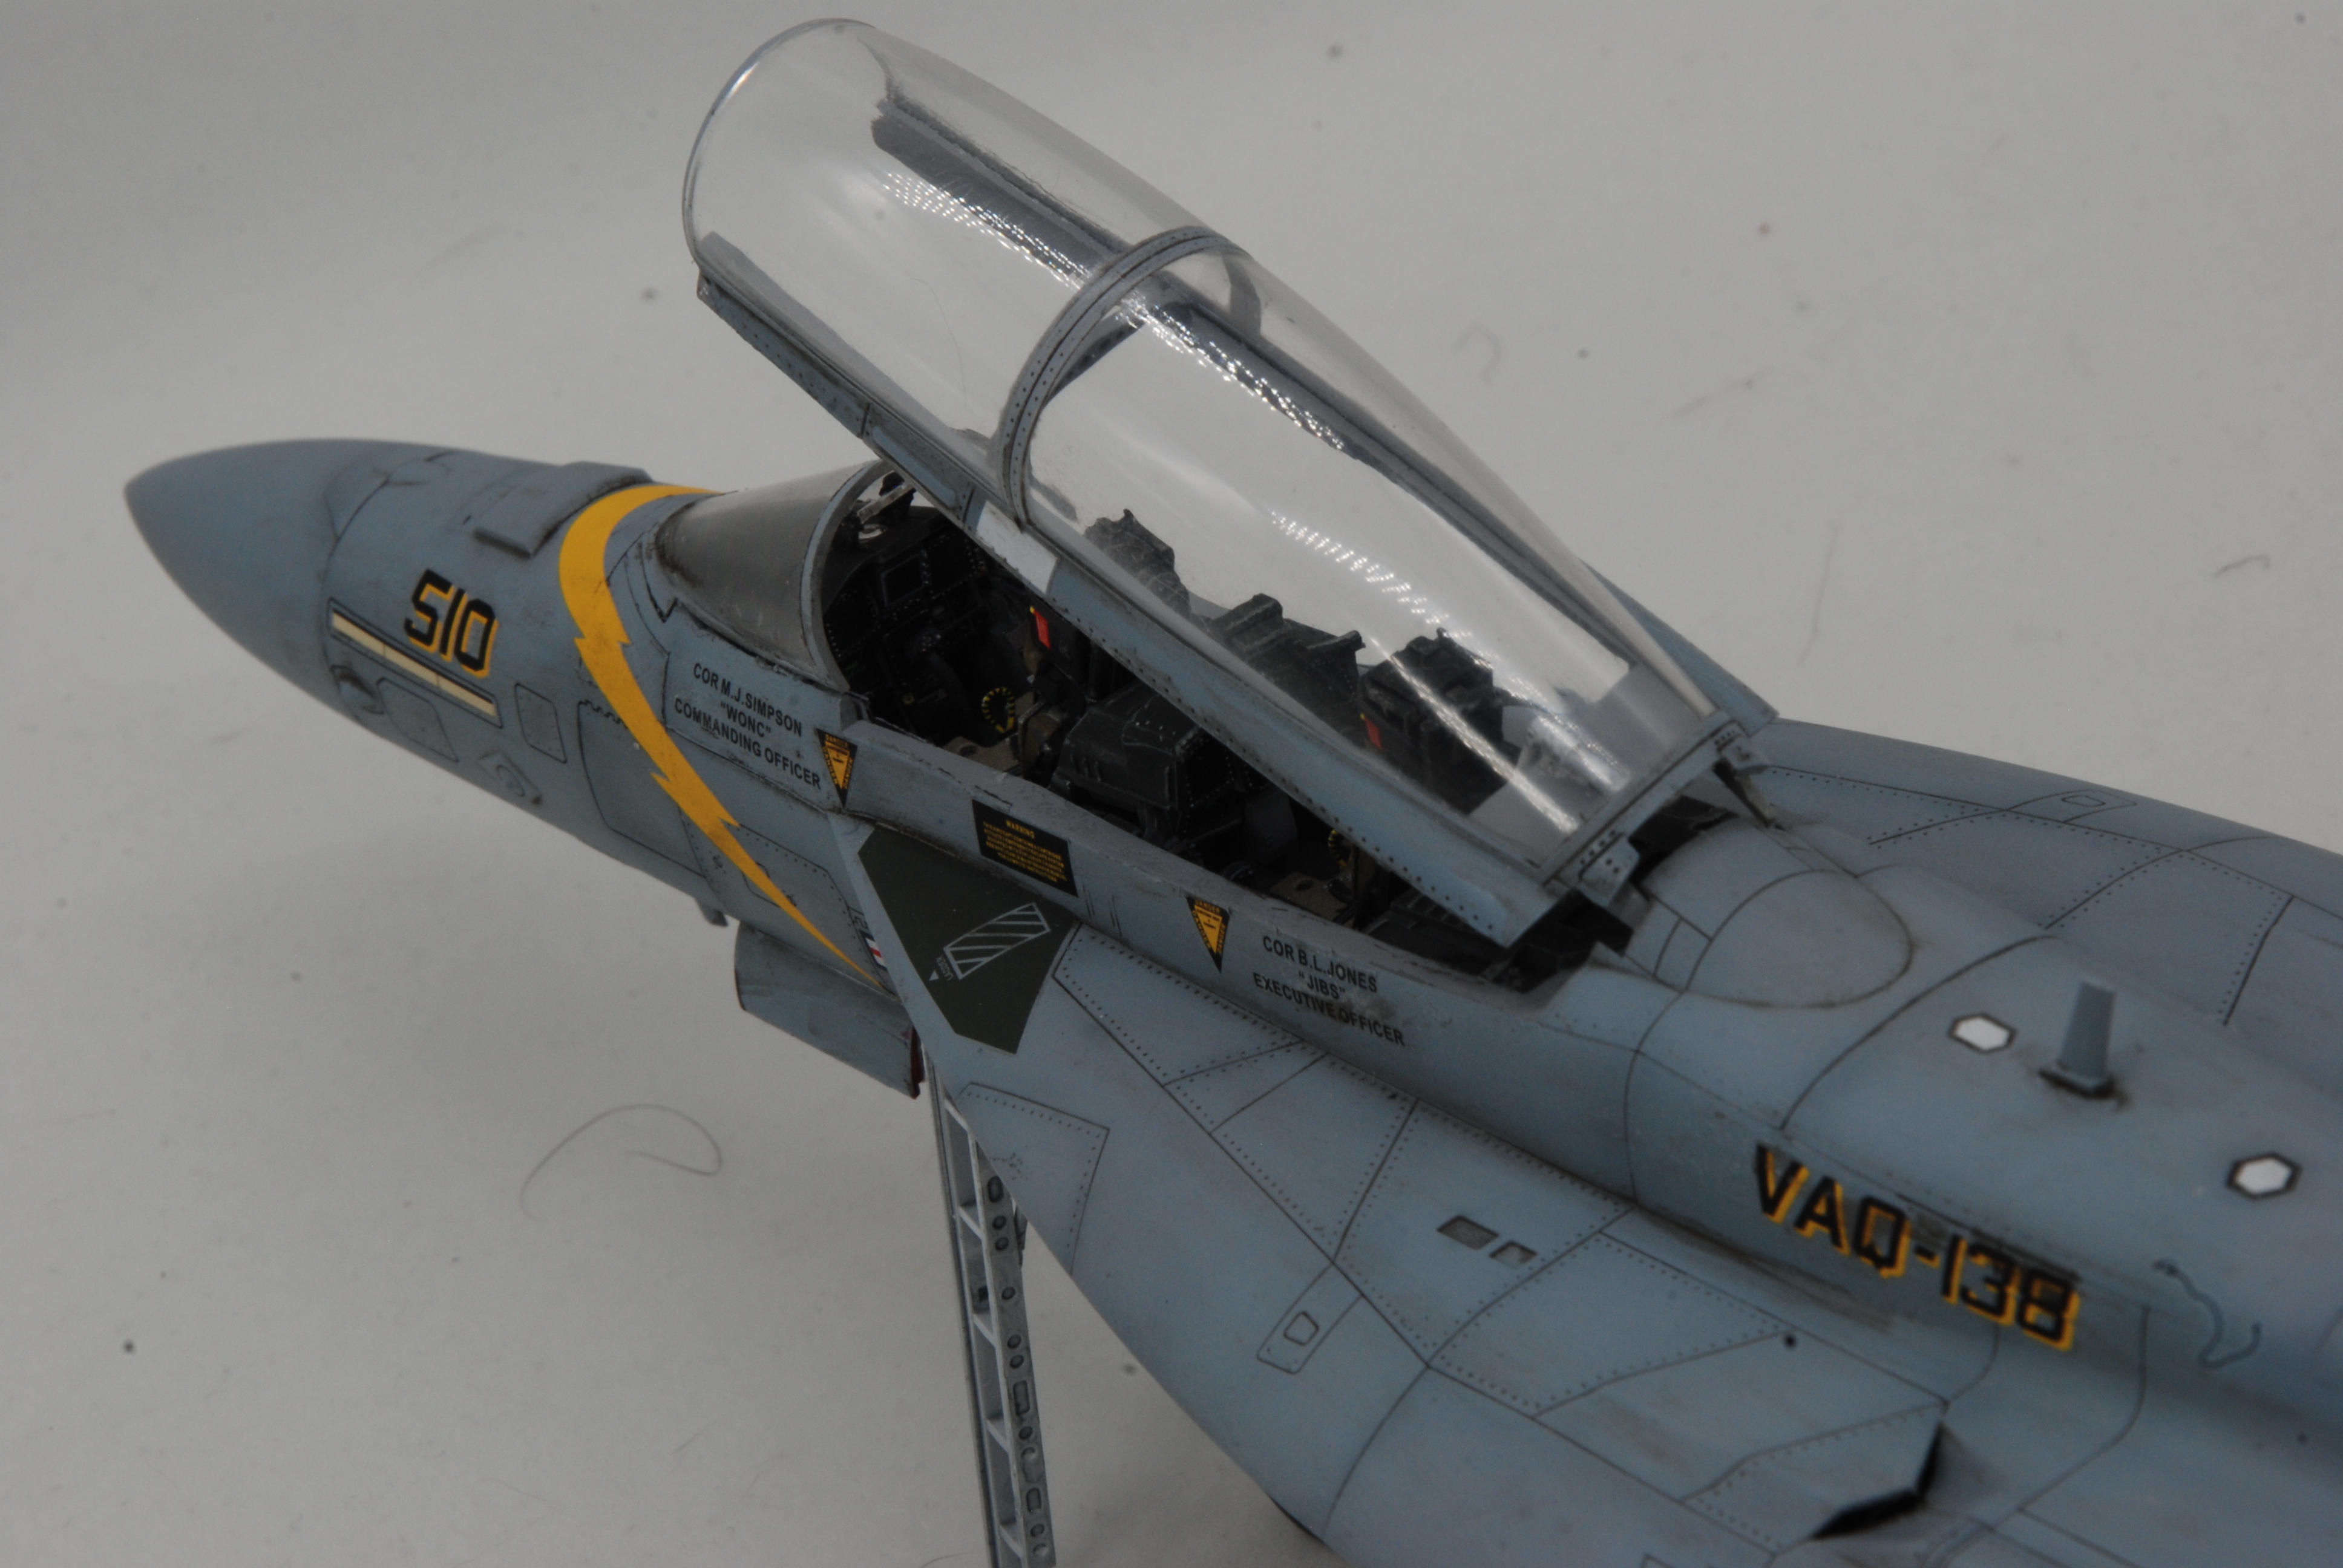
Well, only 15 years (next month) after I saw this F/A-18C at the Oshkosh air show, I've finally finished my version of it. It was very clean at the show, so I did no weathering, and only carried the drop tank with no weapons pylons mounted. I'm still a big fan of the scheme. I've also included a photo of a Legacy Flight with an SB2C from the show just because I can.
 

Attachments

  • 20260601_170248f.jpg
    20260601_170248f.jpg
    446.7 KB
  • 20260601_170430f.jpg
    20260601_170430f.jpg
    696.5 KB
  • 20260601_170449f.jpg
    20260601_170449f.jpg
    554.5 KB
  • 20260601_170523f.jpg
    20260601_170523f.jpg
    259.2 KB
  • 20260601_170541f.jpg
    20260601_170541f.jpg
    376.1 KB
  • 20260601_170601.jpg
    20260601_170601.jpg
    345.4 KB
  • OSH 2011493f.jpg
    OSH 2011493f.jpg
    168.2 KB
Sorry for the sarcasm, it is my favorite form of humor.

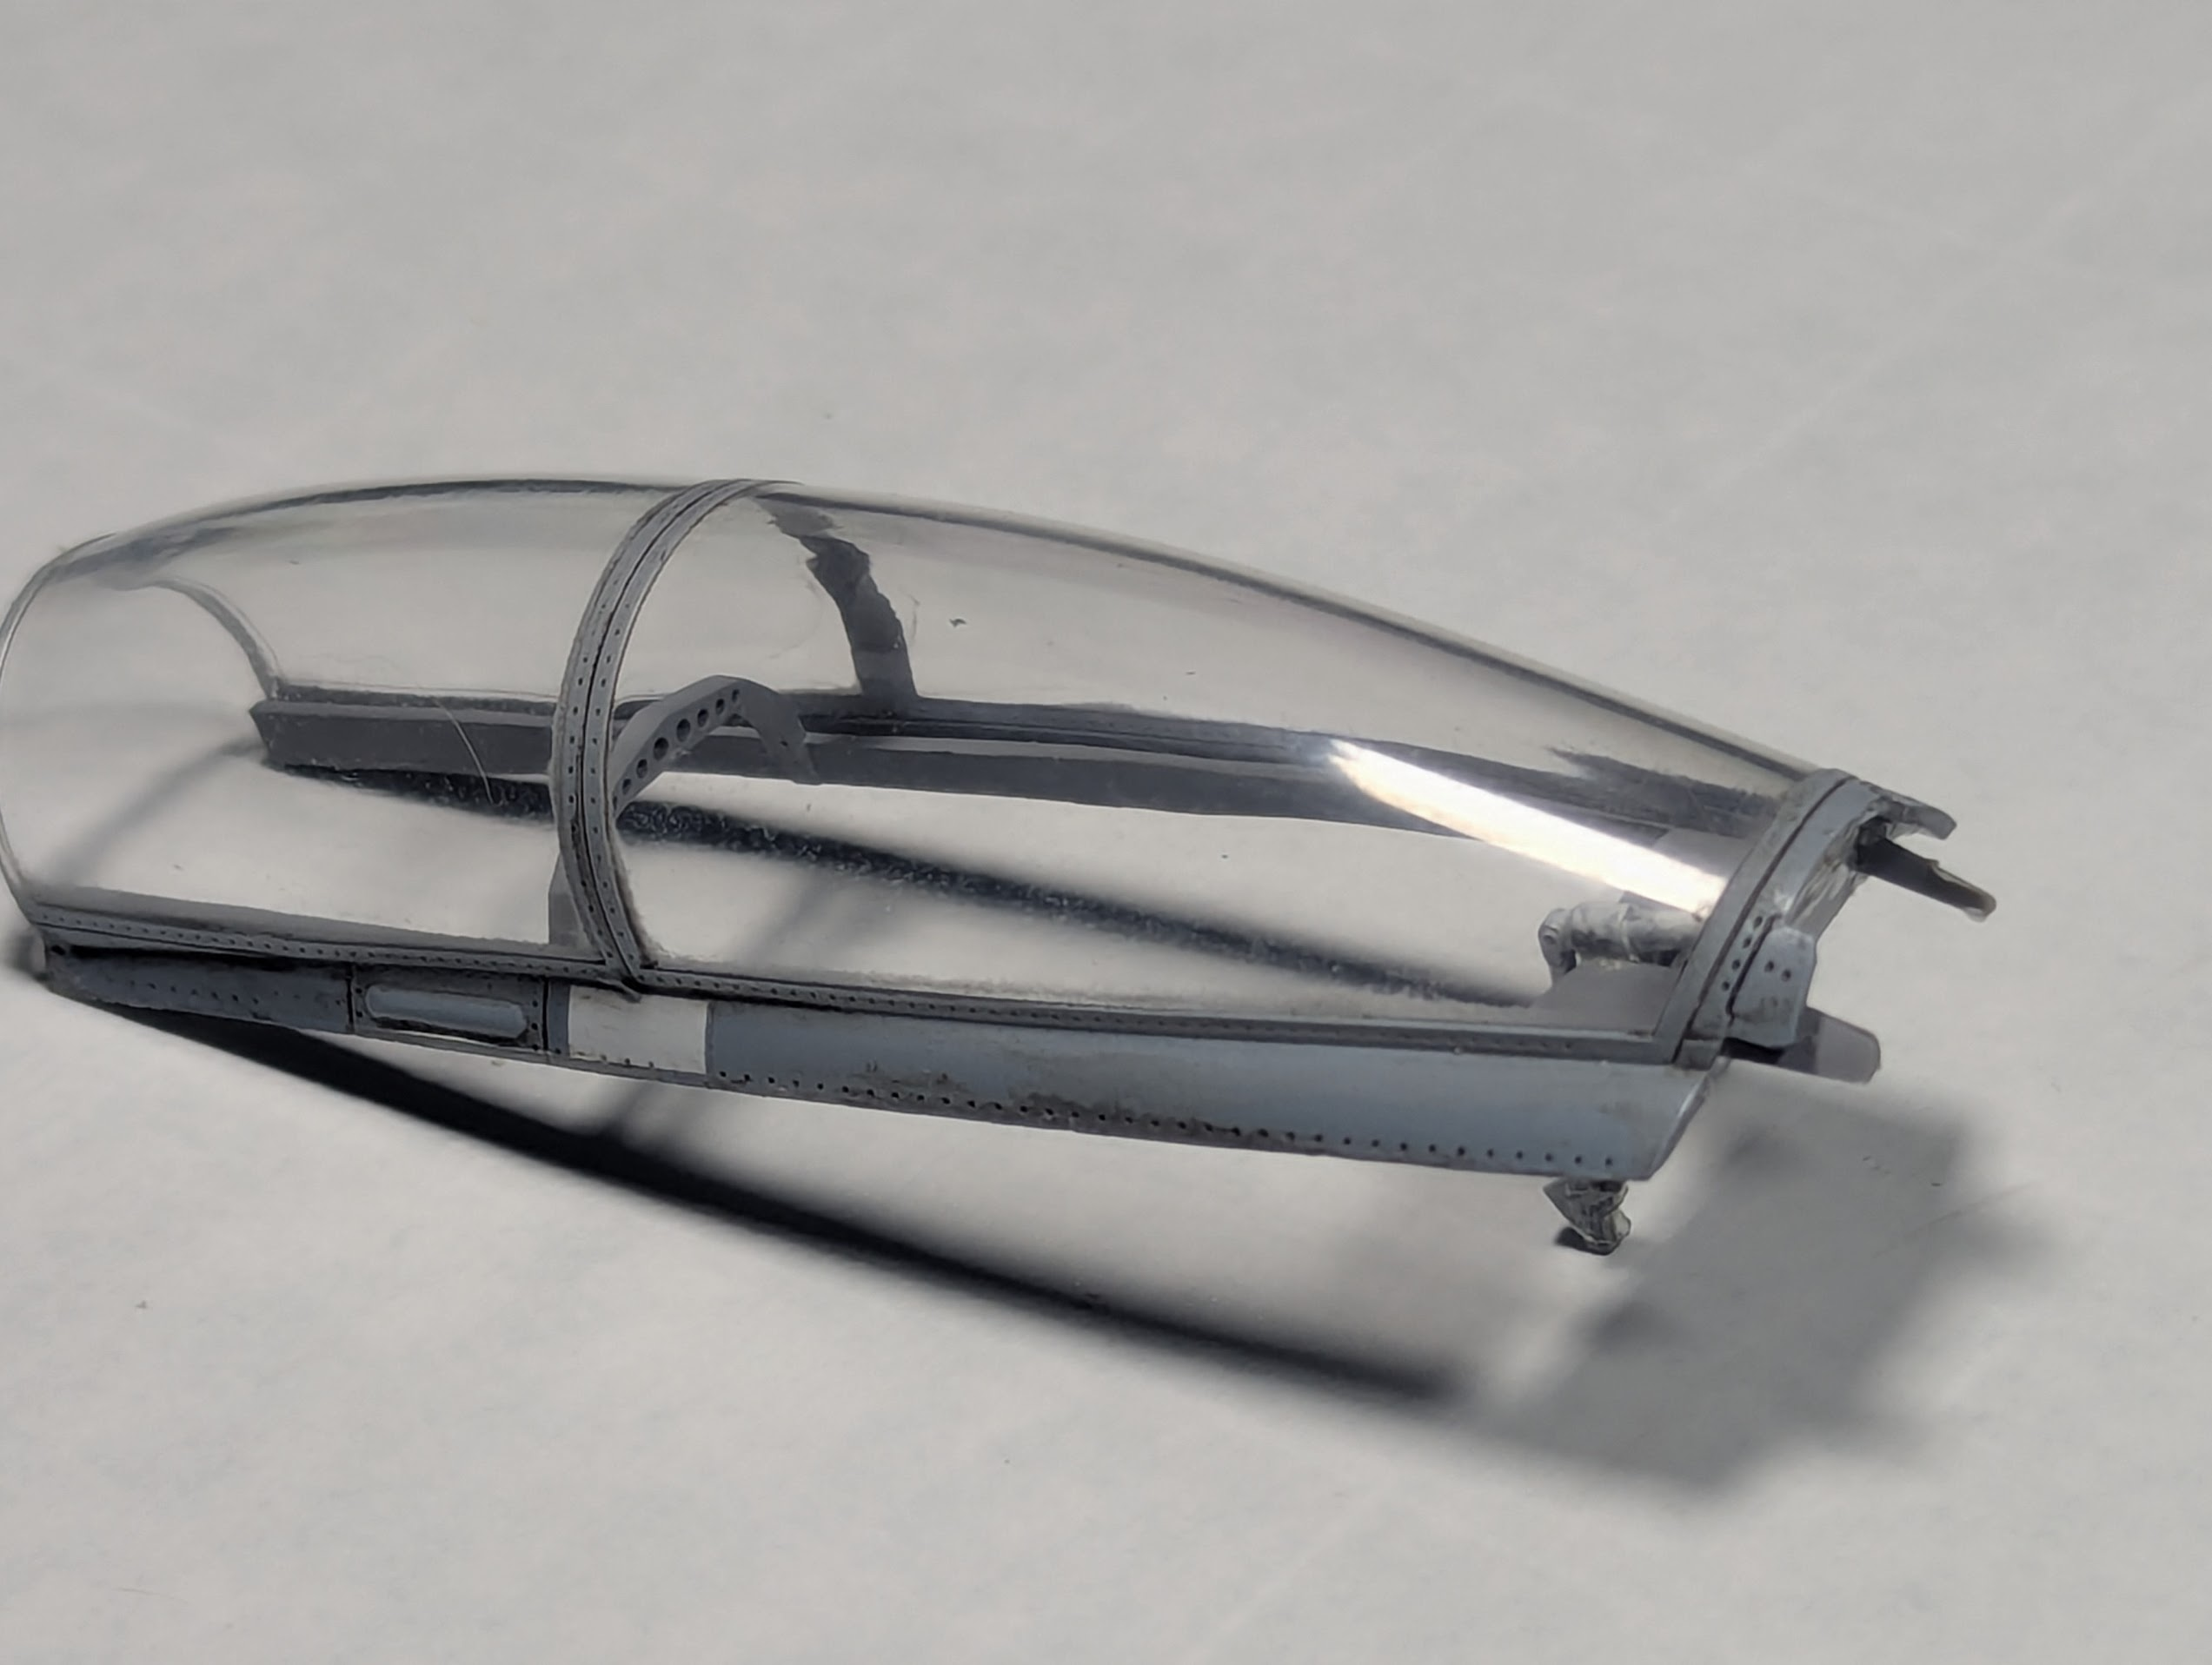
Yes, polish. I learned to put my fear aside when removing the casting seam on a jet canopy over a year ago. Scrape the clear plastic with a knife, even sandpaper it!

Yes I was terrified.

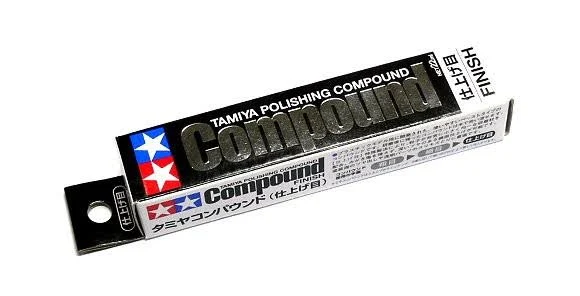
But with a low RPM buffing pad and some paste in a Dremel it cleaned right up. You could probably use toothpaste, as long as it did not have grit that could be felt. They make some high-dollar model-centric agents for this (of course they do!) like this...

1780439202322.png


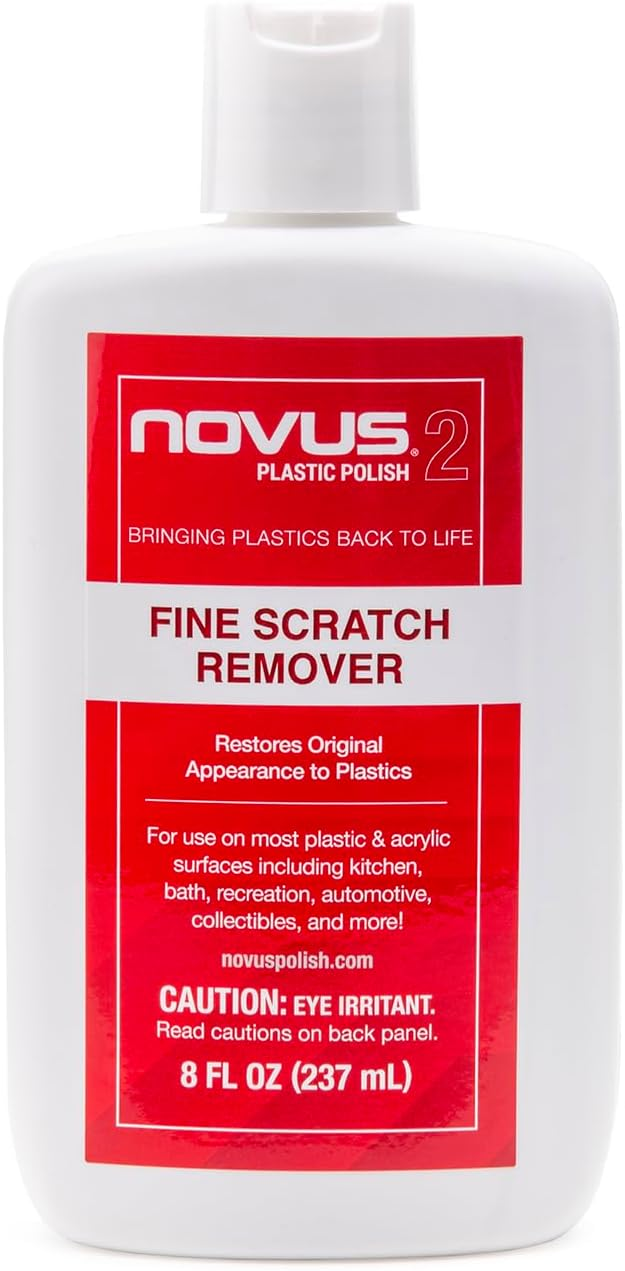
Or you can get it in 8oz bottles (lifetime supply), this is what I use, I think it is marketed for auto-detailers.

1780439311757.png


If you are removing sandpaper-sized scratches, you can use machines. For my needs, and that I have paint I want to keep, I'll take longer and use Q-tips to make it shine.
 
Last edited:
Guess now is a good time to add...

Call me crazy, you're probably right and I've been called much worse, but I have put cut-down Q-tips into my Dremel before.
 
Nice! That last 'over the shoulder' canopy shot classic!
Thanks! I was hoping to pick up some IP detail. It is an old DSLR, so unlike a cellphone the MPs are low and you cannot really see the results until you transfer to PC.

Clearly I have to find and remove that hair that shows up in the lower right of every shot. The other hairs are on my whiteboard LOL.

I think I'll try again on the detail, the zoom really kills available light making the exposure darker than I'd like.
 

Latest posts

Back
Top