
I wouldn't call it frustrating. It's been more of an irritant - they don't proofread their instructions? I'm simply posting issues as I go for others info. The kit I'm frustrated with is my Lancaster and I'm probably going to give that a go this weekend. First thing in the am when I'm fresh! The details on the AFV and RFM is excellent but lots of tiny parts. I'm going to try to limit myself on how may models I have going again which may make doing another AFV or RFM more doable.Hmmm, would love to put in my two cents, except that I haven't built AFV nor RFM.
Will be watching, as I have an AFV and have been tempted to add an RFM to the stash.
The level of detail seems fantastic, hope the rest of the build isn't as frustrating.
That was good advice about Scalemates: I've even downloaded instructions from competitors of the same vehicle when the drawings weren't clear. Not always helpful, but extra data points sometime help.

You are using an out of date browser. It may not display this or other websites correctly.
You should upgrade or use an alternative browser.
You should upgrade or use an alternative browser.
Ryfield m1A1 Abram’s Poland
- Thread starter Ron2
- Start date

Haha, I actually bought some because the kits I build don't usually have them. And I can't abide the thought of an air filter with no wing nut!Don't forget wingnuts

I must admit though, and I've said it before, PE has its place which I appreciate when it's a matter of scale...but not PE just for the sake of complexity, or parts count, to boost the price of a kit.
And often, plastic can be the better representation option than flat PE.

Edbert
Well-Known Member
- Joined
- May 16, 2024
- Messages
- 3,121
Which kit is this?


Pretty much all of you know I am not really an "armor guy" but I think tanks are really cool. Since starting up the hobby again last year I have built 4 tanks, all made by Meng, and one of them was the just for fun cartoon version.
- M3-A3 Bradley
- Merkava Mk.V
- Panther Ausf D
- King Tiger (the toon version)


I've zero complaints about the instructions, they are quite good. I do see that sometimes all manufacturers get updated version of their instructions sometimes, usually fixing erratta, but IMO is worth checking scalemates to see if there's newer versions for your Abrams.
Last edited:
Why do you find this kit difficult? It's an "Easy eight!"View attachment 187985
I've zero complaints about the instructions, they are quite good. I do see that sometimes all manufacturers get updated version of their instructions sometimes, usually fixing erratta, but IMO is worth checking scalemates to see if there's newer versions for your Abrams.

Jantk14
Well-Known Member
I've also built the Tamiya easy eight Sherman and that was a great build as well. 

Jakko
Well-Known Member
This is one of those things where 1) they should have provided an alternative in plastic, and 2) it builds fine on their computer but the vast majority of modellers won't be able to IRL. Takom has these problems as well, with having you build subassemblies in isolation when they need several parts lined up perfectly in order to fit other subassemblies later.PE part Y10 which needs to be folded twice
I would almost certainly replace Y10 with a bit of plastic strip myself, and Y1 as well, probably.


![Pampers Sensitive Baby Wipes, Clinically Proven, Fragrance Free, Unscented, Water Based, Hypoallergenic, Multi-Use, Hand Wipes 336 Wipes Total (6X Flip-Top Packs) [Packaging May Vary]](https://m.media-amazon.com/images/I/41KLBHu9CAL._SL500_.jpg)






As an Amazon Associate we earn from qualifying purchases. Product prices and availability are accurate as of the date/time indicated and are subject to change.
I think this is where kits get silly. It isn't like we have jigs to keep everything straight and in line. I like detail but slap don't want to spend an hour putting together one minor assembly.This is one of those things where 1) they should have provided an alternative in plastic, and 2) it builds fine on their computer but the vast majority of modellers won't be able to IRL. Takom has these problems as well, with having you build subassemblies in isolation when they need several parts lined up perfectly in order to fit other subassemblies later.
I would almost certainly replace Y10 with a bit of plastic strip myself, and Y1 as well, probably.
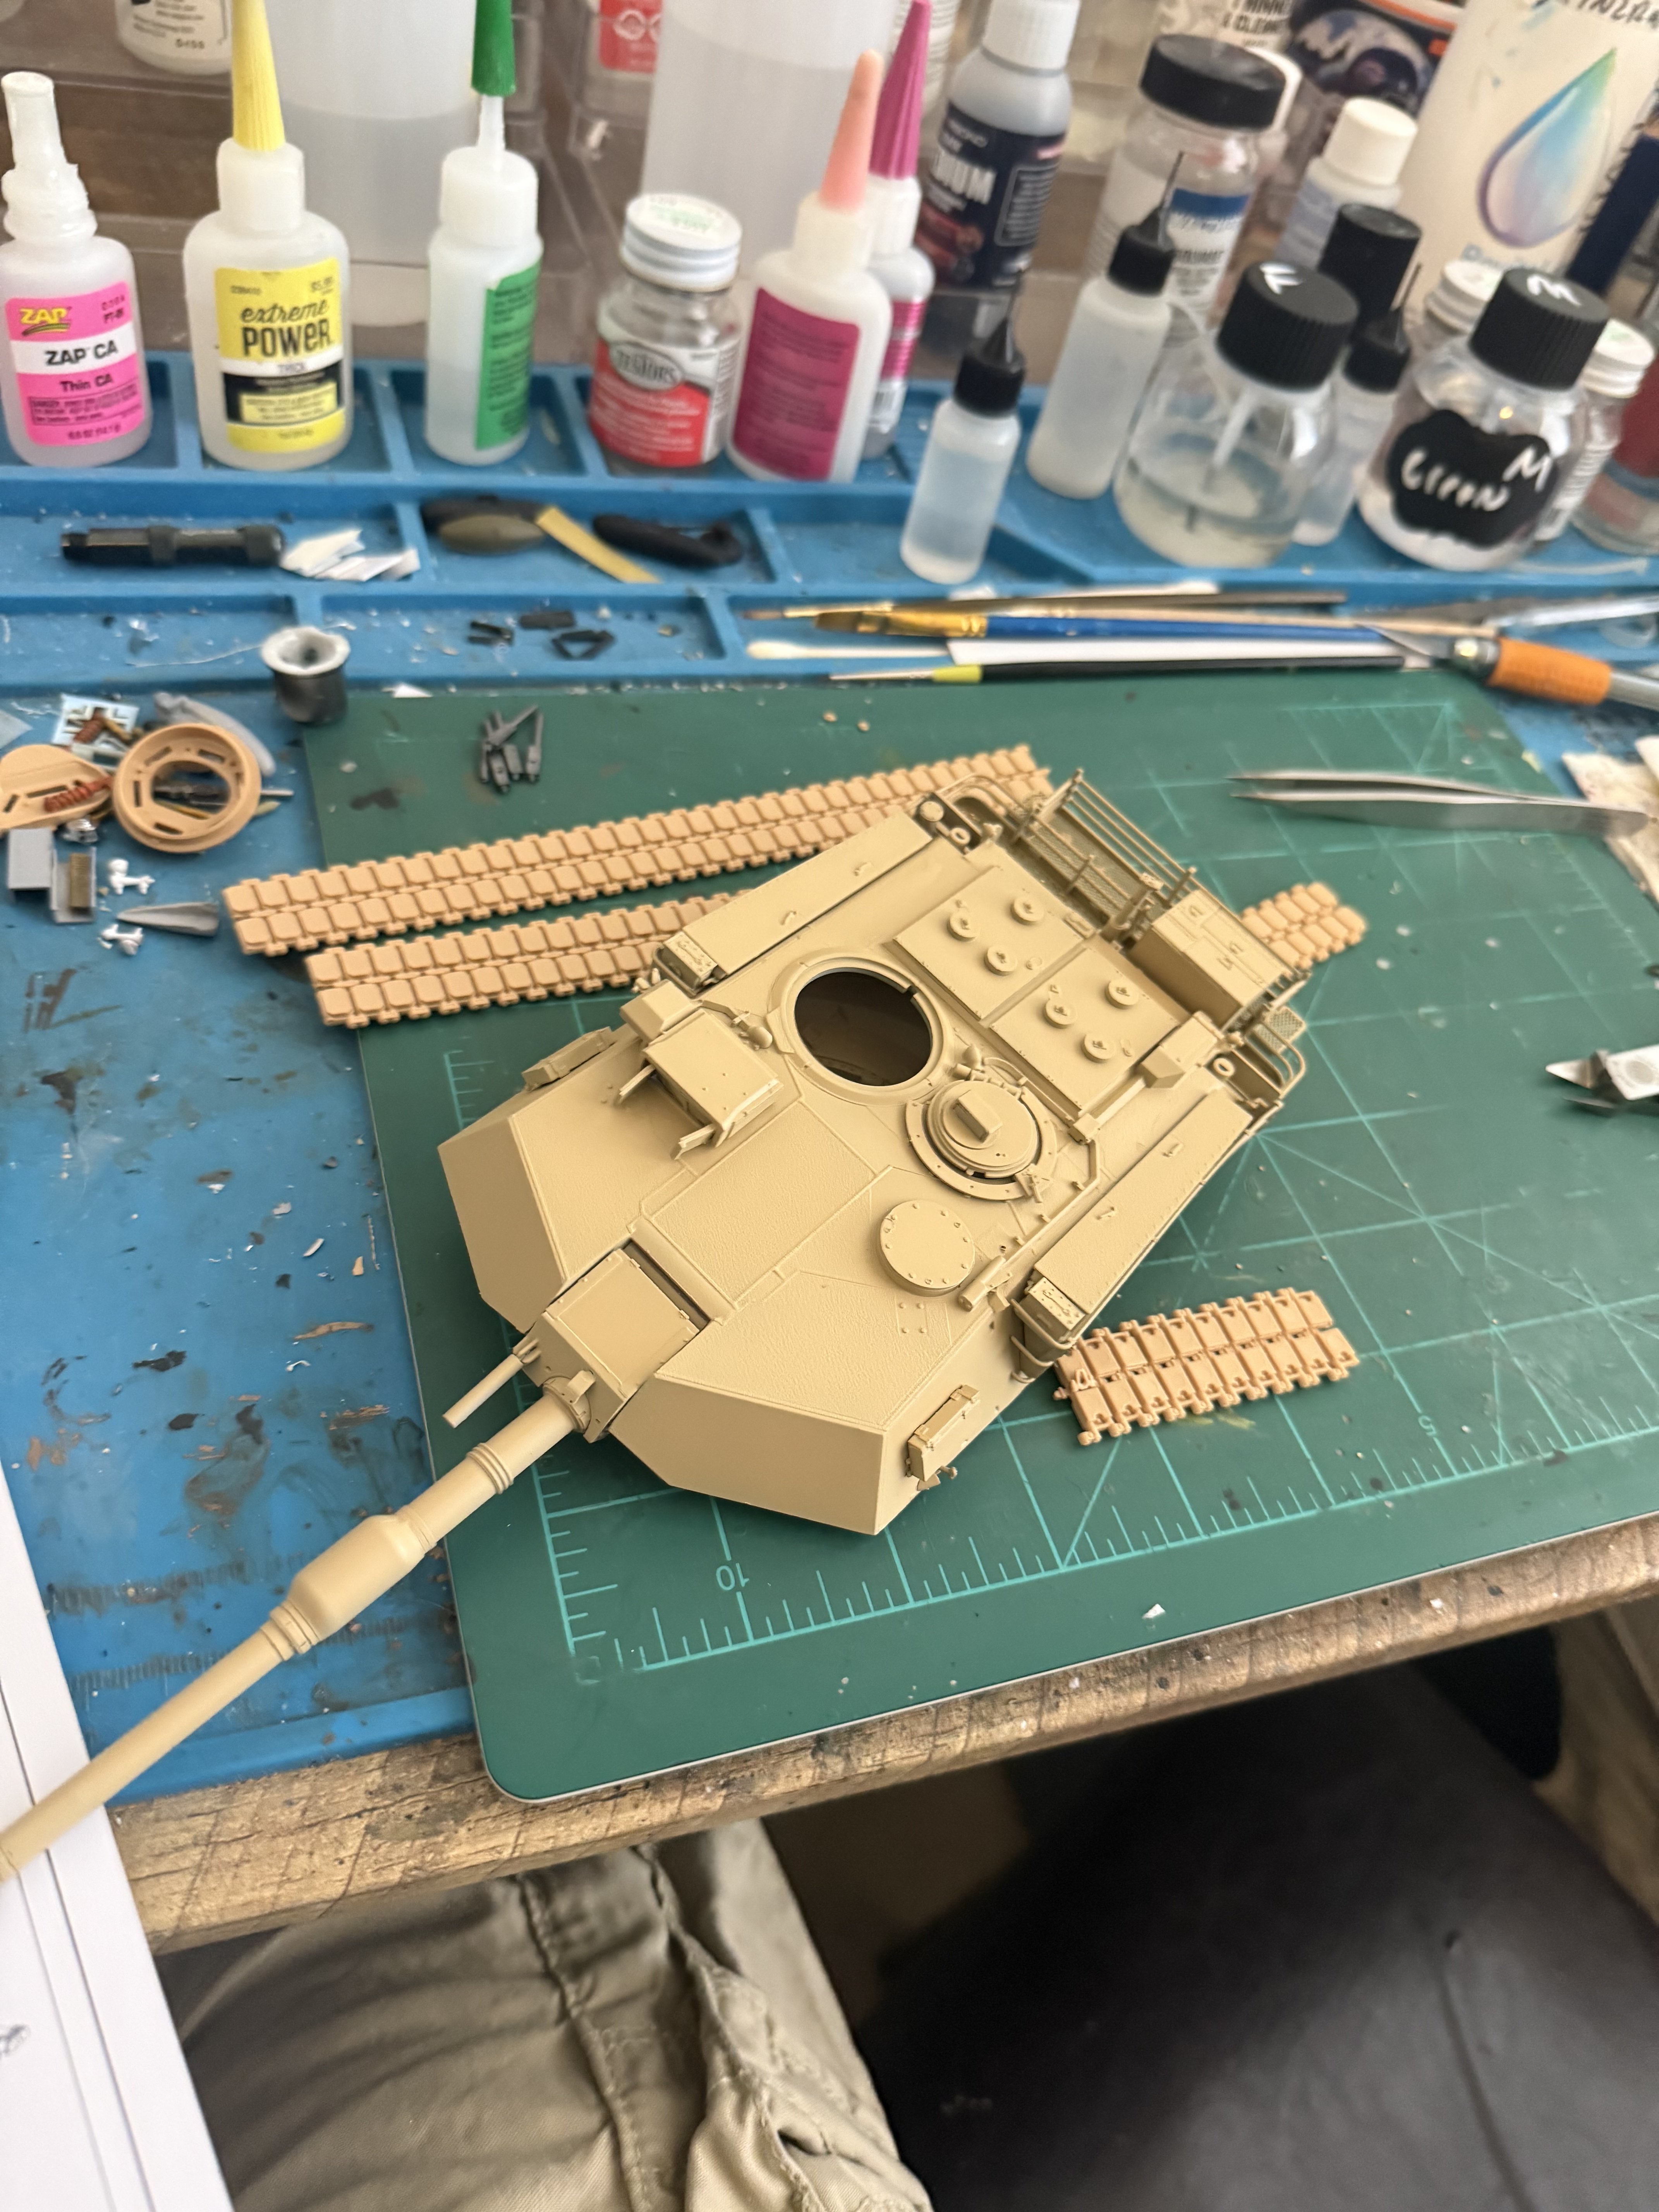
Here's where I sit today. I'm holding off on the guns because I want to have the actual guns in gun metal so it's a disruption to the workflow. With all the various tiny parts that go toward the final gun assembly it's not going to be easy. Funny, when I first started this hobby I thought "This will help
Me slow down and pay attention to details" , it's had a mild-moderate impact on that but I've gotten really good at fixing my mistakes!
Me slow down and pay attention to details" , it's had a mild-moderate impact on that but I've gotten really good at fixing my mistakes!
Attachments
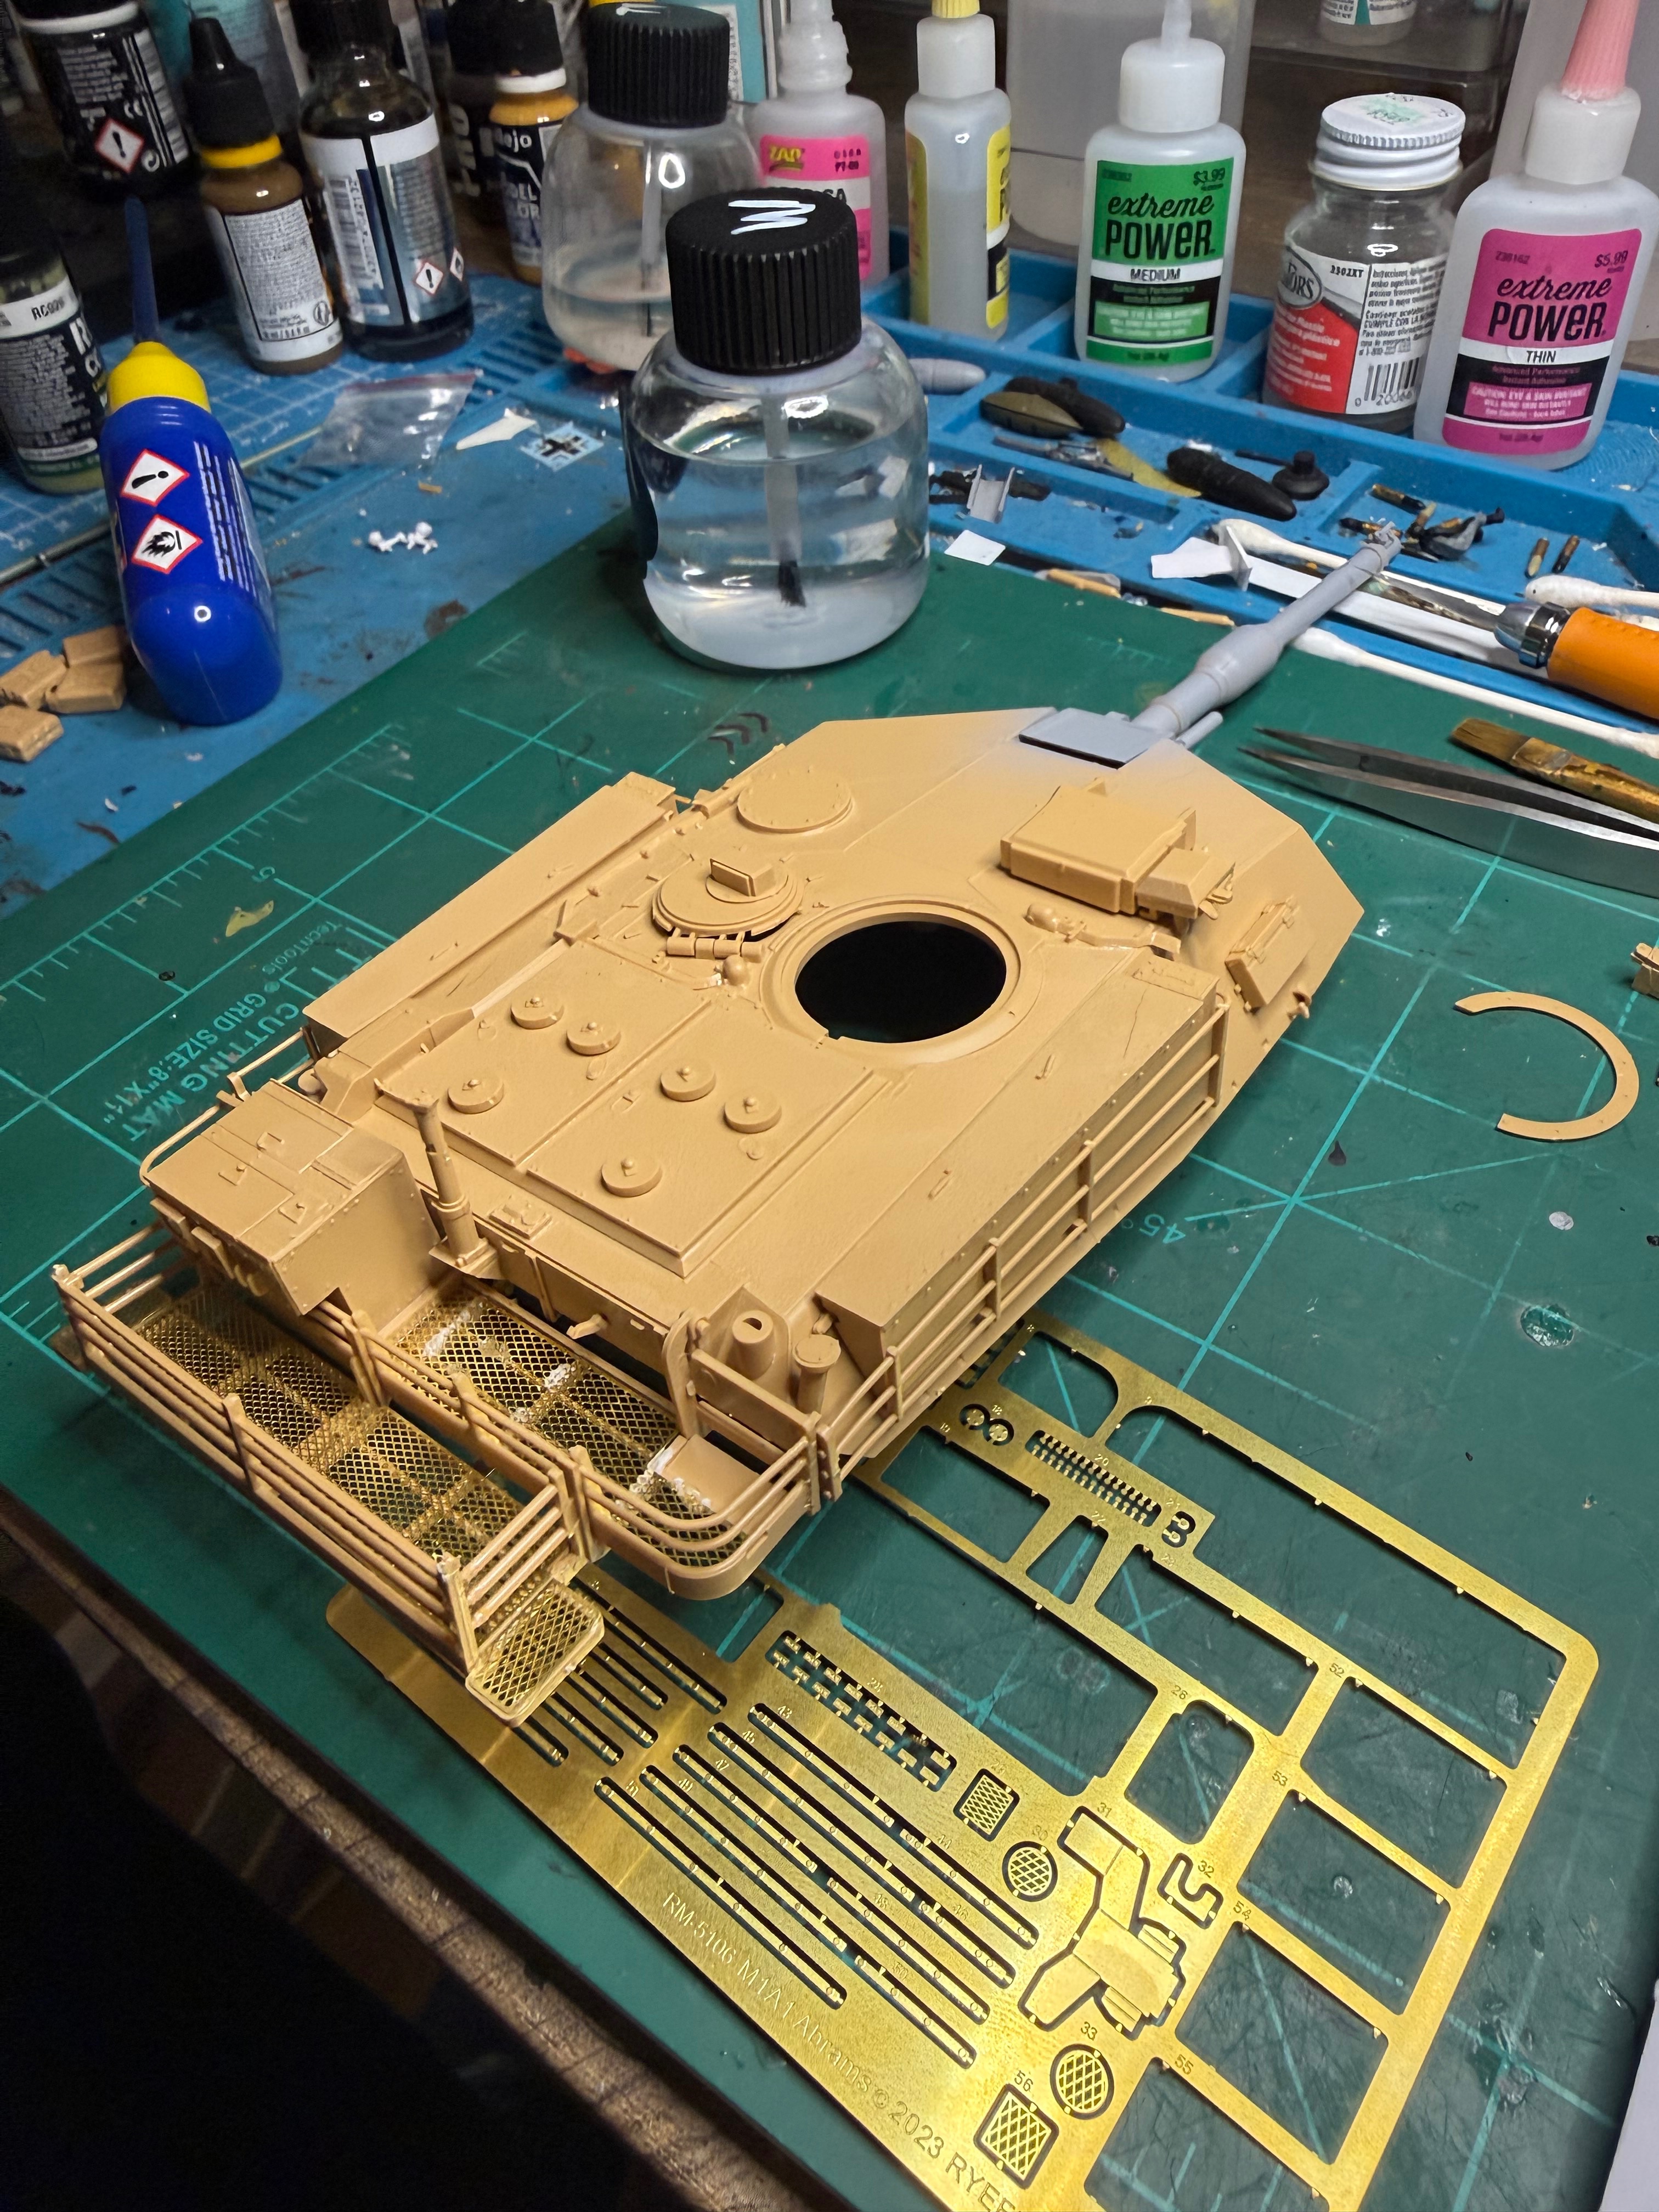
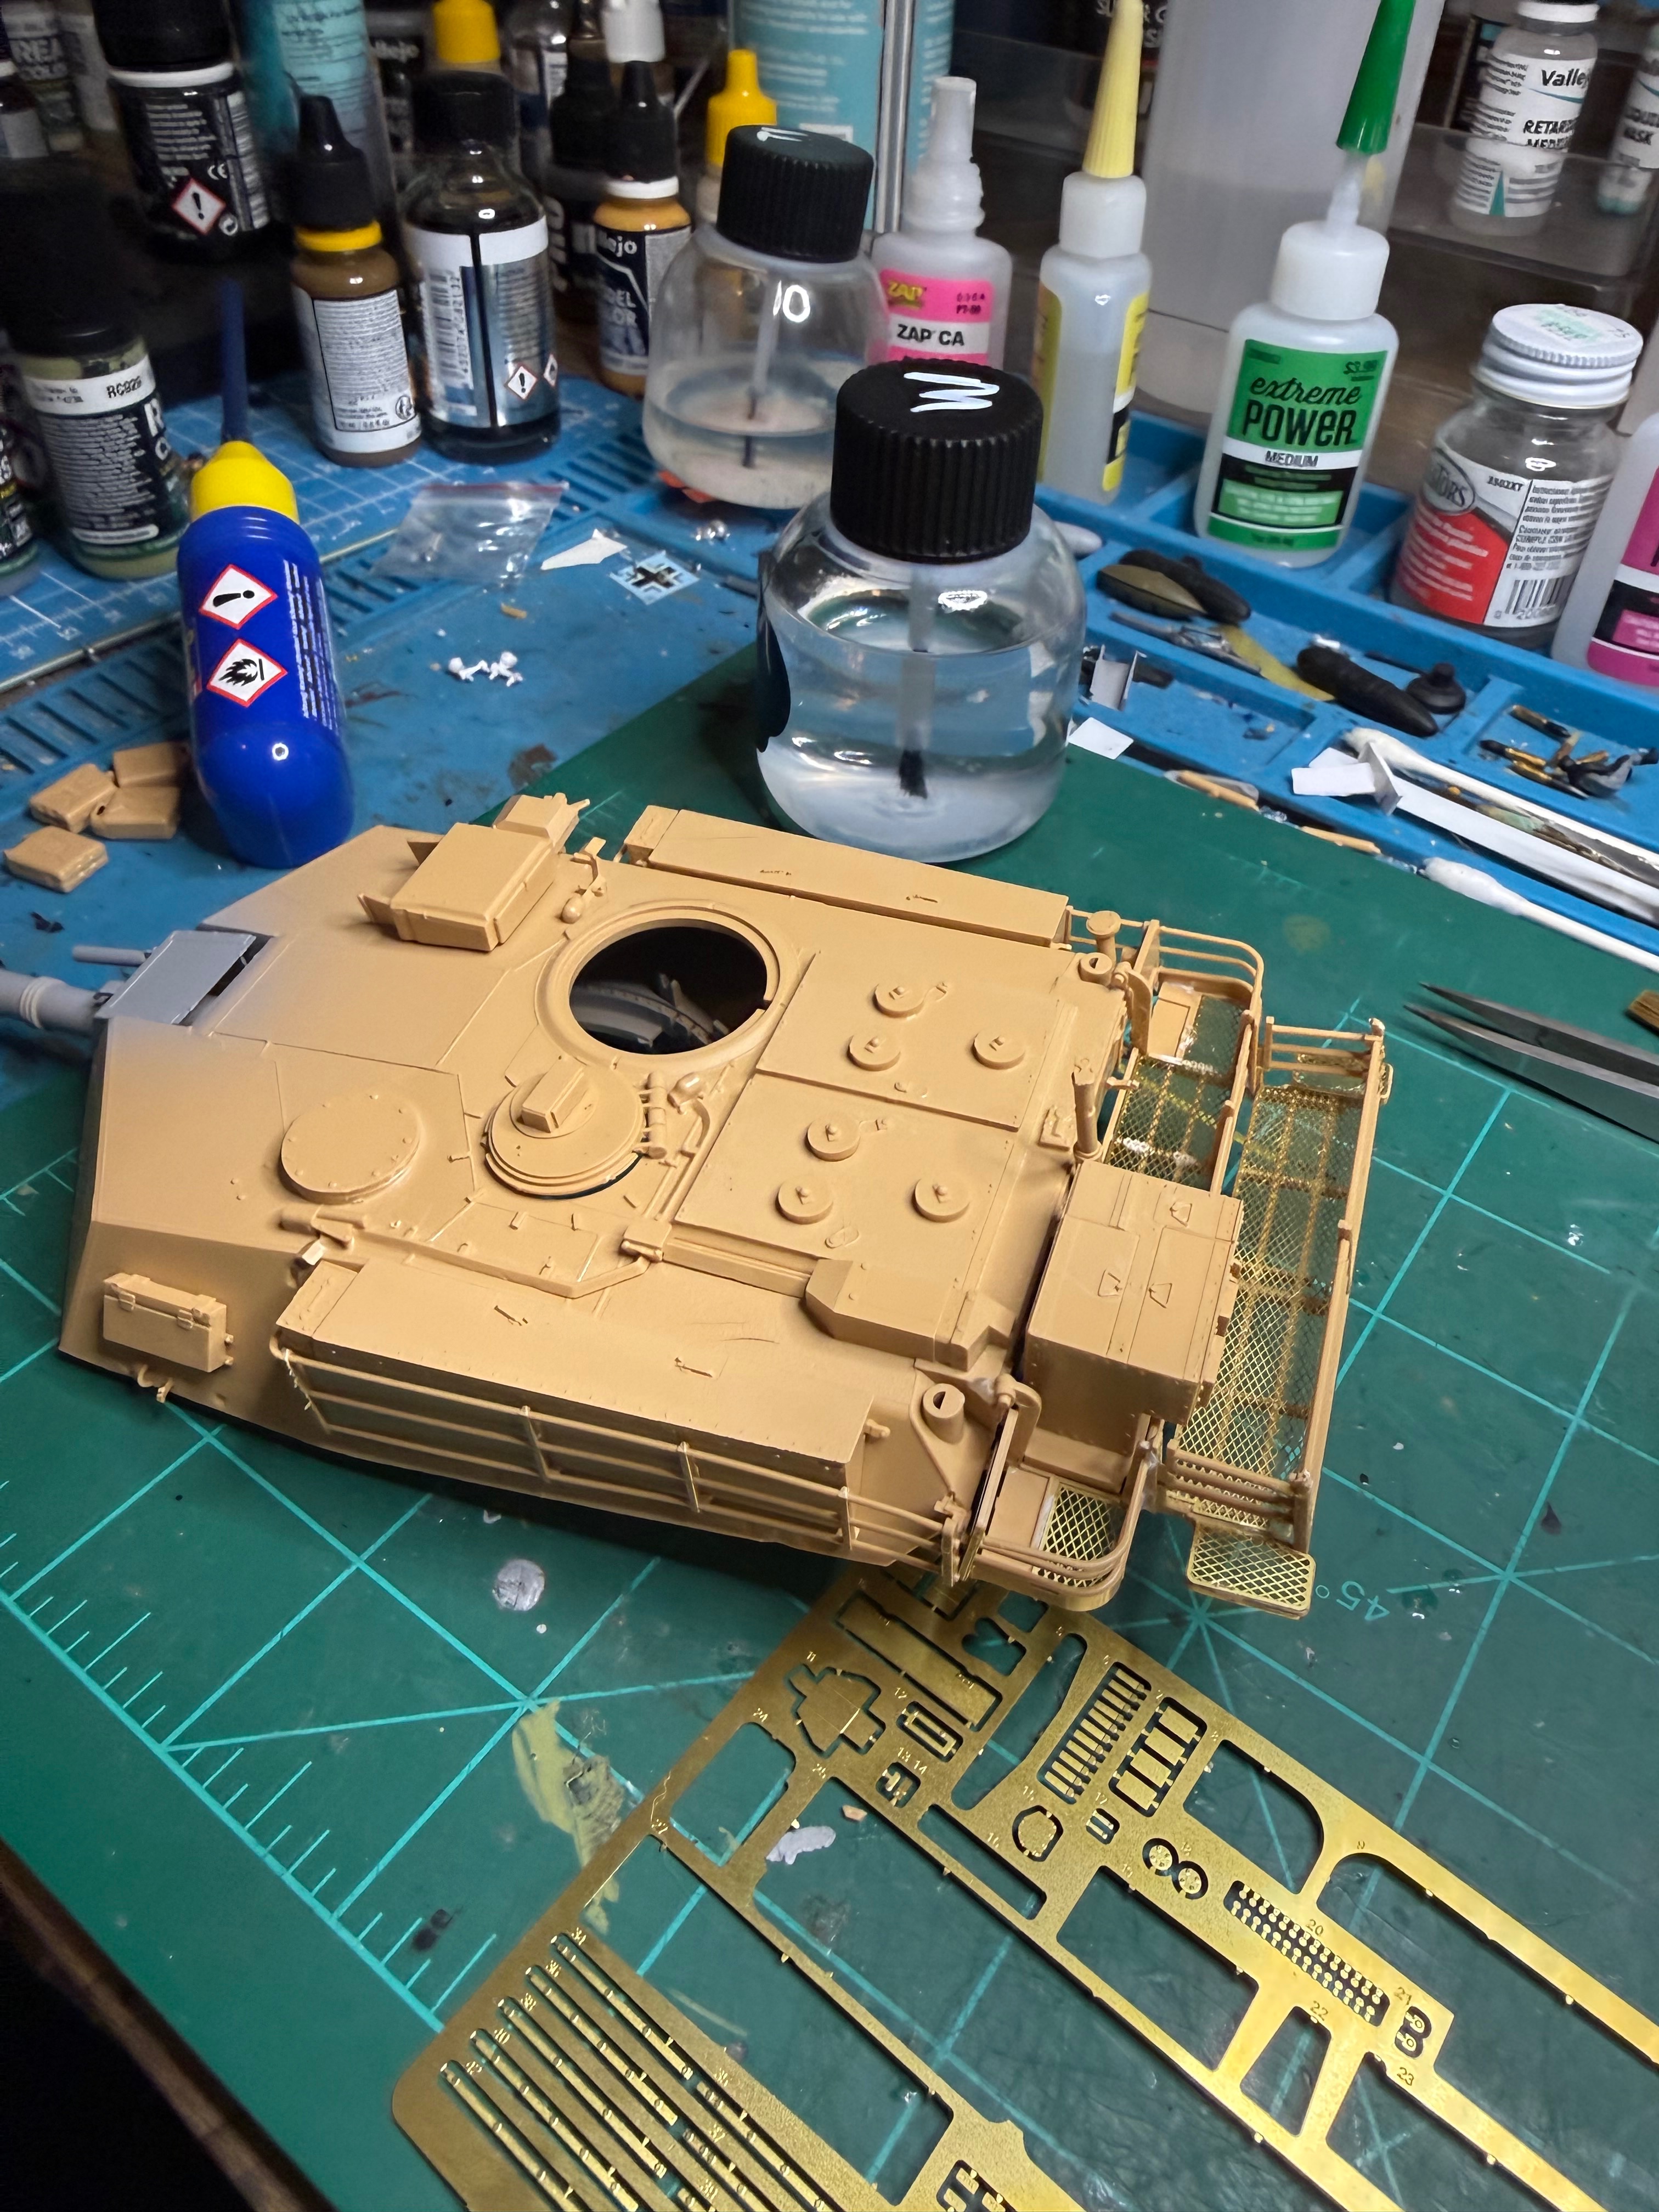
That's a win in my book!gotten really good at fixing my mistakes
Those rear stowage cages look awesome!
Thank you. It's a bit delicate but I liked doing it.That's a win in my book!
Those rear stowage cages look awesome!
So now I'm getting frustrated. Assembled a sub assembly went to attach and it doesn't work. Snip the pieces off thinking the order of directions is incorrect- it's what I found on internet but now messing with it I realize I had glued the subassembly parts in the wrong spots- misread the diagram. Funny thing is the attachment points were Half moon shaped so they fit where I put them nicely. Where they should go just has round holes. I definitely recommend reading directions ahead which is not my strong point. I will need to try dry fitting different assemblies before gluing which I'm not sure how that will work considering the amount of small parts- a number of which the carpet monster has already claimed and to which I said the hell with it. We're replacing the carpet with tile in my room but as I've read in other forums the parts just bounce further away and you still lose them. Argh. Damn I just lost another part. Haha.
Attachments
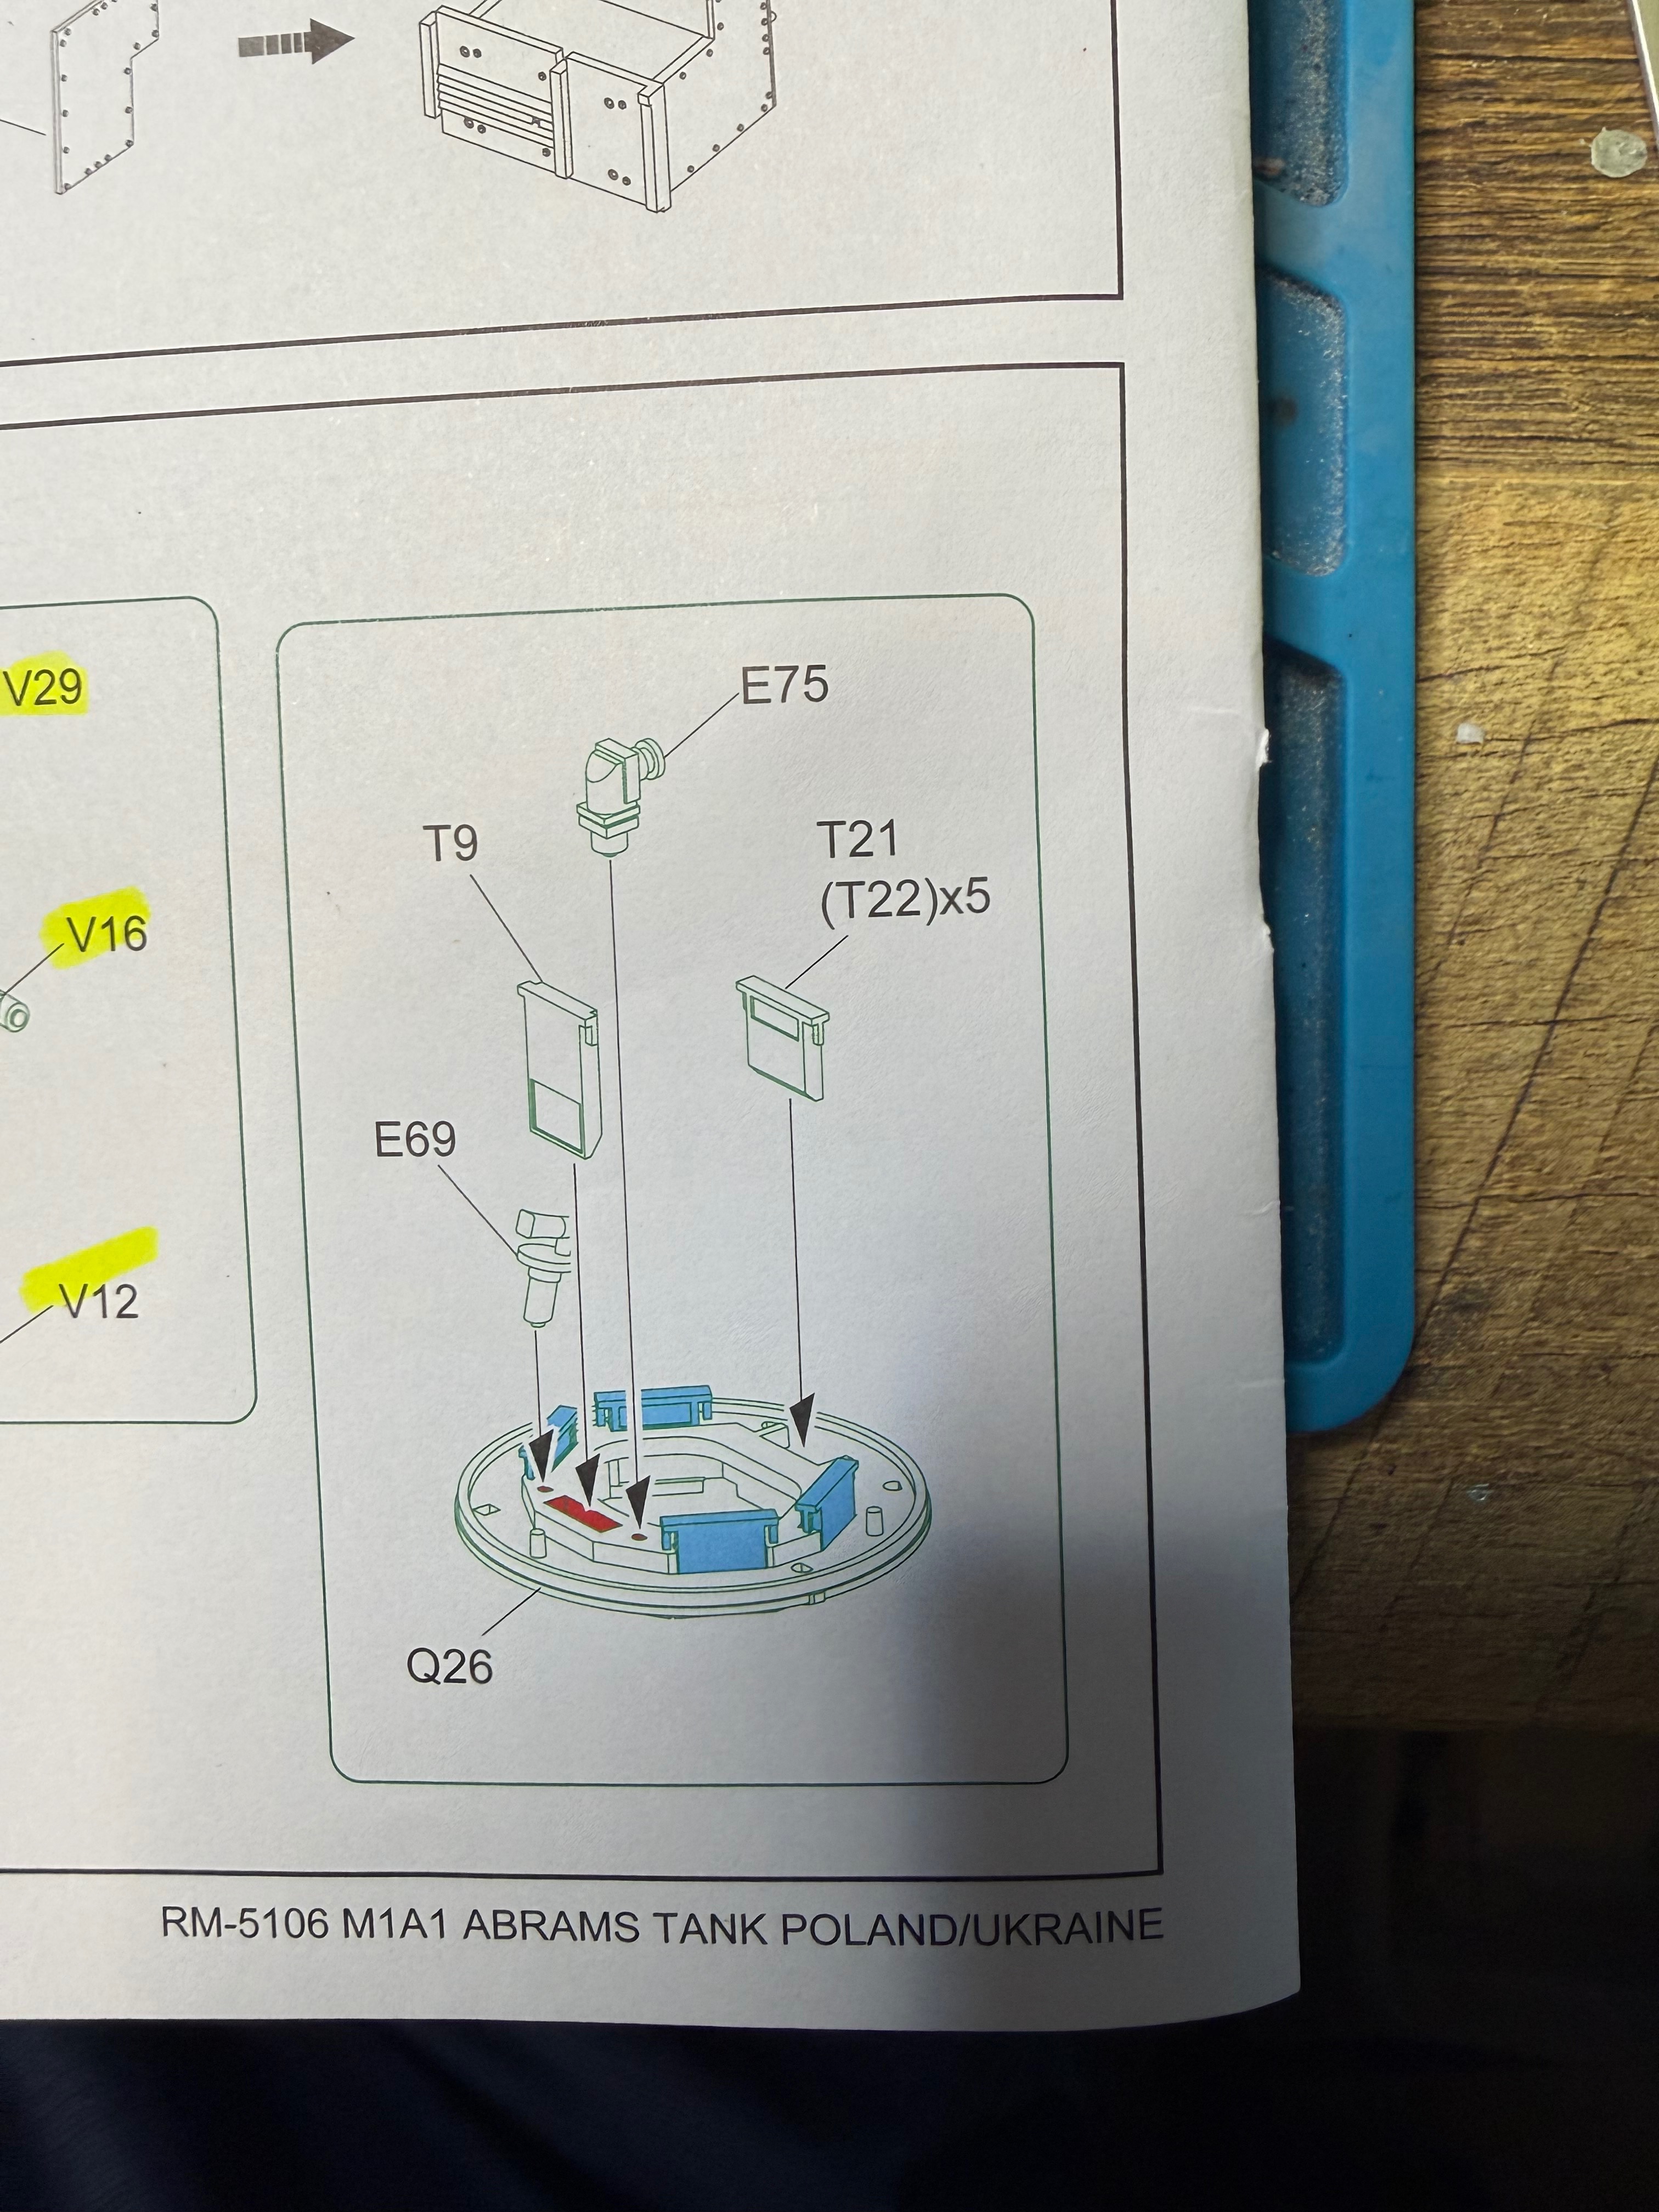
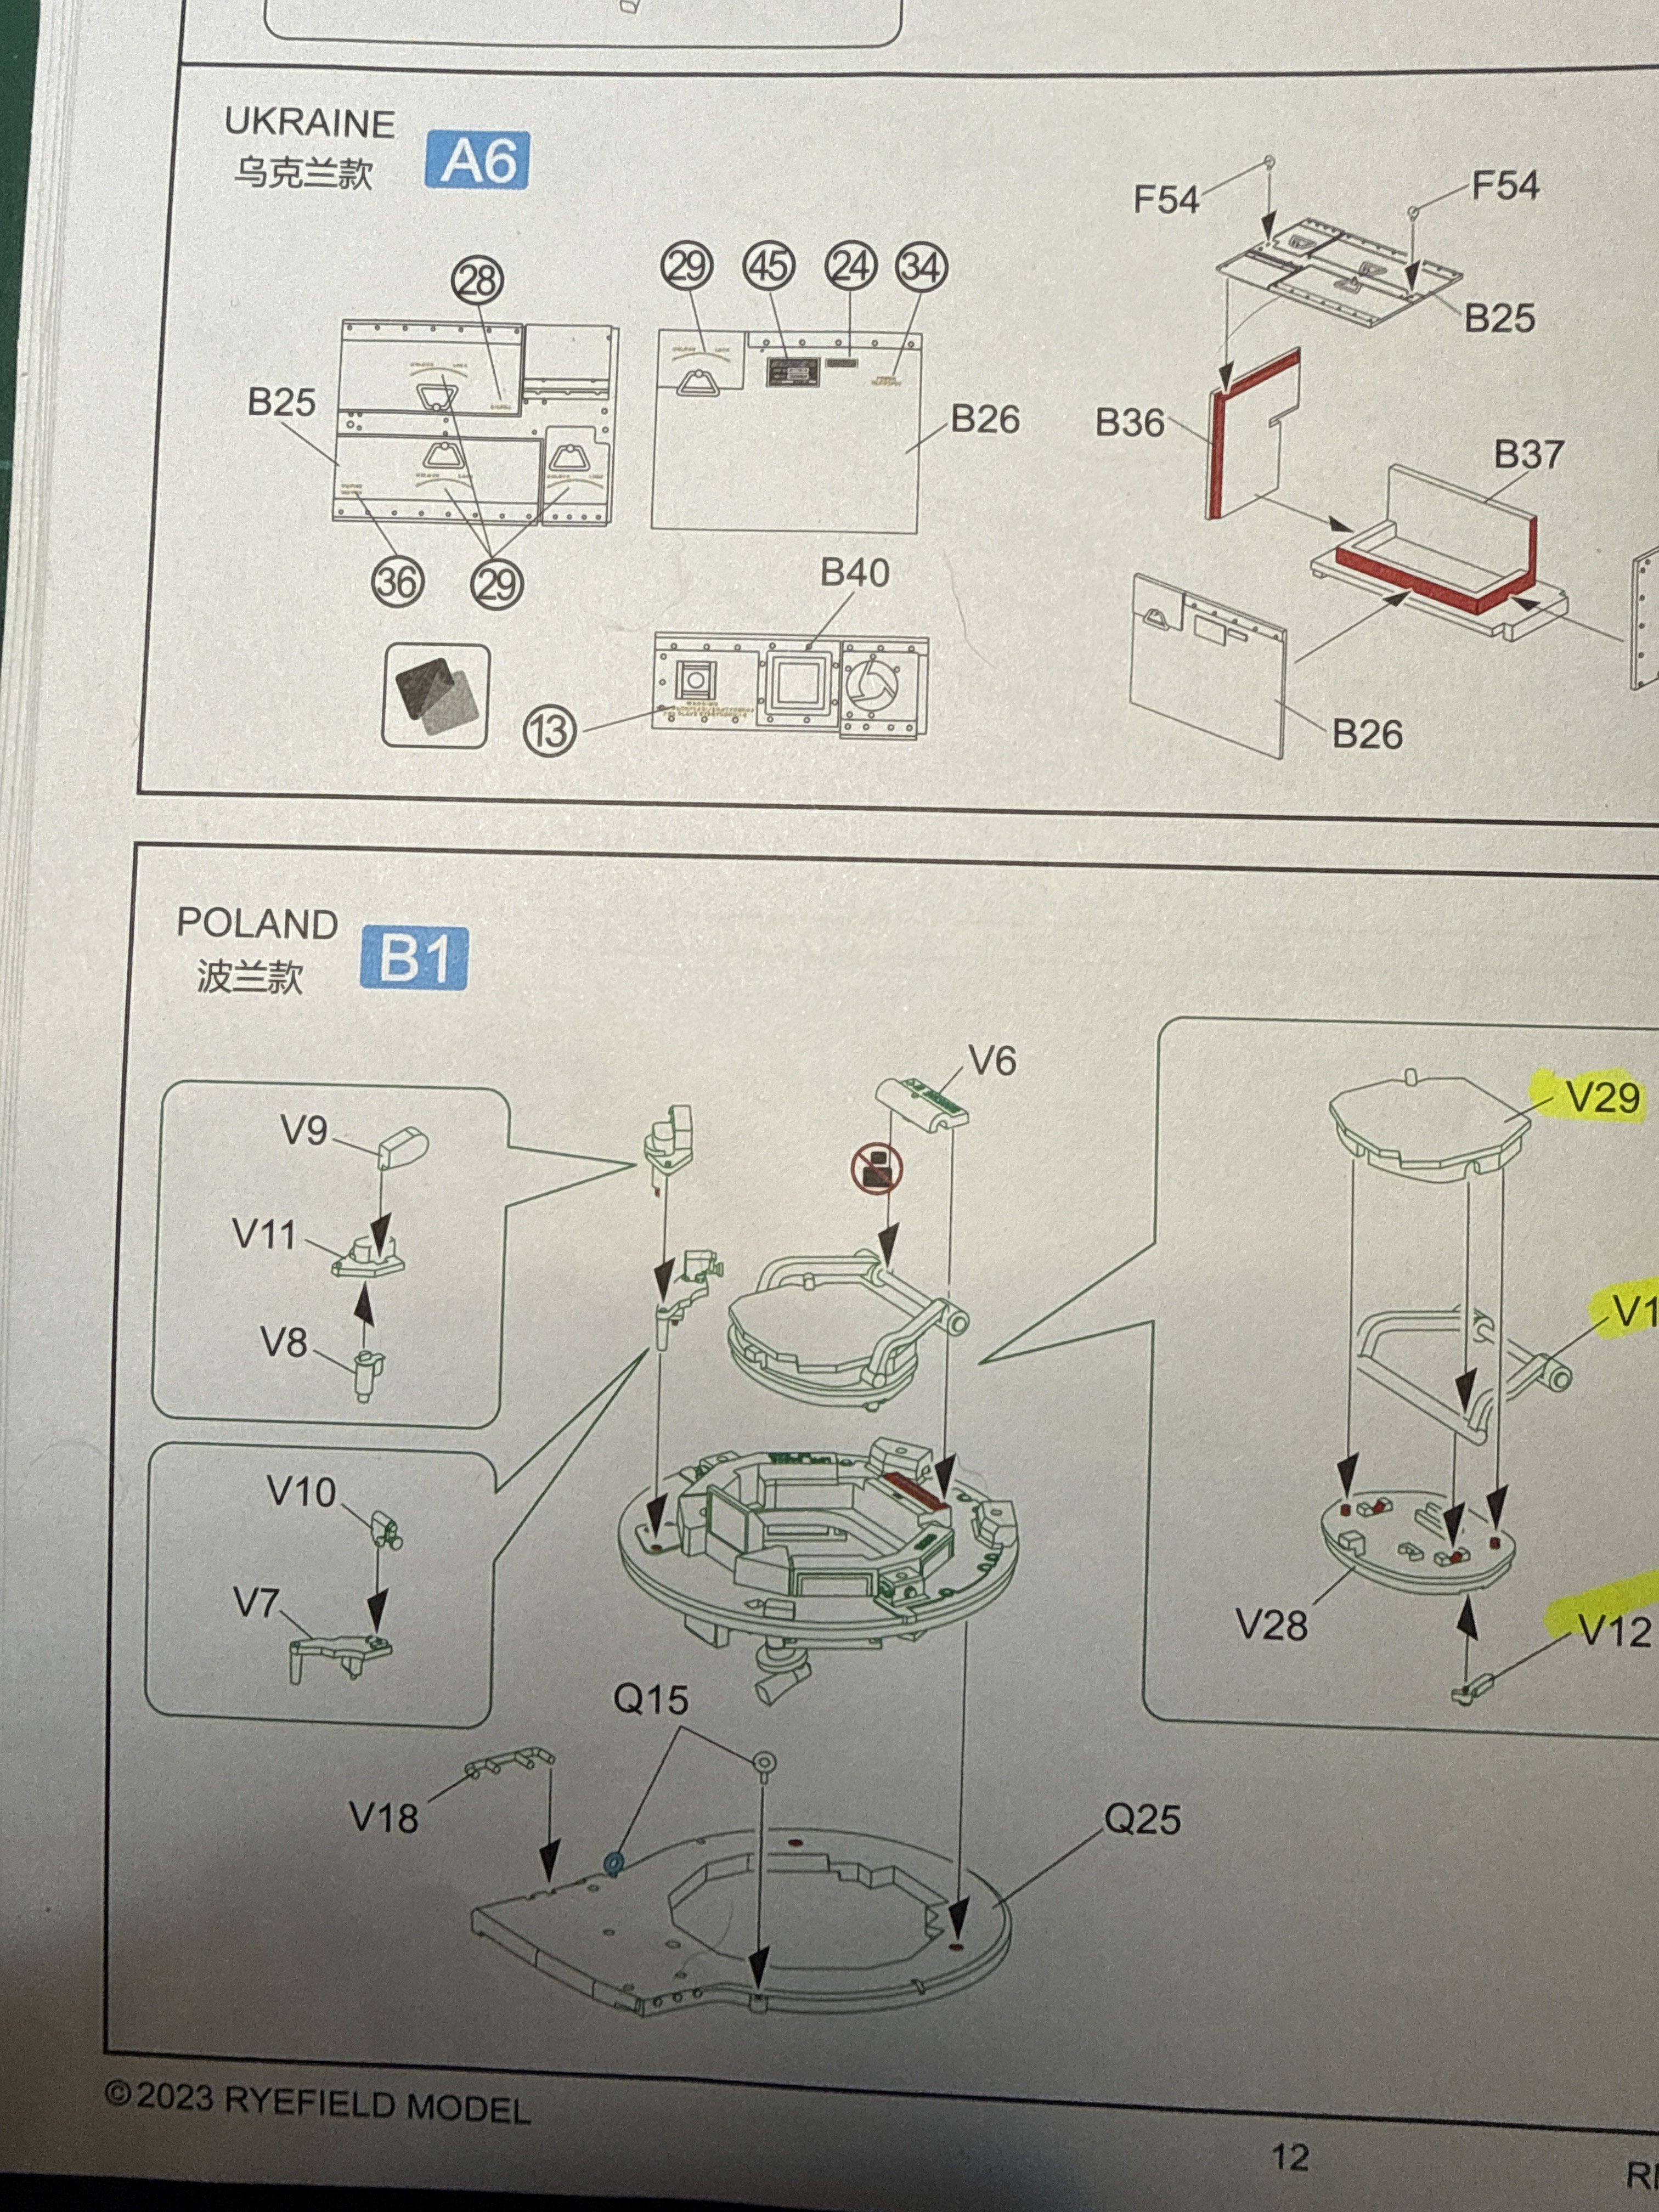
30 minutes and this is what I've done- and lost two parts!So now I'm getting frustrated. Assembled a sub assembly went to attach and it doesn't work. Snip the pieces off thinking the order of directions is incorrect- it's what I found on internet but now messing with it I realize I had glued the subassembly parts in the wrong spots- misread the diagram. Funny thing is the attachment points were Half moon shaped so they fit where I put them nicely. Where they should go just has round holes. I definitely recommend reading directions ahead which is not my strong point. I will need to try dry fitting different assemblies before gluing which I'm not sure how that will work considering the amount of small parts- a number of which the carpet monster has already claimed and to which I said the hell with it. We're replacing the carpet with tile in my room but as I've read in other forums the parts just bounce further away and you still lose them. Argh. Damn I just lost another part. Haha.
Attachments
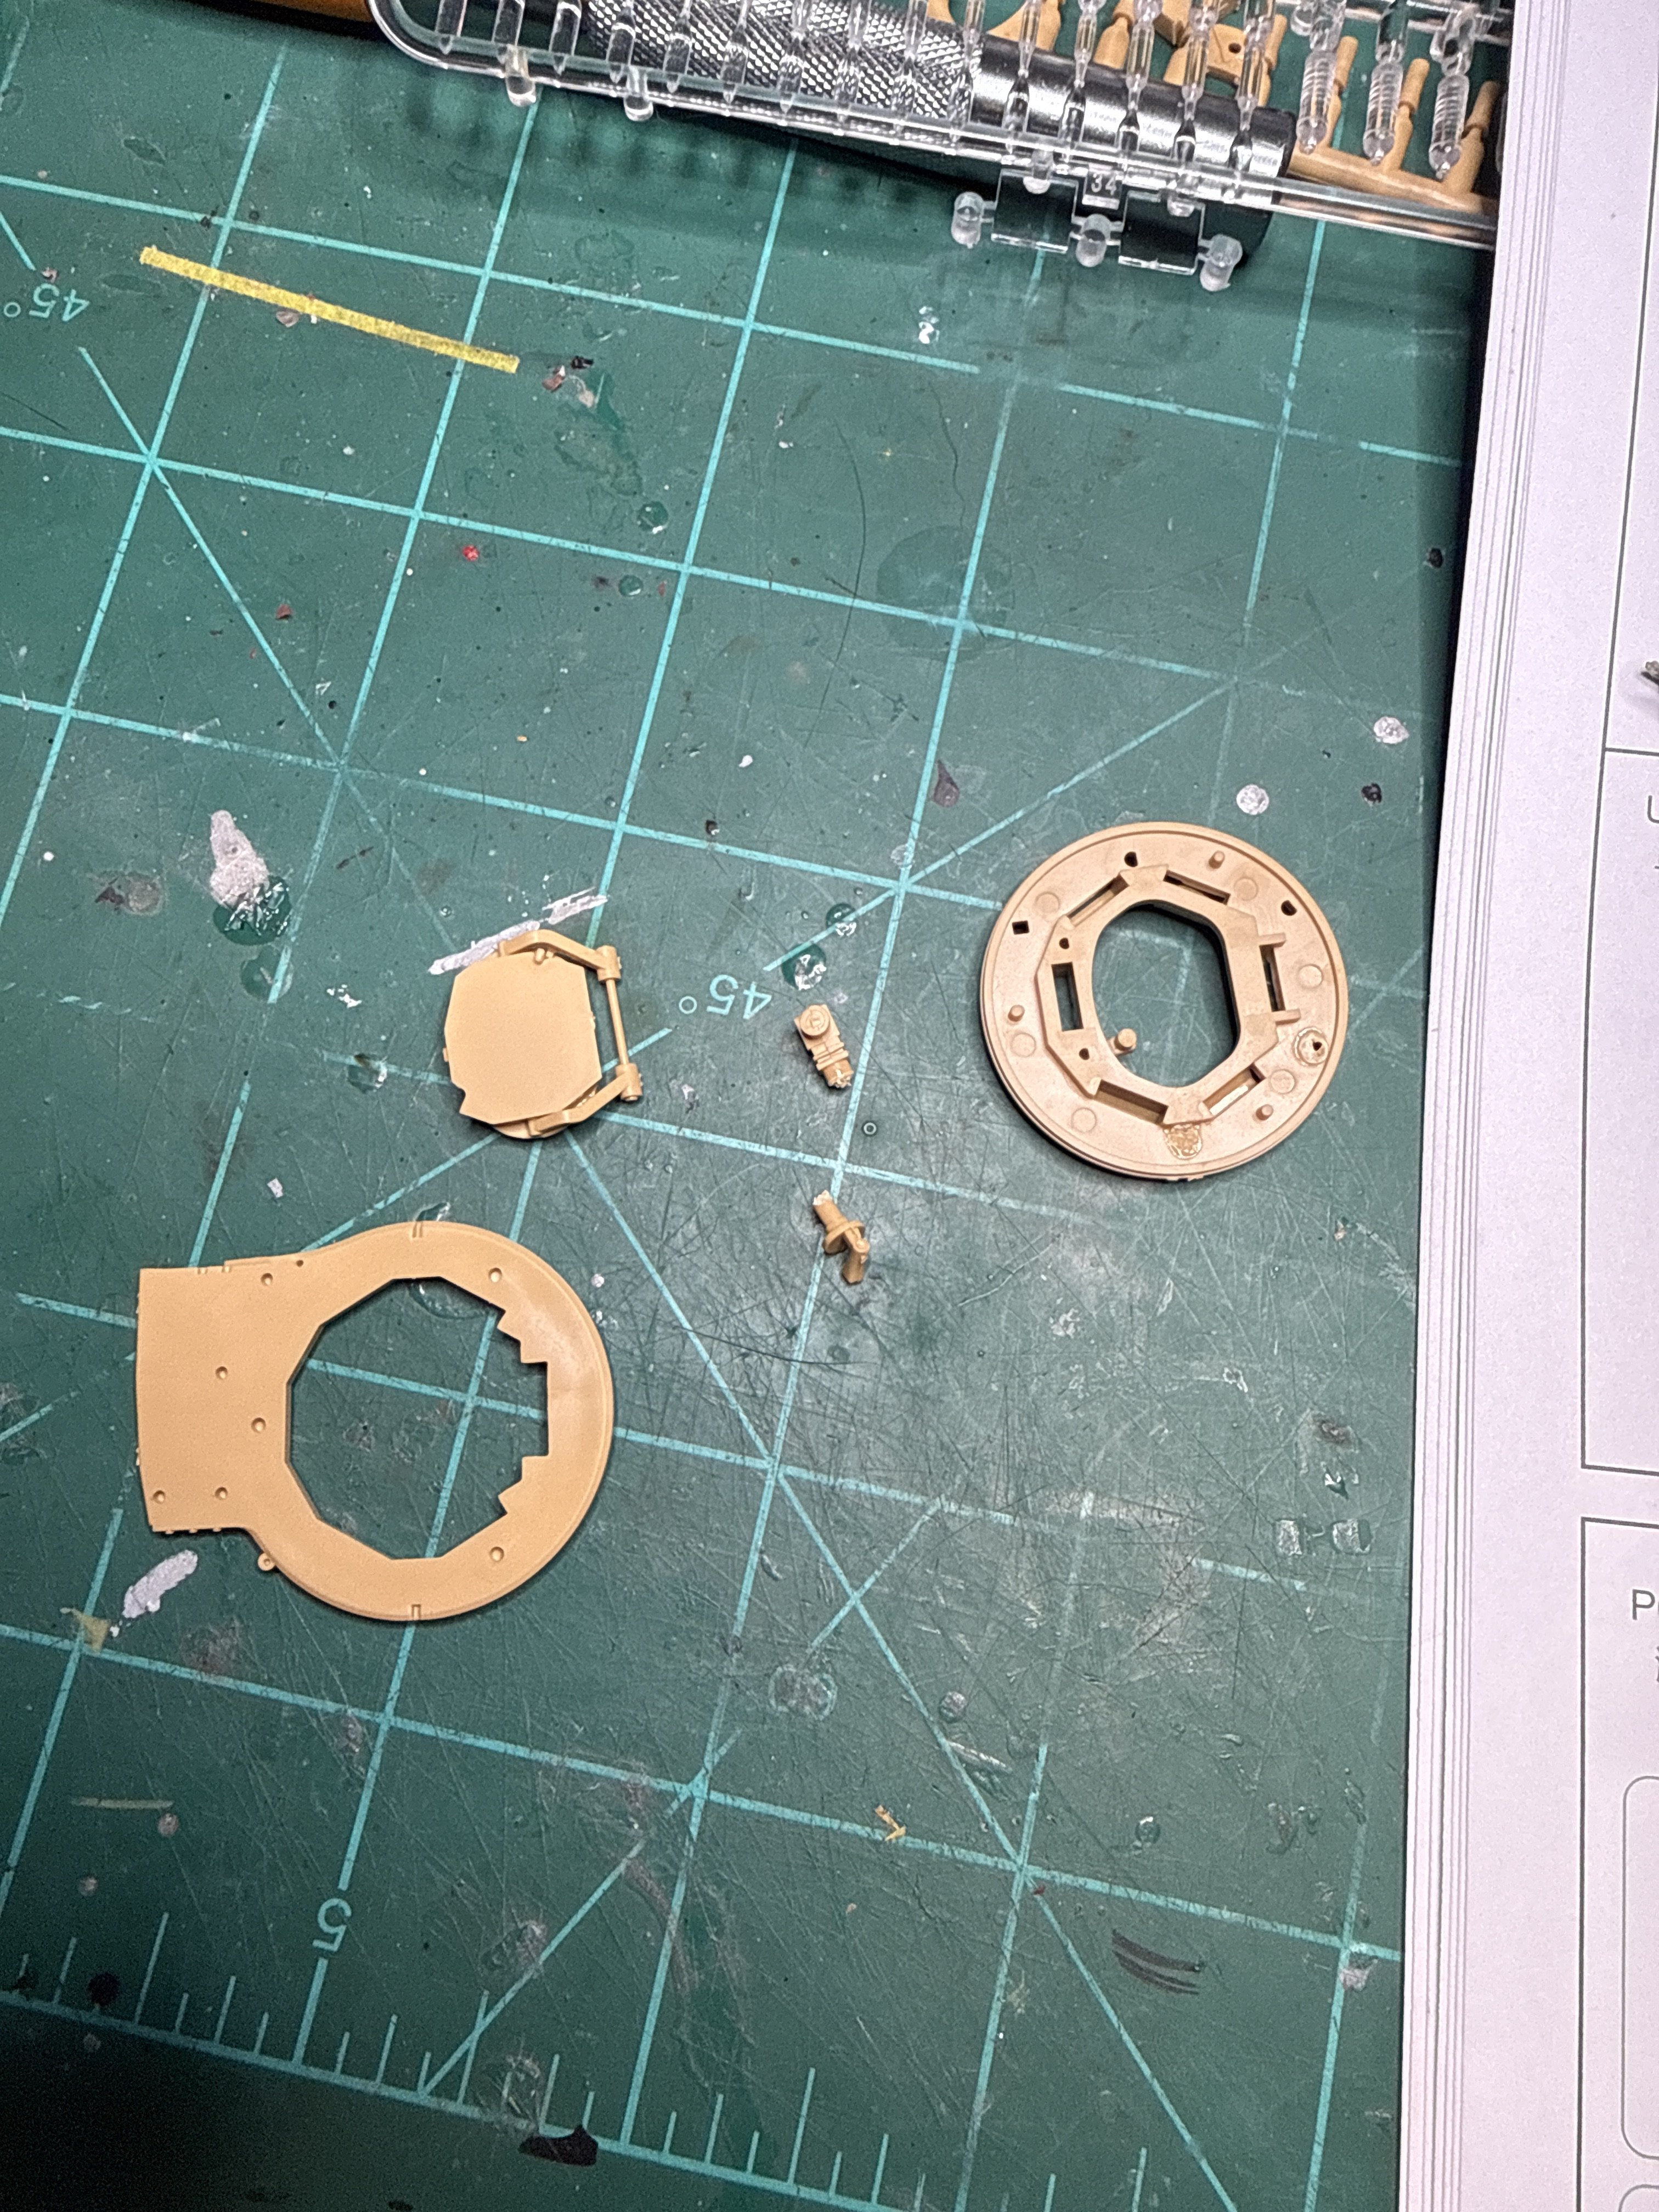

how are you losing so many parts , are they flying away when you cut them off the sprue ?
stick a chunk of tape to the part prior to removal --- cut atop the sticky or just stick a piece of tape to the part
stick a chunk of tape to the part prior to removal --- cut atop the sticky or just stick a piece of tape to the part
Solid colour, no texture. Then you can take advantage of the lighthouse technique with room lights dimmed: lay a flashlight on the floor and sweep it from side to side in small arcs. I've found this very effective as even tiny pieces will cast a longer shadow that moves with the sweep... And PE will also glint at some point.tile in my room
In User Interface design we would call that an example of optimizing signal to noise... By reducing other visual distractions – patterns, textures and colours, competing brightly lit objects – you reduce the noise and increase the signal: the object of your search. Think of it as reverse camouflage!
Physiologically, our vision was optimized through adaptive evolution to pick out discrepancies in patterns, a blade of grass or a shadow going against the grain of the pattern around it... As a matter of survival.
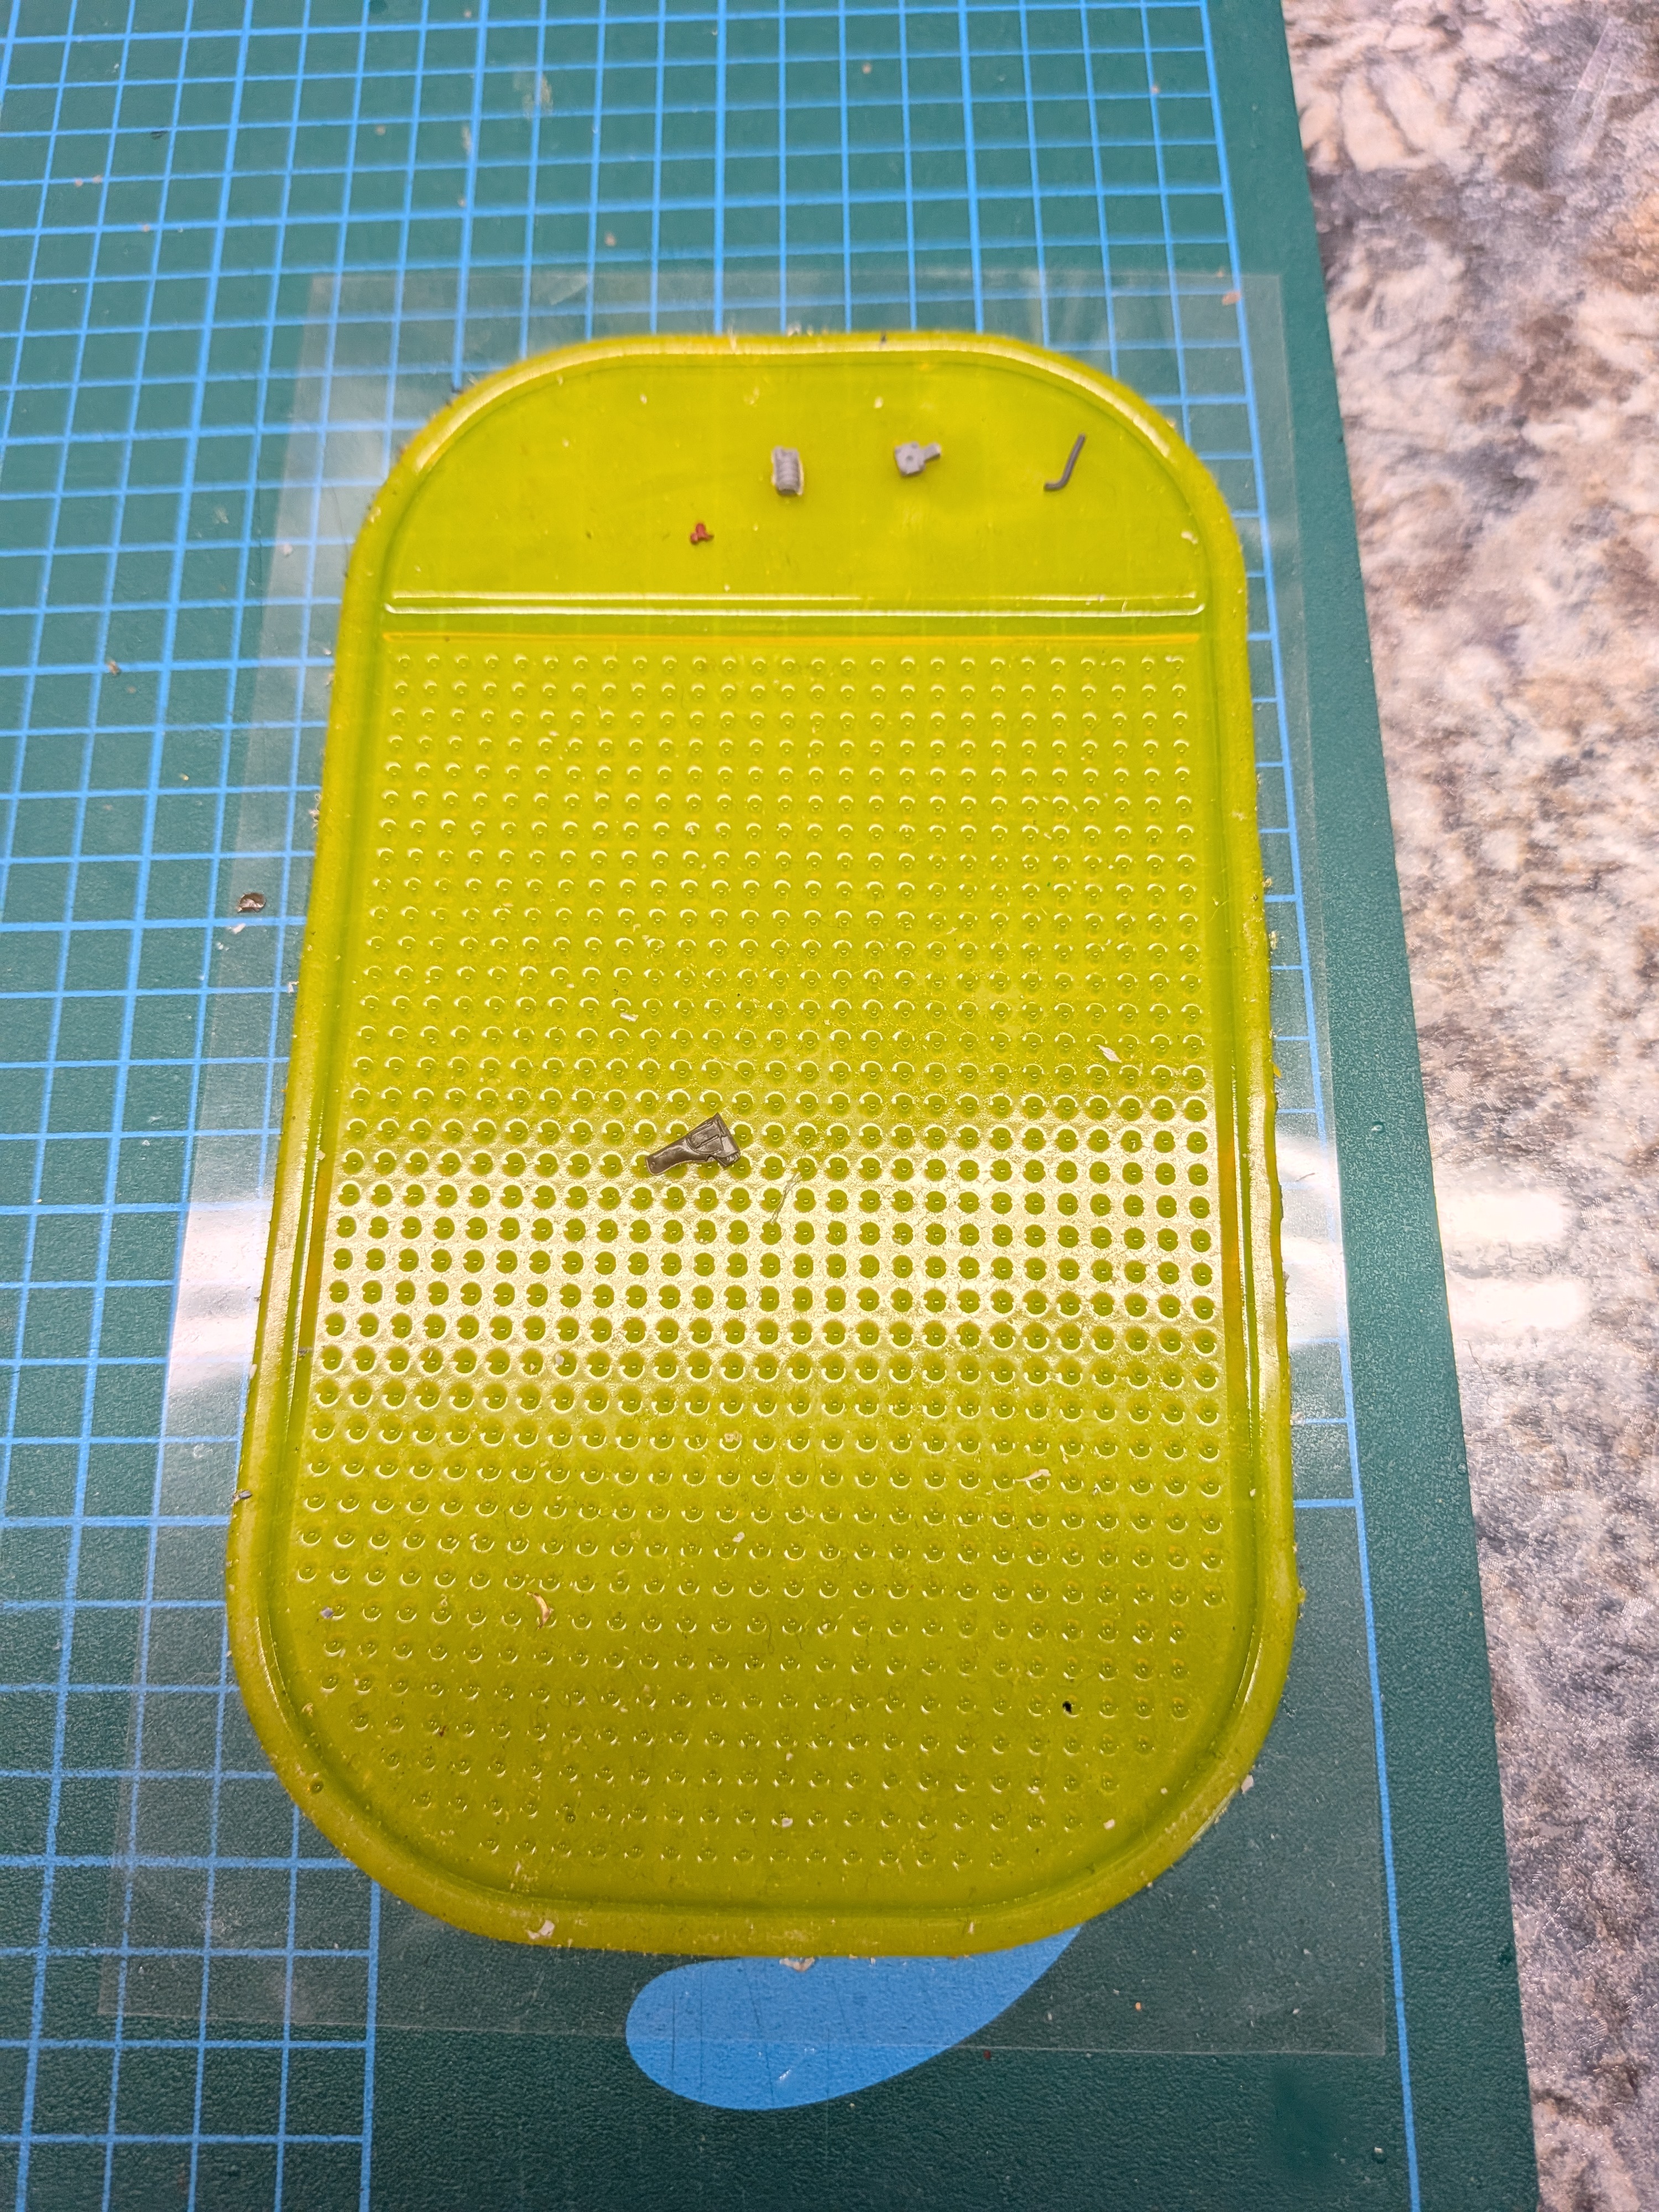
@Ron2 , if you're like me, I tend to cut all the parts for a sub-assembly at once, so the little ones are at risk of absconding.the part
I nestle them in one of these sticky pads until ready to glue:

That made me LOL
No I hold small parts while cutting off the sprue. My problem is grabbing these tiny pieces with my tweezers. The parts I lost were probably 1mm by 1mm. One was a small circle, like a gas cap- boing! Into the abyss.how are you losing so many parts , are they flying away when you cut them off the sprue ?
stick a chunk of tape to the part prior to removal --- cut atop the sticky or just stick a piece of tape to the part
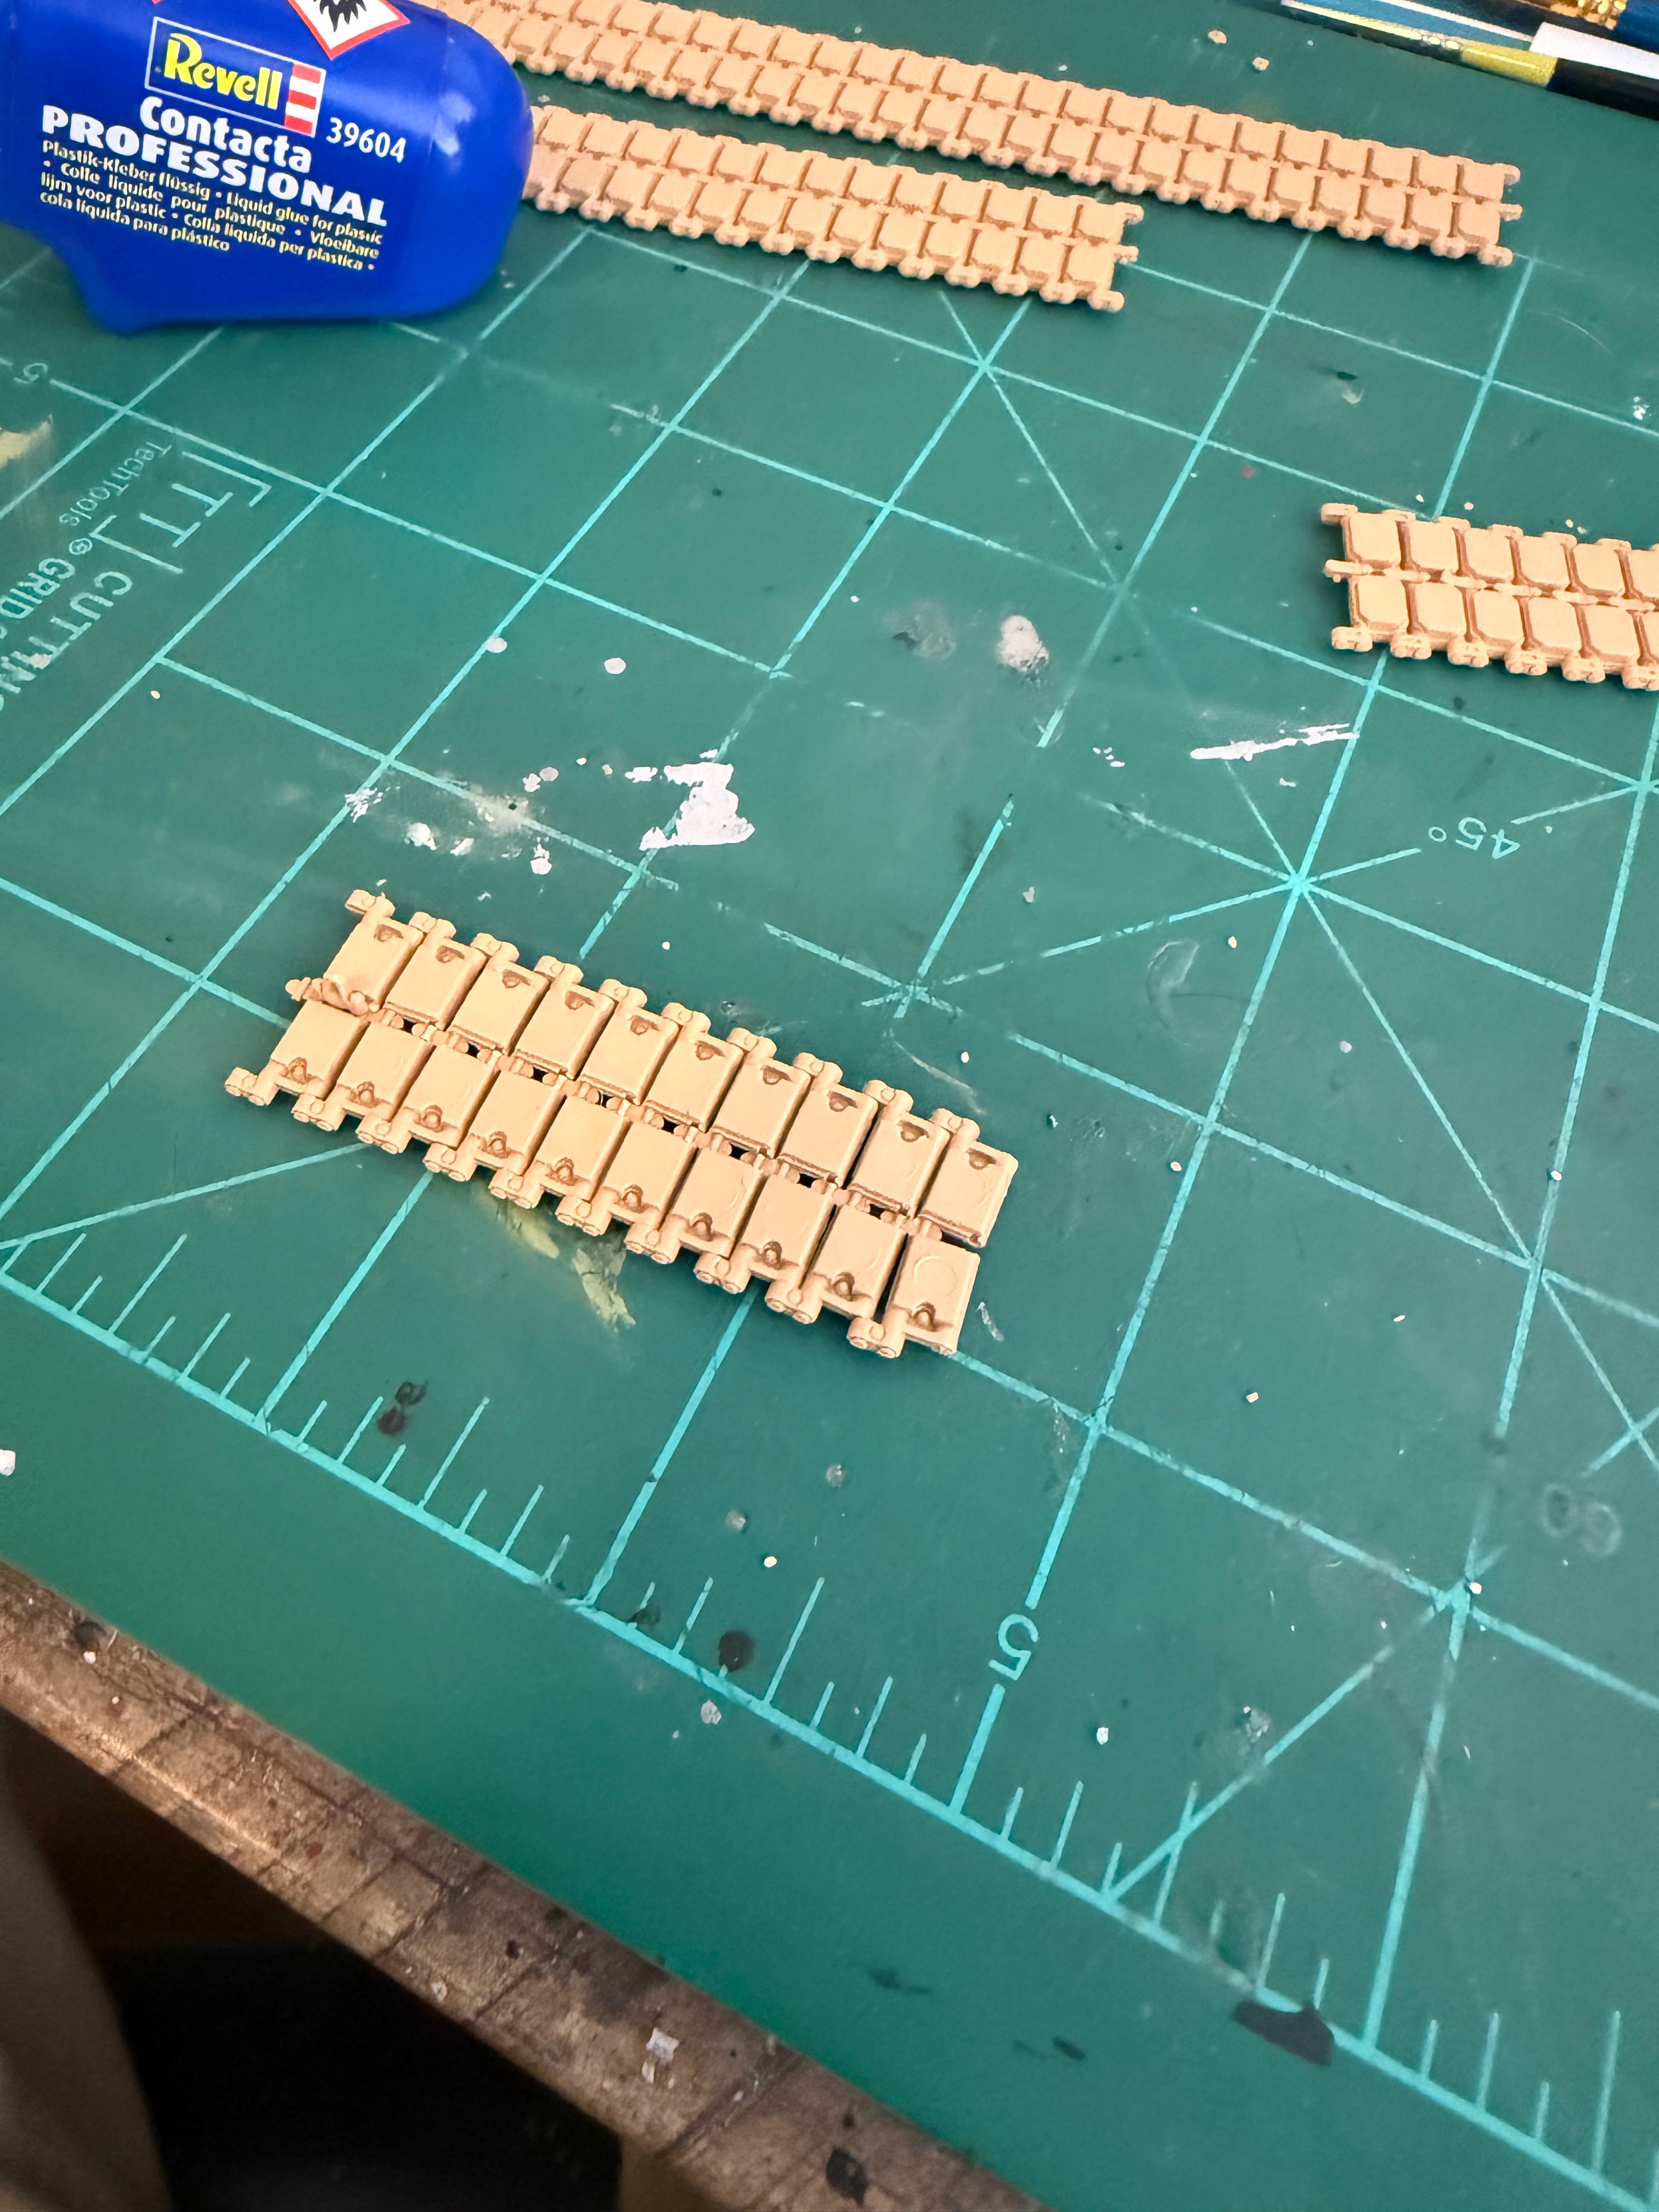
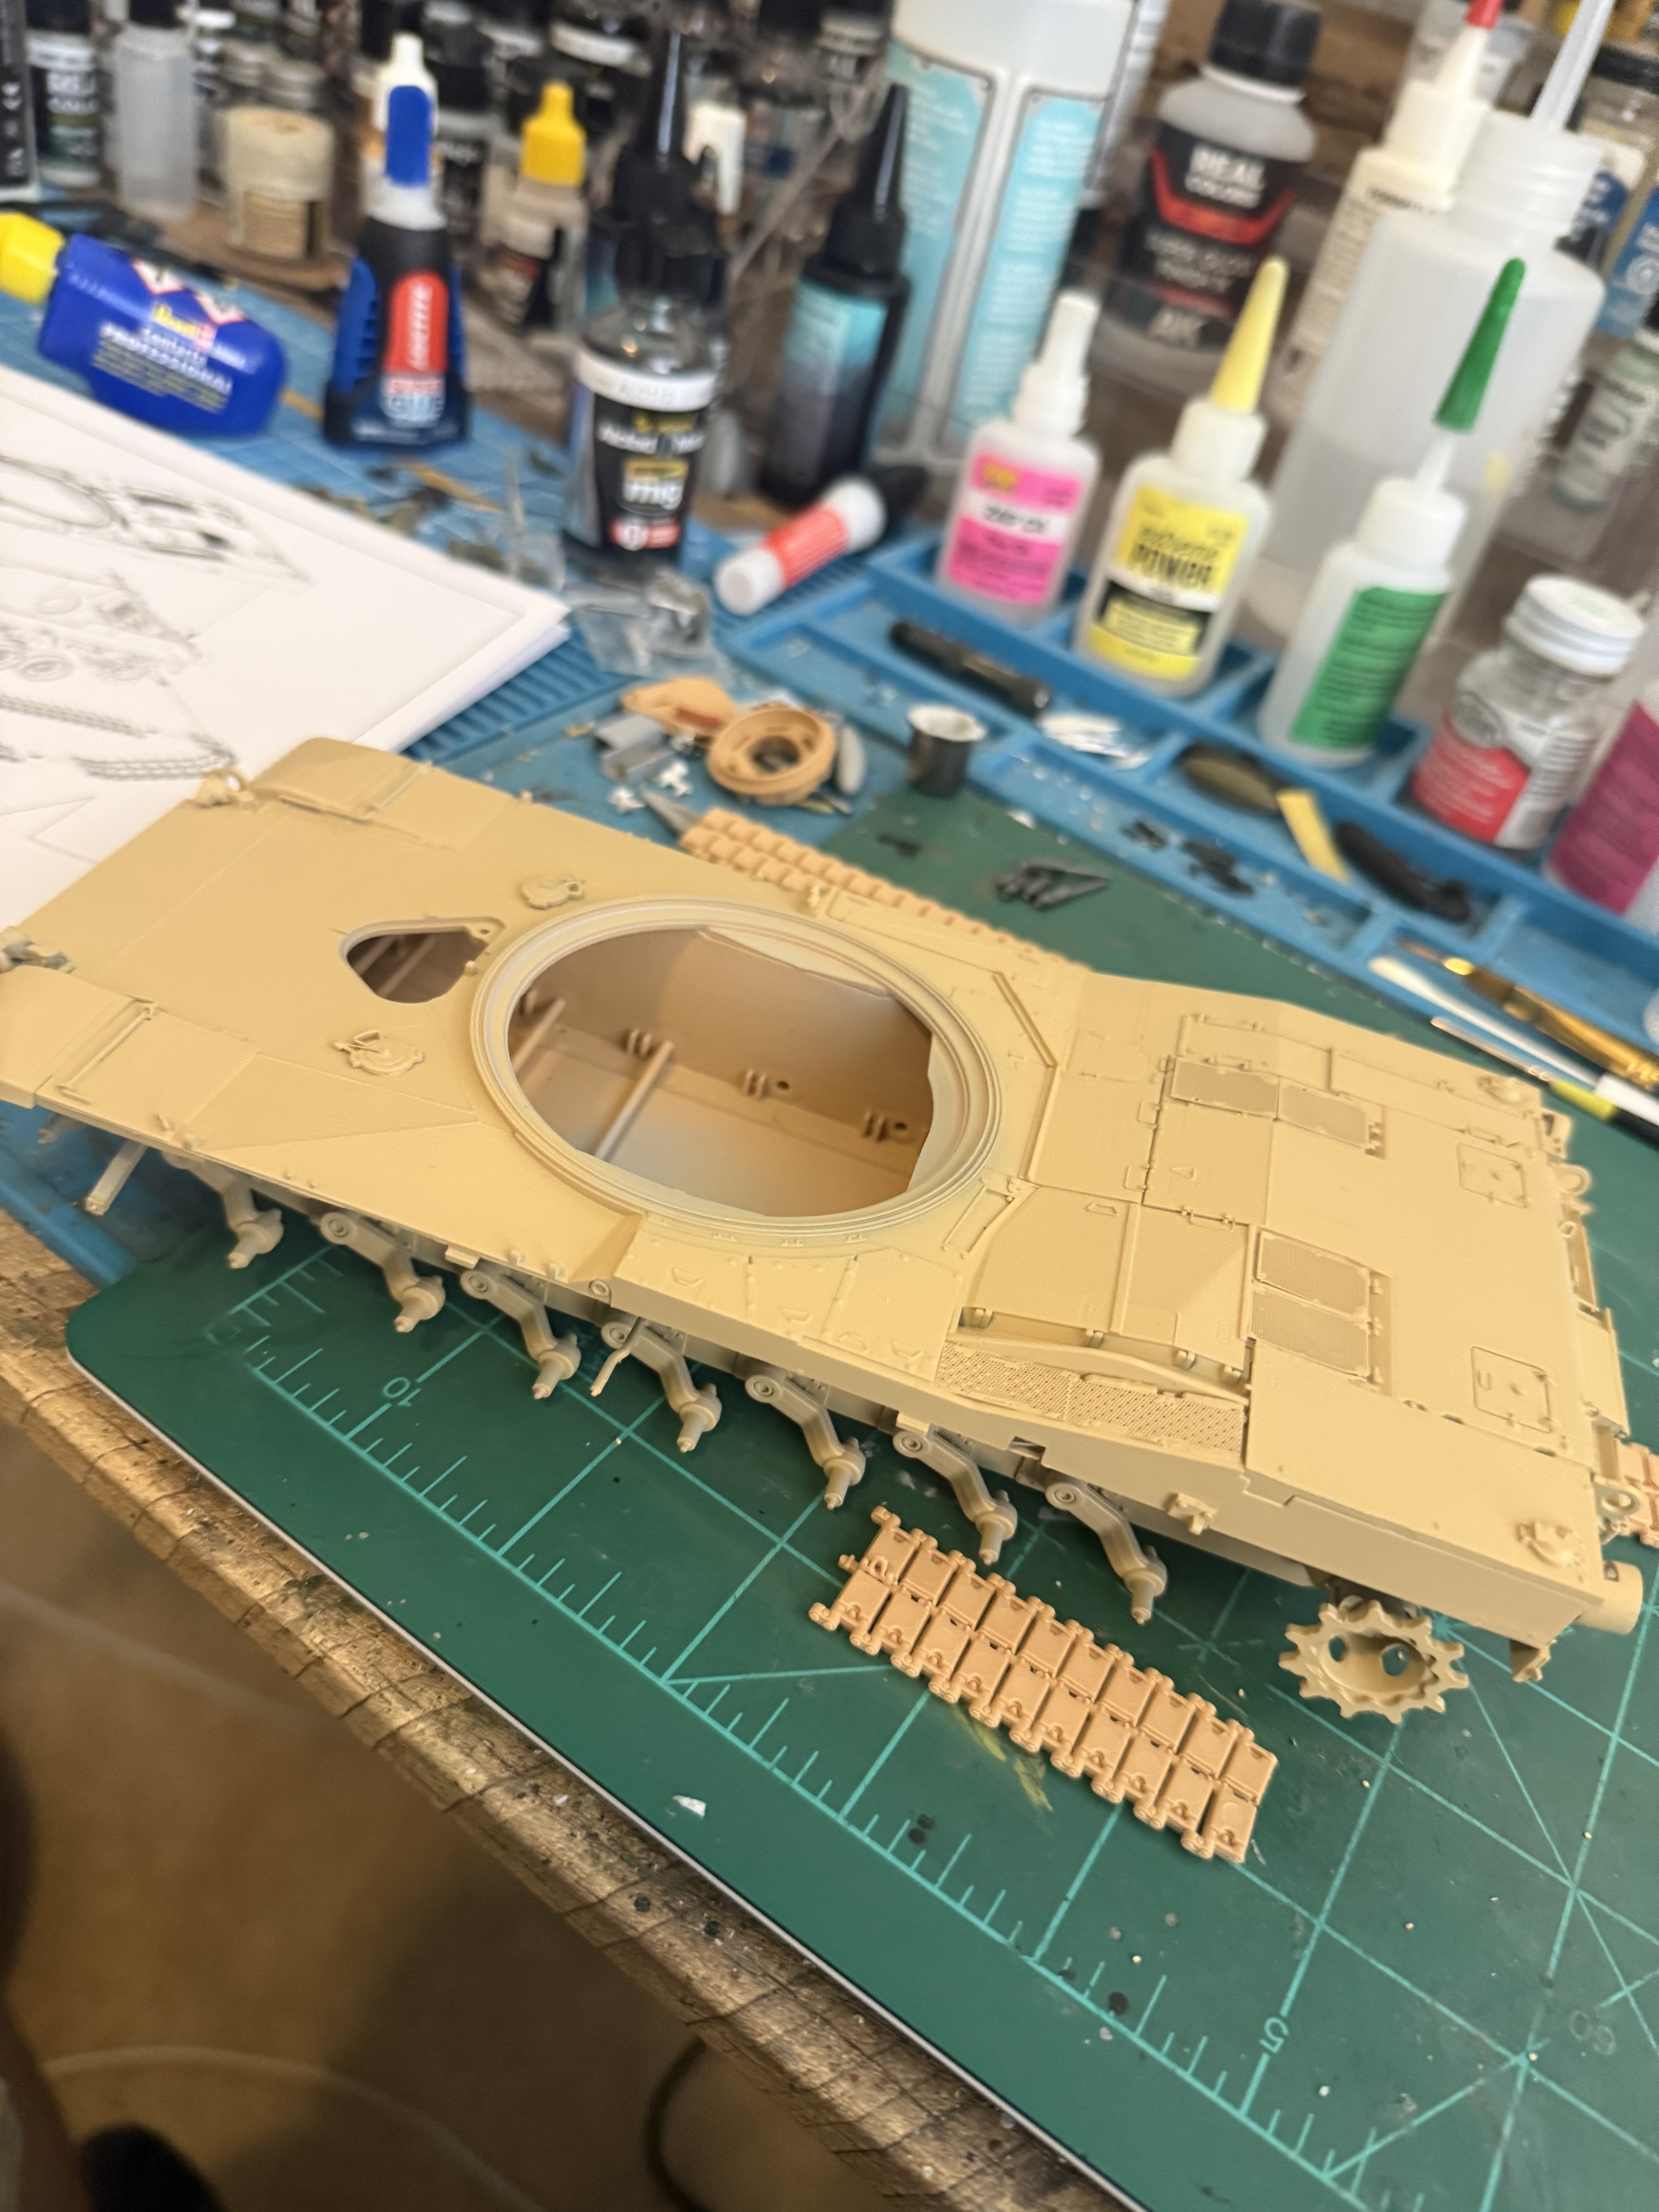
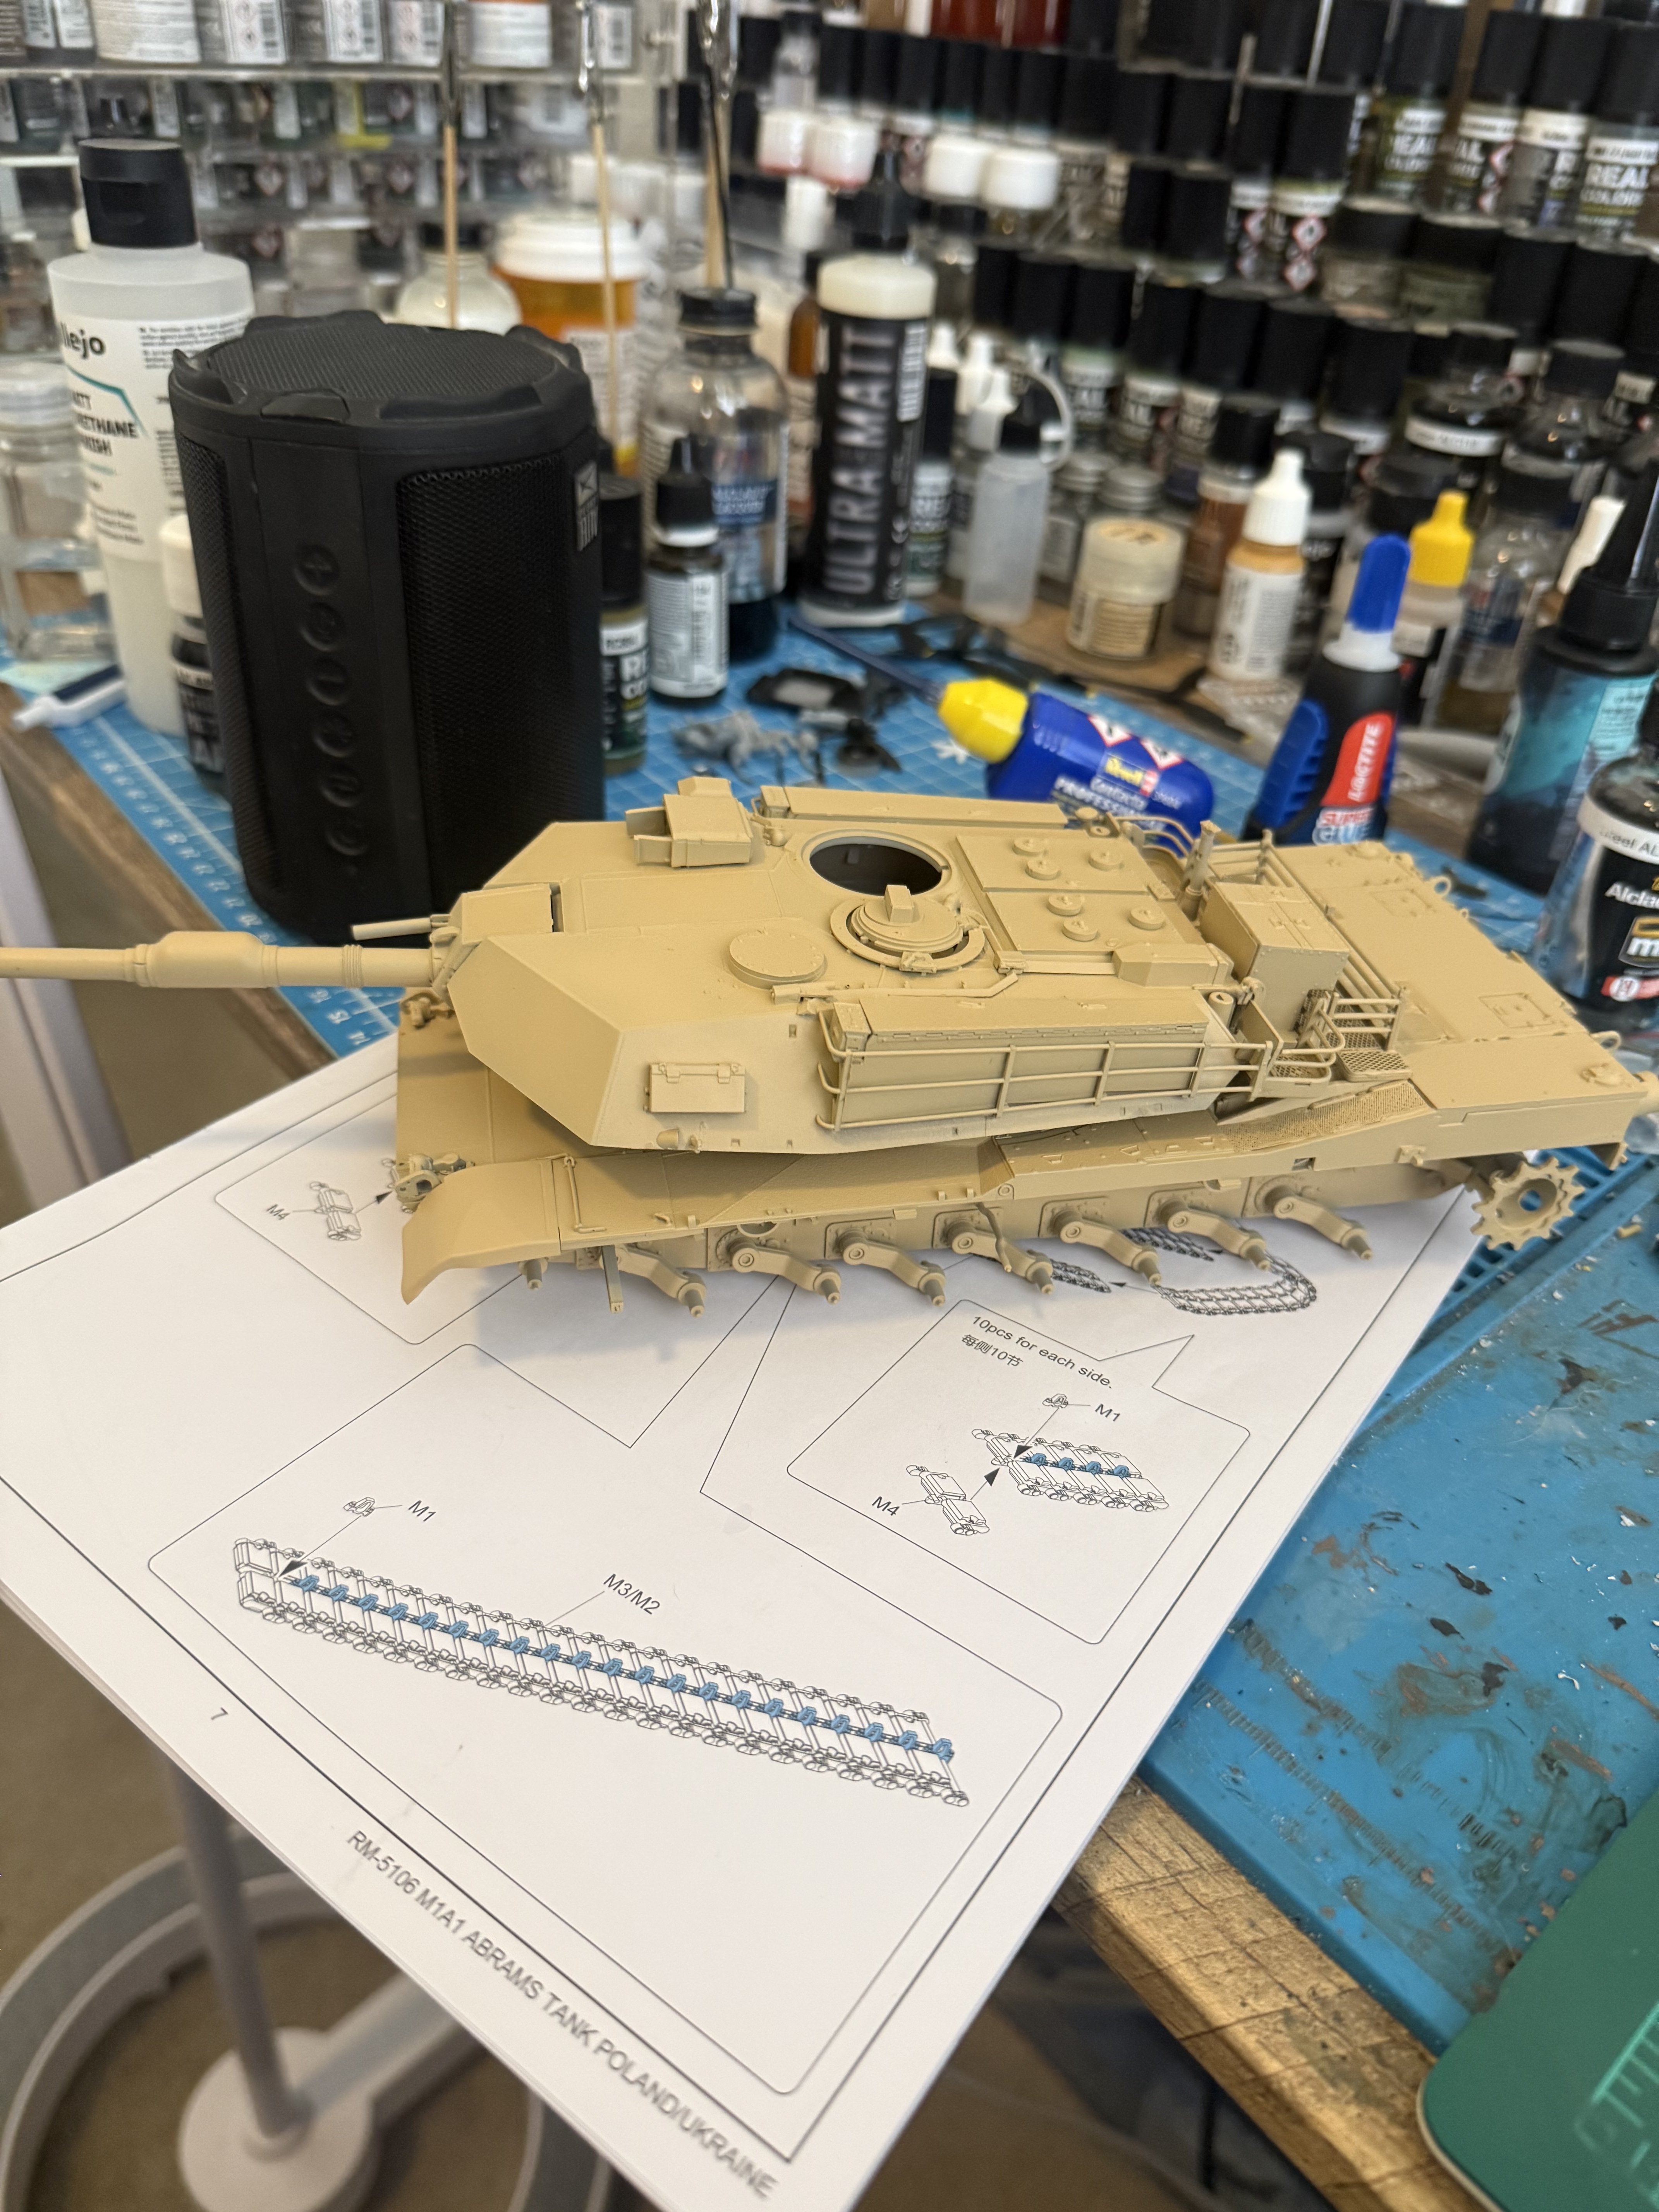
Well I had a laugh at myself today. I put this model off for so long because the guy in the shop said these were individual links- partially true. It has the flat run in two pieces and then you have to put the ends together. Not a big deal at all and the pieces snapped in place like a puzzle. One day I'm going to start reading through the directions! Not sure I can get this done today but am giving it some effort. Last night I spent an hour assembling two units of four parts. That was exciting.
Attachments
Hmmm I also have to survive my wife so tile color is not going to be a choice I get to decide based on finding model parts. Haha o can't even imagine her reaction "But babe this black tile will make it so much easier to find my parts!" Haha. Boy BB I'm starting to think you don't like me!Solid colour, no texture. Then you can take advantage of the lighthouse technique with room lights dimmed: lay a flashlight on the floor and sweep it from side to side in small arcs. I've found this very effective as even tiny pieces will cast a longer shadow that moves with the sweep... And PE will also glint at some point.
In User Interface design we would call that an example of optimizing signal to noise... By reducing other visual distractions – patterns, textures and colours, competing brightly lit objects – you reduce the noise and increase the signal: the object of your search. Think of it as reverse camouflage!
Physiologically, our vision was optimized through adaptive evolution to pick out discrepancies in patterns, a blade of grass or a shadow going against the grain of the pattern around it... As a matter of survival.
I do need to get one of these. I've been on the search for the perfect tweezers since I started and so far I've found a pair I like but it will send parts flying. I have a pair of micro tweezer nose pliers which loses less parts but does not handle the tiny parts as well.@Ron2 , if you're like me, I tend to cut all the parts for a sub-assembly at once, so the little ones are at risk of absconding.
I nestle them in one of these sticky pads until ready to glue:
View attachment 188053
The Holy Grail.perfect tweezers
... I have an assortment, none are perfect in every respect.
Metal tipped.
Plastic tipped.
Silicone tipped
Rubber tipped.
Pointy.
Rounded.
Curved.
Flat.
Square.
Cupped.
Springy.
Self closing.
Forceps.
Ridged.
Smooth.
Yikes!

I'm thinking that I might try dipping a fine needle pair in masking fluid. See if it stays on, and if it holds small pieces better. To my thinking, it all comes down to grip versus pressure: squeezing too hard makes the pincers either slip off or cross each other, launching the part into orbit.
So understanding this, I try to not squeeze too hard, and keep the pincers aligned: this is a lot to think of when trying to place the part with one hand and holding the glue or another part in the other!
Almost like I need a finger controller like the adjustable torque on my drill.

Jakko
Well-Known Member
What I usually do with small parts that I suspect may go flying from my tweezers, is to pick them up with the tip of my knife. Just stab the part very lightly and you'll be able to pick it up if it's small enough. As an alternative, last year I bought one of those wax pens, which seems to work OK for some parts as well.My problem is grabbing these tiny pieces with my tweezers.
Sounds like my assortment- maybe a bit more variety. I was looking for a pair of jewelers tweezers thinking they use them to pick up diamonds- can't have diamonds flying everywhere can they?The Holy Grail.
... I have an assortment, none are perfect in every respect.
Metal tipped.
Plastic tipped.
Silicone tipped
Rubber tipped.
Pointy.
Rounded.
Curved.
Flat.
Square.
Cupped.
Springy.
Self closing.
Forceps.
Ridged.
Smooth.
Yikes!
I'm thinking that I might try dipping a fine needle pair in masking fluid. See if it stays on, and if it holds small pieces better. To my thinking, it all comes down to grip versus pressure: squeezing too hard makes the pincers either slip off or cross each other, launching the part into orbit.
So understanding this, I try to not squeeze too hard, and keep the pincers aligned: this is a lot to think of when trying to place the part with one hand and holding the glue or another part in the other!
Almost like I need a finger controller like the adjustable torque on my drill.
I'll try that. Thanks.What I usually do with small parts that I suspect may go flying from my tweezers, is to pick them up with the tip of my knife. Just stab the part very lightly and you'll be able to pick it up if it's small enough. As an alternative, last year I bought one of those wax pens, which seems to work OK for some parts as well.
@Ron2 , yup, and combine both of Jakko's suggestions, you dab a bit of saliva on that knife tip, and you're good to go!tip of my knife.
Damn BB. I just stabbed my tongue trying your idea.@Ron2 , yup, and combine both of Jakko's suggestions, you dab a bit of saliva on that knife tip, and you're good to go!
Jantk14
Well-Known Member
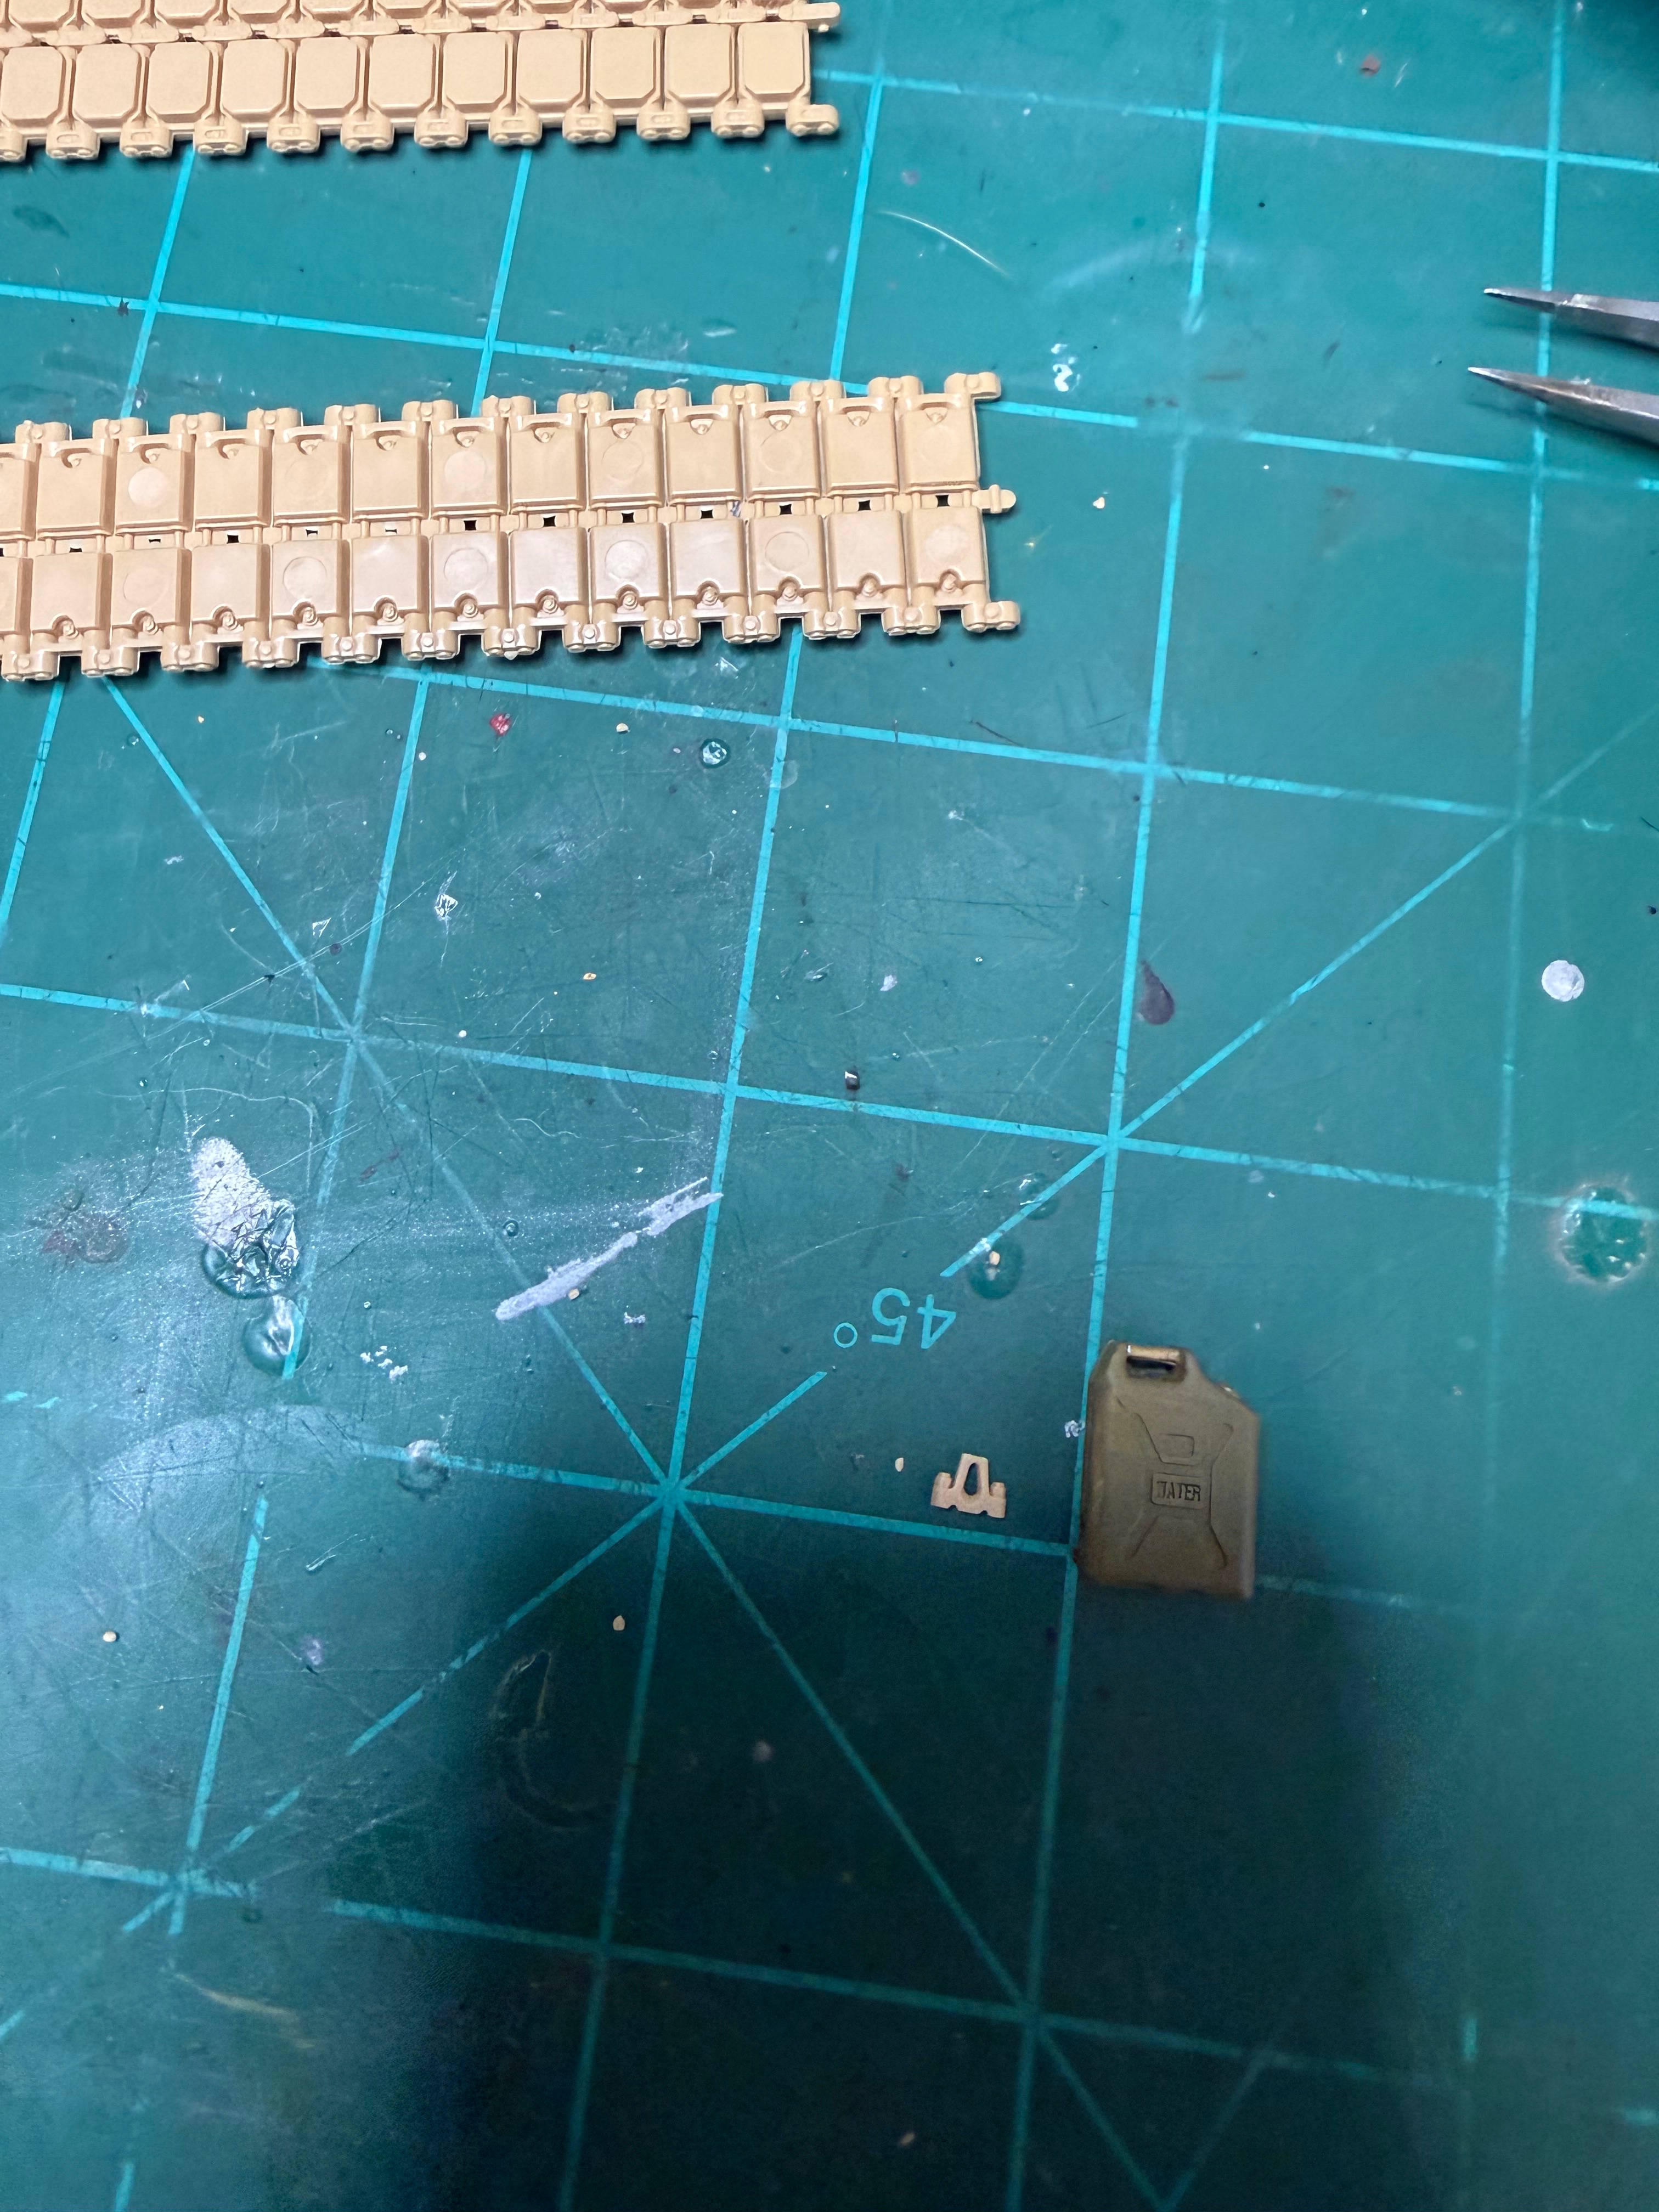
UghWorking on these tracks- putting in the teeth. Here's a pic for size comparison.
Jakko
Well-Known Member
I forgot about that, but I do that sometimes as well. However, not when I stab the knife into the part — but some small parts can indeed be picked up by licking the knife (in the direction away from the cutting edge!) so the saliva will stick the part to it. Another way that works is to lick your fingertip and then pick up a small part with that.dab a bit of saliva on that knife tip


