
You are using an out of date browser. It may not display this or other websites correctly.
You should upgrade or use an alternative browser.
You should upgrade or use an alternative browser.
More chopper build progress
- Thread starter Elrod4u3
- Start date

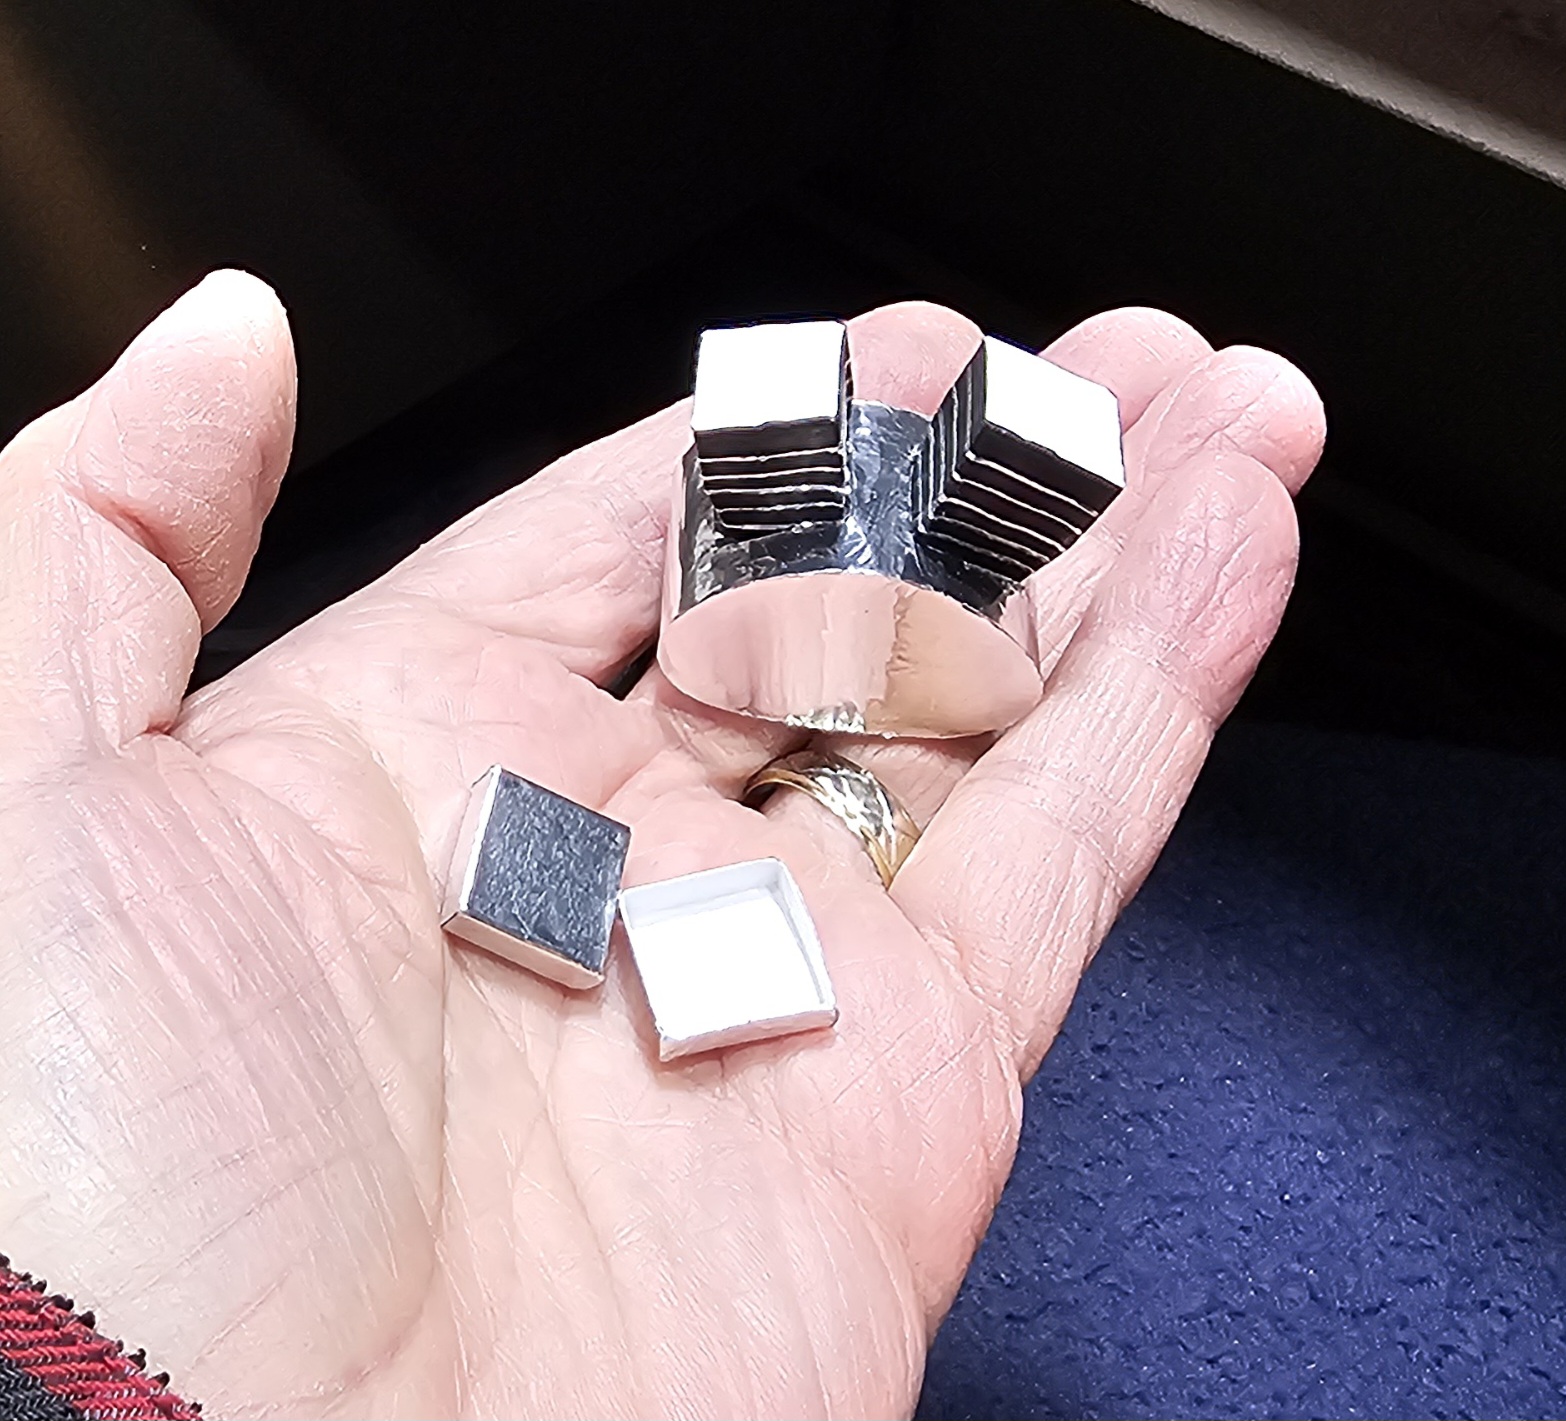
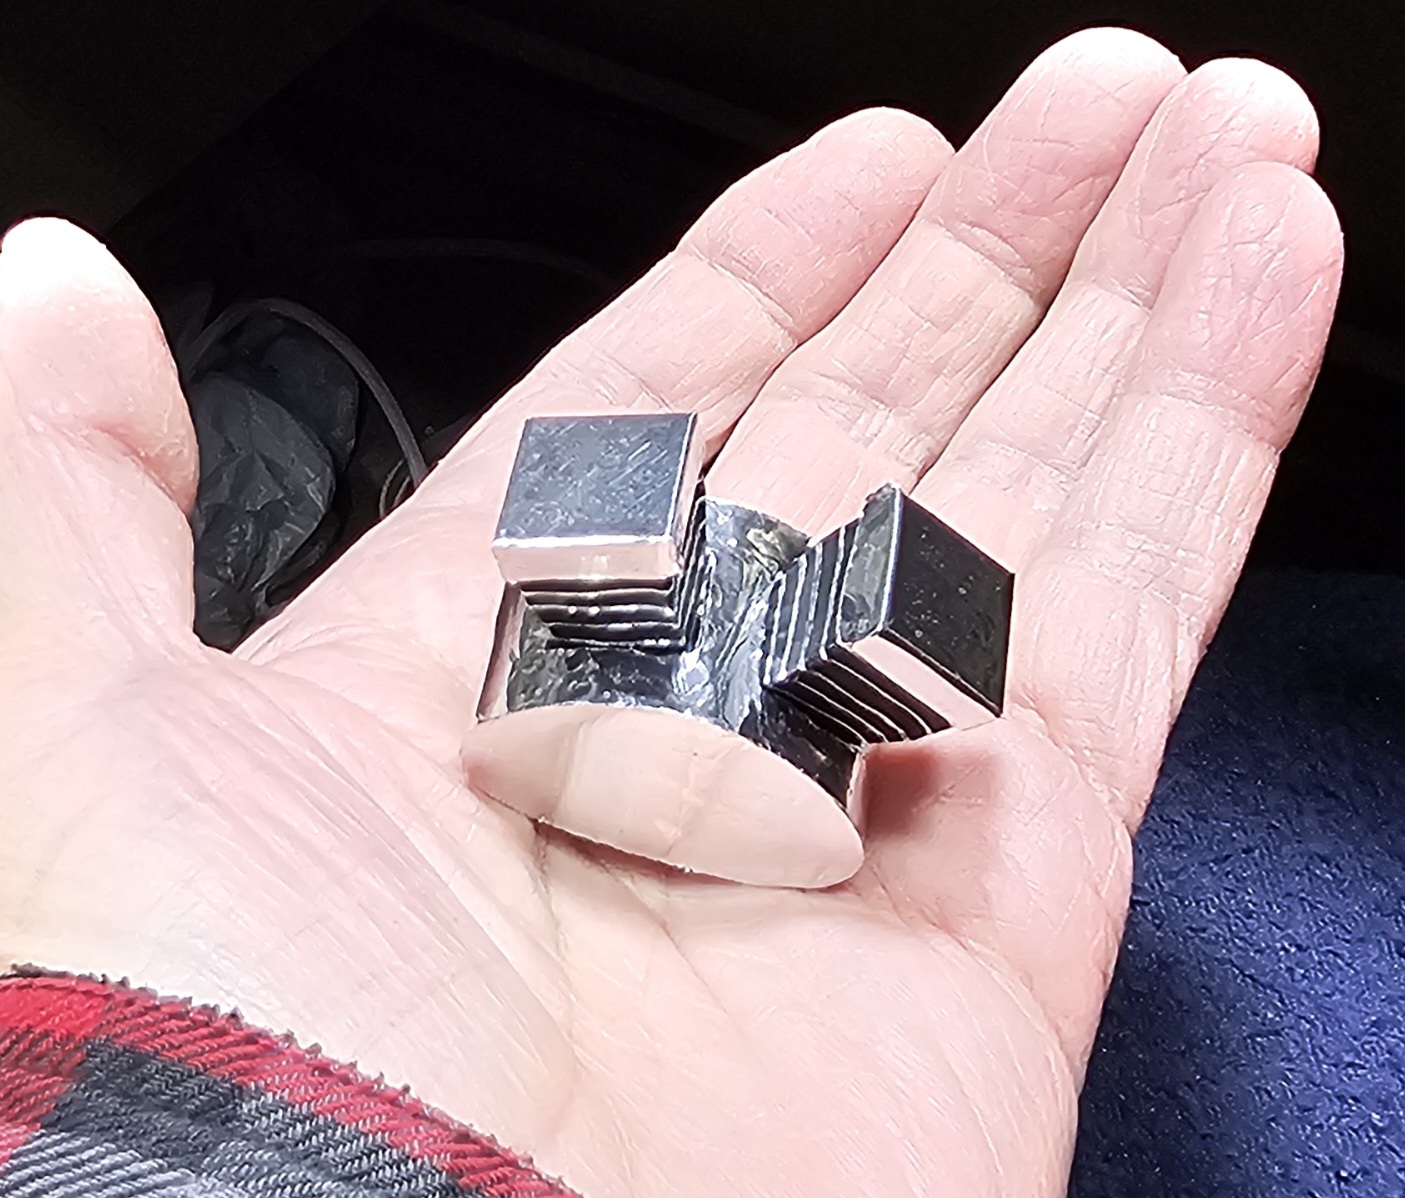
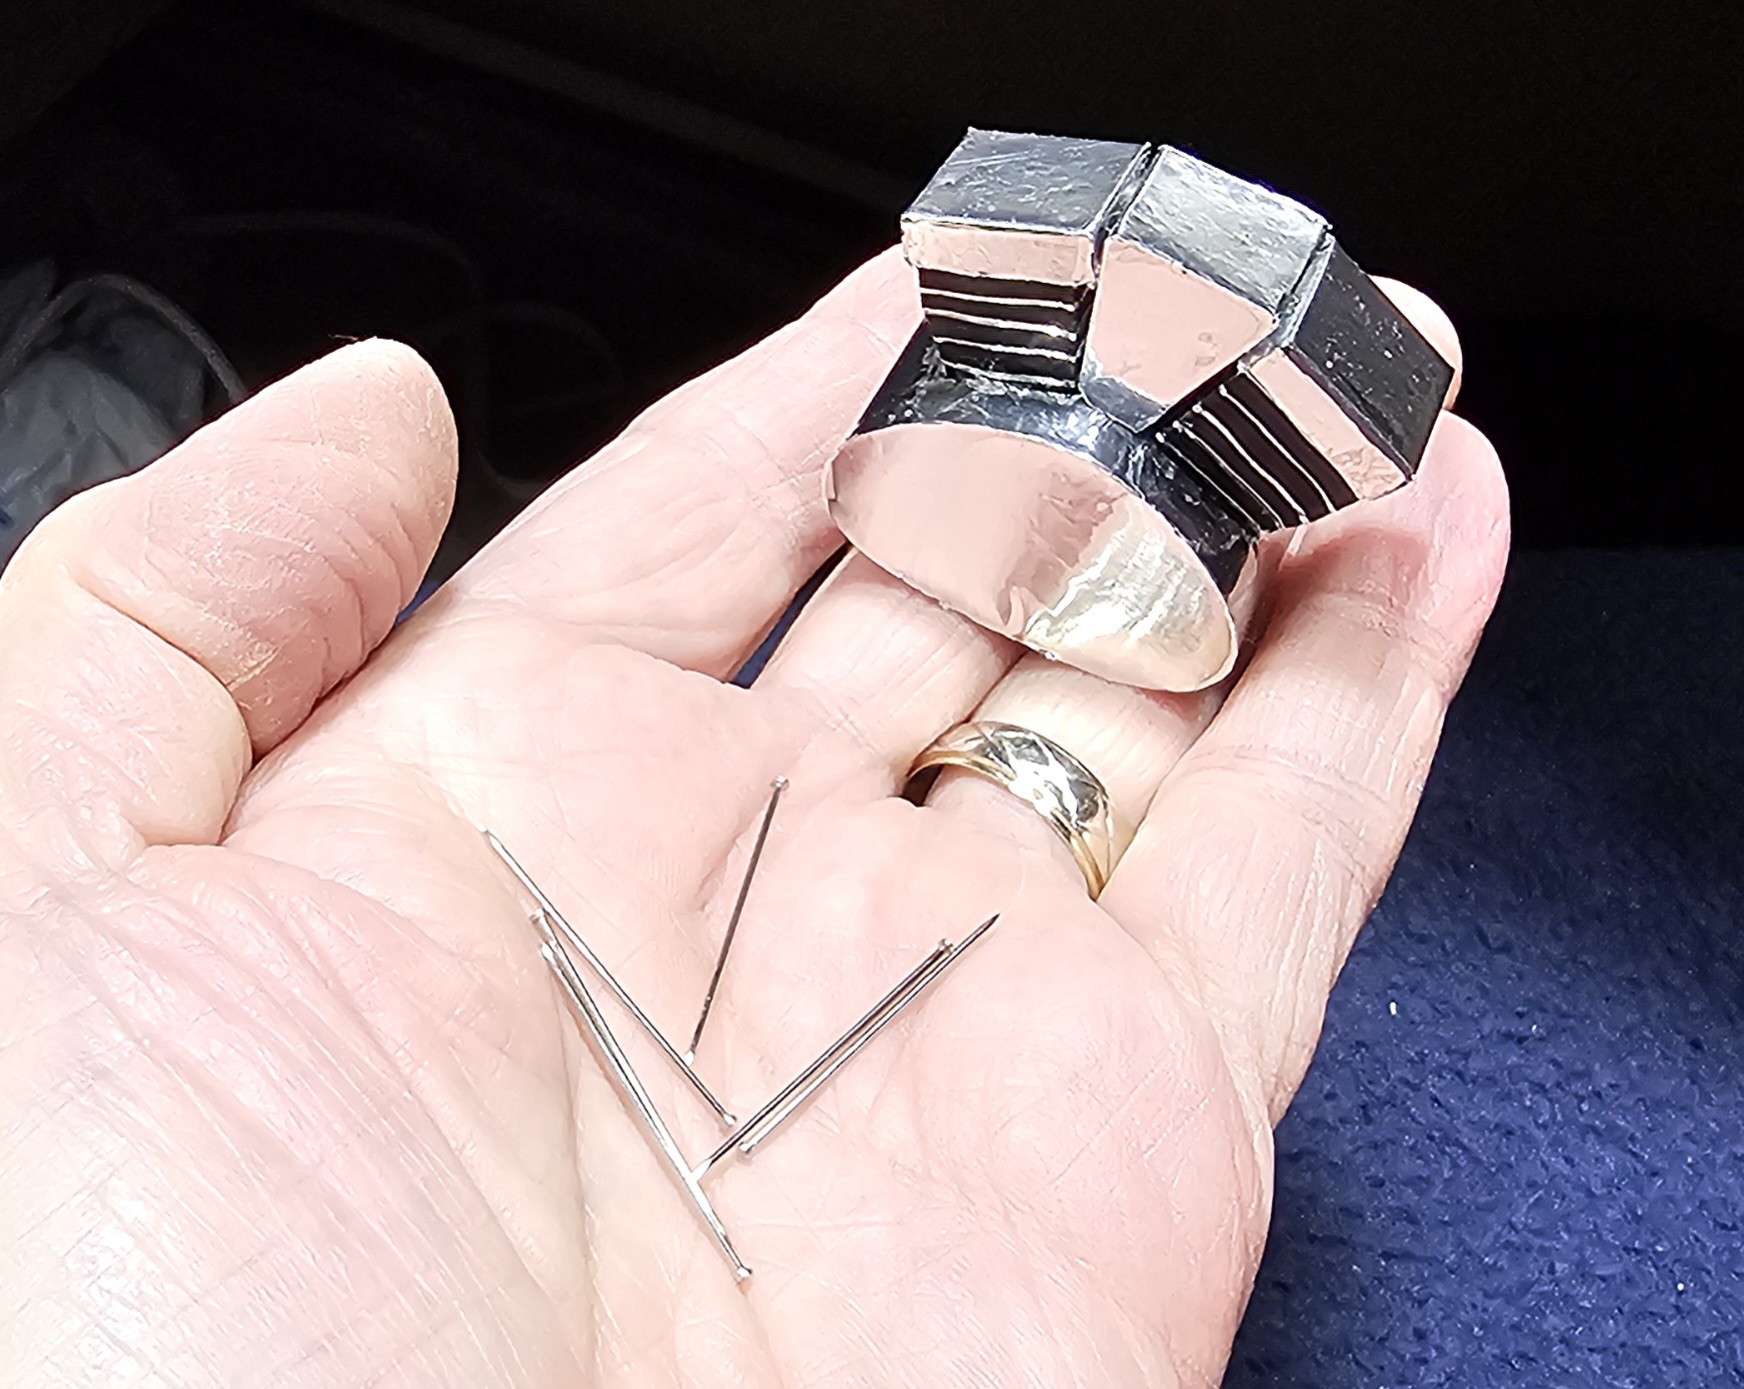
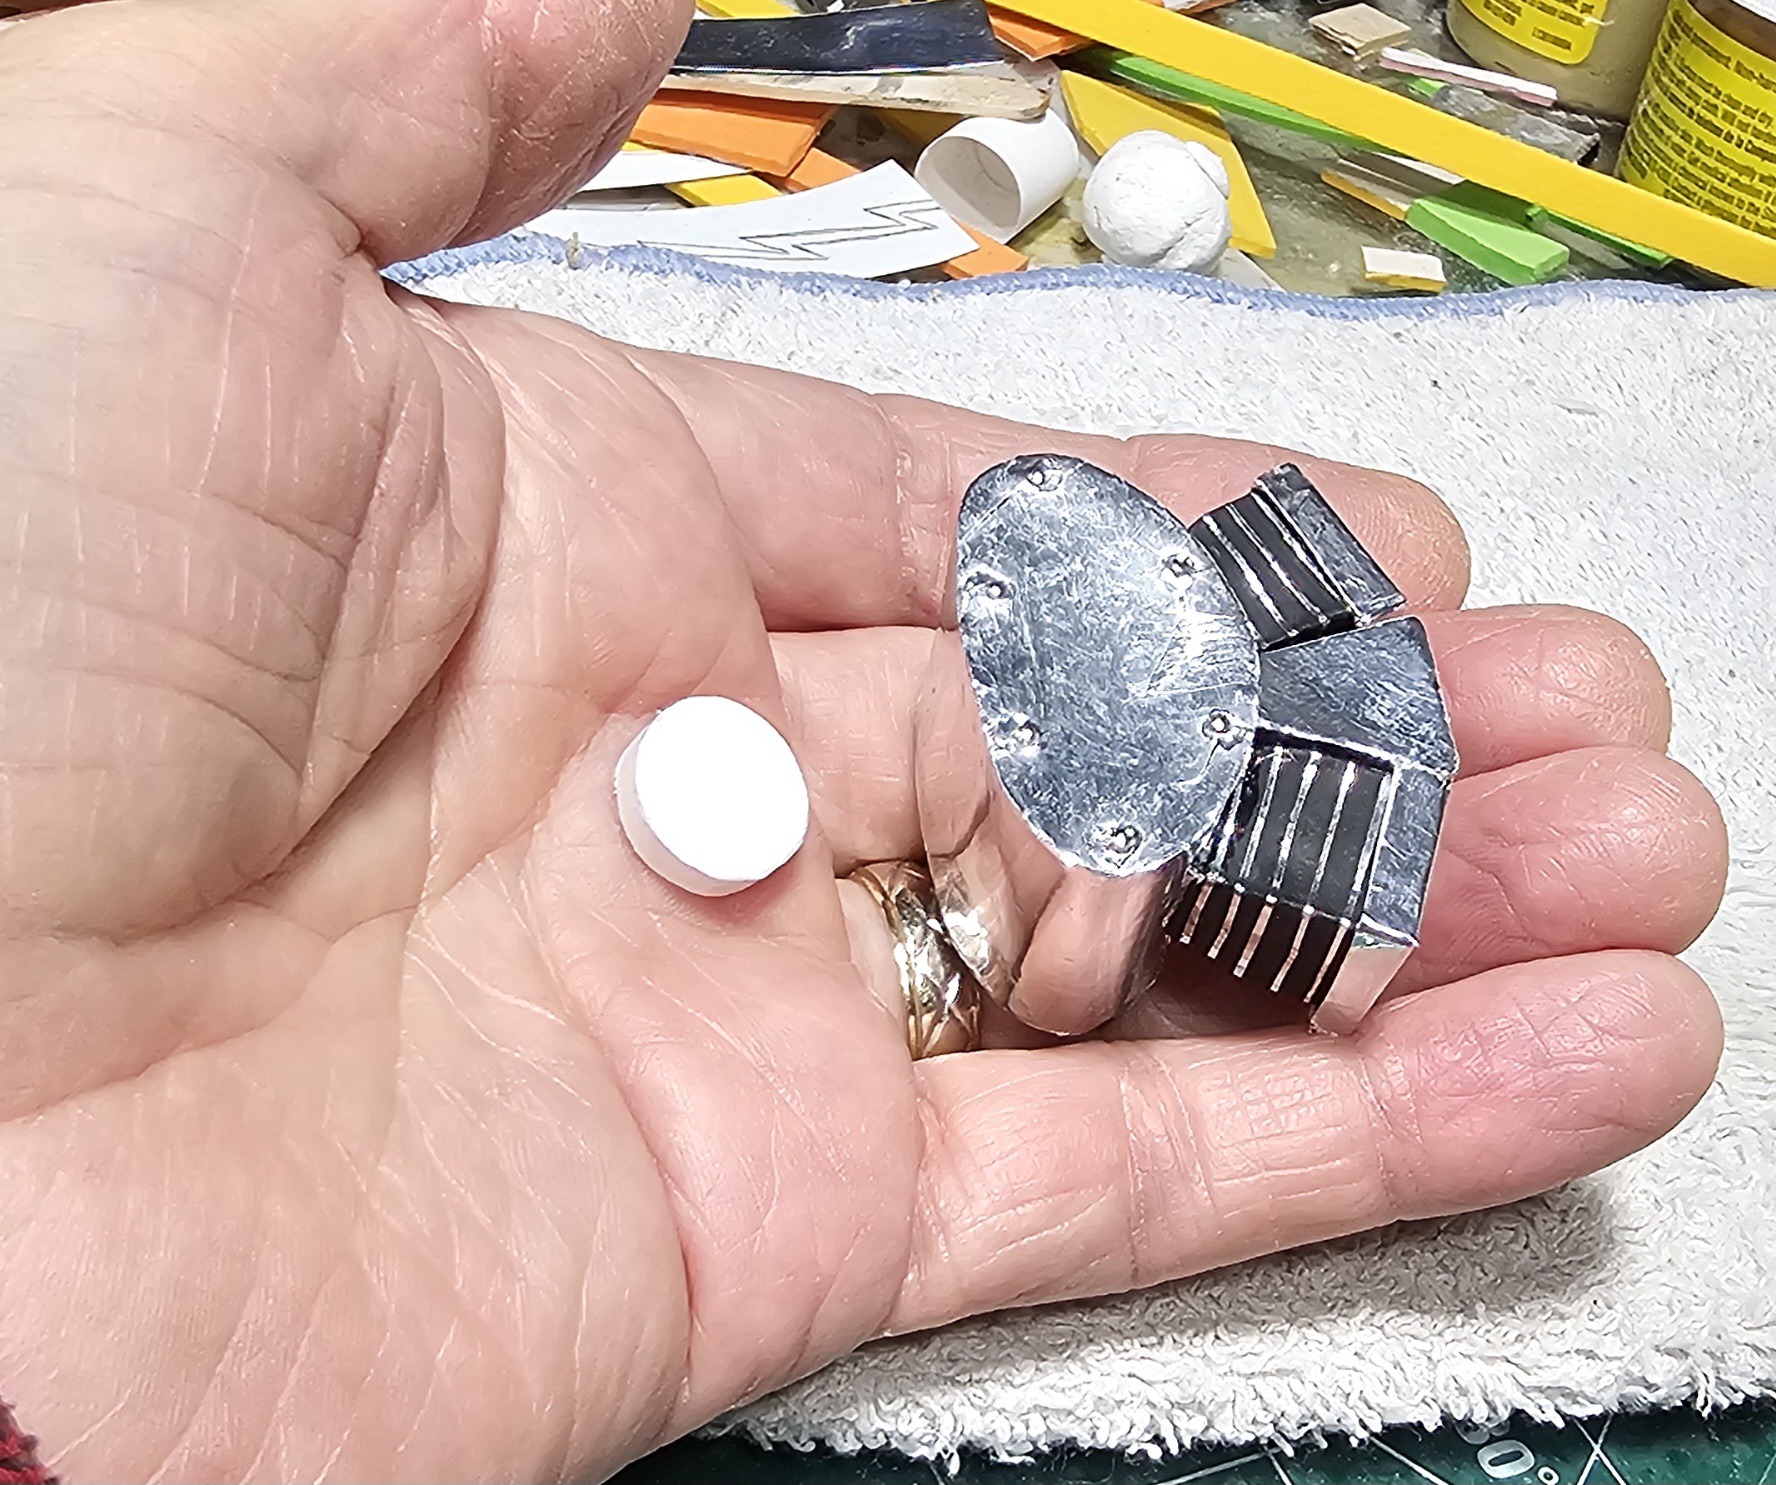
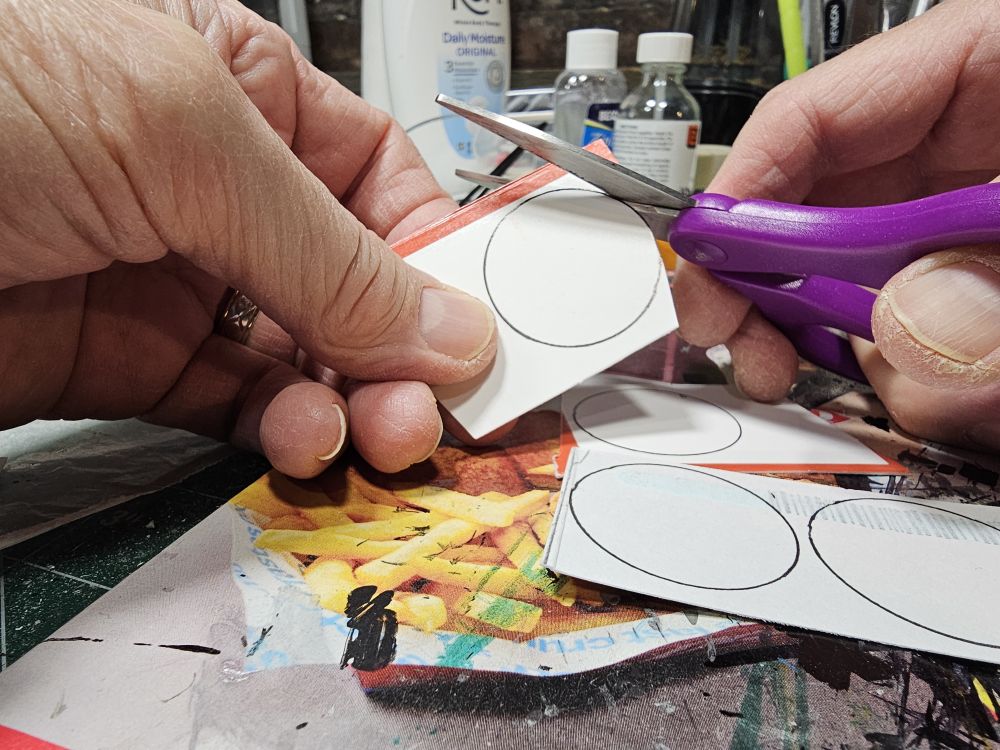
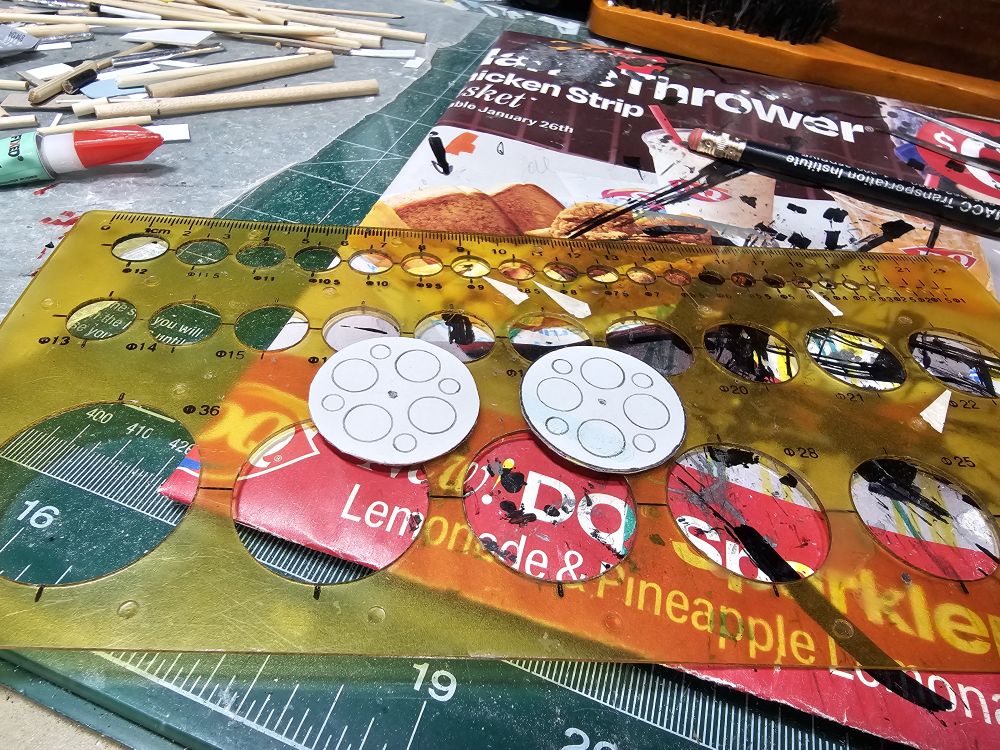
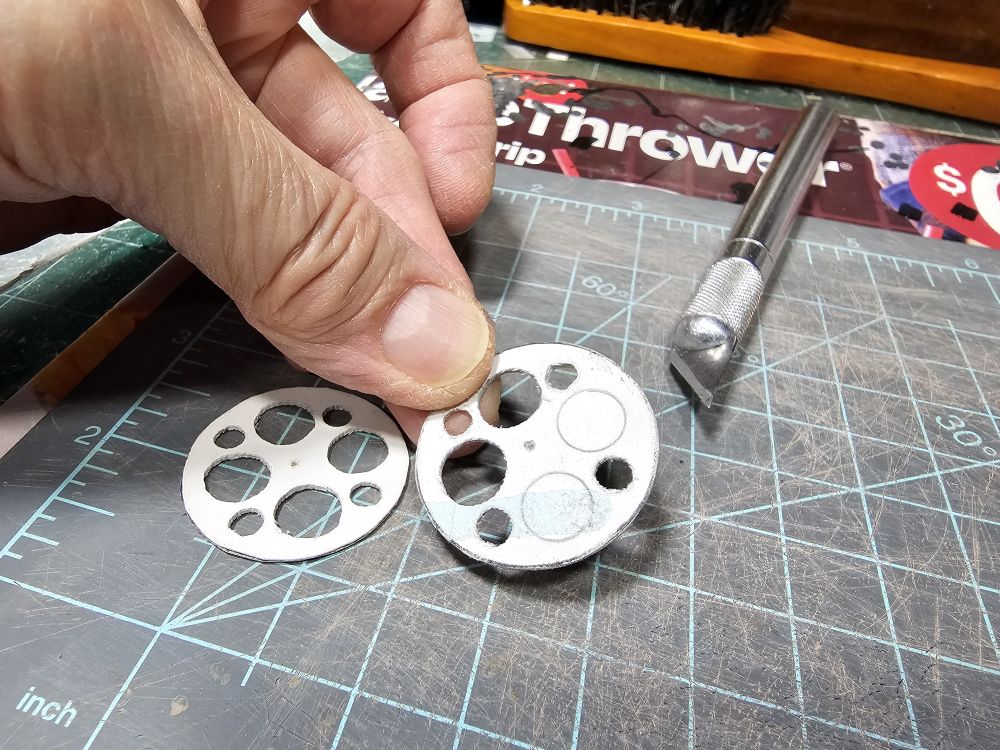
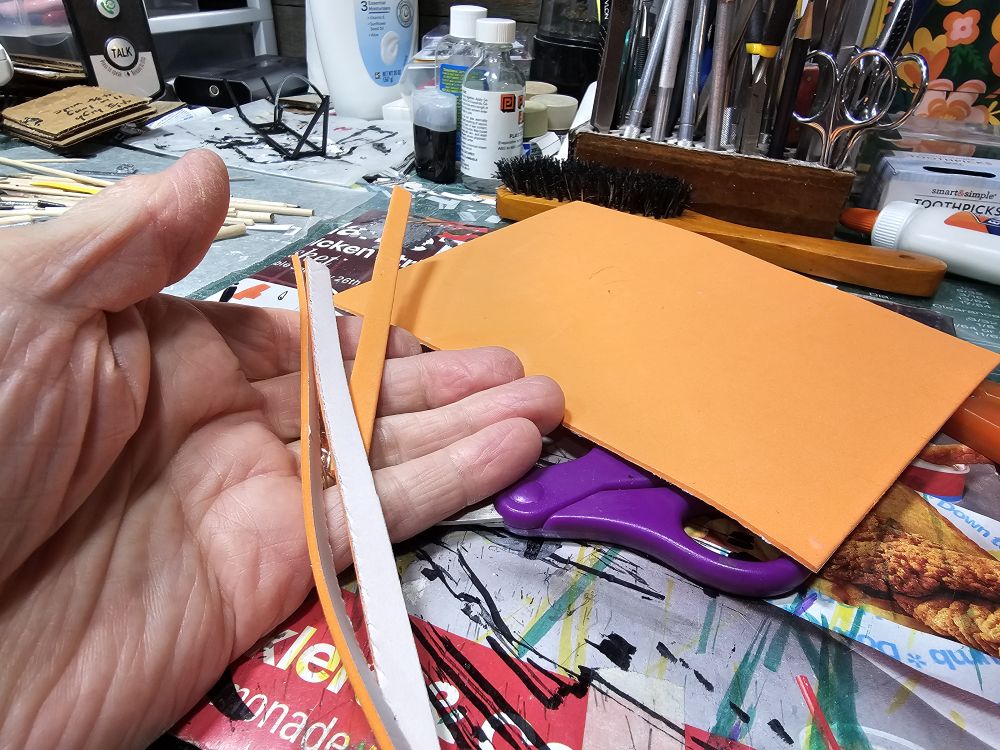
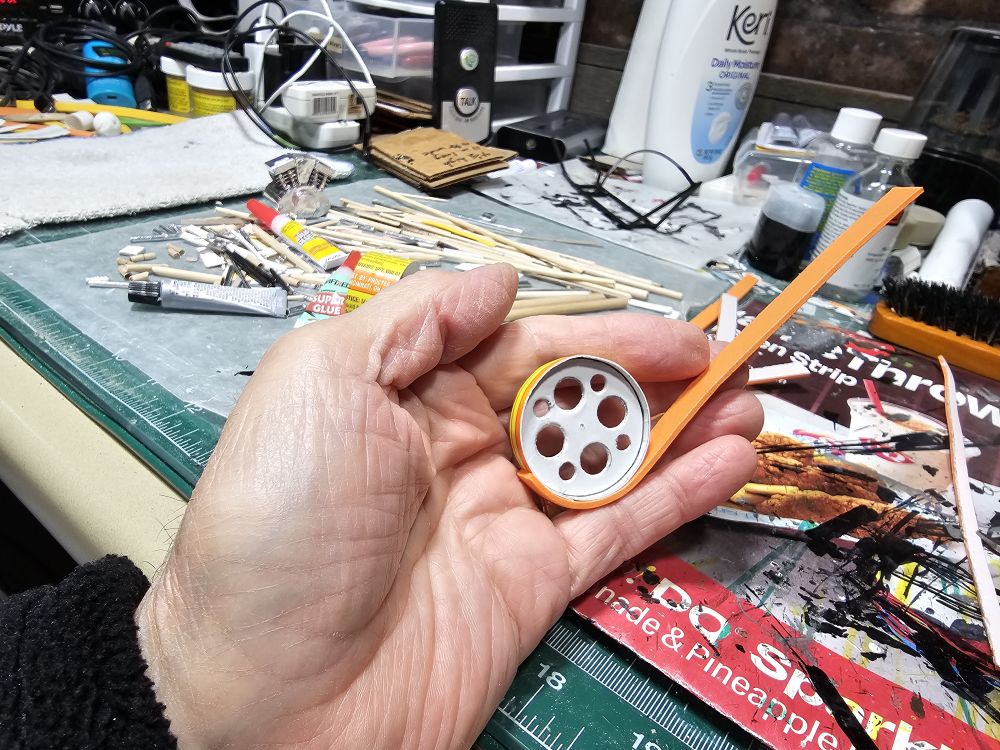
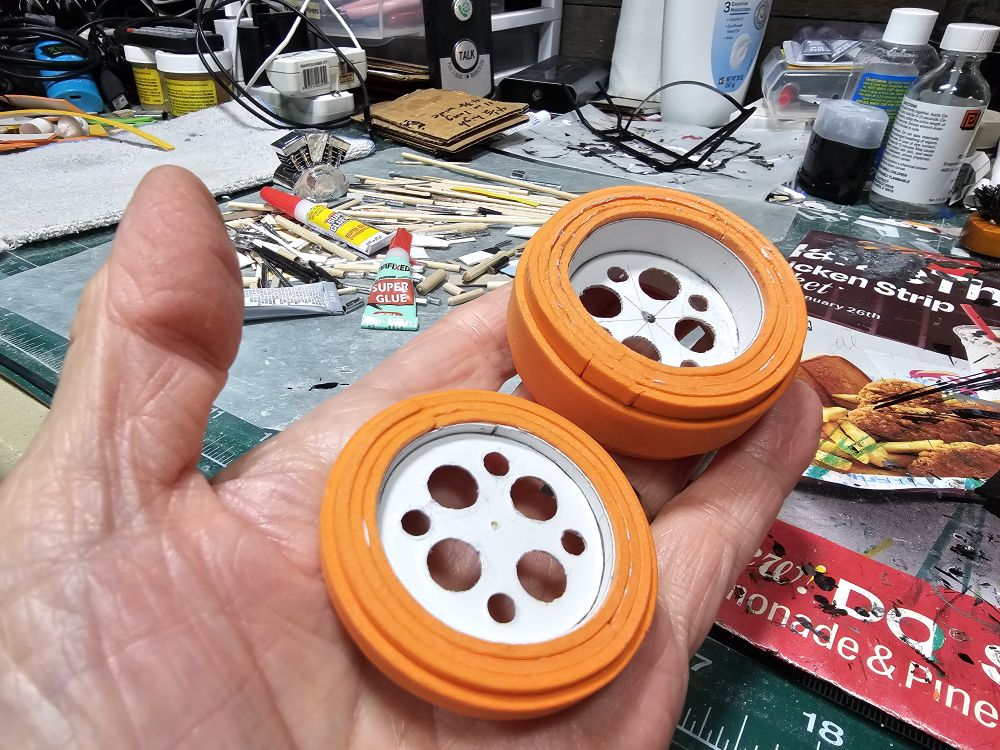
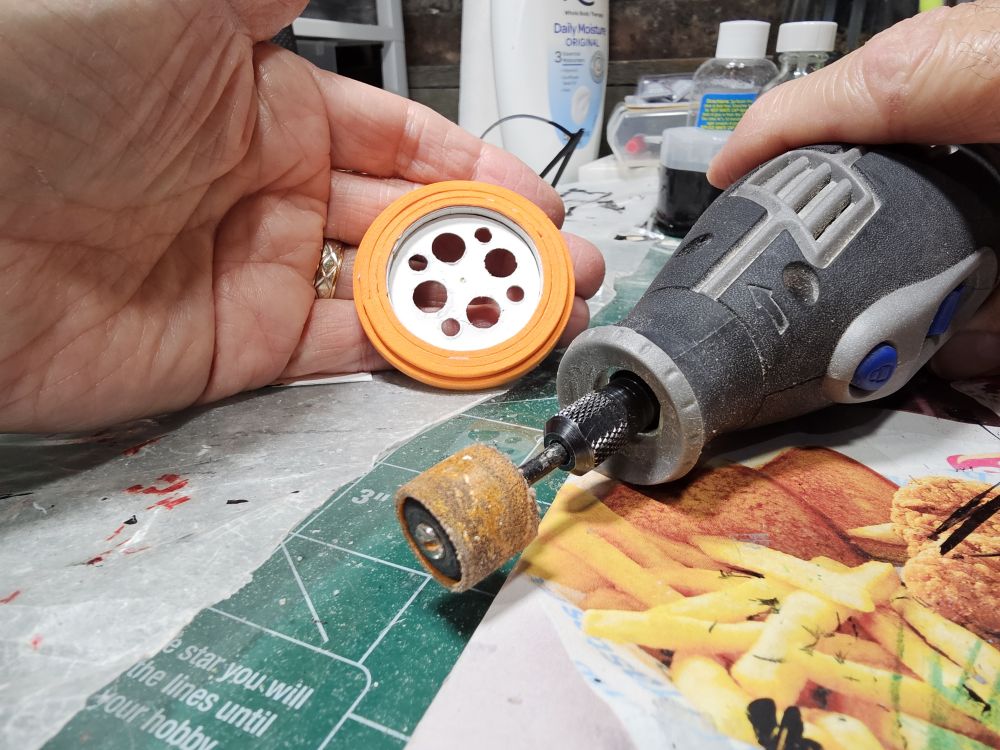
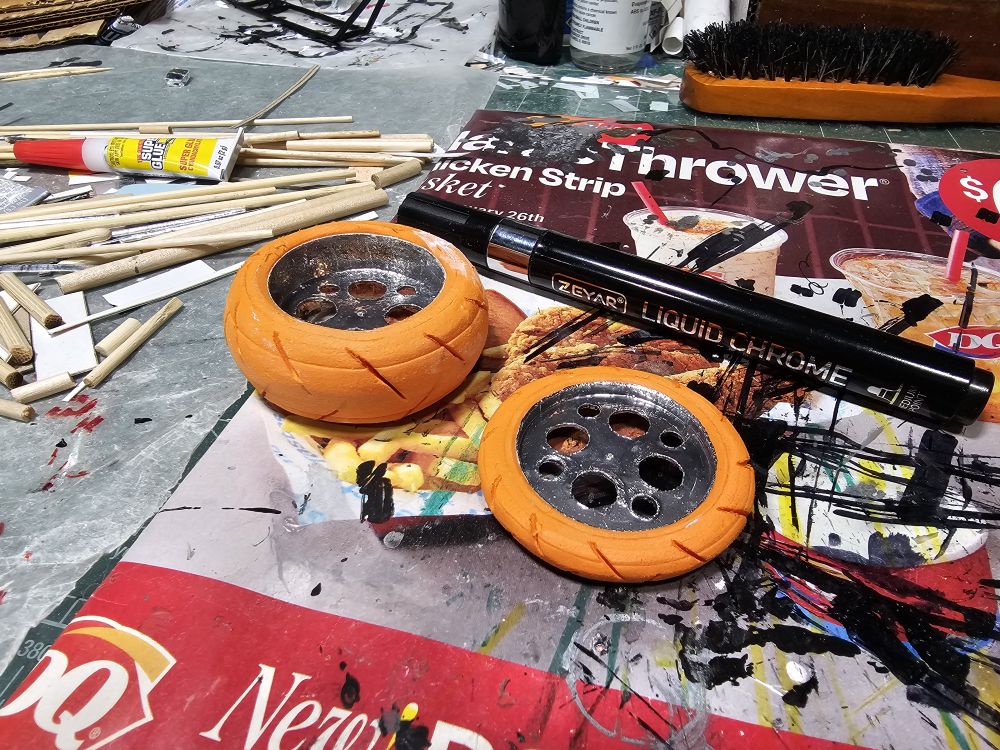
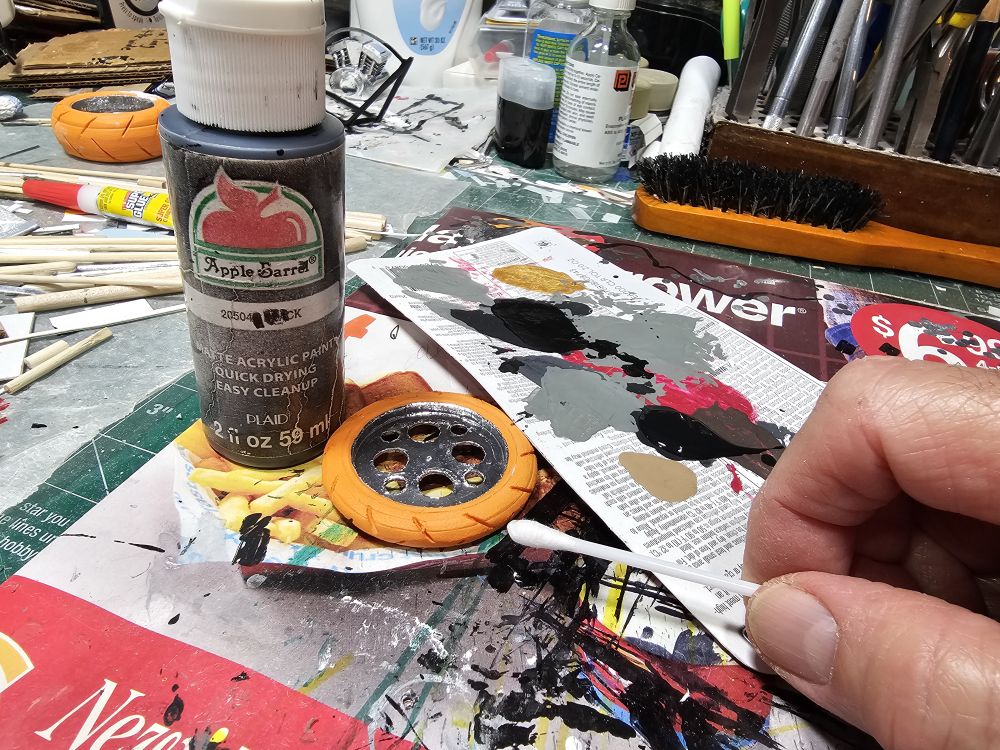
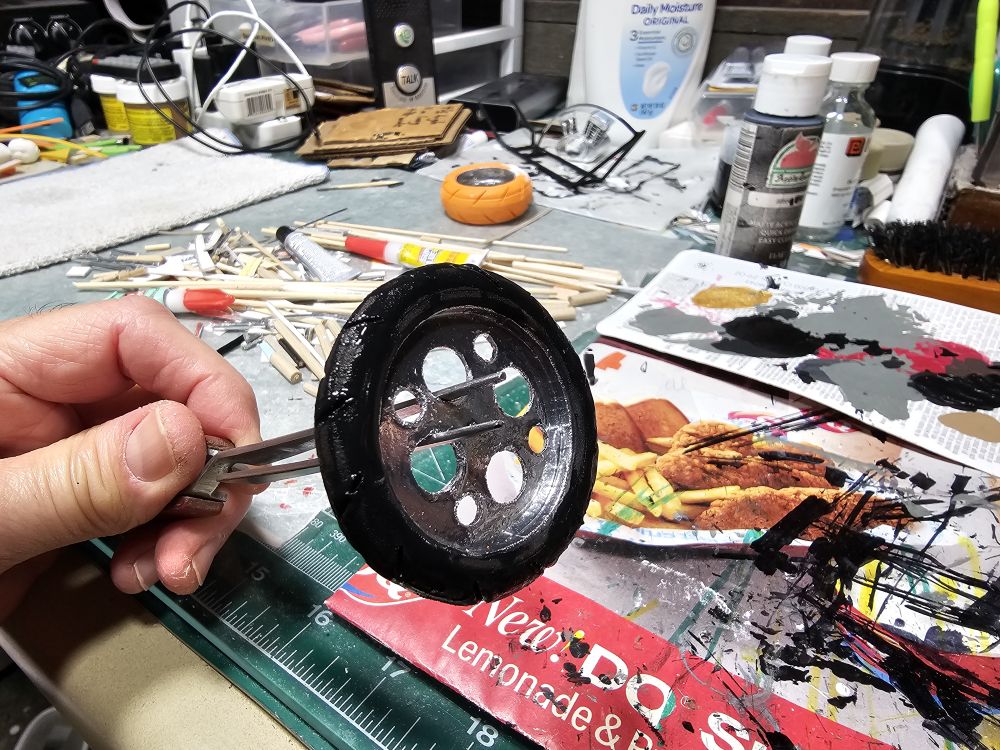
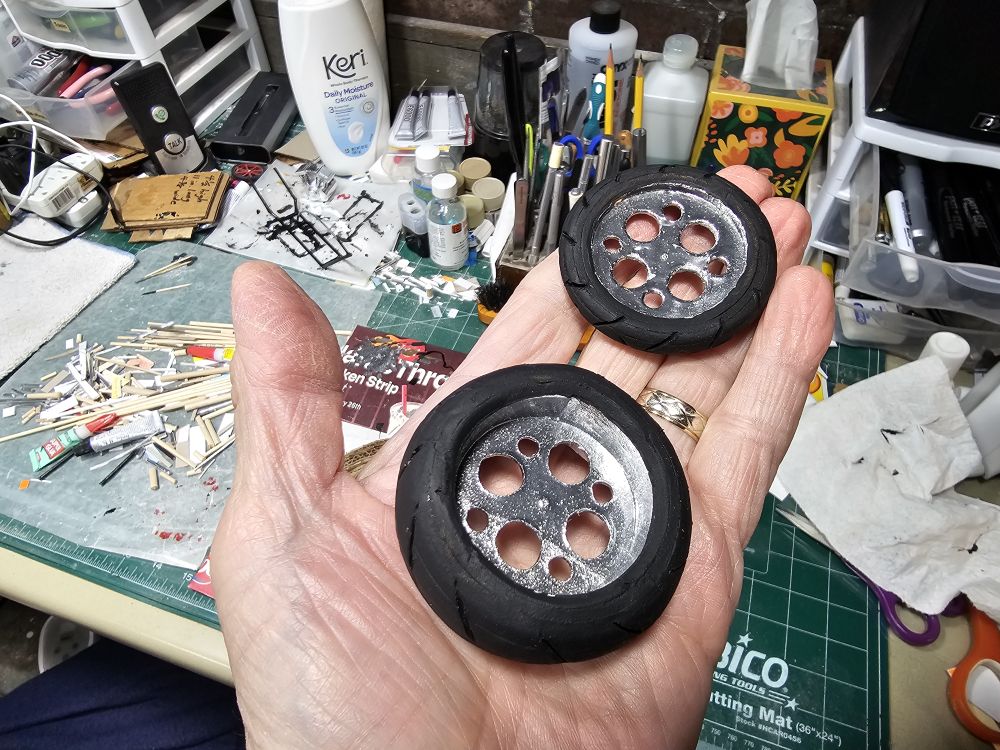
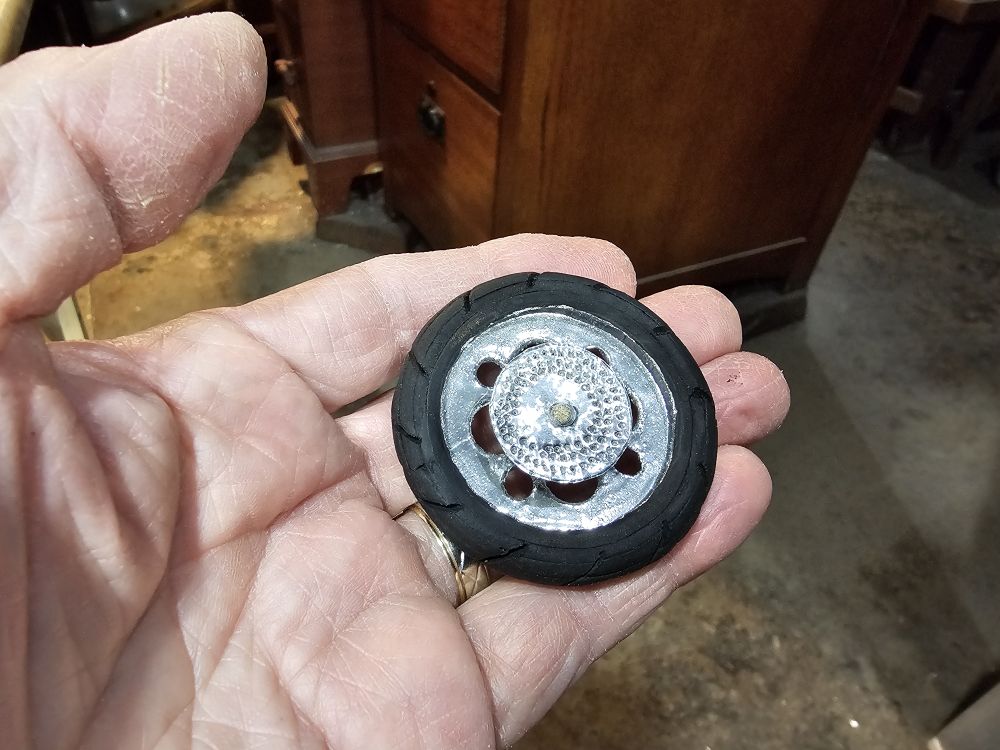
I've done a lot of work on the wheels. You already saw how I cut out and put a rim on each front and back wheel and cut out a design for it. Next I took some padded "paper" with adhesive backing, cut it to strips a little bigger than the rims, then sanded them to shape with my dremel tool. Next I penciled in where I wanted the grooves on the tires then cut the grooves with a cutting tool for my dremel. From here, all I need to do is paint the tires flat black and use a molotow chrome pen to paint the rims to look chrome. If there's something about my technique you'd like to know just message me.
Mike L.
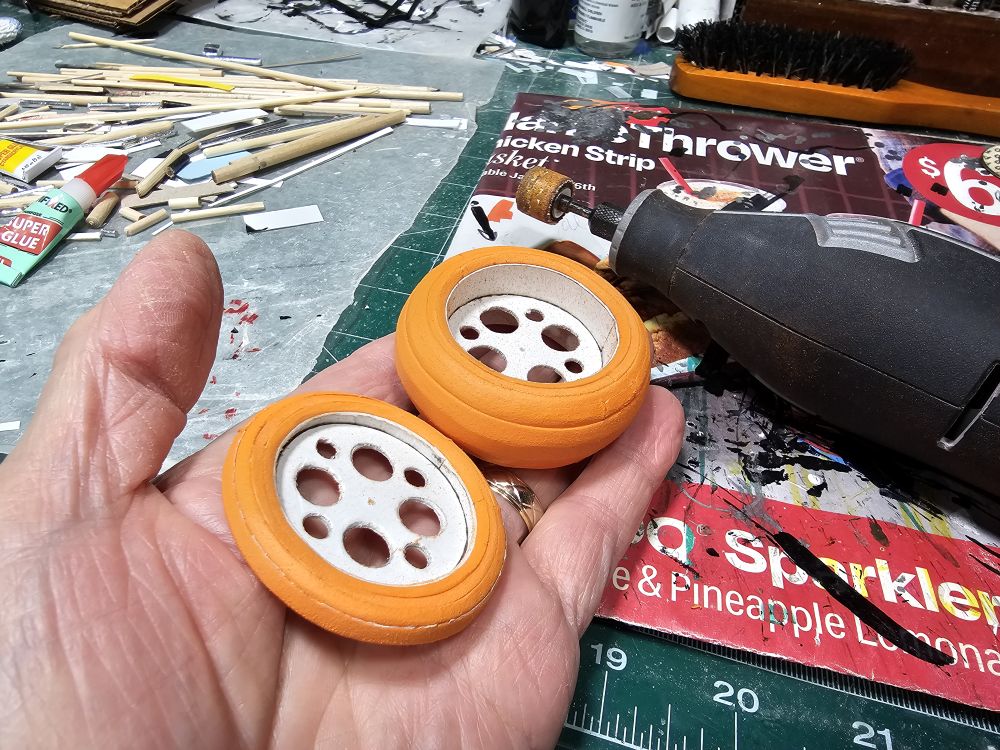
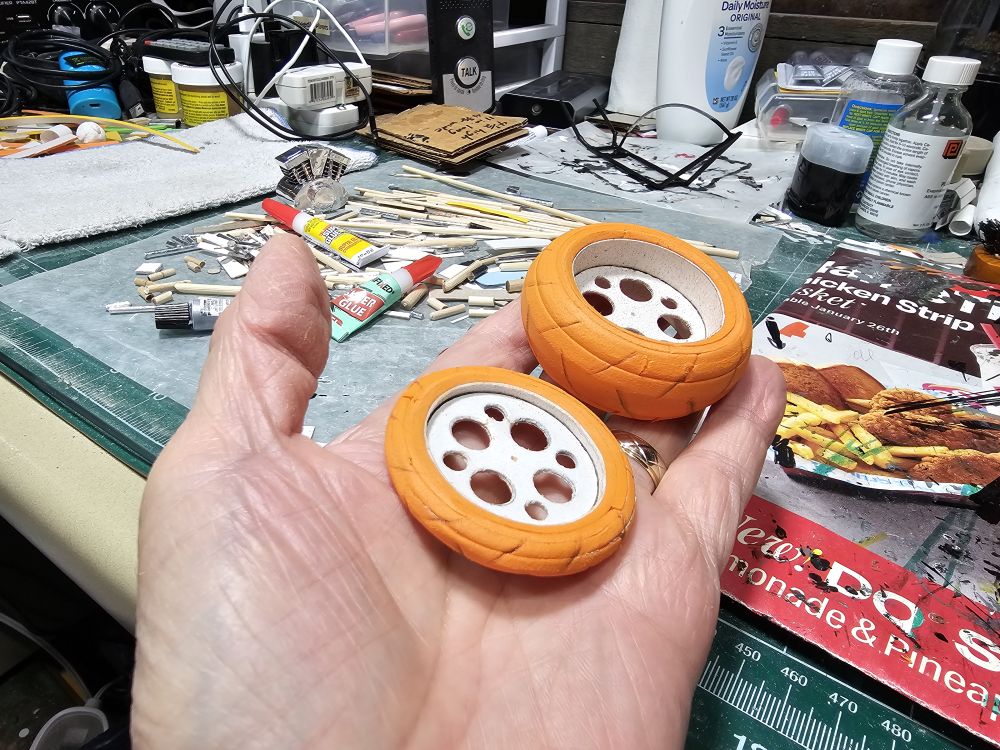
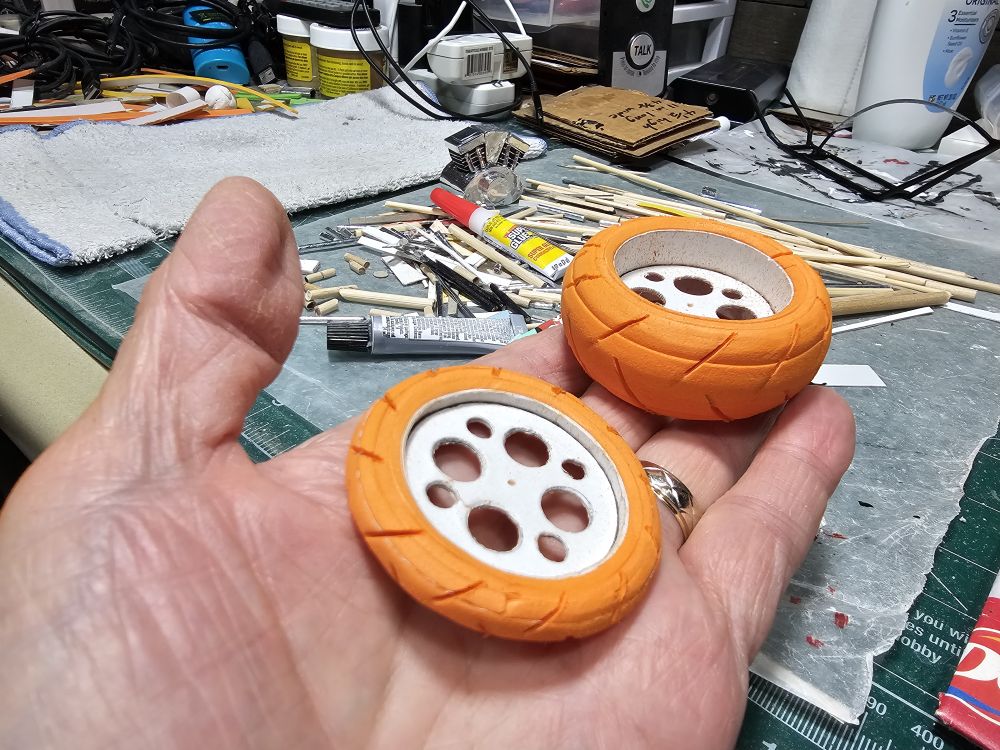
Mike L.
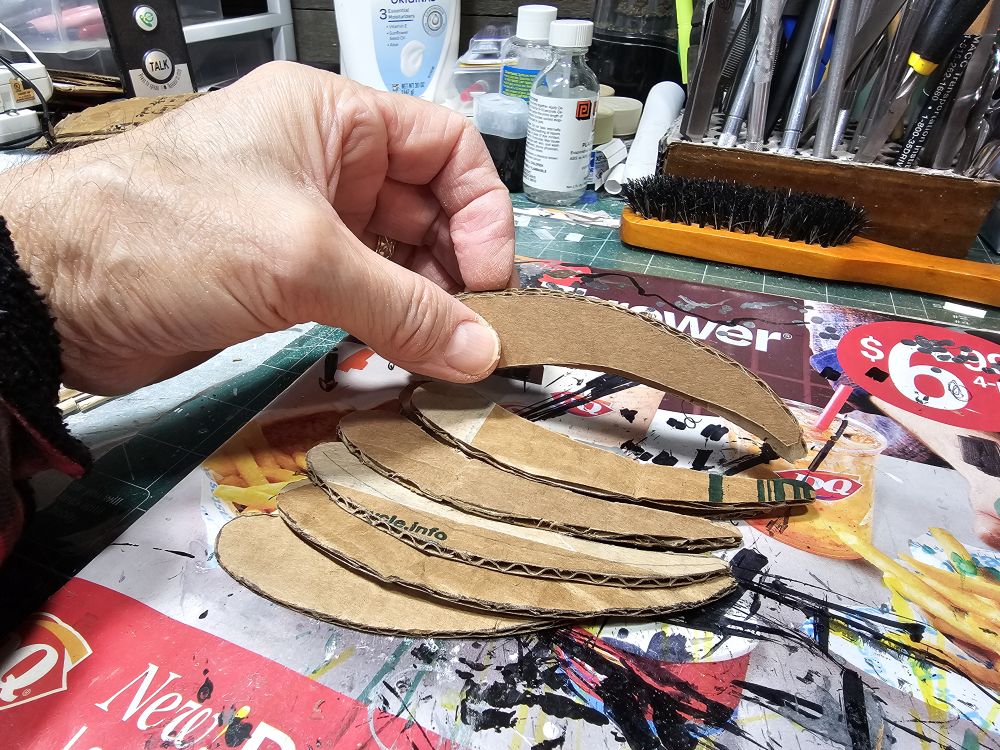
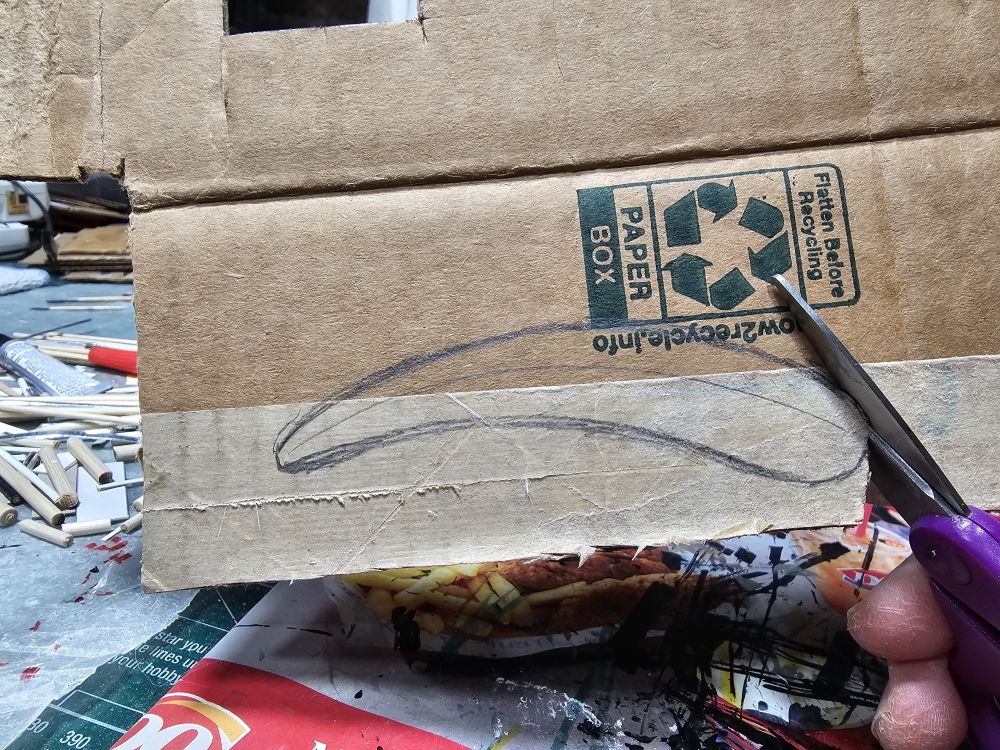
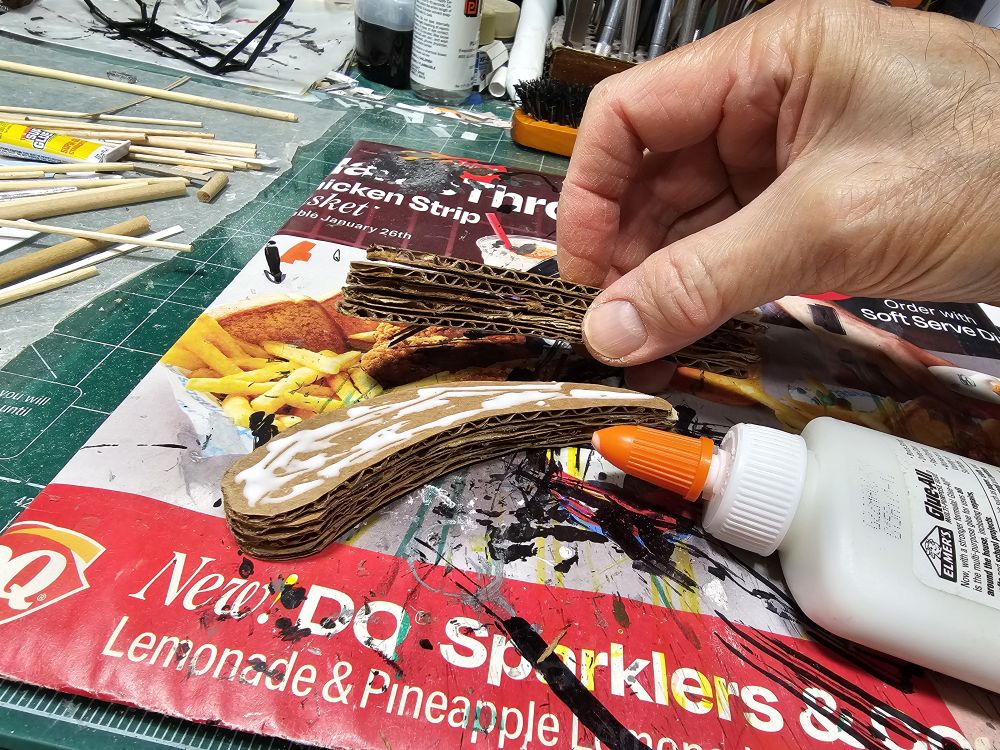
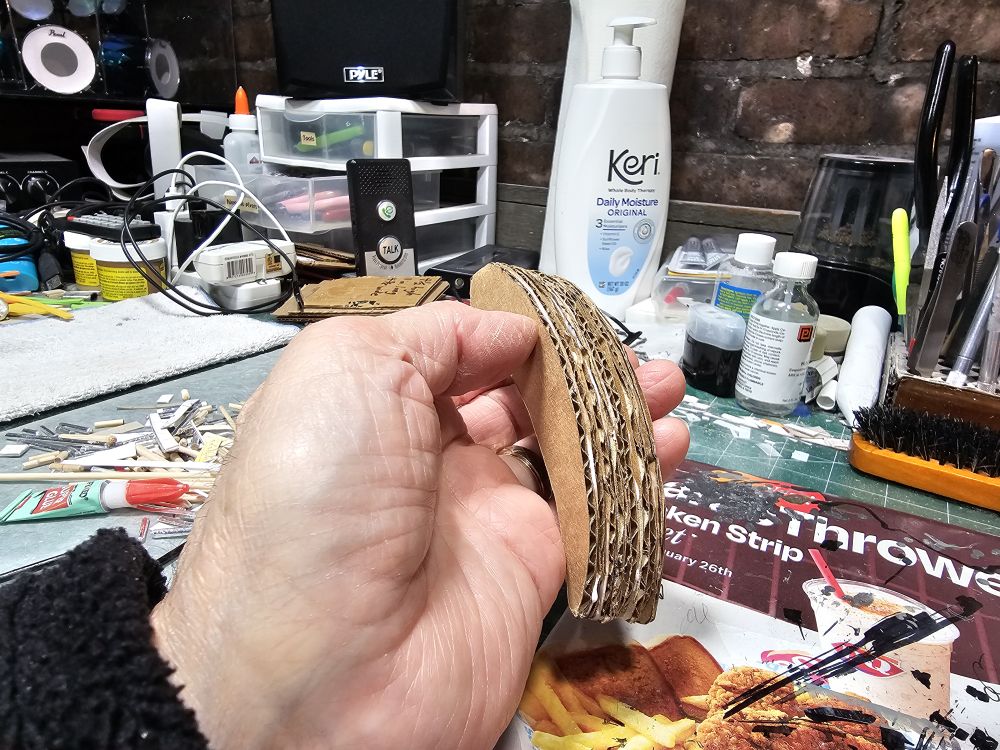
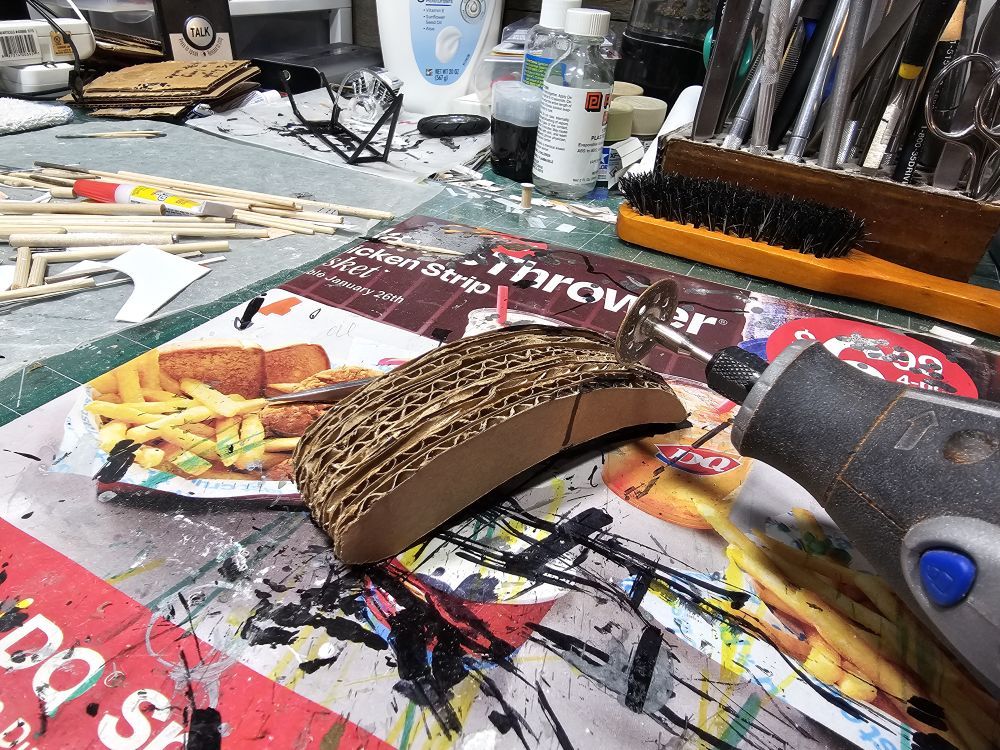
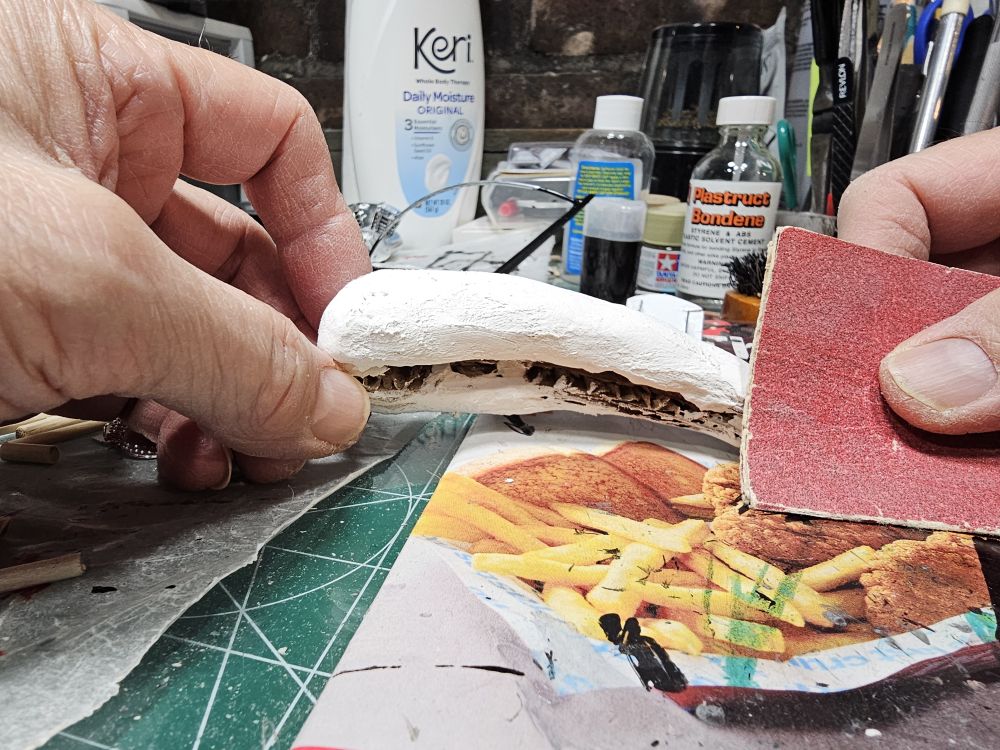
Getting a lot of progress with my model. I've completed the wheels. I've started the gas tank which you can see I'm starting it by cutting and gluing the pieces of cardboard together, then sanding it to shape. View attachment 231509View attachment 231510View attachment 231511View attachment 231512View attachment 231513View attachment 231514View attachment 231515View attachment 231516View attachment 231517View attachment 231518View attachment 231519View attachment 231520
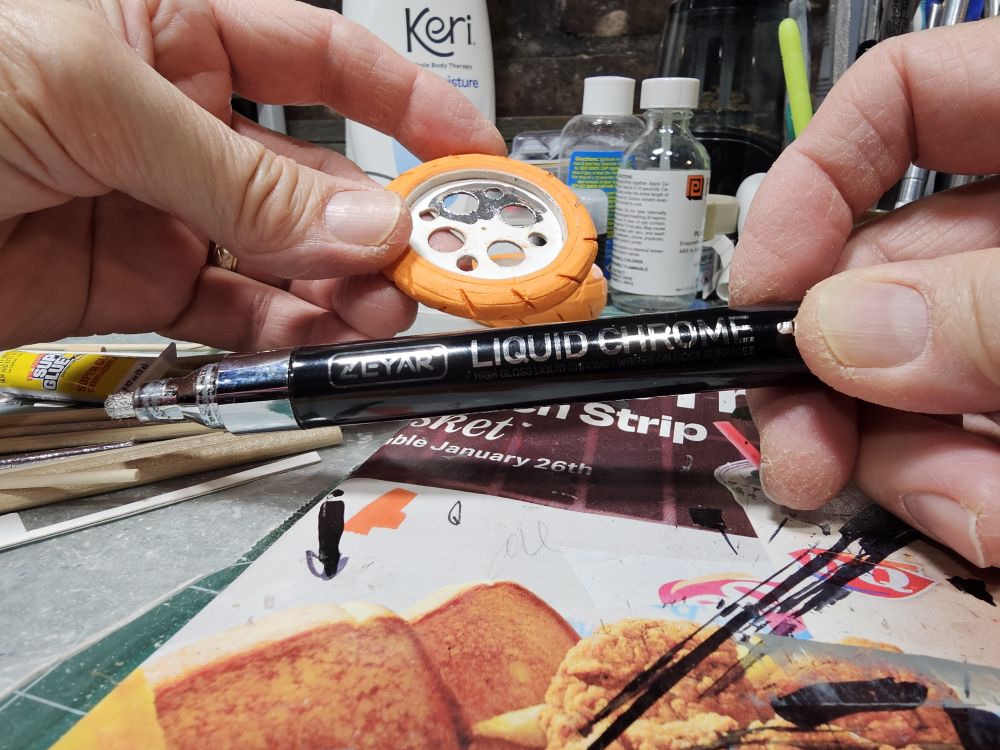

Interesting post! More sculpture 'carving' involved than I imagined
Yes as I originally stated there is going to be a lot of steps involved in the process of this build thread, and a lot of patience!Interesting post! More sculpture 'carving' involved than I imagined

Holz44
Well-Known Member
This is friggin' INSANE!Getting a lot of progress with my model. I've completed the wheels. I've started the gas tank which you can see I'm starting it by cutting and gluing the pieces of cardboard together, then sanding it to shape. View attachment 231509View attachment 231510View attachment 231511View attachment 231512View attachment 231513View attachment 231514View attachment 231515View attachment 231516View attachment 231517View attachment 231518View attachment 231519View attachment 231520
View attachment 183922View attachment 183923View attachment 183924View attachment 183925View attachment 183926View attachment 183928View attachment 183927View attachment 183930View attachment 183931View attachment 183932
Real talent!
Thanks brother, when are you going to try something like this?This is friggin' INSANE!
Real talent!
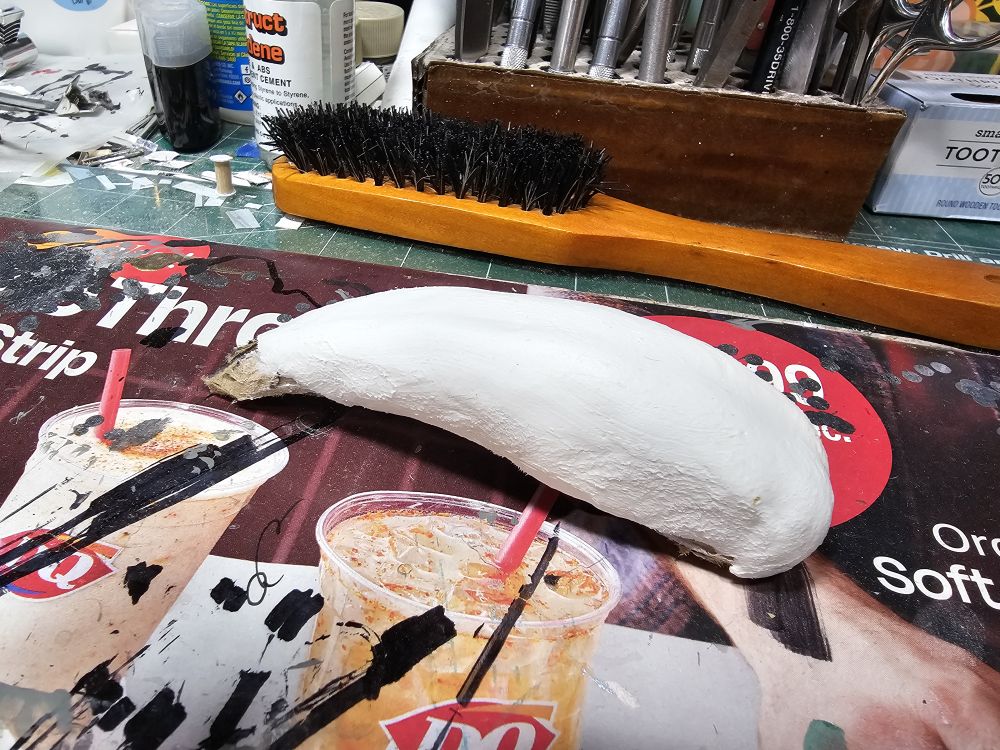
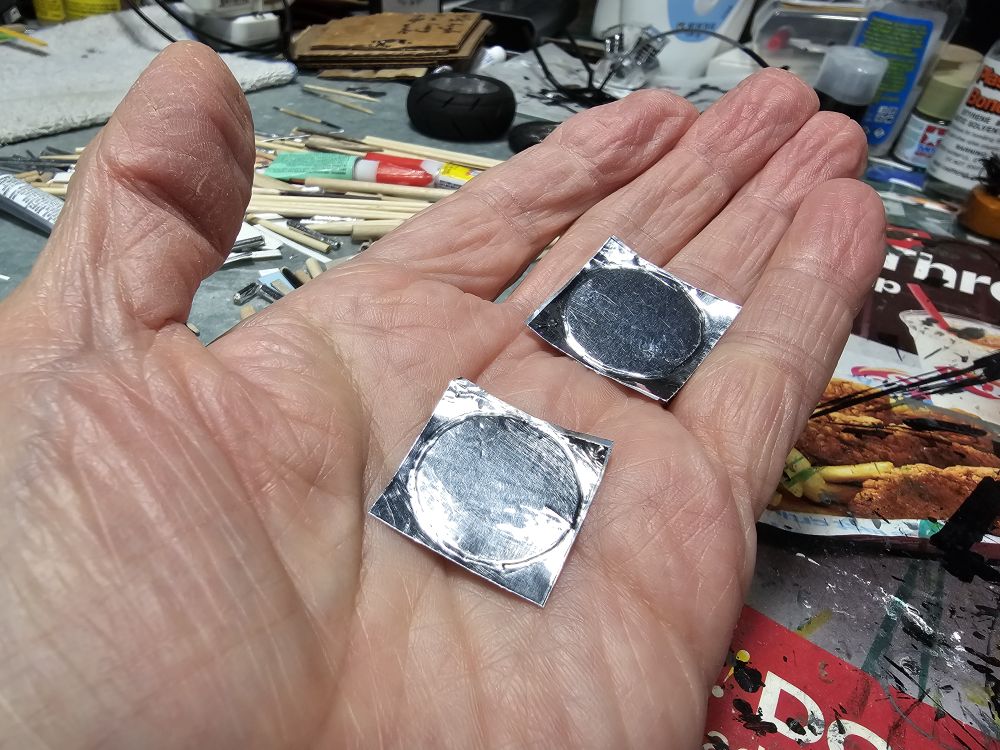
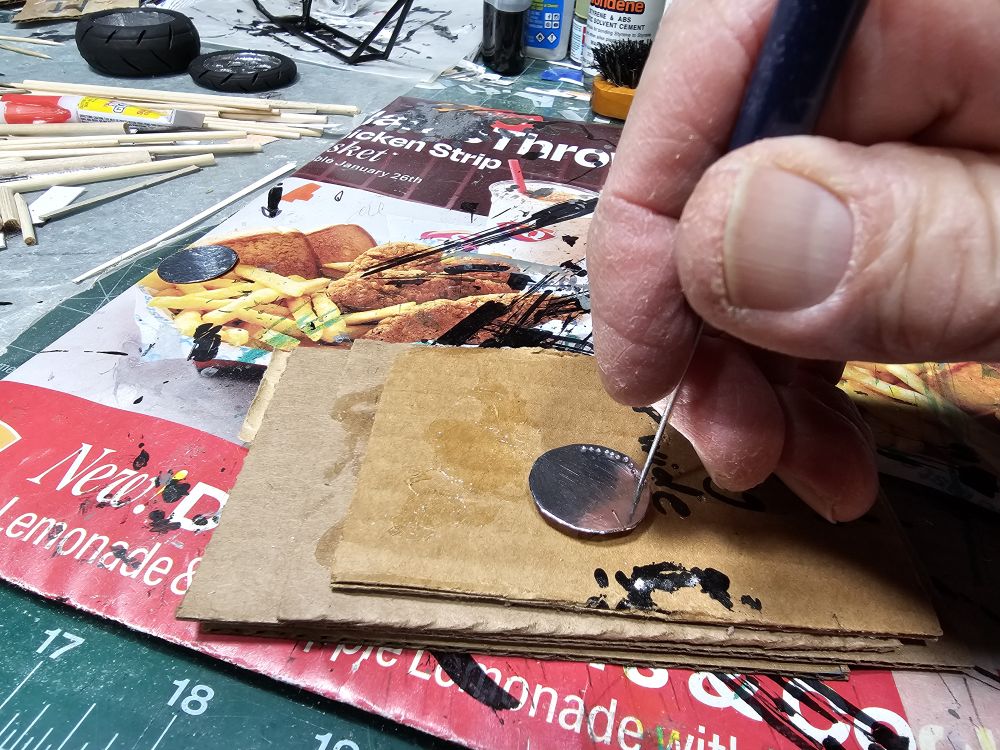
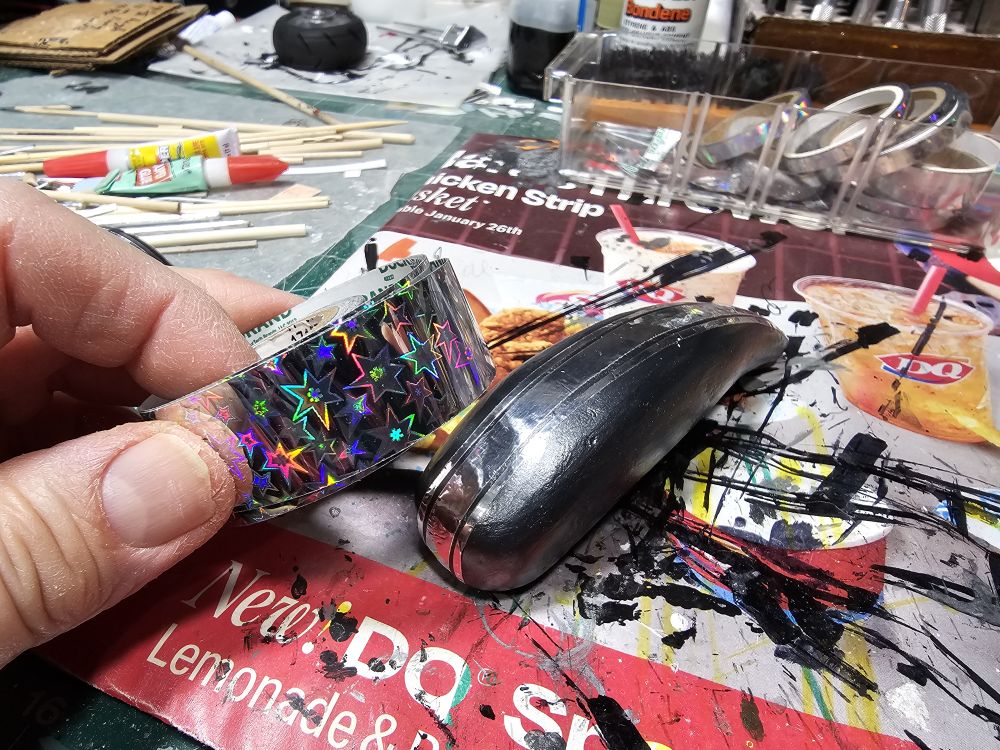
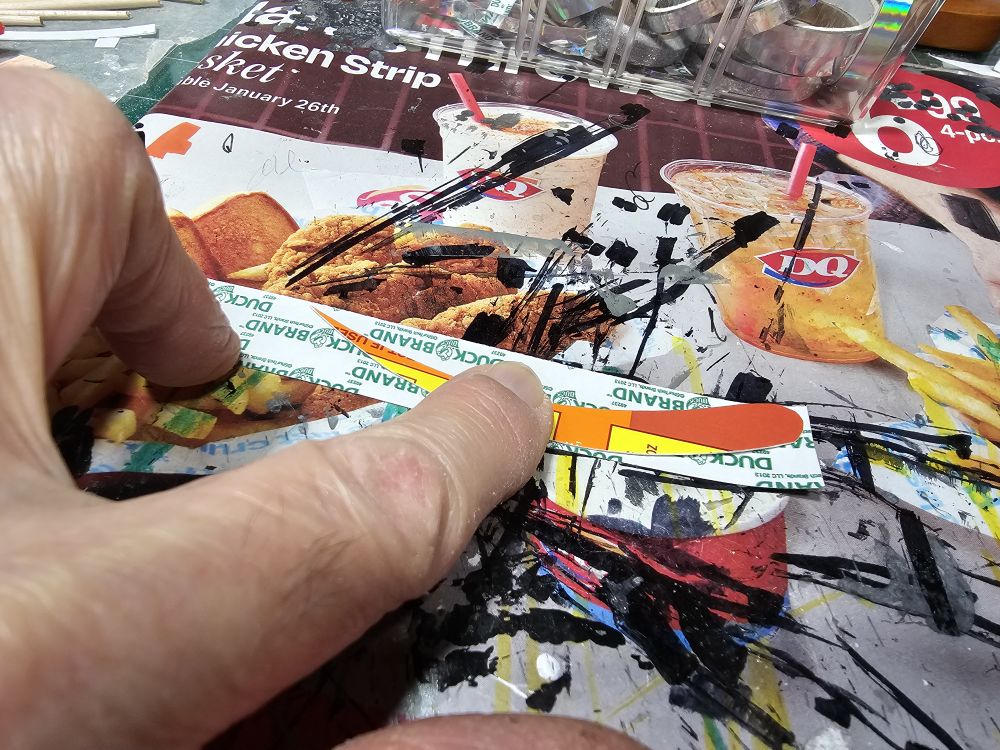
Continuing my progress, I wrapped the cardboard gas tank with a layer of air drying clay which I will sand smooth when it's dry. I cut a couple of pieces of cardstock paper into circles and put some chrome tape on them and poked holes into them to make some brake pads. I also wrapped a couple of wooden dowel rods in chrome tape to make the rods that the front wheel will be attached to. Thanks for checking out my work so far.
Mike L.
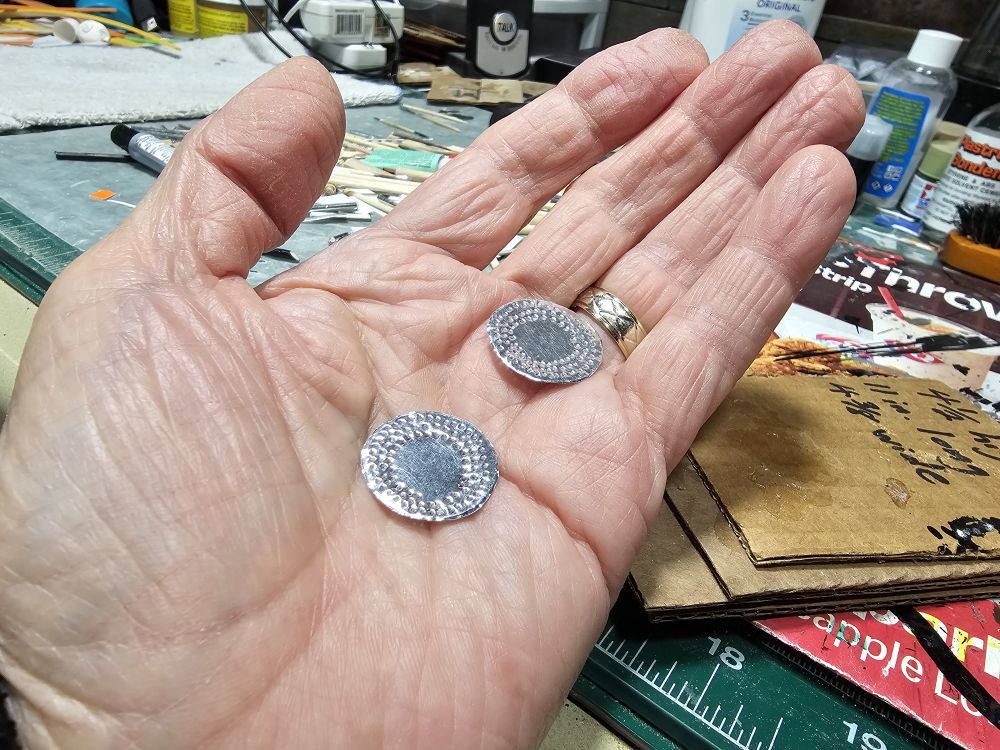
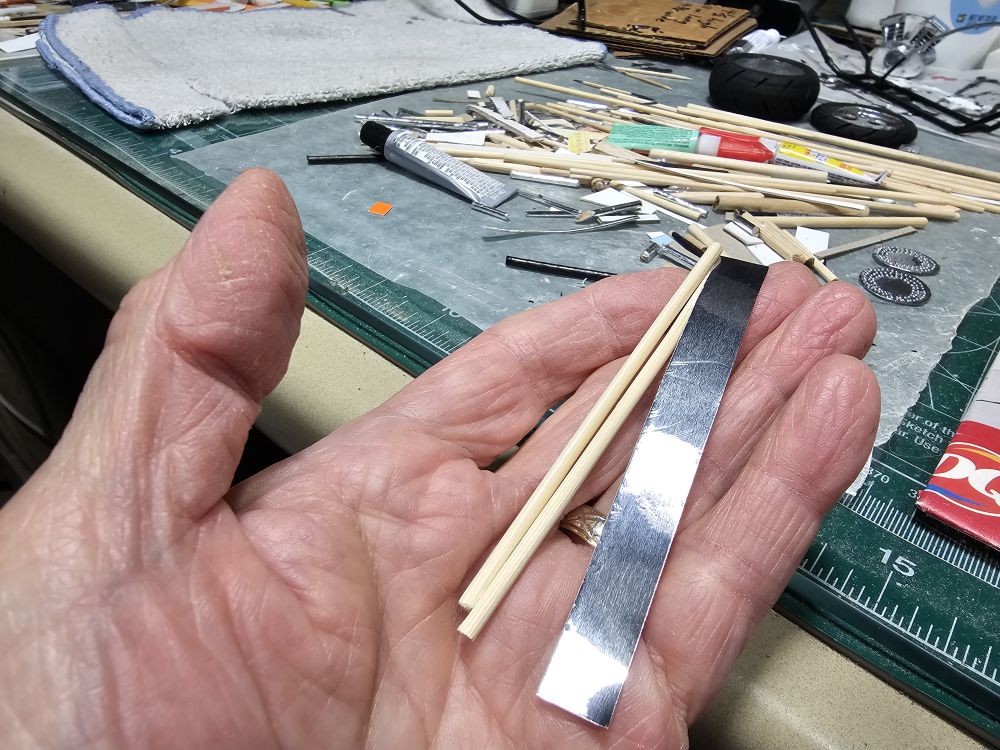
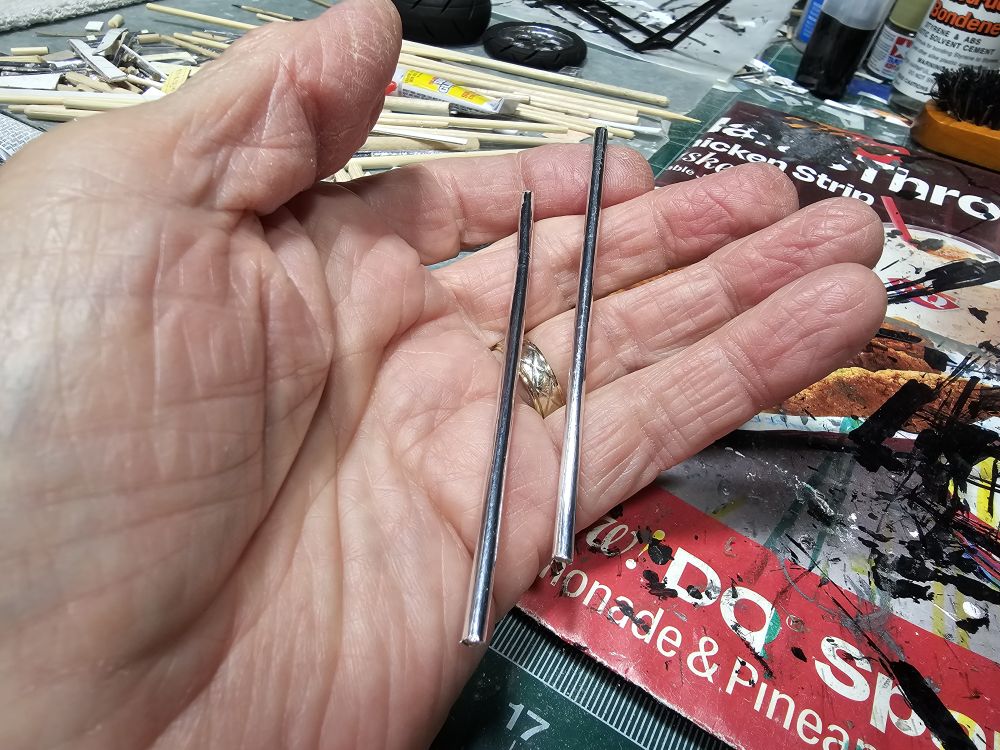
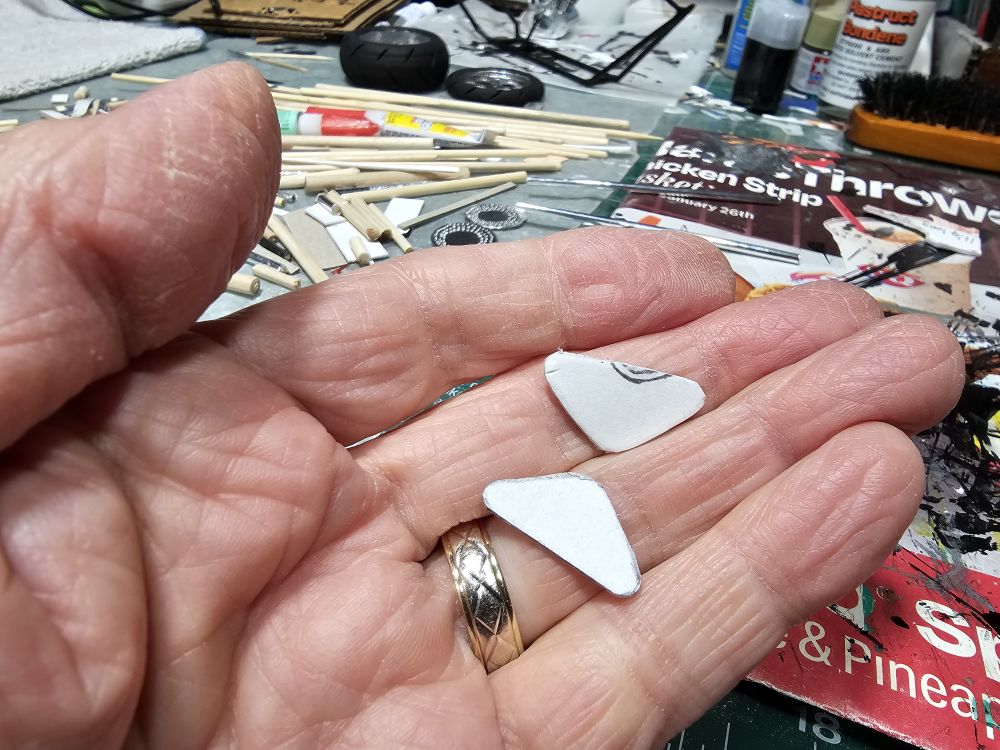
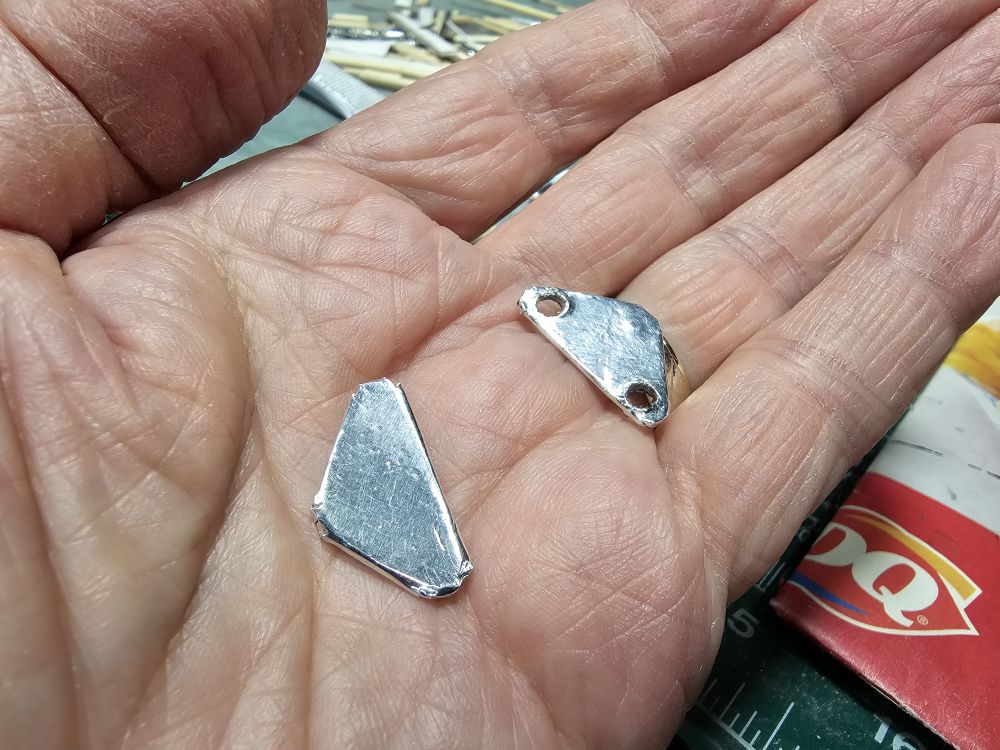
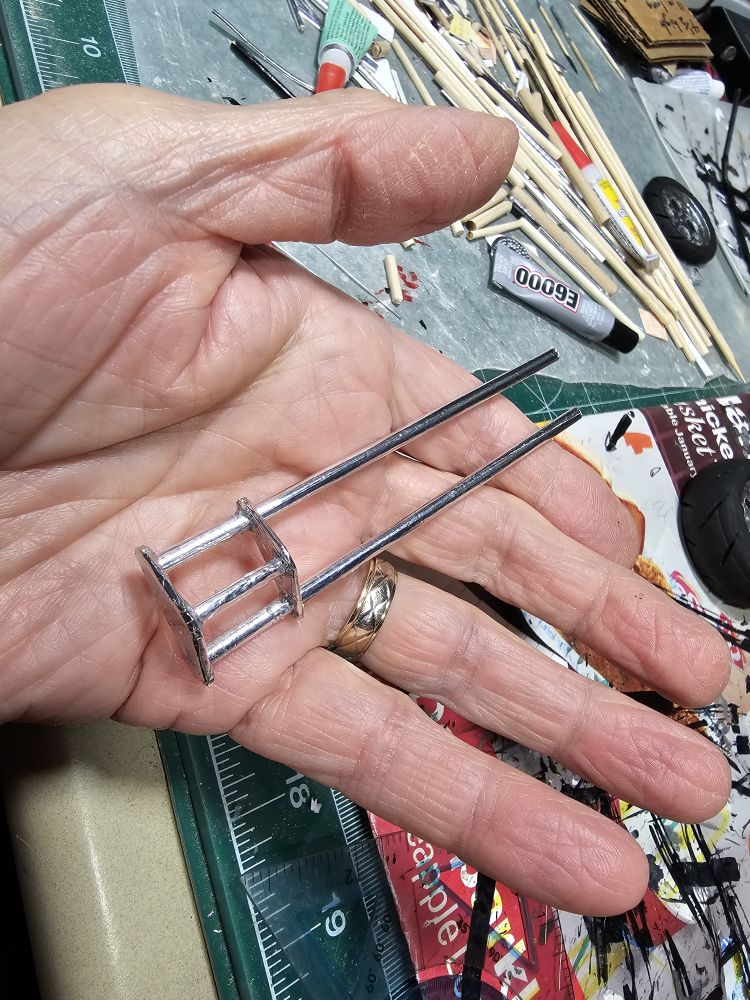
Mike L.
This certainly reads like a stepwise 'how-to'! 
Yes, I hope it gives people an idea of how they can build their own models without having to buy a plastic model at the hobby store.This certainly reads like a stepwise 'how-to'!
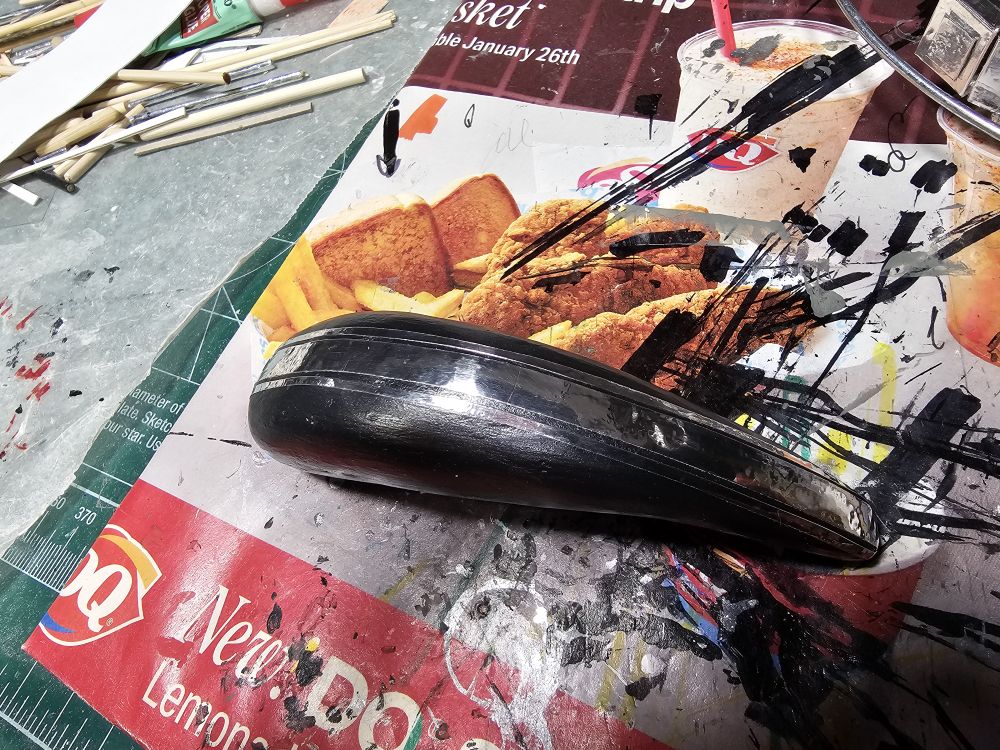
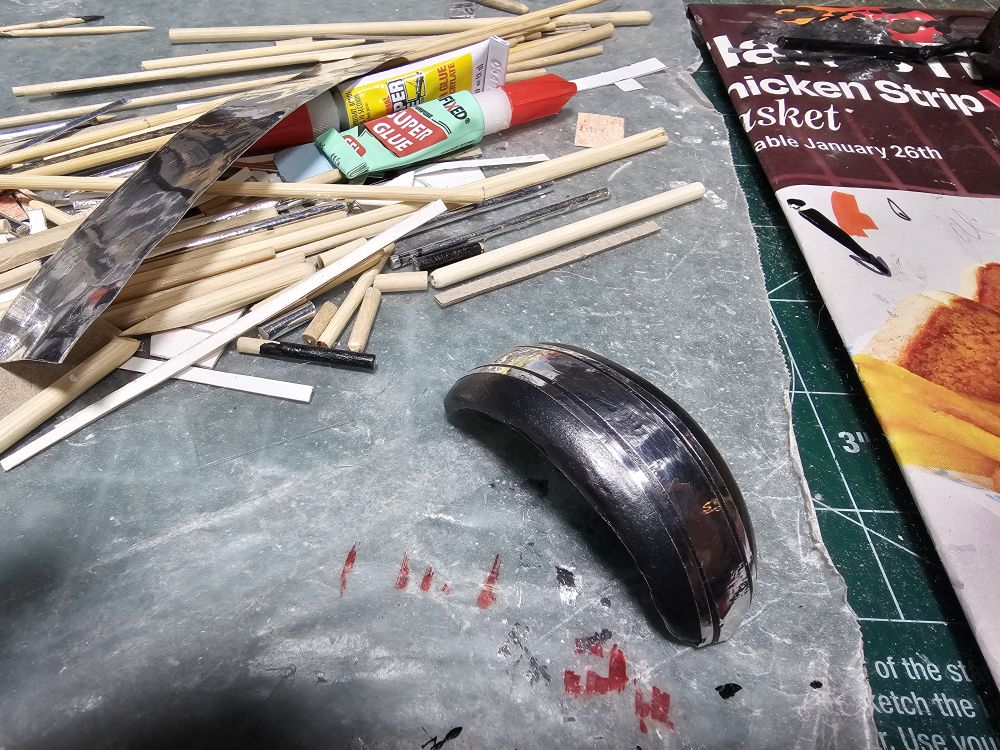
Progress is going good so far. I sanded down the gas tank and started work on the back fender and put a layer of air dry clay as well. Doing work on making a lot of small parts such as the disc for attaching the chain drive to the back wheel. I told you guys that this was going to be a very long build thread so hope some of you are still with me.
Mike L.
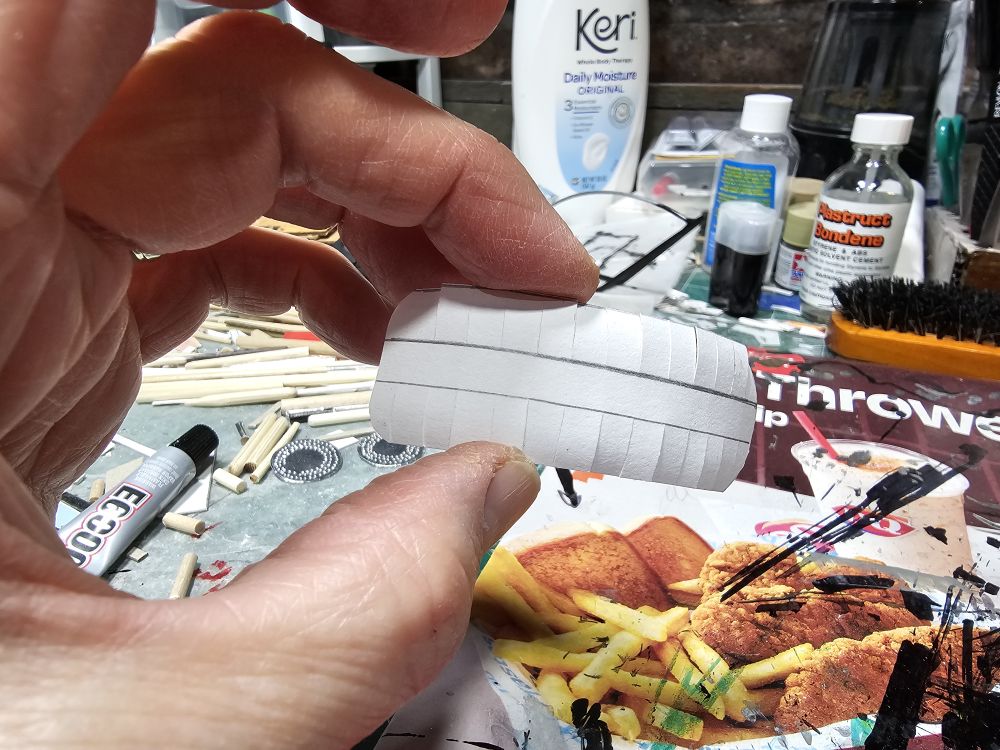
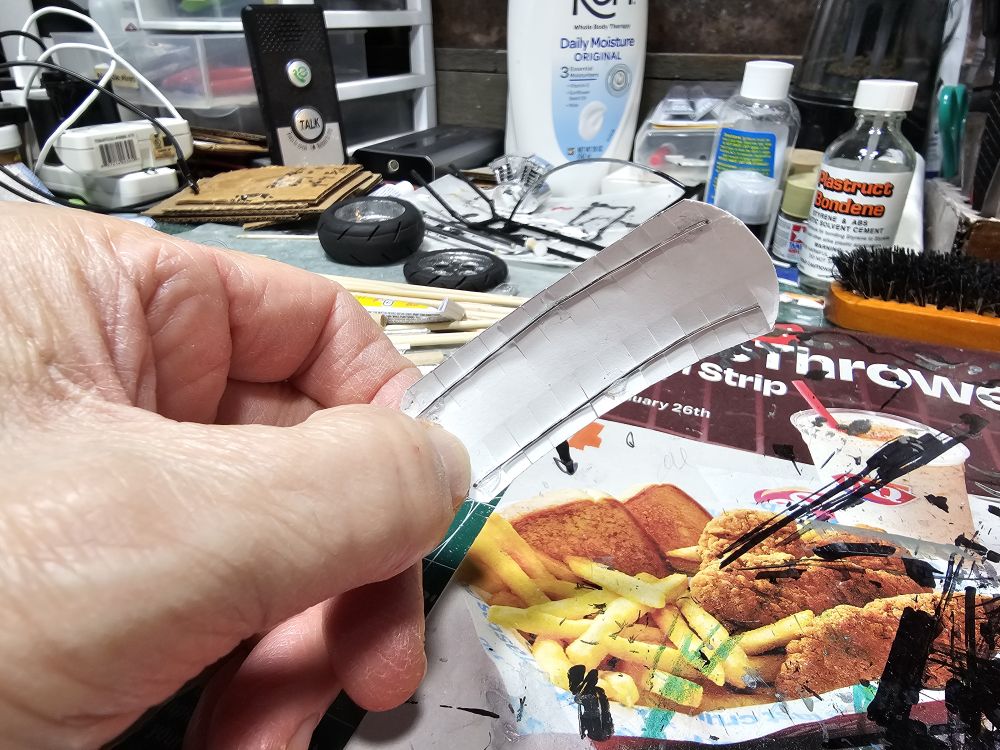
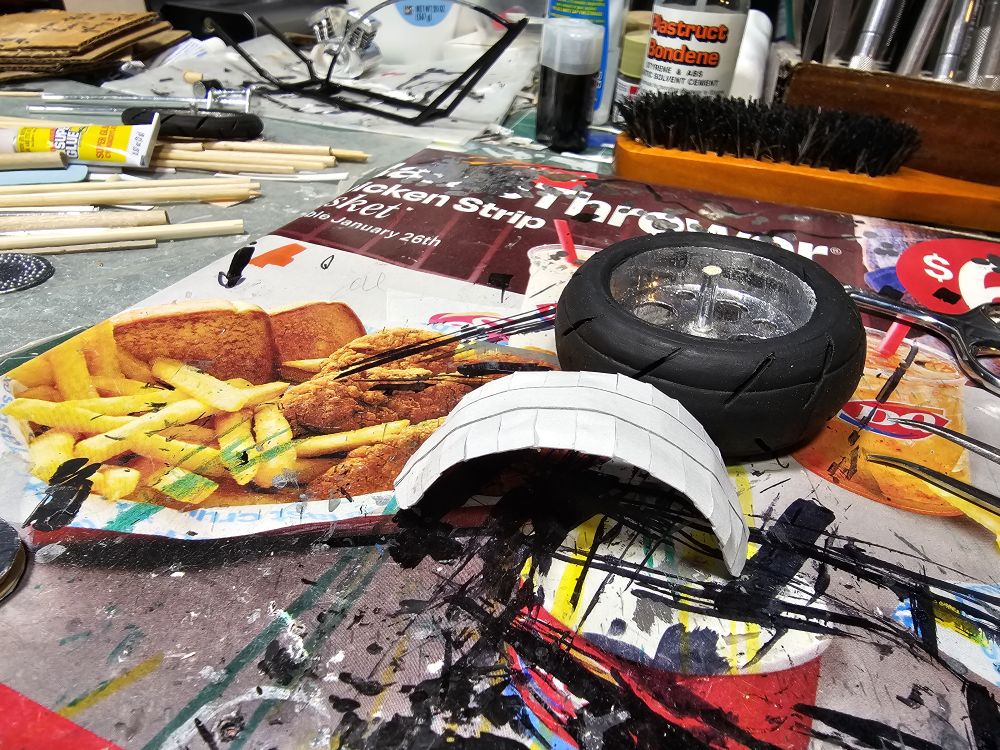
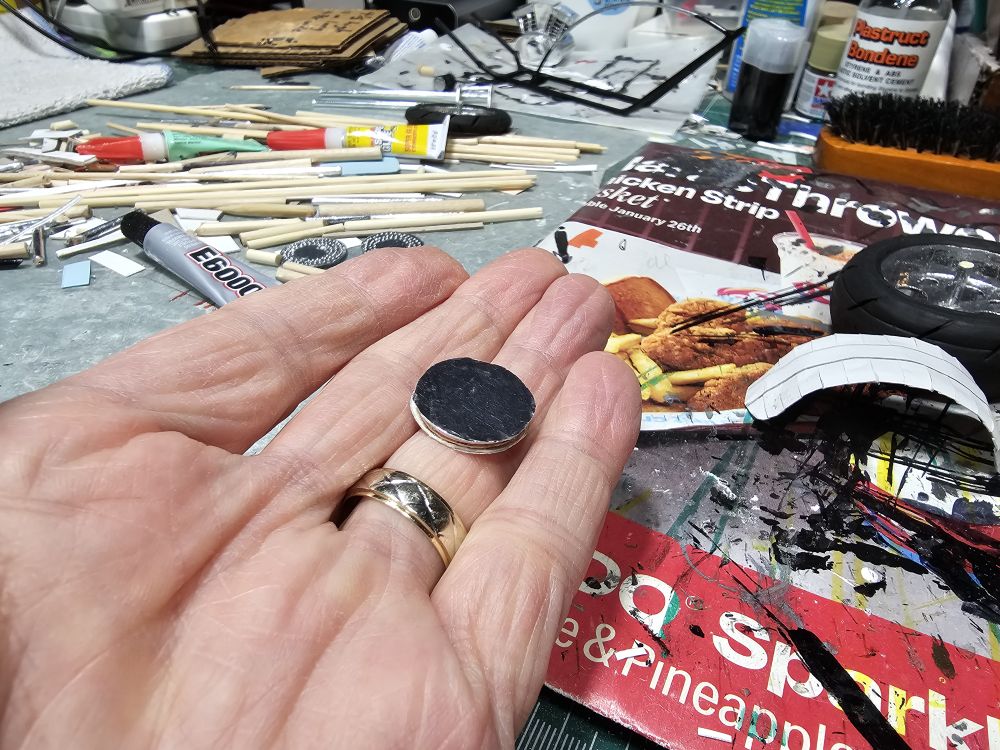
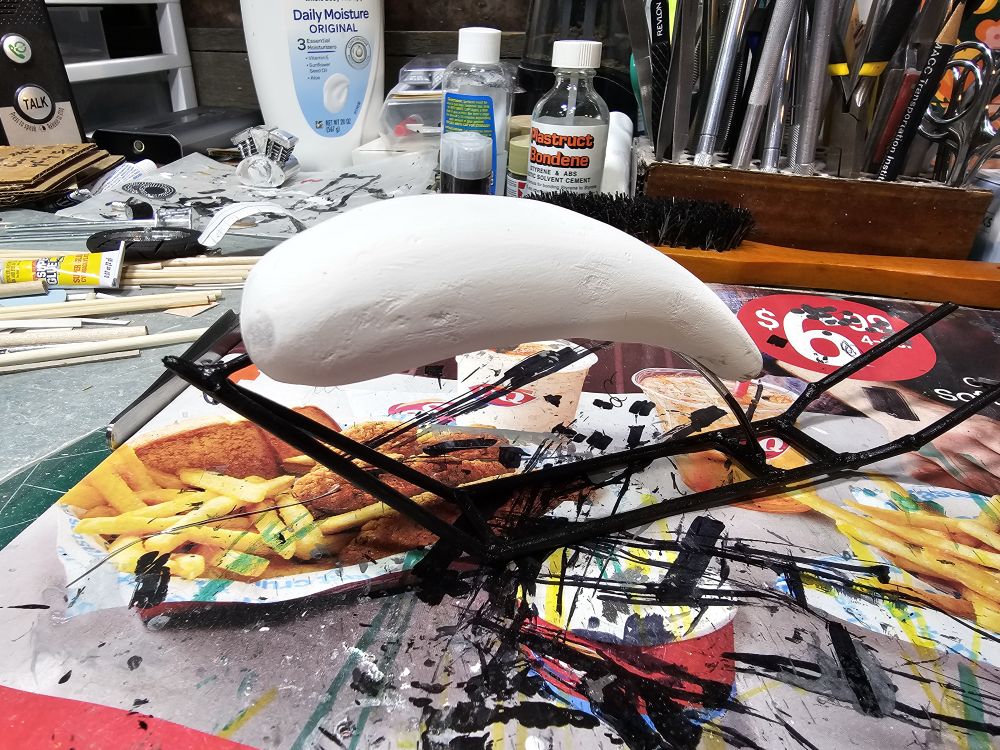
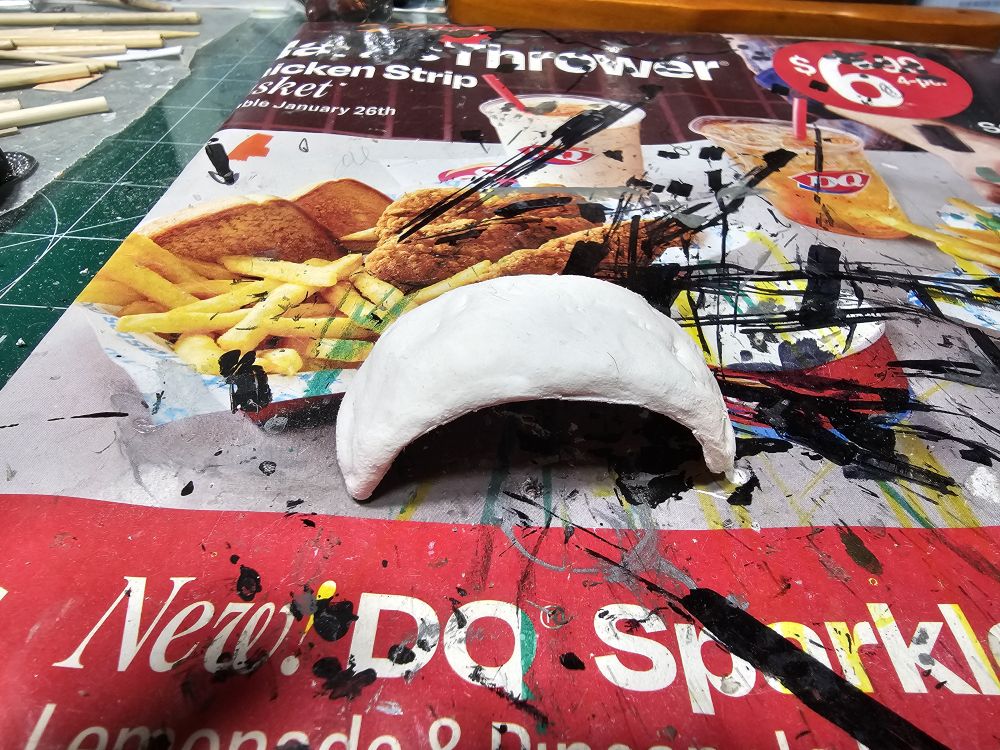
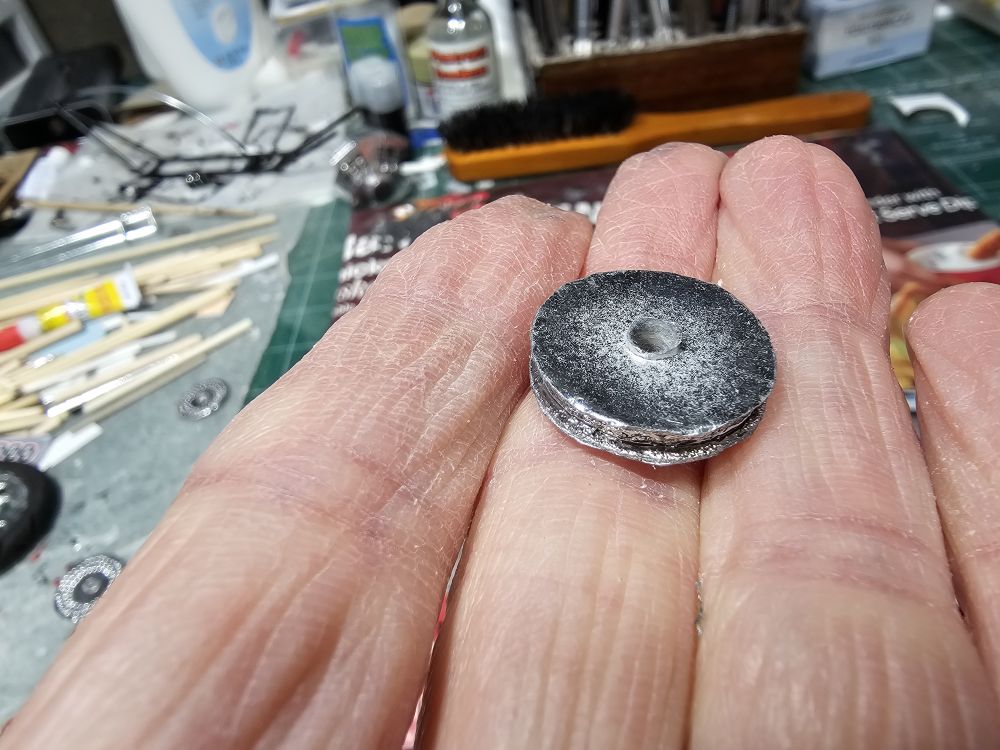
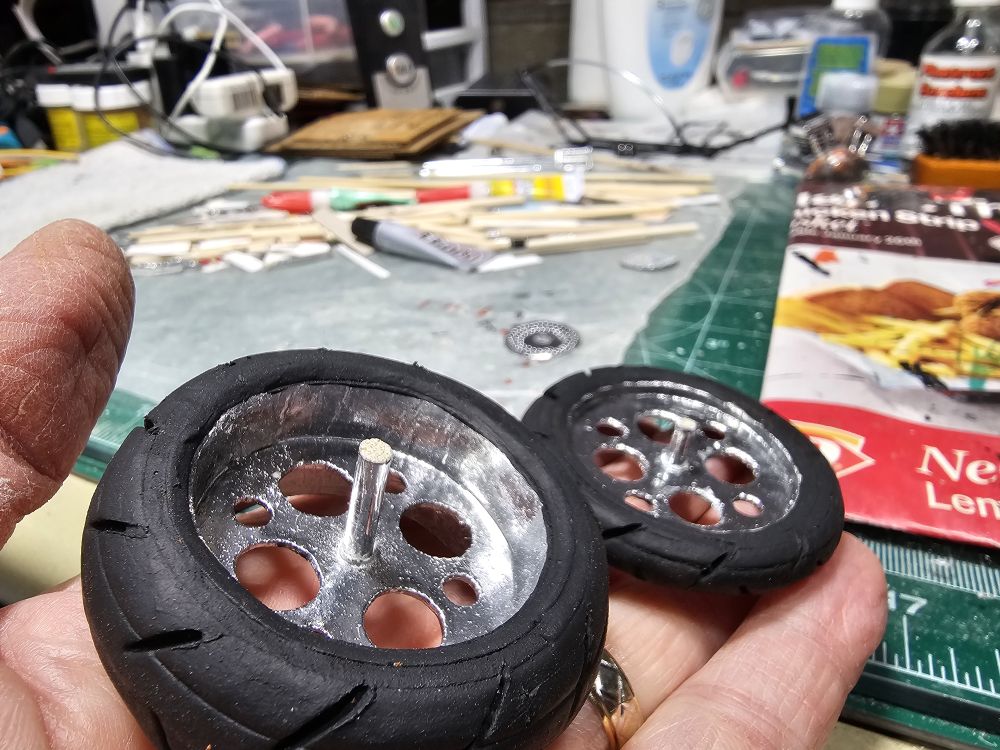
Mike L.
That is really cool!Continuing my progress, I wrapped the cardboard gas tank with a layer of air drying clay which I will sand smooth when it's dry. I cut a couple of pieces of cardstock paper into circles and put some chrome tape on them and poked holes into them to make some brake pads. I also wrapped a couple of wooden dowel rods in chrome tape to make the rods that the front wheel will be attached to. Thanks for checking out my work so far.
Mike L.
View attachment 184014View attachment 184015View attachment 184016View attachment 184017View attachment 184018View attachment 184019View attachment 184020View attachment 184021View attachment 184022
What type of chrome tape do you use? Is it the same as the tape that is used on furnace duct work?
Yes it is, so it's readily available to anyone and you can get it at Walmart.That is really cool!
What type of chrome tape do you use? Is it the same as the tape that is used on furnace duct work?
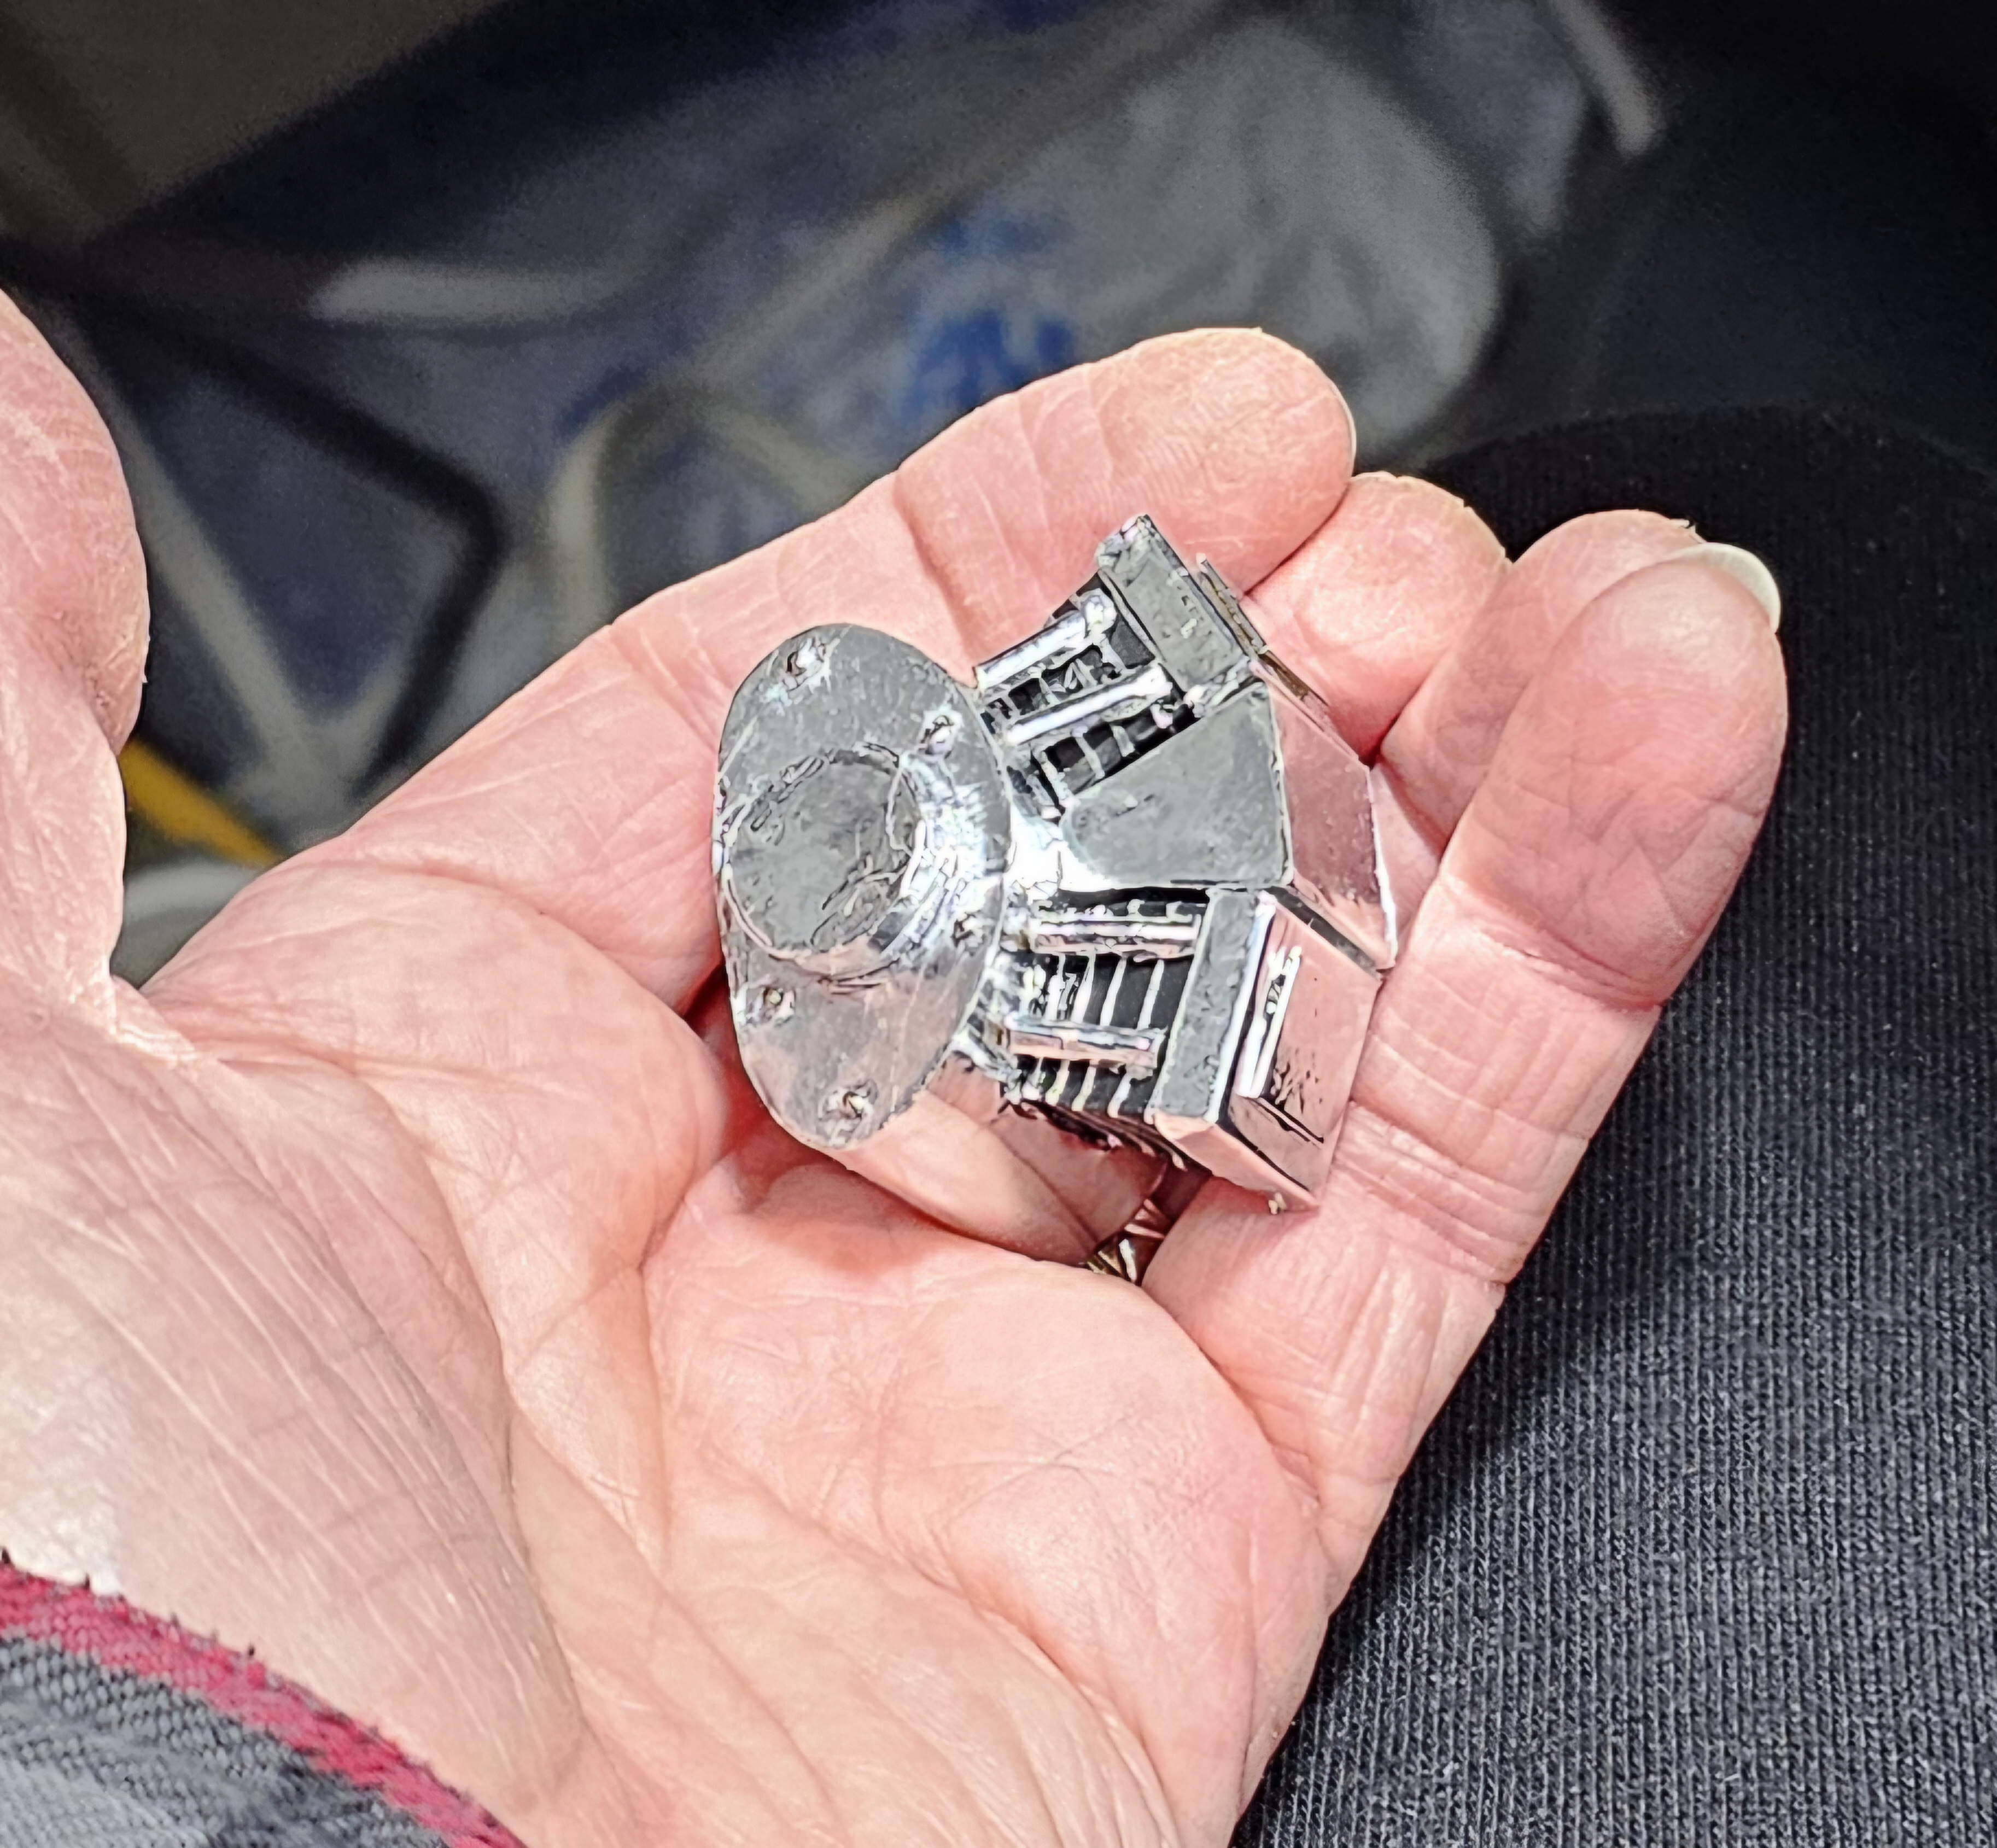
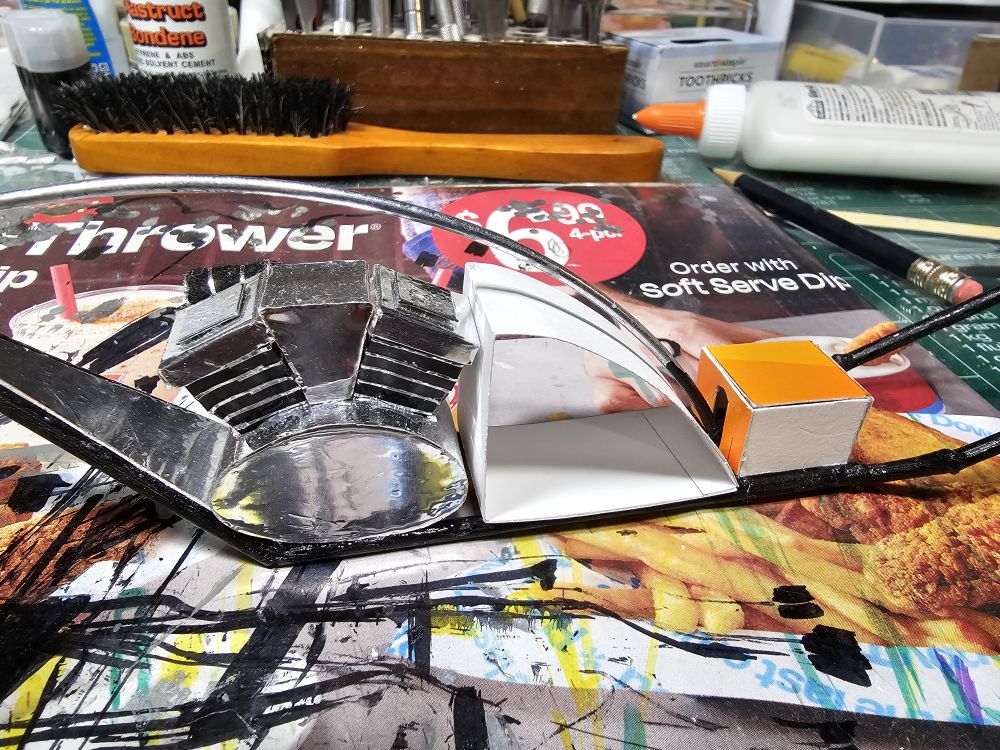
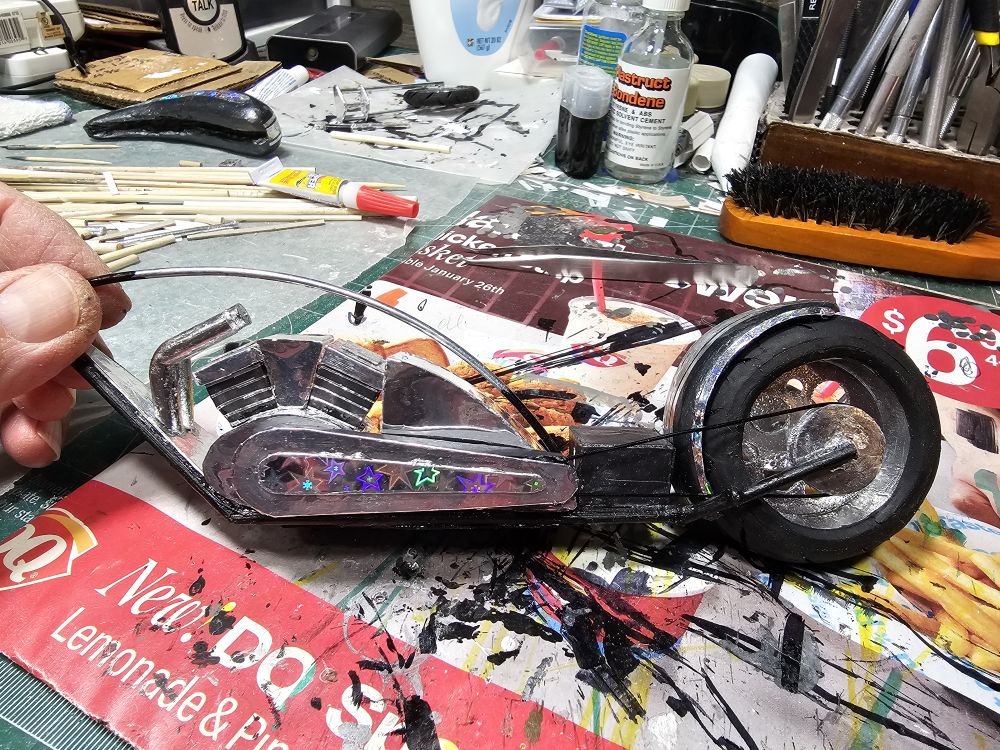
Continuing my work on my chopper model, I have sanded down the fender and the gas tank so I can paint them. I've attached the brake pads and other pieces to the front and back wheels. I also completed a piece where the seat will go, and I've attached the engine to the bike frame. Let me know what you guys think.
Mike L.
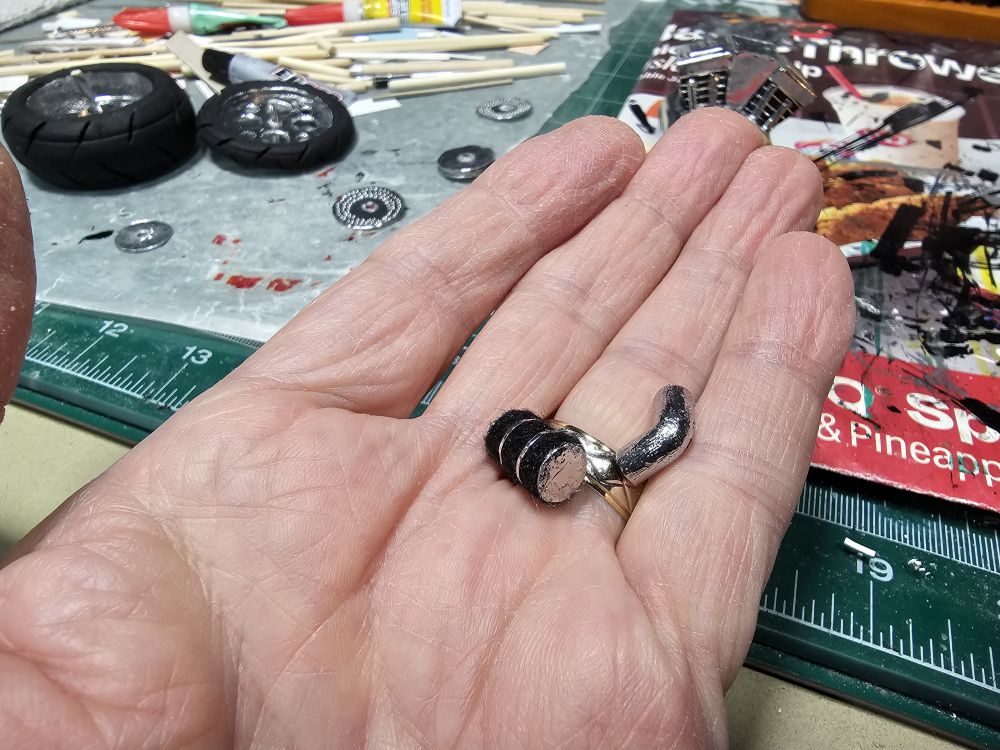
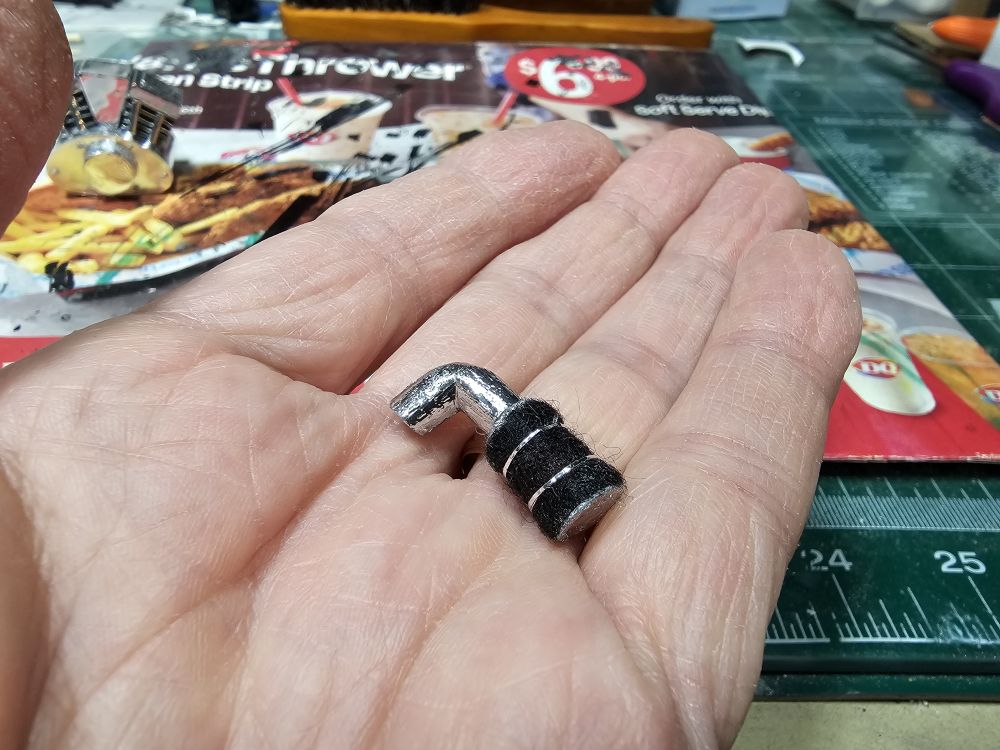
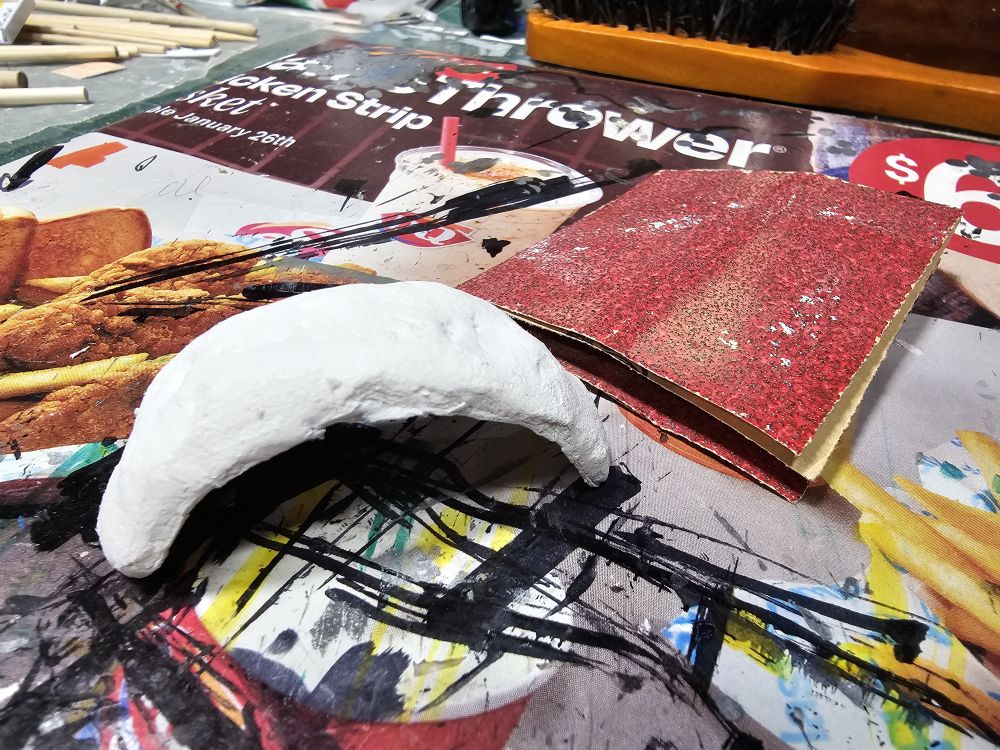
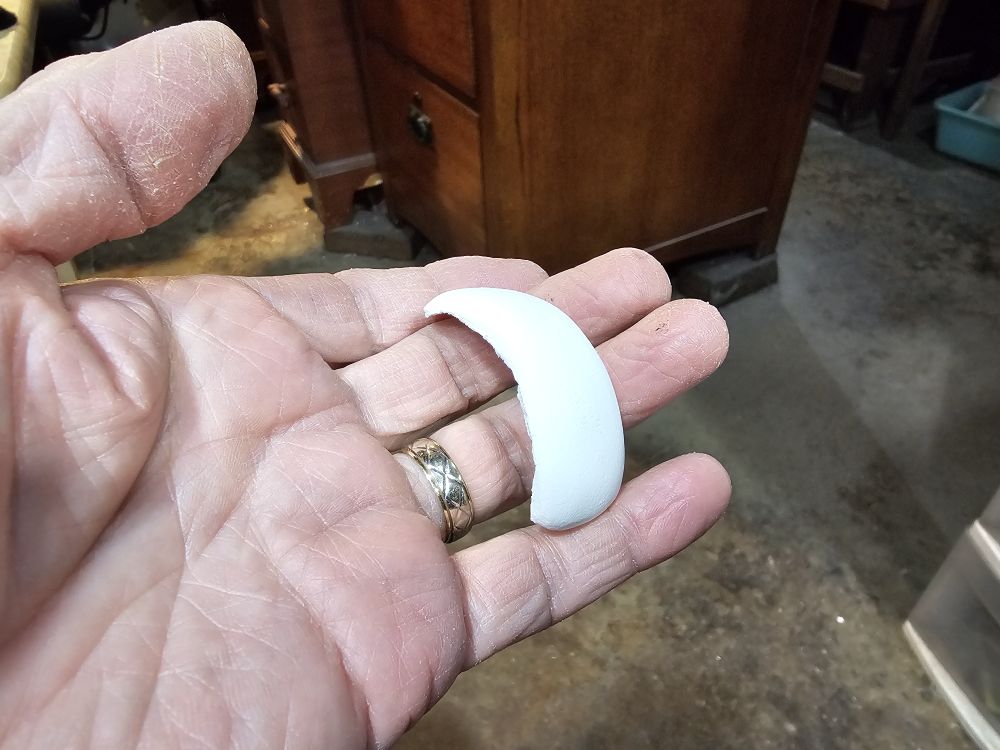
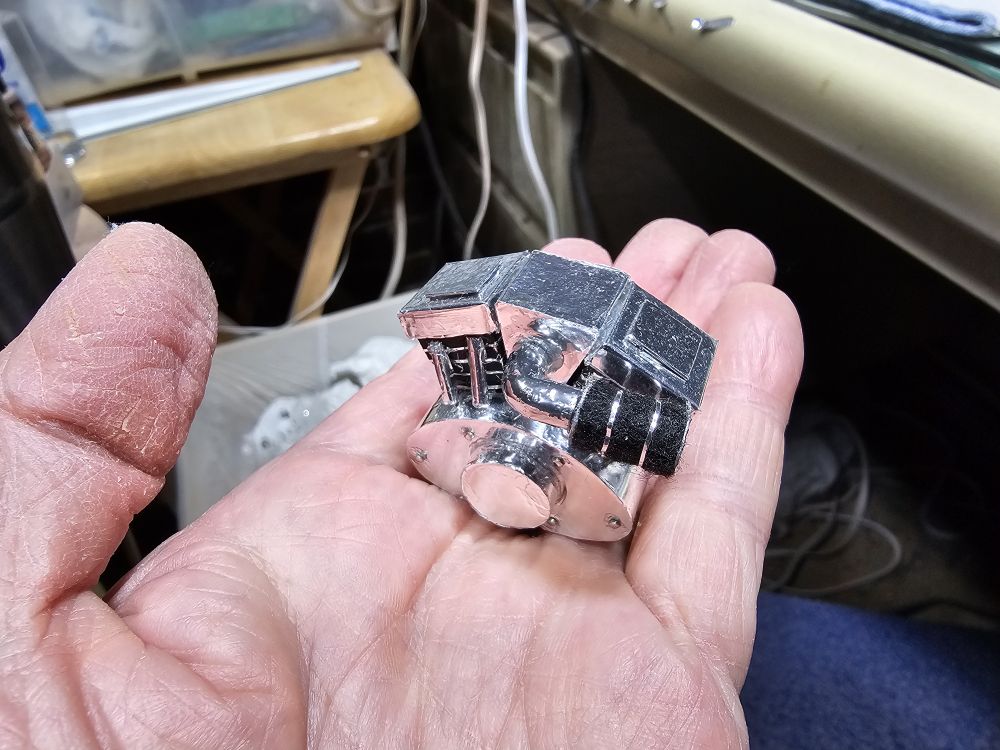
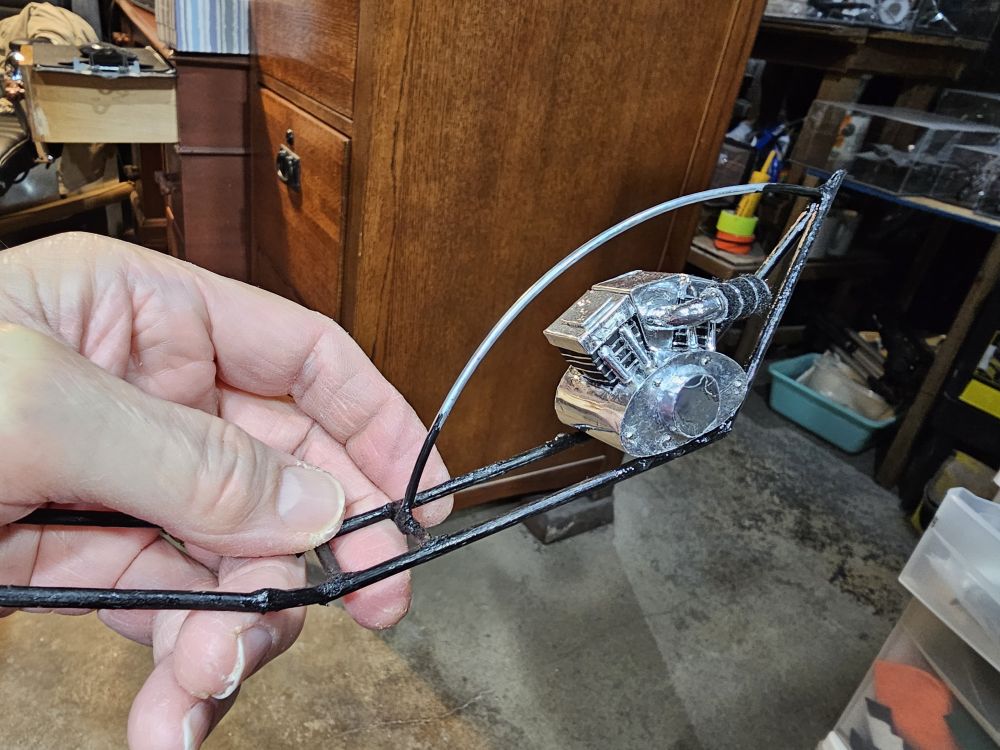
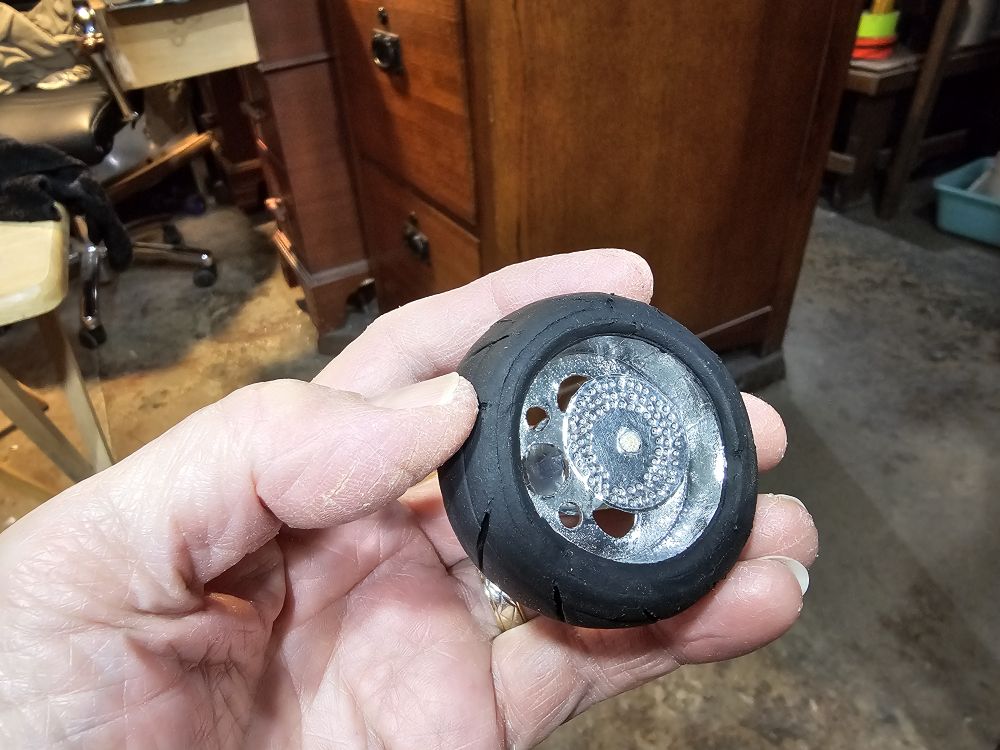
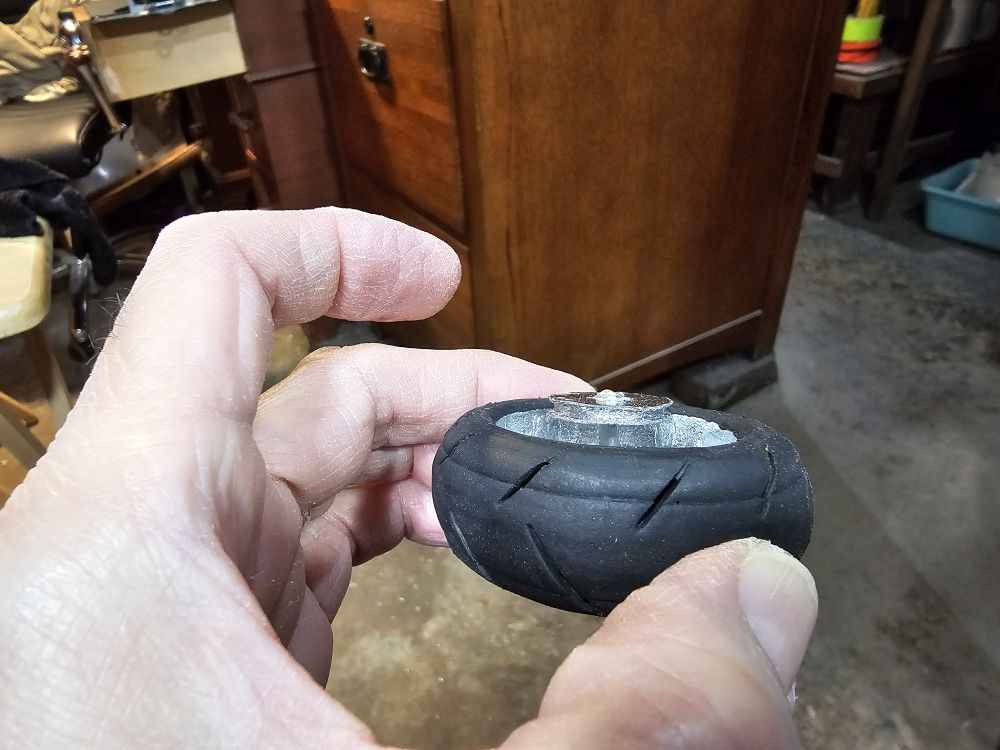
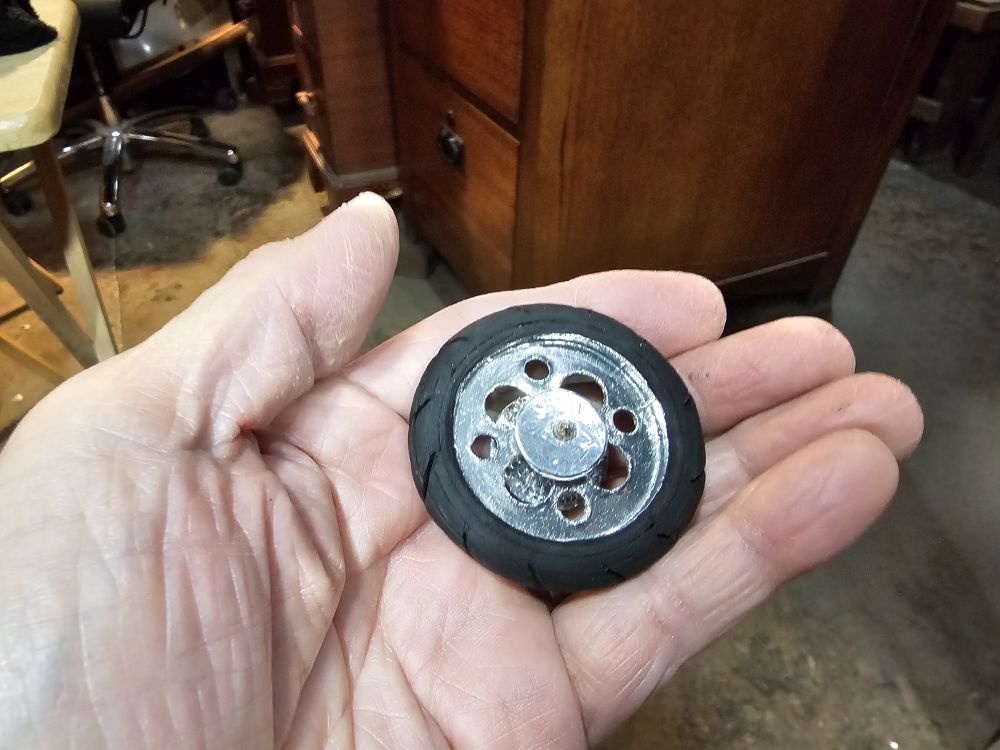
Mike L.
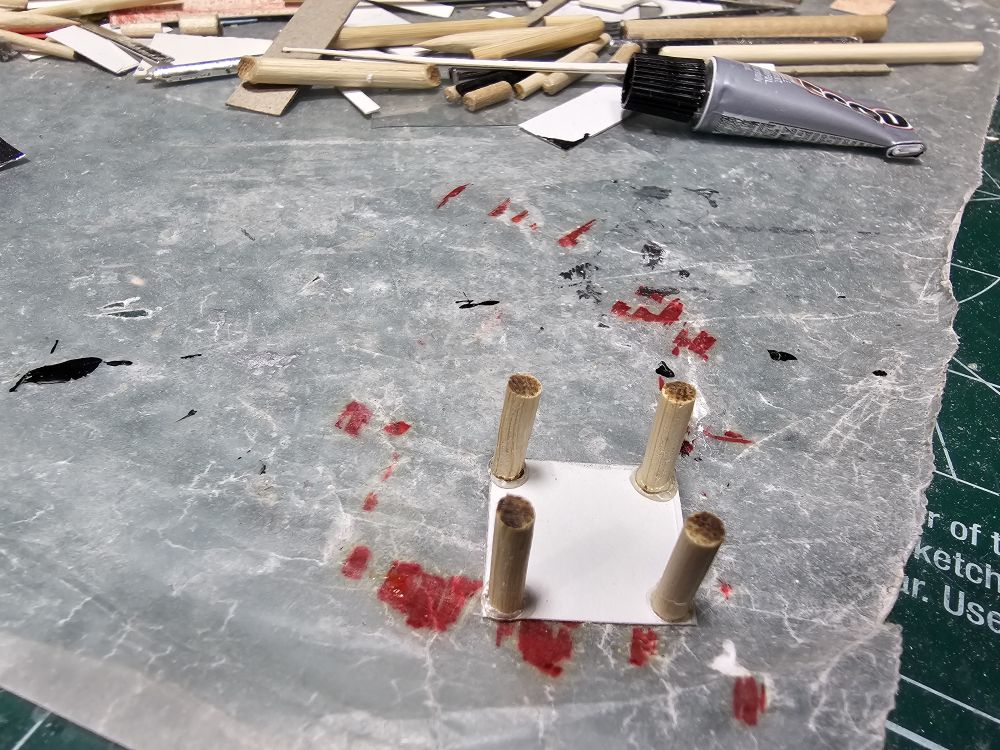
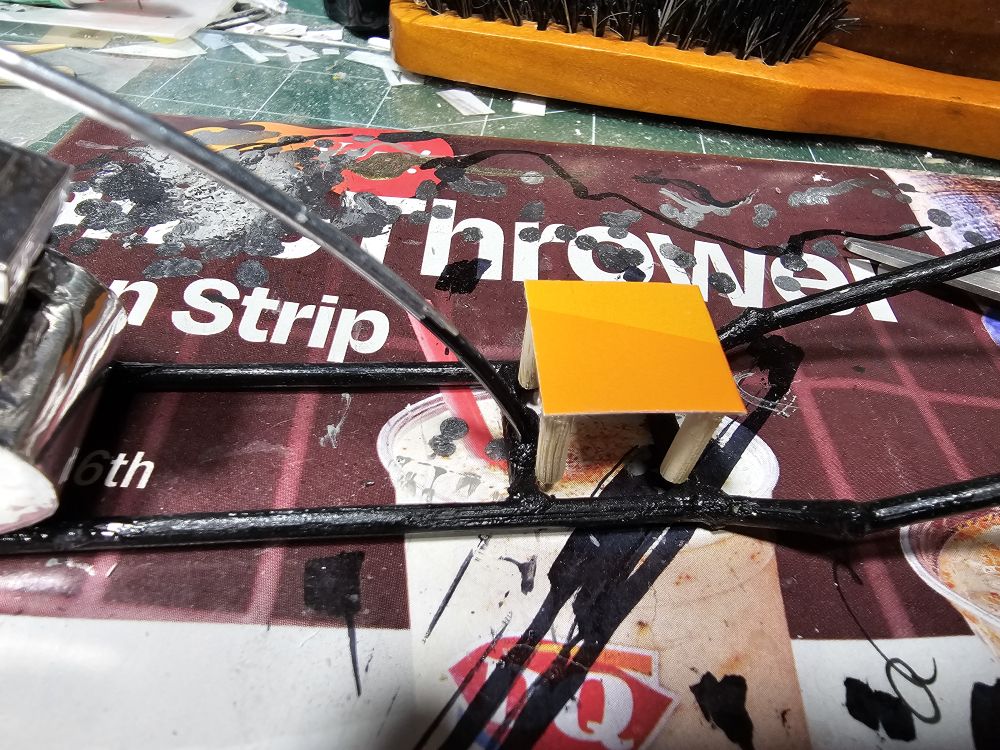
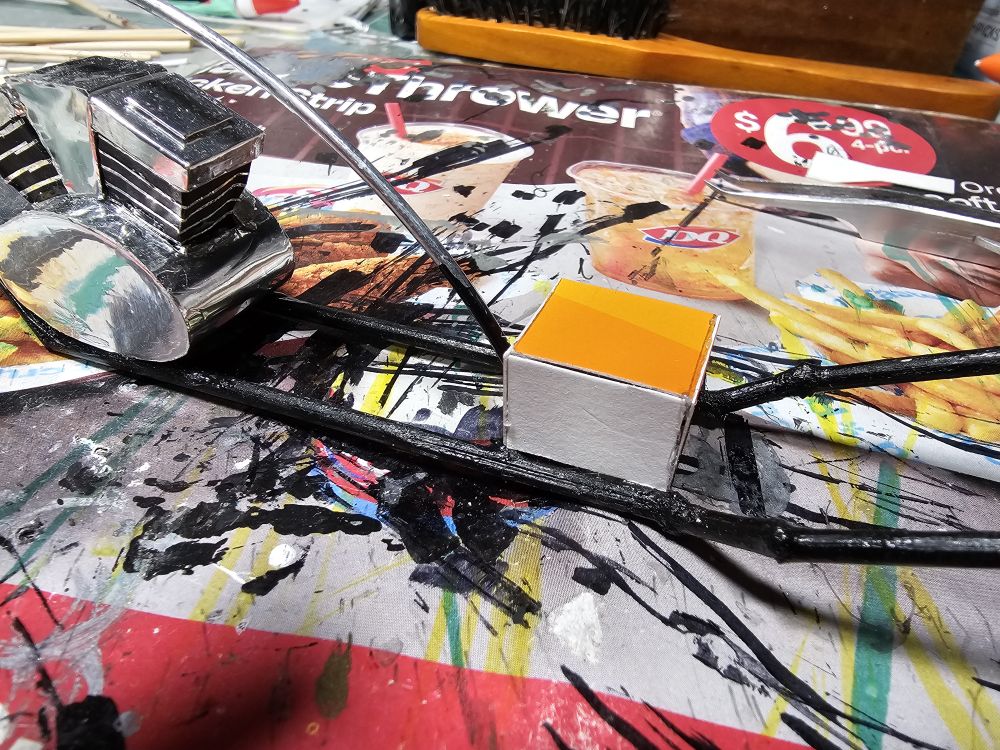
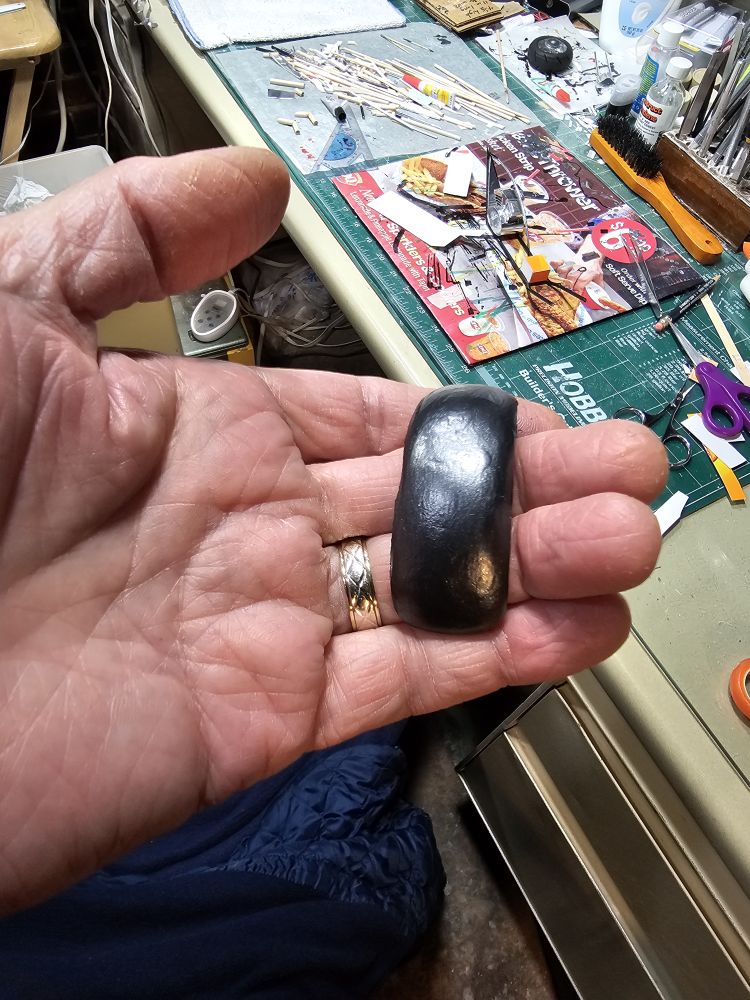
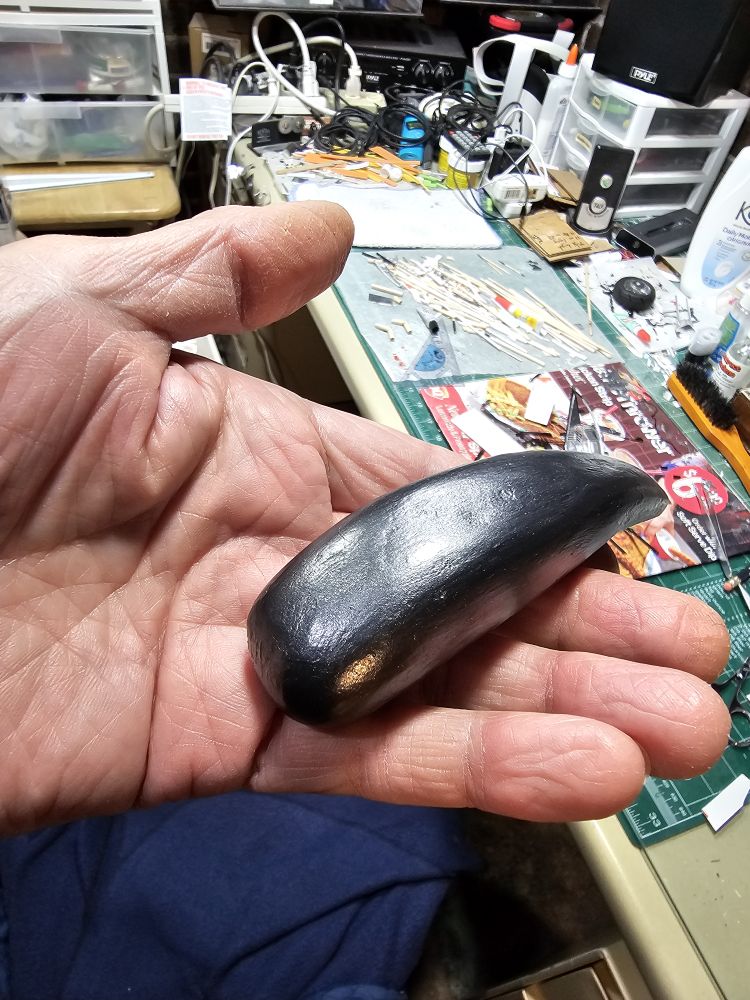
Do you use reference materials, i.e. photos, plans, or your own drawings...
Or is it straight up improv to an image in your head?
Or is it straight up improv to an image in your head?
I originally used photos and/or videos on the net to reference when I first started building motorcycles but anymore, I just start building one and don't reference anything and just see how it turns out. Every model I build turns out different.Do you use reference materials, i.e. photos, plans, or your own drawings...
Or is it straight up improv to an image in your head?
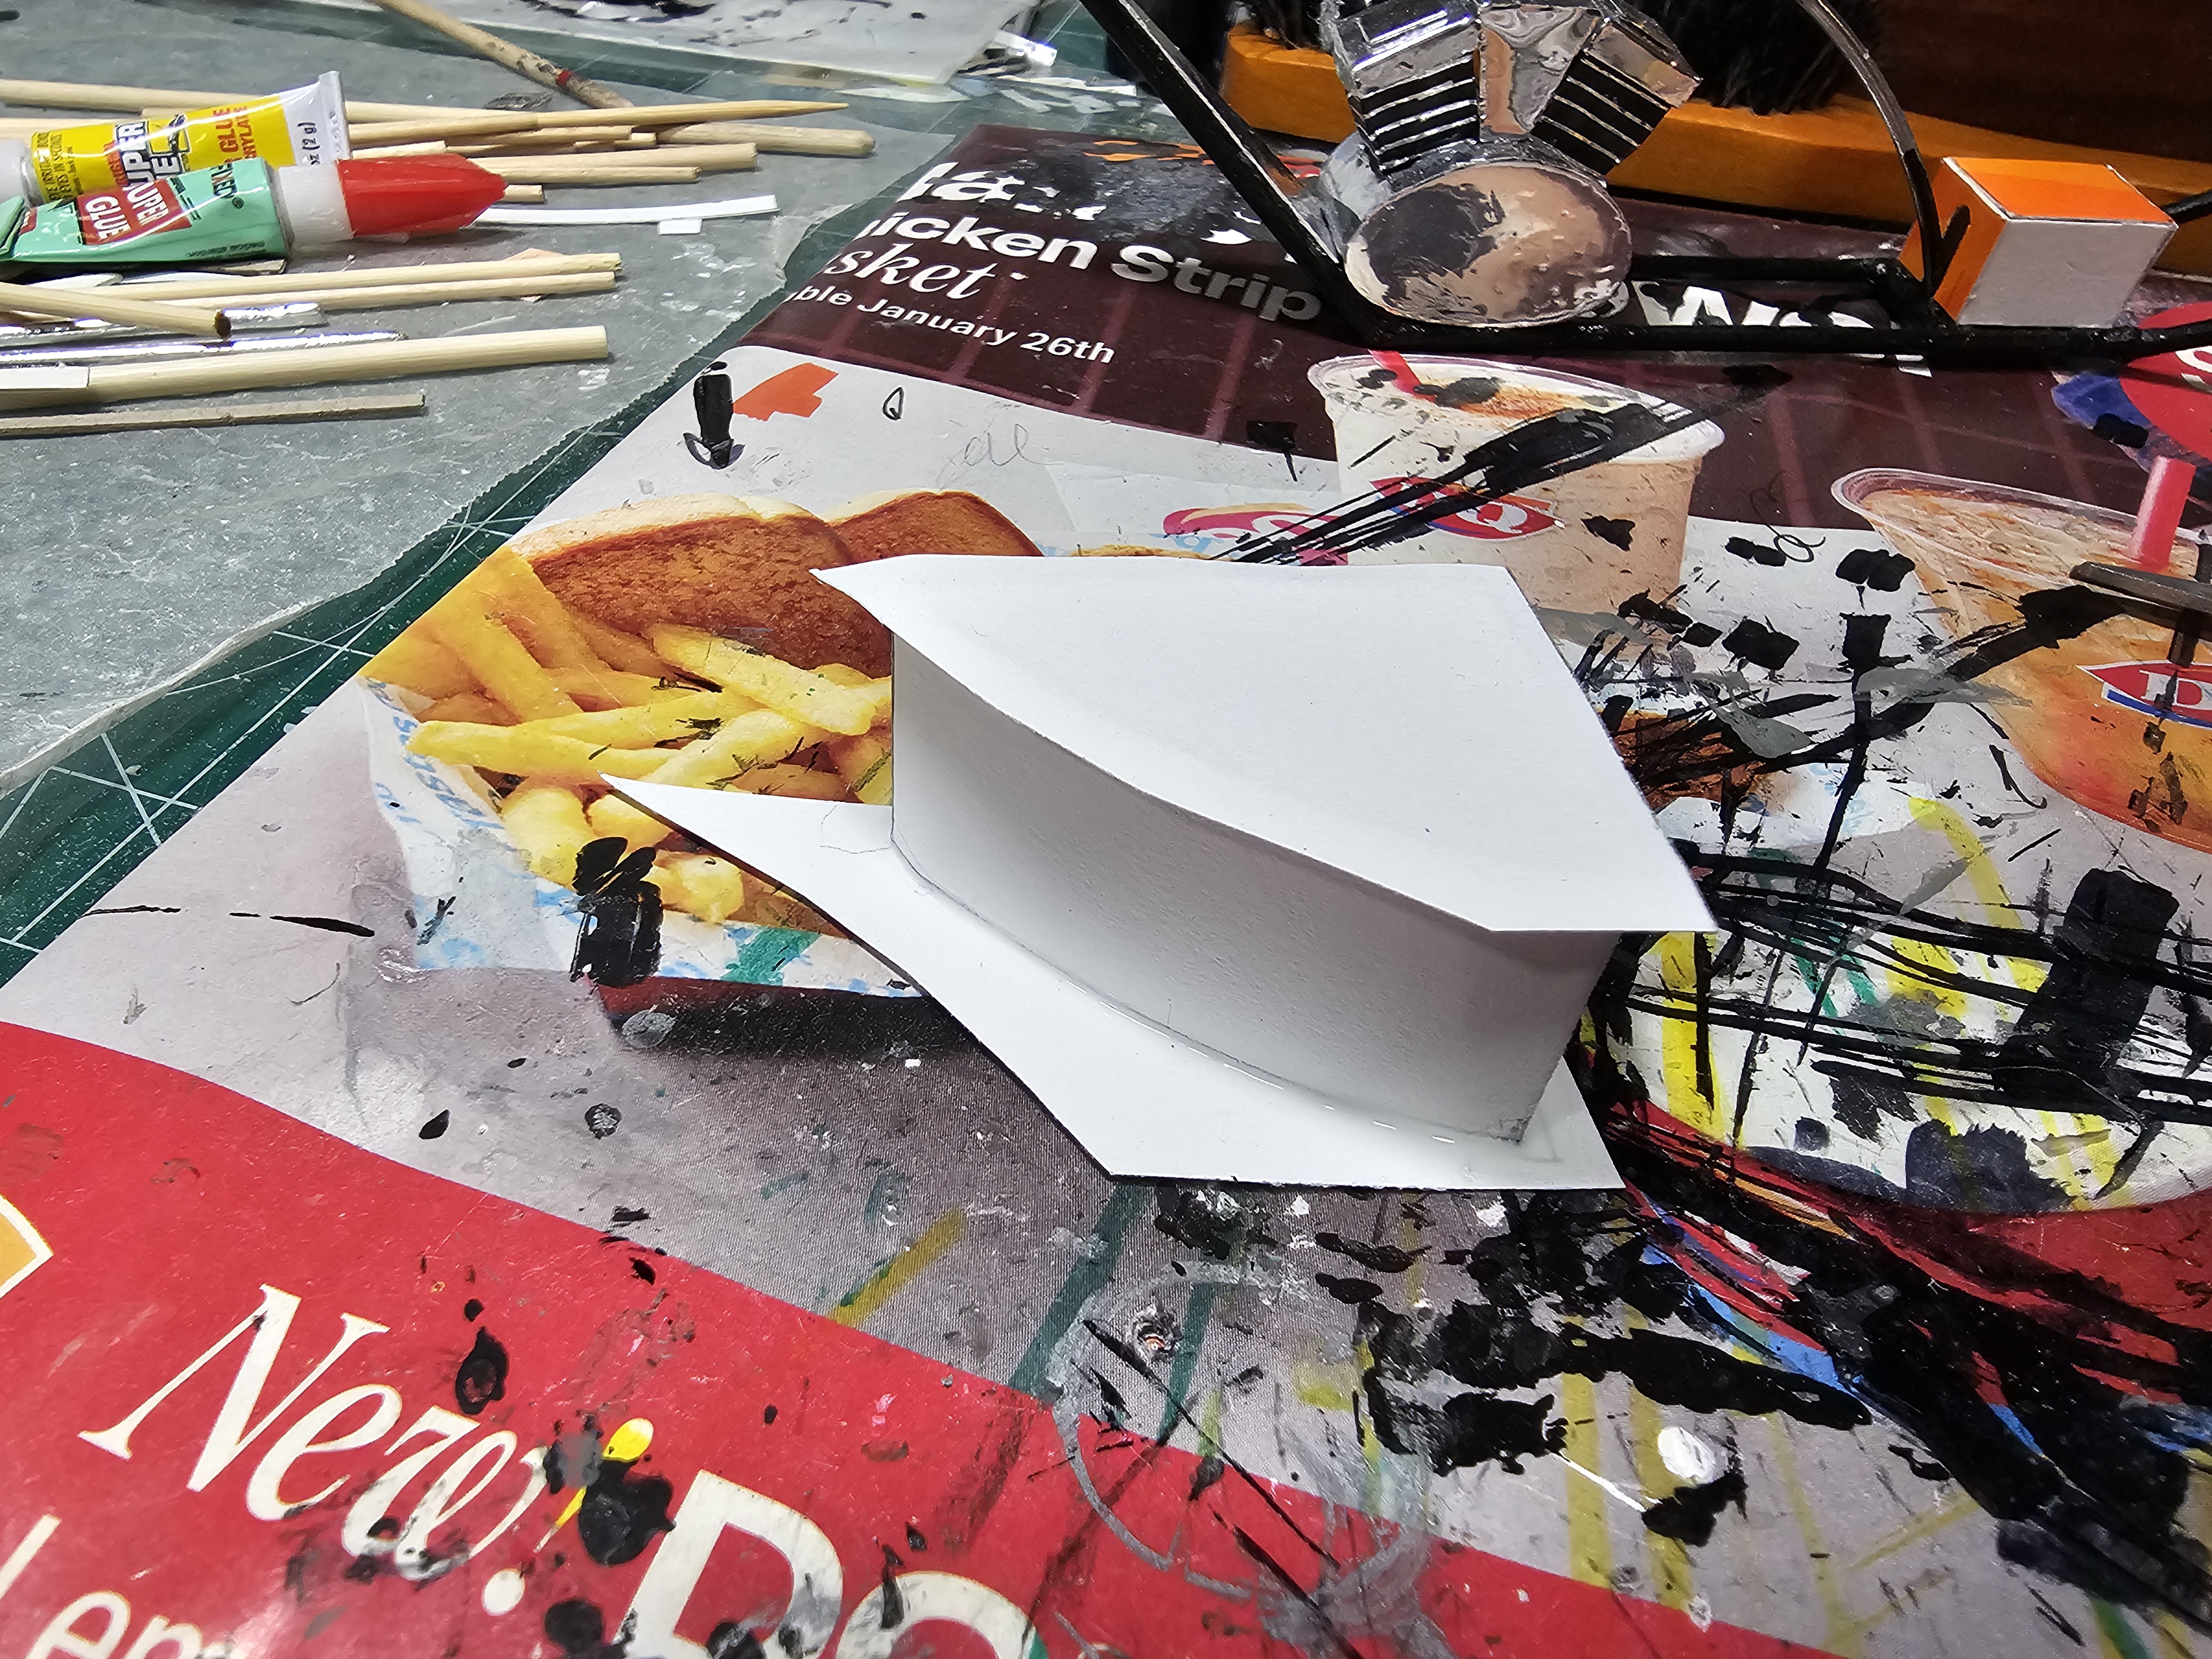
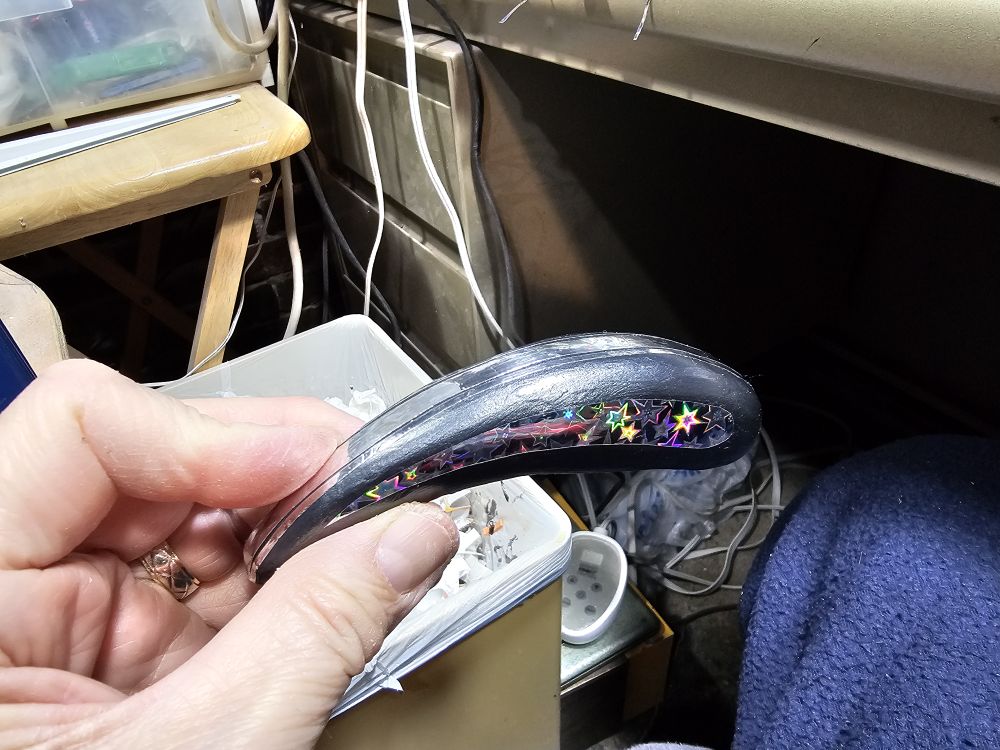
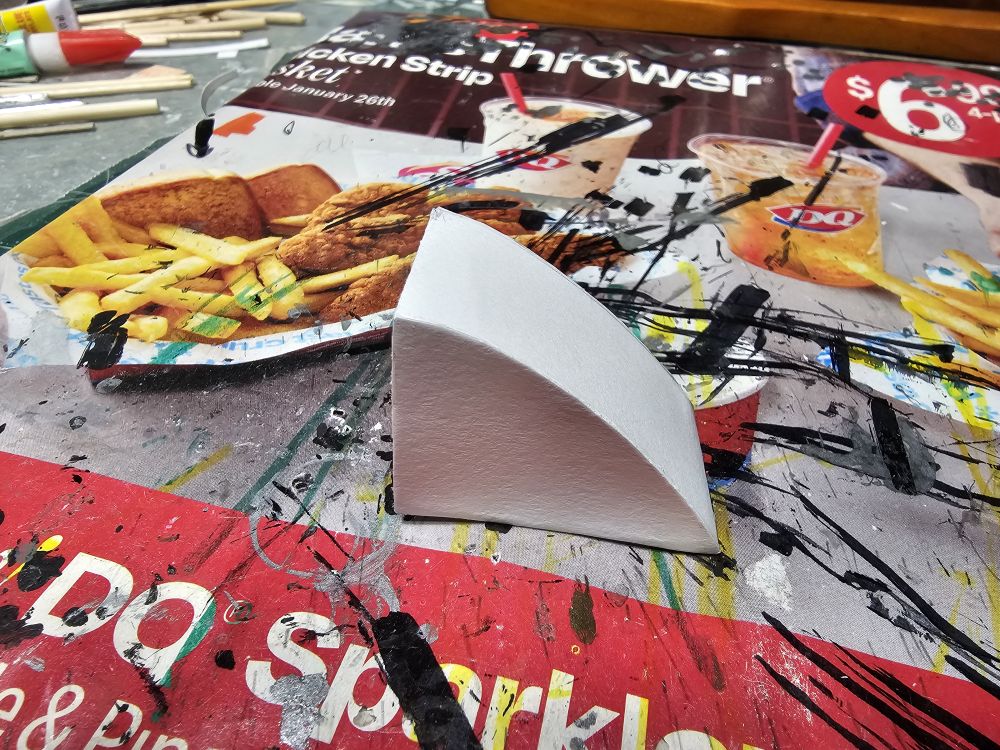
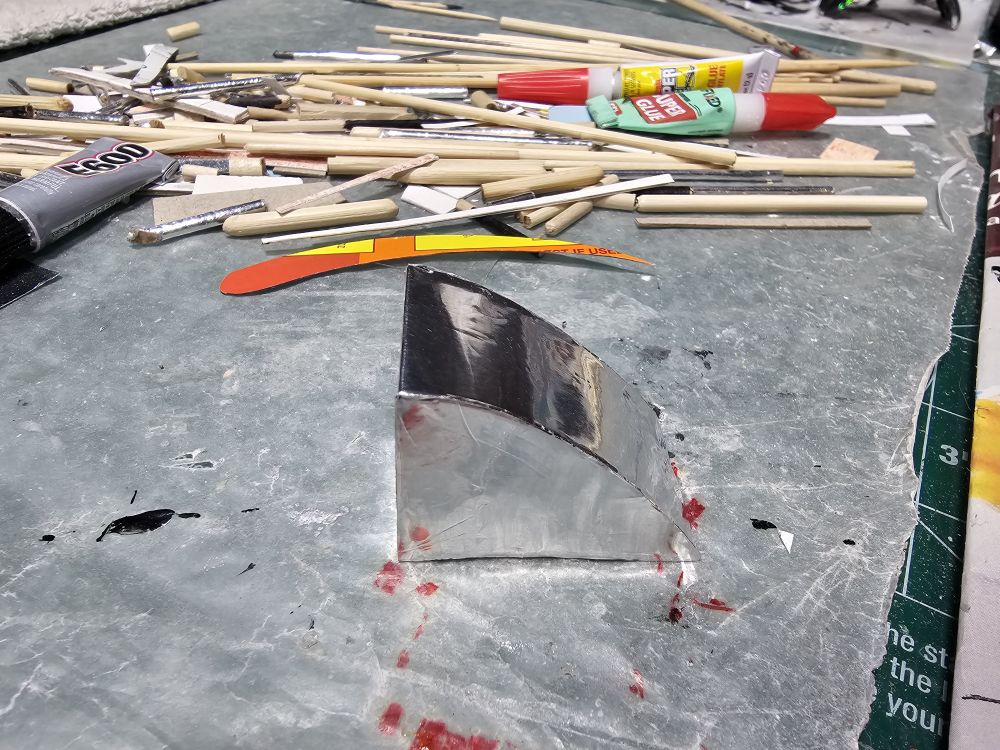
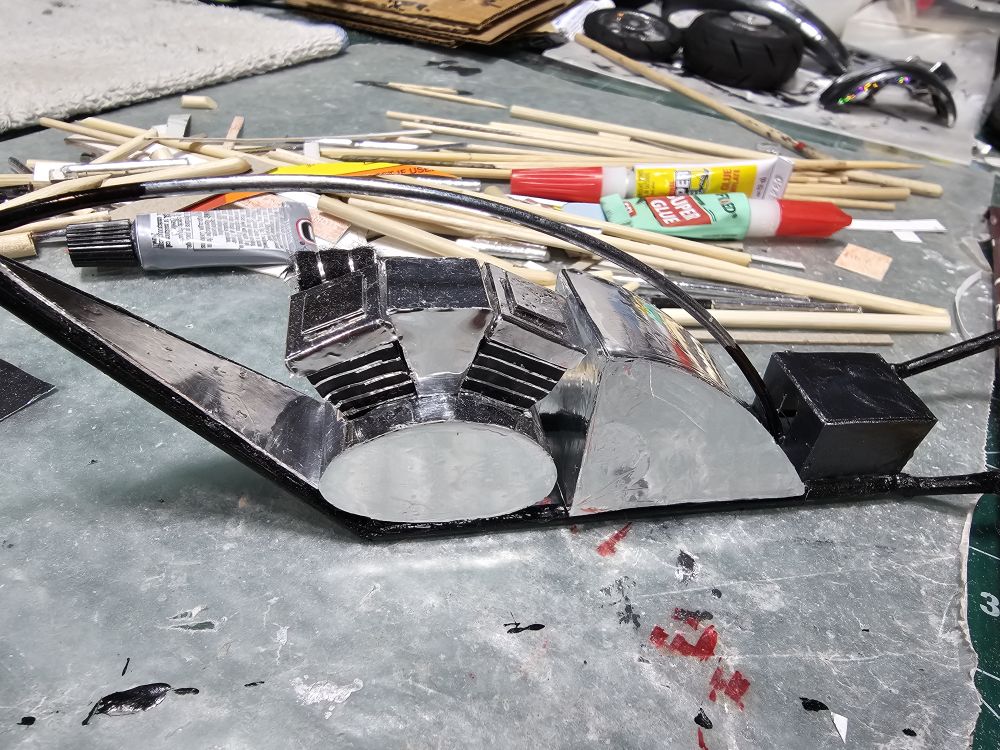
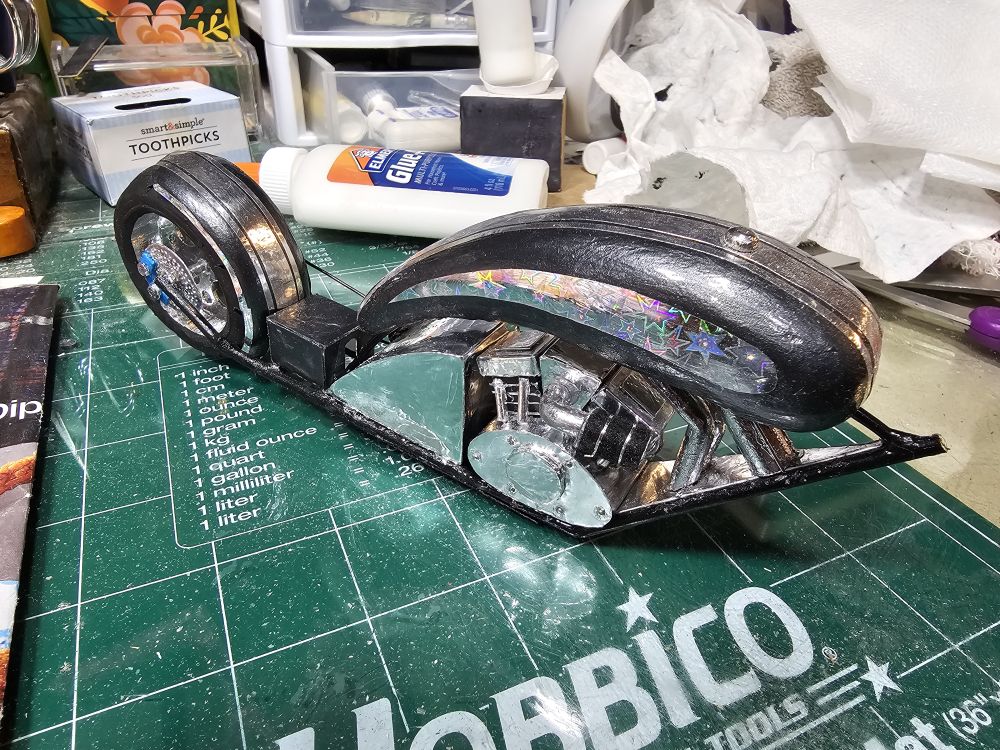
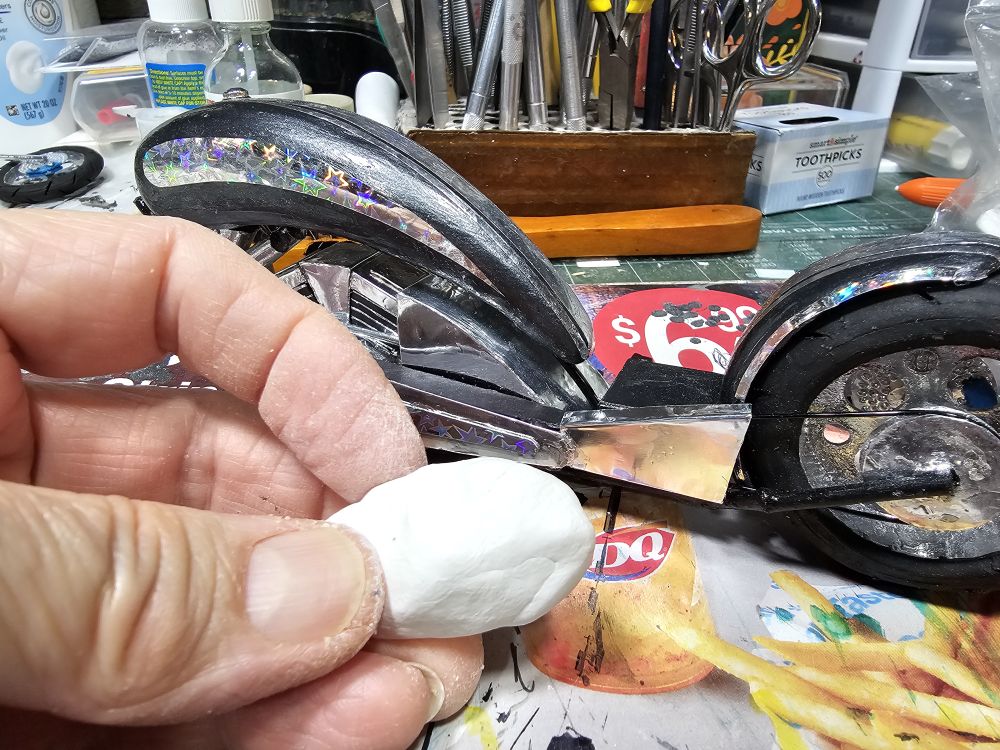
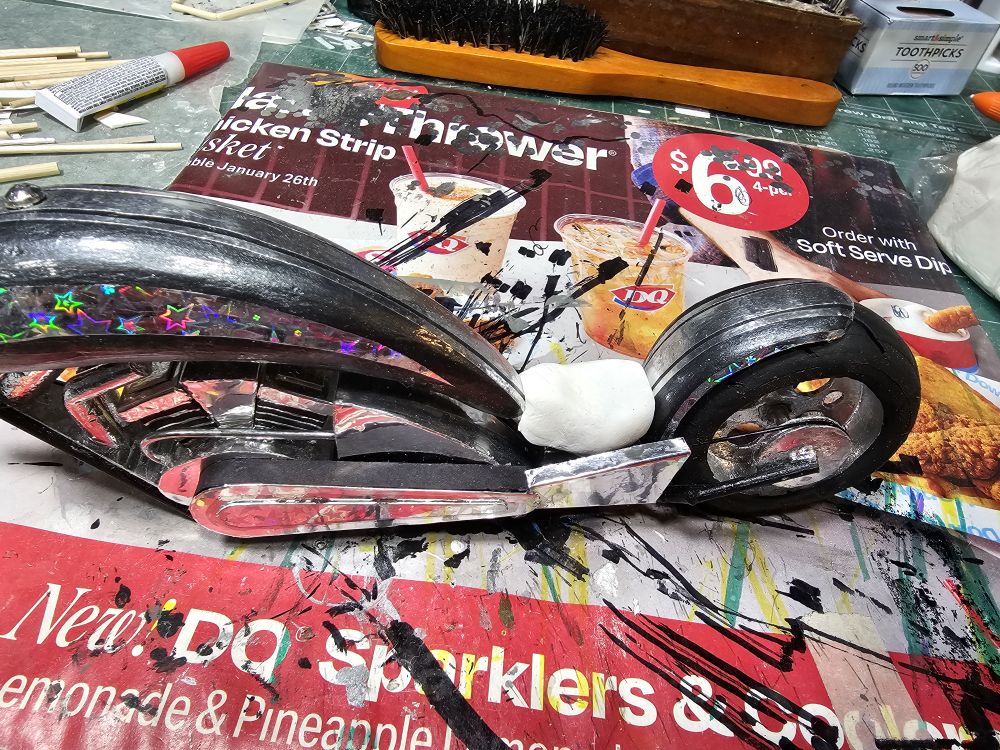
Some more progress on my chopper. Attached the rear wheel, added my own "decals" to the gas tank and back fender. I've been adding some components to the engine area of the bike. I've attached the front wheel to the fork and started on the chain guard housing, plus various other parts.
Mike L.
Mike L.
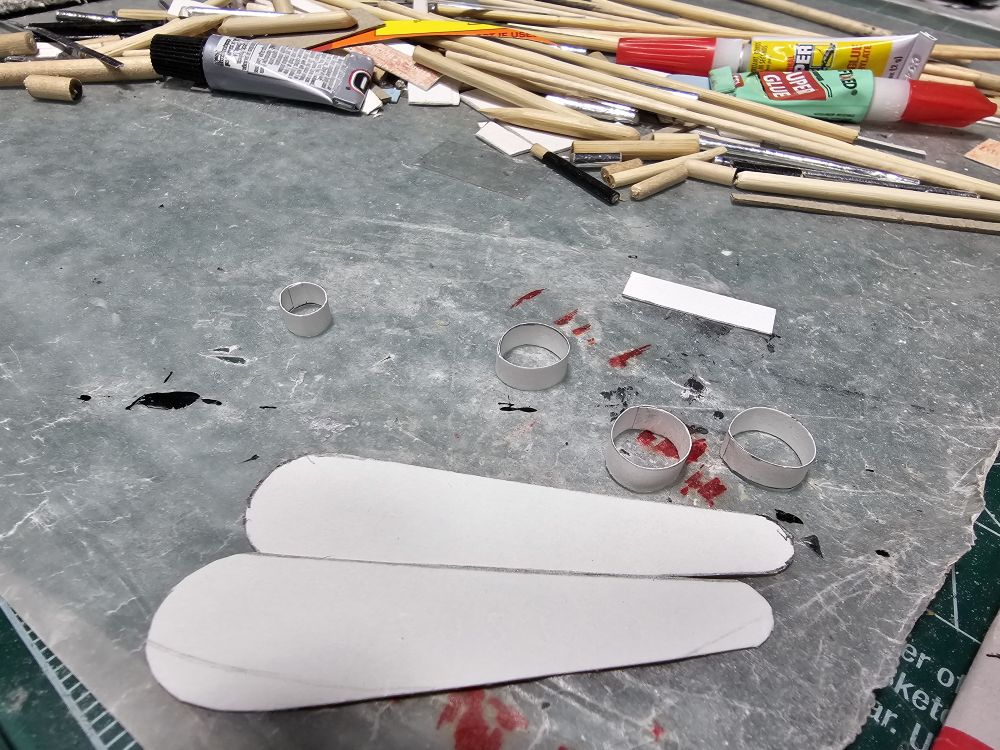
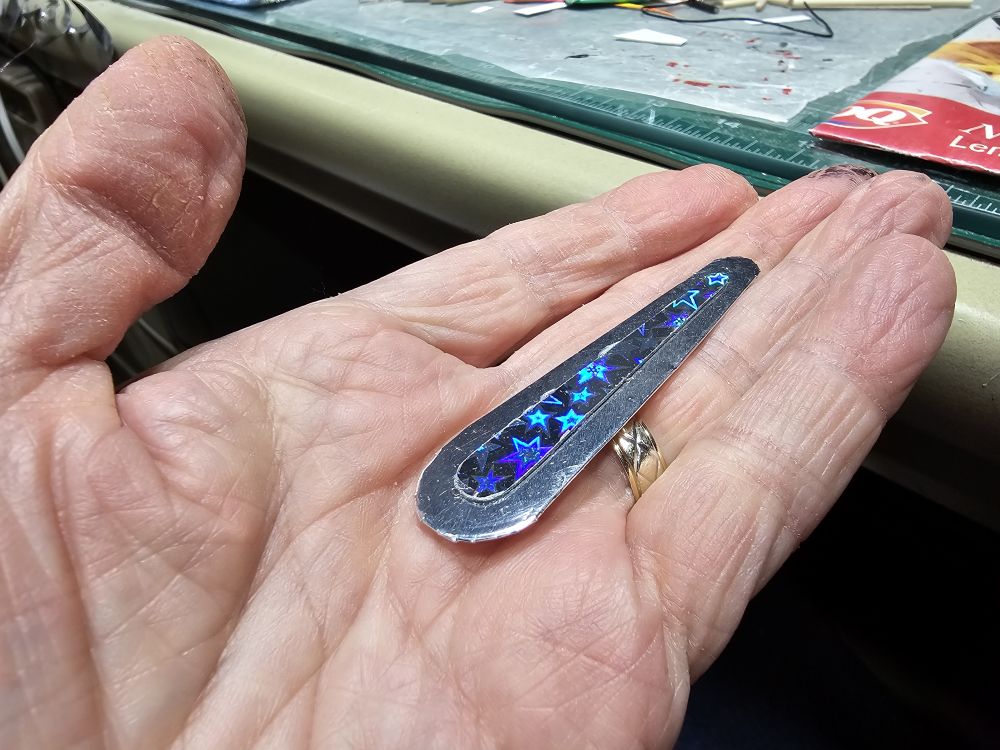
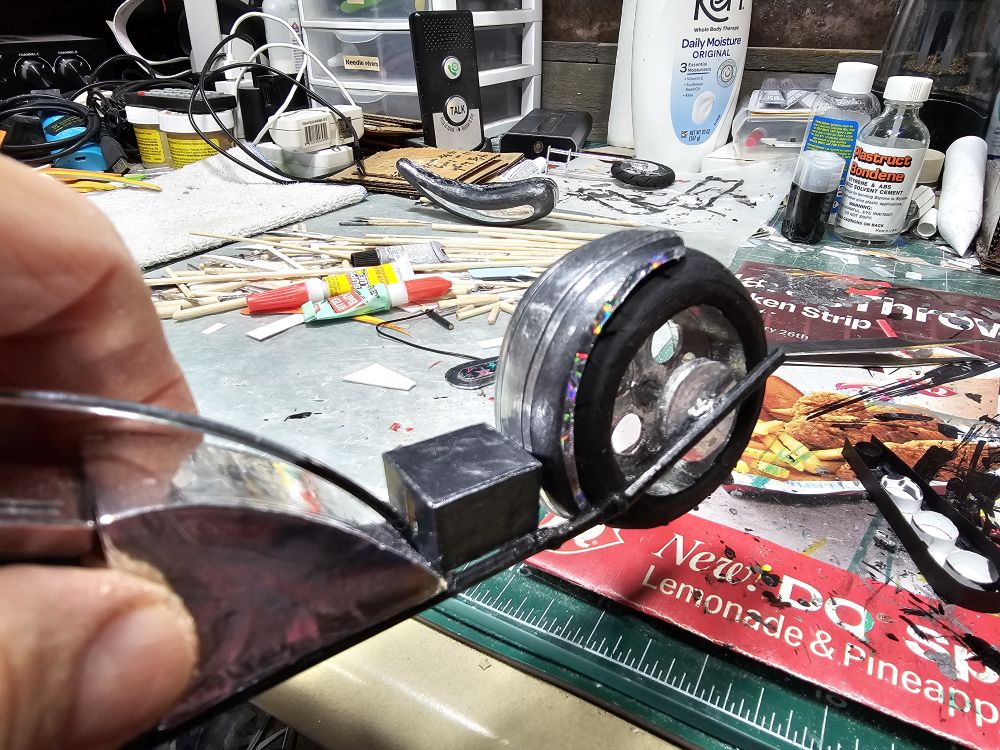
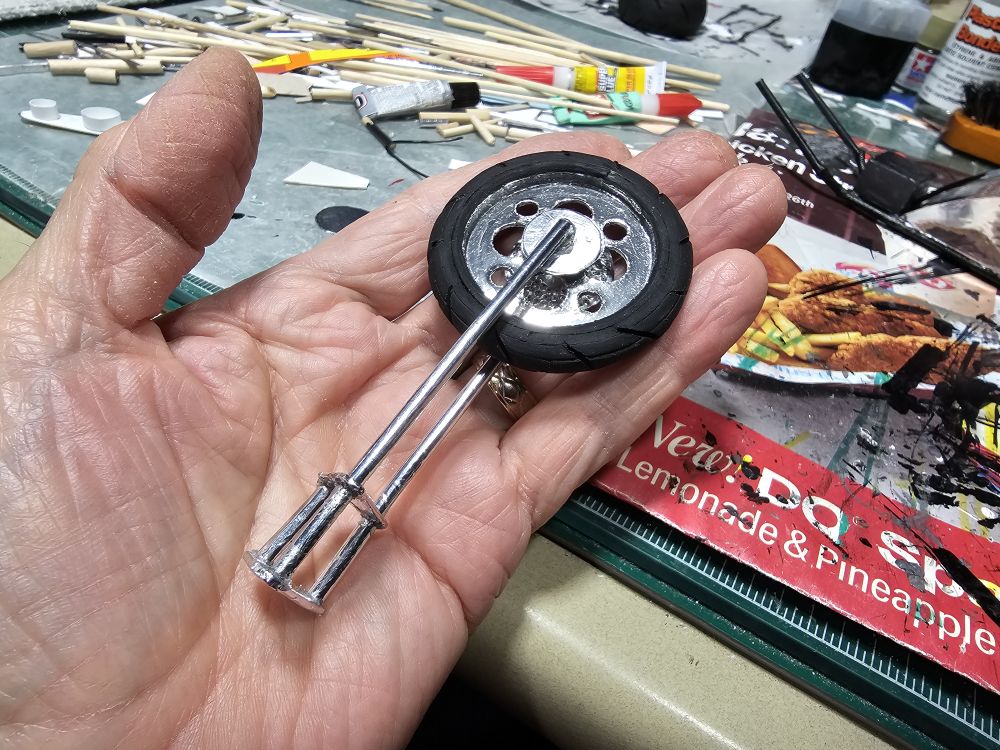

Wow-
These are fantastic photos and "how-to" posts- Thanks for sharing these.
Who needs model kits?! Just a couple of rolls of Plumber's Tape, cardboard boxes (tons of those thanks to the wife's Amazon habit), wooden dowels, foam sheets, some paint, Molotow markers, some air dry clay and a Dremel tool- Oh adding a Helluva lotta talent and there ya go!
It's incredible what you're building with simple materials, really impressive!
These are fantastic photos and "how-to" posts- Thanks for sharing these.
Who needs model kits?! Just a couple of rolls of Plumber's Tape, cardboard boxes (tons of those thanks to the wife's Amazon habit), wooden dowels, foam sheets, some paint, Molotow markers, some air dry clay and a Dremel tool- Oh adding a Helluva lotta talent and there ya go!
It's incredible what you're building with simple materials, really impressive!
Thanks for your kind words! I was afraid that since there's a ton of steps involved in making these models to the level of accuracy that I want, that maybe a lot of people would be bored with seeing all this and lose interest. Maybe those few of you like yourself might get something out of this and perhaps try your luck at building a model from scratch. Like you said, who needs to spend money on plastic models if you've already got the stuff at home to build your own! Happy building!Wow-
These are fantastic photos and "how-to" posts- Thanks for sharing these.
Who needs model kits?! Just a couple of rolls of Plumber's Tape, cardboard boxes (tons of those thanks to the wife's Amazon habit), wooden dowels, foam sheets, some paint, Molotow markers, some air dry clay and a Dremel tool- Oh adding a Helluva lotta talent and there ya go!
It's incredible what you're building with simple materials, really impressive!
Mike L.

Never bored with watching a build, i make a lot of stuff from plastic stock so this is very interesting.Thanks for your kind words! I was afraid that since there's a ton of steps involved in making these models to the level of accuracy that I want, that maybe a lot of people would be bored with seeing all this and lose interest. Maybe those few of you like yourself might get something out of this and perhaps try your luck at building a model from scratch. Like you said, who needs to spend money on plastic models if you've already got the stuff at home to build your own! Happy building!
Mike L.
That's great, like I said if someone benefits from my scratch build progress then at least I've helped somebody be more creative. Happy building!Never bored with watching a build, i make a lot of stuff from plastic stock so this is very interesting.
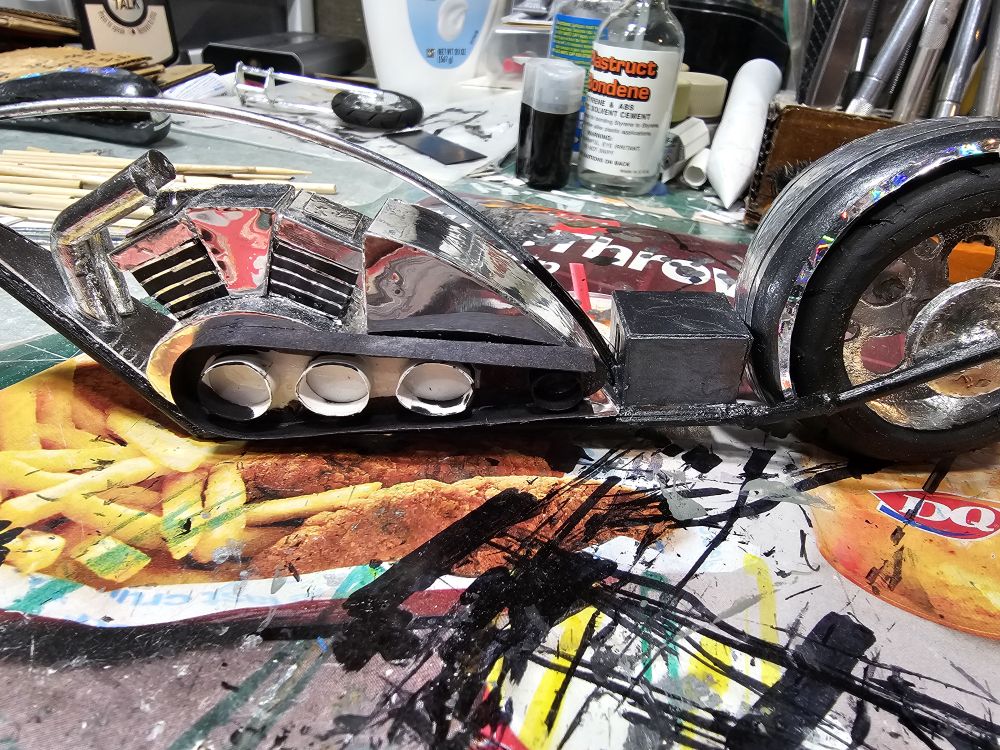
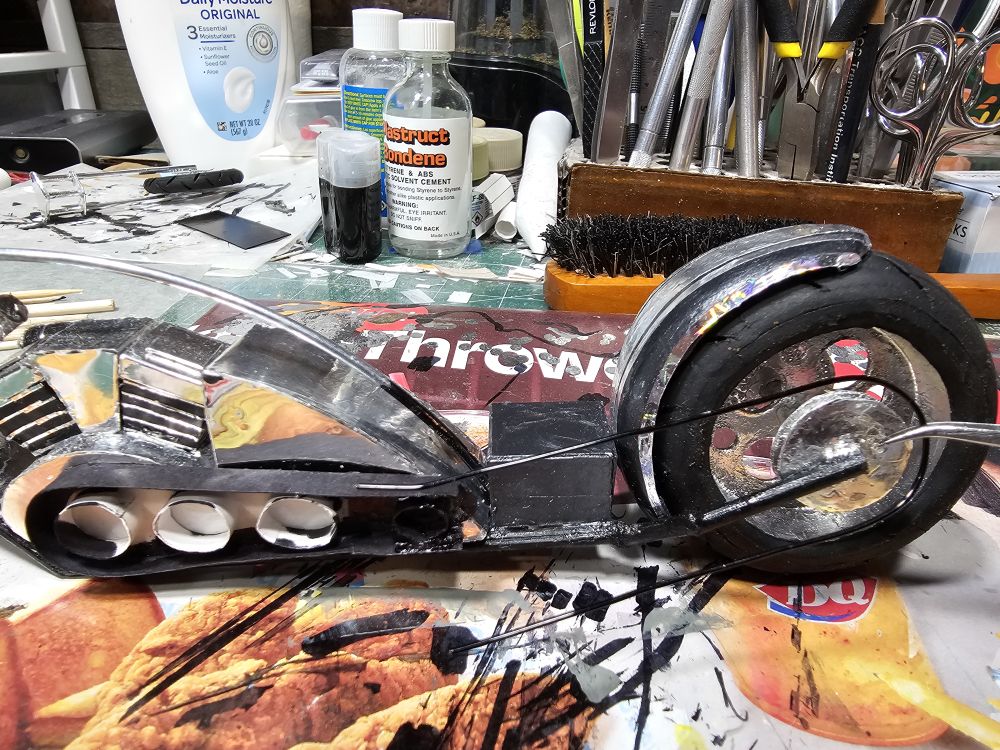
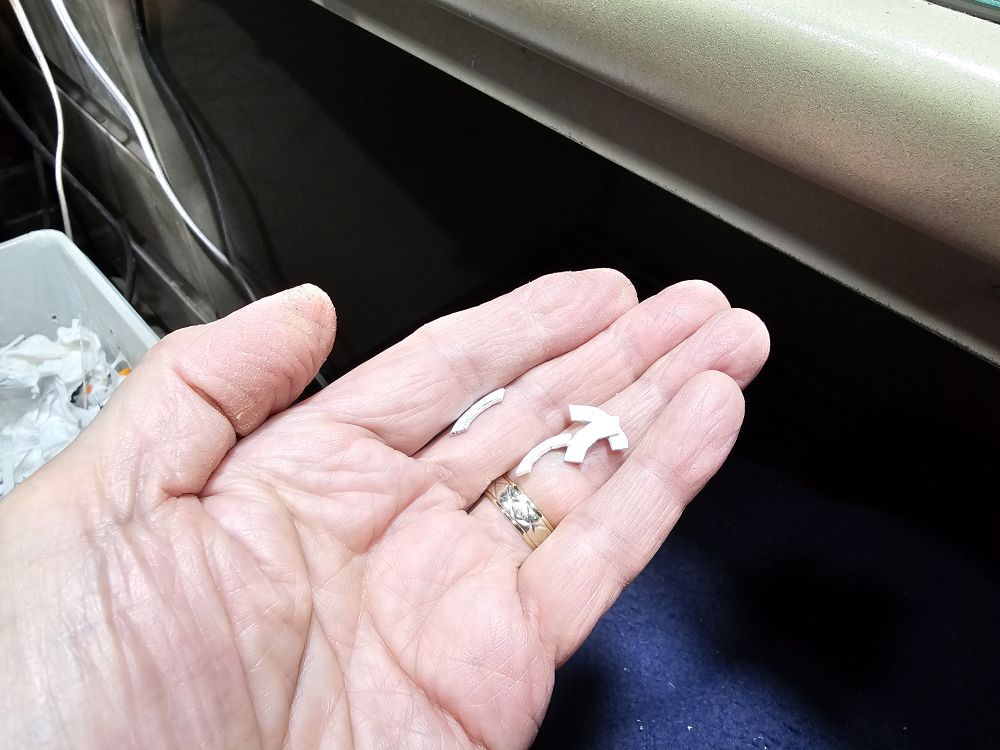
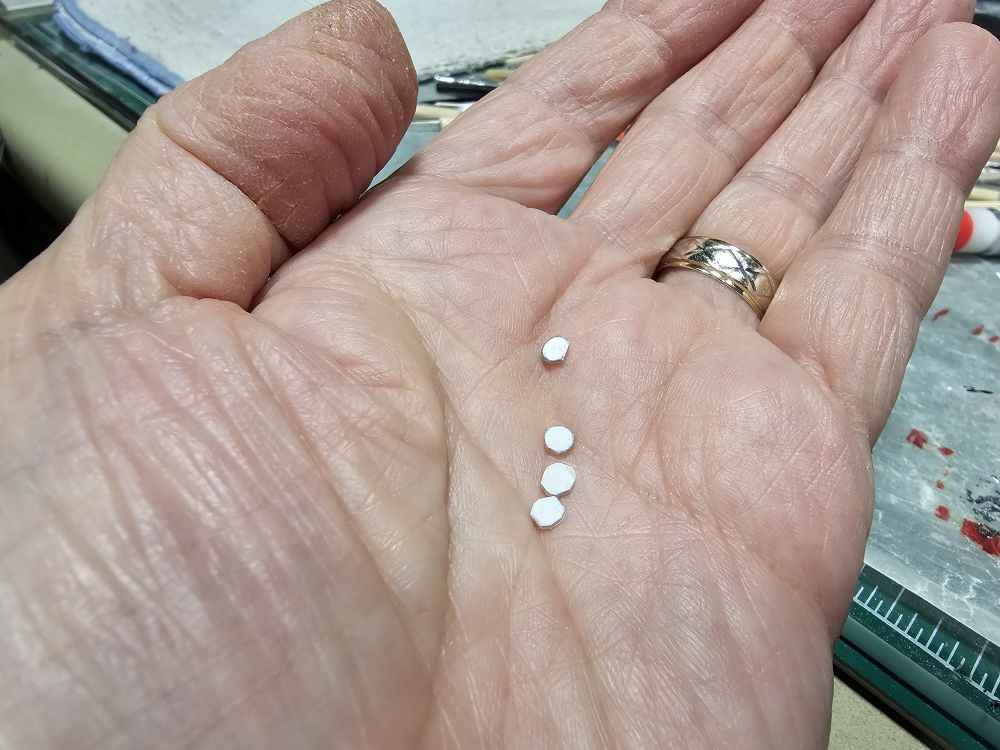
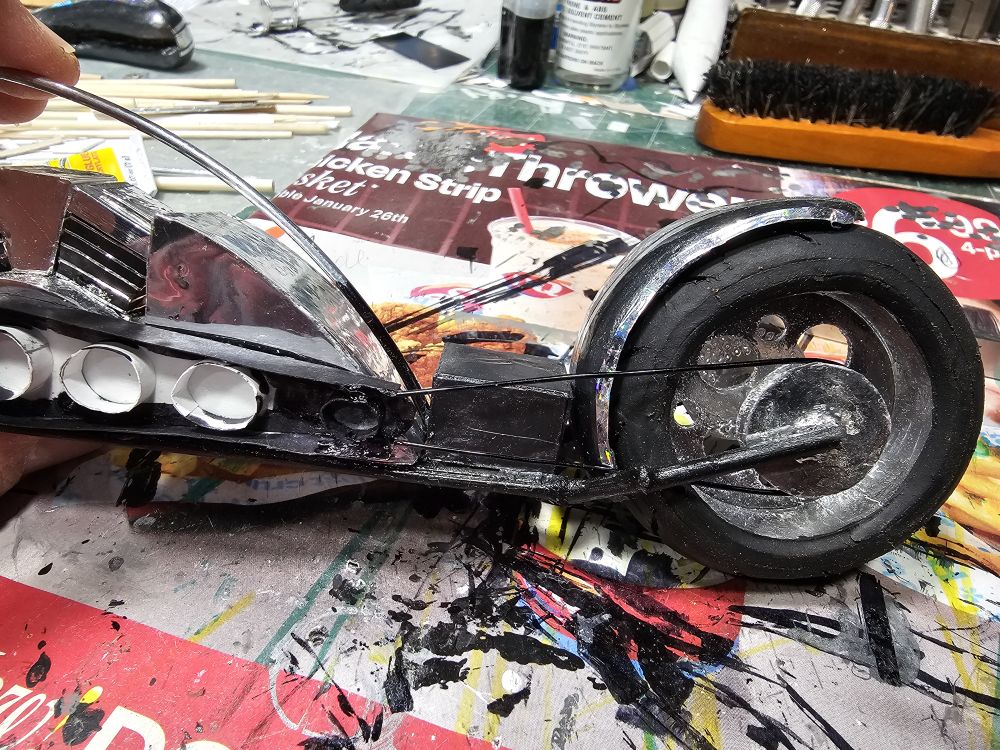
Oh yeah! Night at the Improv.Hope you guys are enjoying this

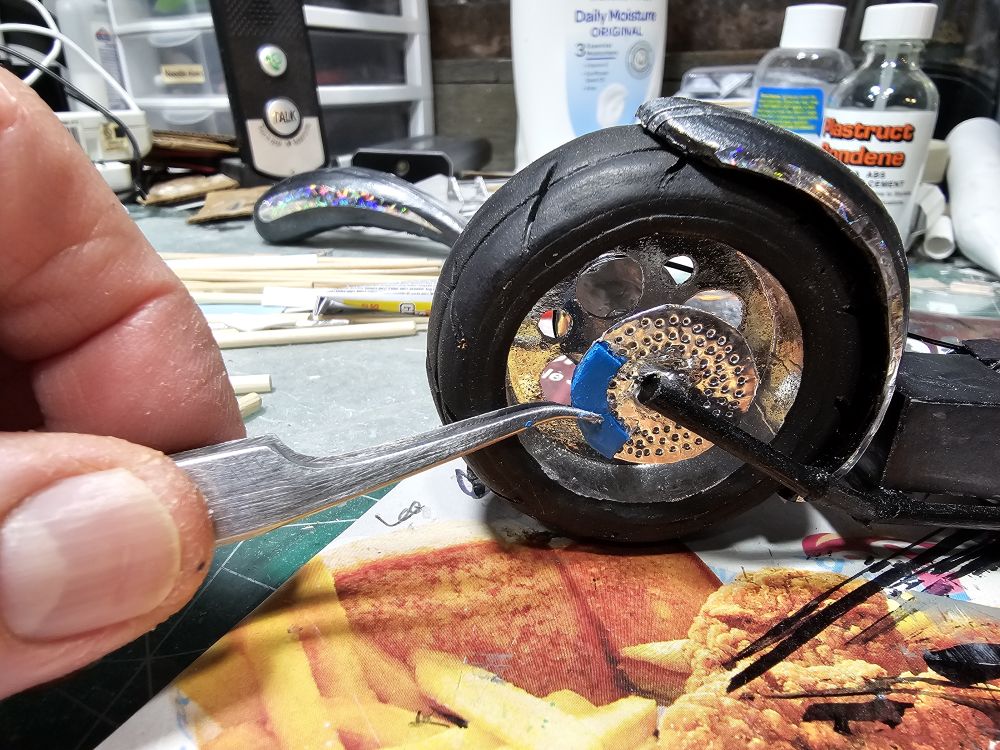
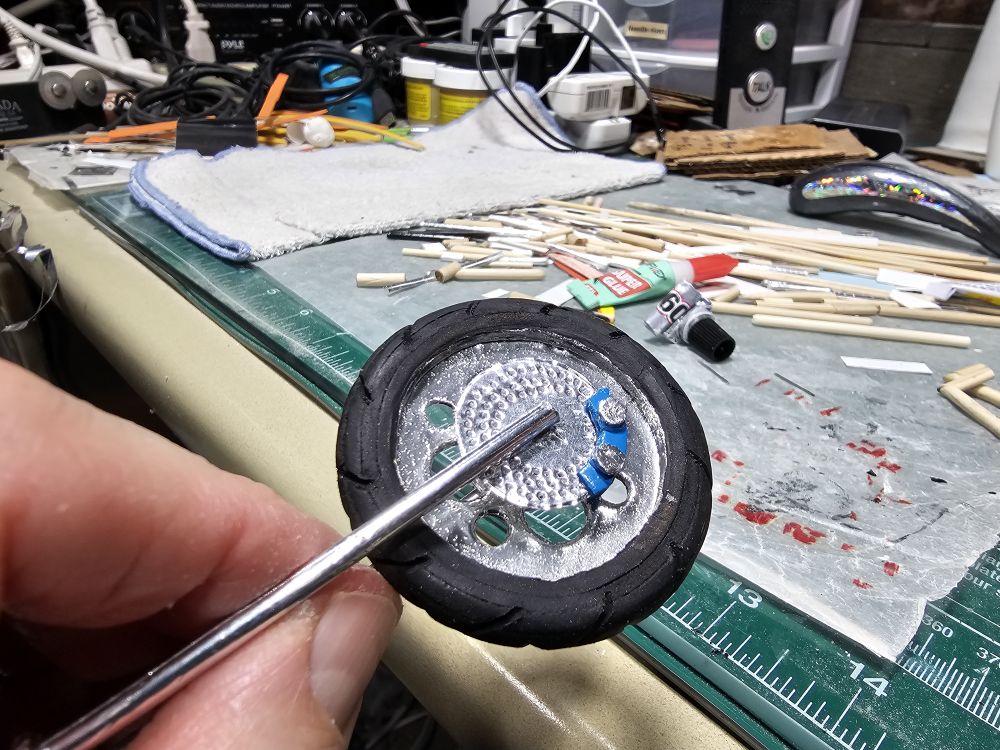
More build progress. Attached the brake pads to the disc brakes. Started work on the front headlight using aluminum foil and air drying clay. Did some more work with the exhaust pipes. I know this is long and drawn out but I warned you guys that this was going to last a couple of weeks or more. Hopefully some of you are getting some enjoyment out of this and maybe some helpful ways to learn scratch building.
Mike L.
Mike L.
Attachments
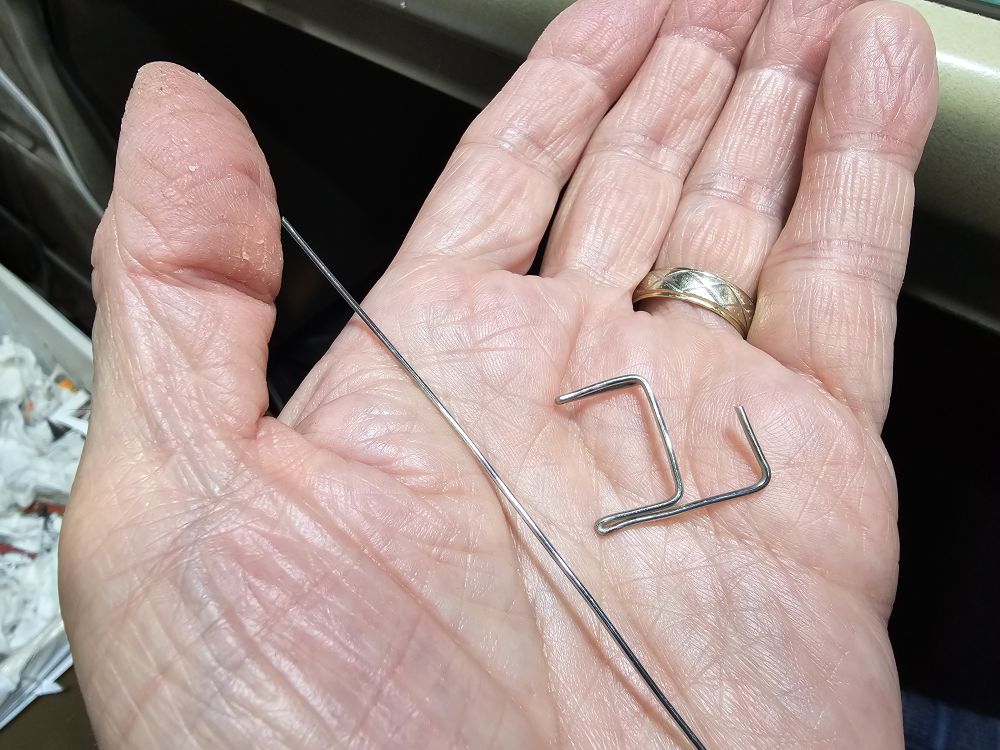
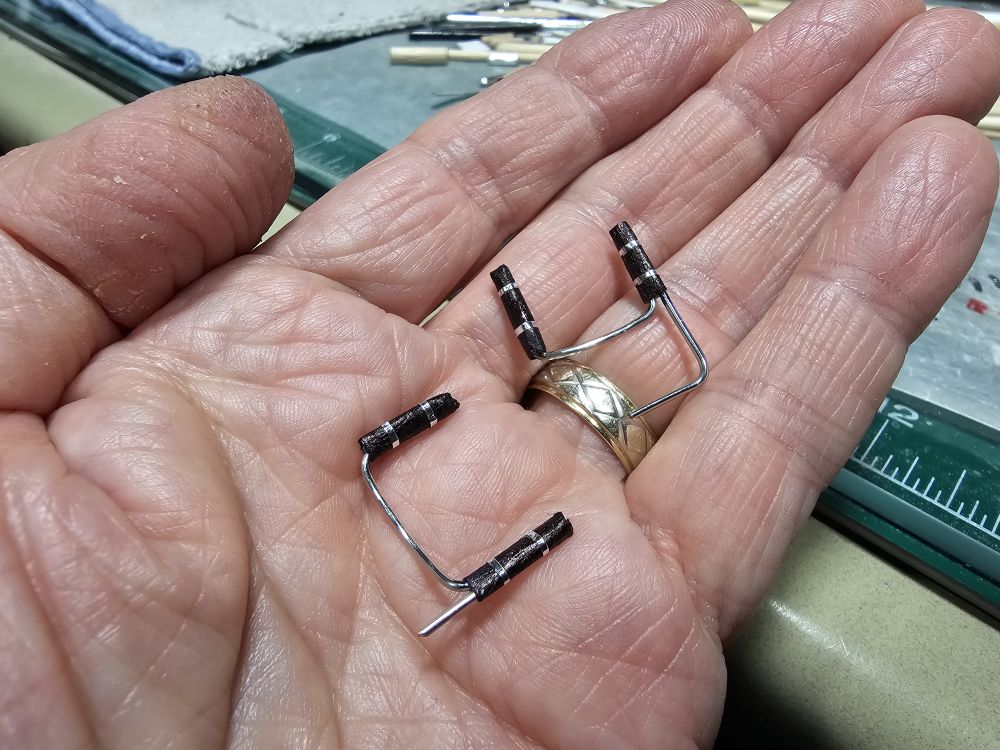
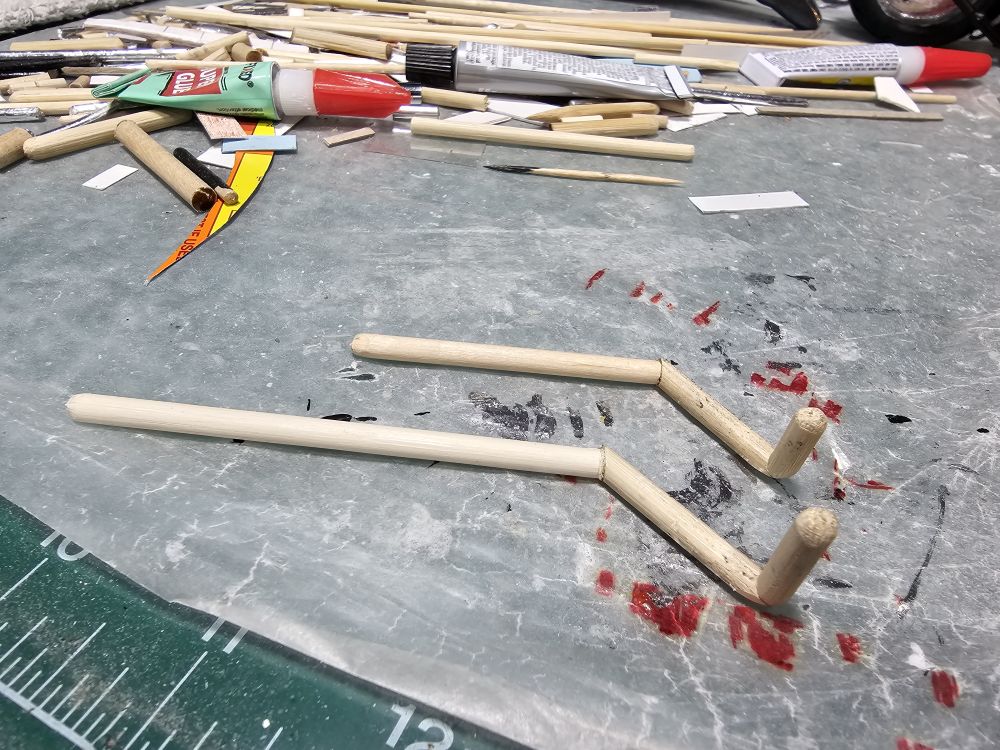
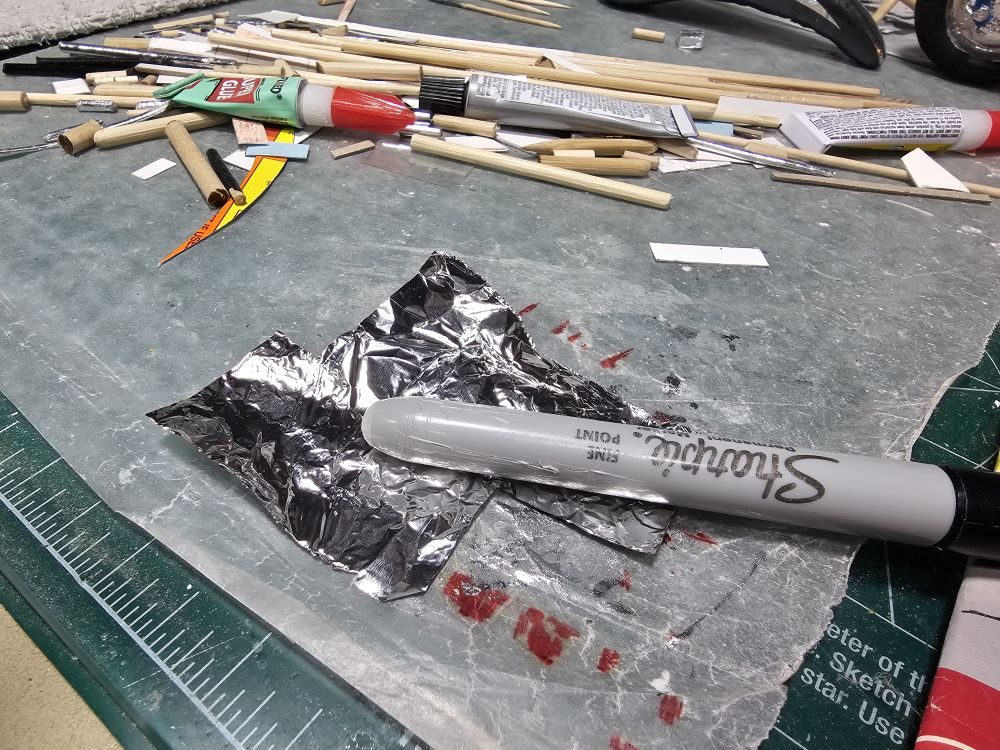
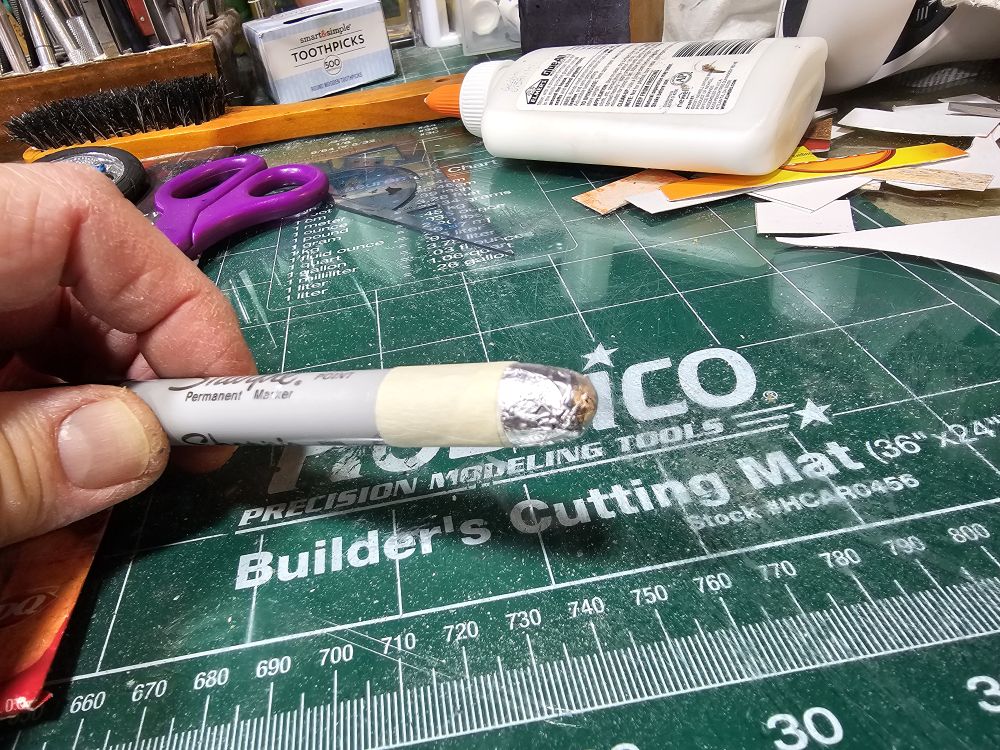
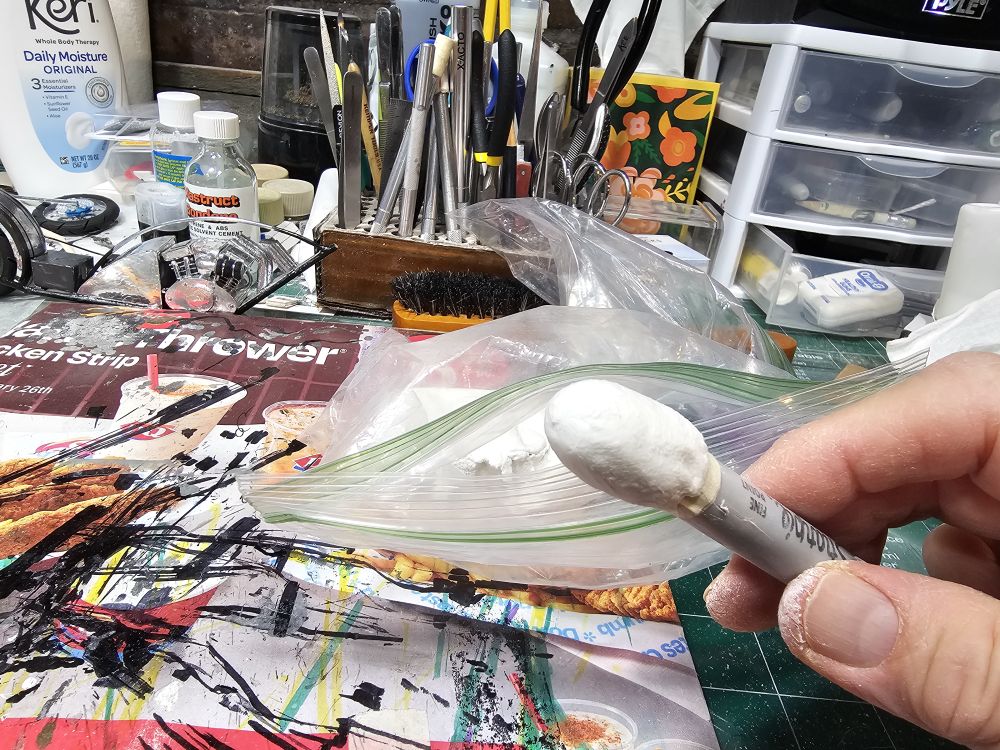
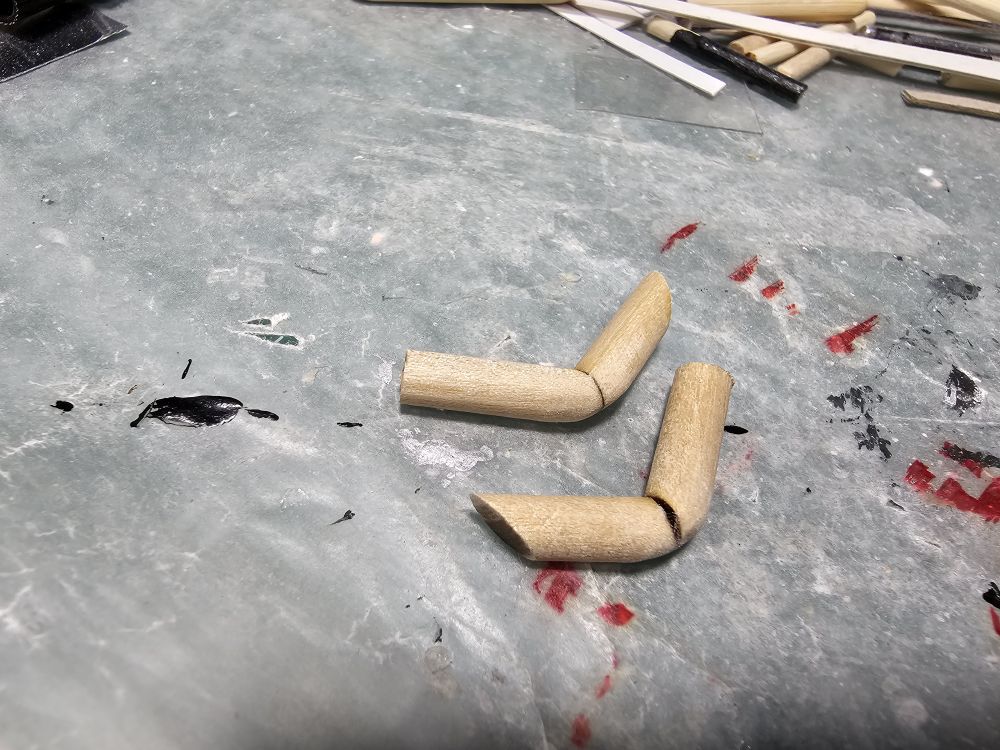
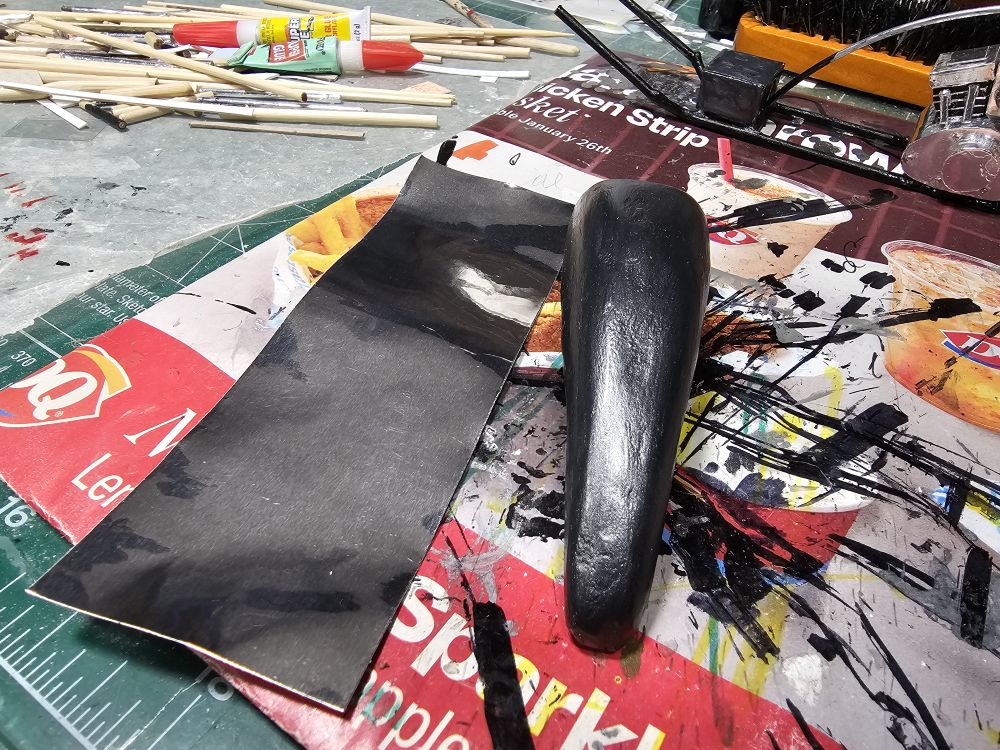
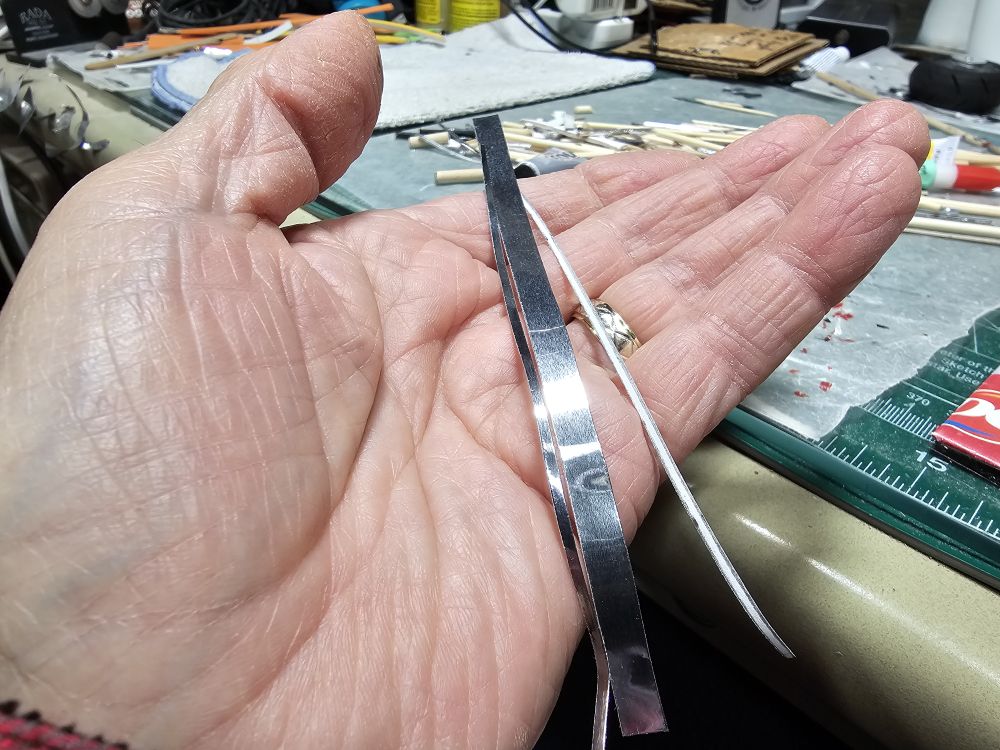
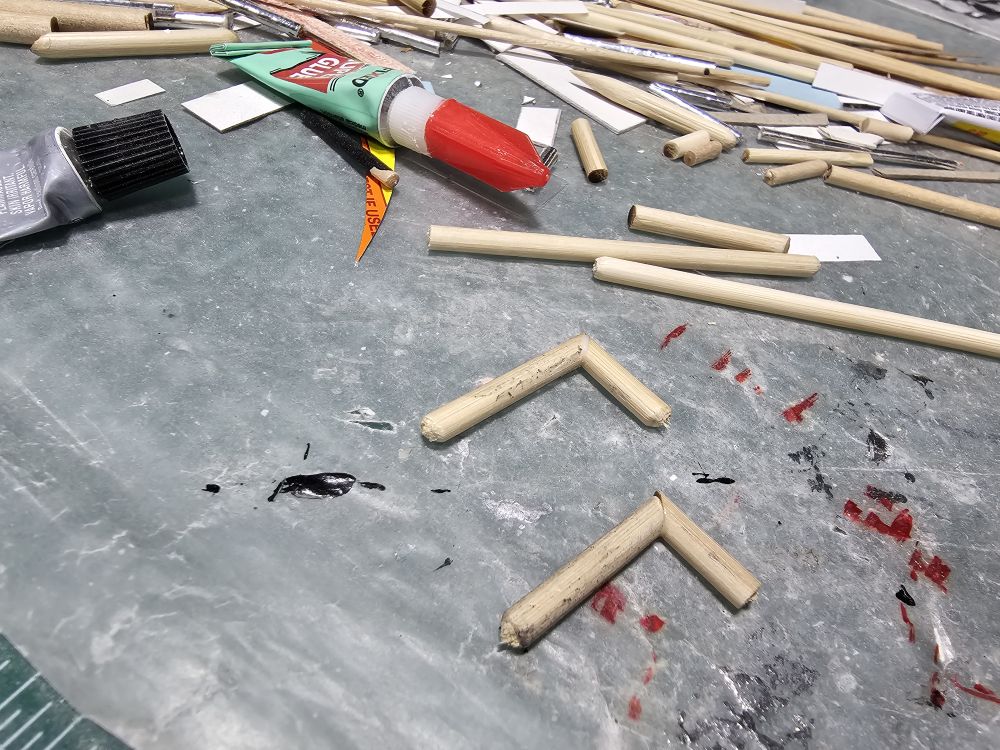
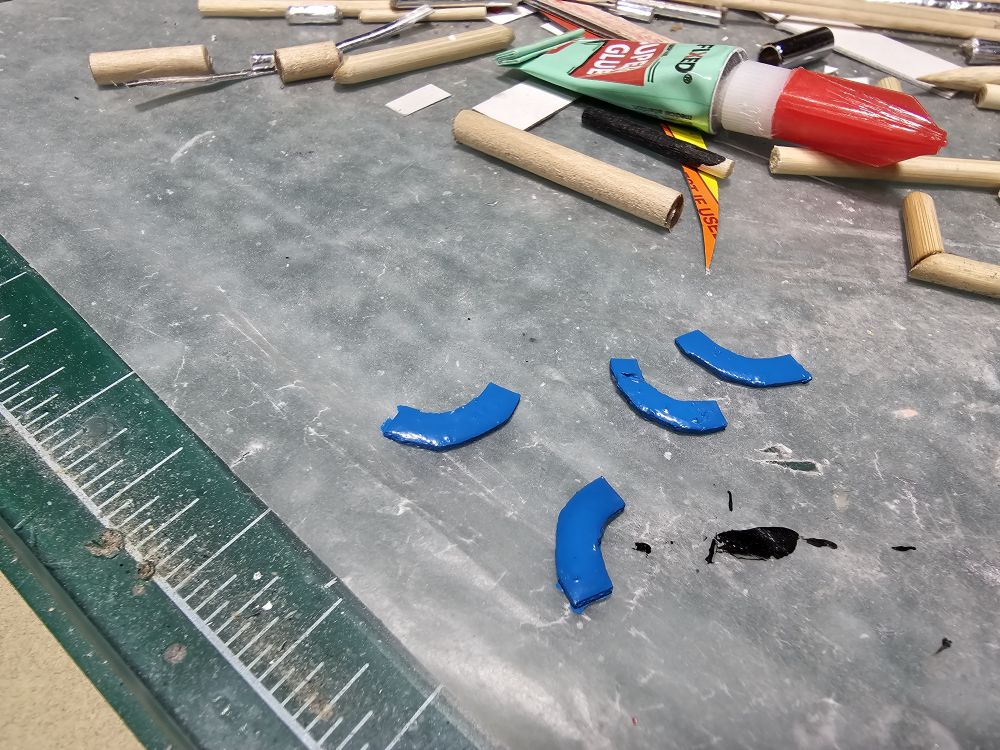
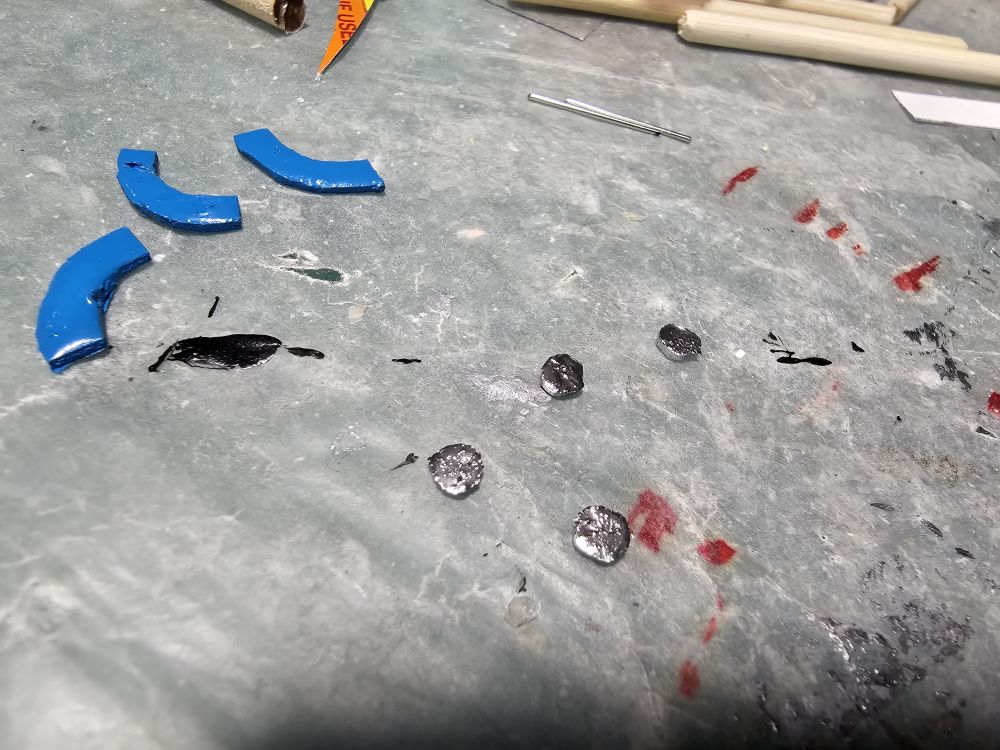
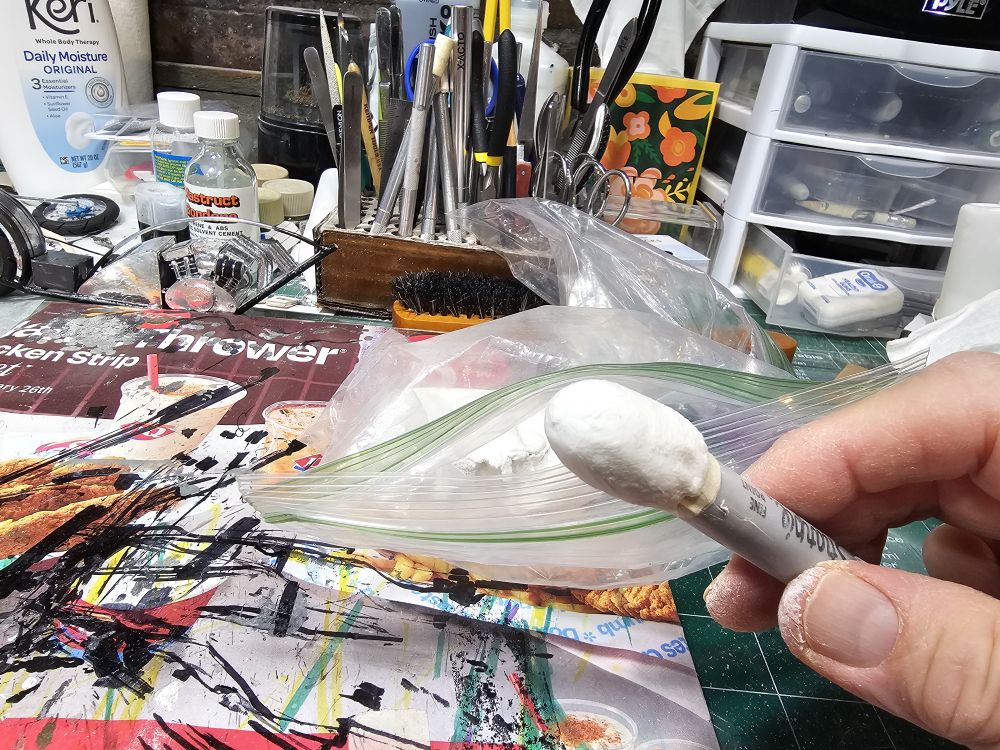
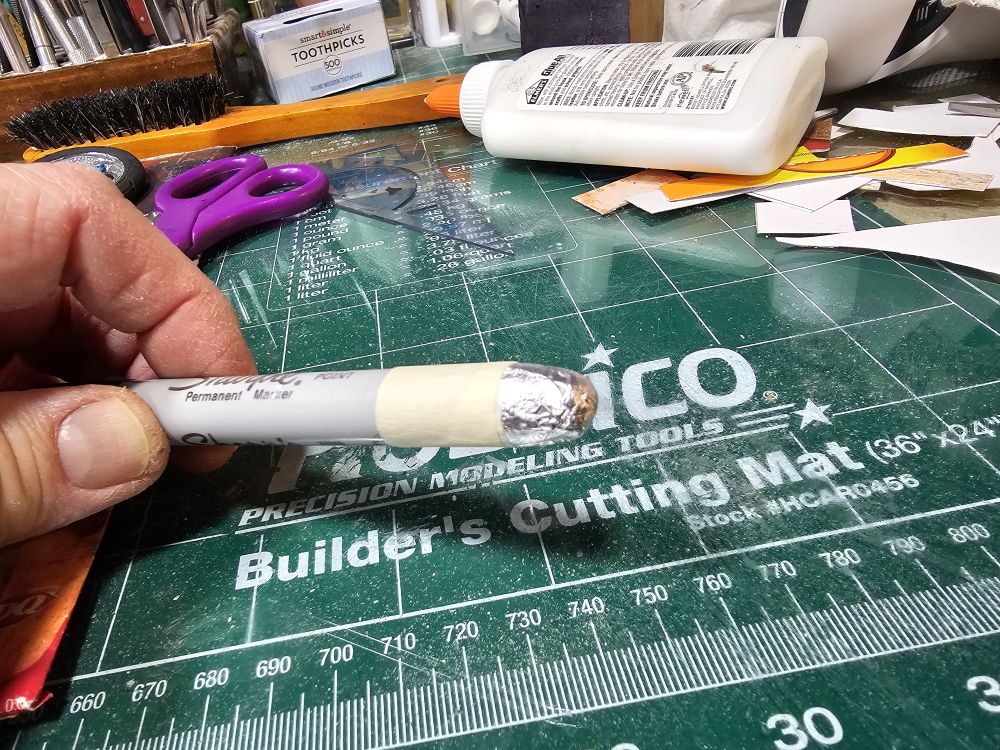
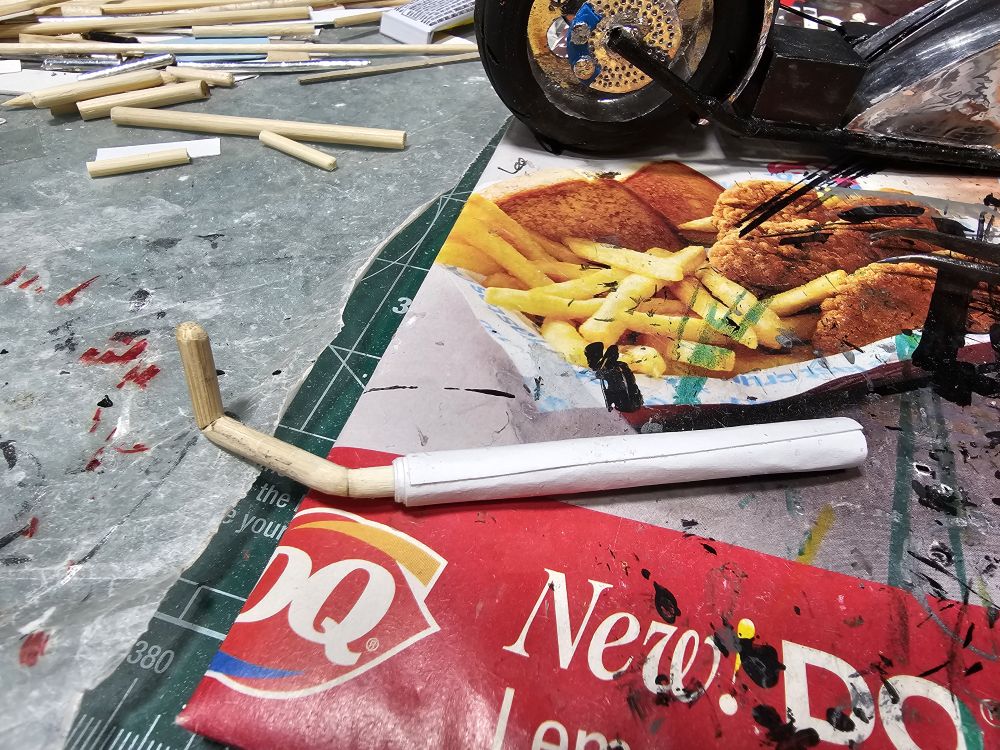
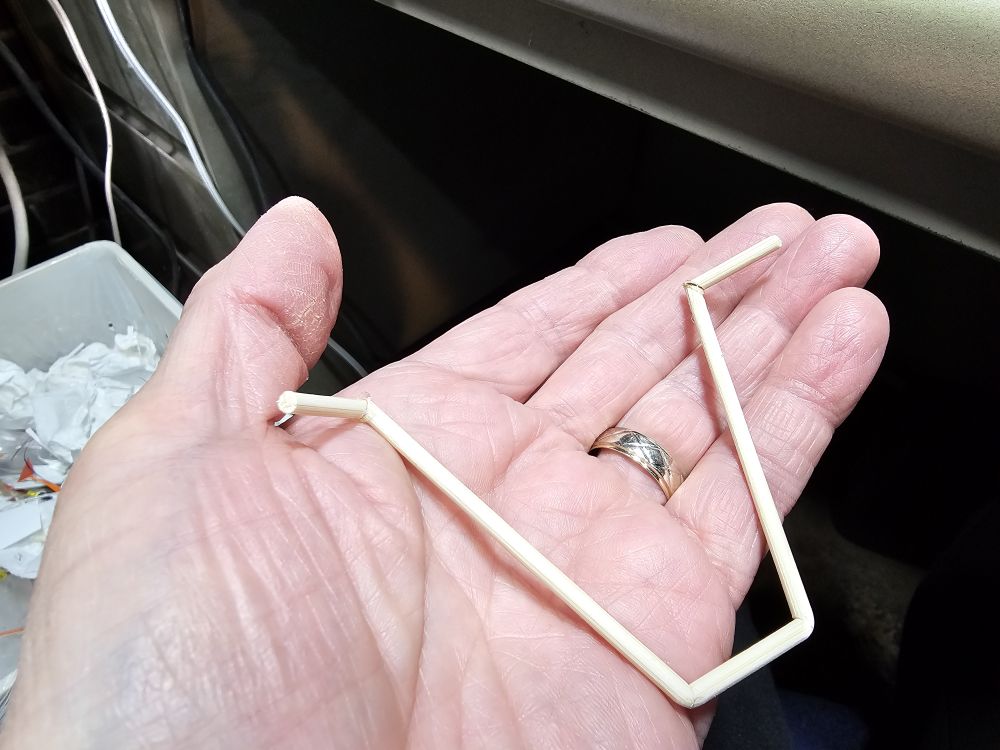
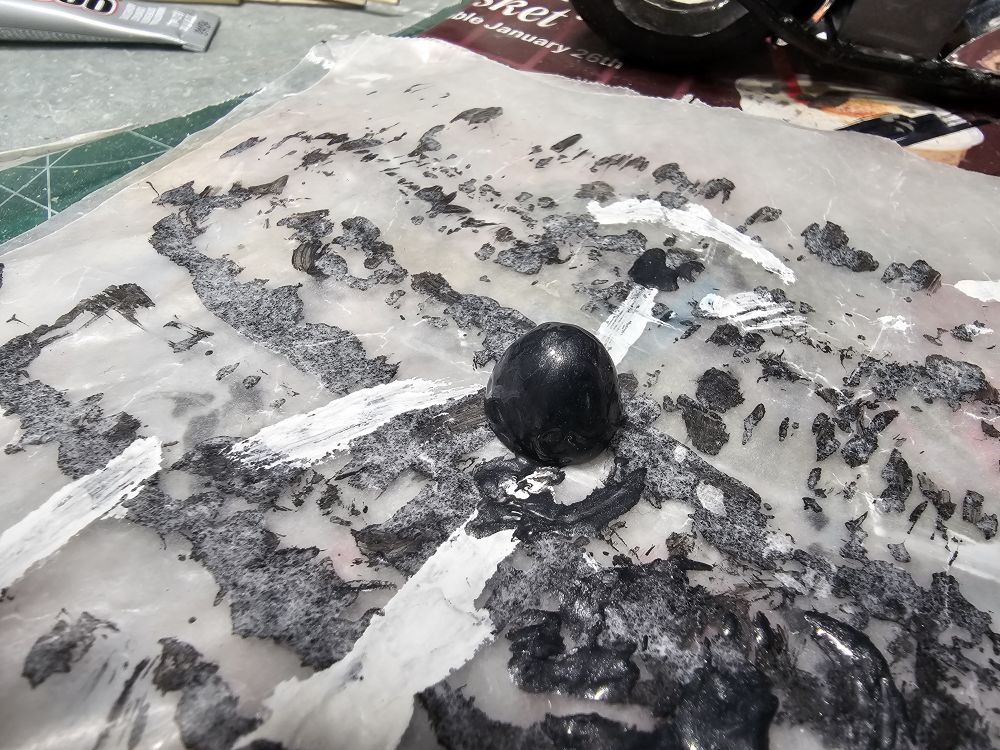
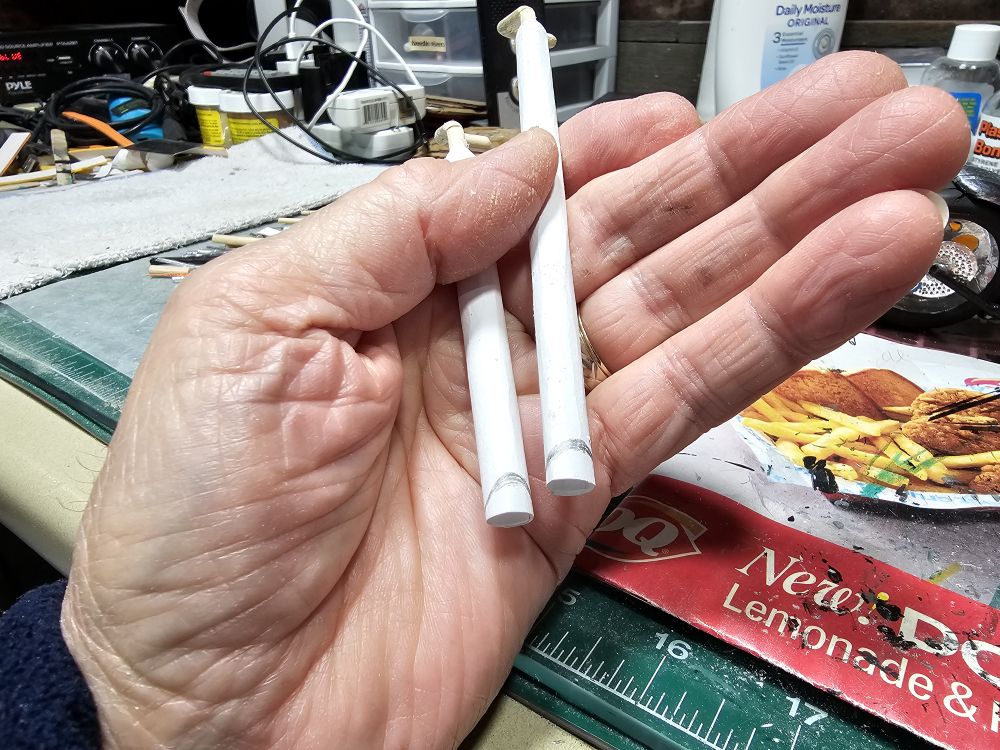
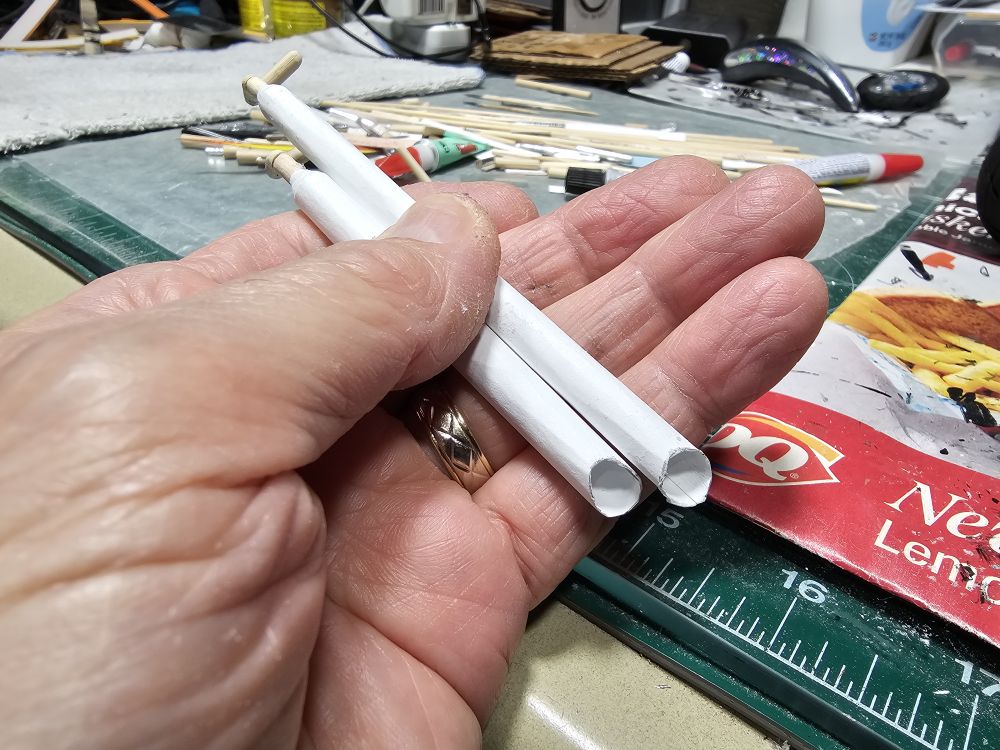
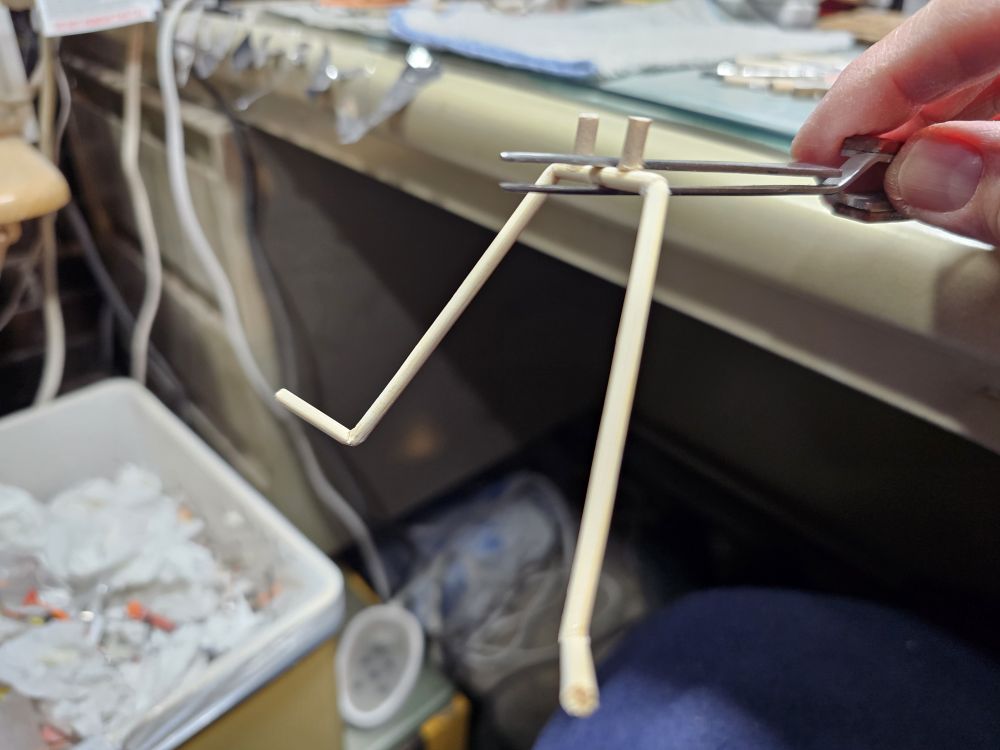
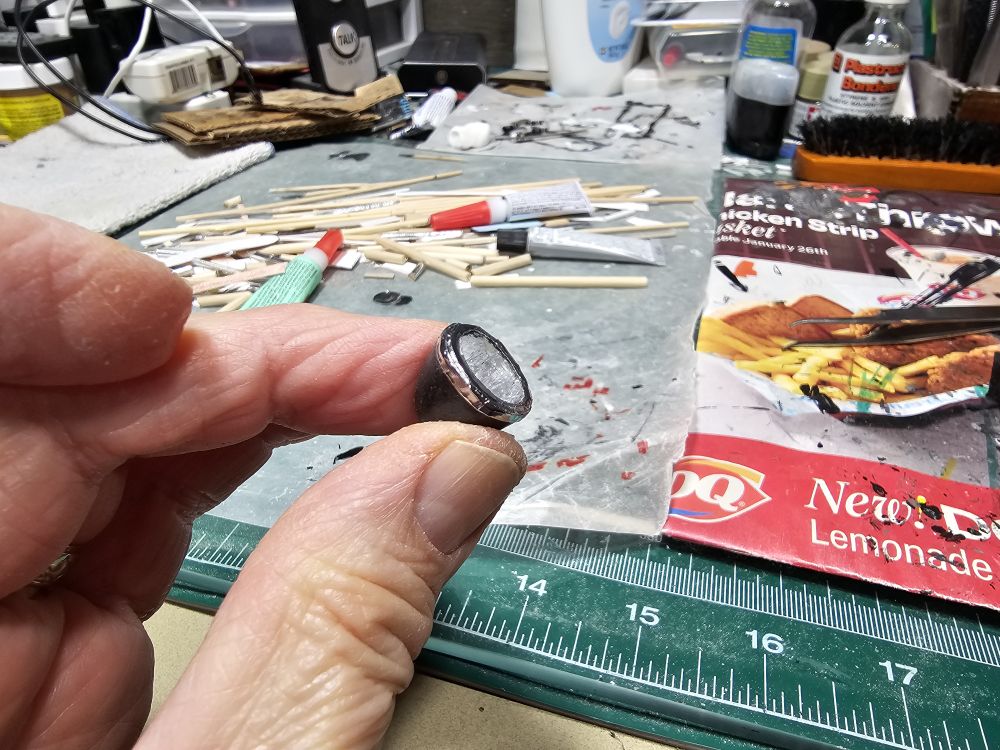
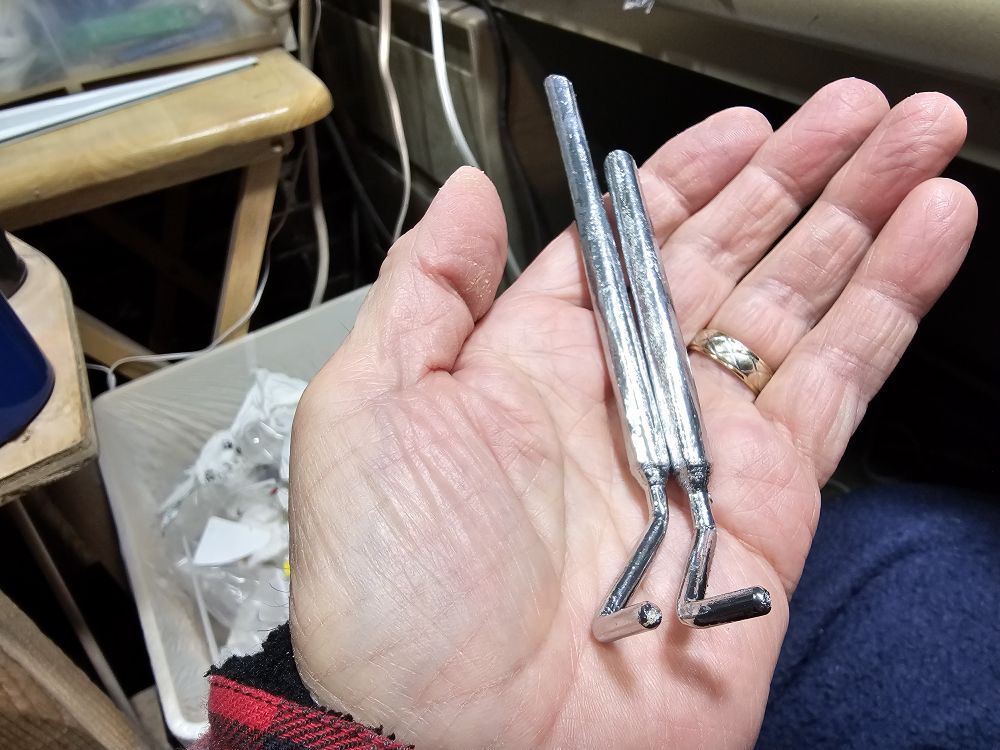
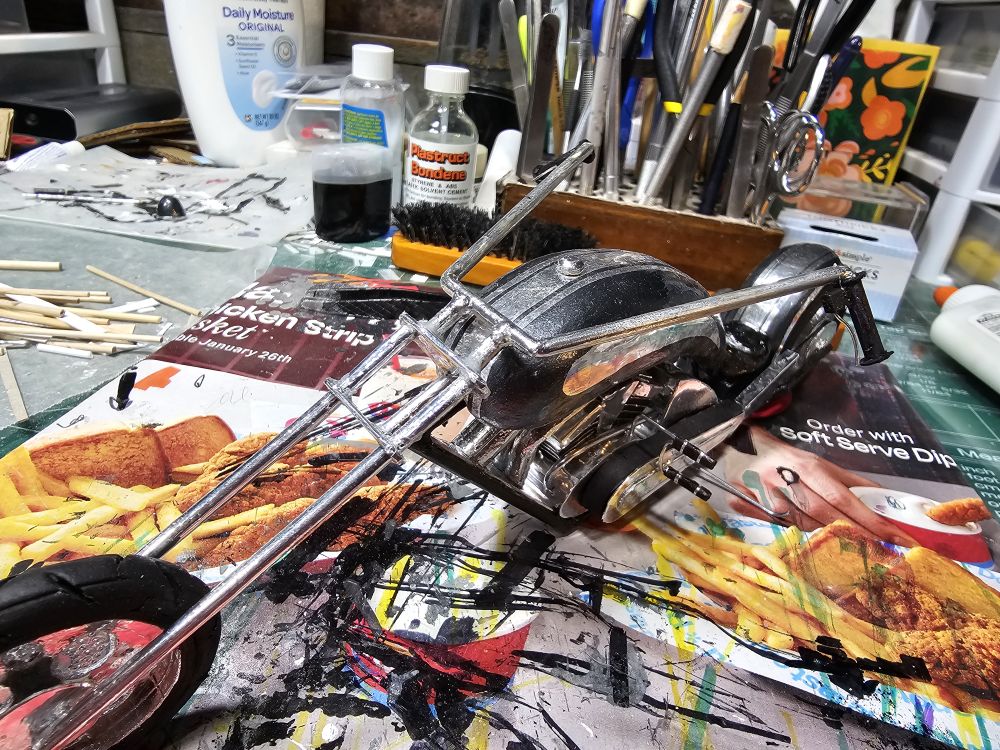
More progress for today. I'm getting the handlebars ready with wooden dowel rods. Got some air drying clay set for the seat. I've formed the headlight with clay around aluminum foil on the inside & painted it. I used some dowel rods and cardstock paper to make the exhaust pipes, and I sanded them and they're ready for chrome paint. I also mounted the gas tank on the frame.
Mike L.
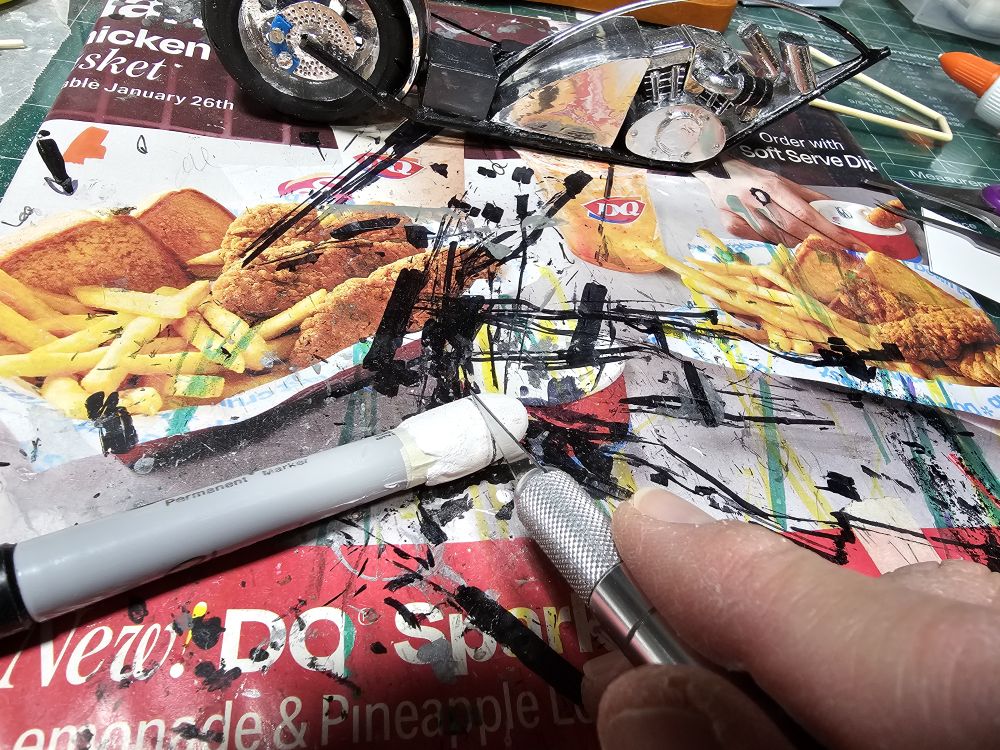
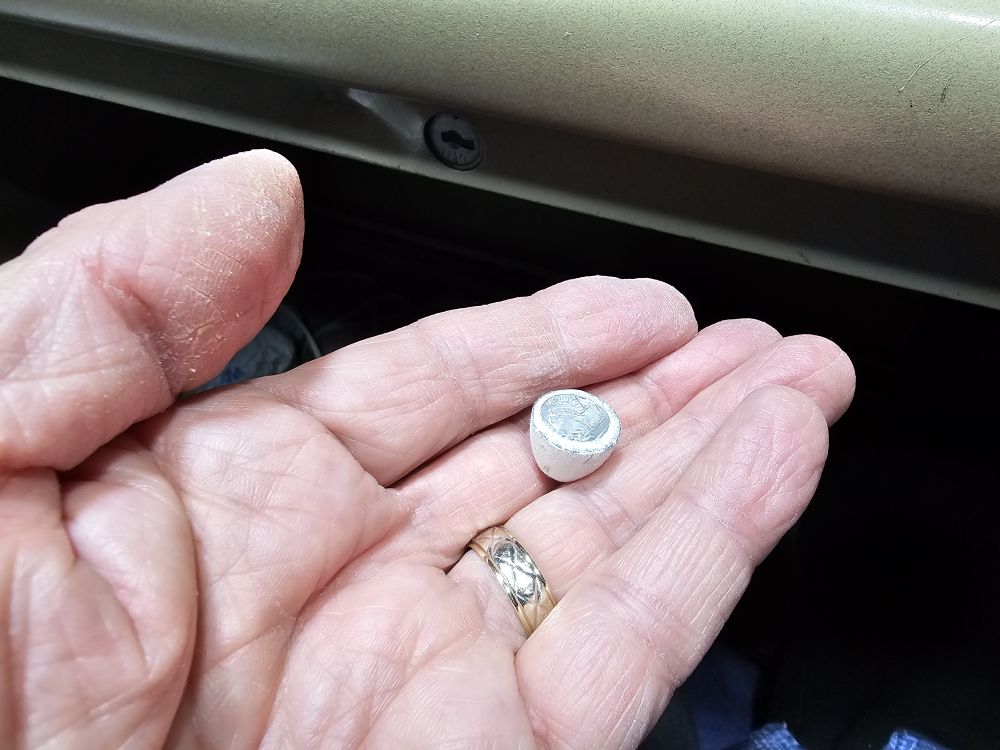
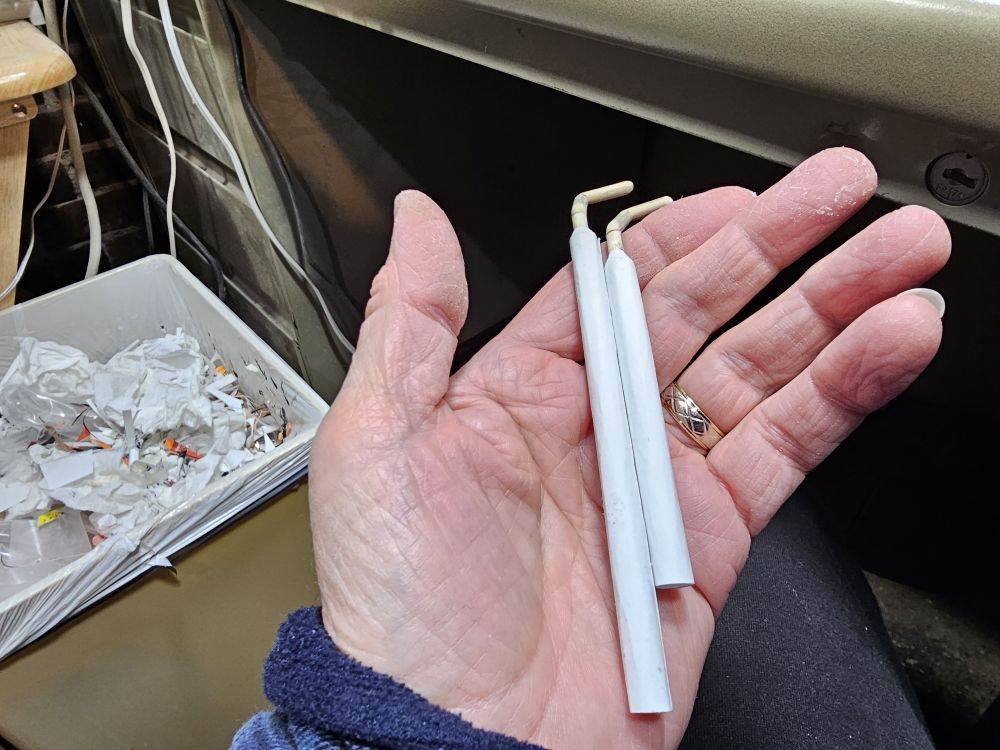
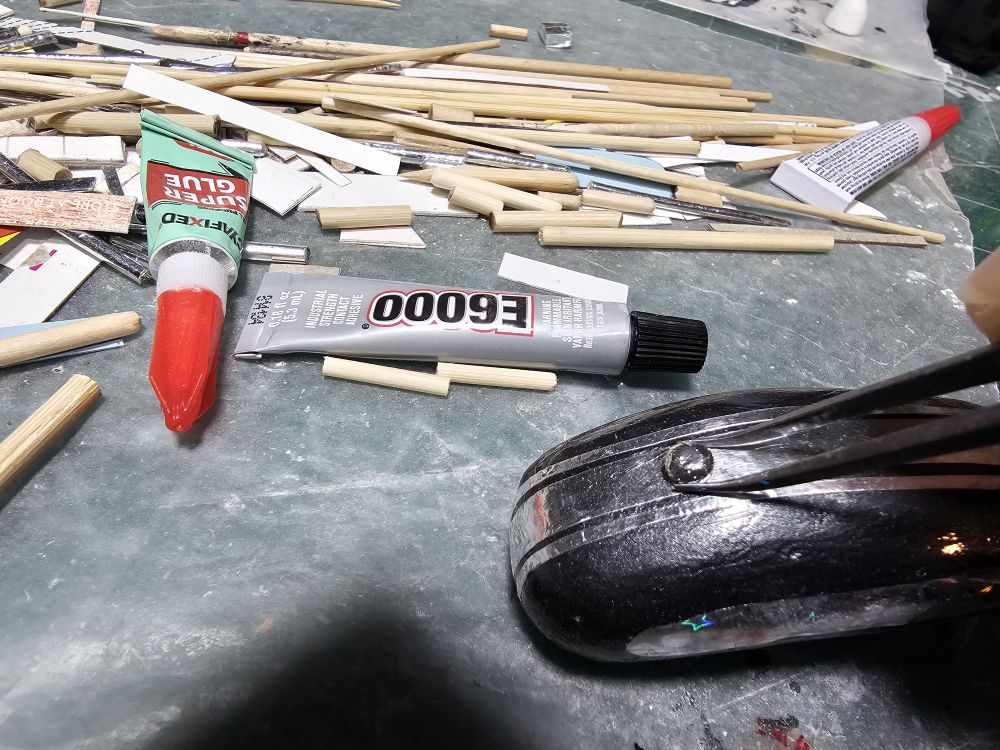
Mike L.
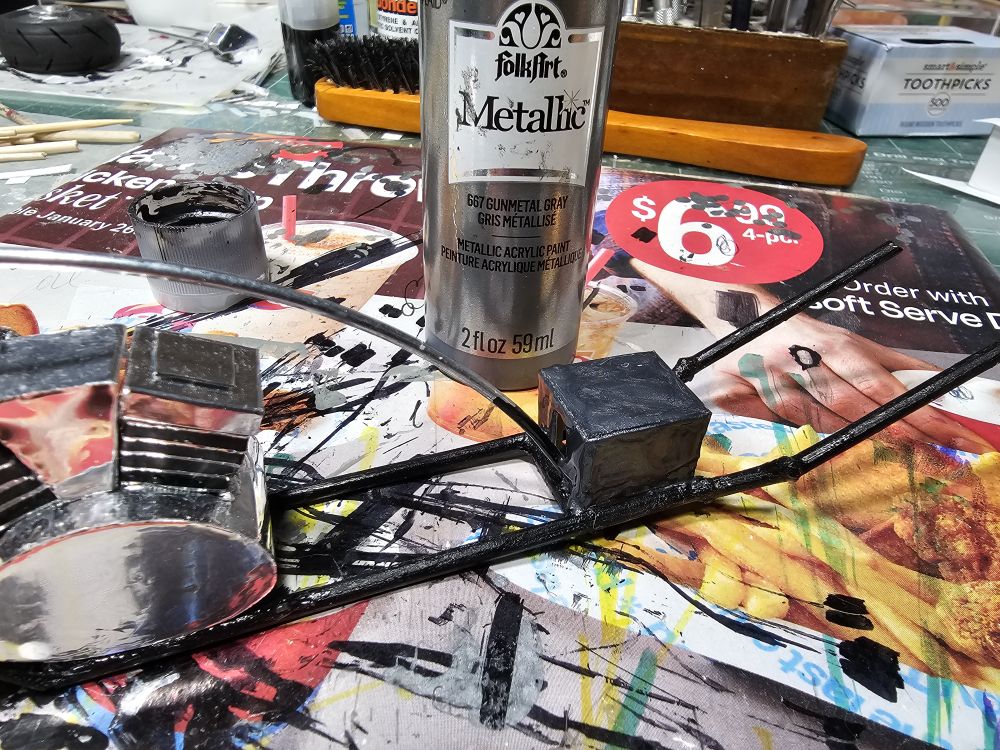
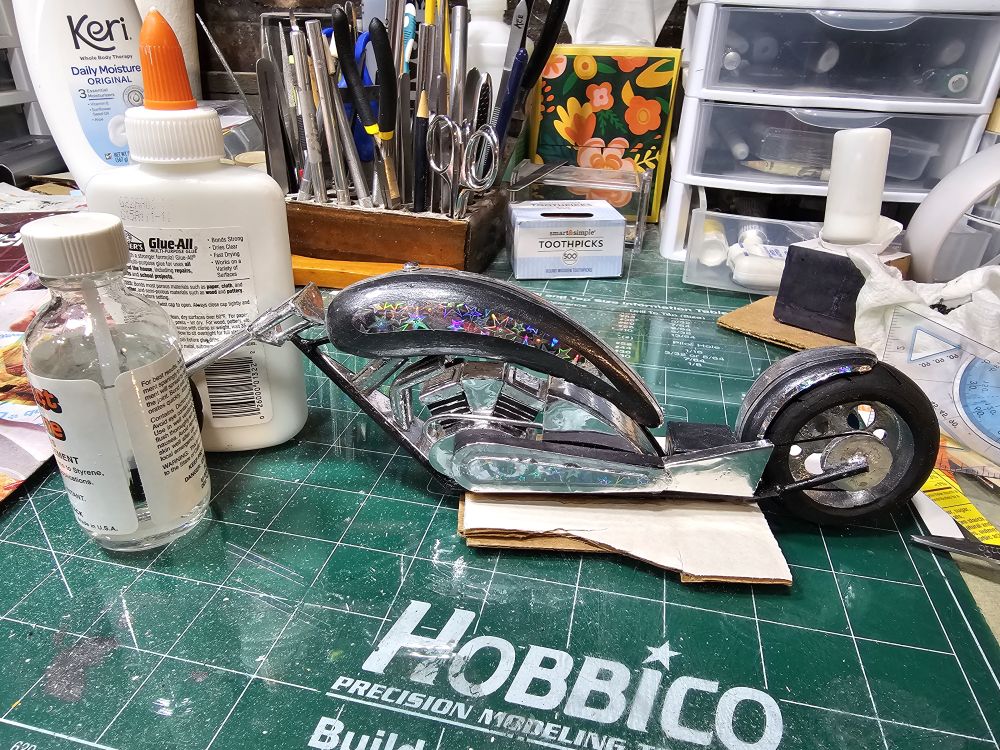
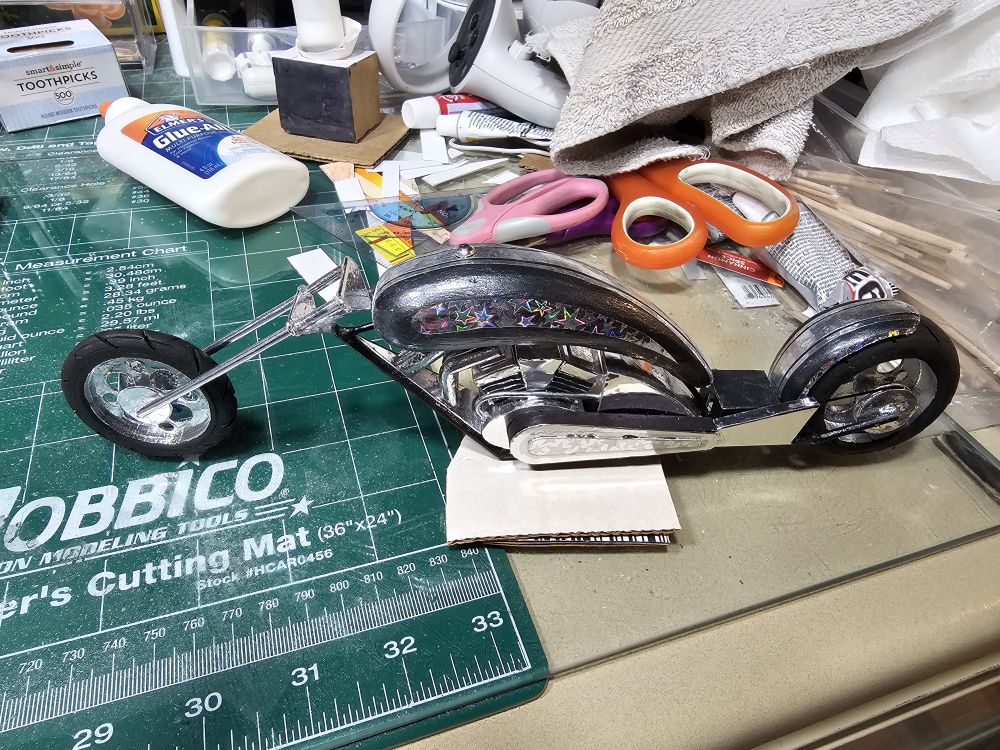
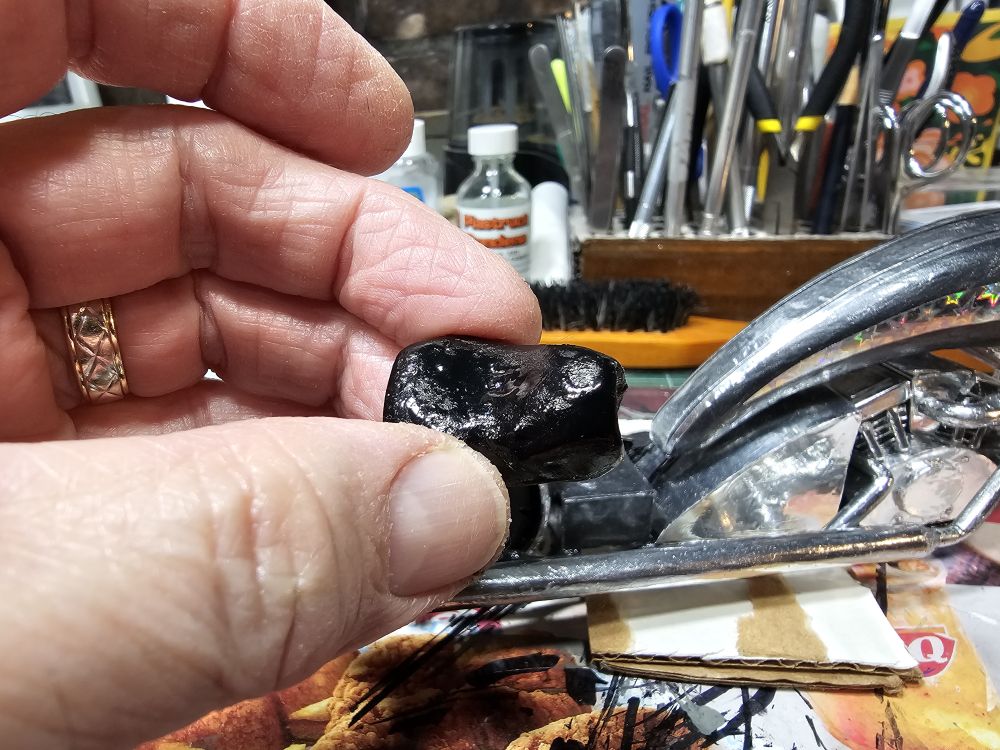
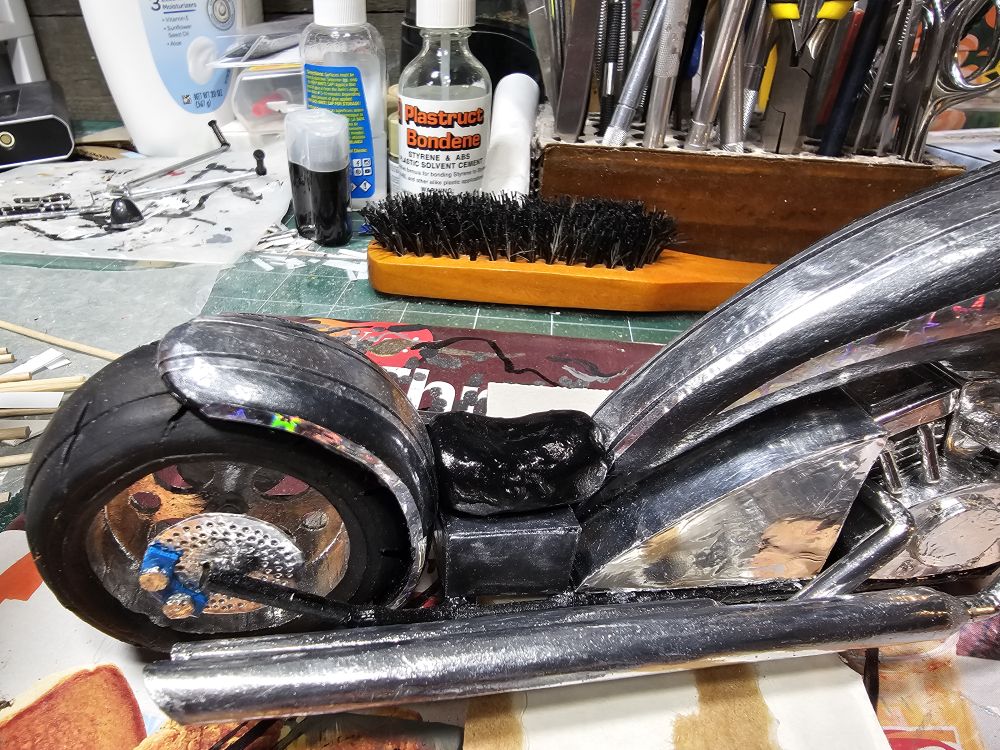
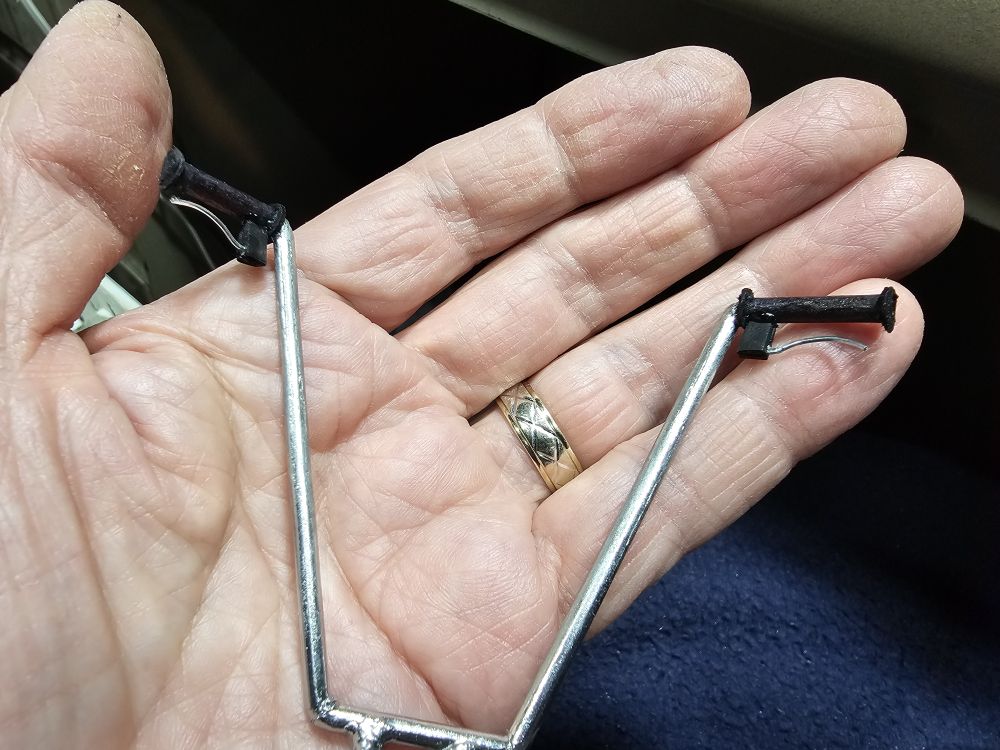
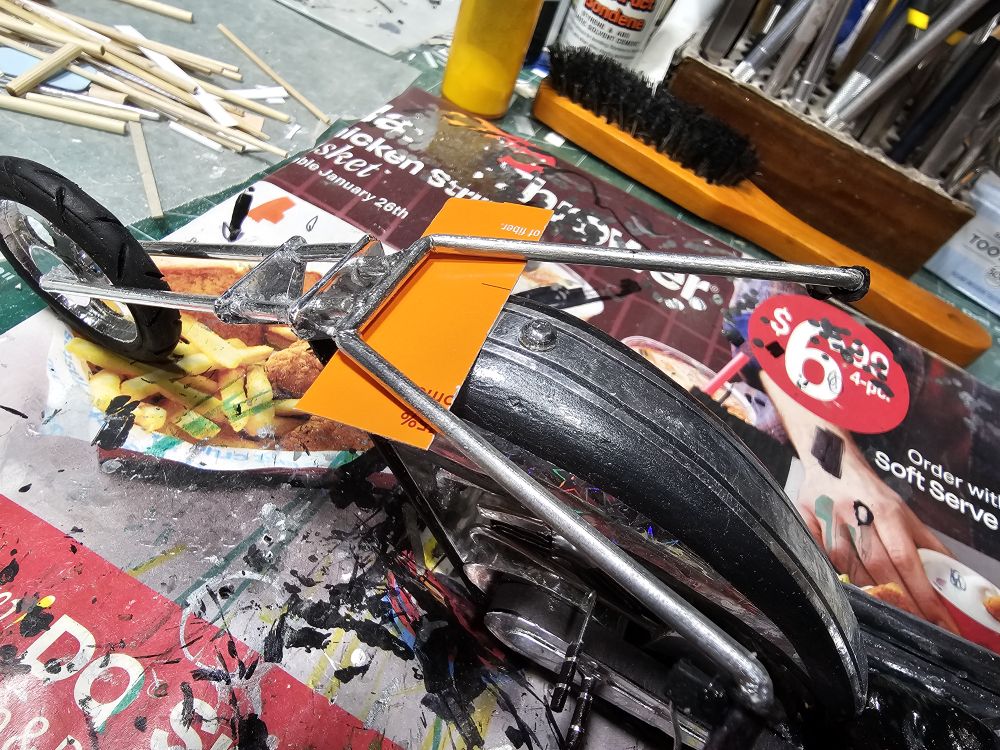
Getting close to the home stretch. Got a lot of parts done and on the bike, including the exhaust pipes, handlebars, foot controls and the seat. Got started on the side view mirrors. Will paint them the same color as the bike base color which is metallic gunmetal gray. I've attached the front headlight and the clutch controls on the handlebars. The photos might look like the bike is done but not quite, getting close.
Mike L.
Mike L.


