Vertical Vengeance: A Dive into History. Dive Bomber Group Build

Scale Model Addict - Model Tips, Guides, Tools & Tech, Tutorials, and Community

Help Support Scale Model Addict:

That is fantastic Blake!

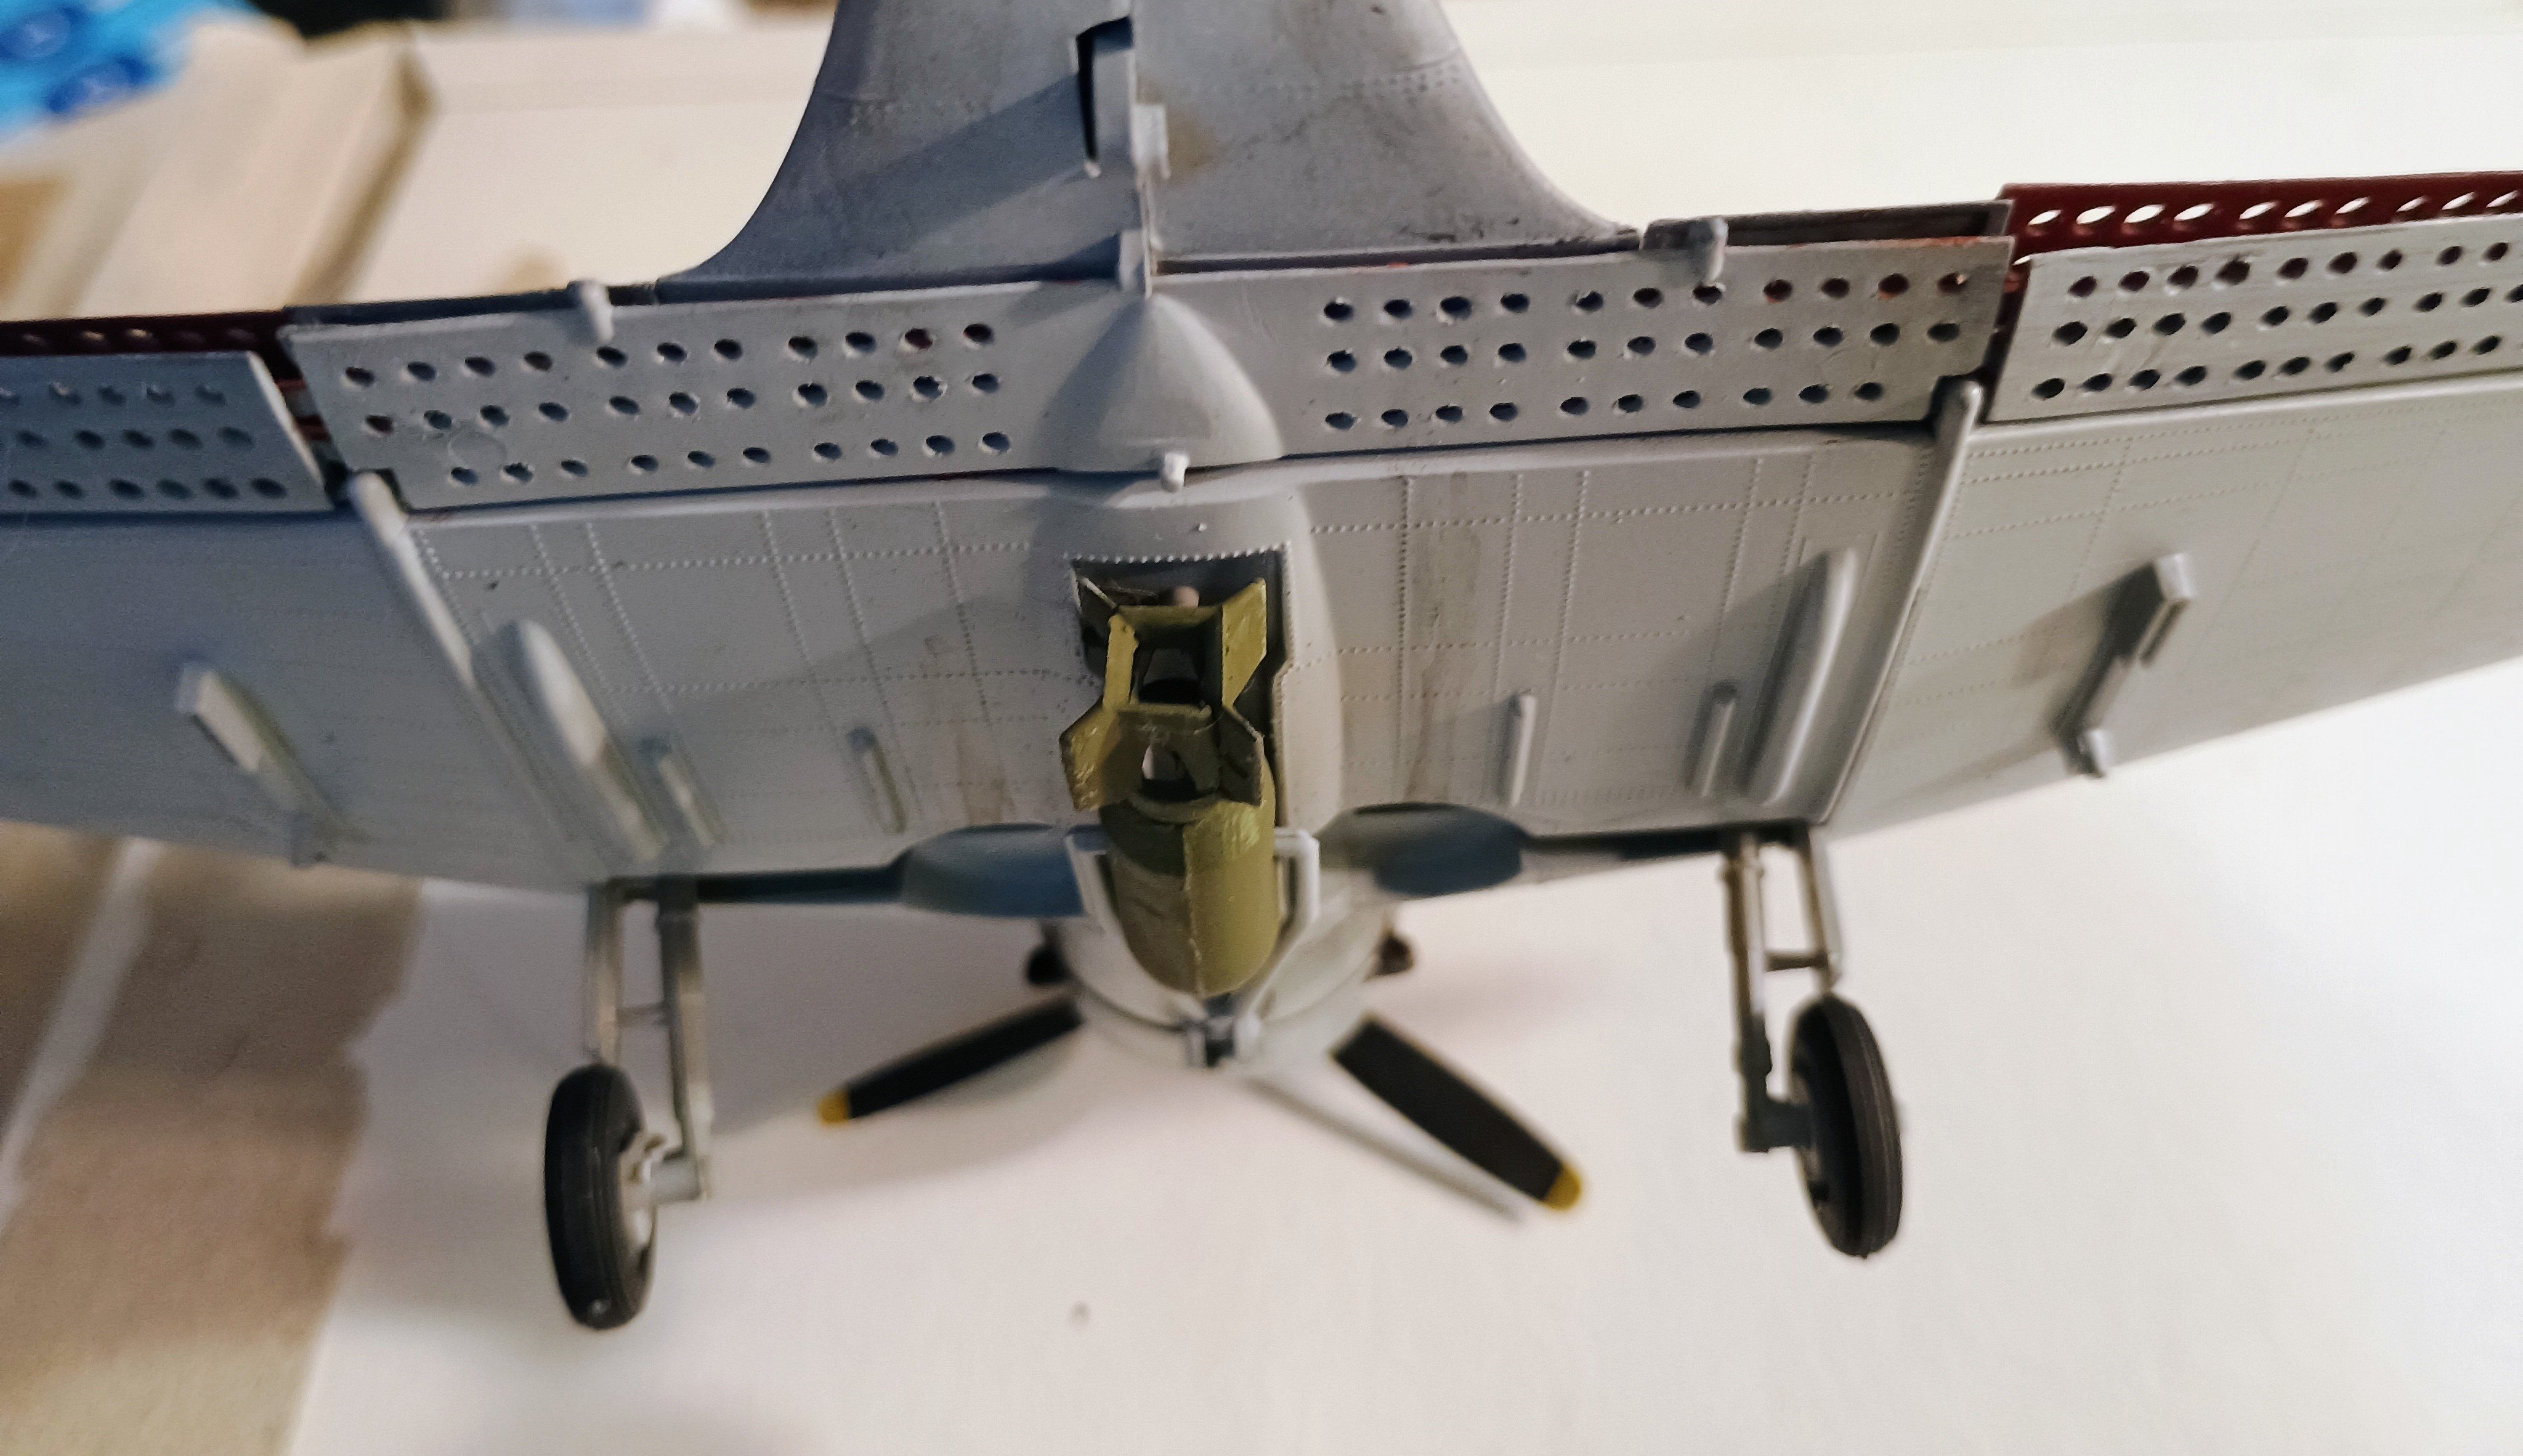
Are the dive flaps workable? I see them open in a few shots.
Thanks!
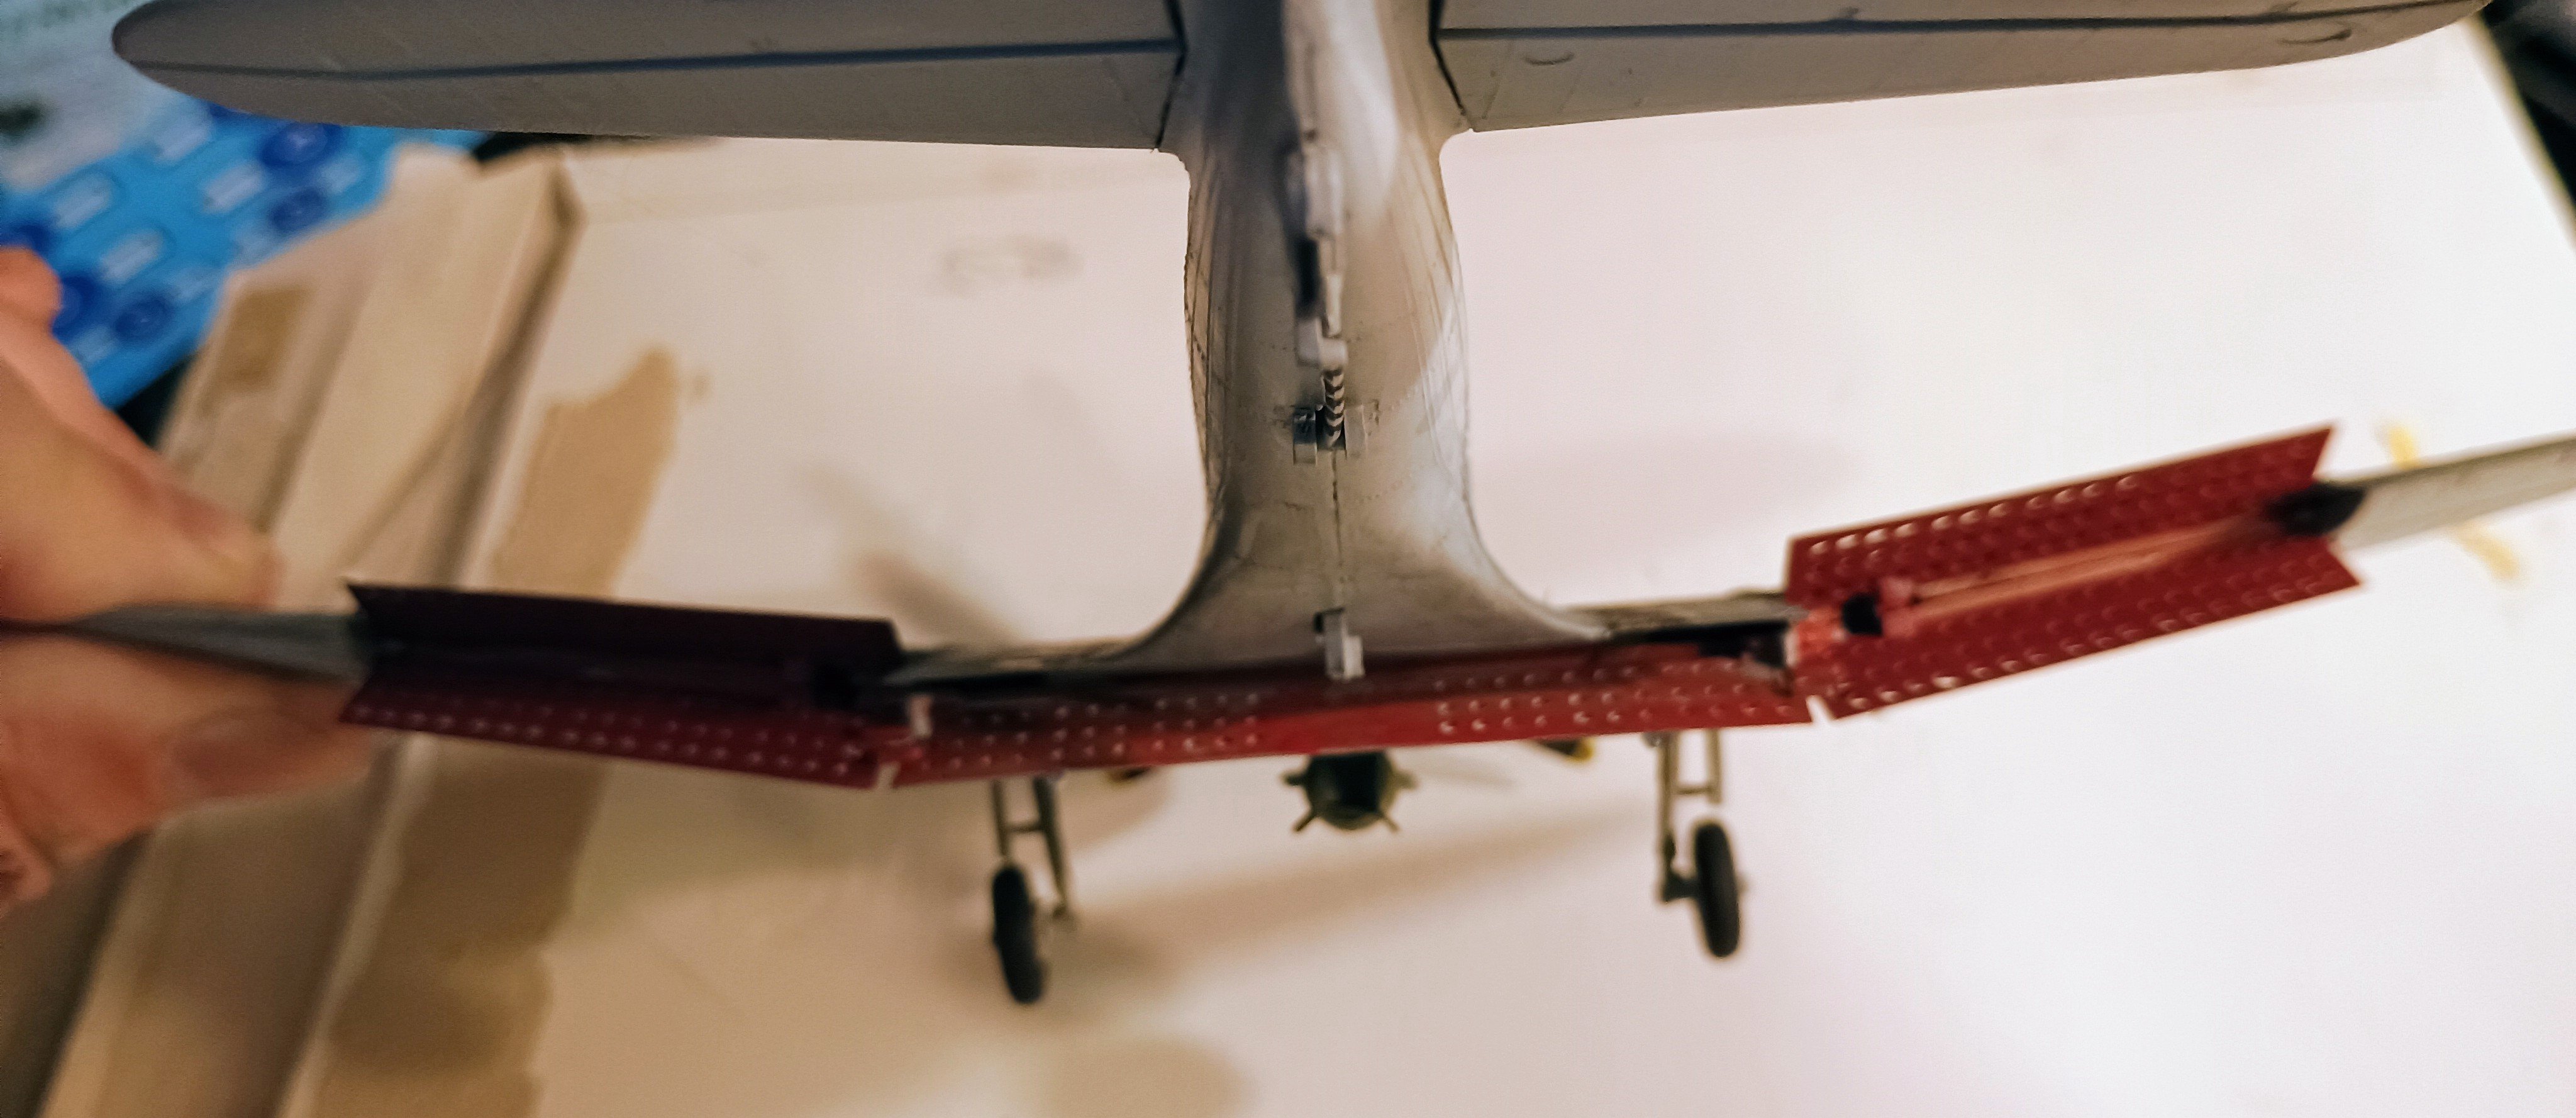
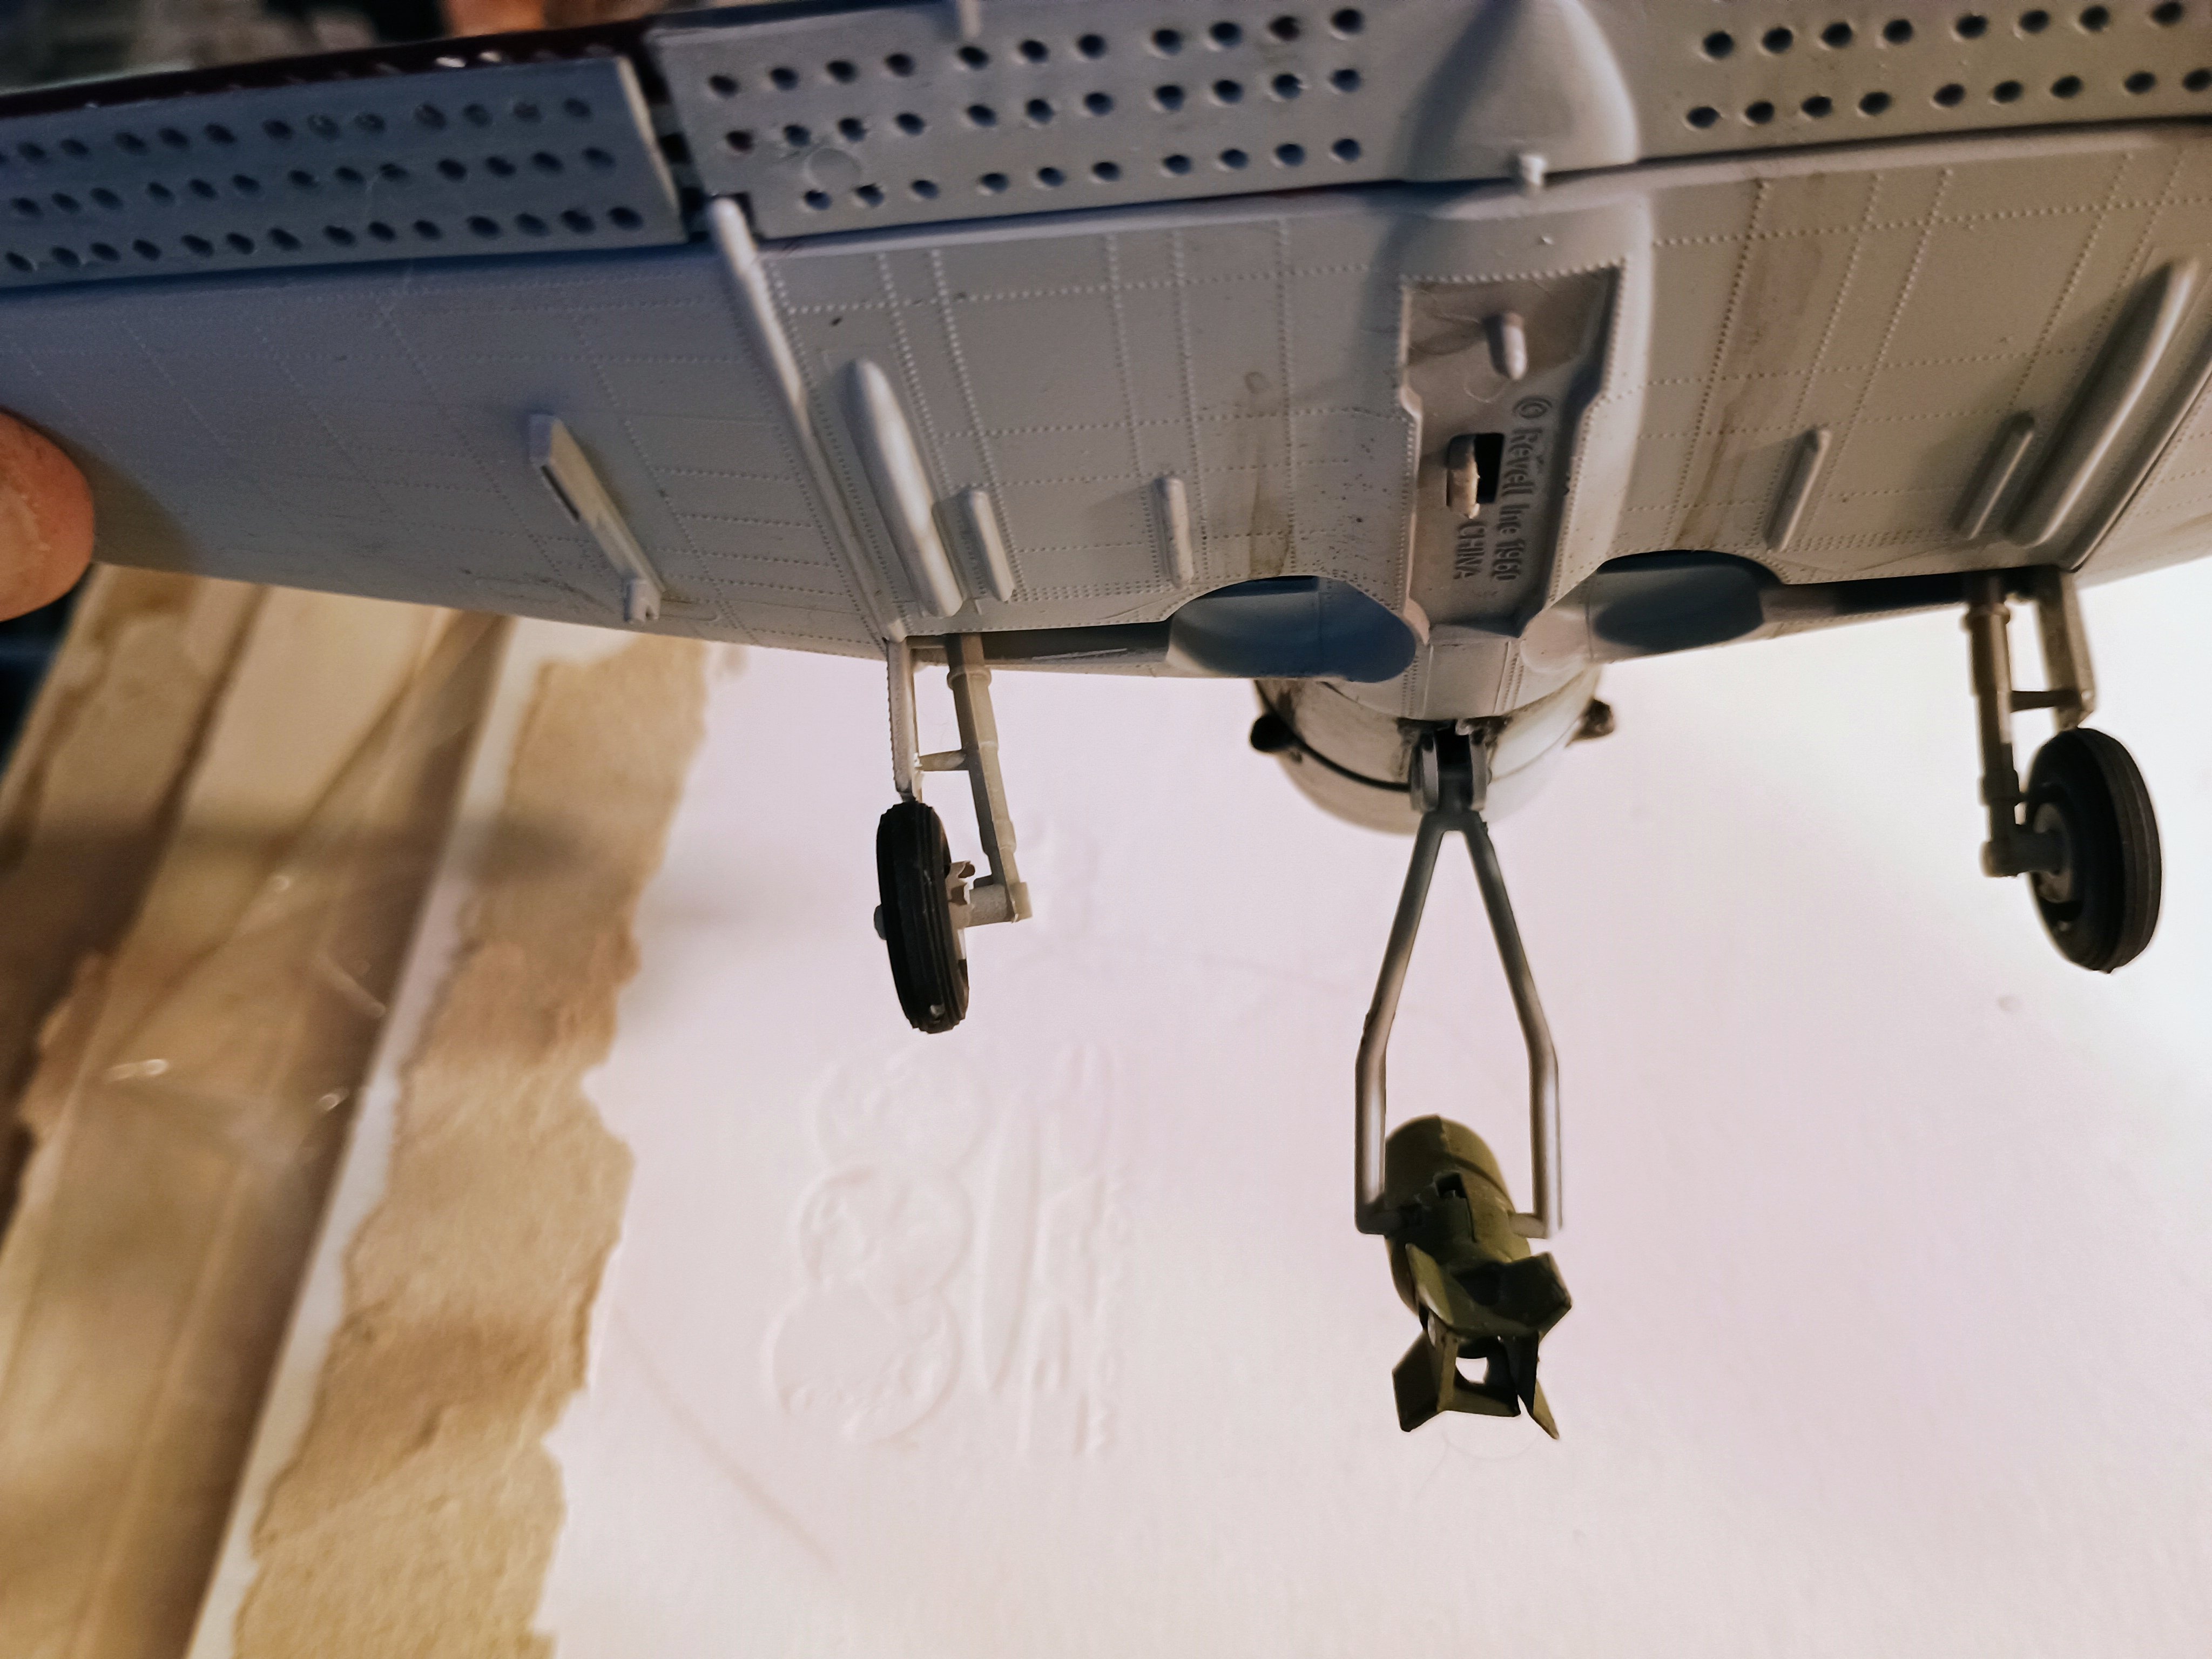
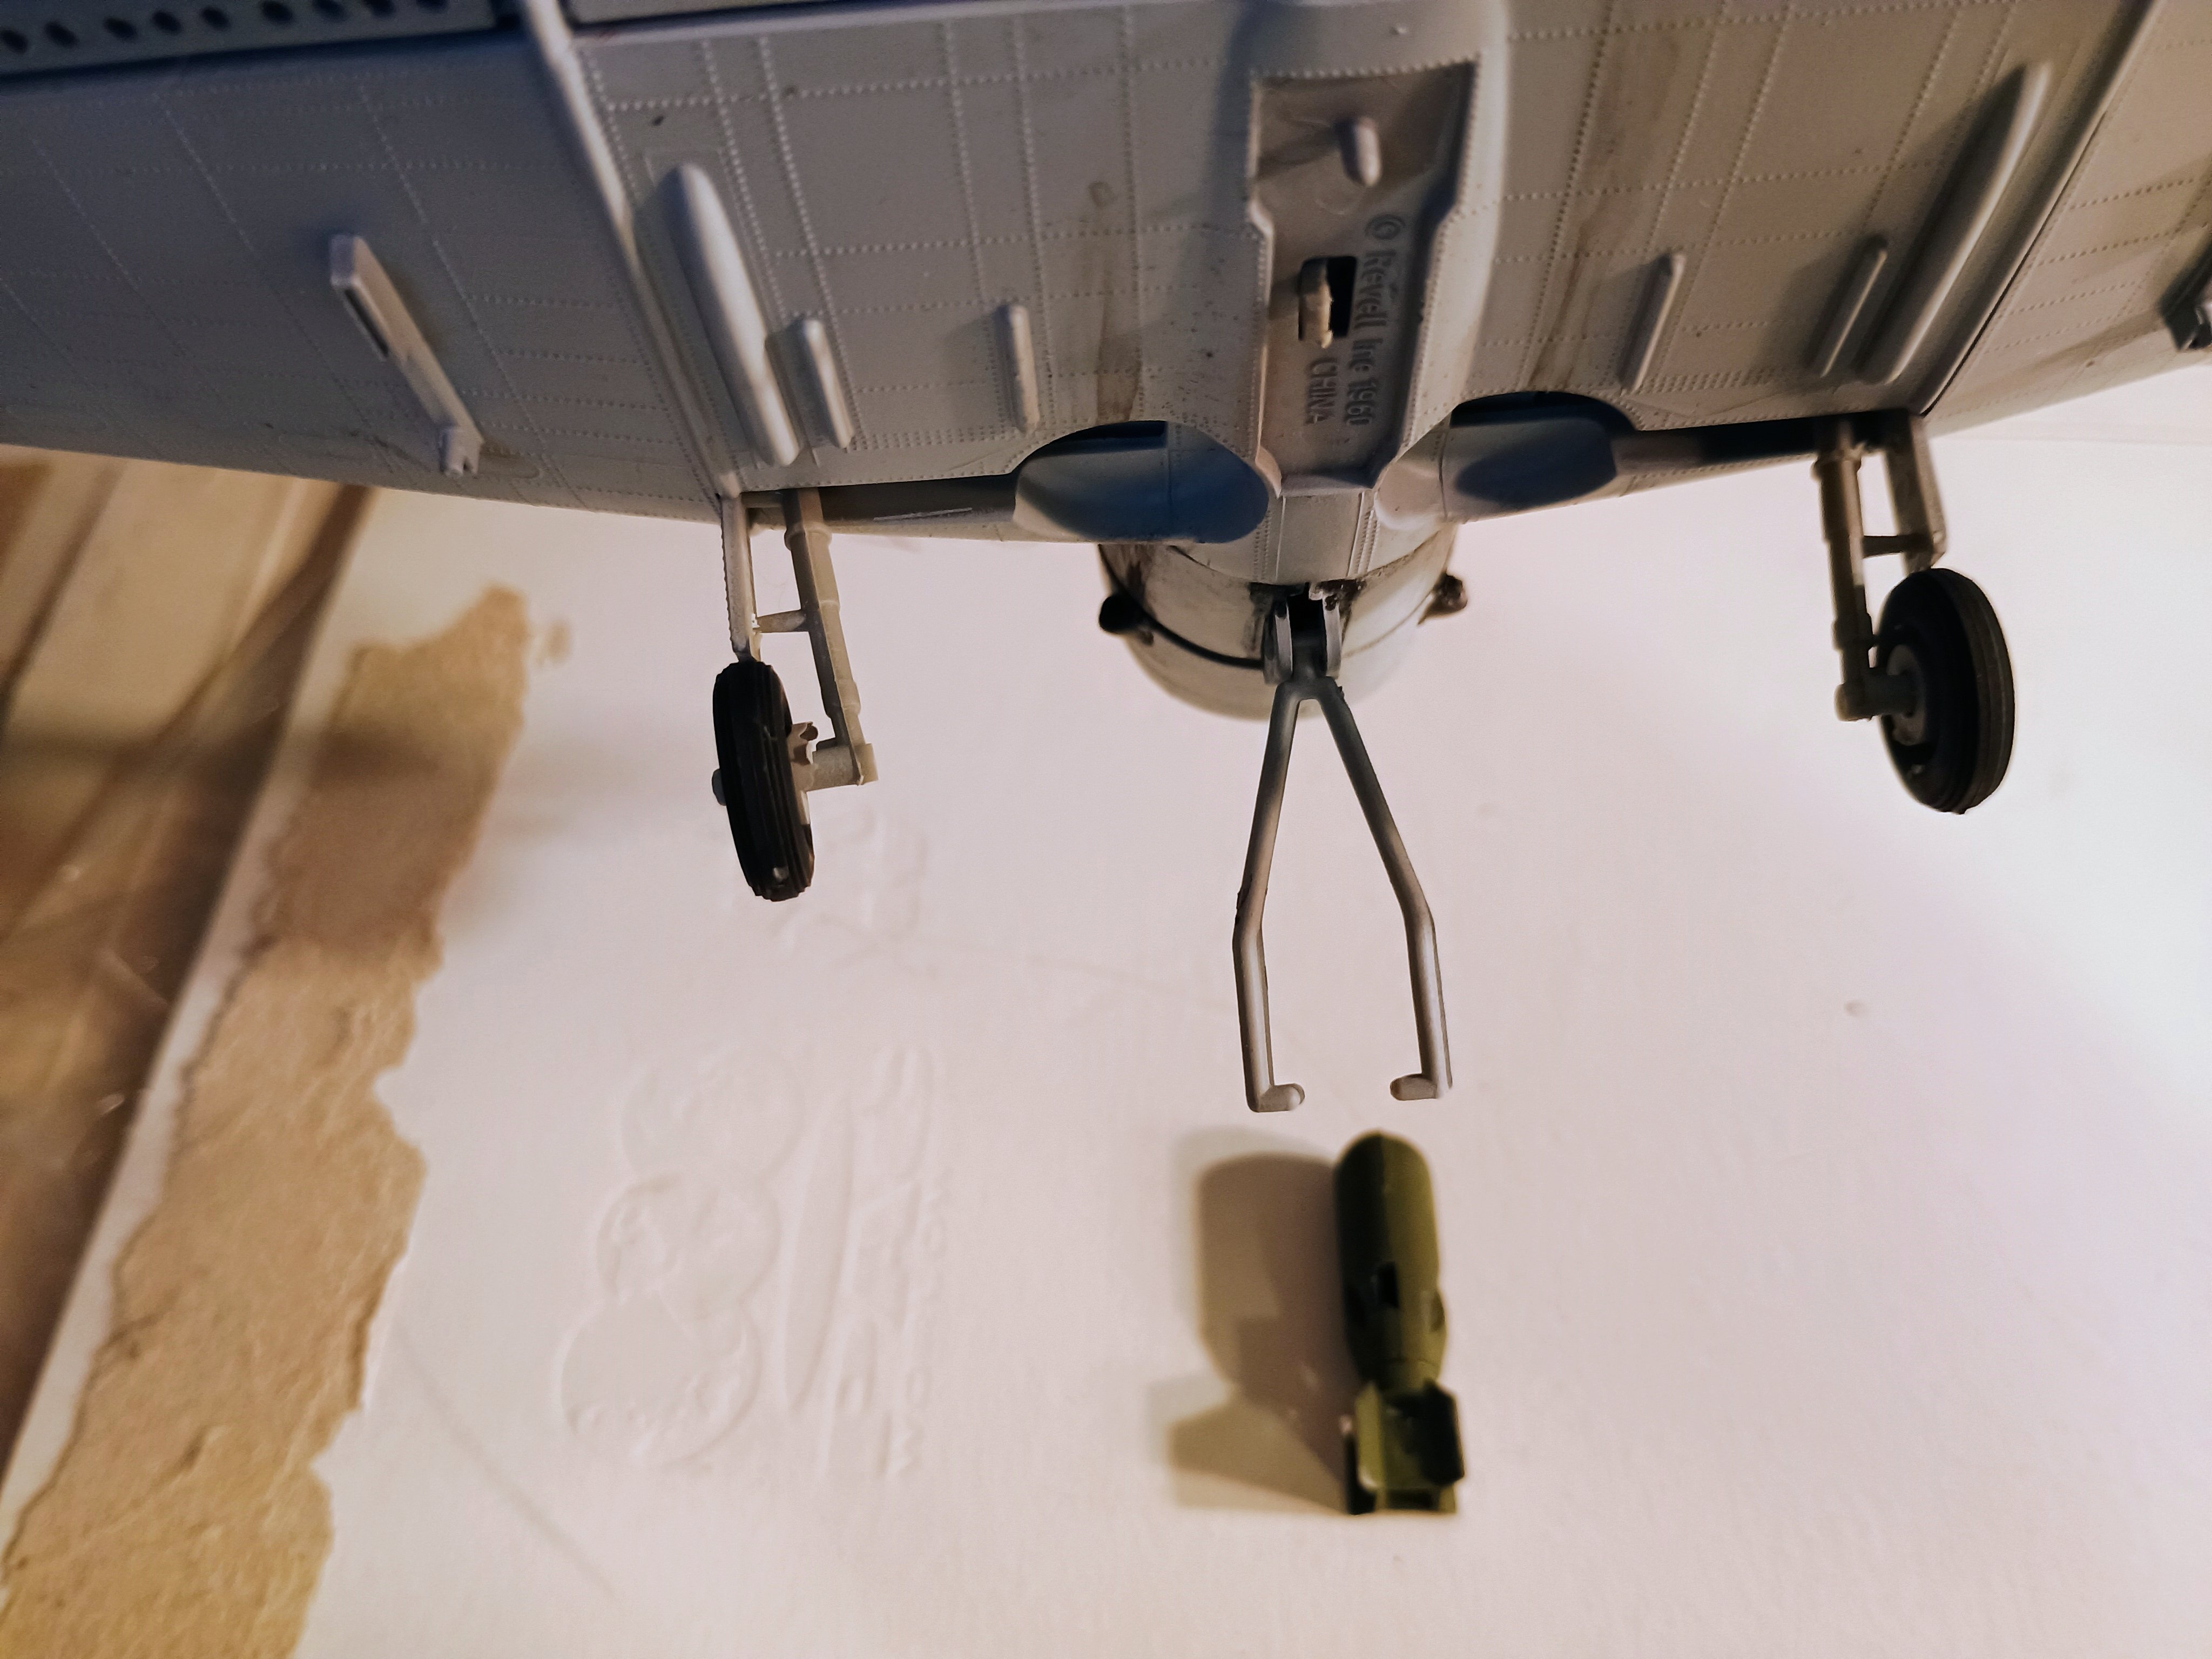
Yes, the dive brakes open and close. They are fit with a gear type thing and have little tabs that overhang the edge so they all open and close together. Pretty fun feature actually. Also the landing gear can be put up or down and you can actually drop the main bomb as there is a little trigger mechanism that holds it in place.
 
Thanks!
Yes, the dive brakes open and close. They are fit with a gear type thing and have little tabs that overhang the edge so they all open and close together. Pretty fun feature actually. Also the landing gear can be put up or down and you can actually drop the main bomb as there is a little trigger mechanism that holds it in place.
I had this kit when I was in high school! Great job!
 
I had this kit when I was in high school! Great job!
Thanks.
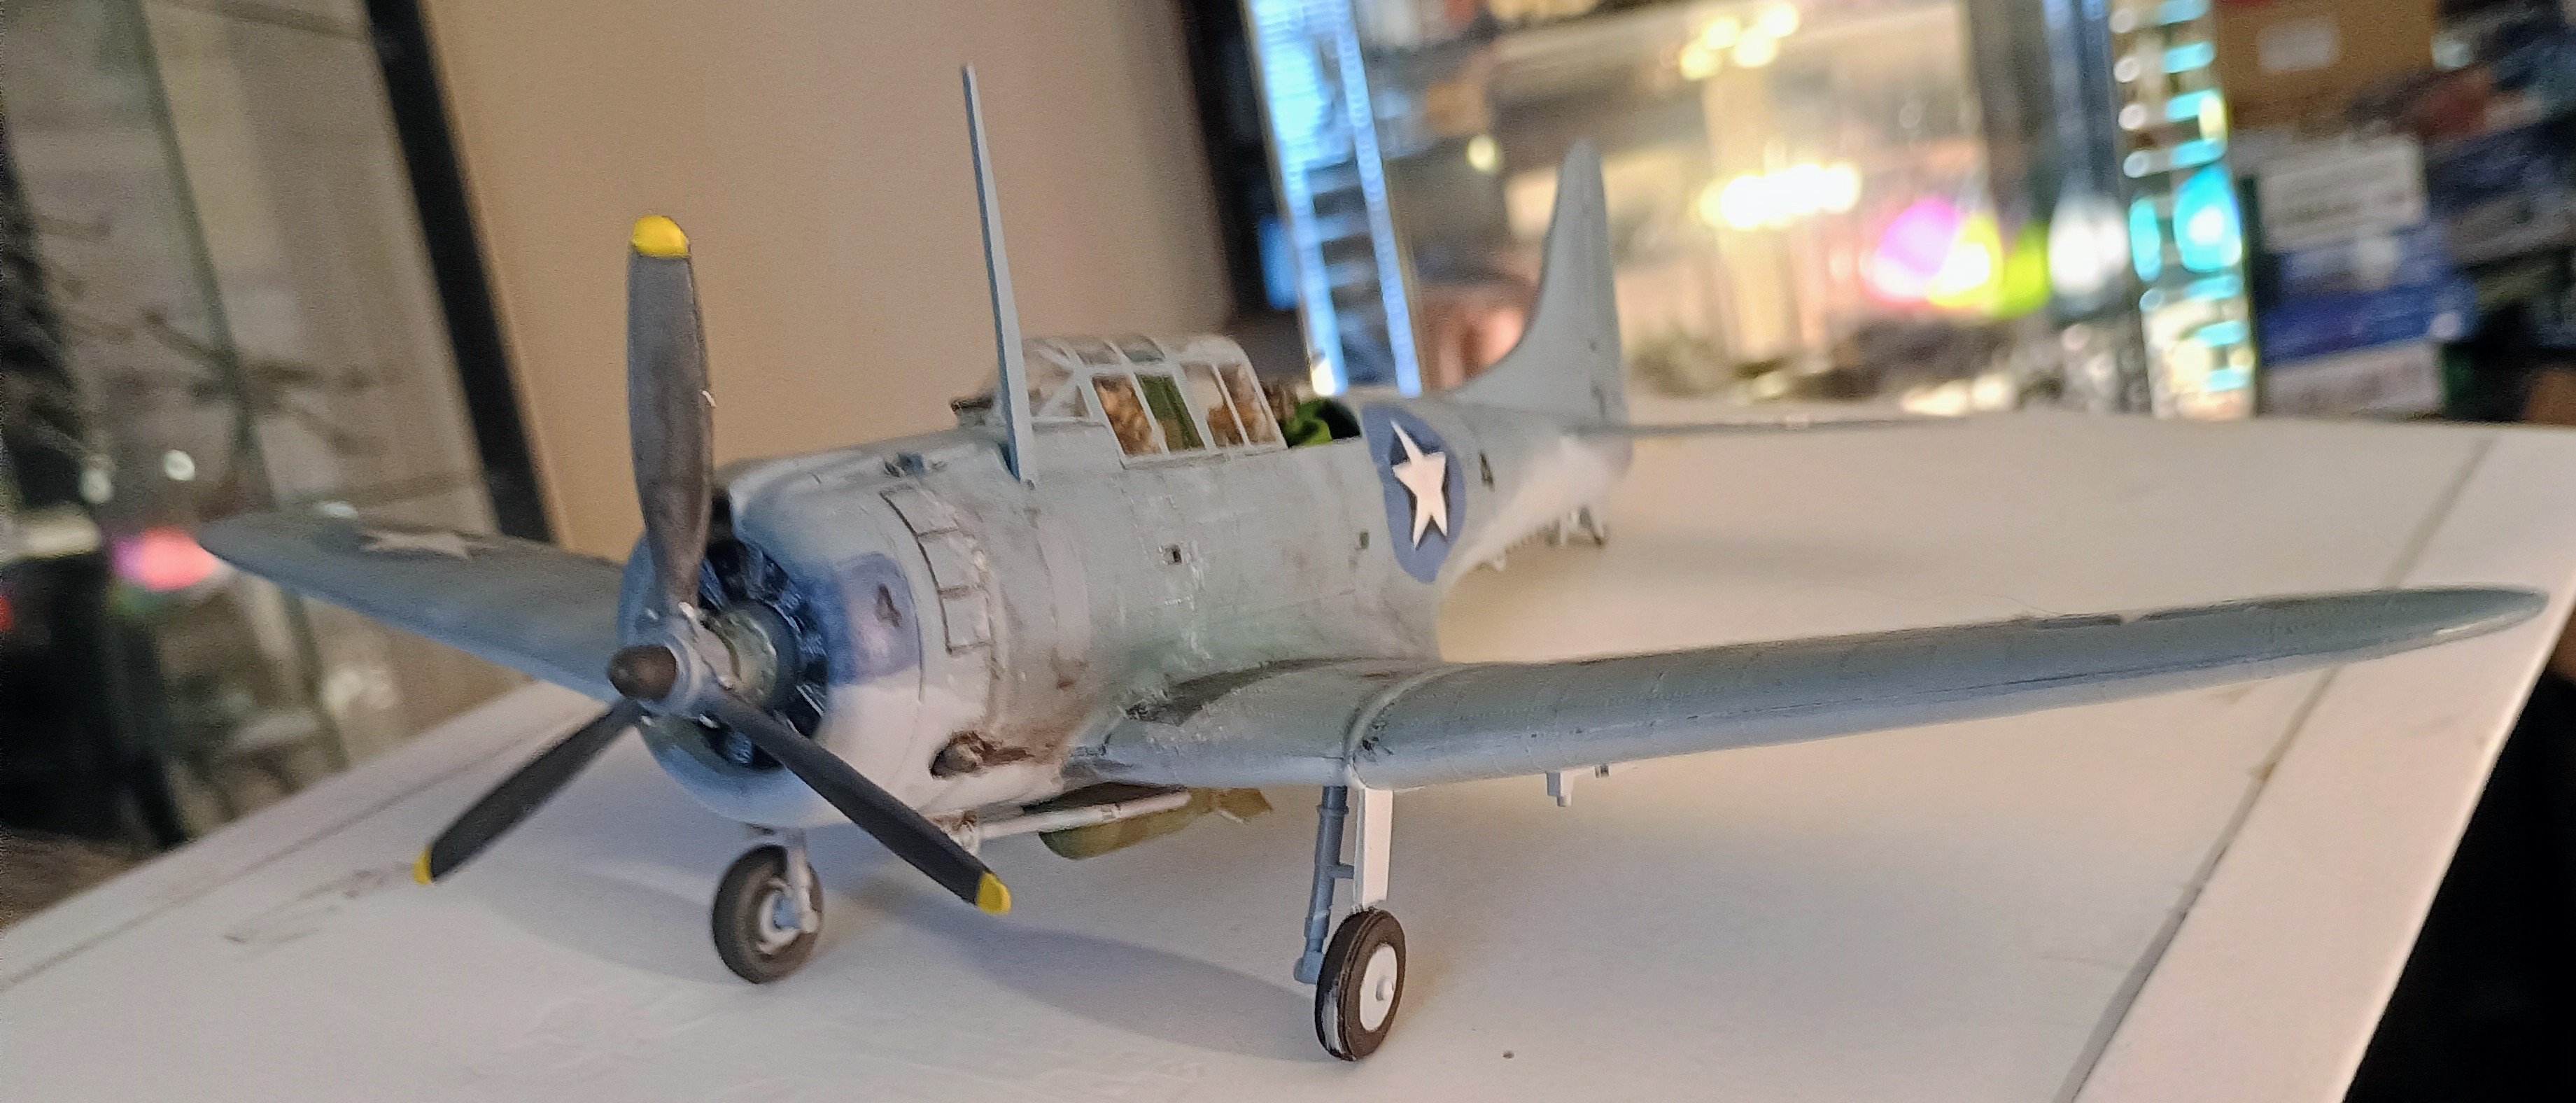
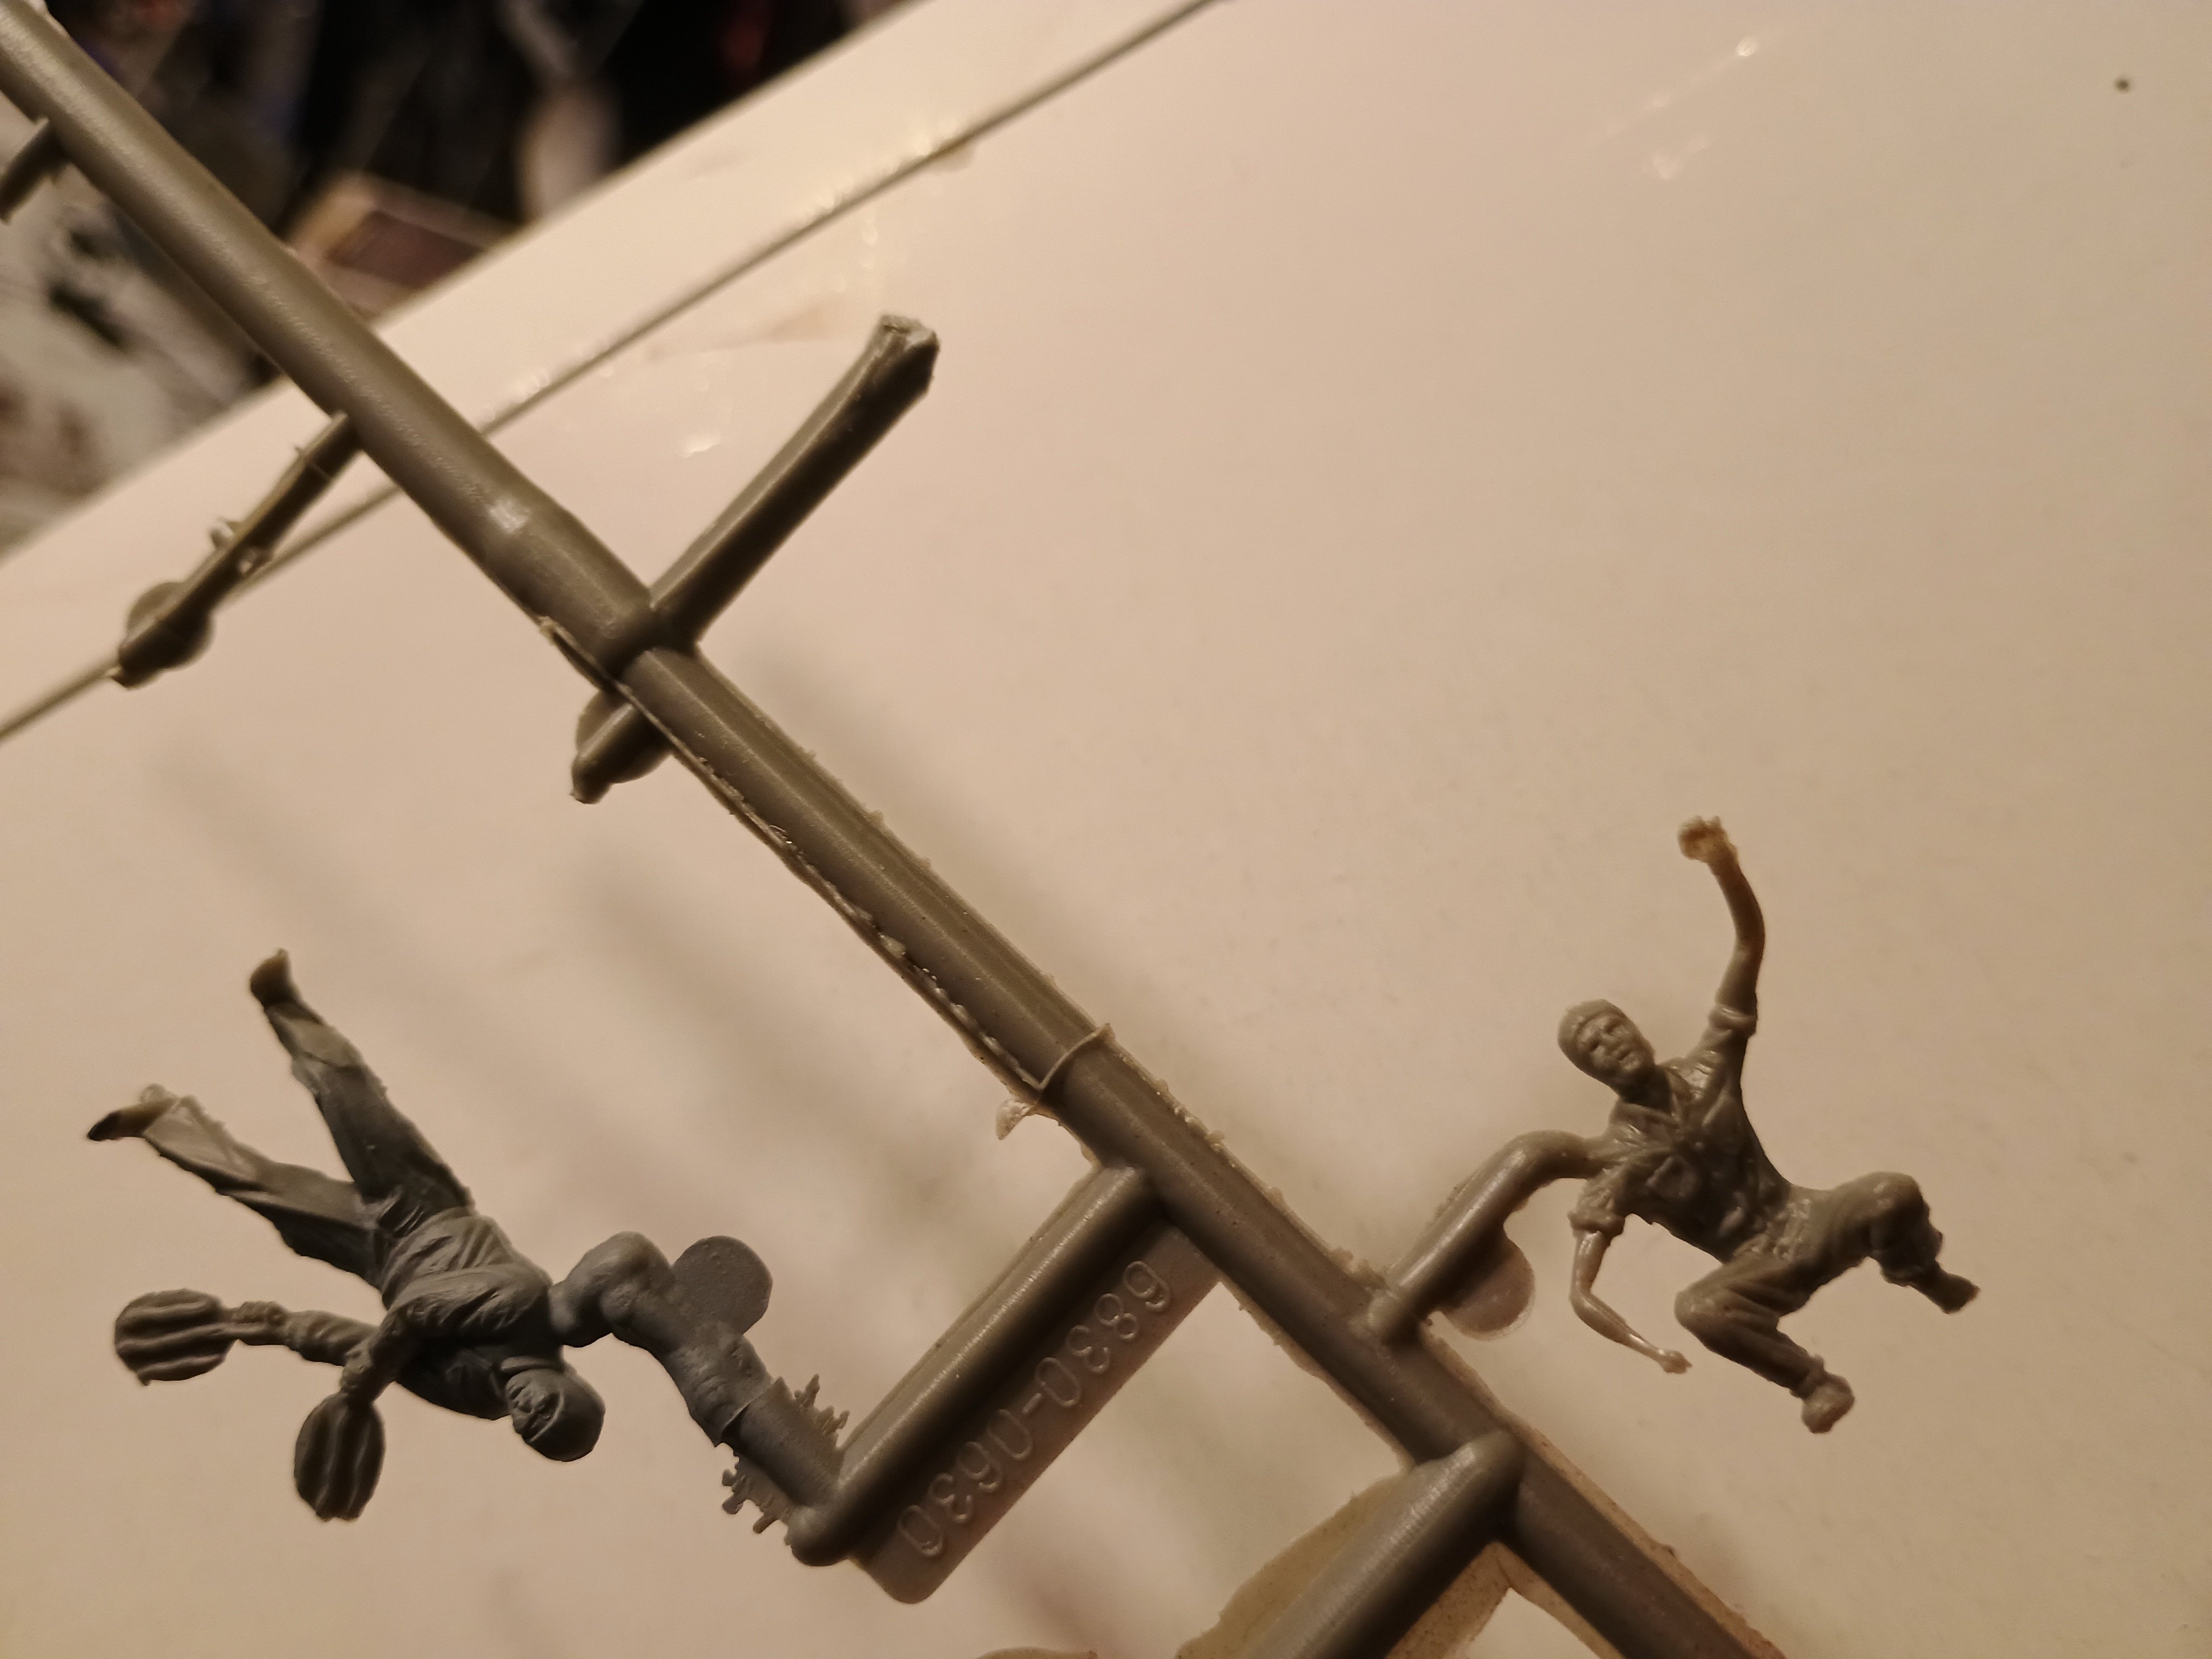
The kit definitely shows it's age. Tons of flash on the sprue, lots of fit and gap issues, especially on the engine cowling seam and where the wings mate to the fuselage. Also the interior detail is non-existent

It's not all bad though. The exterior details are actually quite good

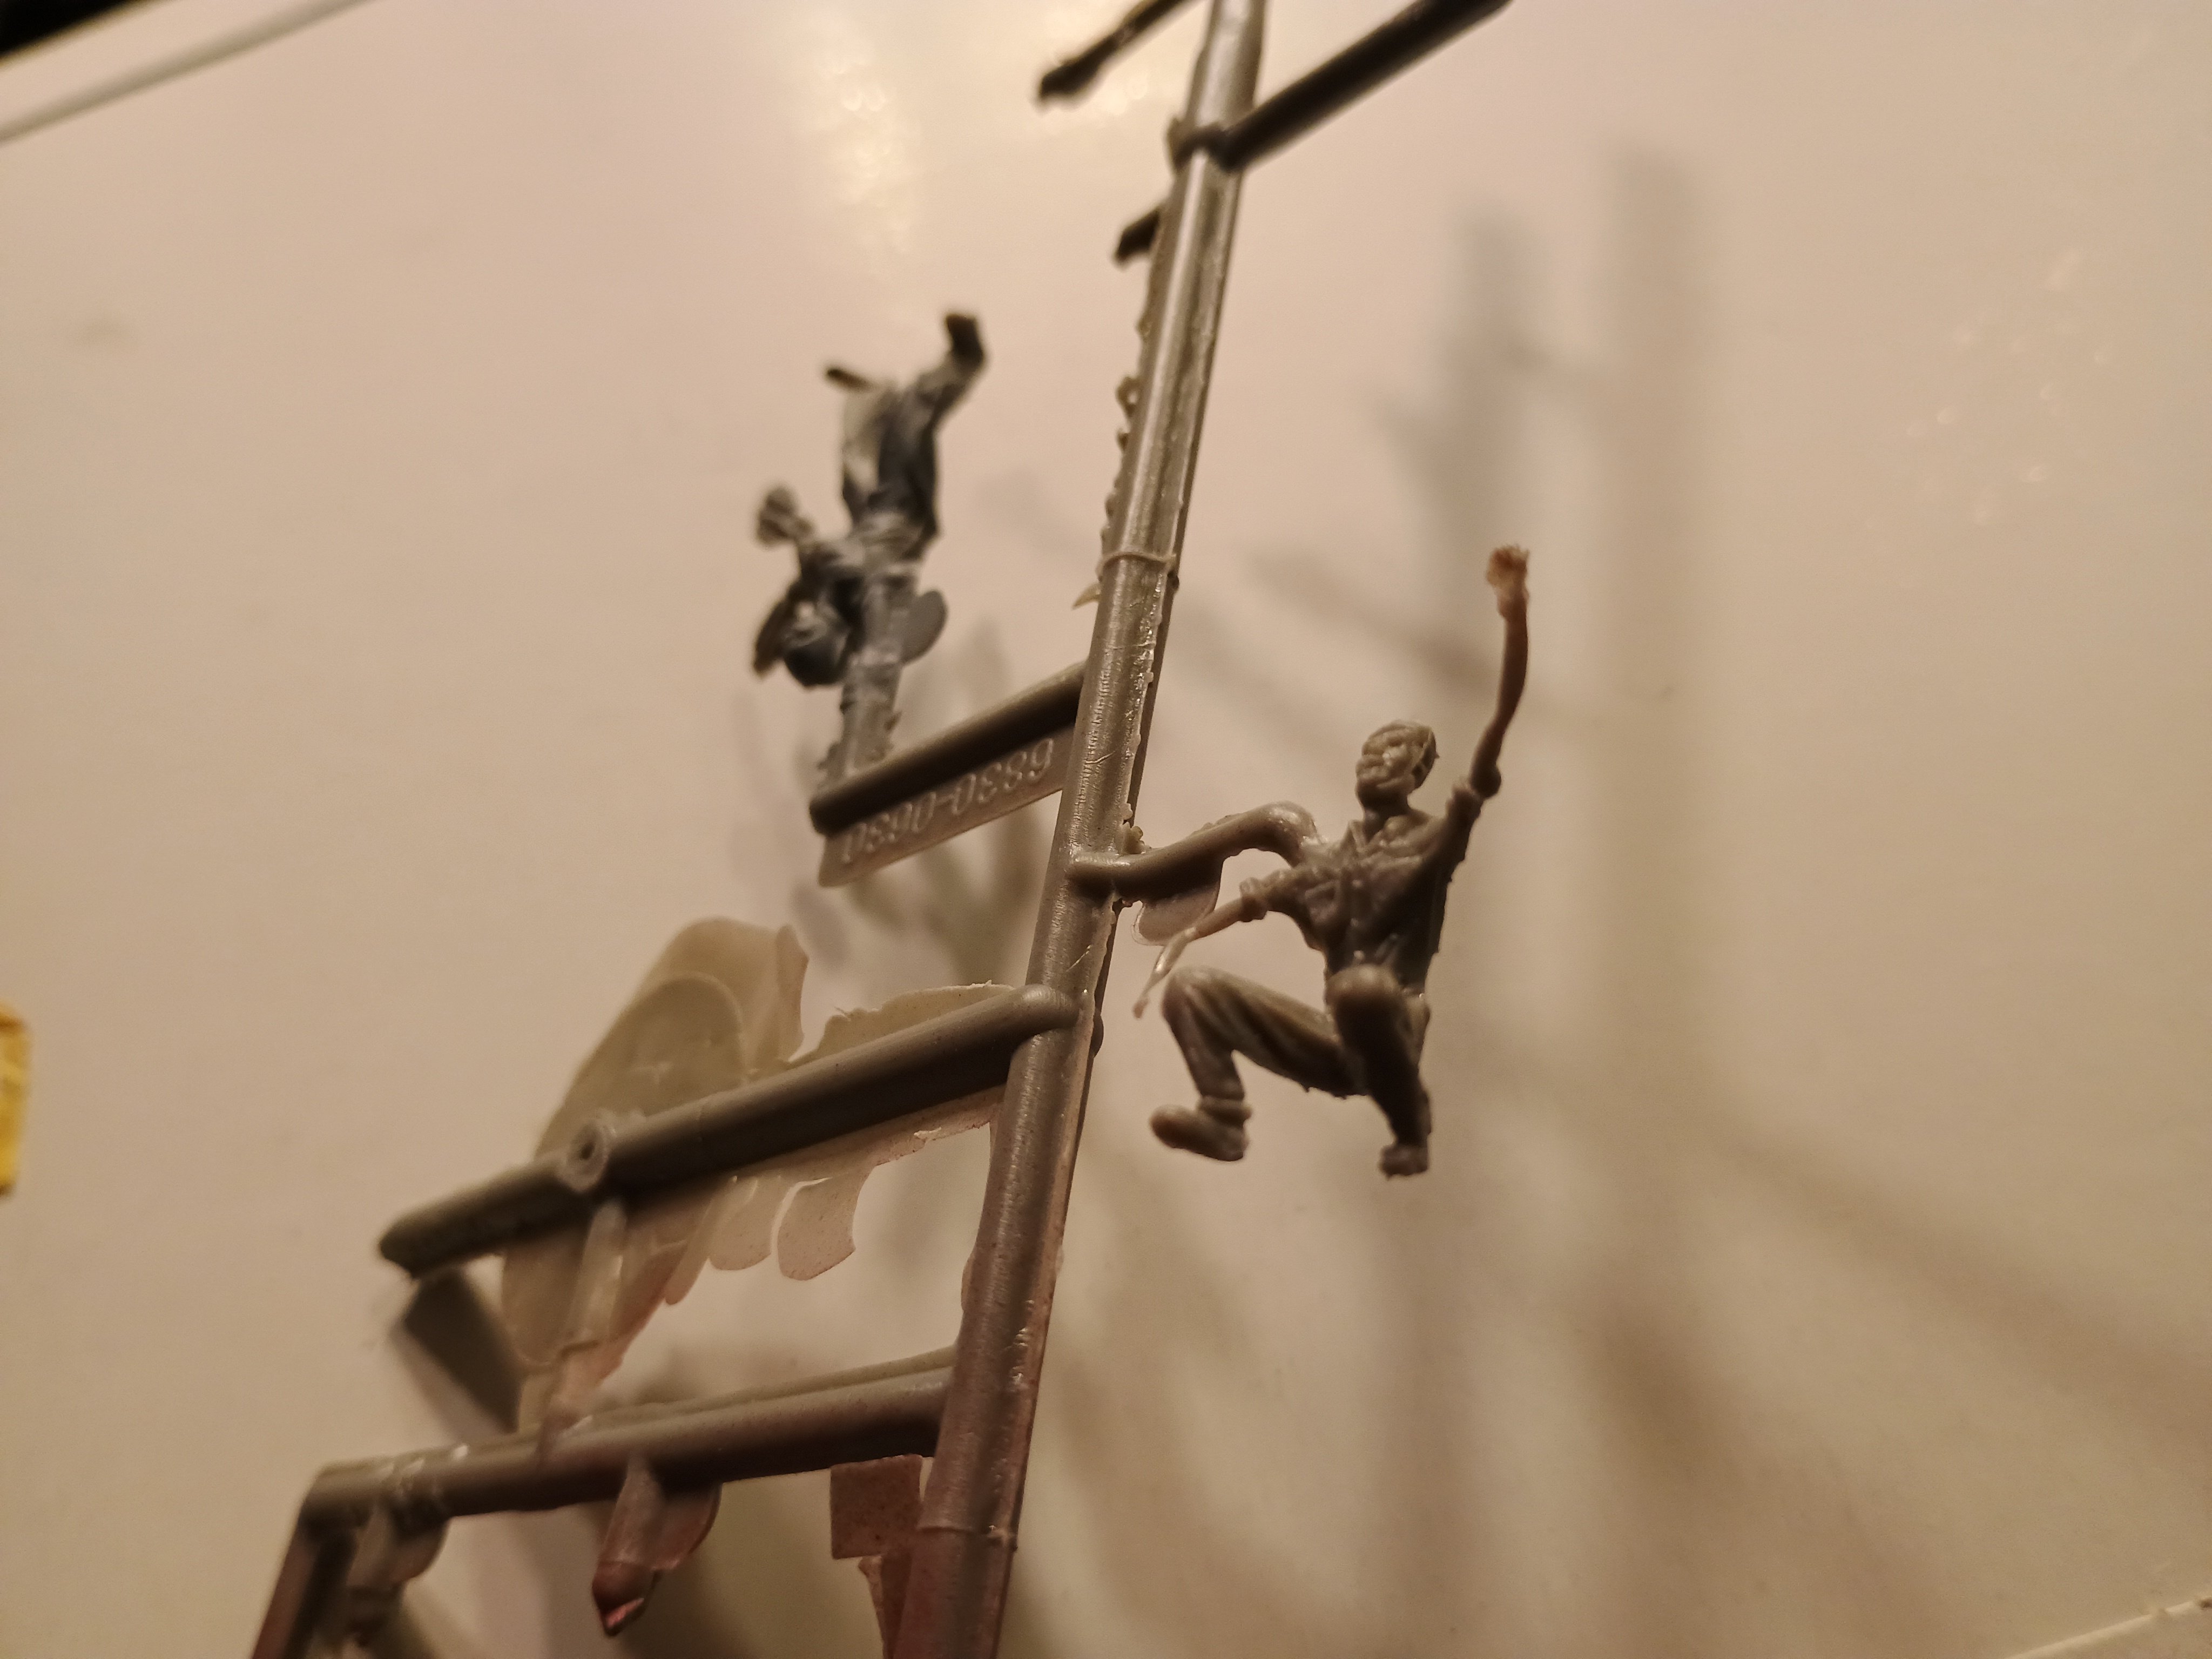
and the one deck figure is miscast as well

The guy kneeling looks almost ok from the front apart for some weird looking arms, but from the side/back you realize that the plastic did not fill the mold and it is only half cast. The left arm is almost paper thin and missing his back and back of his head. The other figure seems fine though
17732482007832296475478578872100.jpg
17732482462907843036450777951558.jpg
 
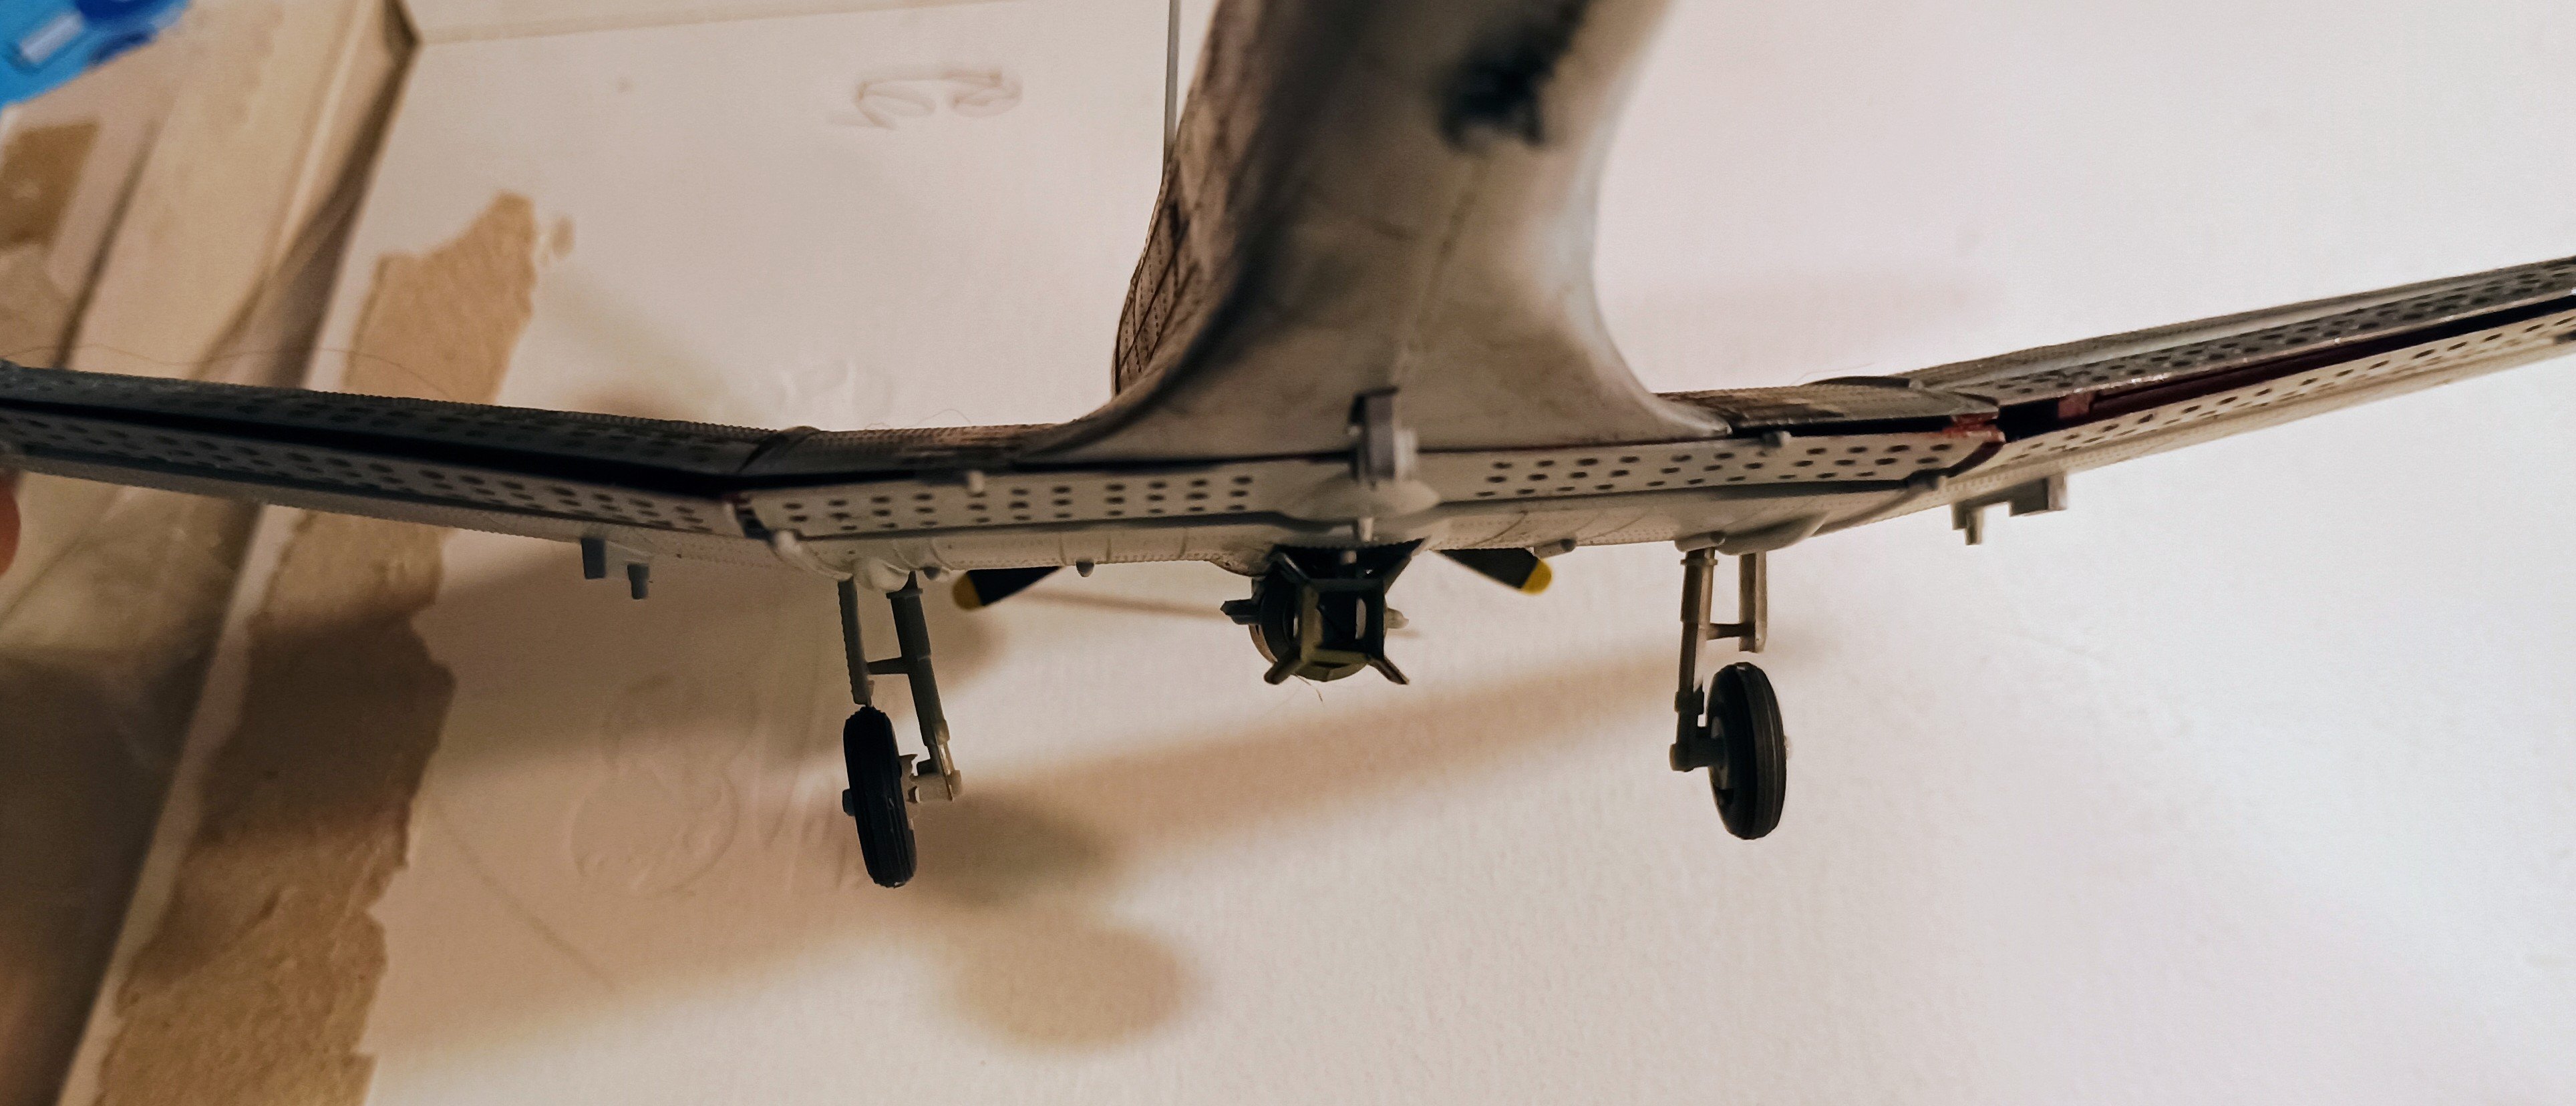
Regarding the positionable flaps and landing gear. Here is gears down

IMG_20260311_130539257_HDR_AE~2.jpg


And the opening the flaps is just pulling down any one of them

IMG_20260311_130635711_AE~2.jpg

IMG_20260311_130654554_AE~2.jpg


And dropping the bomb, you push that little tab right behind the dive brake in the center

IMG_20260311_130720065_AE~2.jpg

IMG_20260311_130811621_AE.jpg

IMG_20260311_130753153_AE.jpg


It is very amusing

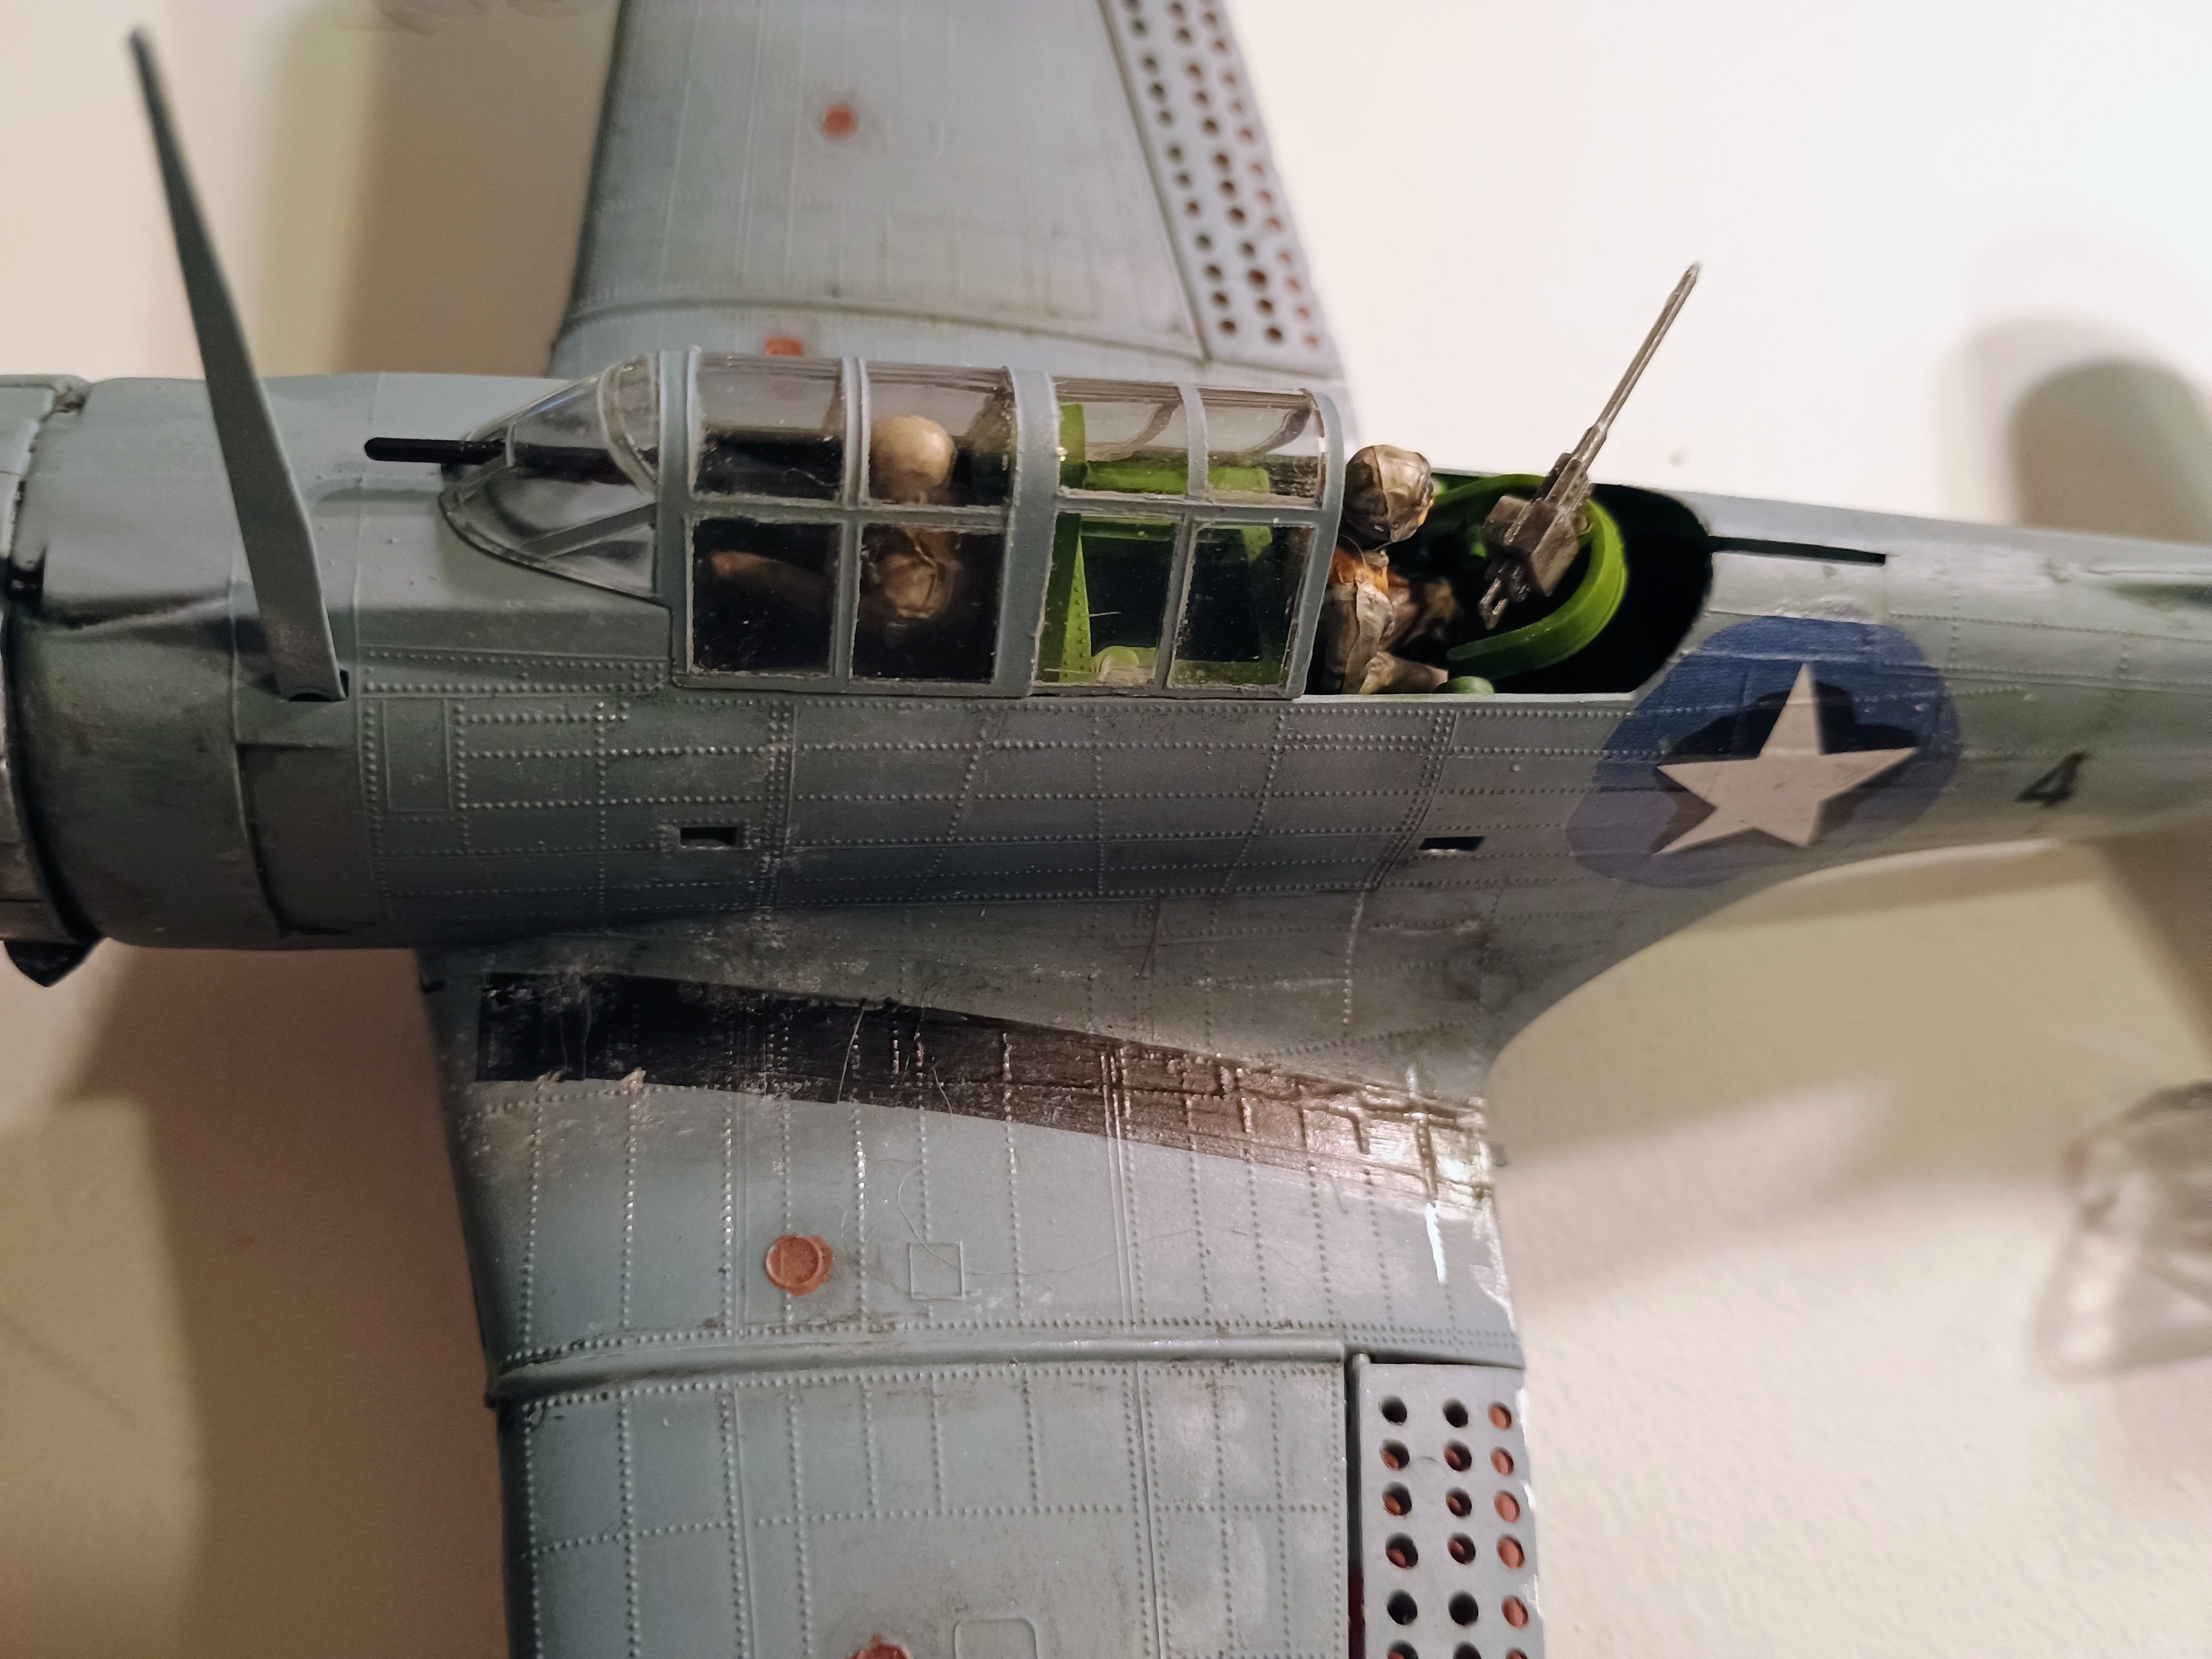
And also you can move the tail gun around and stow it as well to throw on the rear canopy. Of course the problem here is the canopy cannot rollback in a telescoping type fashion. Even if you cut it into different sections the would not fit nested together.

It's a fun kit with some novelties in trade of accurate details in those areas

IMG_20260311_131206855_AE.jpg

IMG_20260311_131142679_AE.jpg
 
As an Amazon Associate we earn from qualifying purchases. Product prices and availability are accurate as of the date/time indicated and are subject to change.
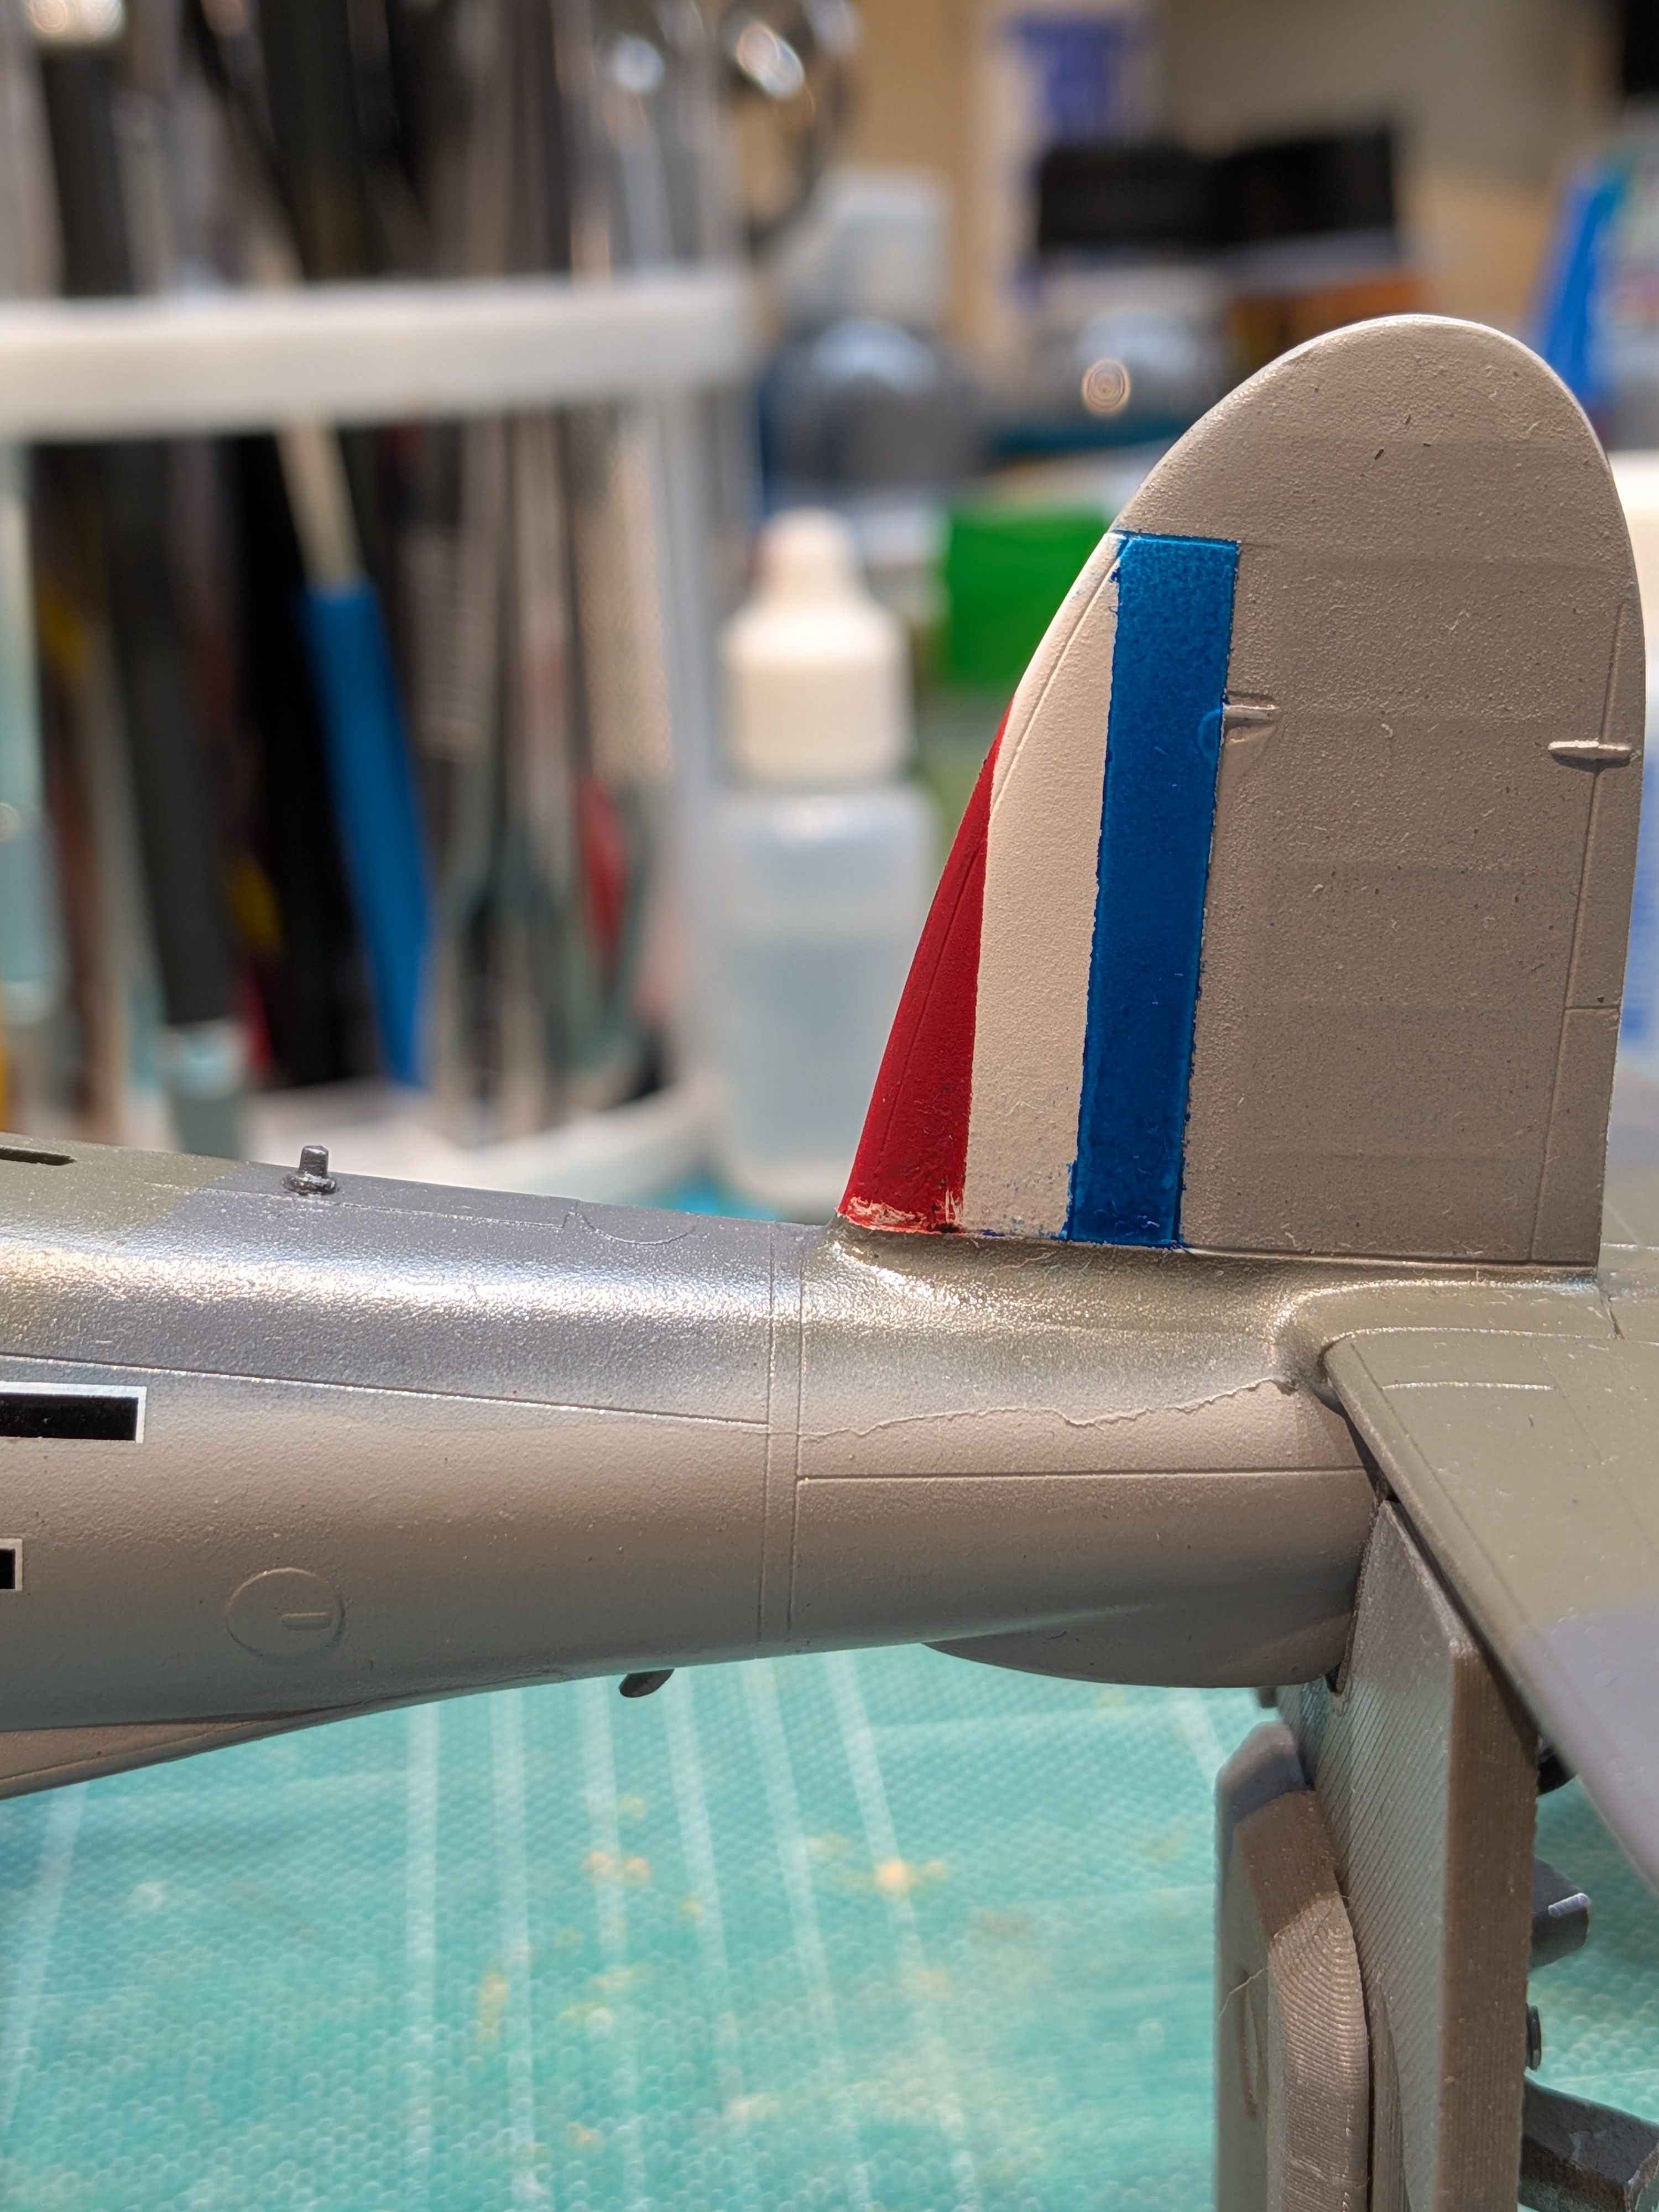
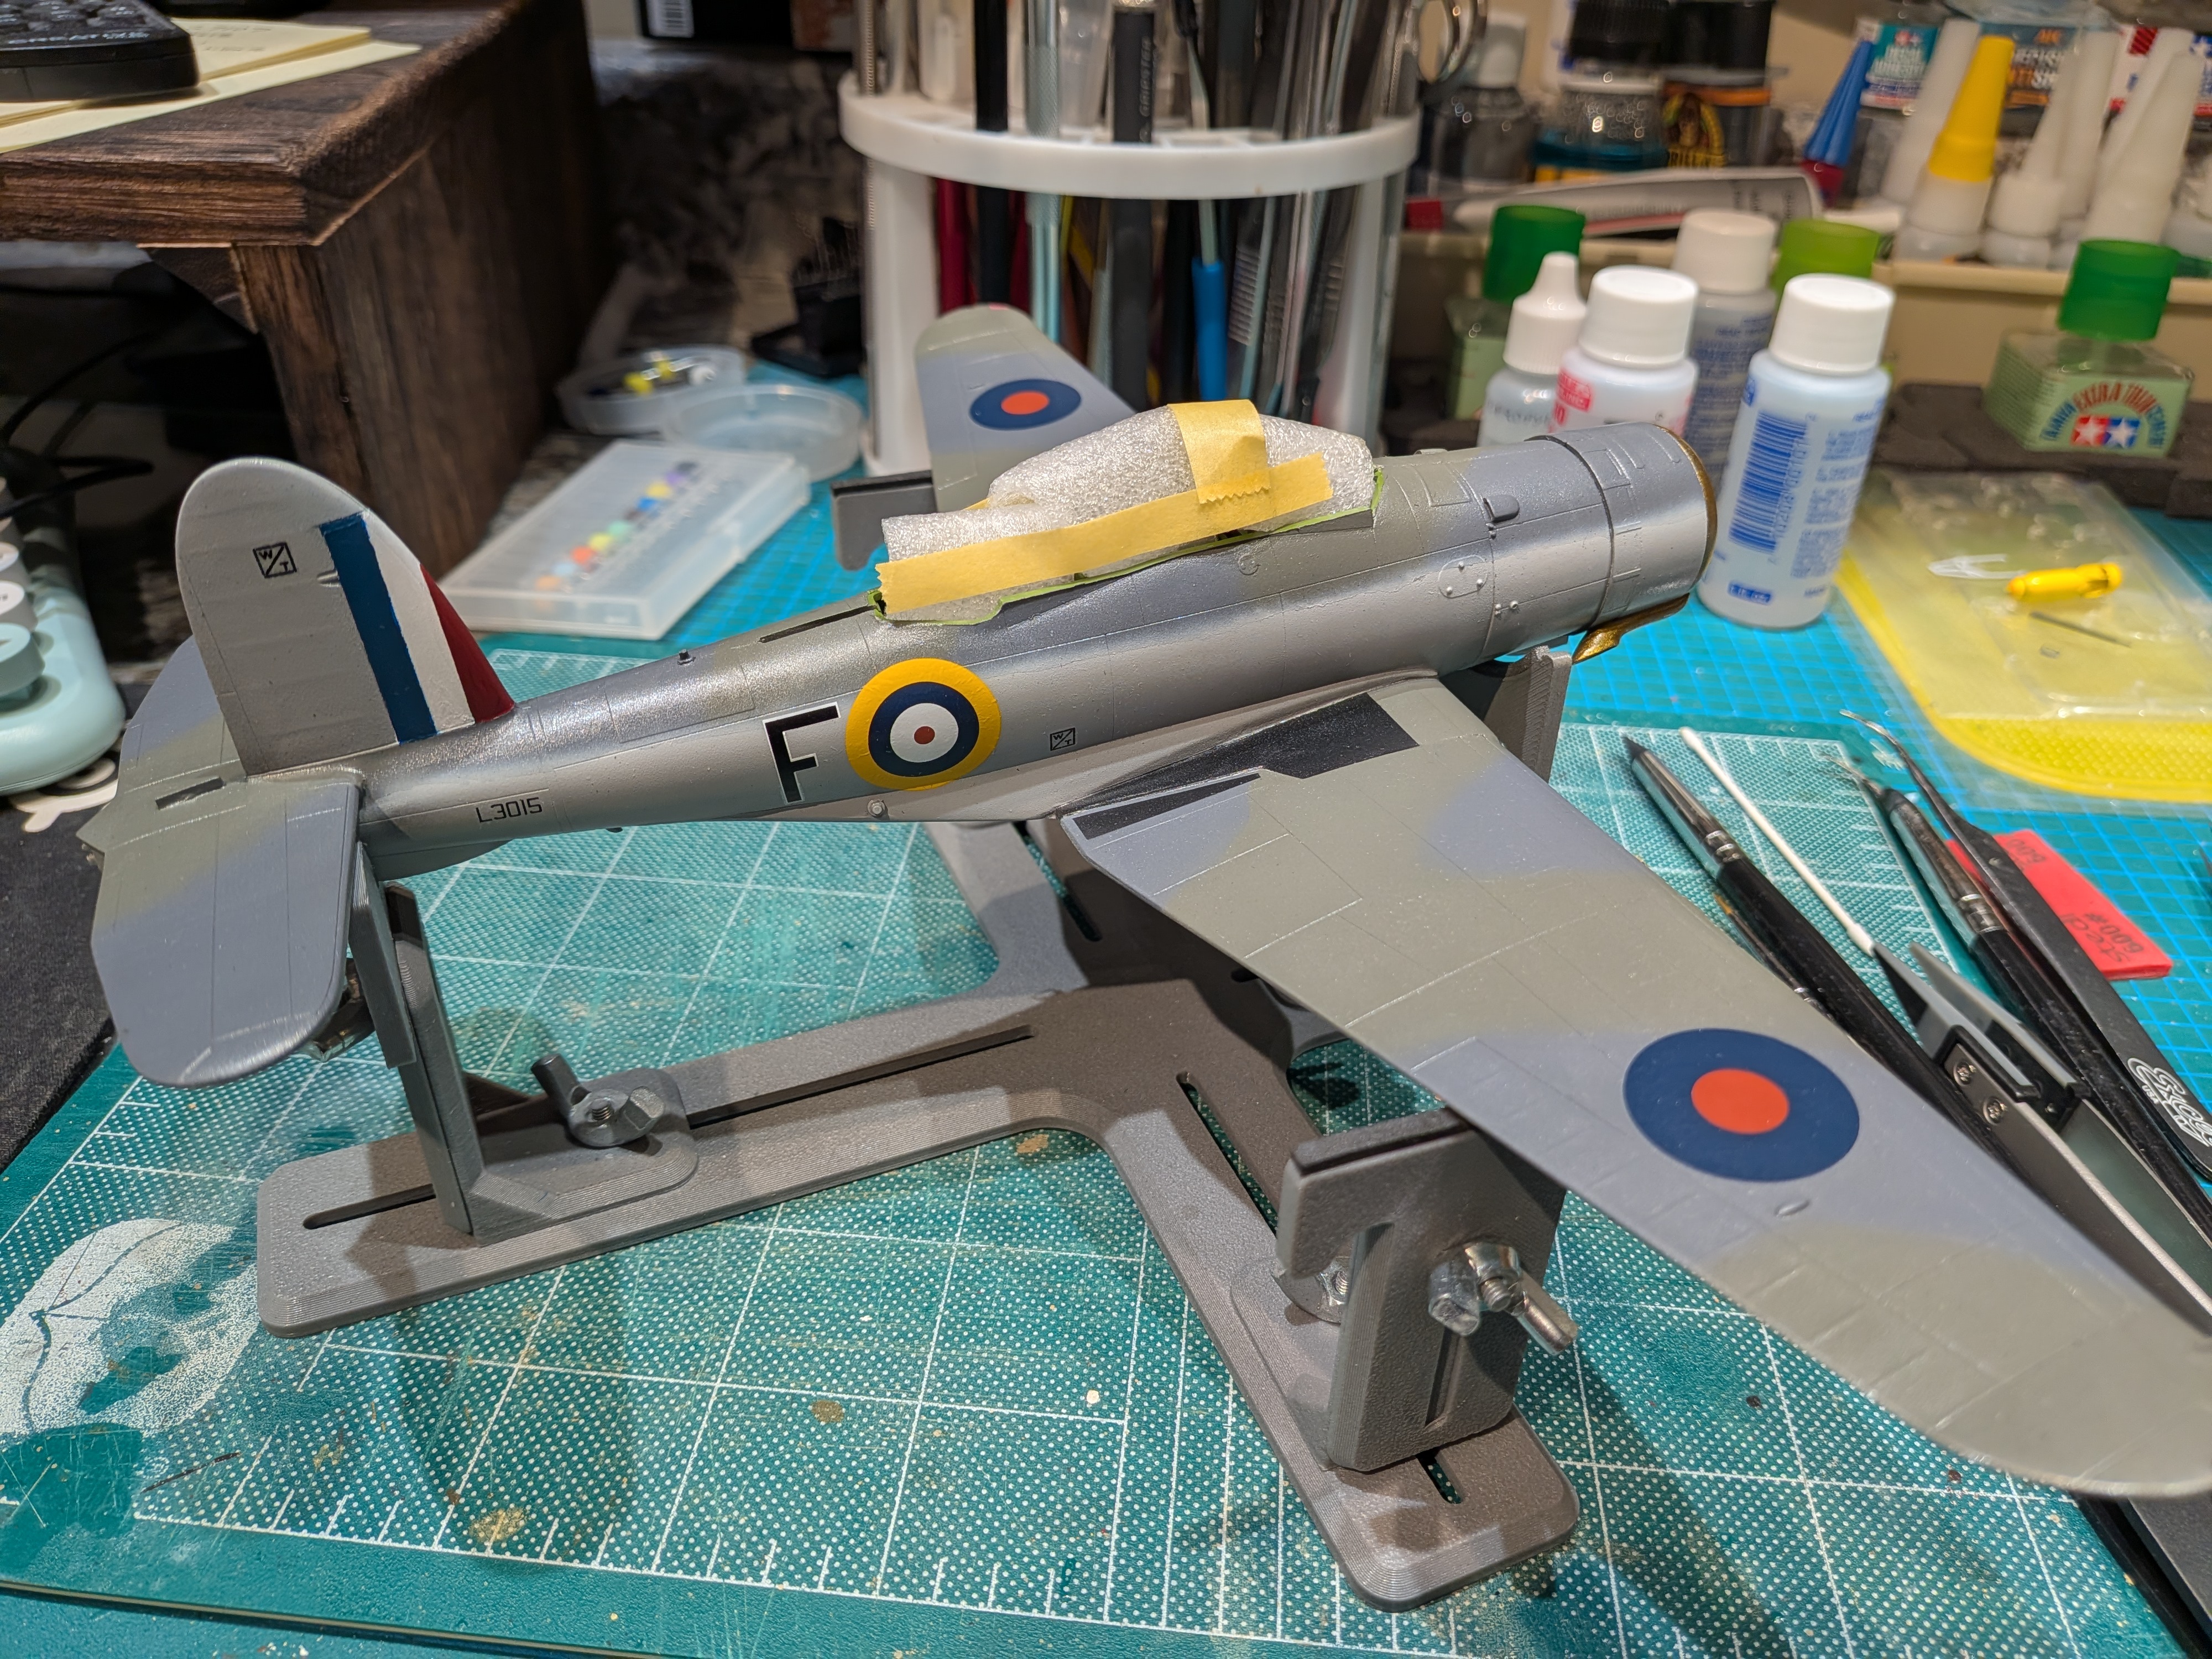
...darkened the tail to be closer to the roundels... Last decals and another gloss coat:

1662.jpg

Next stop: weathering!

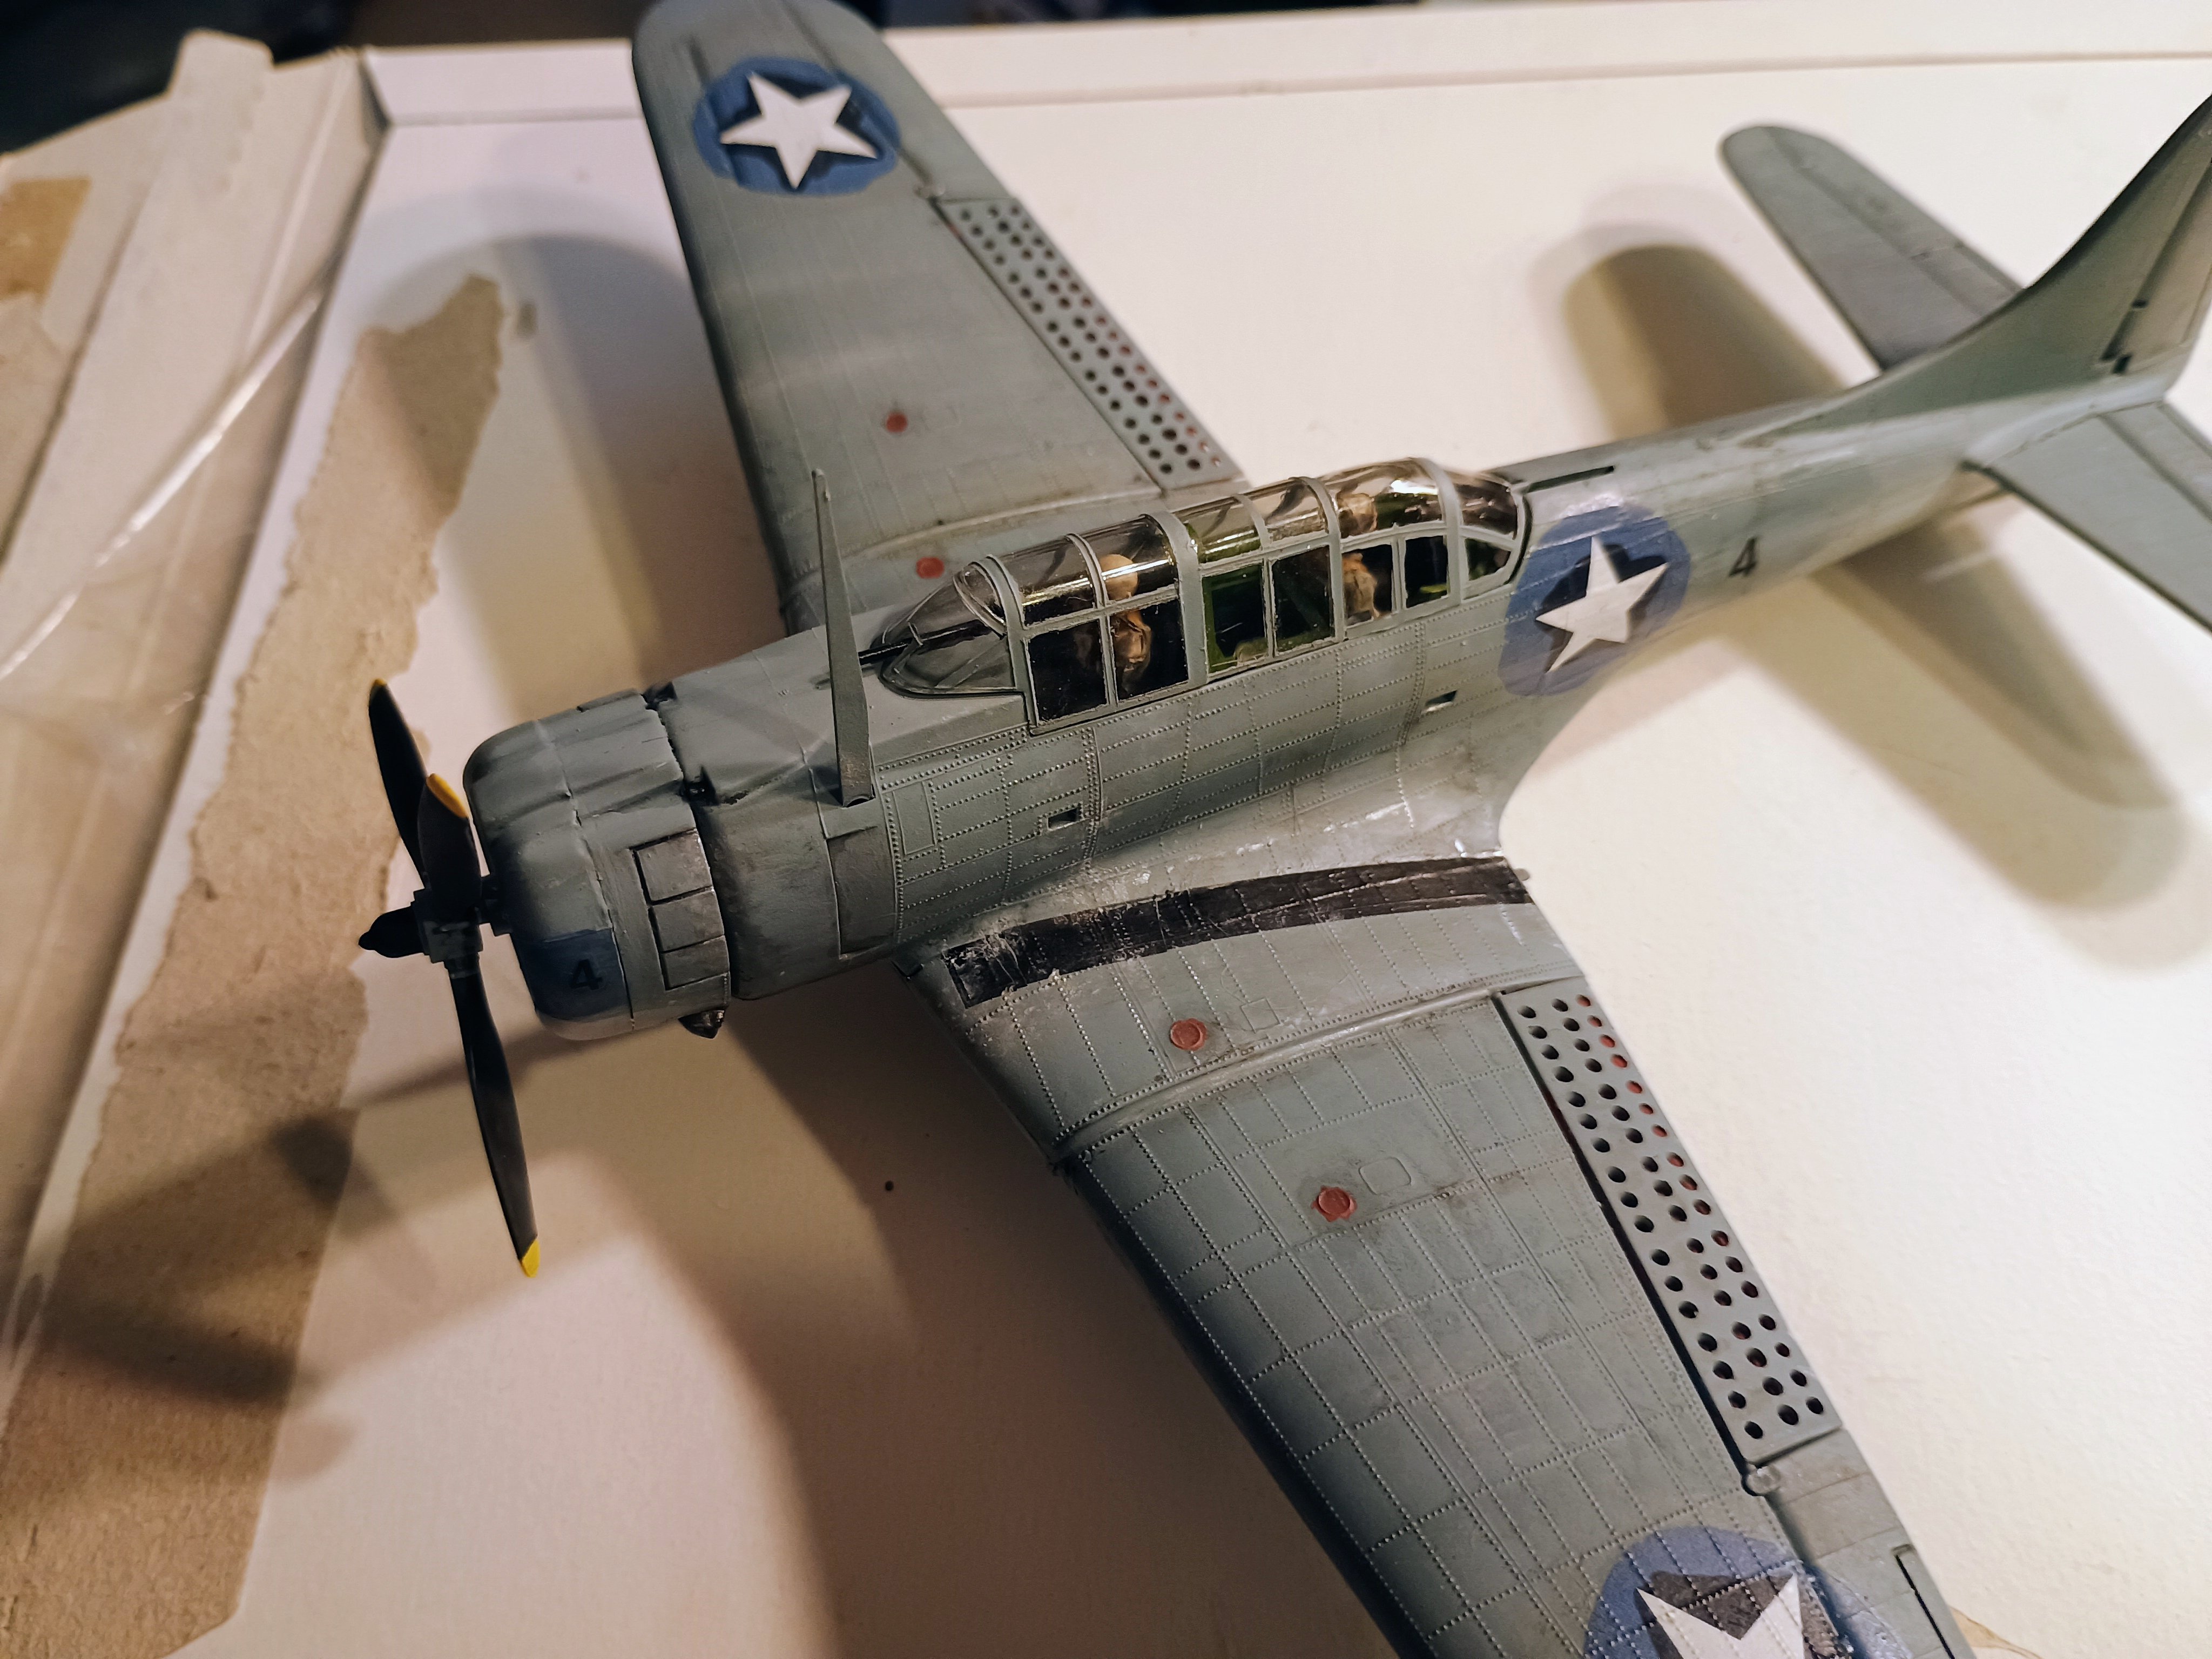
Some of the things I'm learning with this first aircraft experience, besides the general process of building a plane, is what can go wrong, and how to address some of the little 'surprises'.
The airbrush is also revealing itself, and not so scary as I previously imagined.

Of course, there is a ton still to learn on both fronts, but I can honestly say this has been quite enjoyable!
 
...darkened the tail to be closer to the roundels... Last decals and another gloss coat:

View attachment 184735
Next stop: weathering!

Some of the things I'm learning with this first aircraft experience, besides the general process of building a plane, is what can go wrong, and how to address some of the little 'surprises'.
The airbrush is also revealing itself, and not so scary as I previously imagined.

Of course, there is a ton still to learn on both fronts, but I can honestly say this has been quite enjoyable!
Looking very good! Welcome to a wider world of scale modeling!
 
weathering
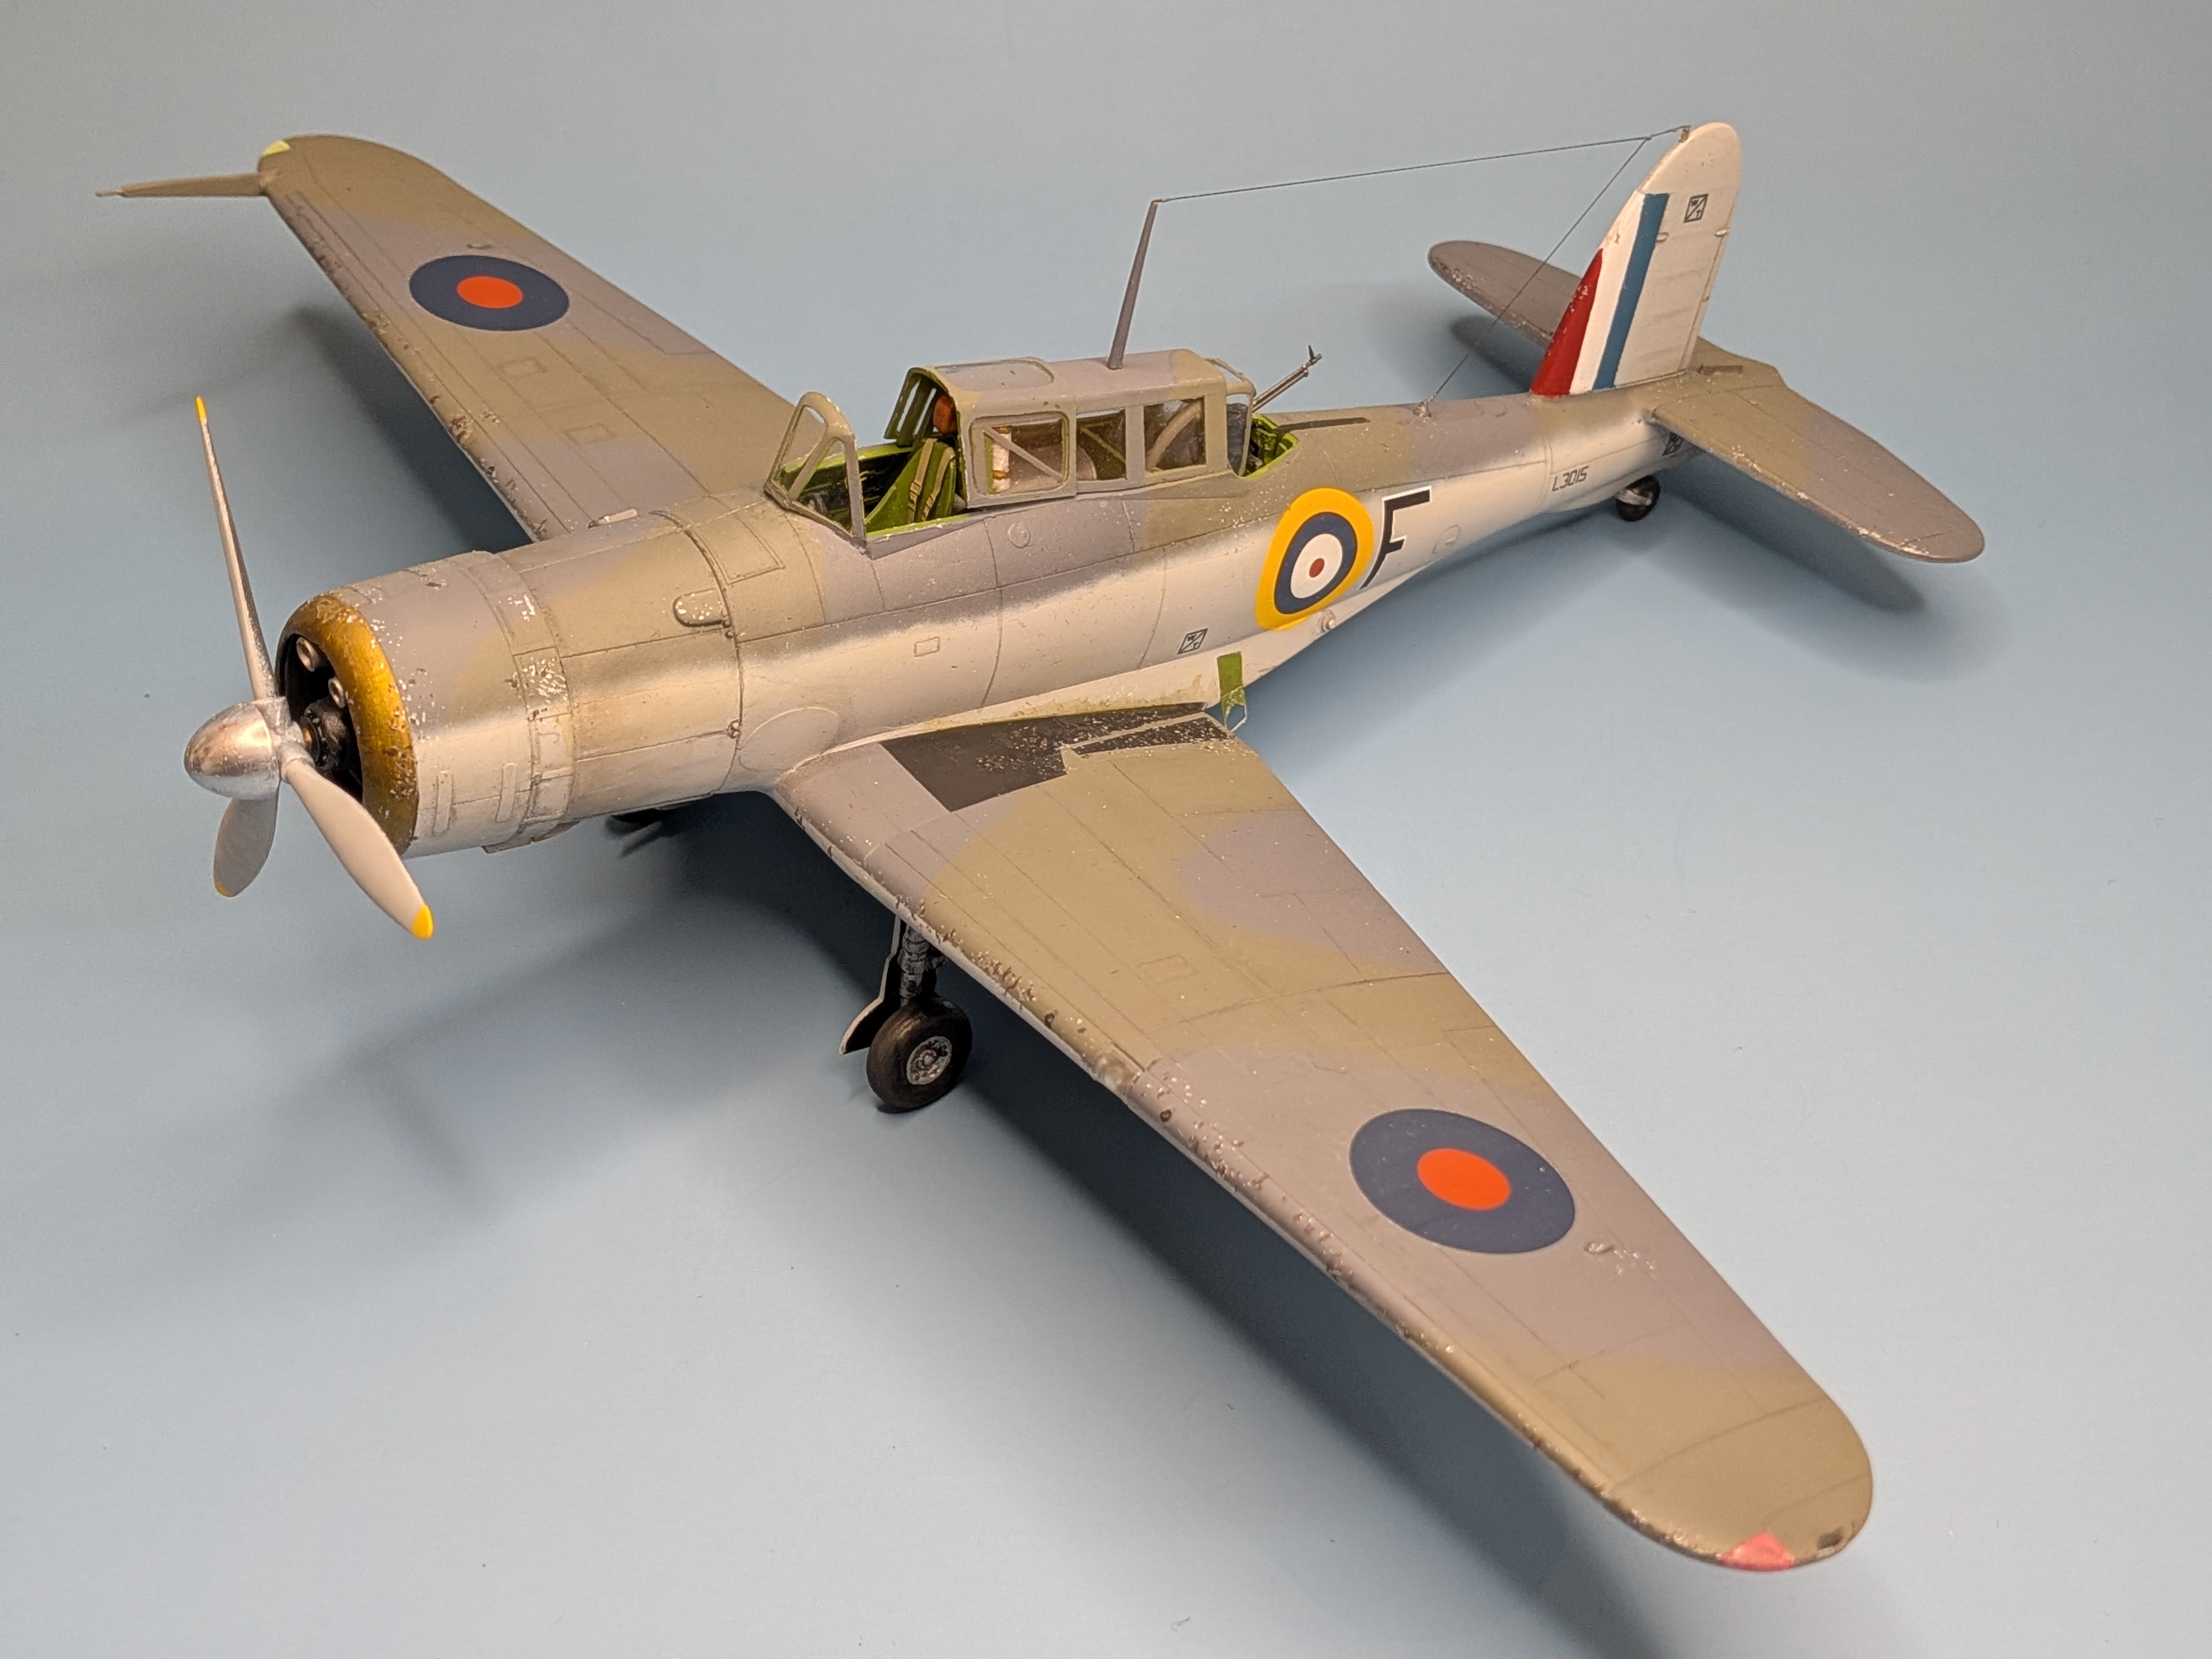
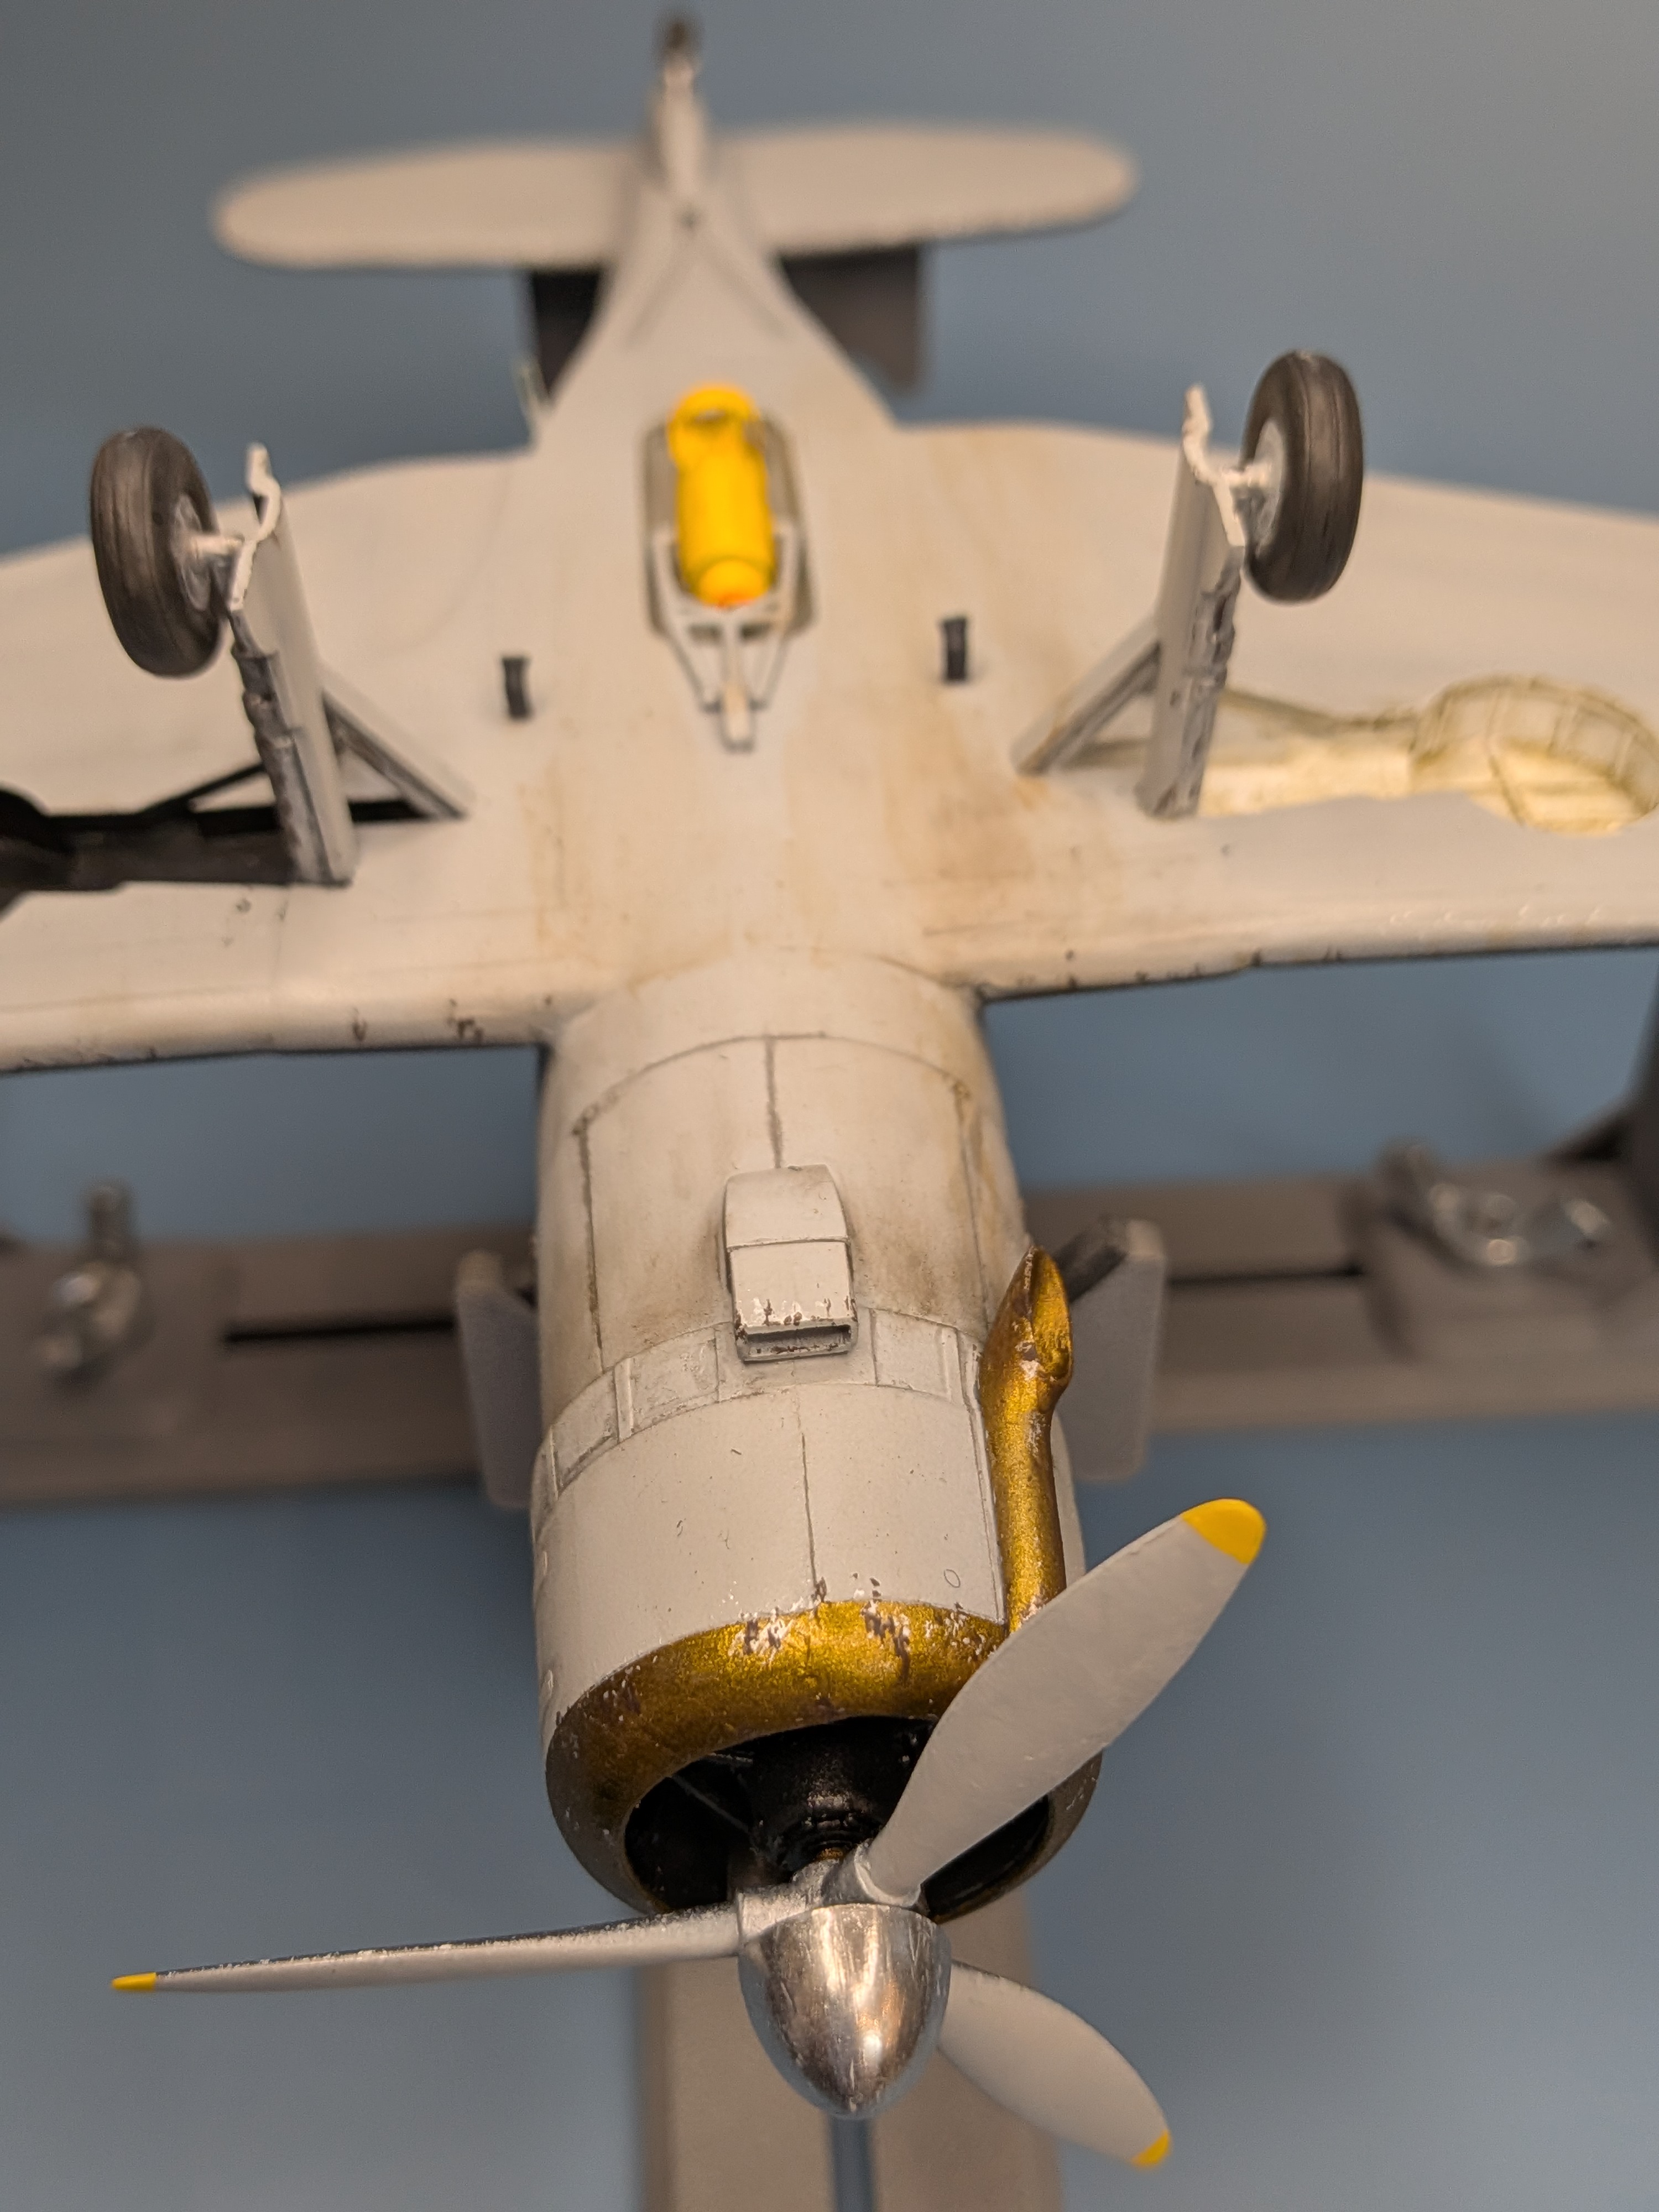
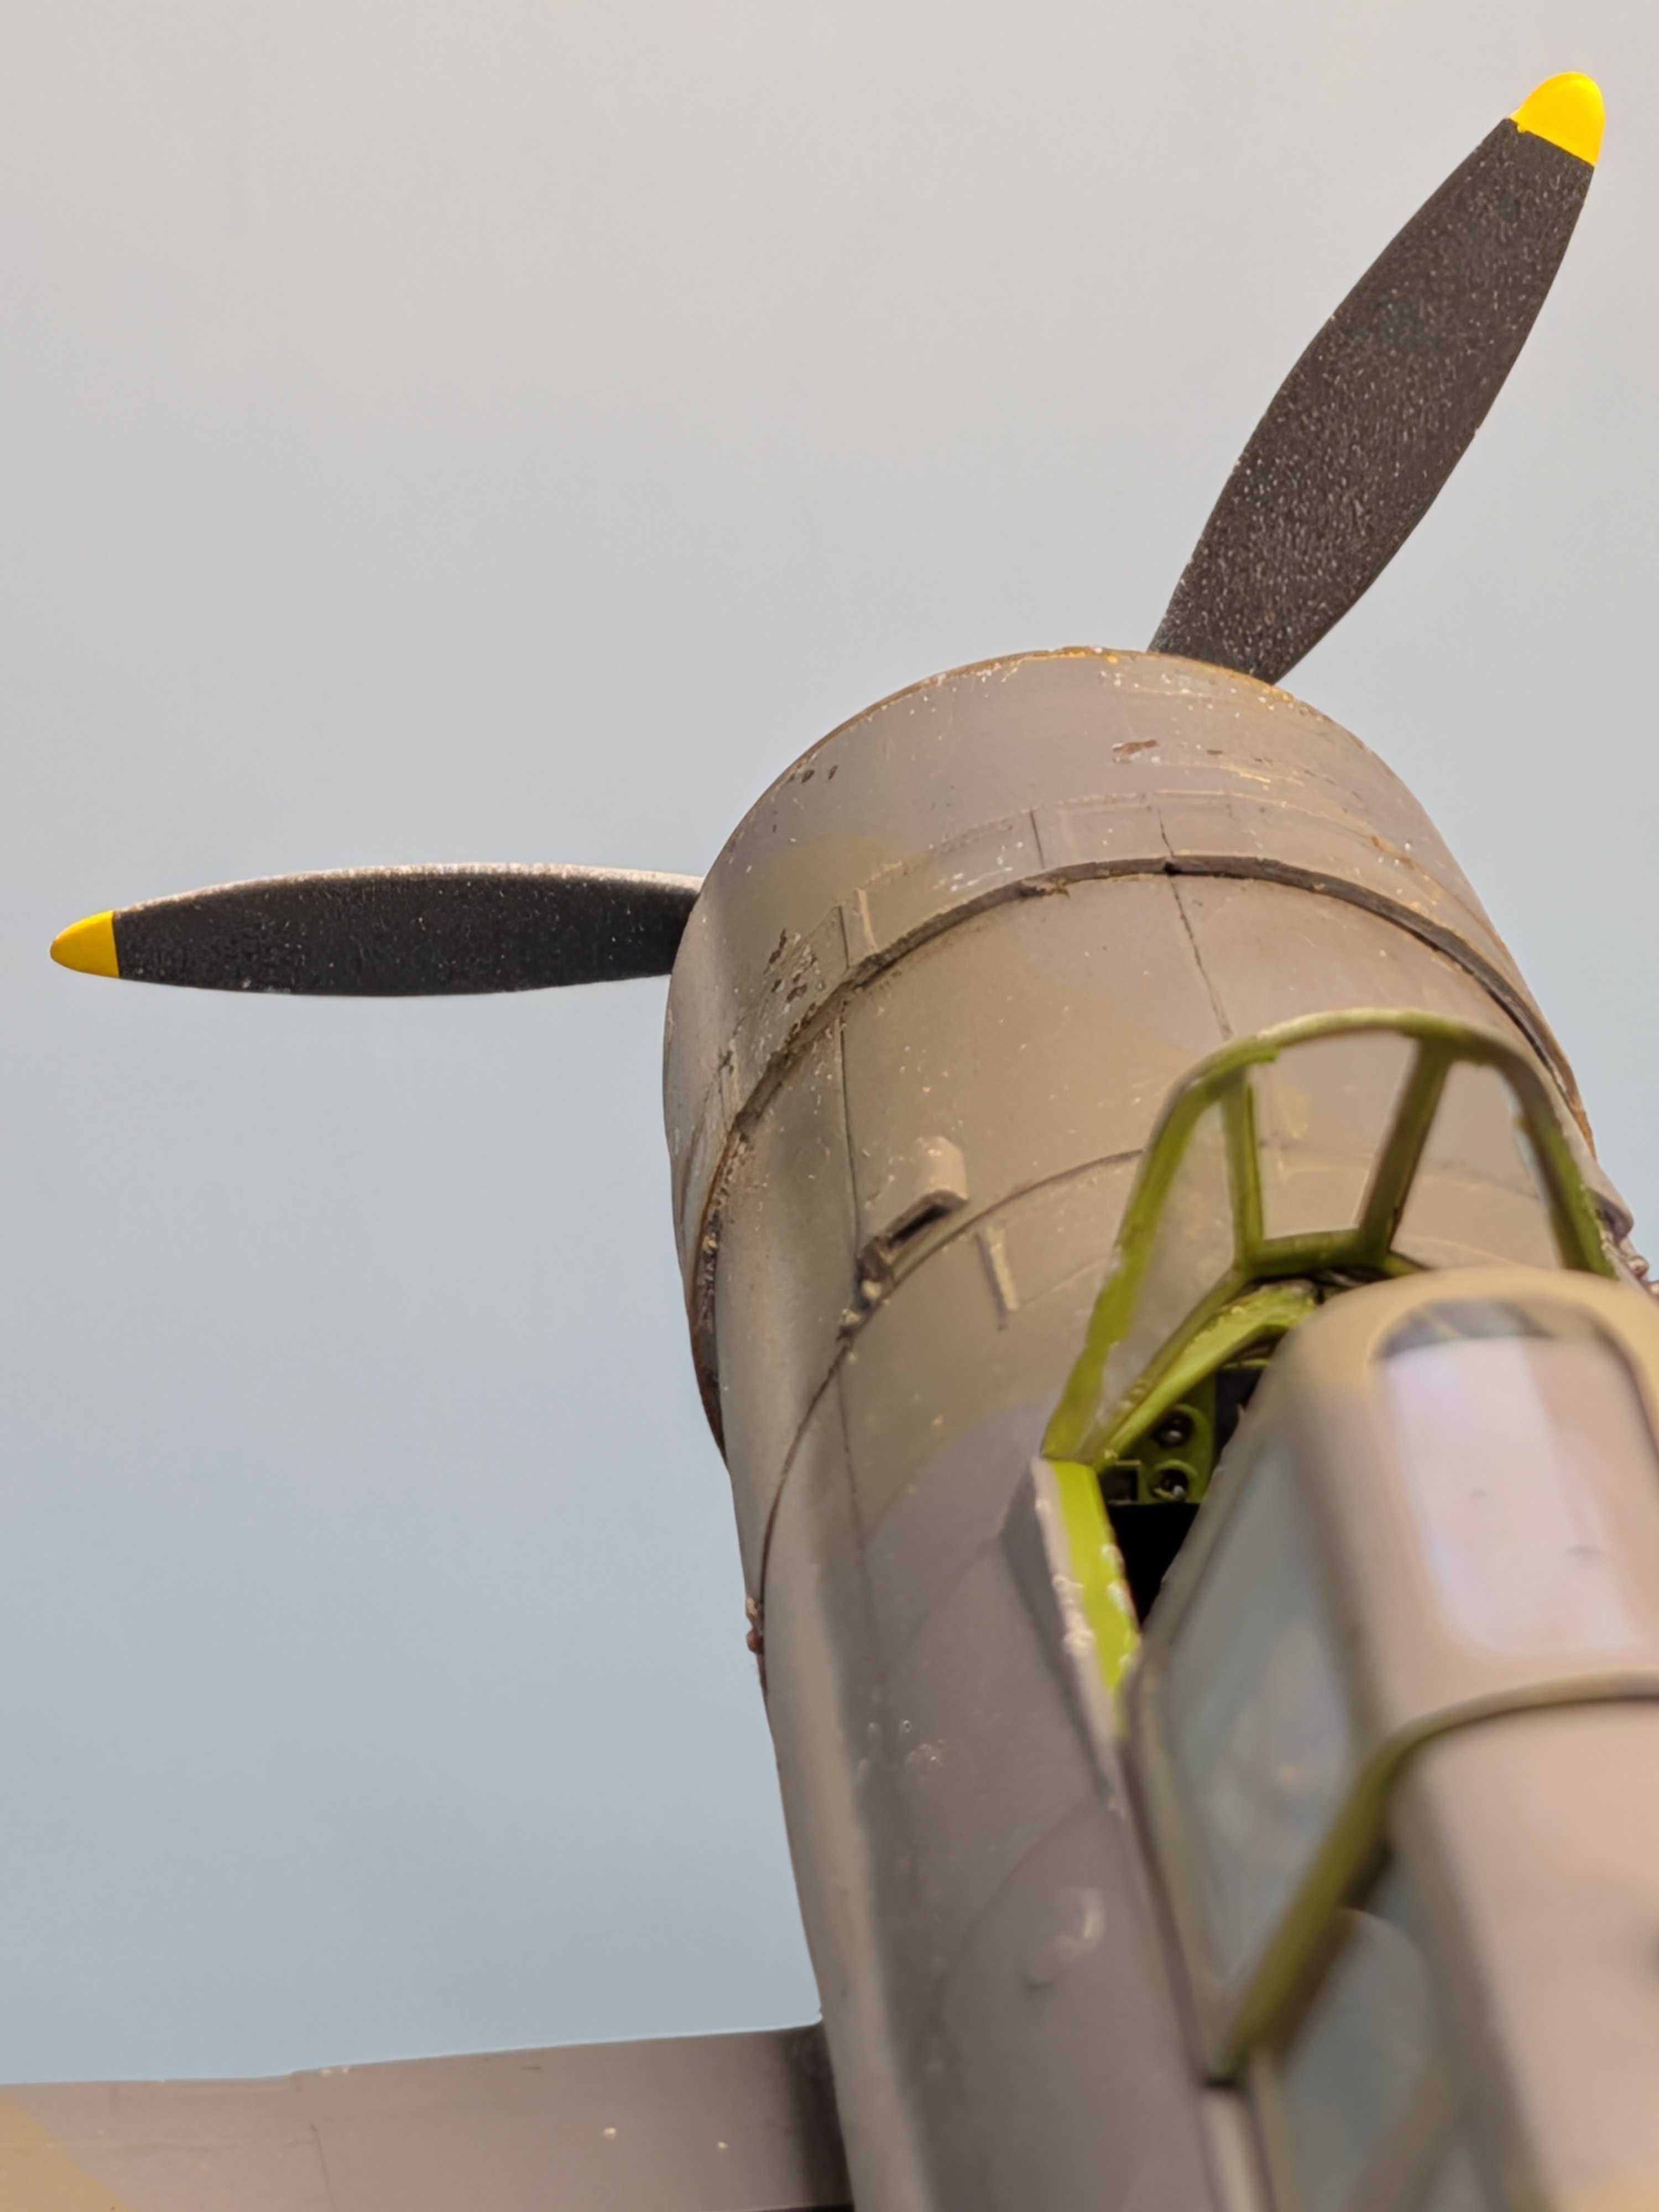
Thanks for the comment...
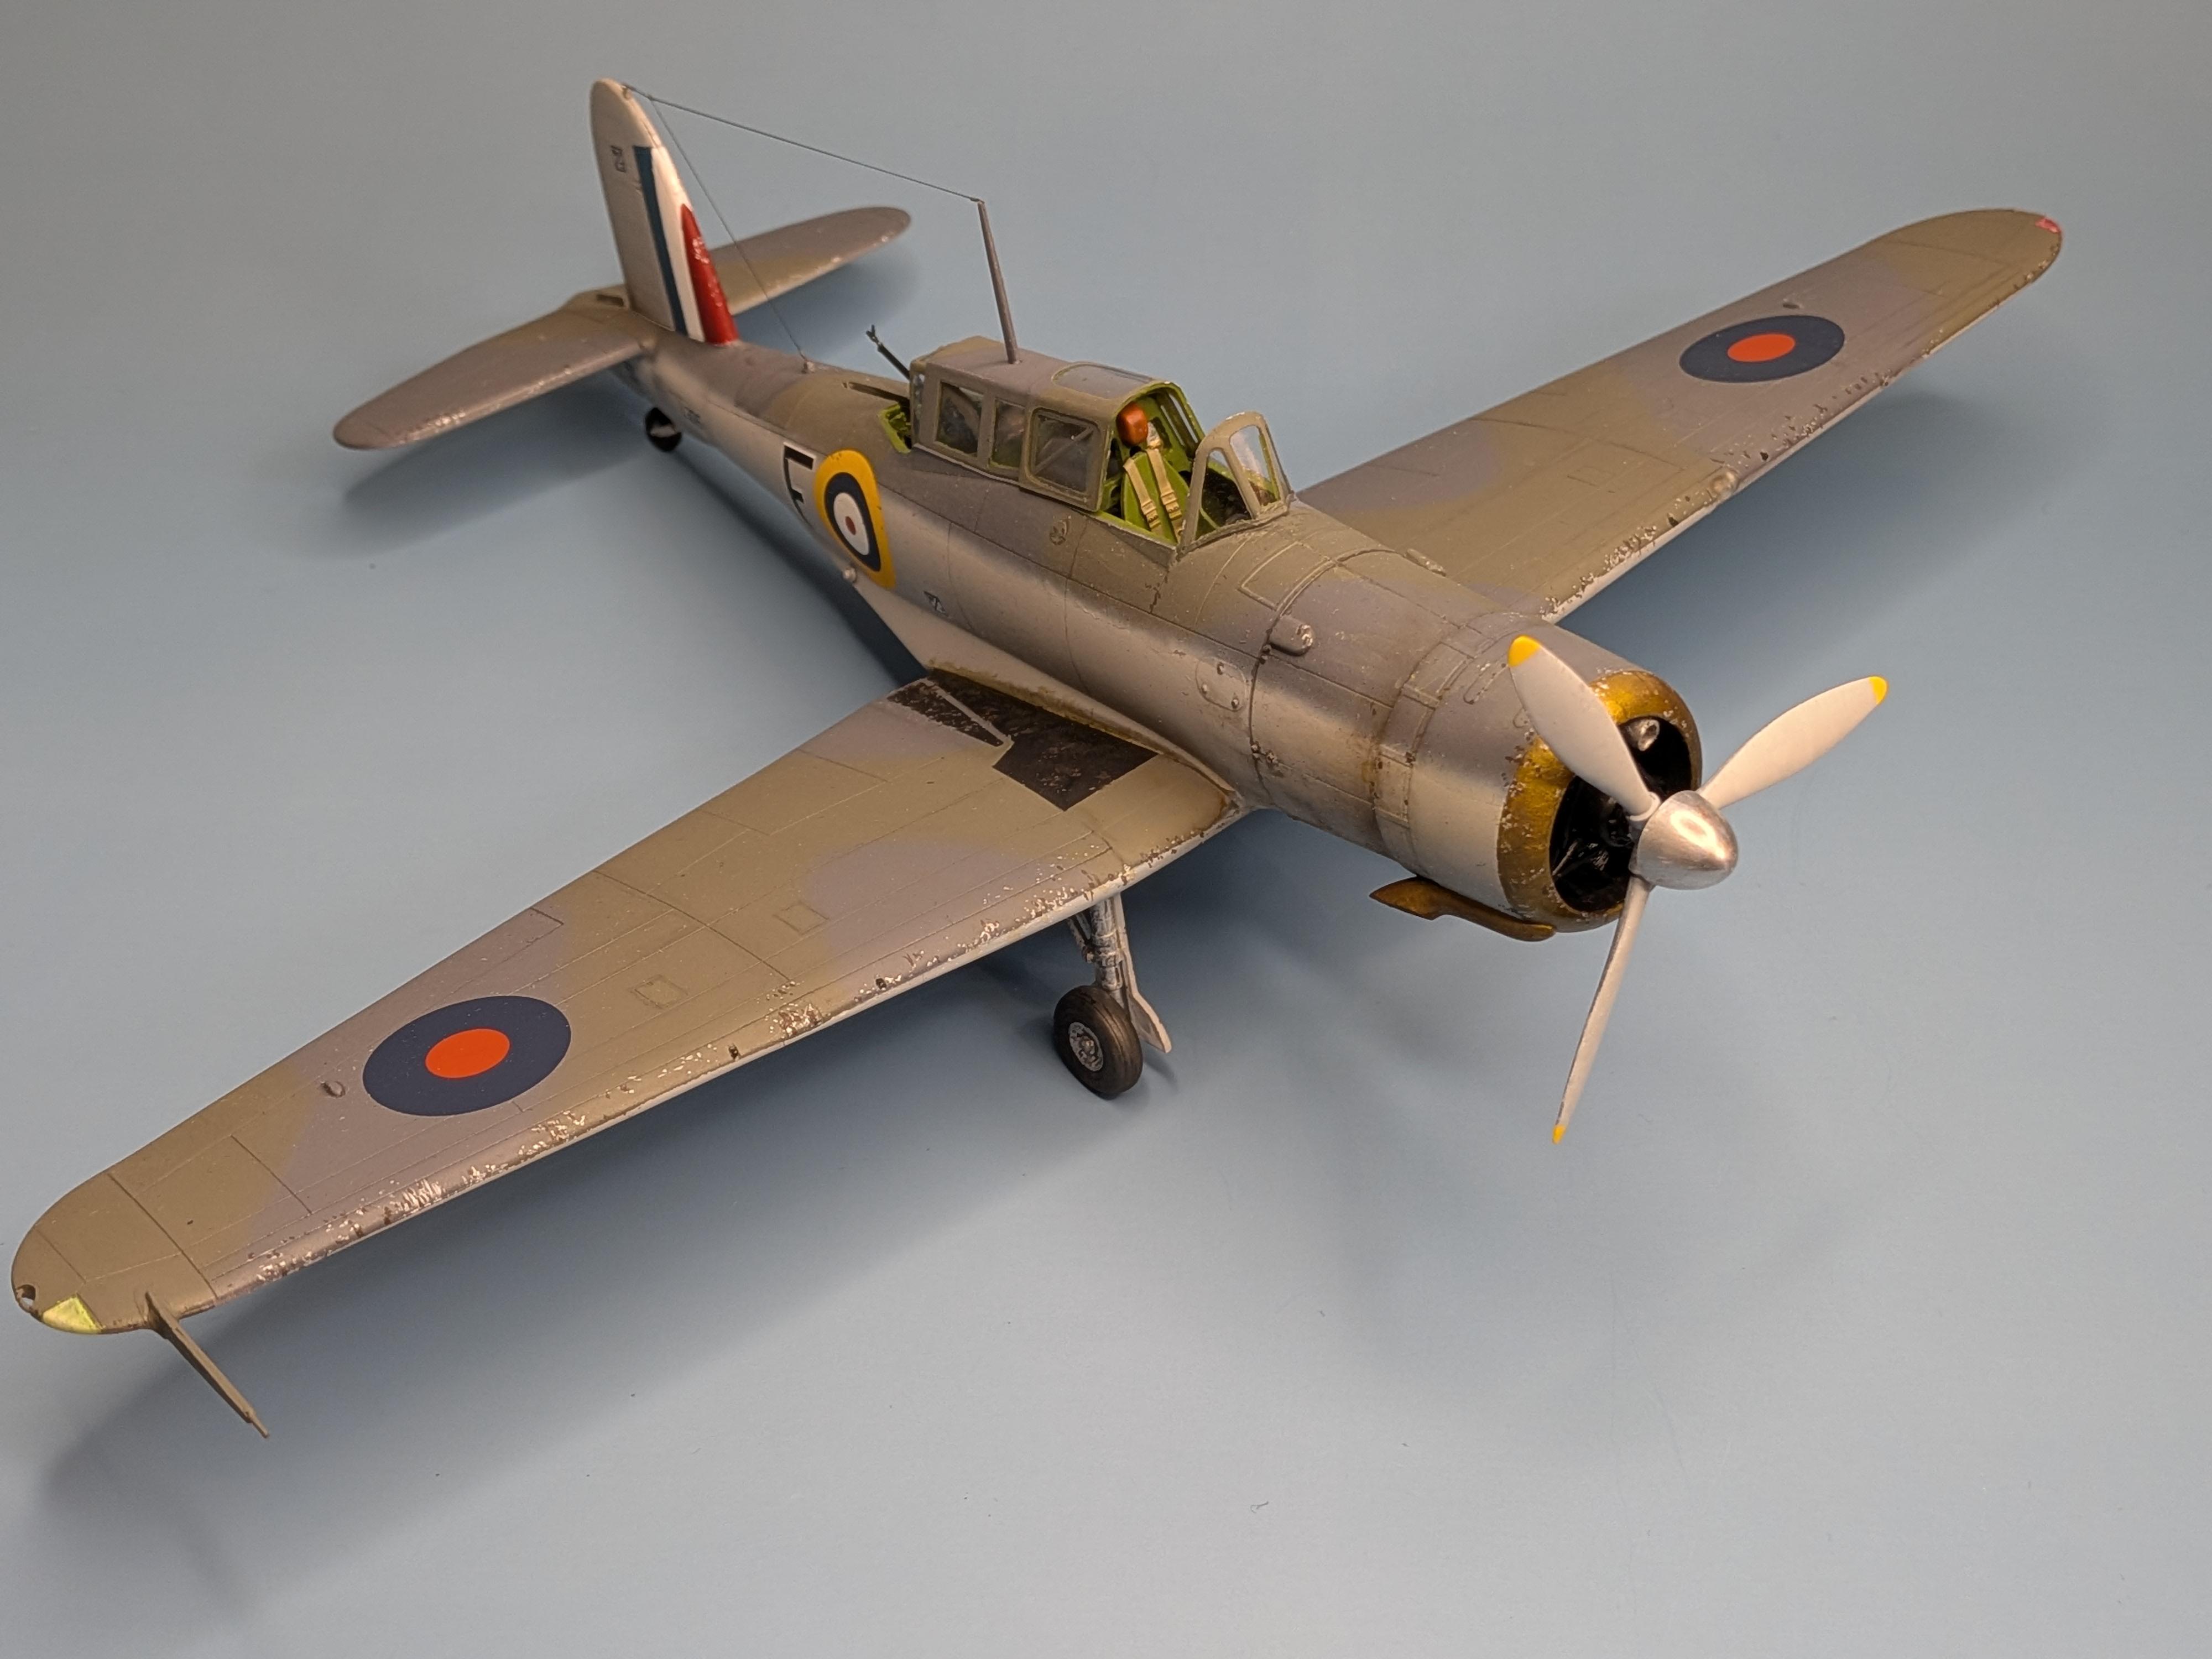
Tried my hand at a few different techniques...

As a first go, I didn't go bonkers, probably too subtle, I'll admit mostly out of fear!

AB pre-shading (which only really worked underneath),
post shading with pencils,
a few panel lines with brush/ink,
chipping with a sponge and brush,
highlights with pencils,
dirt/grime with washes and weather master foam applicators.
 
Thanks for the comment...
Tried my hand at a few different techniques...

As a first go, I didn't go bonkers, probably too subtle, I'll admit mostly out of fear!

AB pre-shading (which only really worked underneath),
post shading with pencils,
a few panel lines with brush/ink,
chipping with a sponge and brush,
highlights with pencils,
dirt/grime with washes and weather master foam applicators.
You did good!
 
Thanks for the comment...
Tried my hand at a few different techniques...

As a first go, I didn't go bonkers, probably too subtle, I'll admit mostly out of fear!

AB pre-shading (which only really worked underneath),
post shading with pencils,
a few panel lines with brush/ink,
chipping with a sponge and brush,
highlights with pencils,
dirt/grime with washes and weather master foam applicators.
It's that sweet spot where it is not quite as obvious from a distance but when you take a close look at things it gives that used look
 

Latest posts

Back
Top