Moonlander, Pegasus Hobbies kit, 1/350 scale

Scale Model Addict - Model Tips, Guides, Tools & Tech, Tutorials, and Community

Help Support Scale Model Addict:

BigGiraffe

Well-Known Member
Bronze Member
Joined
Mar 9, 2026
Messages
50
City & State/Province
Warner Robins, GA
Hello,

I recently purchased this kit after seeing it for the first time. The spacecraft reminds me of pictures from space travel books when I was a boy, and now I see it was actually a concept conceived in the 1950's. The kit has a scale (1/350) though it was just a concept.
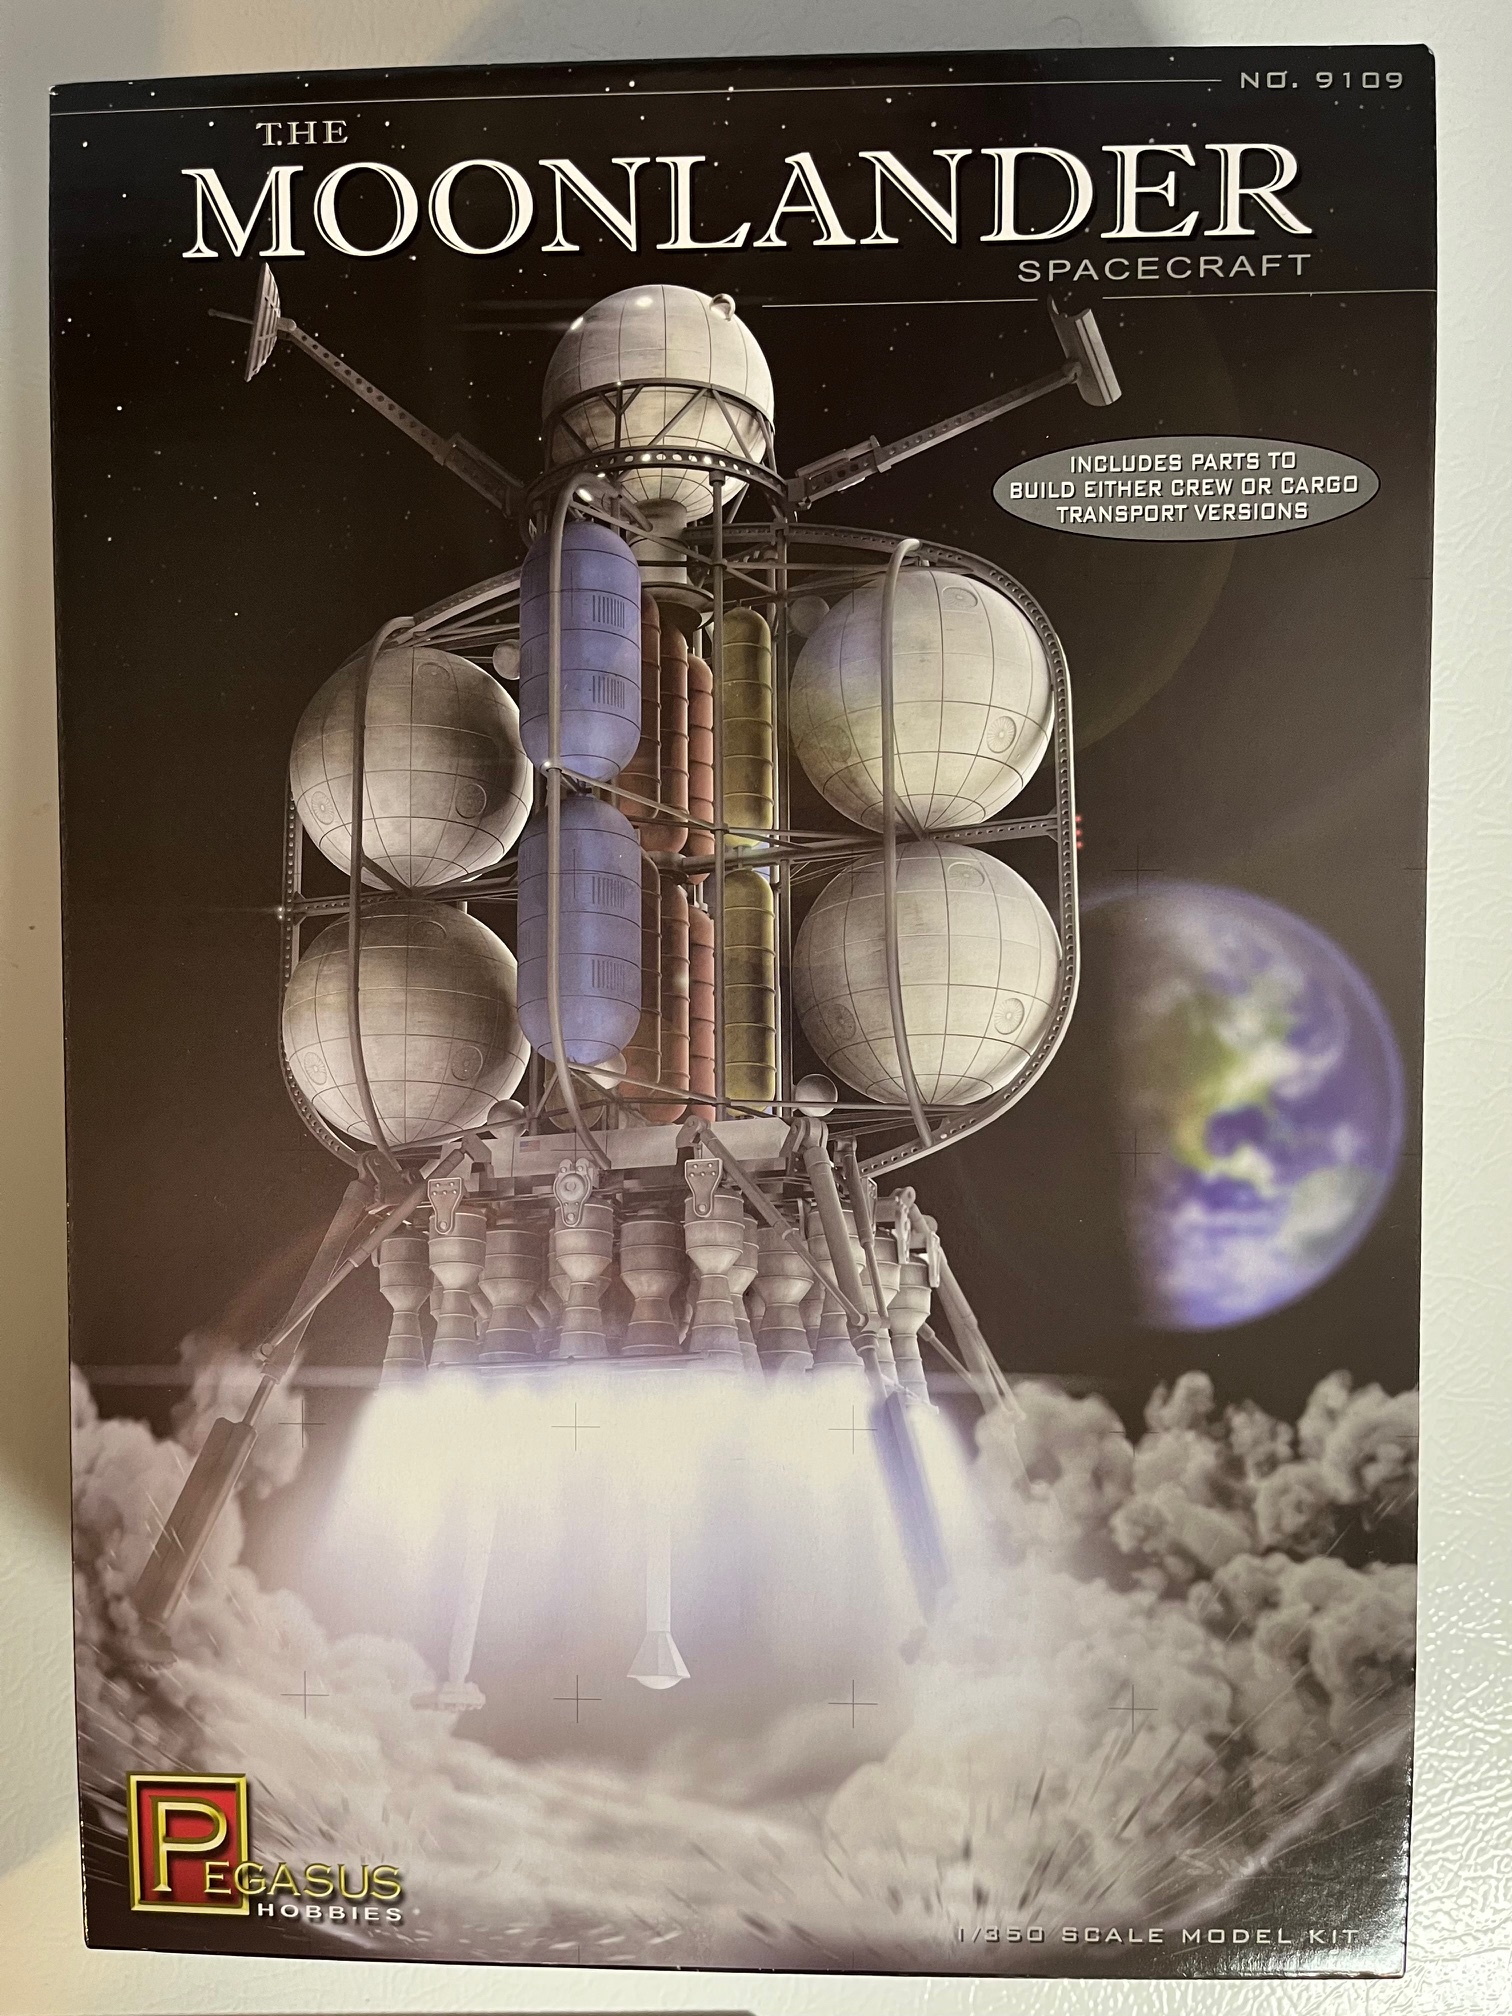

ML-00.jpg

For this kit, I'm just sort of having fun building it, not going to do seam-filling and spray paint. But I'll still try to make a presentable model. And since it was just a concept, that means we can use whatever colors we want to... So I'm going to loosely use the box art, but with my own changes.

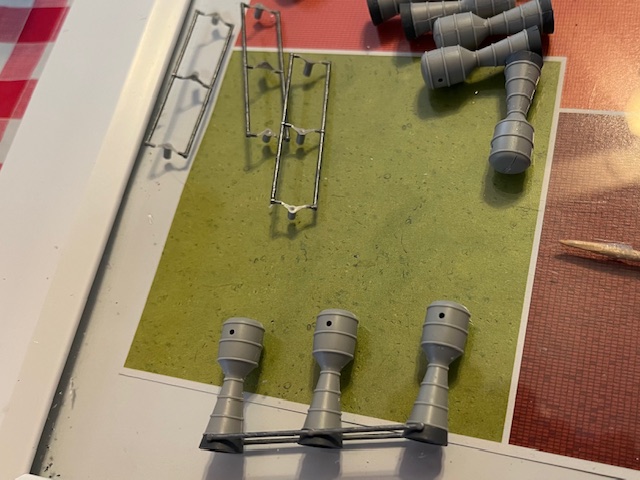
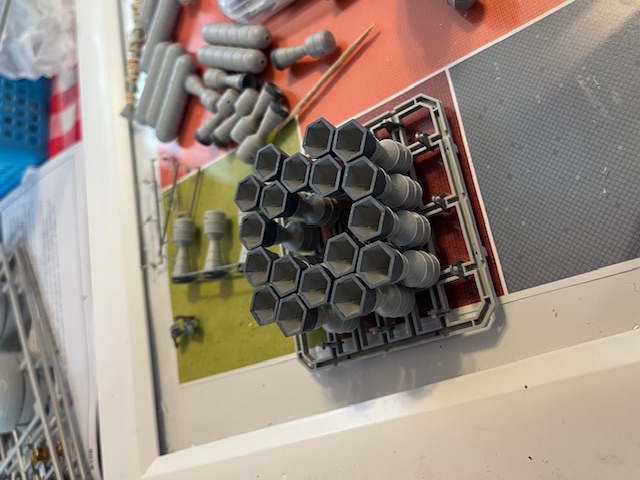
I actually started a couple of days ago. Assembly begins with the rocket engines, a total of 30 in two different types:
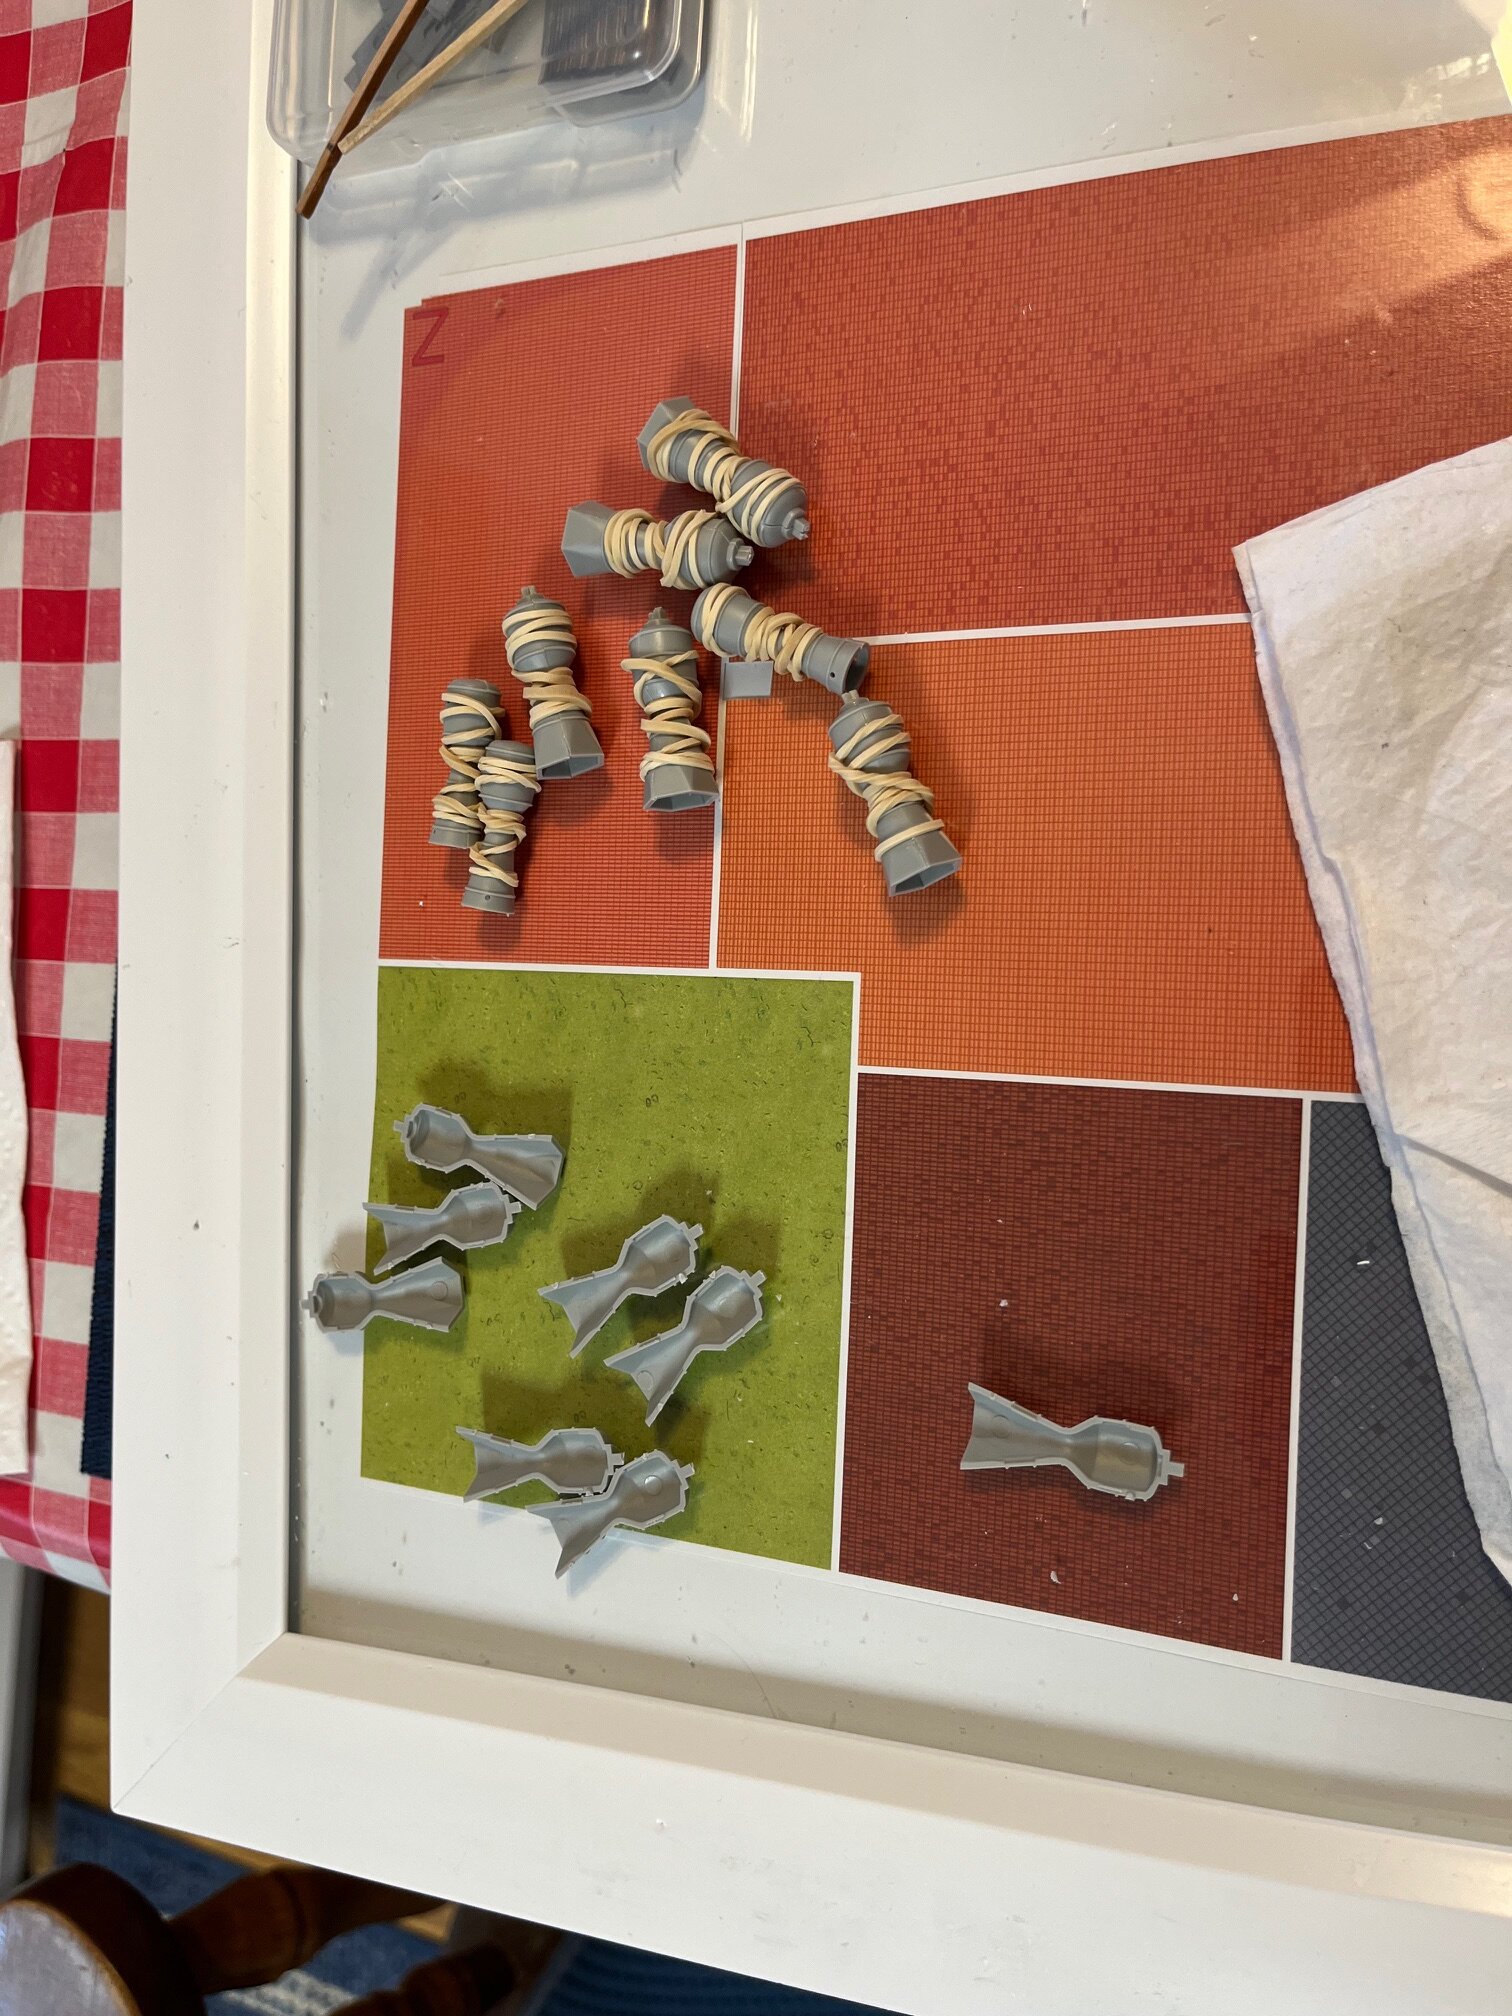
ML-01.jpg


I decided the motors would look more interesting if the lower part of each nozzle was darker than the rest of the motor:
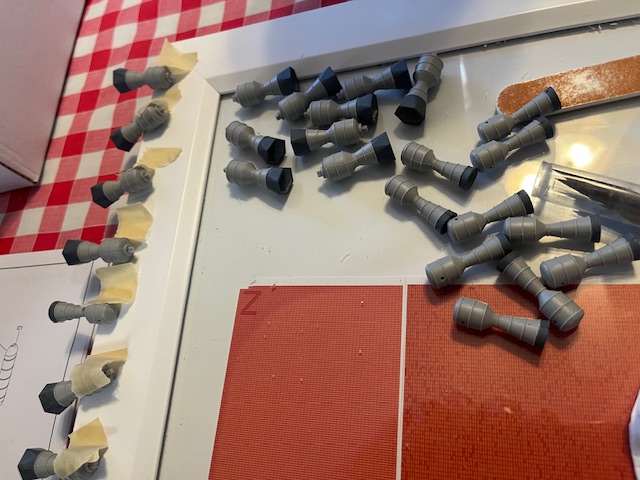
ML-02.jpg


And, finally for tonight, a shot of the first two motors mounted to the base frame:
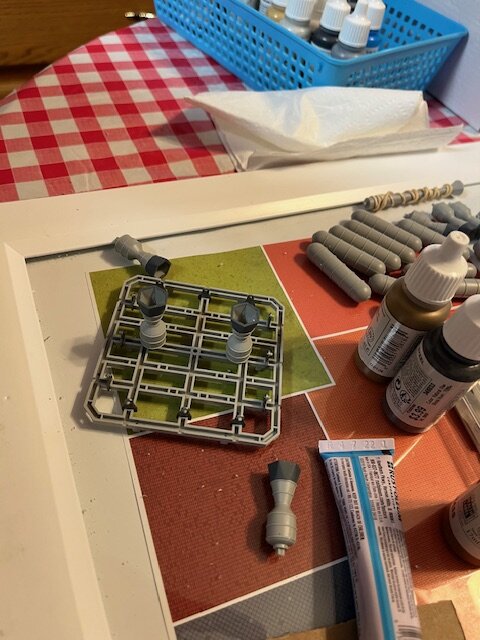
ML-03.jpg


Best regards,
Kurt
 
Last edited by a moderator:
Hello,

Continuing with "catching up", the fixed engines are all glued in place:
ML-04.jpg


Each side has three smaller engines which swivel in unison for steering...
ML-05.jpg


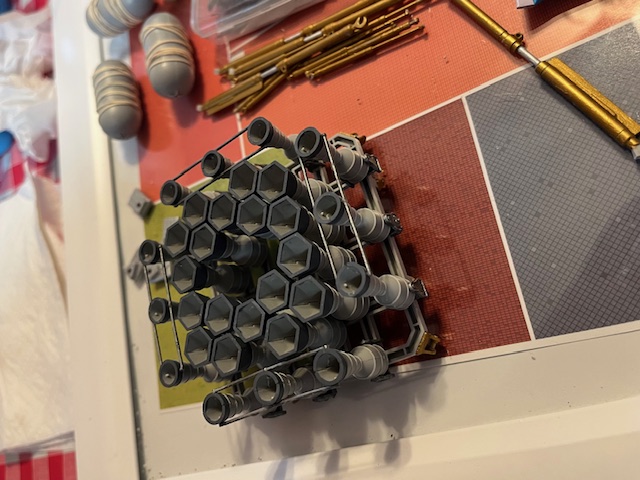
And finally, all of the engines have been attached
ML-06.jpg


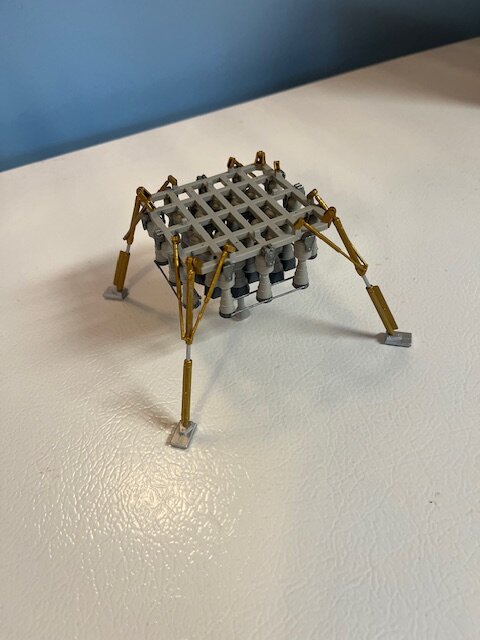
After attaching the landing struts, the lower assembly is complete. Work begins on the main part of the lander, now.
ML-07.jpg


Best regards,
Kurt
 
This photo brings me up-to-date... All I have is the base platform and the support for the first level of storage tanks. I had to mail-order the various colors, and can't do more assembly until the tanks are painted.
Oh, I'm going to spray-paint the four larger tanks, one of which is in the background in this photo, because I haven't found a way to brush-paint white so it looks nice.
ML-08.jpg


Best regards,
Kurt
 
I haven't found a way to brush-paint white so it looks nice.
The best way to brush-paint white over larger areas is to not even try, and like you say, spray it instead :) I would advise putting on white primer first, and making sure it covers (spray a thin coat, let it dry, do another, repeat as necessary) before doing a top coat.

This also goes for yellow and red, BTW. Red usually covers almost as poorly as white does, yellow tends to cover even worse than white. Spraying them over a lighter-coloured undercoat is the only real way to go for large areas.
 
As an Amazon Associate we earn from qualifying purchases. Product prices and availability are accurate as of the date/time indicated and are subject to change.
The best way to brush-paint white over larger areas is to not even try, and like you say, spray it instead :) I would advise putting on white primer first, and making sure it covers (spray a thin coat, let it dry, do another, repeat as necessary) before doing a top coat.

This also goes for yellow and red, BTW. Red usually covers almost as poorly as white does, yellow tends to cover even worse than white. Spraying them over a lighter-coloured undercoat is the only real way to go for large areas.
So I'm not the only one who hasn't gotten around the "brushing white paint" problem... Yellow is another one, like you said. I don't recall trying it with red, so thank you for that warning, and the good advice on the spraying!
Kurt
 
Another trick for yellow and red is to put an earth colour under it: sand for yellow, sand or brown for red. These colours usually cover better than yellow or red of the same brand, and will give them a bit more depth.

And one I forgot: gold. Most gold paints cover very poorly too, while silver-coloured paints cover well enough. The best undercolour for gold is usually black, perhaps unexpectedly.
 
Another trick for yellow and red is to put an earth colour under it: sand for yellow, sand or brown for red. These colours usually cover better than yellow or red of the same brand, and will give them a bit more depth.

And one I forgot: gold. Most gold paints cover very poorly too, while silver-coloured paints cover well enough. The best undercolour for gold is usually black, perhaps unexpectedly.
I have done some of the smaller parts with gold, and had to use two coats to make them look reasonable. That's interesting about the black undercoat; I need to try that sometime!
Best regards,
Kurt
 
Very interesting project! I really like the fact that you have so much latitude in the build and paint.

Apart from fidelity to canon, I never quite understood why fantasy/sci-fi modeling could be so rigid in interpretation, I mean, it is... fantasy!
 
I never quite understood why fantasy/sci-fi modeling could be so rigid in interpretation,
IMHO, it depends on what you're trying to achieve with it. If you're building and painting something specific, like Luke Skywalker's X-Wing, then yes, you can get it wrong — but if you're building a generic X-Wing, nobody can say you're wrong. Yet, I know, there are fantasy/SF modellers who will say you are …

Partly, this is why I have an army of pink Space Marines (even if I haven't played any games with them for about ten years): it started because people told me not to, and when I did anyway, there were some people who told me I was wrong to paint them like that. Which to me meant I was on the right track, so I built and painted a lot more of them :)
 
Very interesting project! I really like the fact that you have so much latitude in the build and paint.

Apart from fidelity to canon, I never quite understood why fantasy/sci-fi modeling could be so rigid in interpretation, I mean, it is... fantasy!
Hi! I guess it's like Jakko said -- If you are modeling something from a movie or a TV show or something, then your goal is normally to make it look like the "original"... even if the "original" is imaginary.

So I do believe this is the first time I've made a model of something that didn't have an "original" (real, or movie, etc) and so it's entirely open to interpretation. It's kind of a strange feeling, really! (But fun!)
Best regards,
Kurt
 
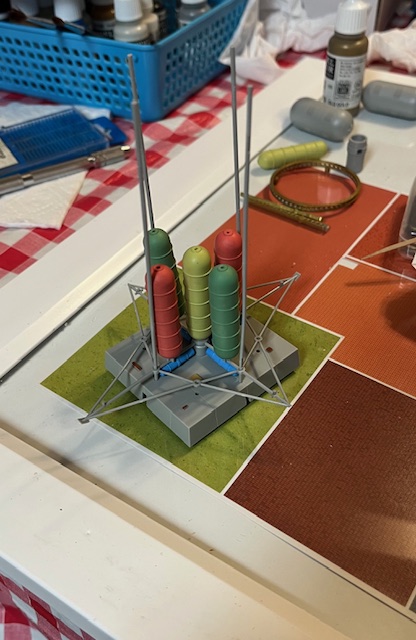
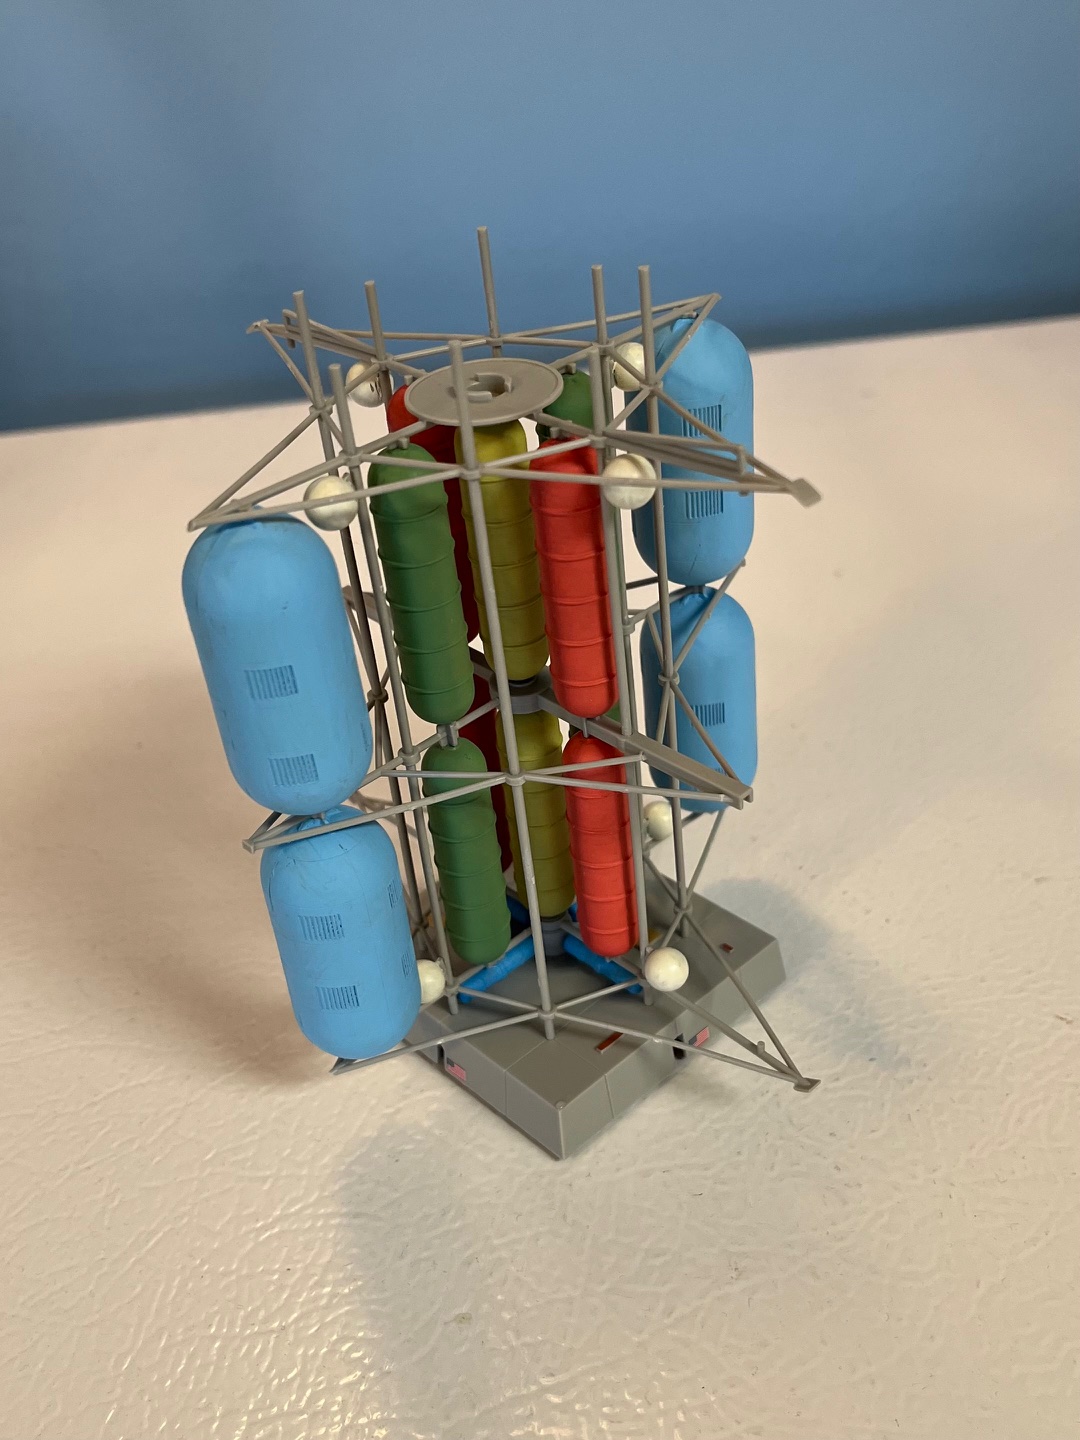
My paint has arrived, so the main work can now continue... I chose three colors for the smaller tanks. In this photo, I've set them in position to help me decide placement for the various colors. I have to say I'm very impressed with Vallejo paints! I grew up using Revell and Testors, mainly, and eventually Revell brand disappeared. These Vallejo colors brush on surprisingly well! (OK, I've tested and still feel white goes on better as spray paint, for large areas...):
IMG_4969.jpg


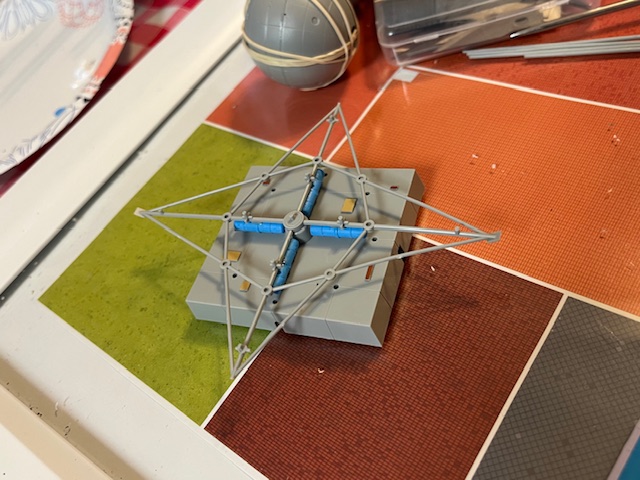
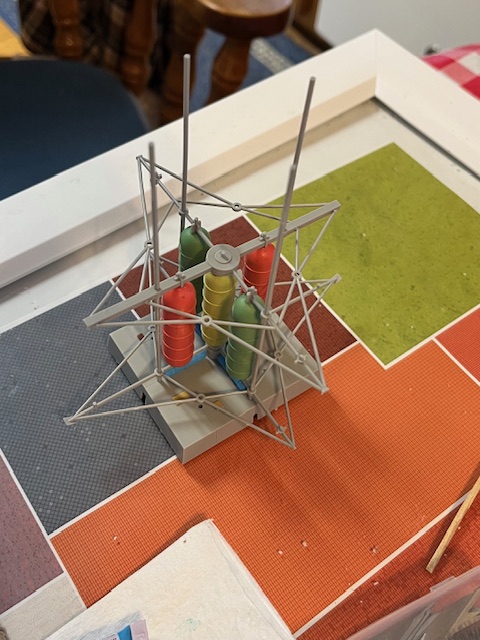
Here is where one of the larger mistakes I've made with plastic models in many years happened... I got the clocking on the middle support 90 degrees off! I just assumed the longest arms on the middle would line up with the longest arms on the lower support -- WRONG! It is good I noticed shortly after I'd glued the thing onto the top of the tanks (my glue take 4 hours to fully cure). The part is in the correct position in this photo:
IMG_4970.jpg


Take care,
Kurt
 
even if the "original" is imaginary.
To be honest, what is the practical difference in this regard between, say, an X-Wing and a Kawasaki Ki-102? There are no real X-Wings you could go and examine to make sure your model is correct, but there are also no Ki-102s left — putting you in the exact same position of having to rely on photos etc. And that's normally even the case for a lot less rare subjects than that: unless you're prepared to travel to museums, events, or whatever where the real thing can be see, you'll also have to base yourself on photos even for things that are very common.
 
This is coming along magnificently!
I really like your color choices, they give it an added sci-fi, 2001; A Space Odyssey vibe.
Thanks for sharing your work and keep us updated!
 
To be honest, what is the practical difference in this regard between, say, an X-Wing and a Kawasaki Ki-102? There are no real X-Wings you could go and examine to make sure your model is correct, but there are also no Ki-102s left — putting you in the exact same position of having to rely on photos etc. And that's normally even the case for a lot less rare subjects than that: unless you're prepared to travel to museums, events, or whatever where the real thing can be see, you'll also have to base yourself on photos even for things that are very common.
I had to look up Kawasaki Ki102.
I couldn't think of the motor bike... :D
 
Hello,
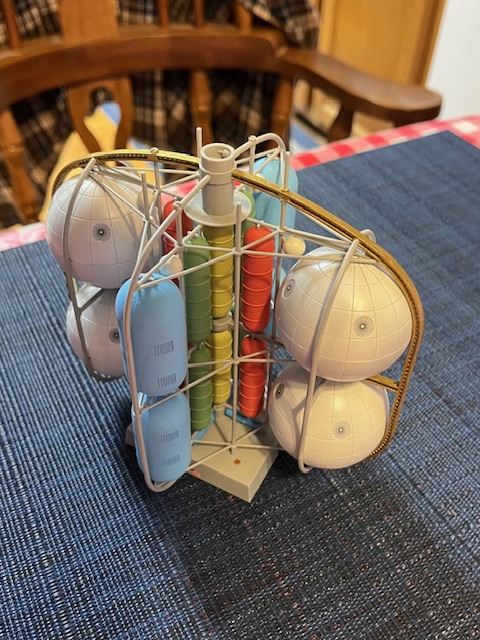
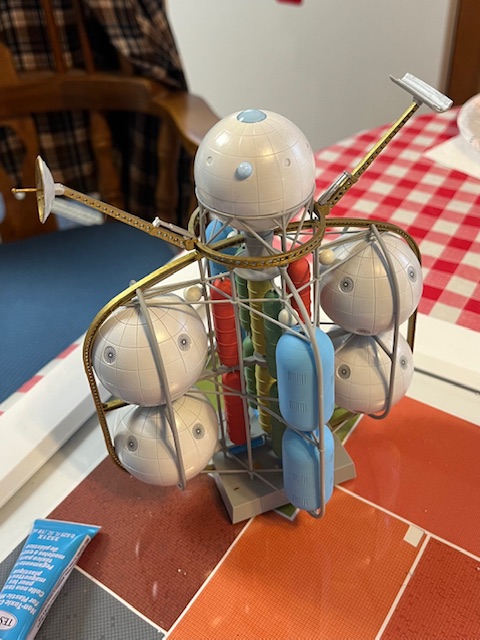
The last of the tanks are attached, these being the largest, spherical tanks. They were somewhat tricky because you must first glue the large "hoop" frames into place -- The large tanks attach to both the hoop frame and the already-done support structure. You have to sort of snap them into place, but without breaking the little pins. After the tanks are in place, you install more hoop-type structure:
IMG_4976.jpg

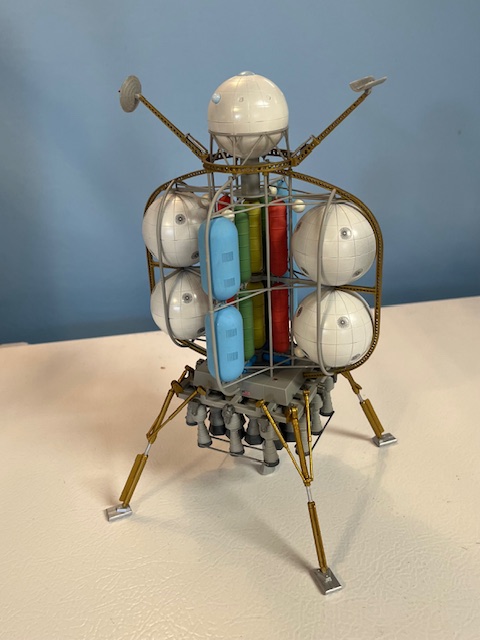
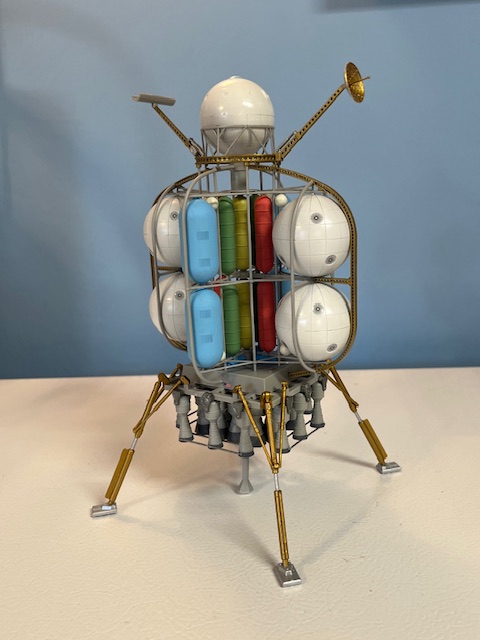
This was the most complicated assembly step on this kit. Now it's nearly finished.
Best regards,
Kurt
 
Thank you all very much, Folks!
In the round ball at the top.
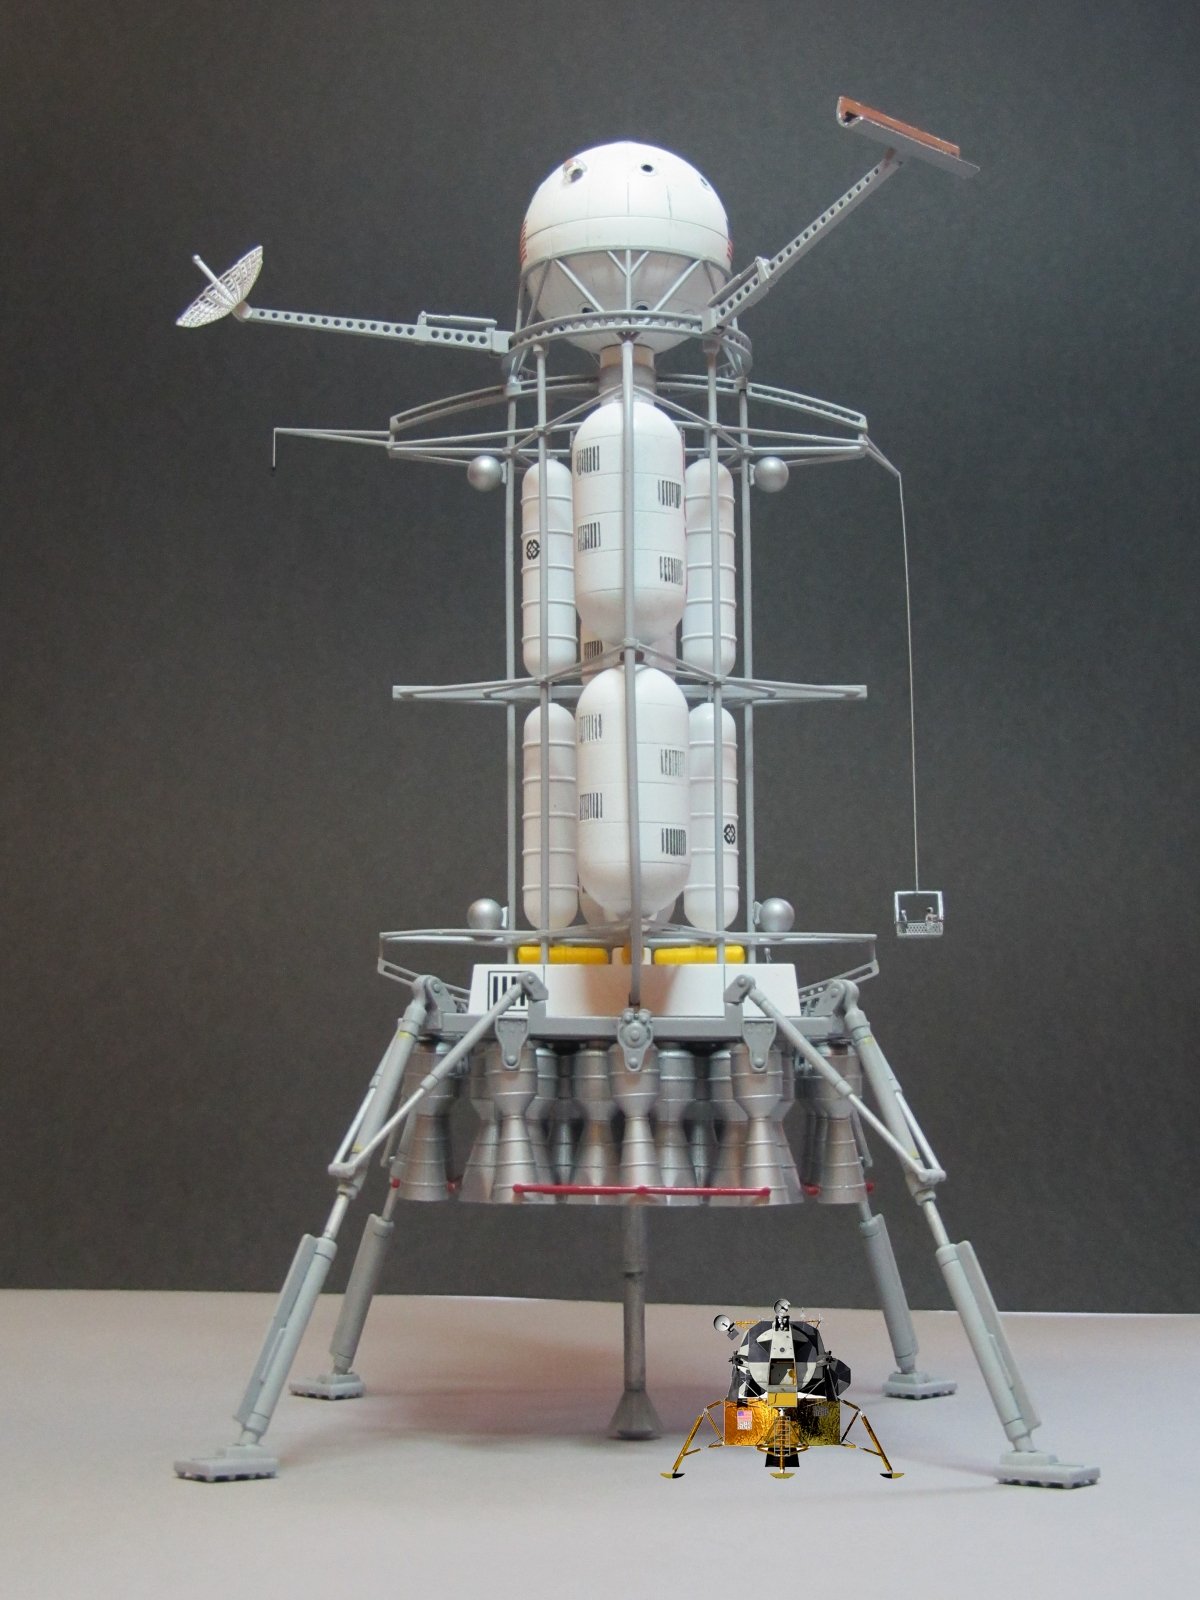
This thing was designed to be HUGE.
Here's a pic in comparison with the actual lander.
View attachment 183647
This was the 50s when von Braun dreamed this up.
Crew would be around 25 people!
And that is a great comparison between this 1950's conceptual lander, and the actual one that went to the moon! By the way, I also like YOUR colors, and all the work you put into yours!)

Best regards,
Kurt
 

Latest posts

Back
Top