F-100C Super Sabre-1/72 Trumpeter

Scale Model Addict - Model Tips, Guides, Tools & Tech, Tutorials, and Community

Help Support Scale Model Addict:

Deleted member 22781

Well-Known Member
Joined
Dec 30, 2025
Messages
88
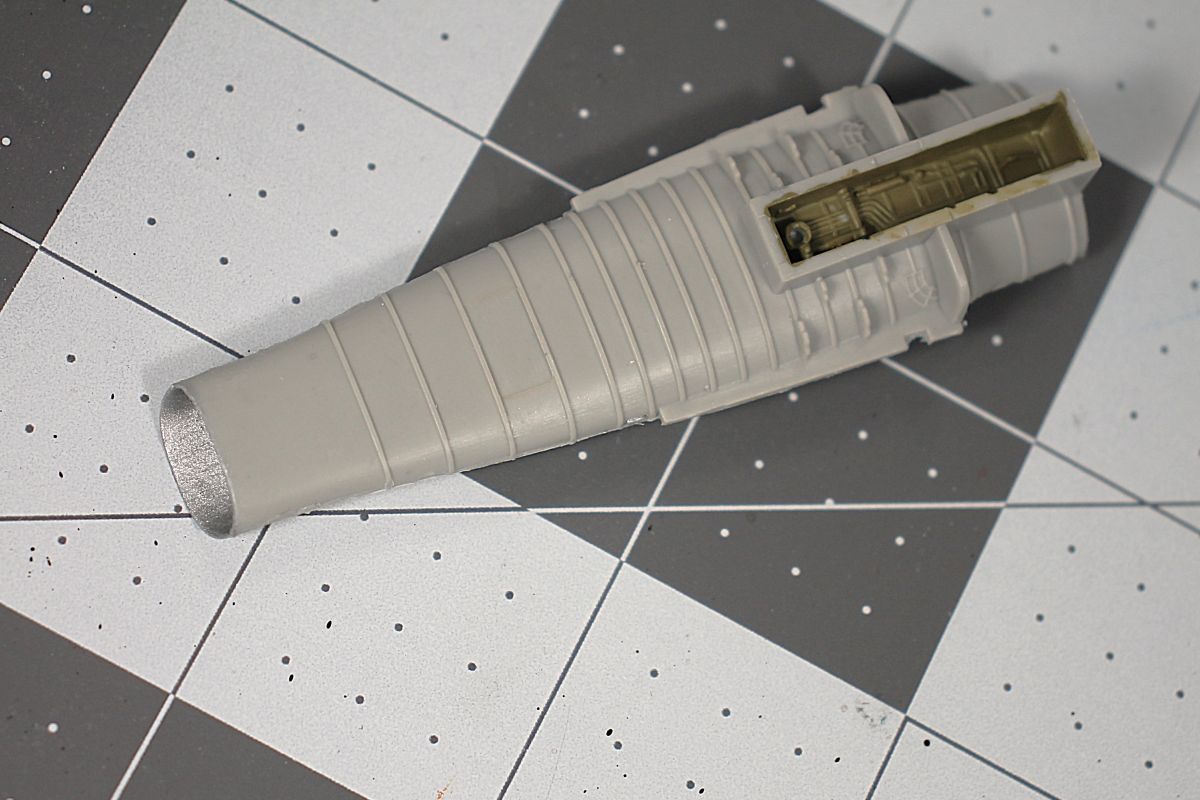
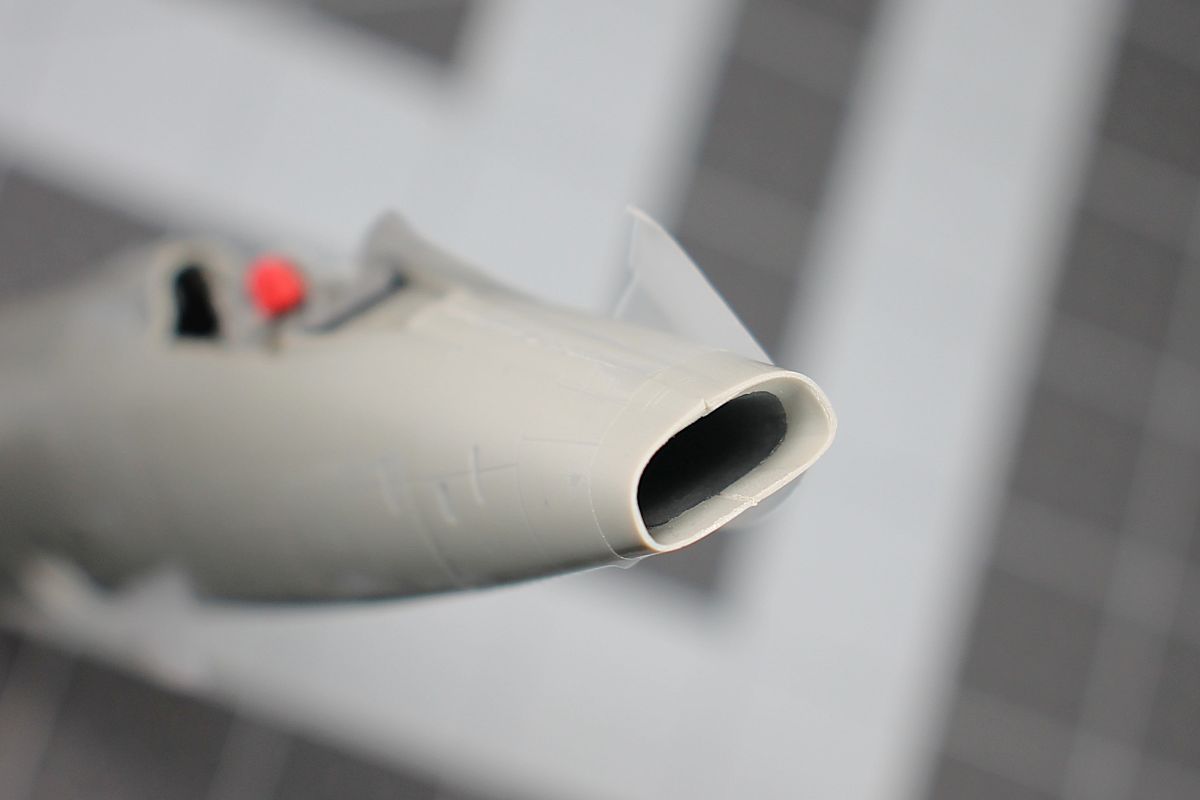
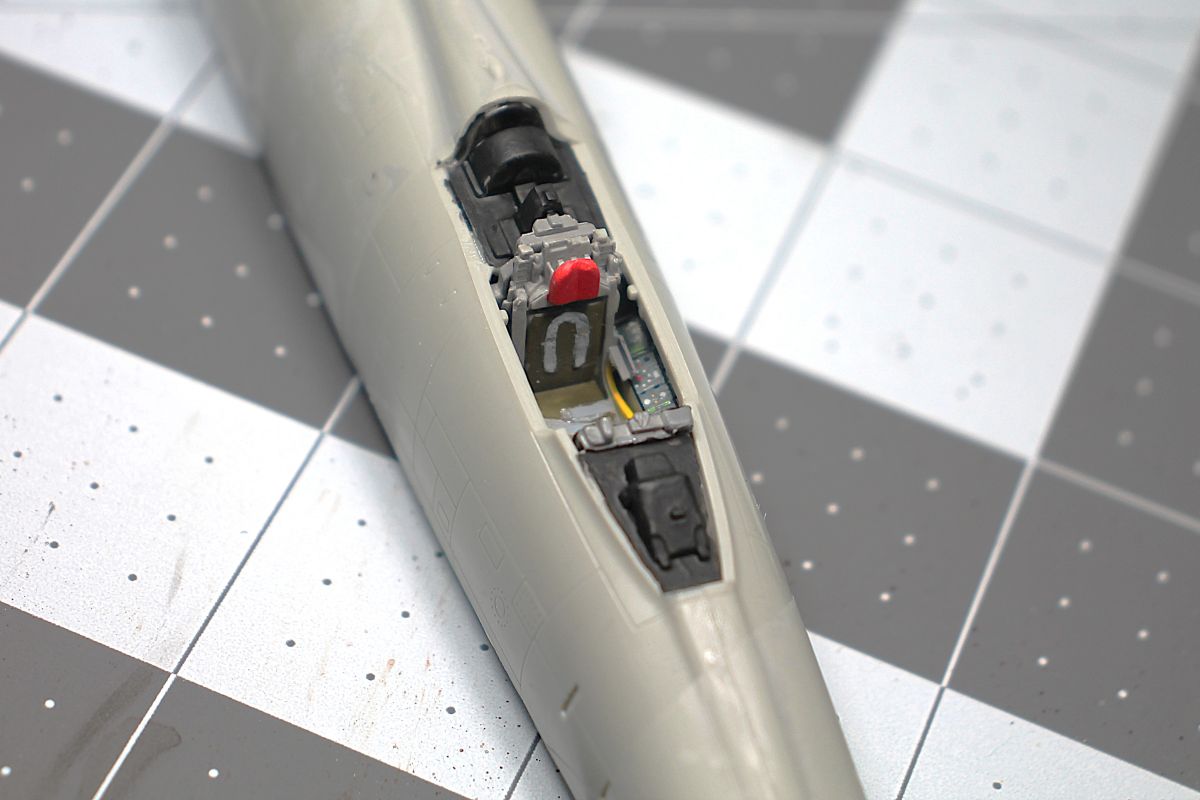
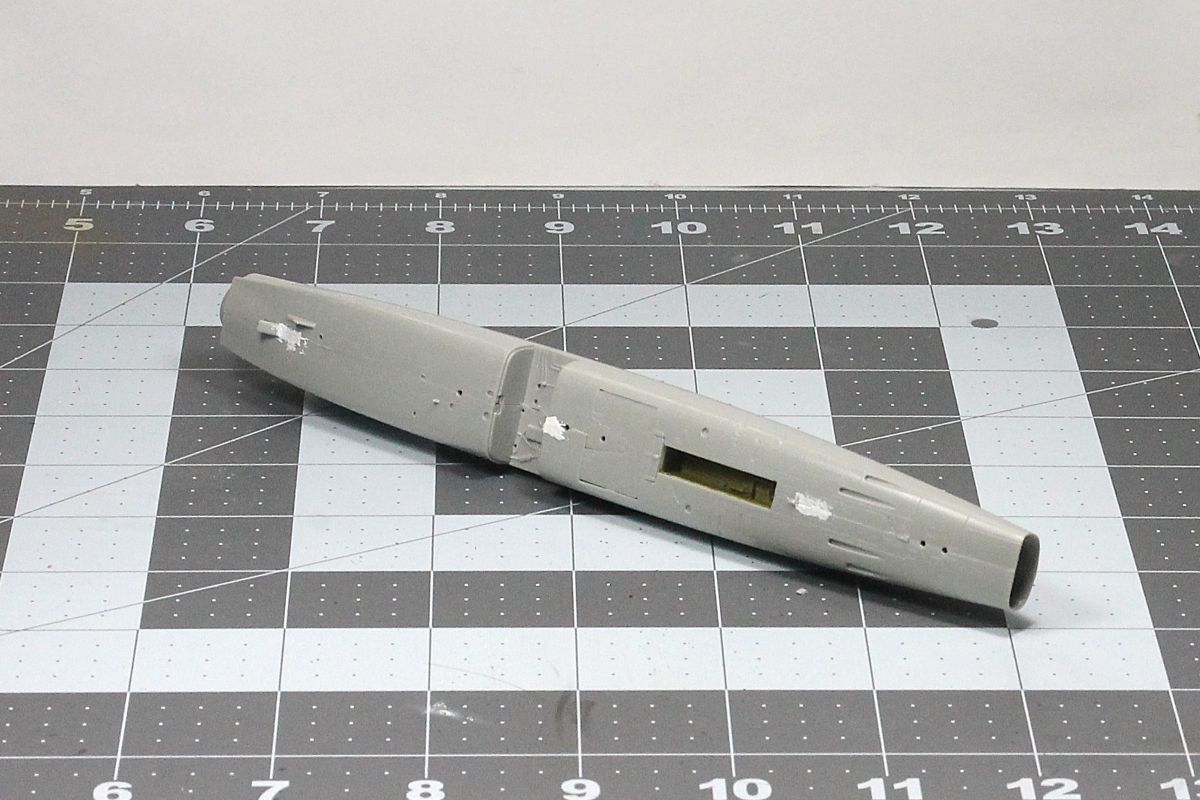
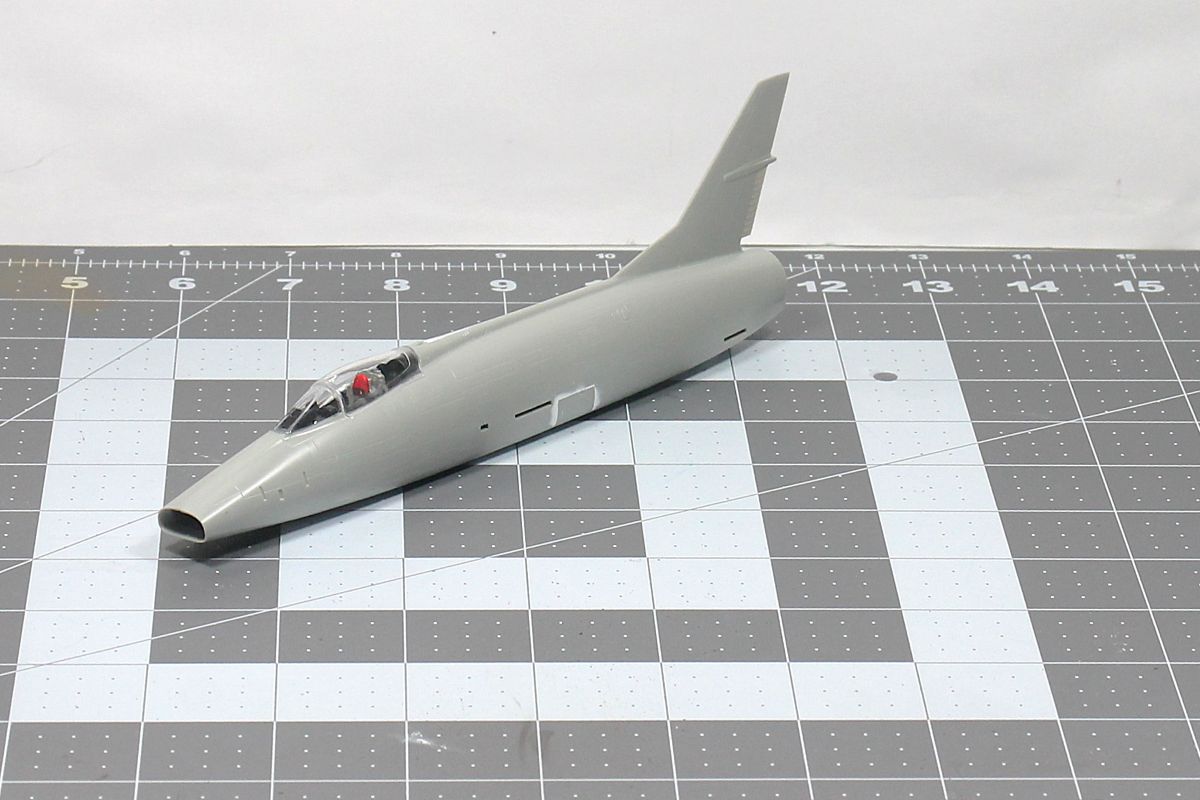
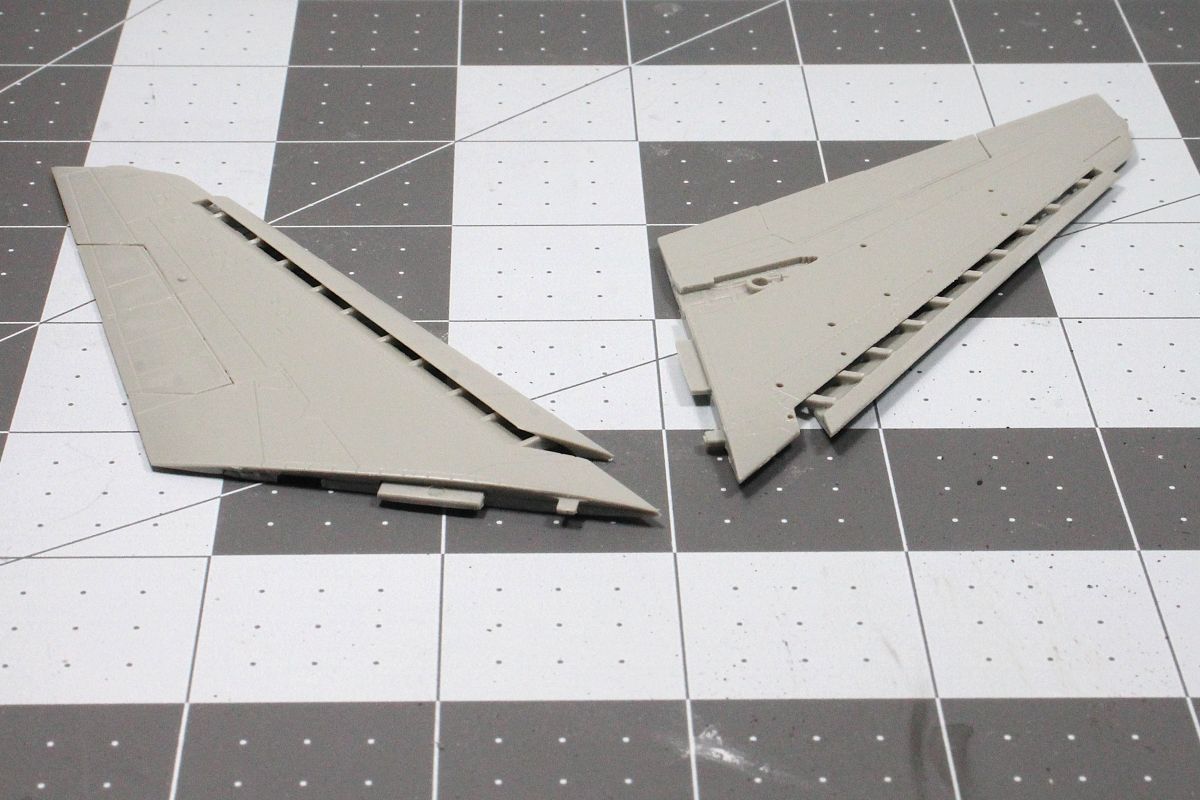
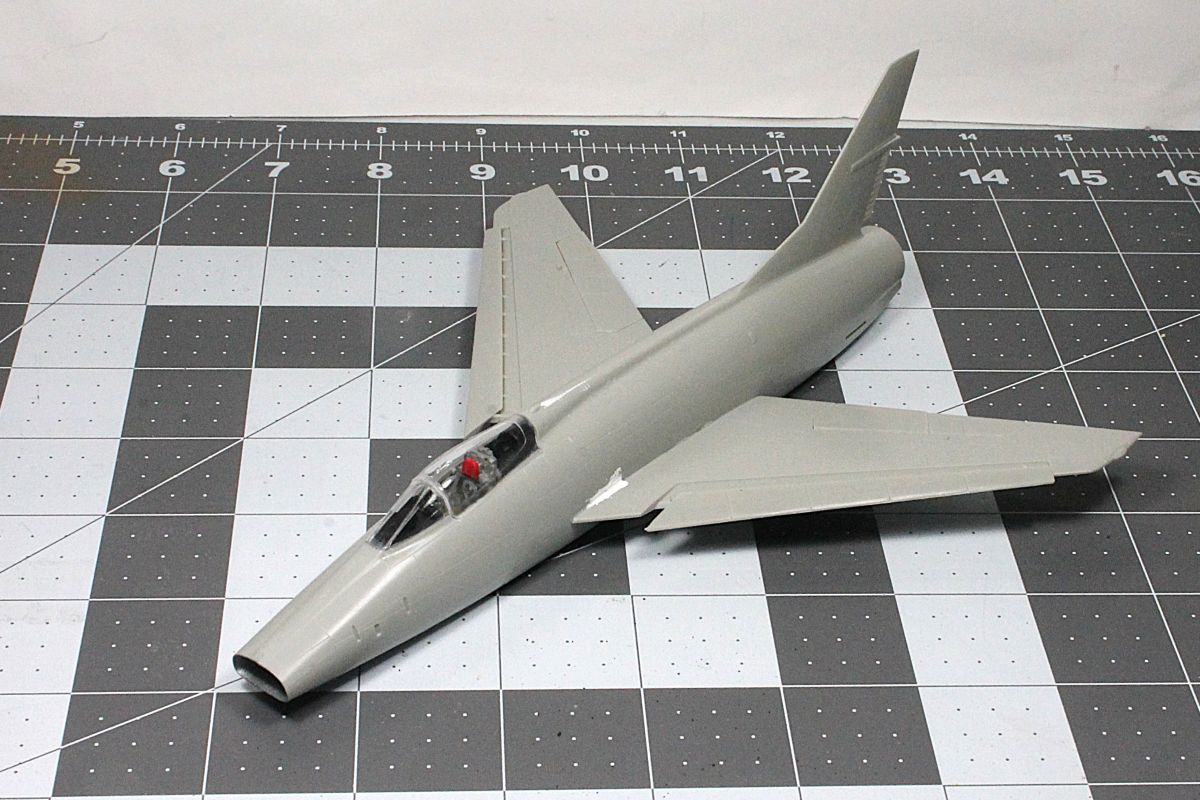
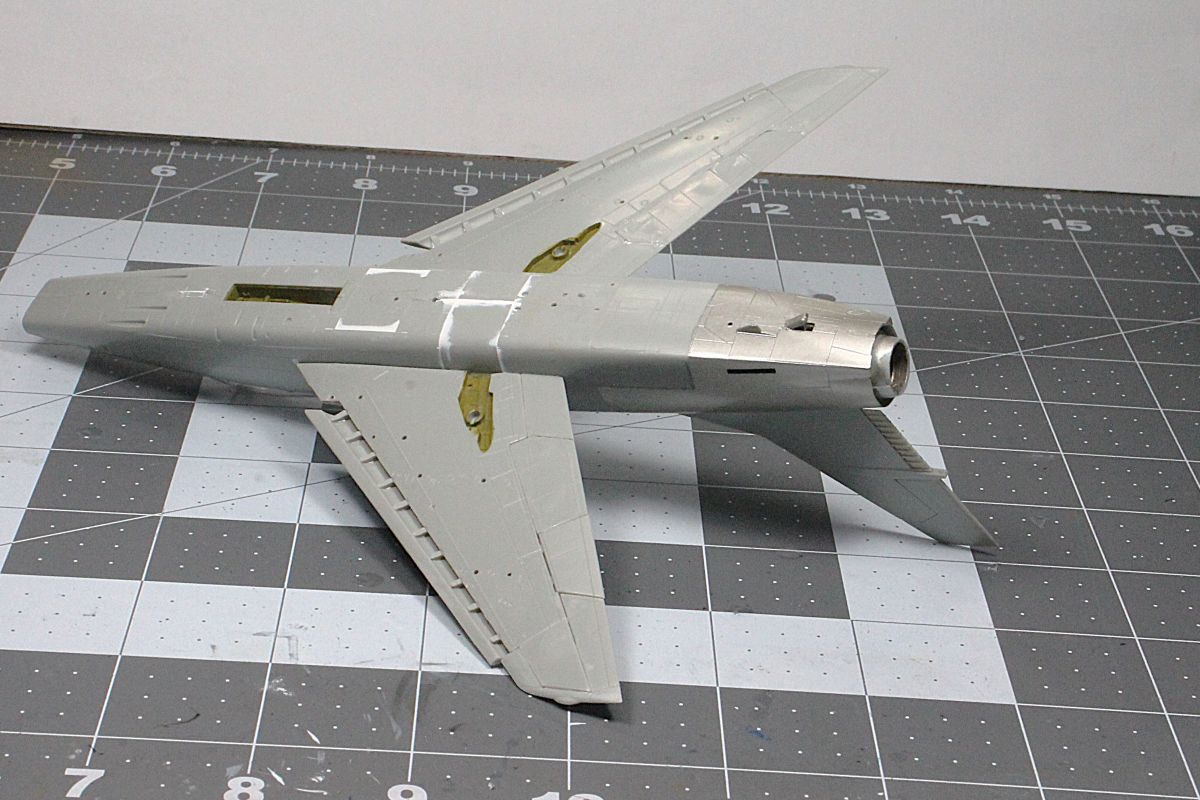
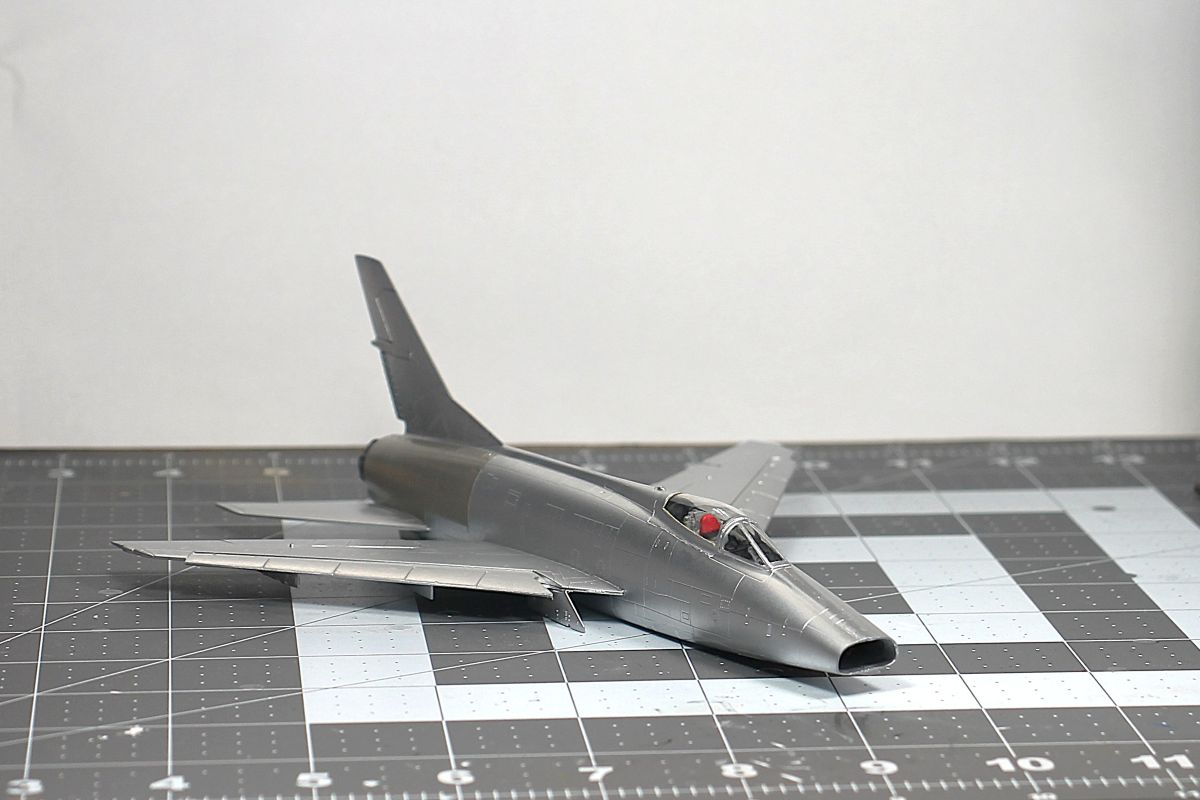
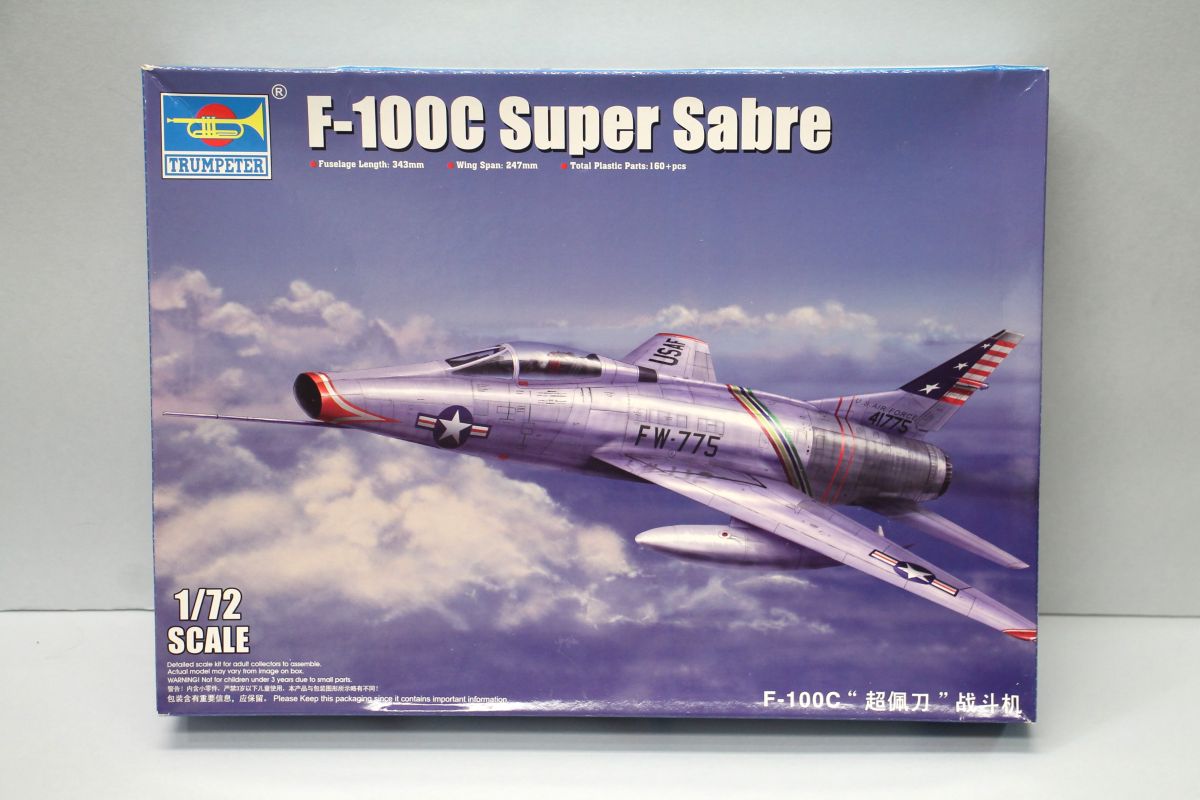
My next project. I am doing it as NMF with slats extended. I may try to replicate the burnt rear fuselage area. I'm not sure what decals as I am not interested in the kit ones. I have started with assembling the nose intake trunking and painting it.
F100C 1.JPG
F100C 3.JPG
 
Last edited:
As an Amazon Associate we earn from qualifying purchases. Product prices and availability are accurate as of the date/time indicated and are subject to change.
I am building a 1/72 scale F-100C not a 1/48 scale. I will stick with International Scale Modelers suggestion. Better safe than sorry, so far I have had only 1 tail sitter in 63 years.
Screenshot 2026-01-16 at 22-33-05 Trumpeter 1_72 F-100F Super Sabre Wild Weasel - Internationa...png
 
Last edited:
Other than an explicit instruction to do so, how do you know when extra weight will be required? or how much?
Take the basic, large parts of the aircraft (fuselage, wings, tail, anything else that's fairly substantial) and put them together temporarily, with tape for example. Then put your fingertips where the main gear will go and see if the model tips forward or back. If it goes nose-up, or only just nose-down, you'll probably need to add weight. Take some Blu-Tack or similar and stick it to the front of the plane, roughly where you would put weight inside, until it's comfortably leaning forward. Then just weigh the Blu-Tack and add the same amount of lead shot or something in the nose.
 
I am building a 1/72 scale F-100C not a 1/48 scale. I will stick with International Scale Modelers suggestion. Better safe than sorry, so far I have had only 1 tail sitter in 63 years.
View attachment 176698
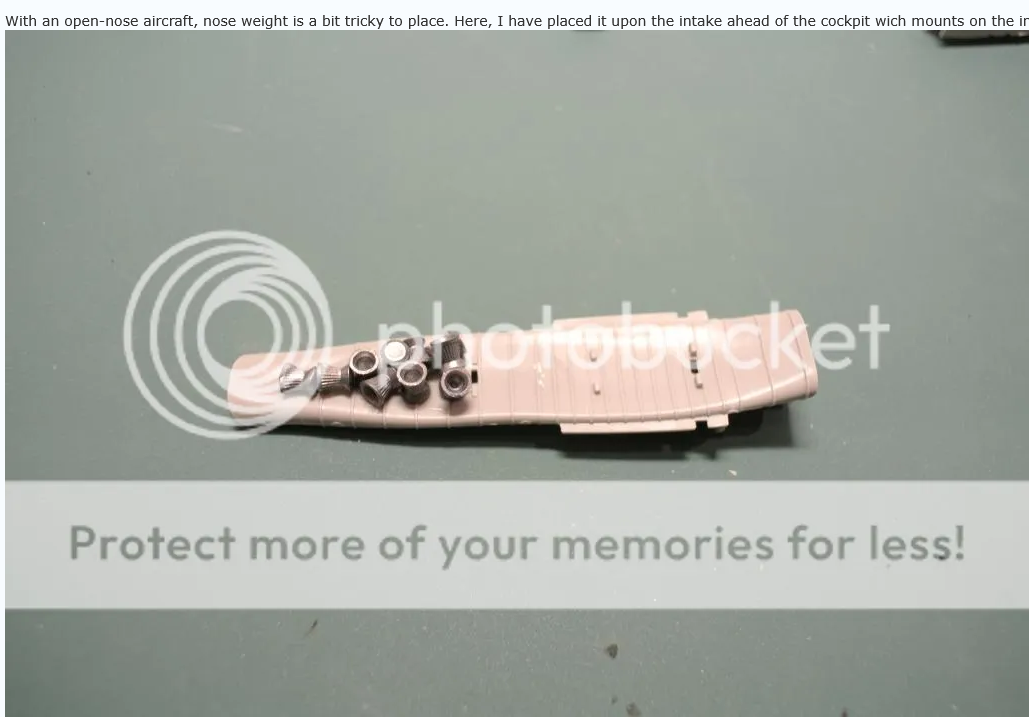
I noticed what you're using for weights. You must not have a squirrel problem if you can afford so many pellets to act as nose weights.
 
That's not my build with the pellets on the intake. That's some modeler from International Scale Modelers. My squirrel problems went away when I retired. Never had to bother with them in the first place. BTW I would never use a photo server that puts THEIR name all over MY pictures.
 
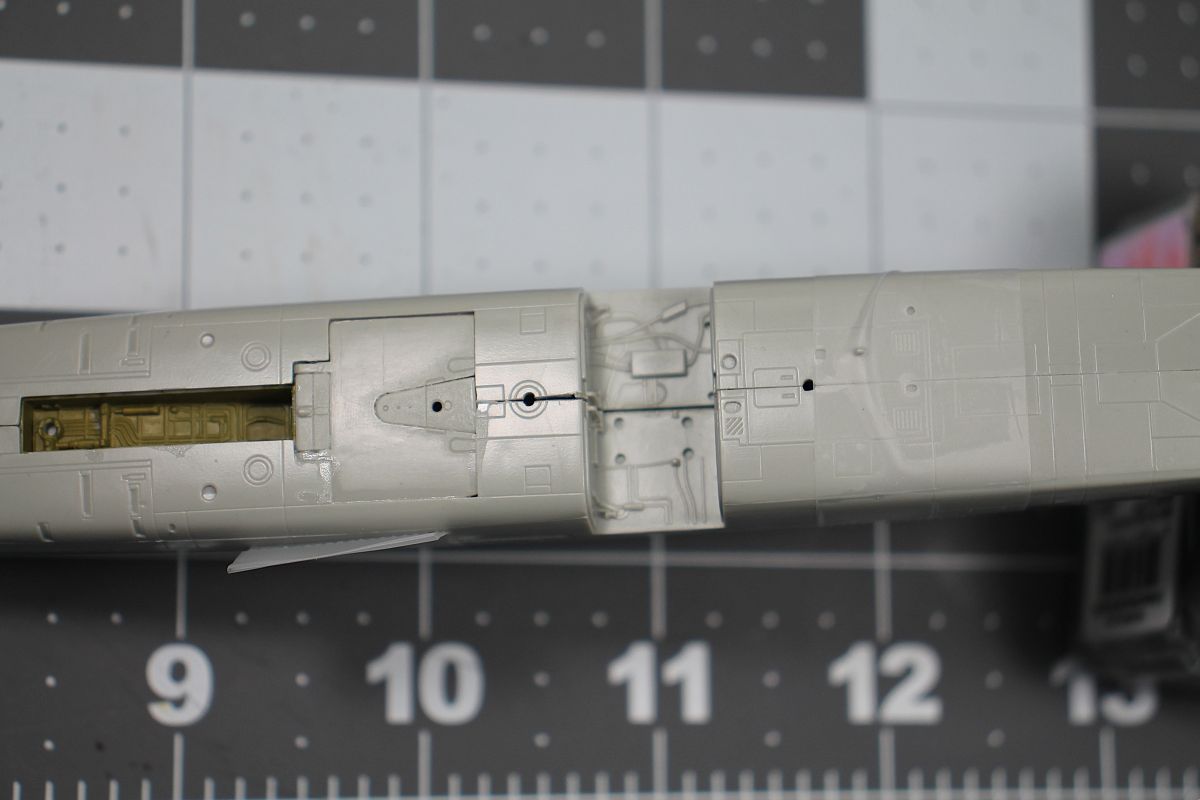
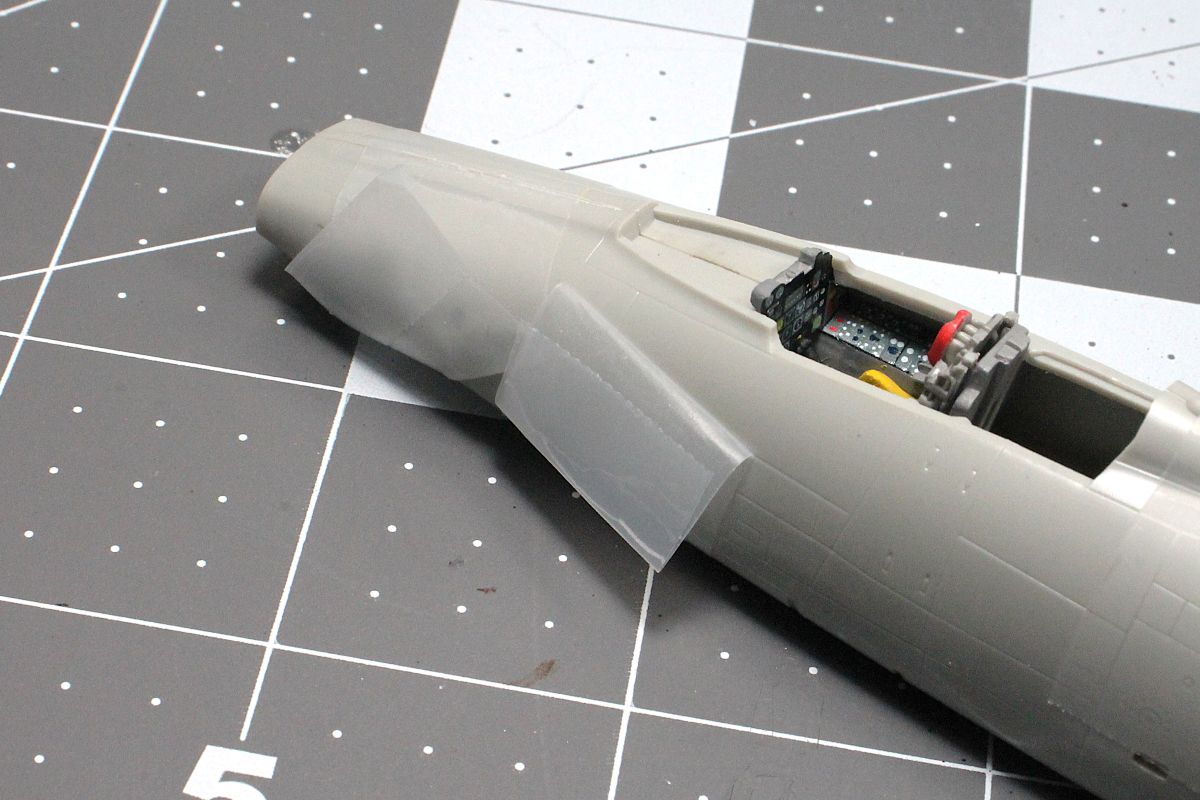
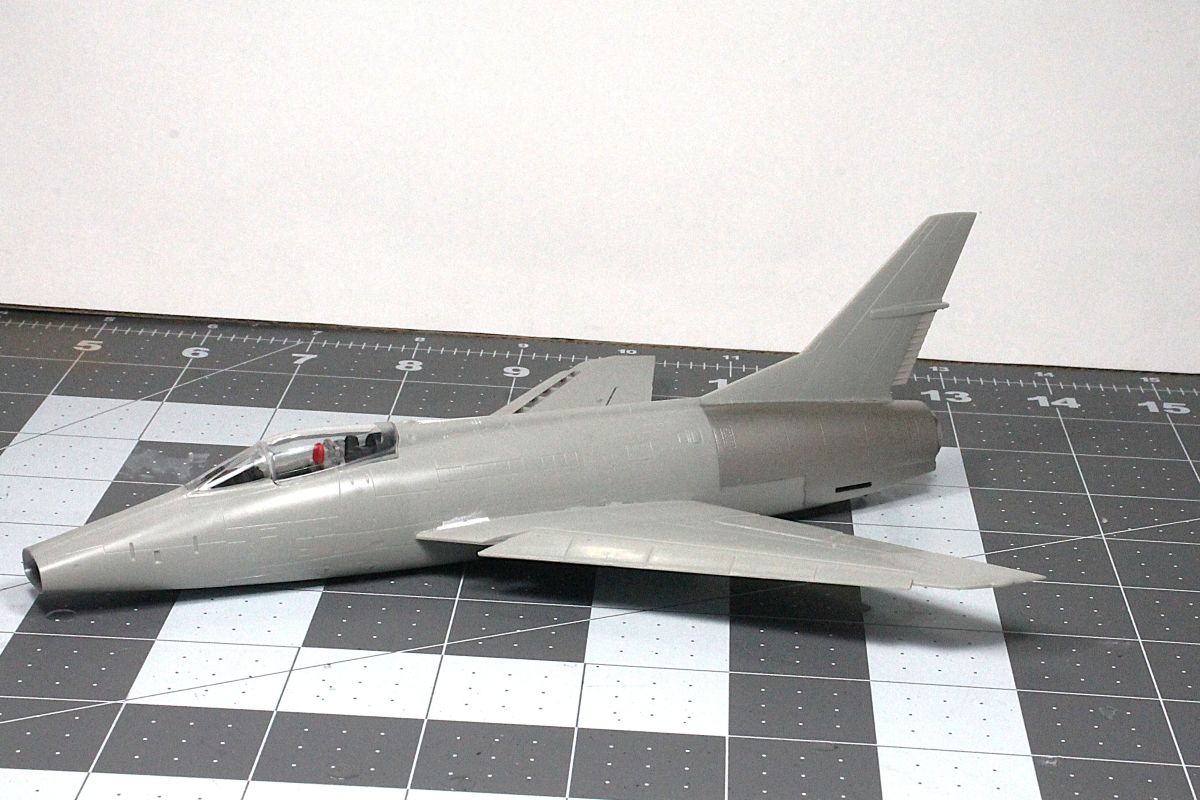
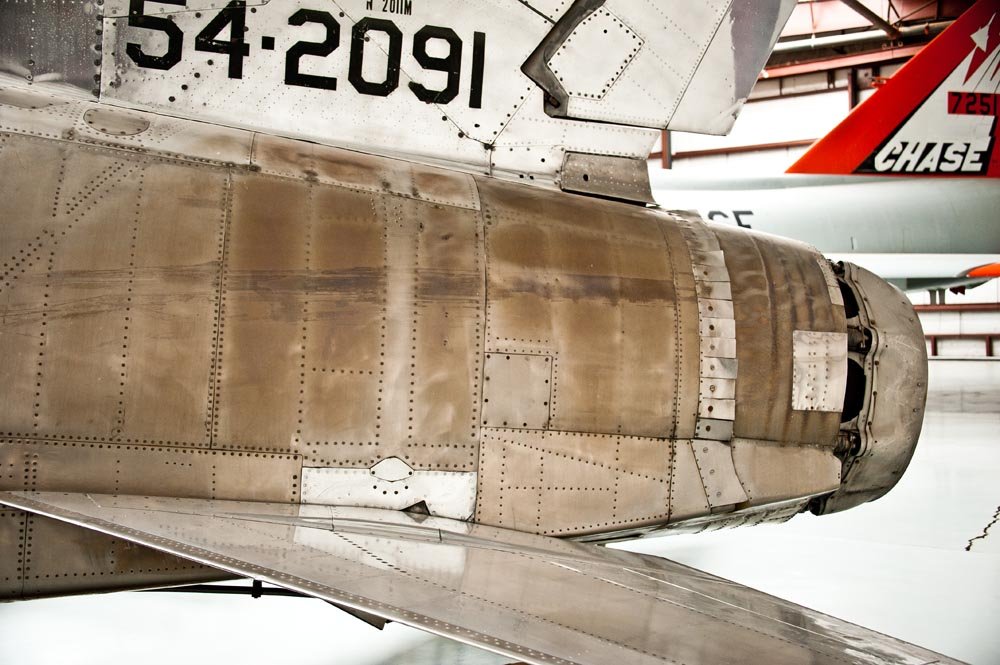
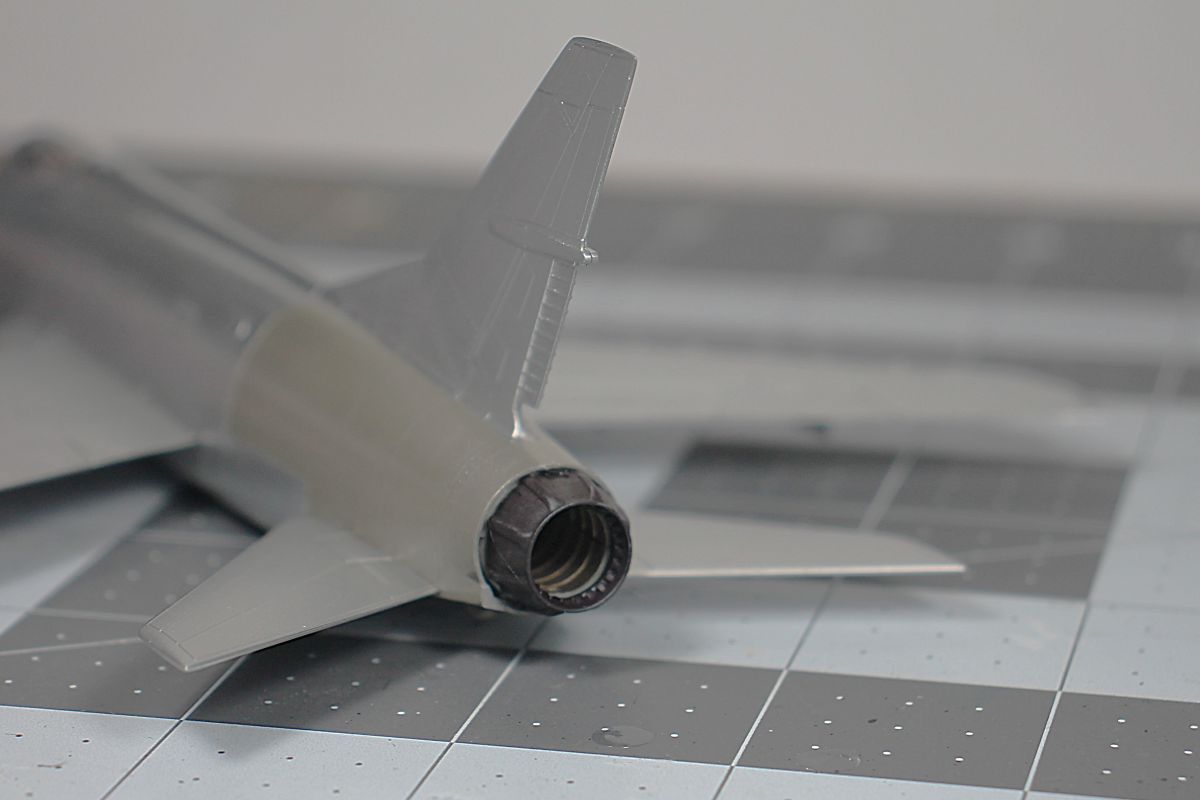
I have the wings all puttied up and started the paint. I did the rear section of the fuselage a golden silver color to show discoloration. I am not sure how much I will burn the metal. I do know it won't be dark blue and dark brown looking like "burnt toast". I do not like that look and am not a big fan of "excessive weathering". I may do some heat streaking later before decals, got to think out how I want to do it.
F100C 24.JPG
F100C 25.JPG
 
To make myself clear, I tried an airbrush in about '95 or '96. It was in a blister pack from Testors, I think. It worked pretty good but I do not want to complicate a relaxing hobby with complex mechanical devises and more toxic chemicals than I already deal with and I don't have the luxury of my house with a basement any more. To be to the point this is my relaxing hobby, the airbrush just stressed the crap outta me. It turned my hobby into a nightmare. If you like it and have nothing better to do than clean and fix and mess with needles and lil nuts n bolts than go for it, to each his own. It's my hobby not an obsession.
 
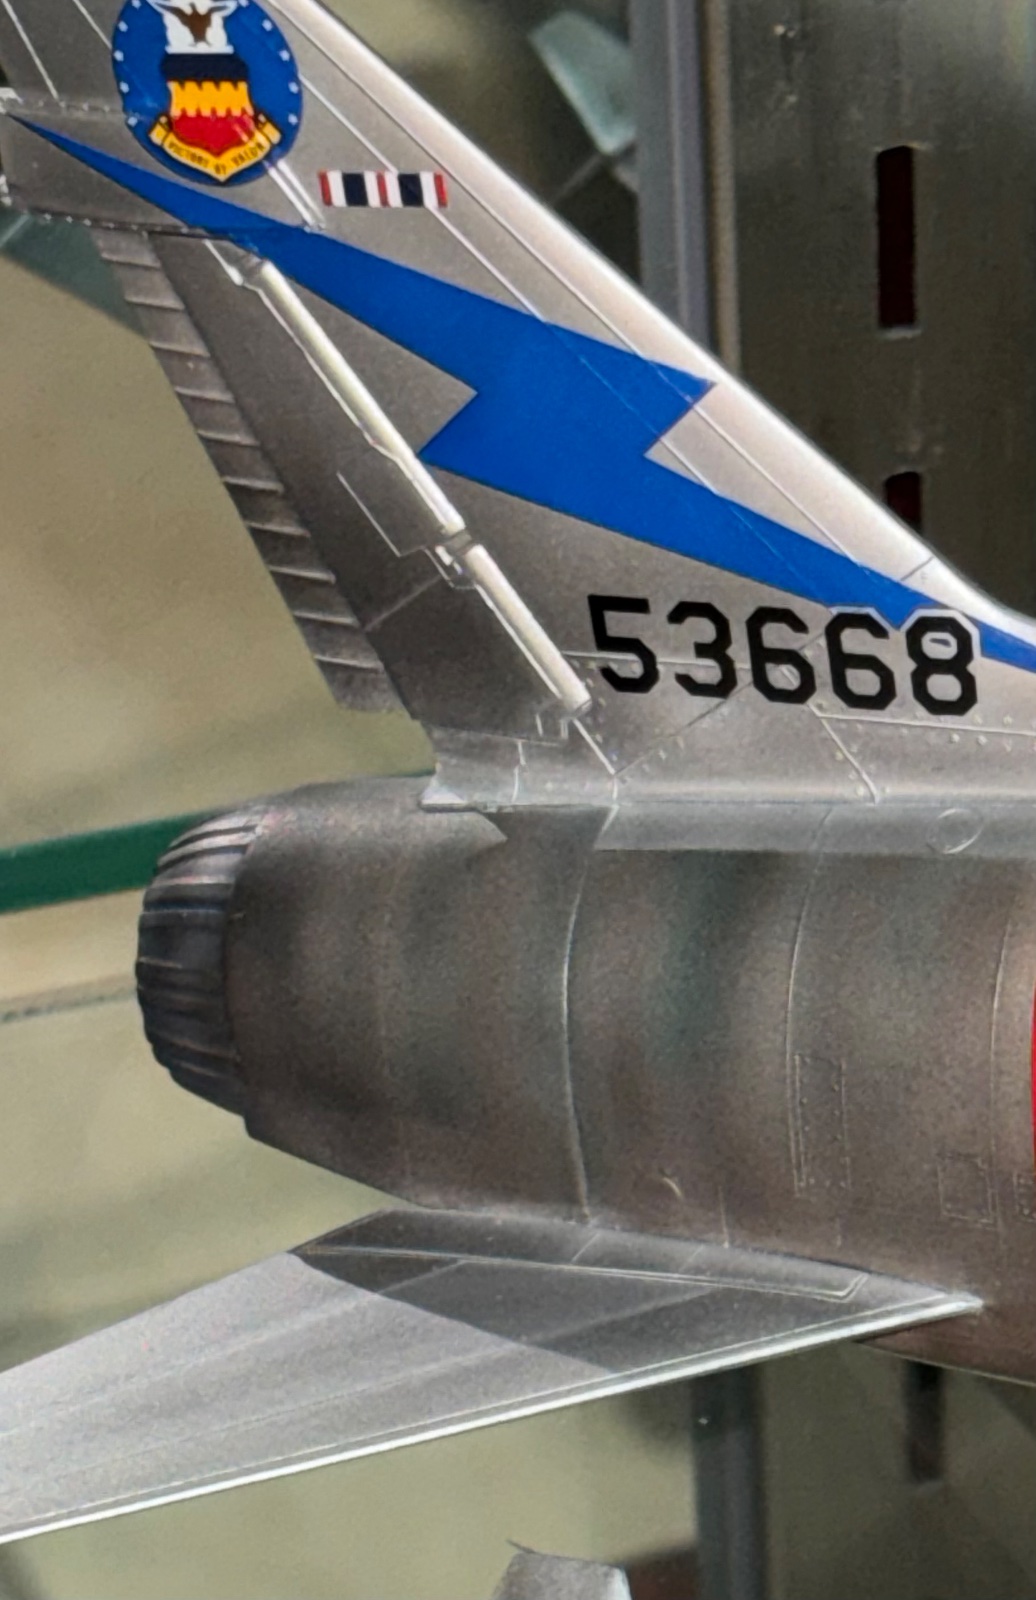
I added the wing pylons then sprayed the overall air frame and wings NMF, Tamiya rattle can silver leaf. I also added the F-102 burner can. I painted it burnt iron, my home made version of the old Testors' metallic paint . I used Vallejo Model Color, gun metal blue, silver, red, brown and a touch of gloss black. I think I might try dry brushing some streaks in the burnt section of the rear fuselage. Maybe a darker version of the gold-silver color I sprayed. That color was Tamiya rattle can TS-88, Titanium - Silver.
F100C 28.JPG
F100C 27.JPG
 

Latest posts

Back
Top