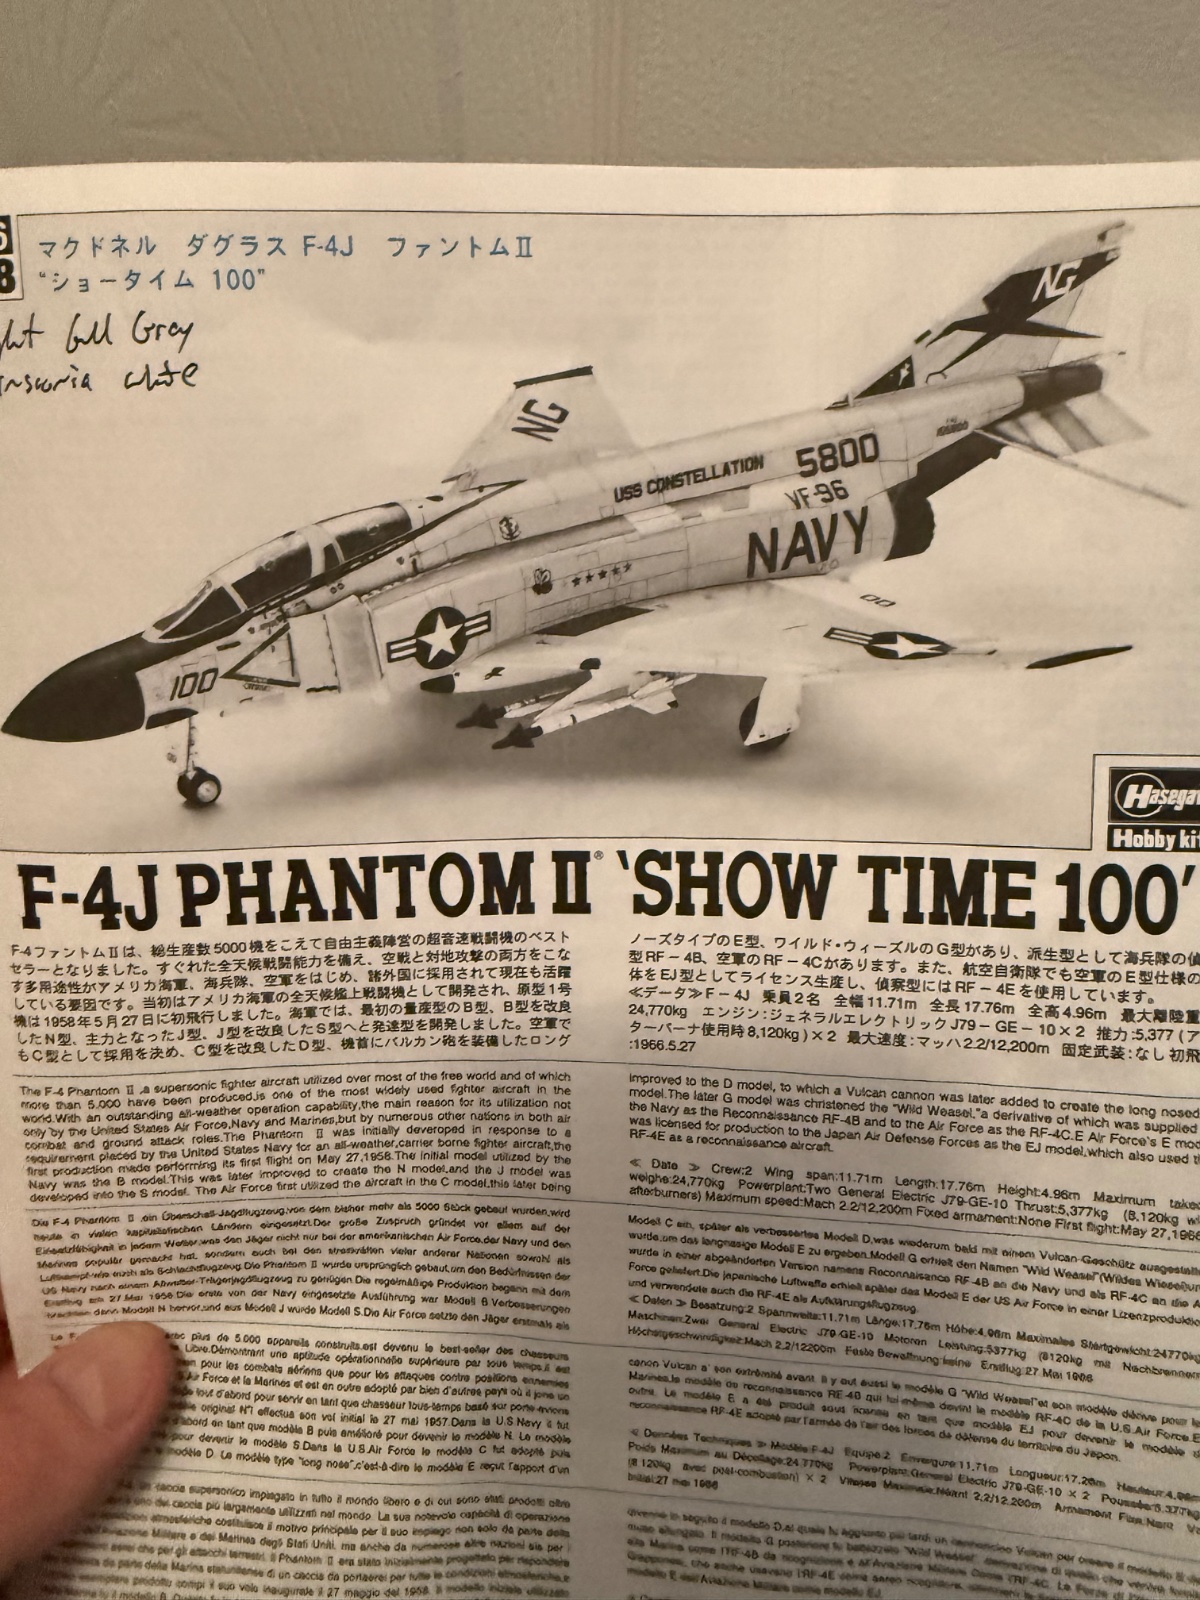
Hasegawa f4j- phantom Ii 1/48

Scale Model Addict - Model Tips, Guides, Tools & Tech, Tutorials, and Community

Help Support Scale Model Addict:

Ron2

Well-Known Member
Joined
Sep 16, 2025
Messages
1,959
City & State/Province
Mesa AZ
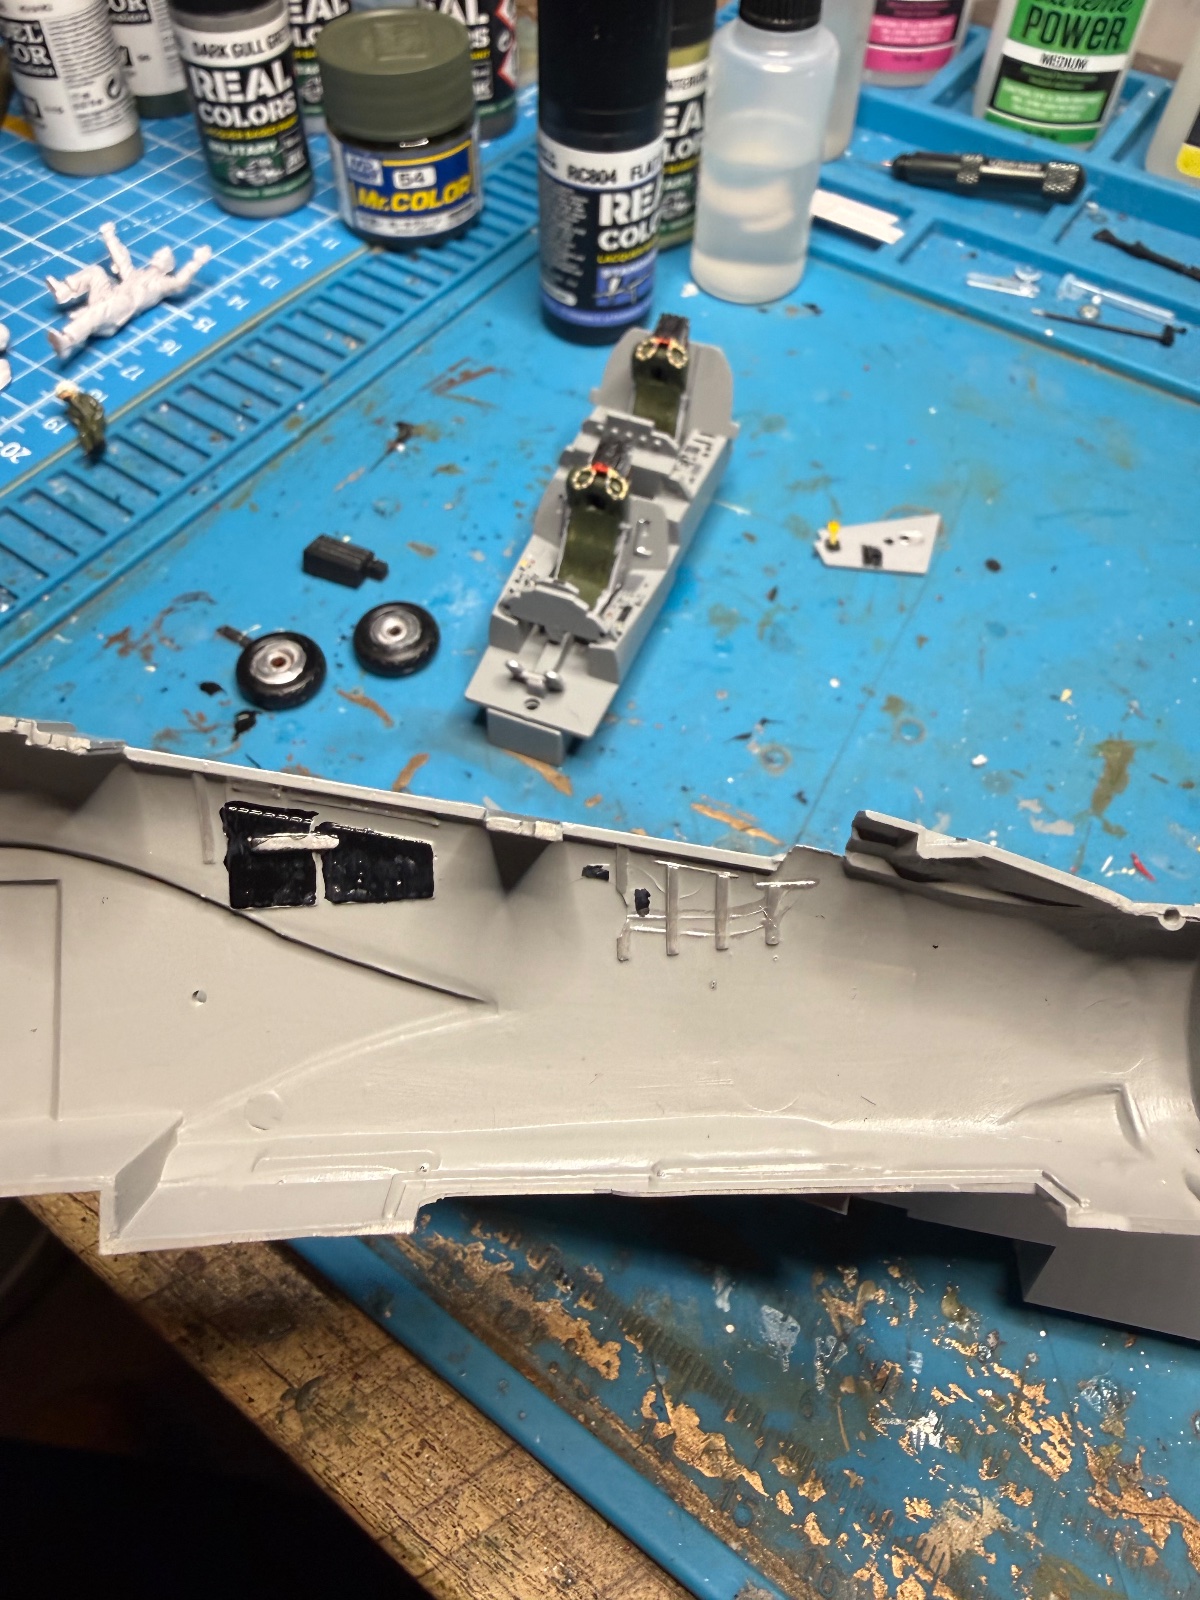
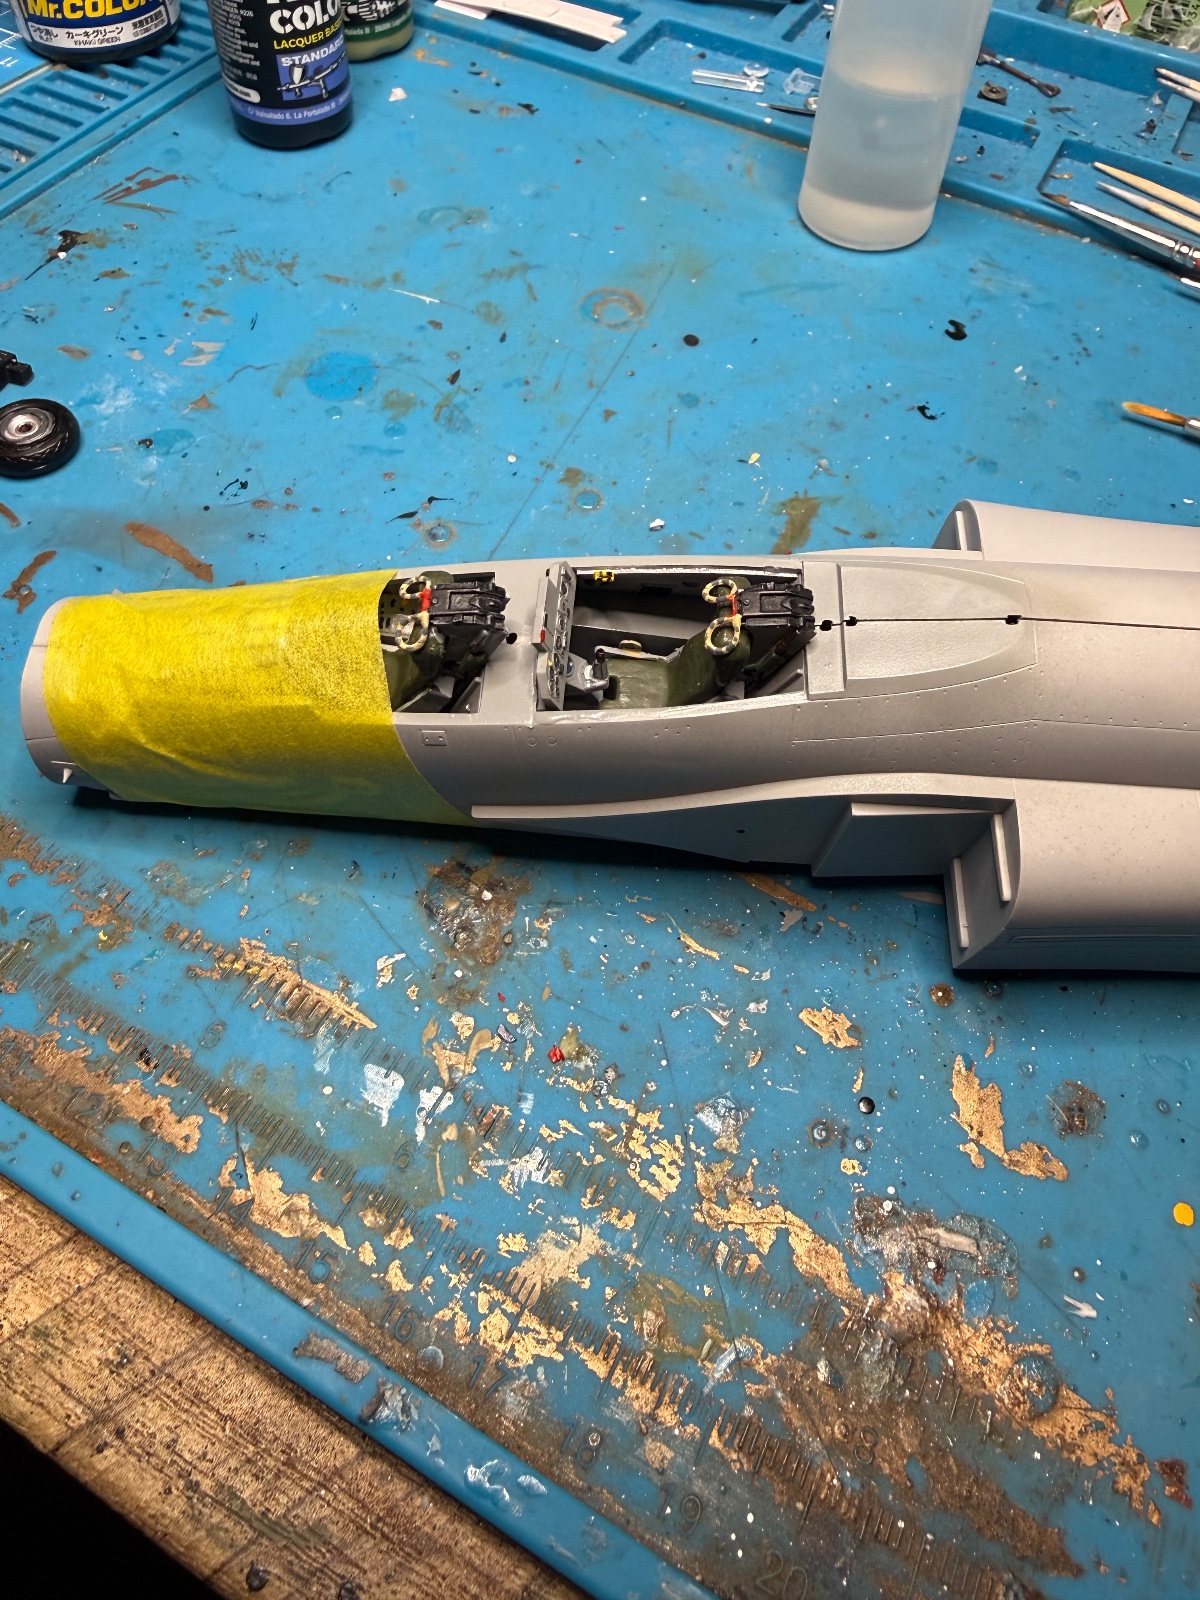
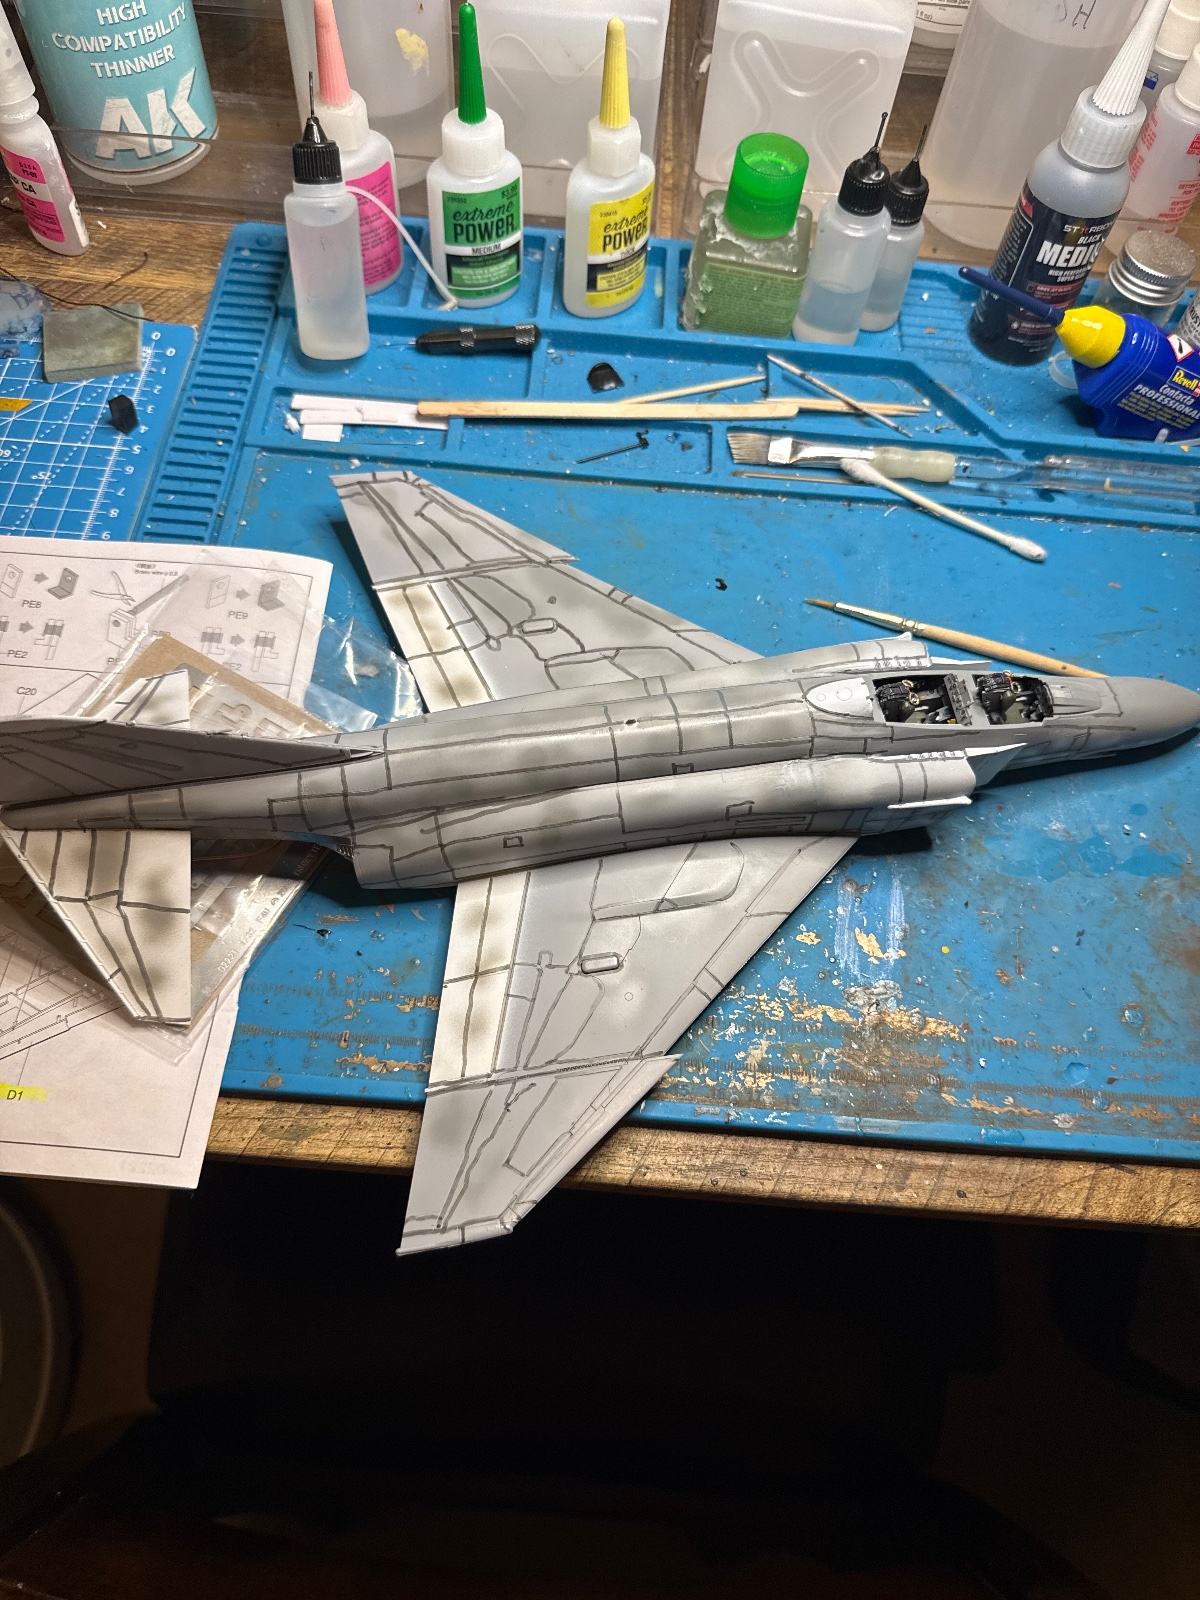
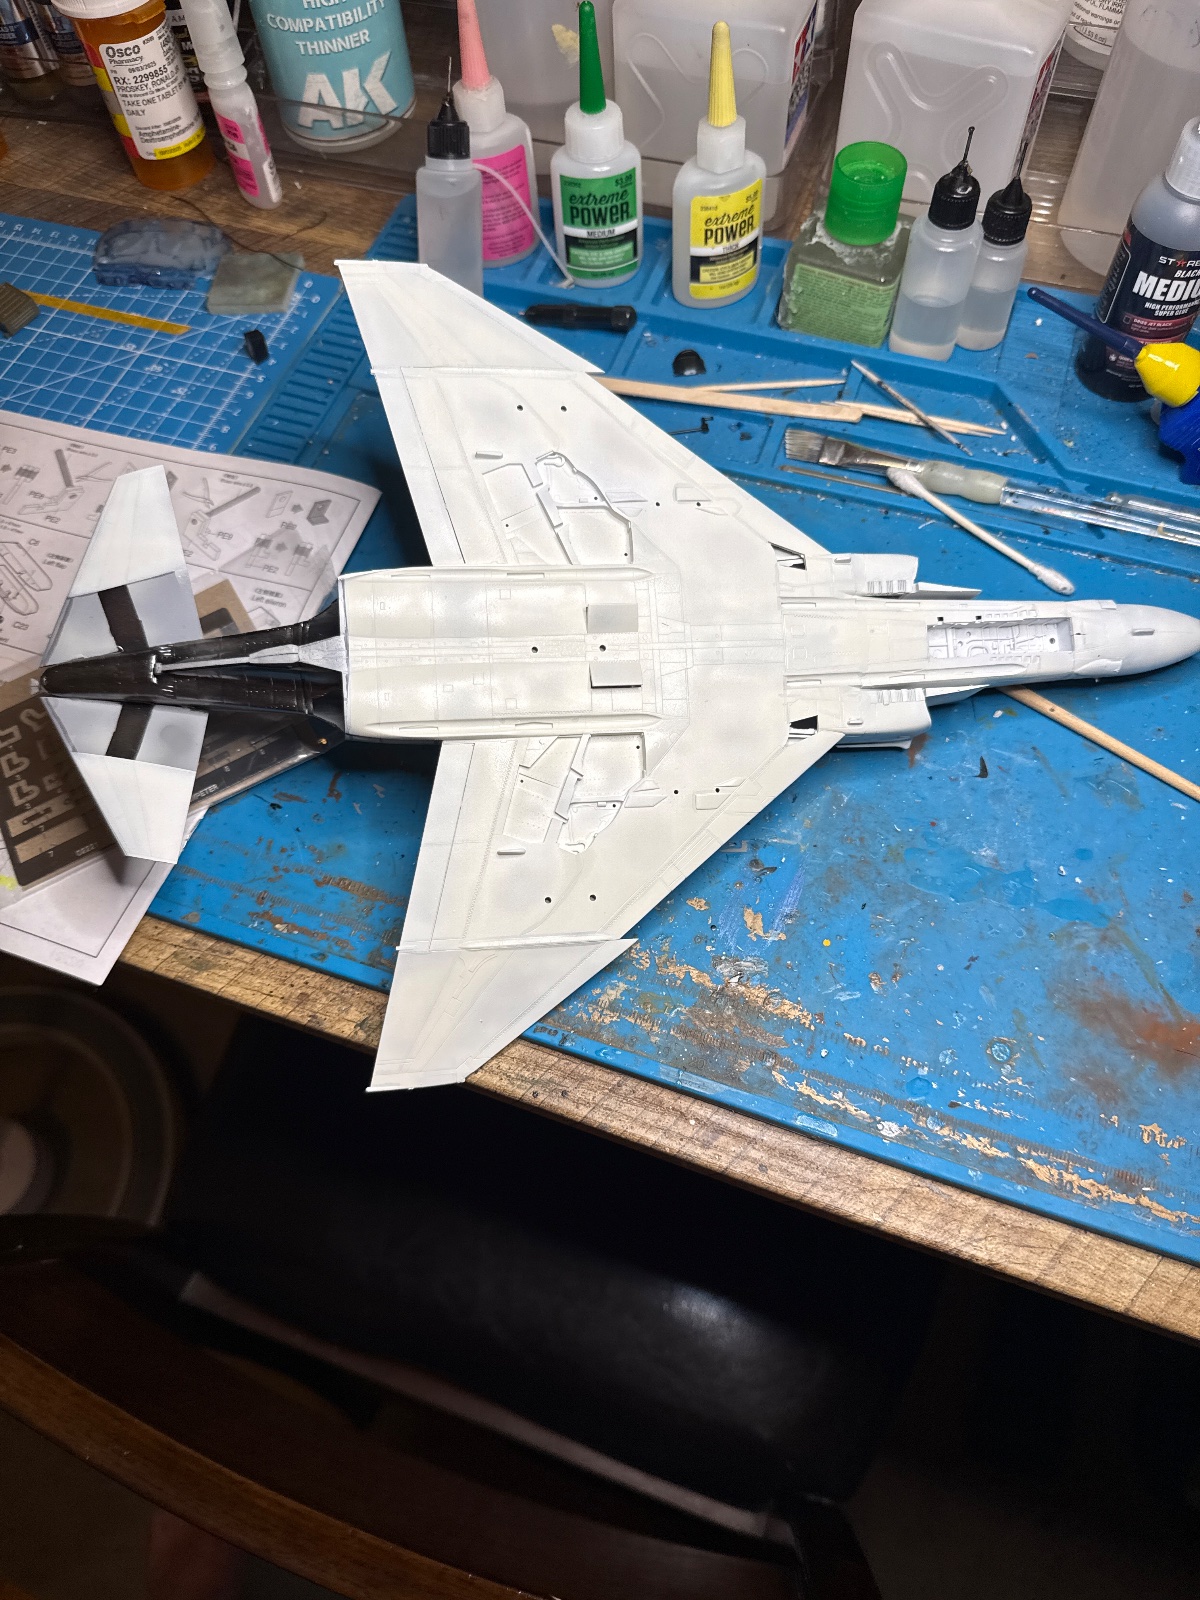
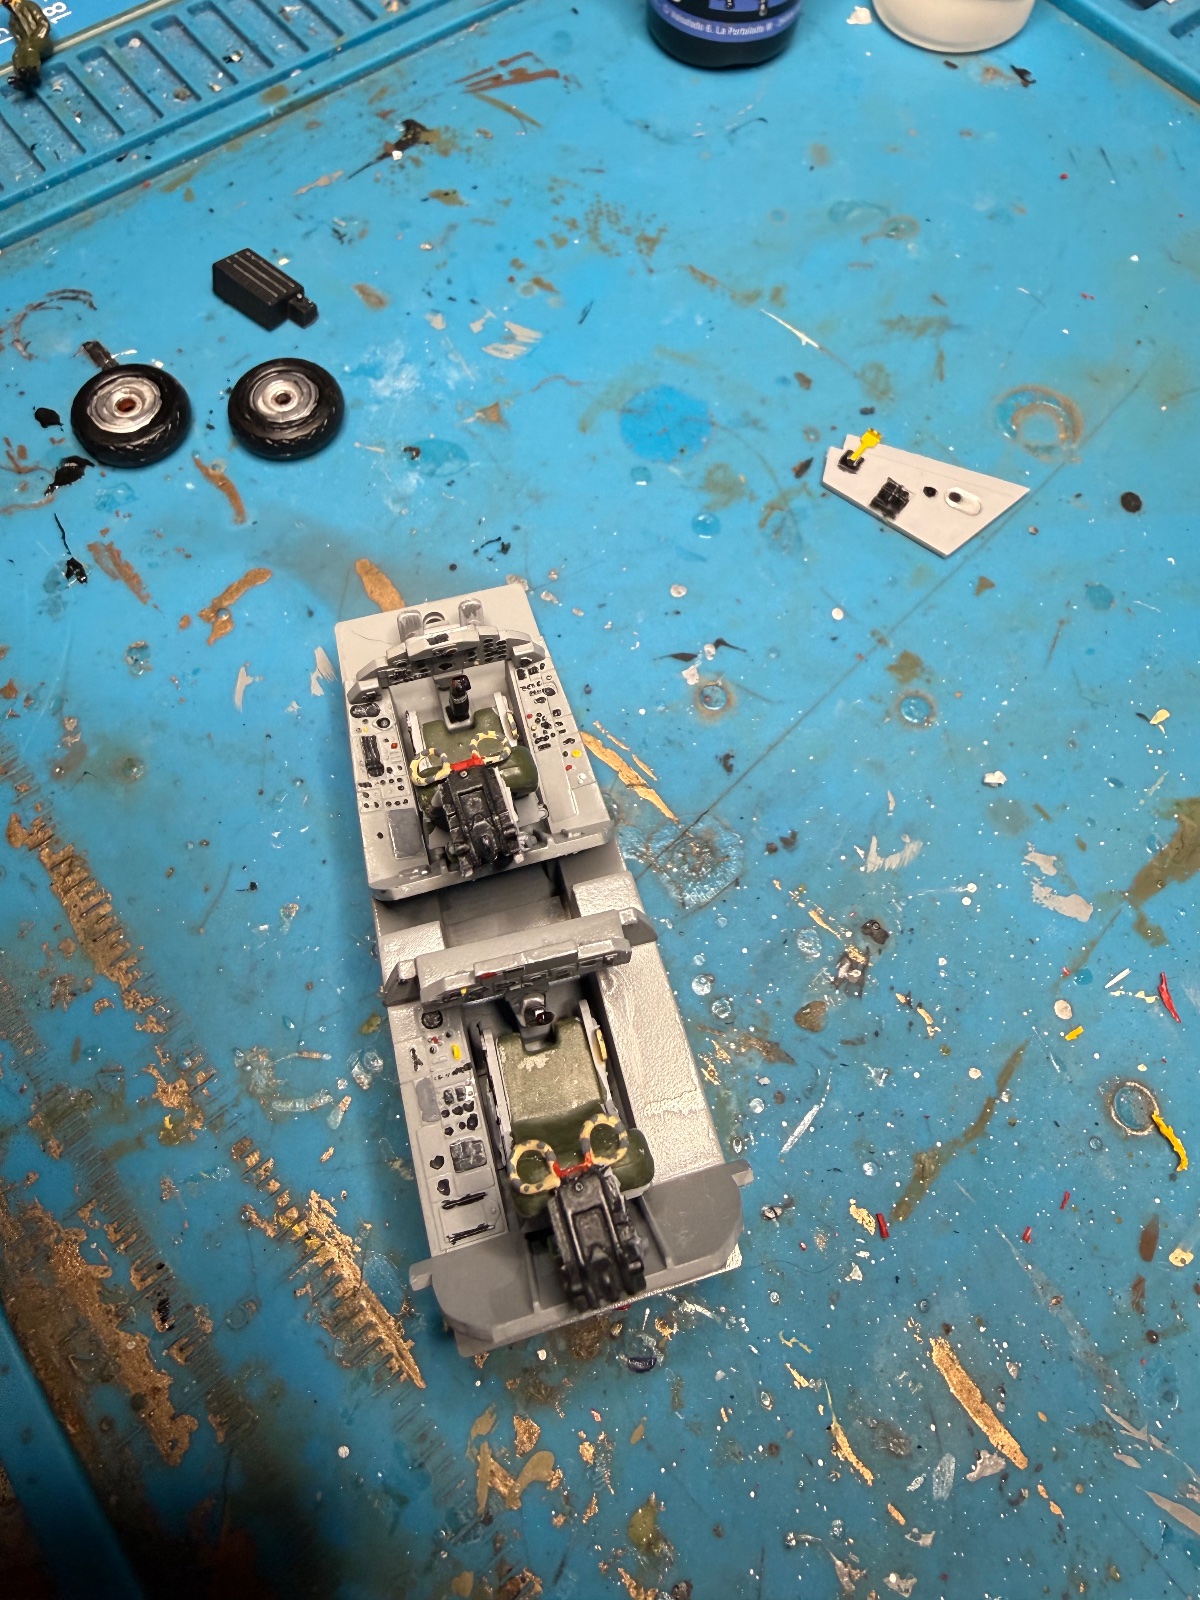
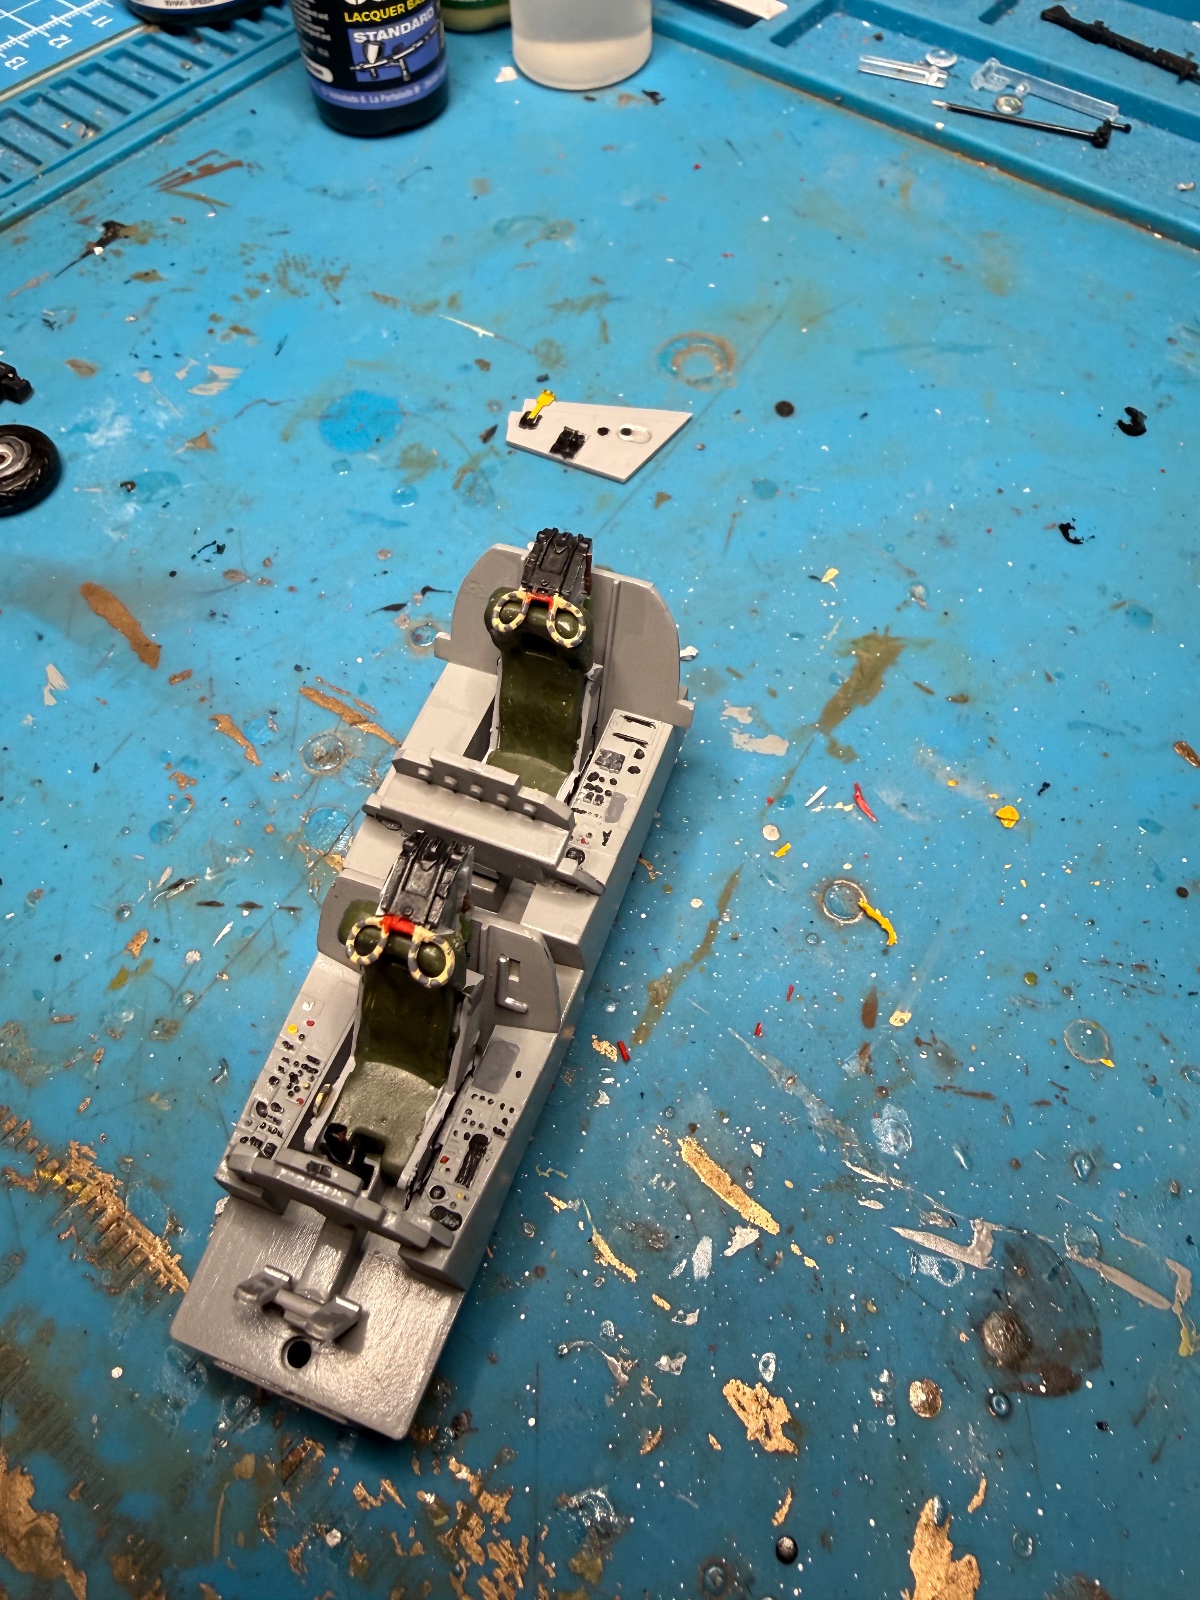
Apparently I forgot to post this. Started it a few weeks ago. Finished up cockpit this morning. Kind of weird- no decals for cockpit so I did my best to paint. I wish my hands were more steady. I'll finish gluing the fuselage tonight hopefully. Trying to get a little done before work this morning so naturally the glue was taking forever. So far I like the kit. Sprues could be better. Things don't seem to snap into place but if you think about it and dry fit it's not difficult to figure out. Had a frustrating time trying to figure out which AK laq match with the given GSI paint scheme. Was at the "local" hobby shop which is 45 mins away so I ended up just picking some greys. To go with. I don't know why AK doesn't make that process easier. Of course then it's also dealing with poor supply.
IMG_6205.jpeg


IMG_6206.jpeg


IMG_6207.jpeg


IMG_6208.jpeg


IMG_6209.jpeg
 
Apparently I forgot to post this. Started it a few weeks ago. Finished up cockpit this morning. Kind of weird- no decals for cockpit so I did my best to paint. I wish my hands were more steady. I'll finish gluing the fuselage tonight hopefully. Trying to get a little done before work this morning so naturally the glue was taking forever. So far I like the kit. Sprues could be better. Things don't seem to snap into place but if you think about it and dry fit it's not difficult to figure out. Had a frustrating time trying to figure out which AK laq match with the given GSI paint scheme. Was at the "local" hobby shop which is 45 mins away so I ended up just picking some greys. To go with. I don't know why AK doesn't make that process easier. Of course then it's also dealing with poor supply.
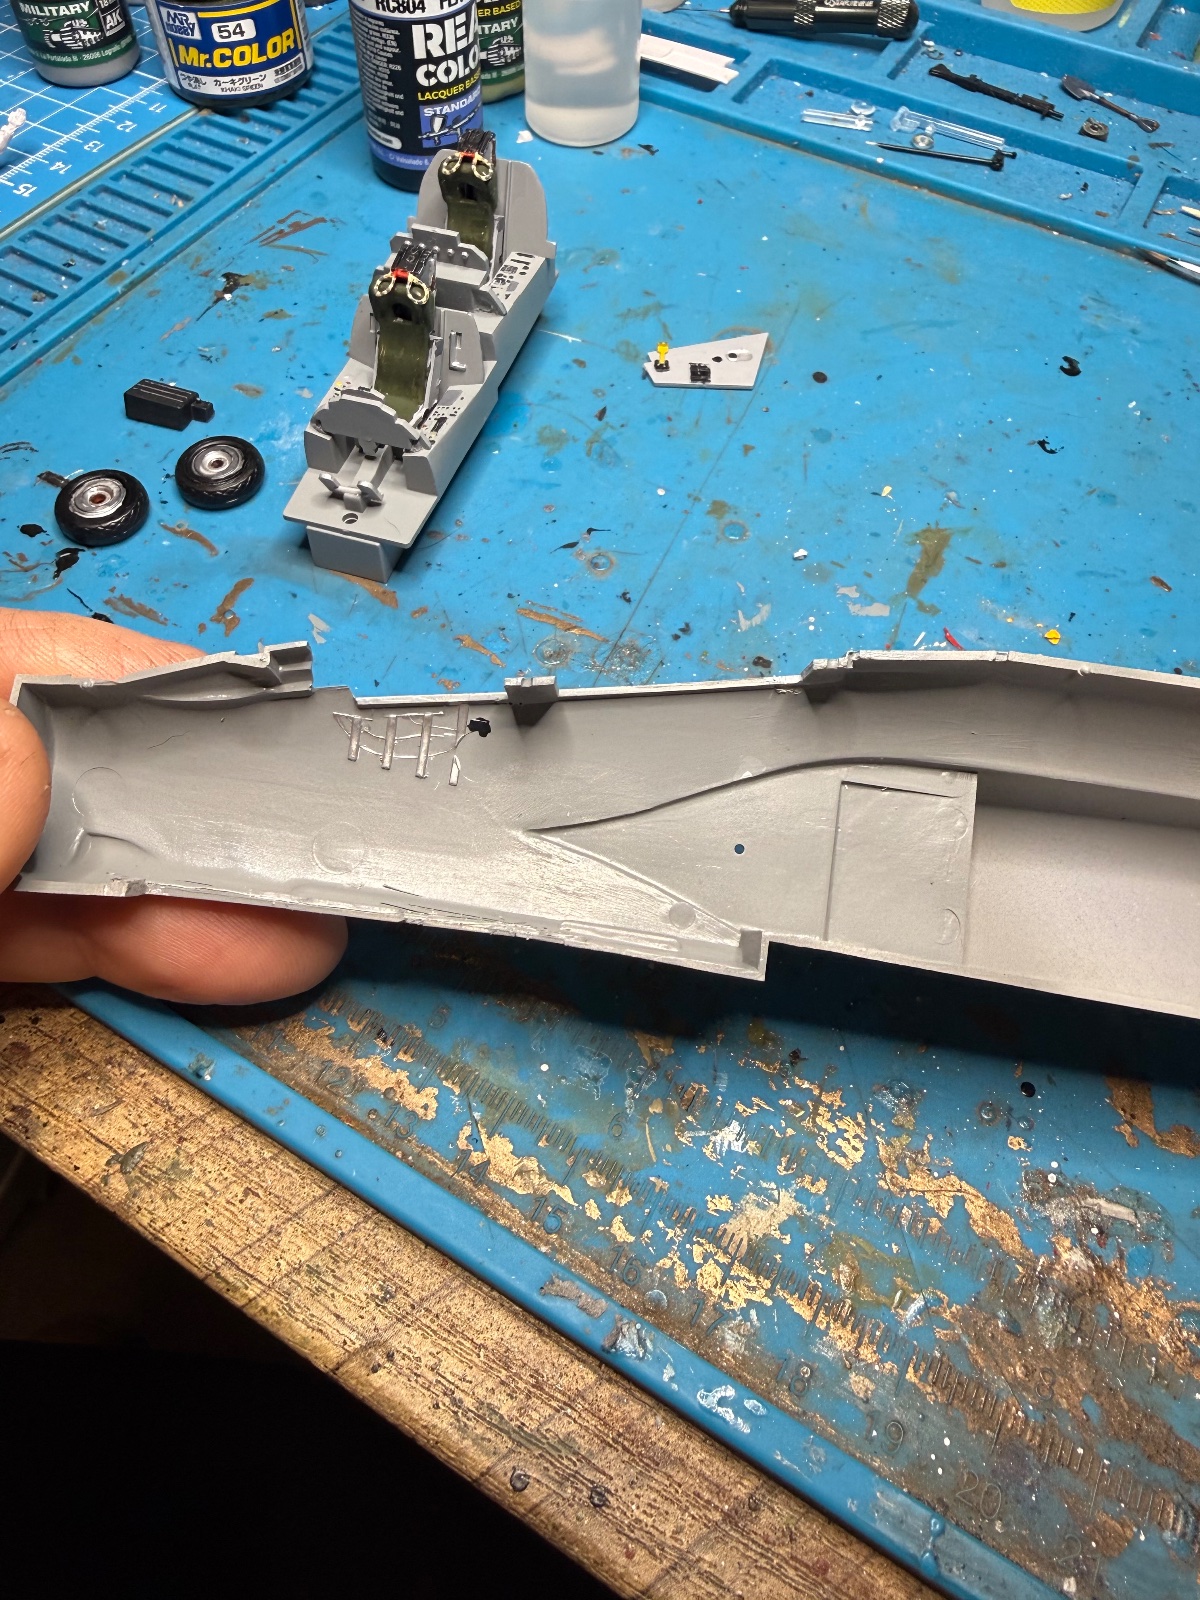
View attachment 173154

View attachment 173155

View attachment 173156

View attachment 173157

View attachment 173158
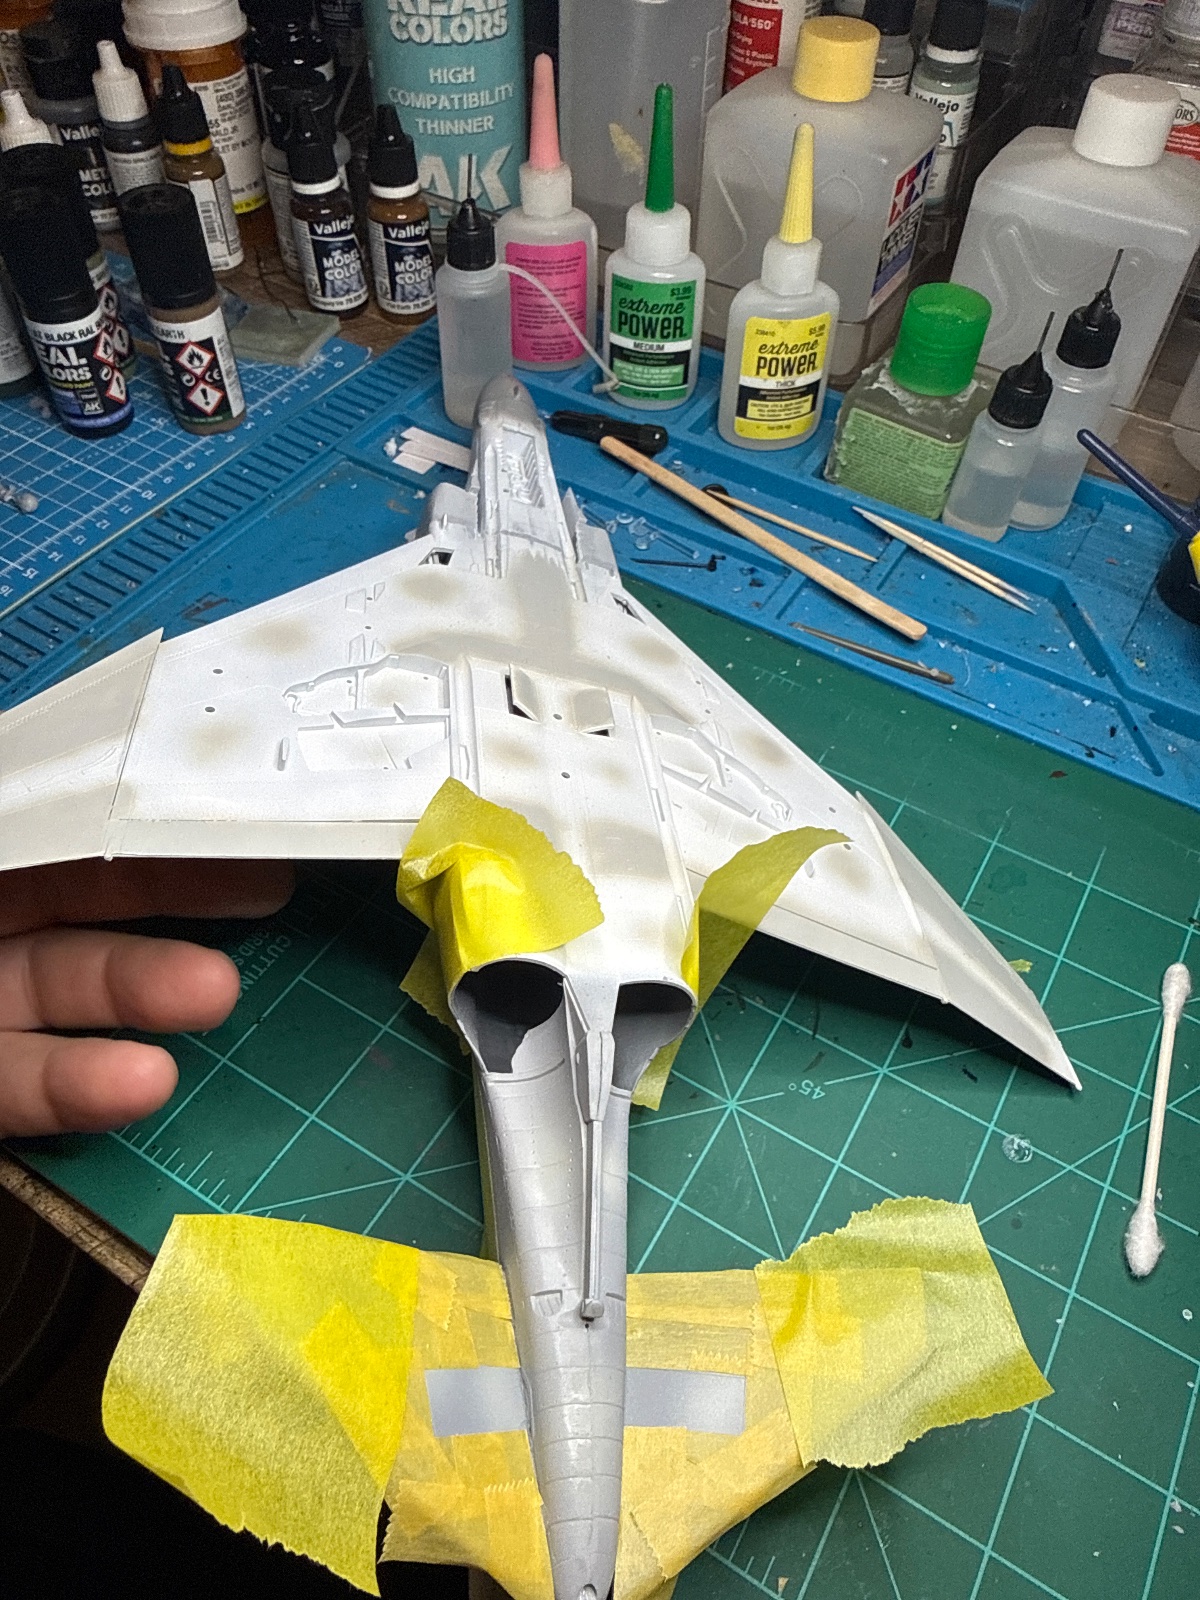
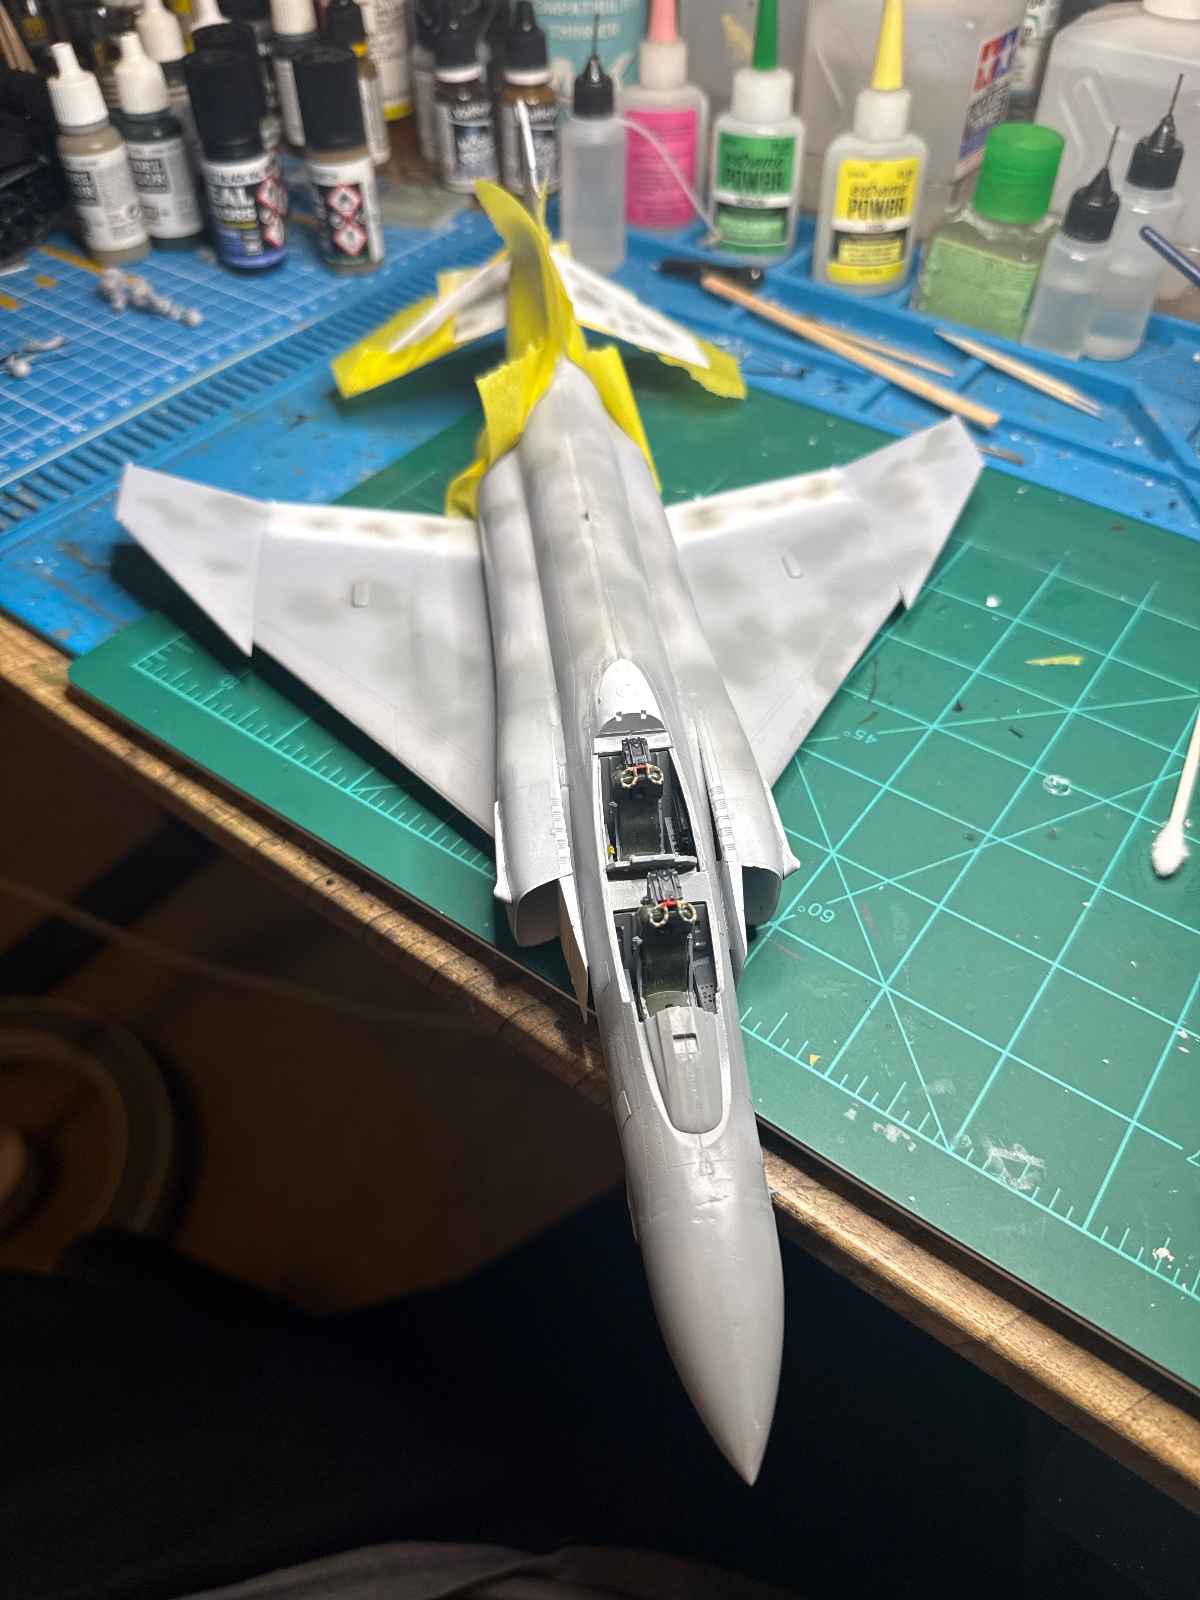
A little more progress.
 

Attachments

  • image.jpg
    image.jpg
    789.9 KB
  • image.jpg
    image.jpg
    600.9 KB
Quite surprisingly I have not built a 1/48 Hasegawa Phantom ever ! I have half a dozen in the stash. Crazy! You're making nice progress.
 
Quite surprisingly I have not built a 1/48 Hasegawa Phantom ever ! I have half a dozen in the stash. Crazy! You're making nice progress.
It's a nice kit! I did have to sand and putty but I'm pretty sure that was my fault as it was mostly on the starboard side.
 
Did some preshading and panel lines. Meh. Metal finish to tail. Trying an acrylic pen for panel lines. We'll see.
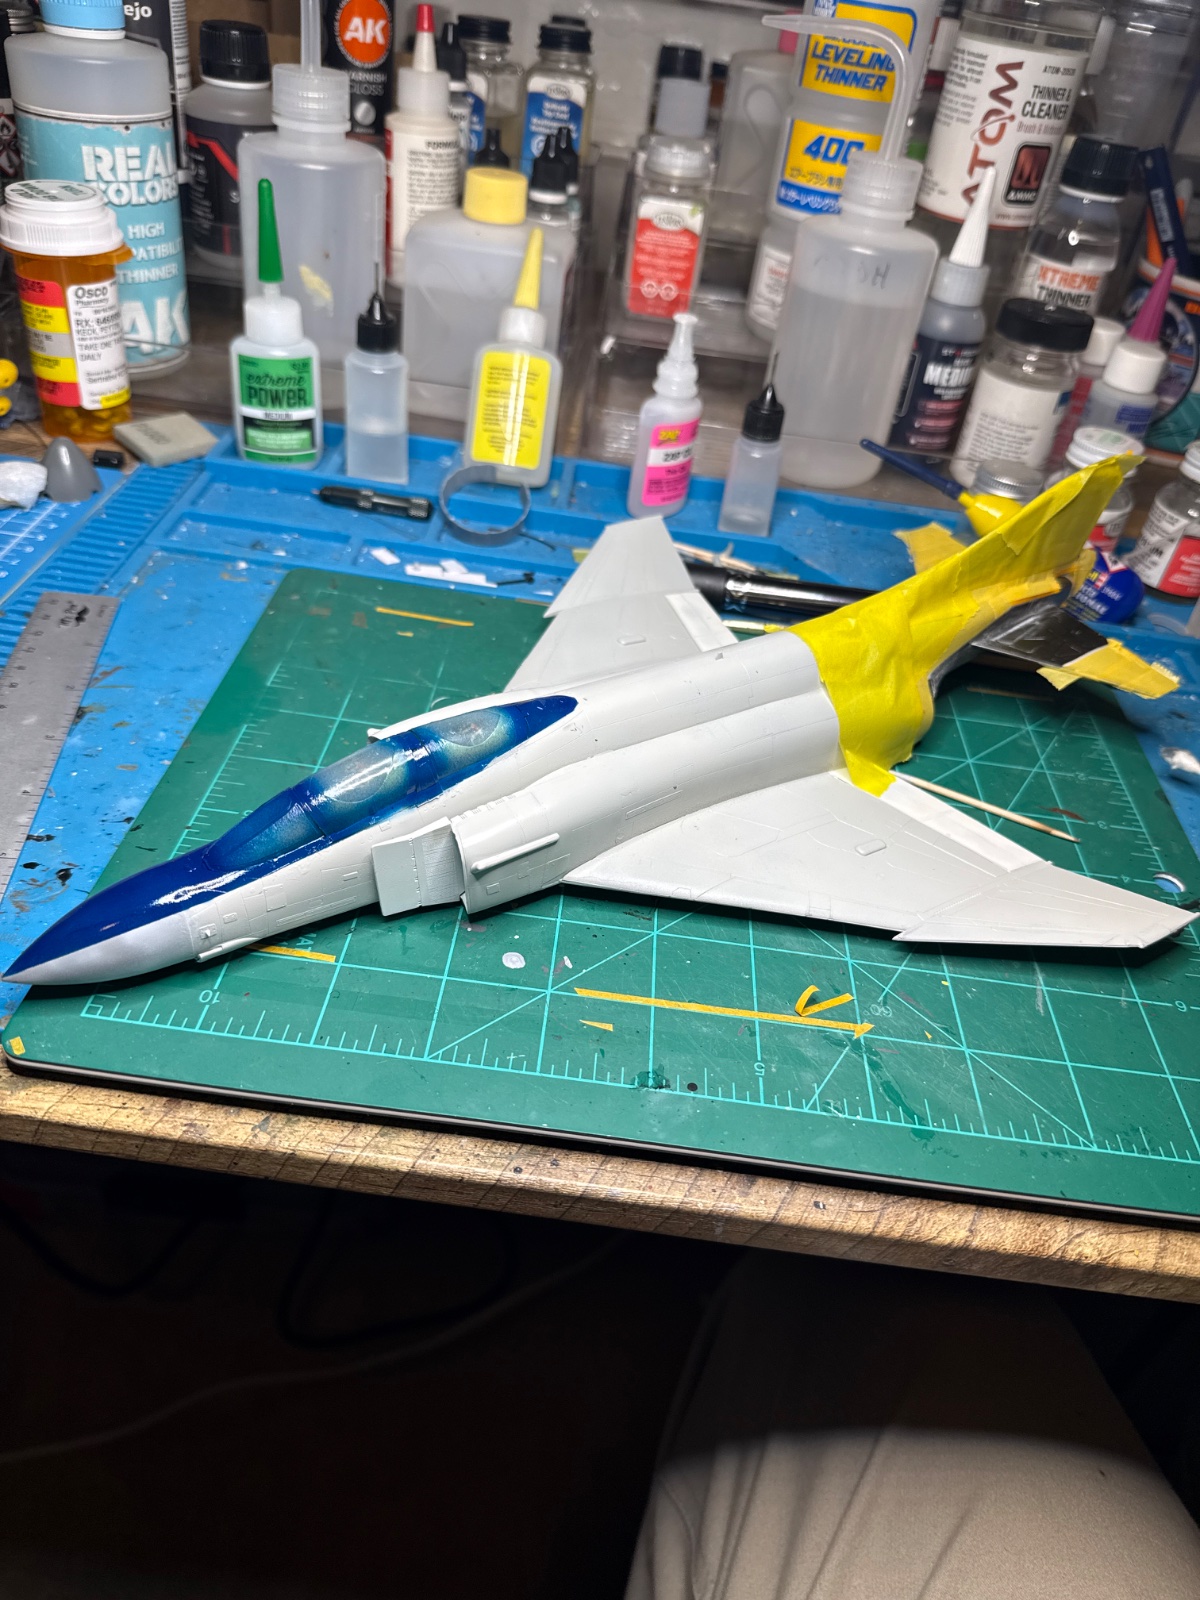
Painted topside and canopy. I jacked up rear stabilizers- broke both of them off and in process of fixing them messed up my metal finish. So I'll be redoing that, hopefully tomorrow and then applying decals. I've been applying decals prior to clear coat last few builds with no issues and it saves me some time.
 

Attachments

  • image.jpg
    image.jpg
    568.7 KB
  • image.jpg
    image.jpg
    494.2 KB
As an Amazon Associate we earn from qualifying purchases. Product prices and availability are accurate as of the date/time indicated and are subject to change.
Painted topside and canopy. I jacked up rear stabilizers- broke both of them off and in process of fixing them messed up my metal finish. So I'll be redoing that, hopefully tomorrow and then applying decals. I've been applying decals prior to clear coat last few builds with no issues and it saves me some time.
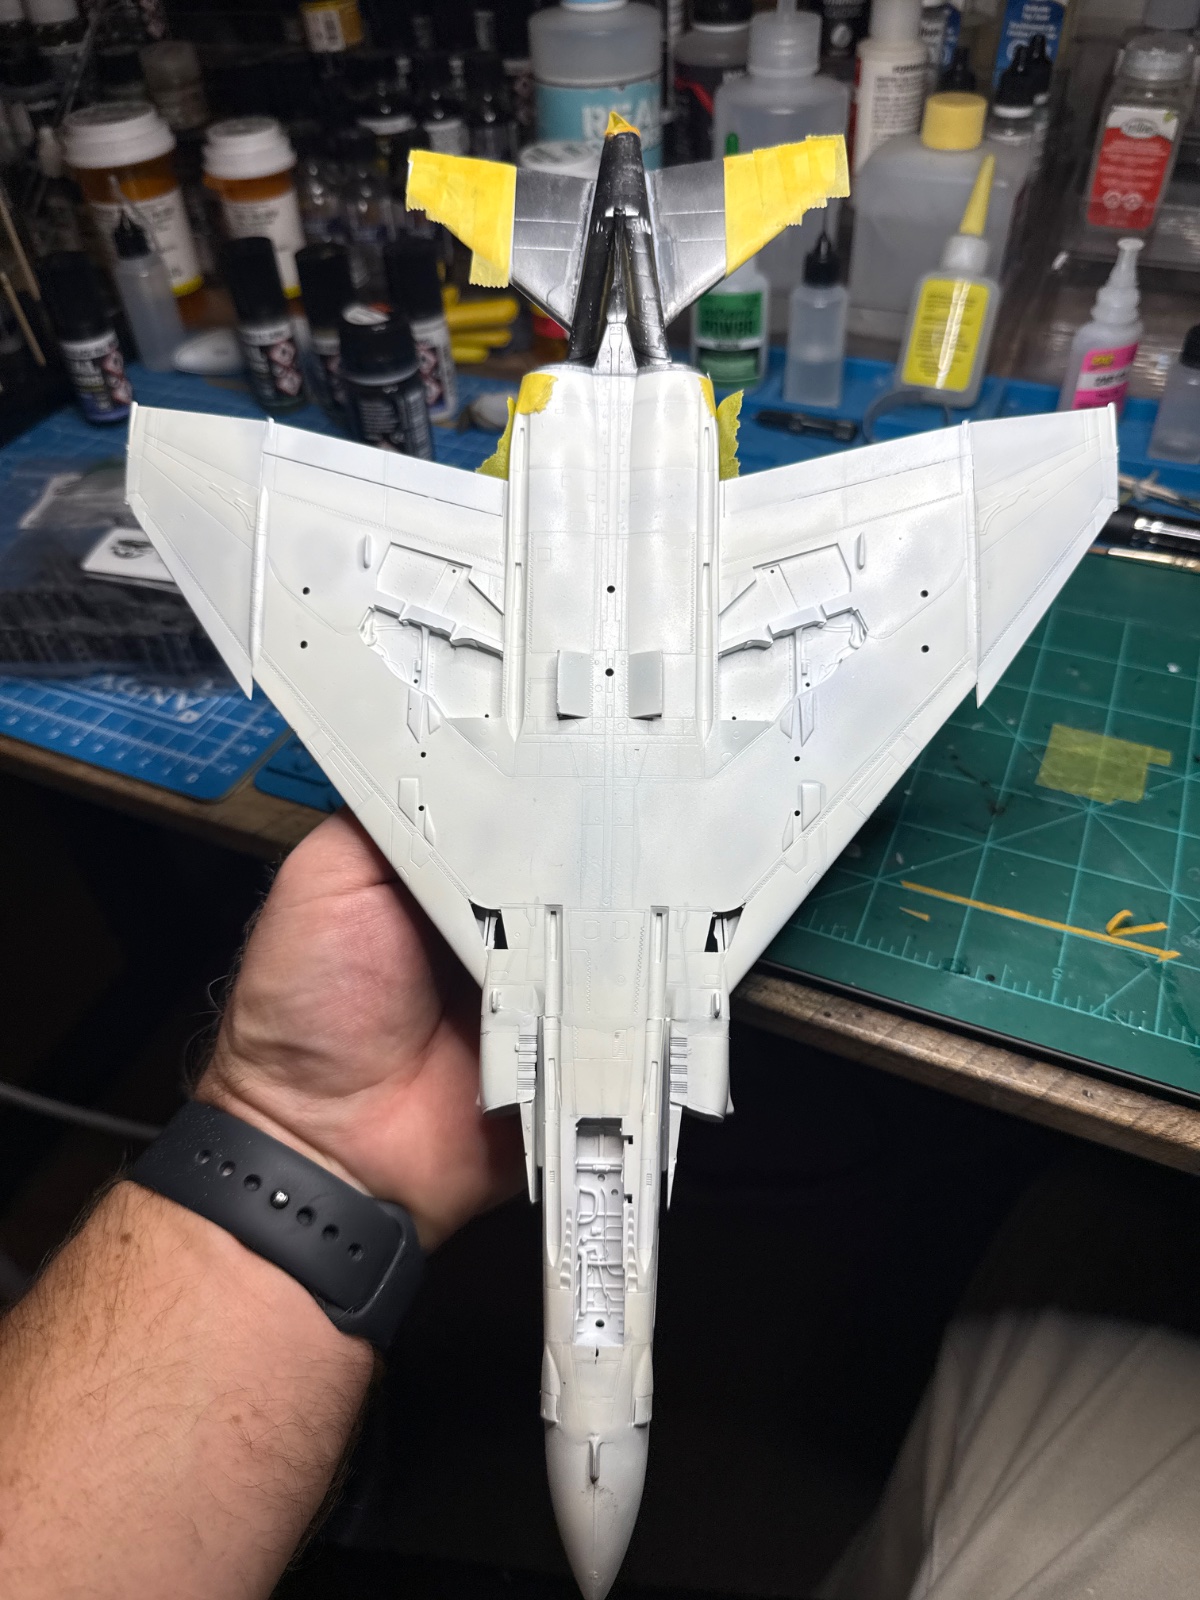
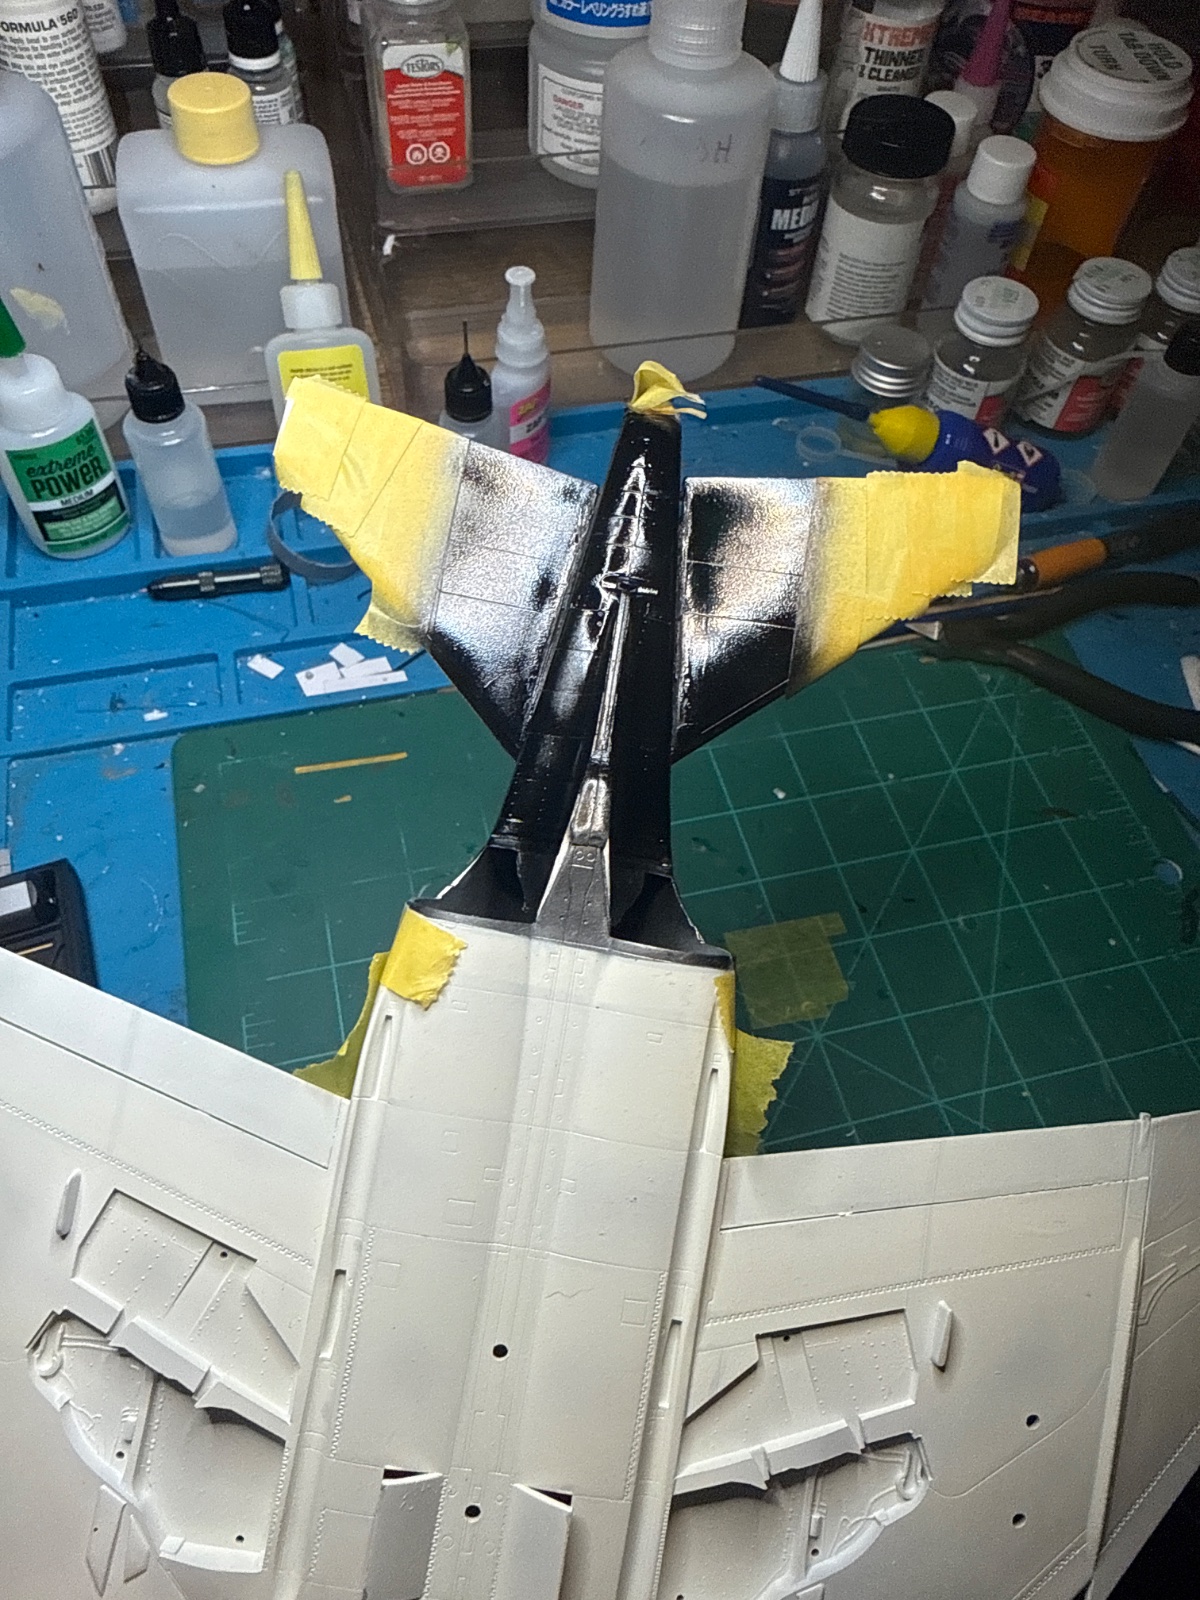
I don't know what it is with this plane. Dropped it this morning and broke off one of the rear stabilizers a second time. I had puttied and sanded the joints last night -this time it just got glued on. Painted my gloss black coat in prep for metal finish tonight. Put front wheel on. Realized I didn't predrill the holes for the rear landing gear- I seem to keep missing that step with these kits. I don't understand why they want us to drill the holes vs having them done- anyone know the logic other than $? Anyway, I'd really like to get this wrapped up and hope my impatience doesn't do it injustice for the finished product. I guess I'll inspect that stabilizer to see if I need to putty it, no sense doing all this work to have a gap glaring at me. Taking the pic I realized I must have had my eyes closed when I glued this stabilizer so I broke it off a third time and will reglue and probably putty. What's one more day?
 

Attachments

  • image.jpg
    image.jpg
    676.7 KB
I don't know what it is with this plane. Dropped it this morning and broke off one of the rear stabilizers a second time. I had puttied and sanded the joints last night -this time it just got glued on. Painted my gloss black coat in prep for metal finish tonight. Put front wheel on. Realized I didn't predrill the holes for the rear landing gear- I seem to keep missing that step with these kits. I don't understand why they want us to drill the holes vs having them done- anyone know the logic other than $? Anyway, I'd really like to get this wrapped up and hope my impatience doesn't do it injustice for the finished product. I guess I'll inspect that stabilizer to see if I need to putty it, no sense doing all this work to have a gap glaring at me. Taking the pic I realized I must have had my eyes closed when I glued this stabilizer so I broke it off a third time and will reglue and probably putty. What's one more day?
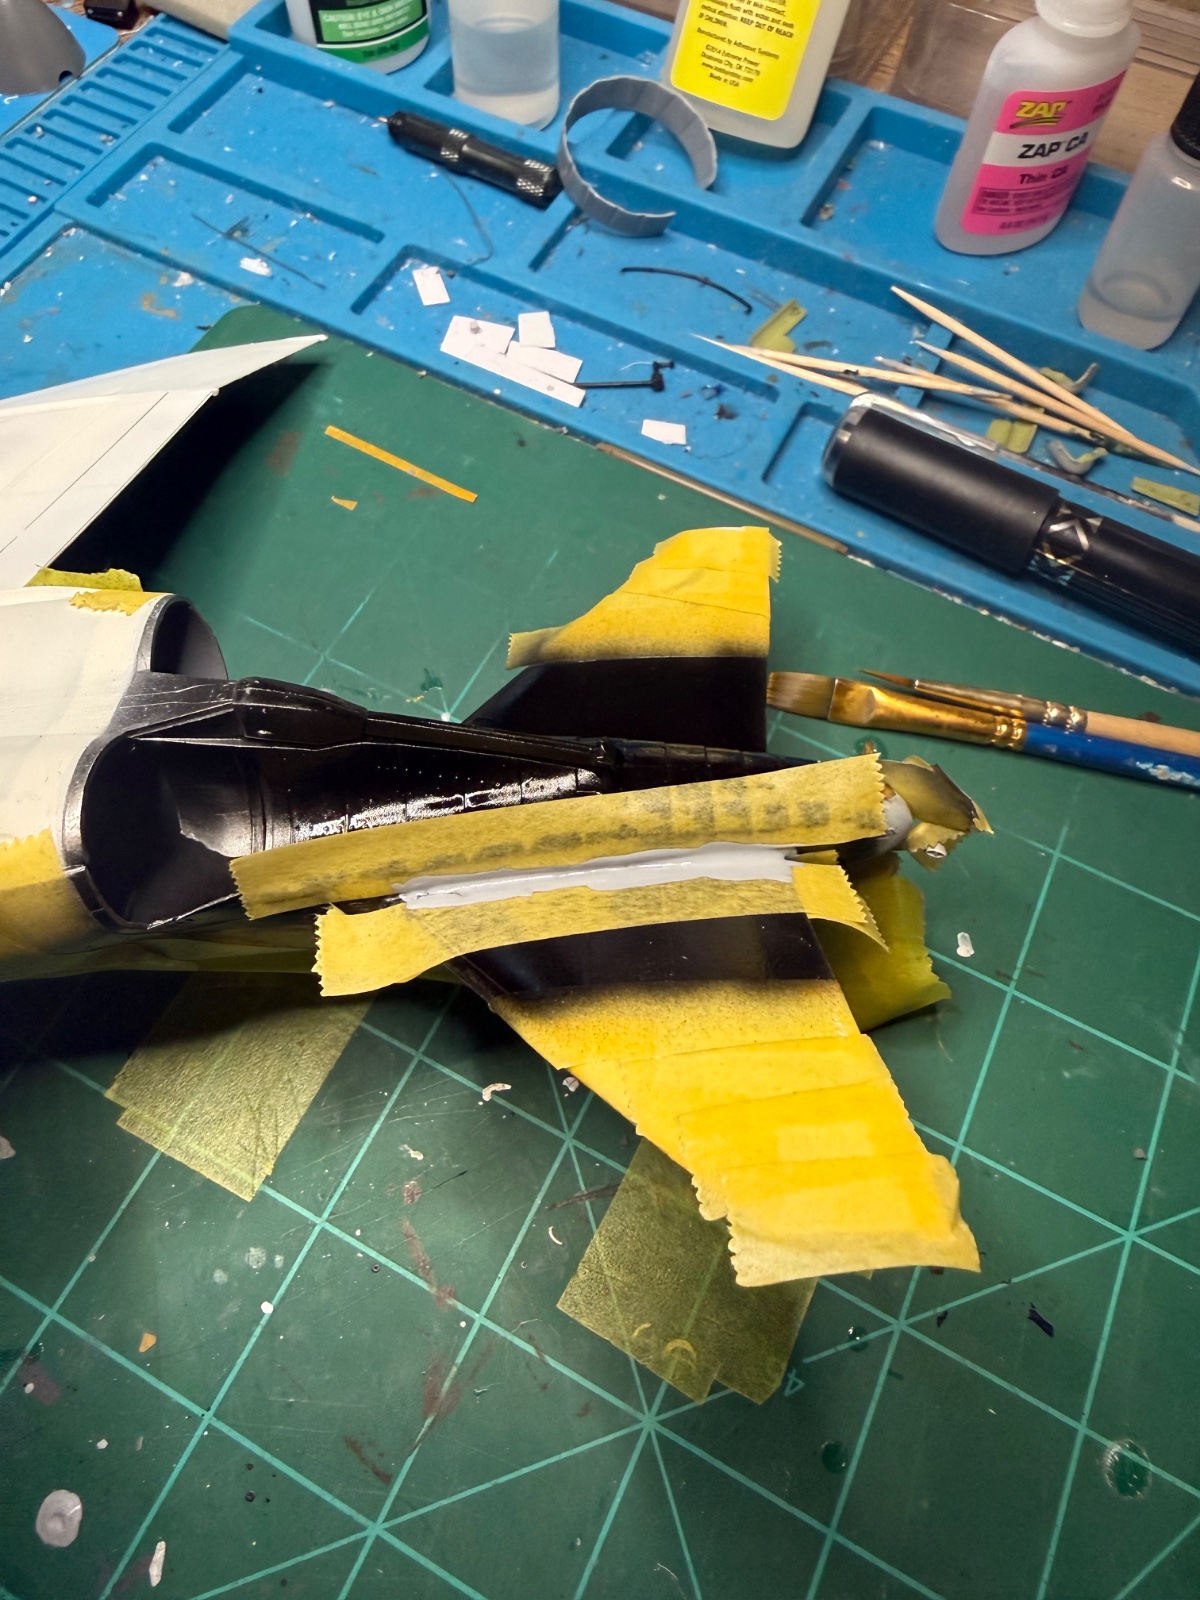
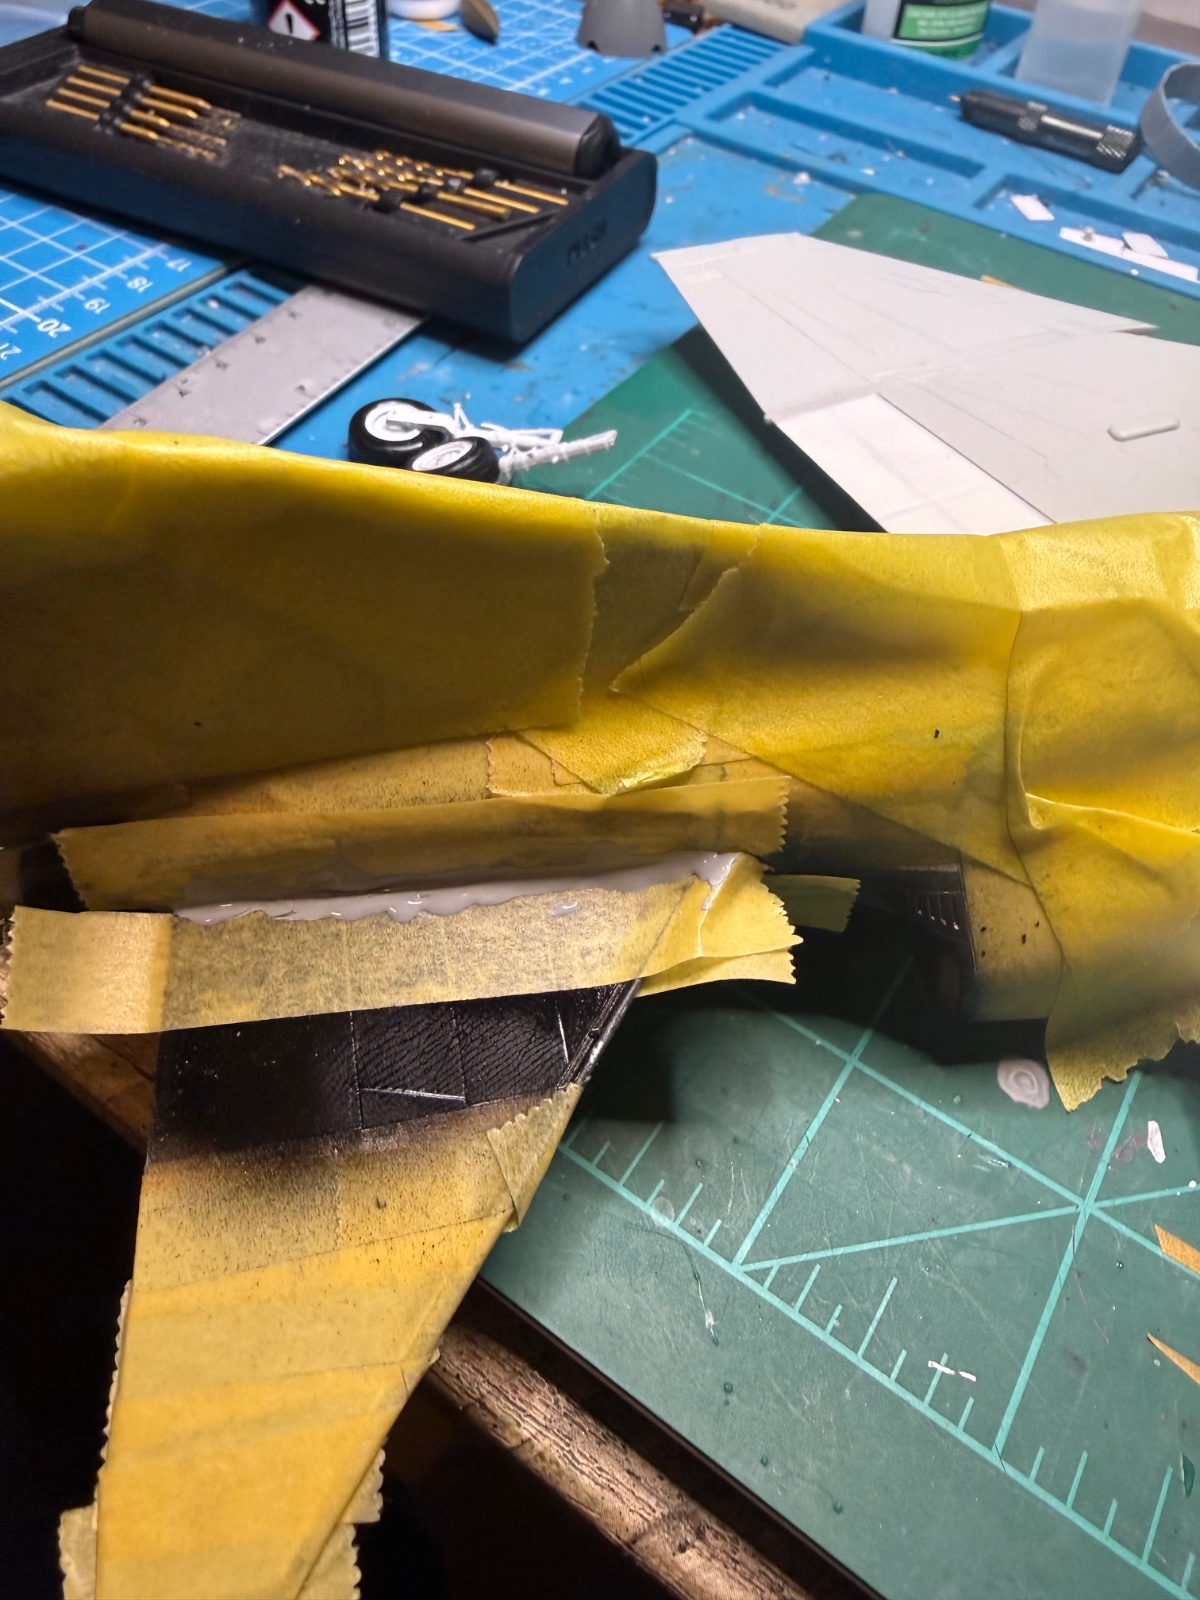
Broke the wing off- this is why I like CA, of course that begs the question would the wing have popped off in the first place if I hadn't used CA? Sanded, and reapplied putty. I'll sand and hit it with gloss black tonight or maybe straight to metal finish depending how well my masking was.
 

Attachments

  • IMG_6645.jpeg
    IMG_6645.jpeg
    540.3 KB
  • IMG_6646.jpeg
    IMG_6646.jpeg
    501.8 KB
It doesn't prevent dropping, but I try to avoid putting stabilators on until the plane is almost done. I've built several F-4s and always added them right at the end. The whole thing moves relative to the fuselage, so no putty is needed. It makes painting all the various shades and tones of metallic much easier.
 
Last edited:
It doesn't prevent dropping, but I try to avoid putting stabilators on until the plane is almost done. I've built several F-4s and always added them right at the end. The whole thing moves relative to the fuselage, so no putty is needed. It makes painting all the various shades and tones of metallic much easier.
Thanks, this is my second "modern" plane and it makes sense to hold off on fixing the stabilizers to the plane u til the end. The gap was just ugly even after sanding and I didn't make it flush with putty- just decreased the gap so to speak but it probably is no longer accurate from what you're saying. Lesson learned.
 
Broke the wing off- this is why I like CA, of course that begs the question would the wing have popped off in the first place if I hadn't used CA? Sanded, and reapplied putty. I'll sand and hit it with gloss black tonight or maybe straight to metal finish depending how well my masking was.
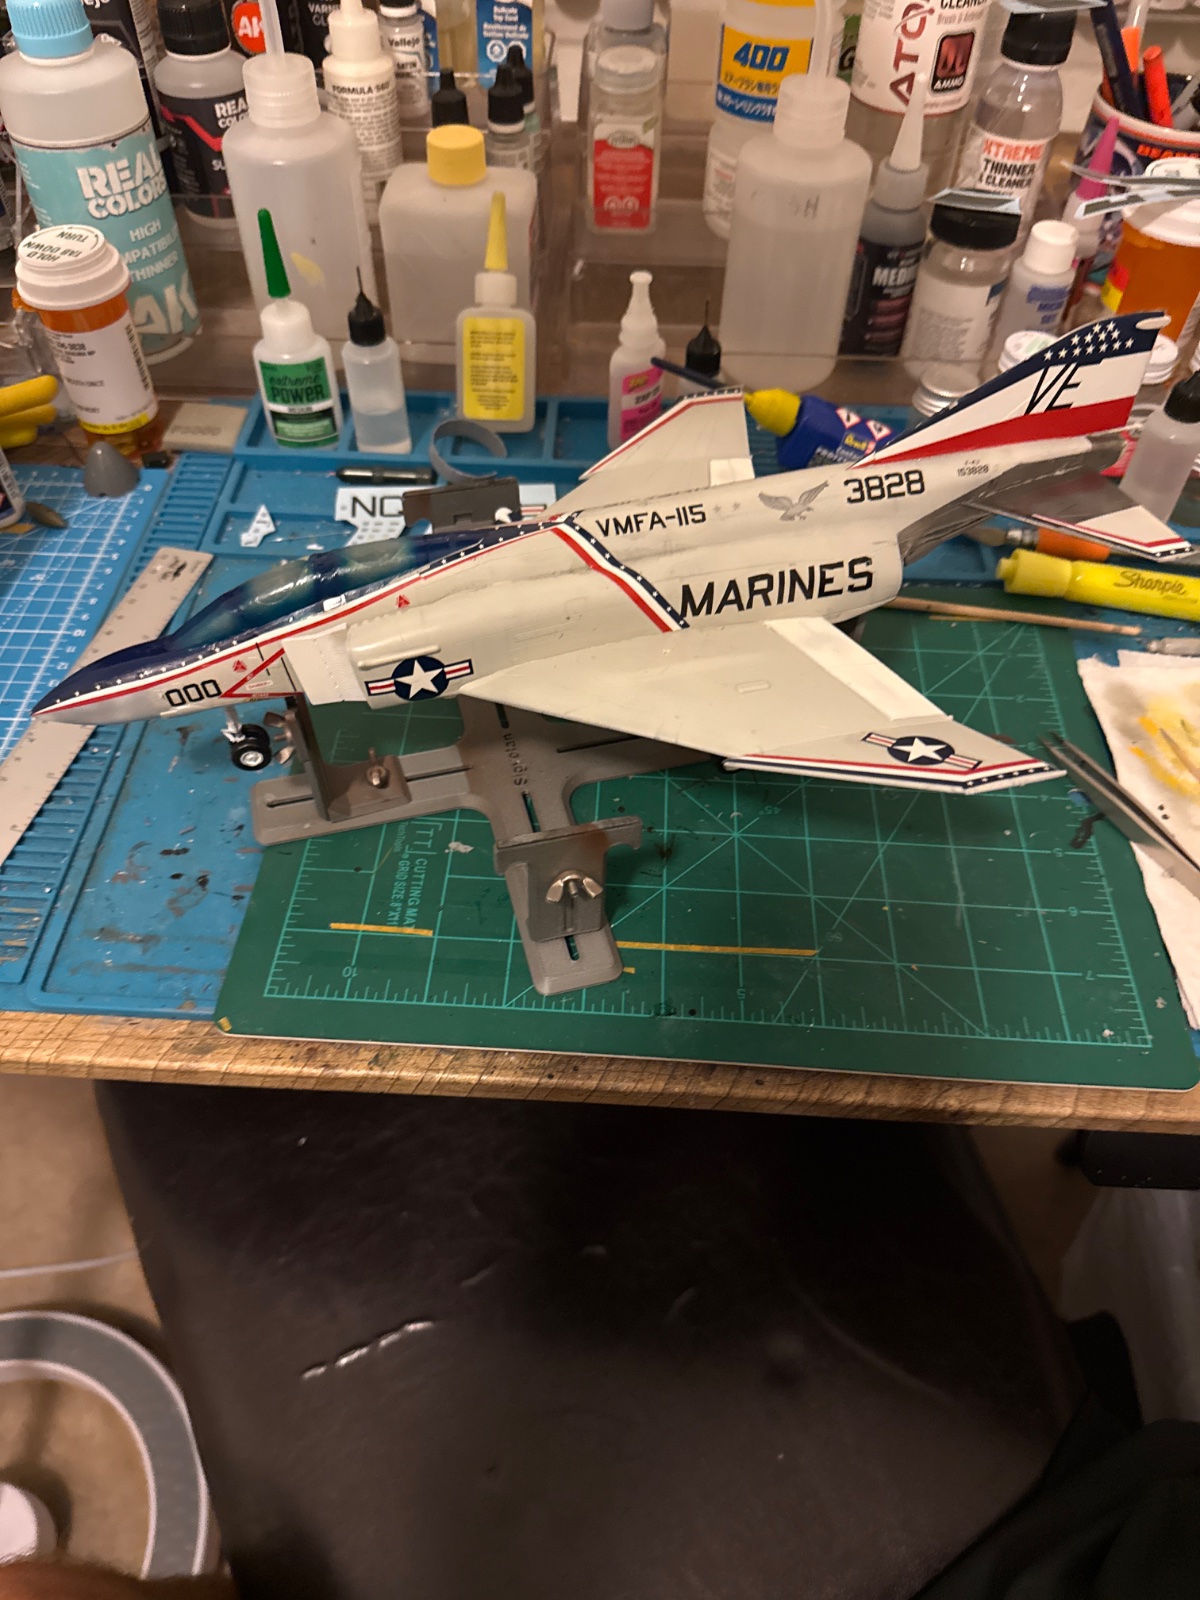
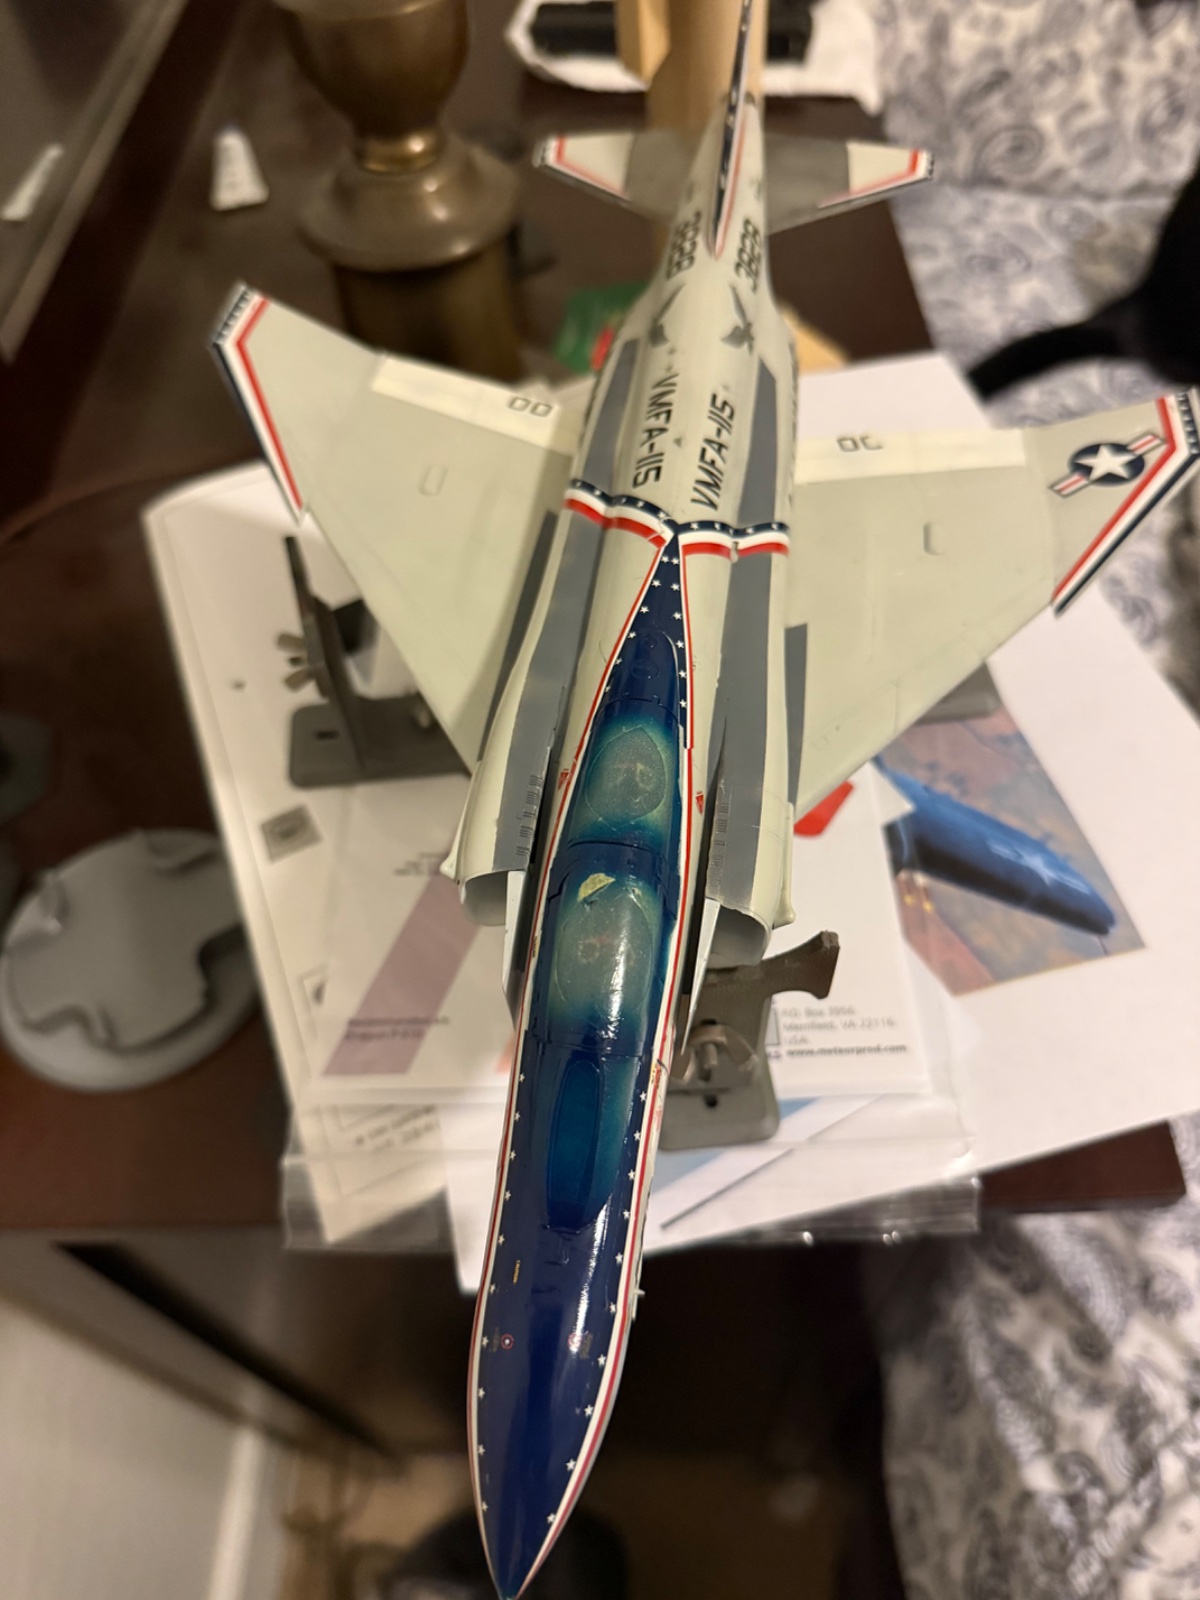
Put some decals on today and learned a lesson or two about large decals. Heavy sigh. Part of me wants to tear them off and order a new set. I have a lot to go.
 

Attachments

  • image.jpg
    image.jpg
    527.1 KB
I know why you put it in quotes, but I said much the same when I built a Phantom last year. If it is not WWII/Korea era it is modern right?
It is. In military vehicle/aircraft/etc. terms, anything post-Second World War is modern — the Korean war is "modern", the F-86 Sabre is a "modern" fighter jet, the Centurion is a "modern" tank, and so on. The terminology needs updating, really, but I doubt that's going to happen.

It's a bit like art: people say "modern art" to mean the art of today, but in art history terms, "modern art" is the style of art from around the middle half of the 20th century. Today's art is contemporary art, but that's an equally problematic name because if art evolves again, you either need to stop calling it that, or to invent a new term for previously contemporary art.

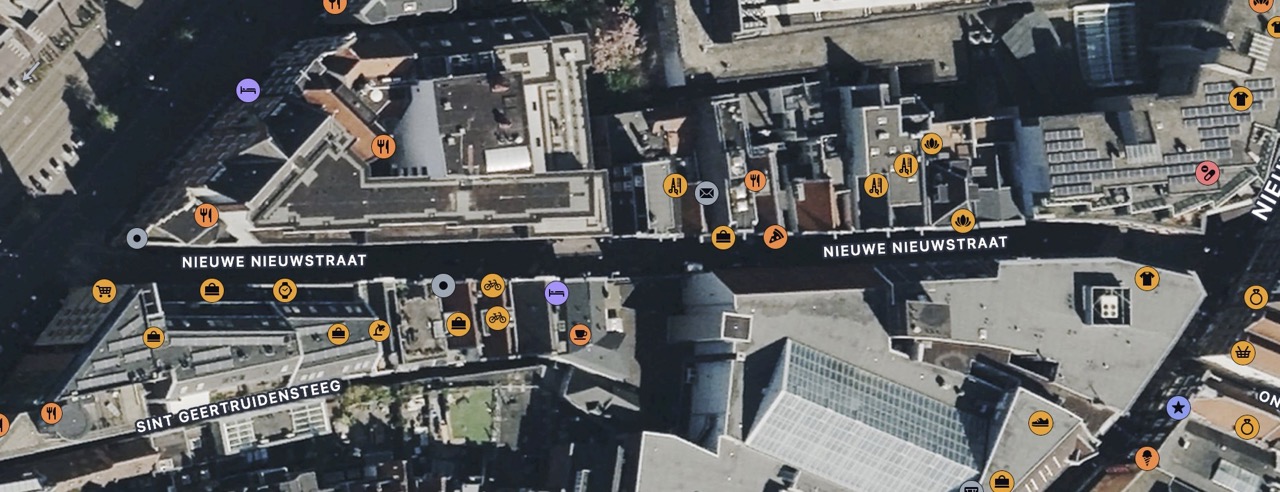
Or another analogy: plenty of streets around the world have names like New Street (in the local language, of course). Which is fine, until newer streets are built. You eventually end up with ridiculousness like this in Amsterdam:

Nieuwe Nieuwstraat.jpeg


I'm sure you can work out that the name of this street translates as "New New Street" — and not a hundred metres, but quite a few corners, away is the Oude Nieuwstraat …
 
That is a pretty busy decal pattern already, so I'd consider minimizing the stencils. There are a lot of them on most Phantom kits. While they may represent reality, they seldom look realistic. That's just a lot of film edges to blend in with your final flat or gloss coat.
 
That is a pretty busy decal pattern already, so I'd consider minimizing the stencils. There are a lot of them on most Phantom kits. While they may represent reality, they seldom look realistic. That's just a lot of film edges to blend in with your final flat or gloss coat.
That's what I was thinking. I'm already starting to mistake "no step" decals for a paint blemish.
 
Did a touch more today. I'm kind of petering out with the decals. Holy cow there are a ton.
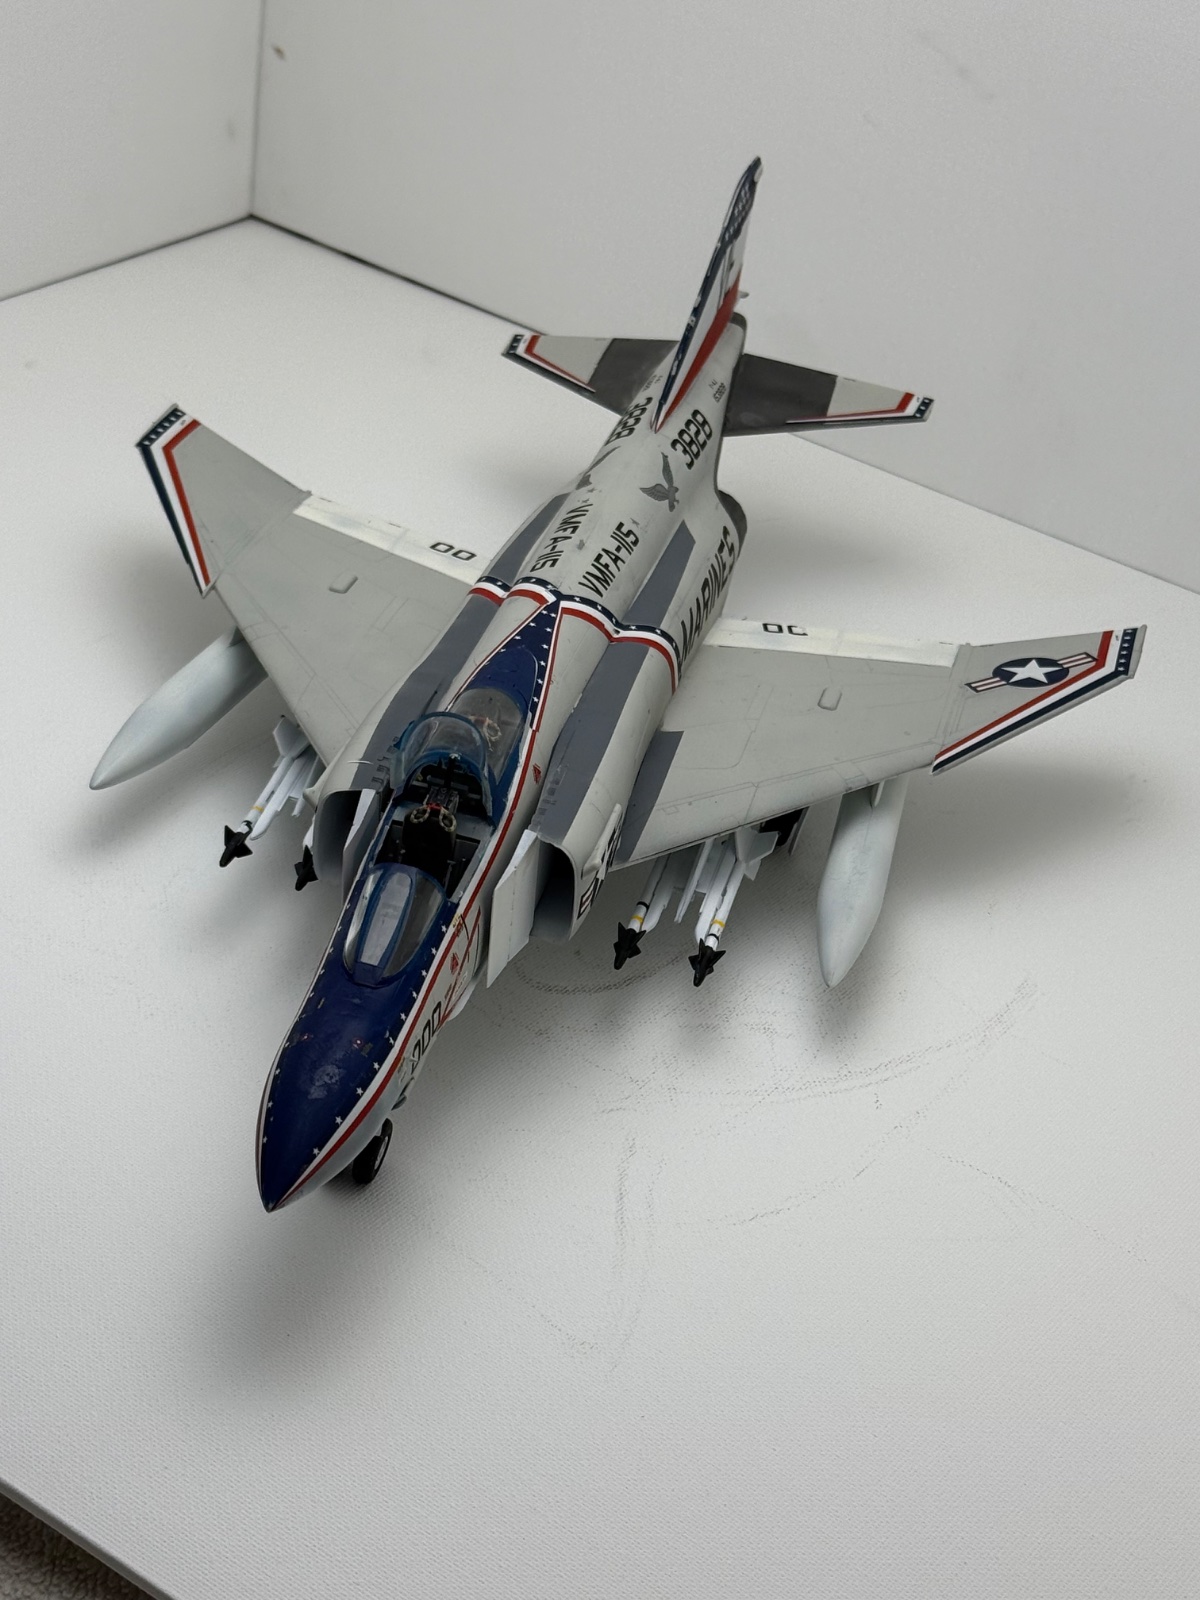
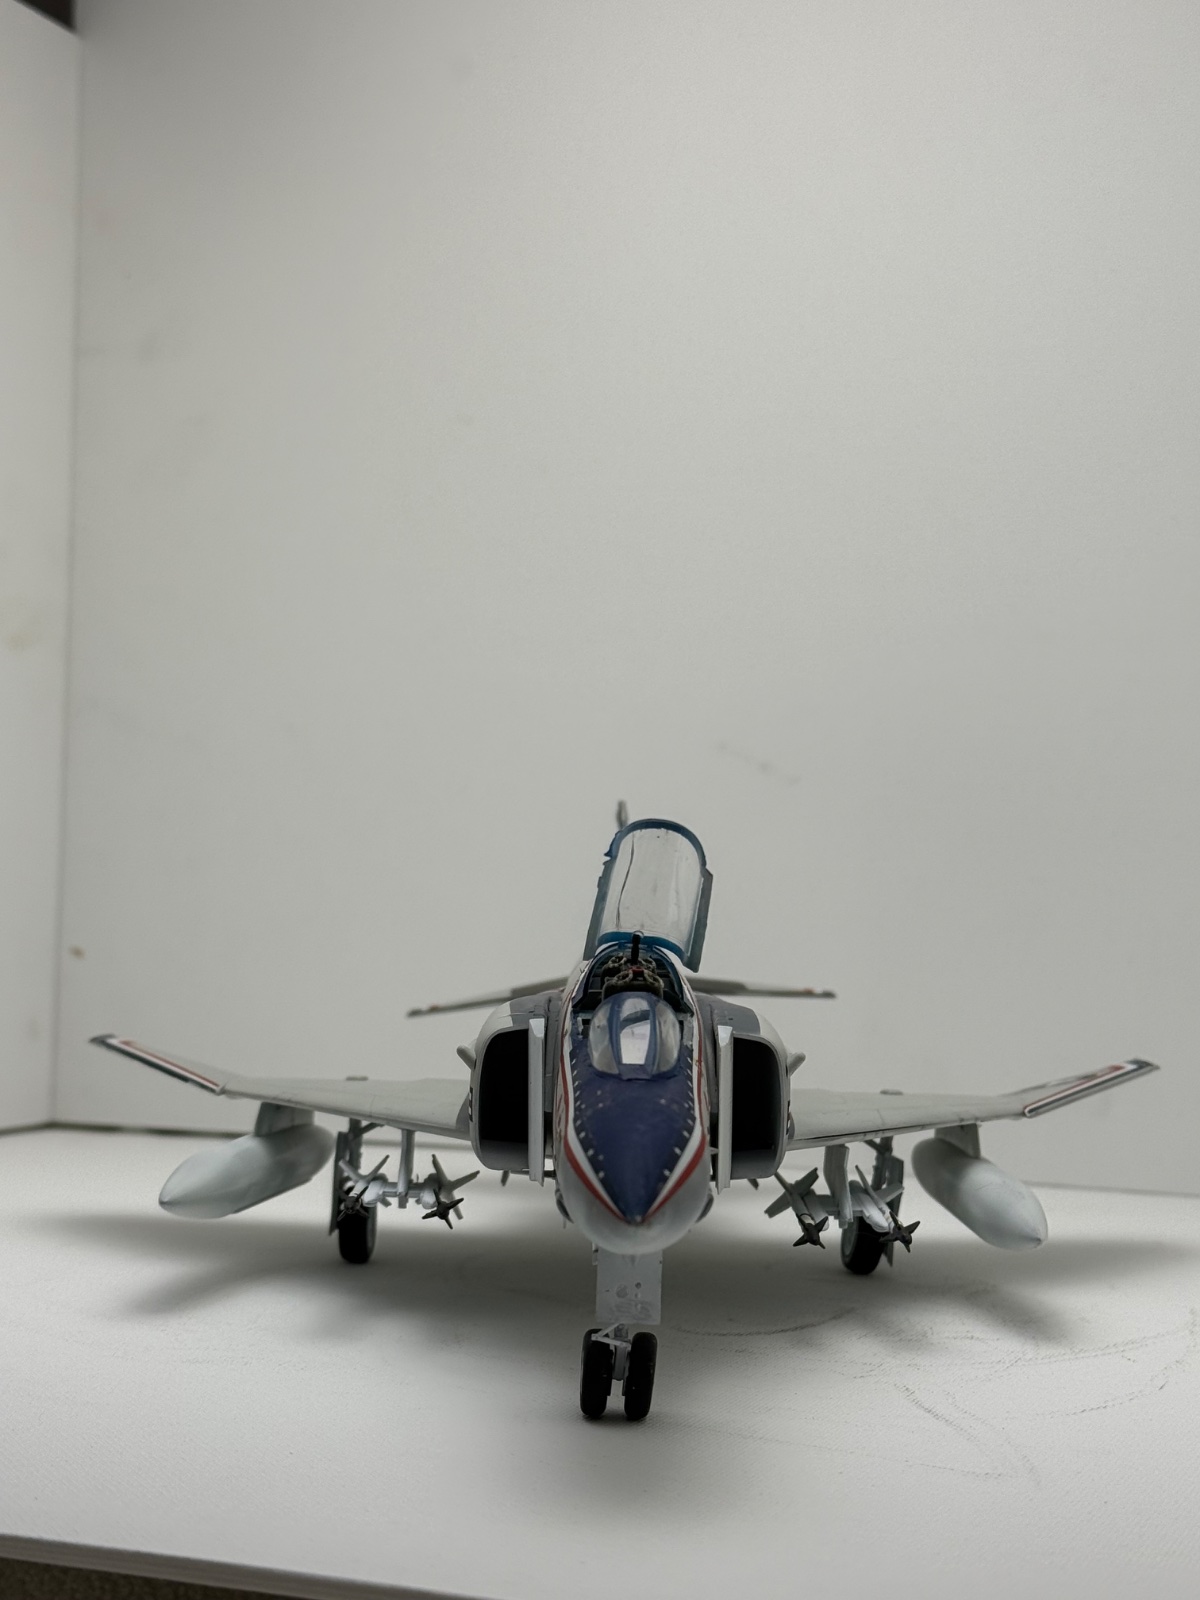
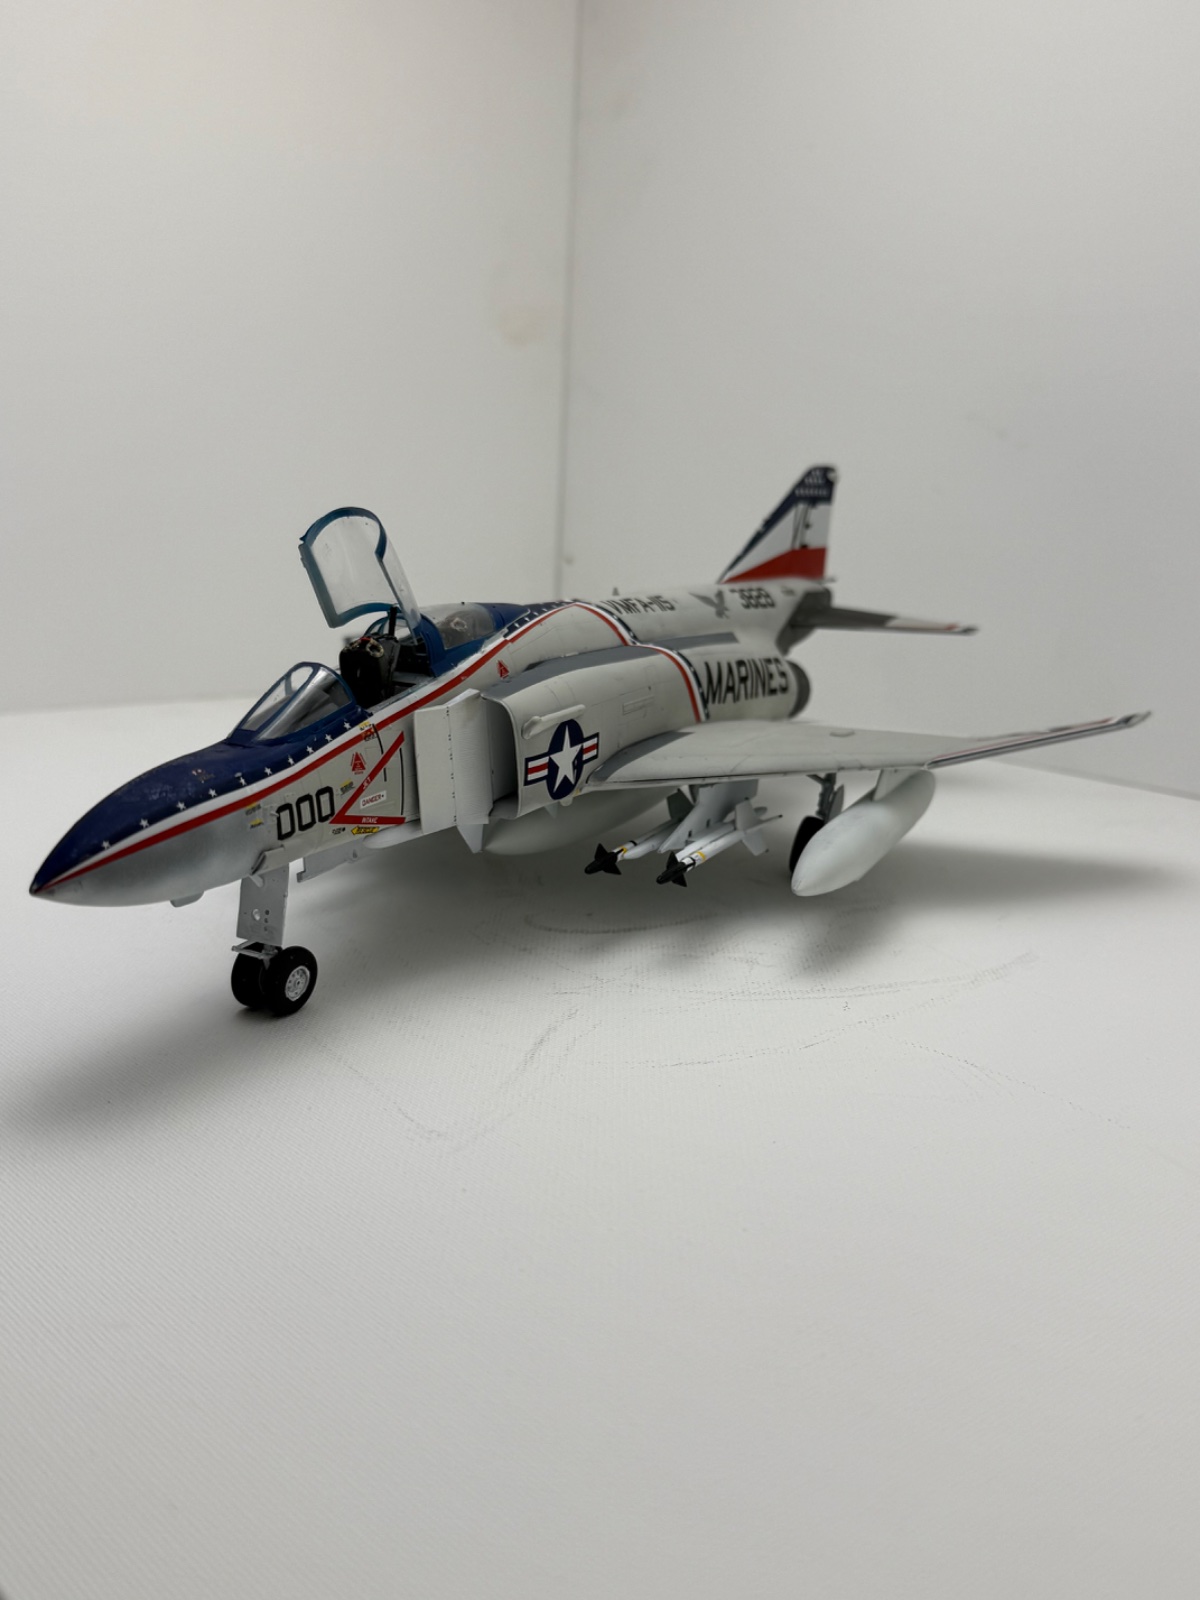
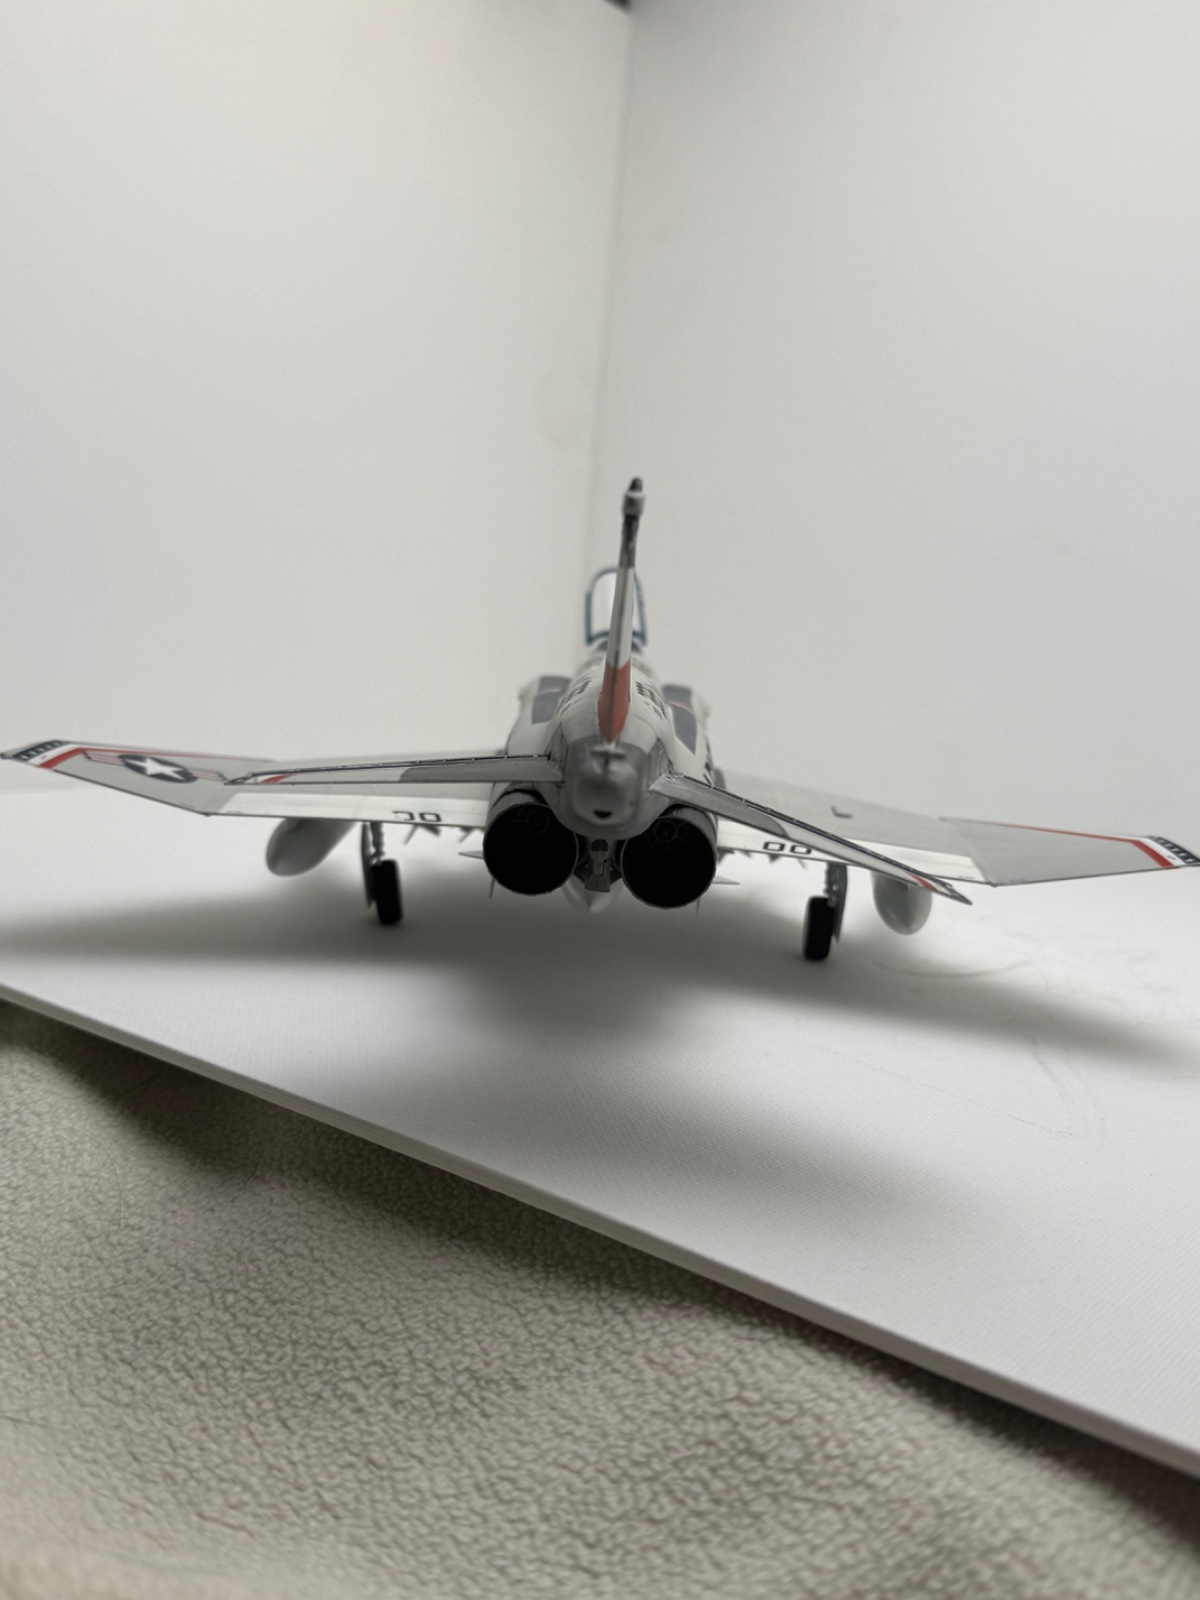
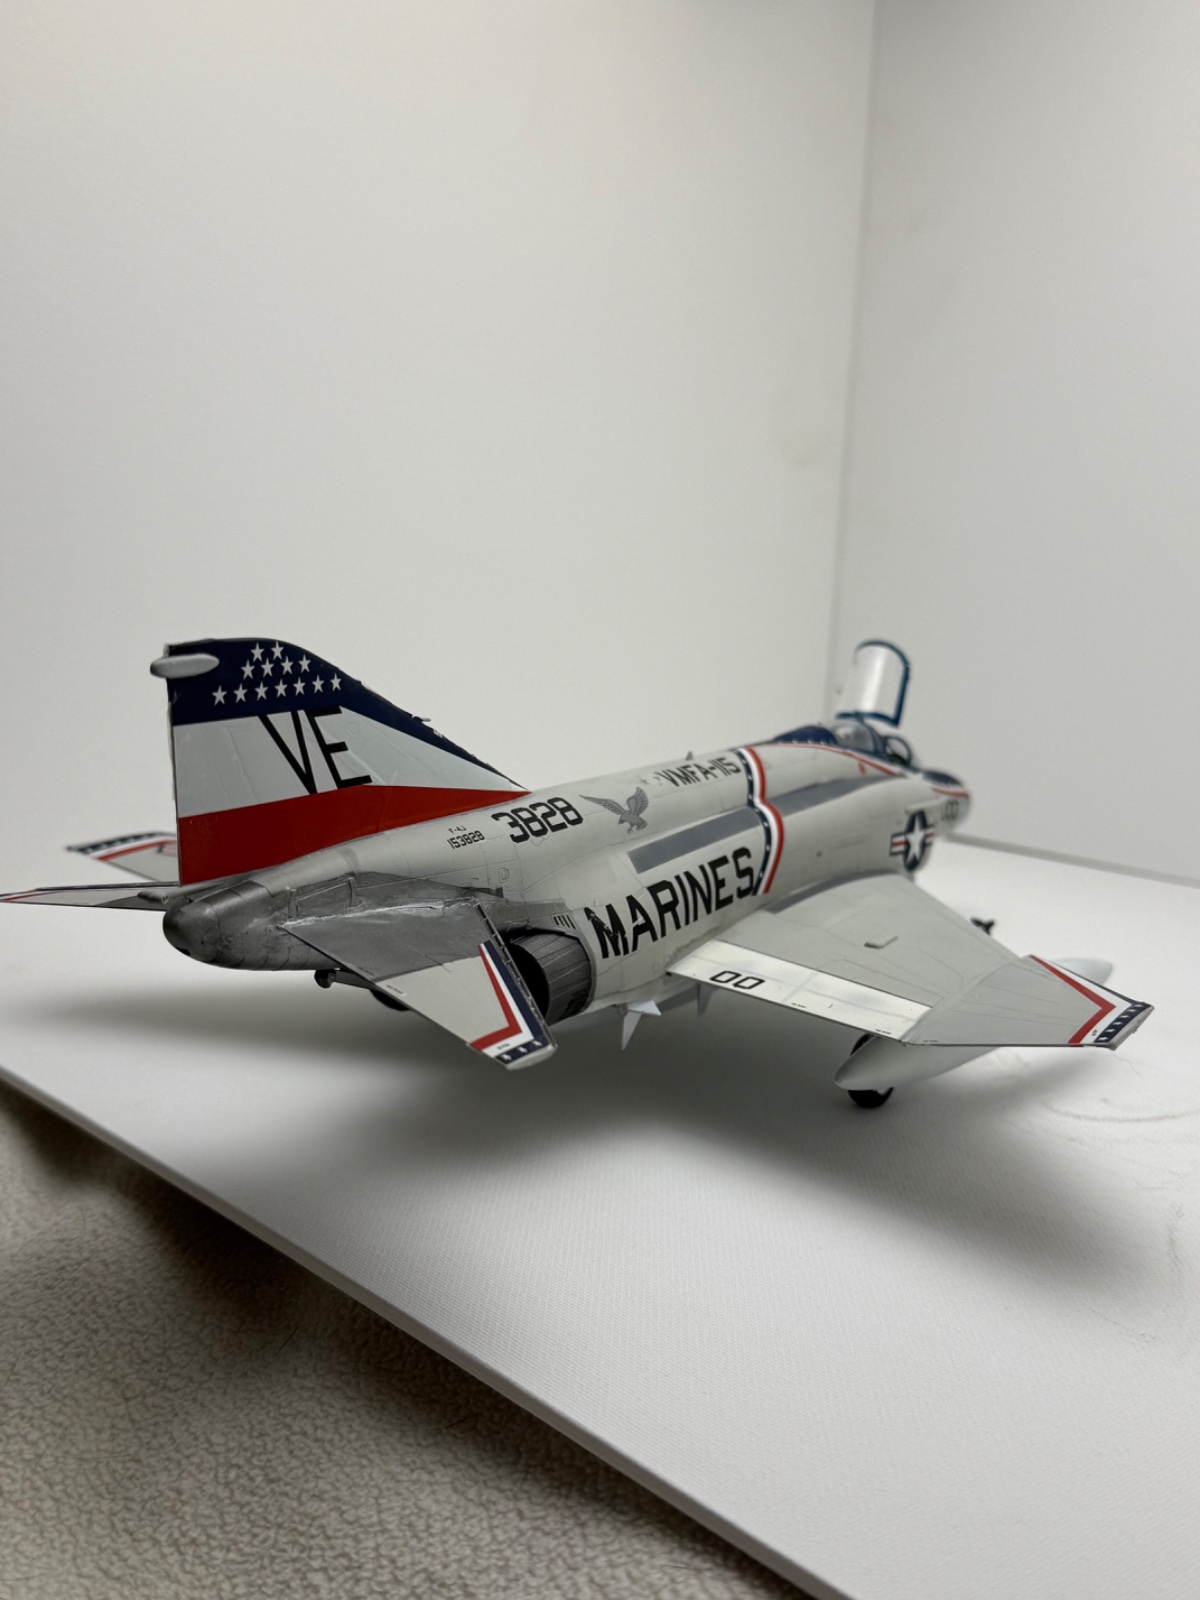
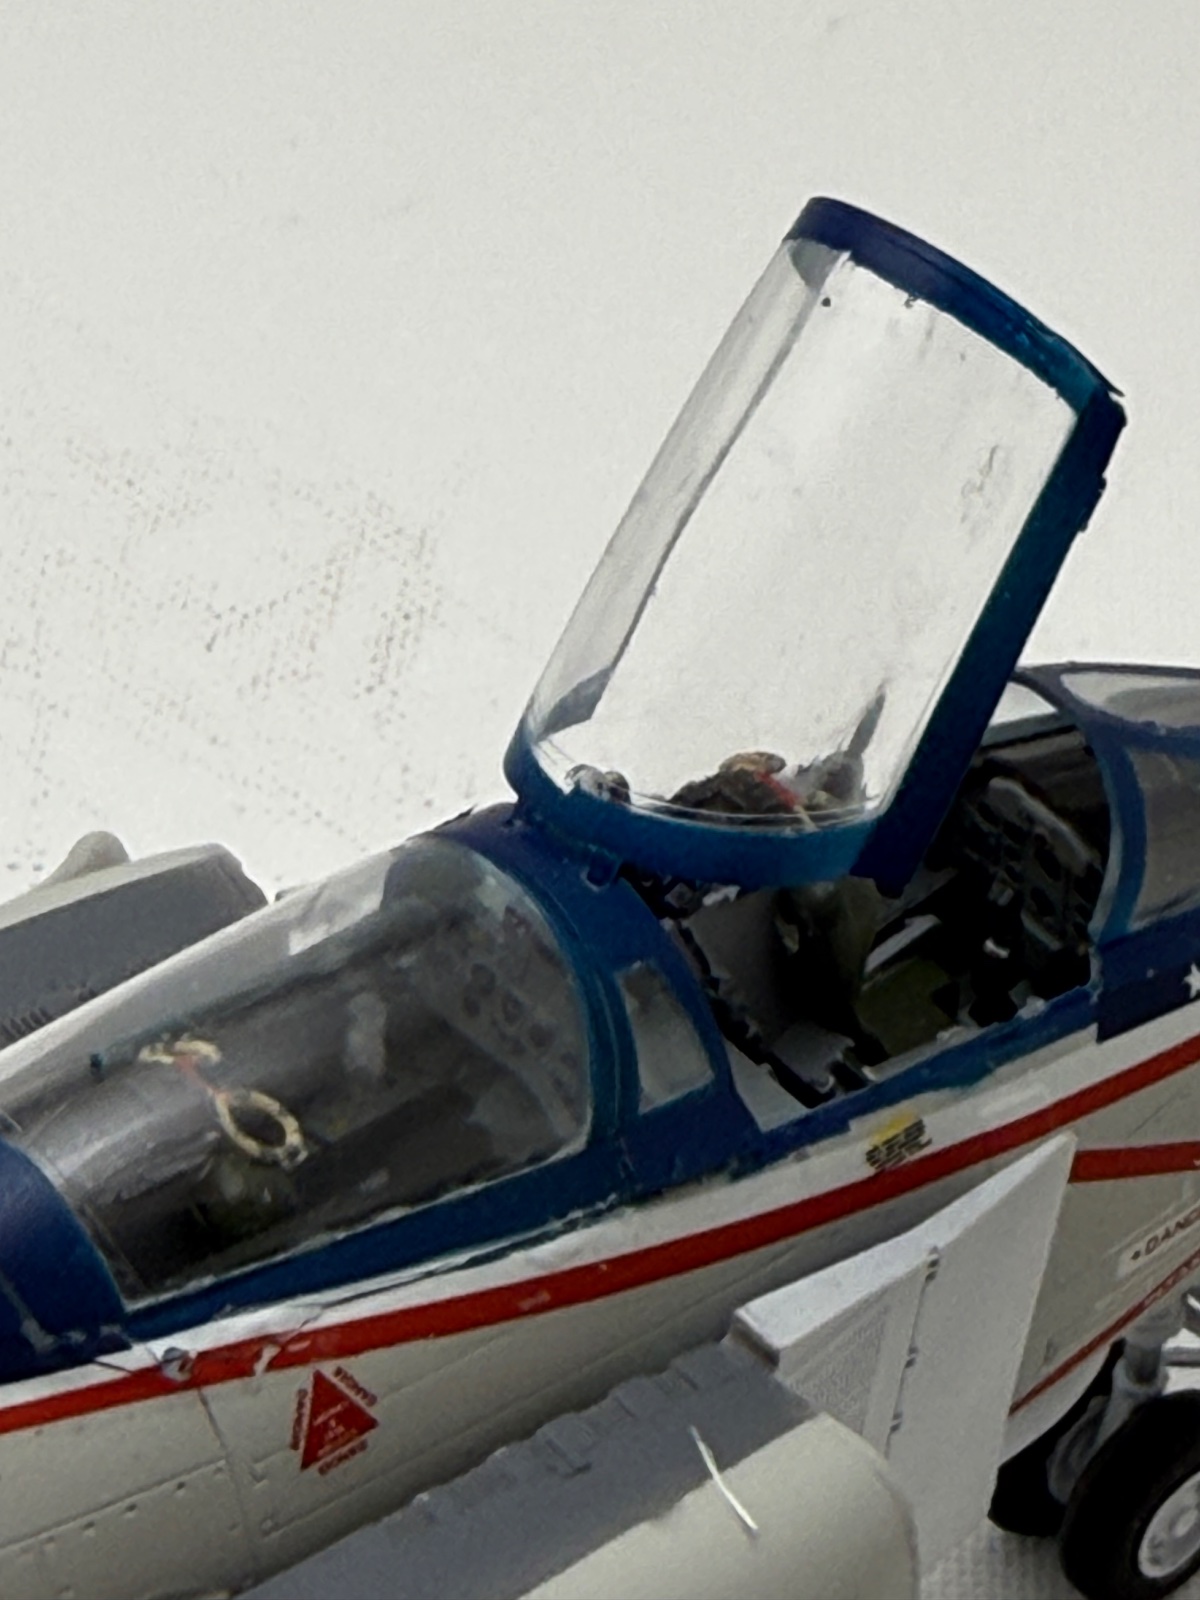
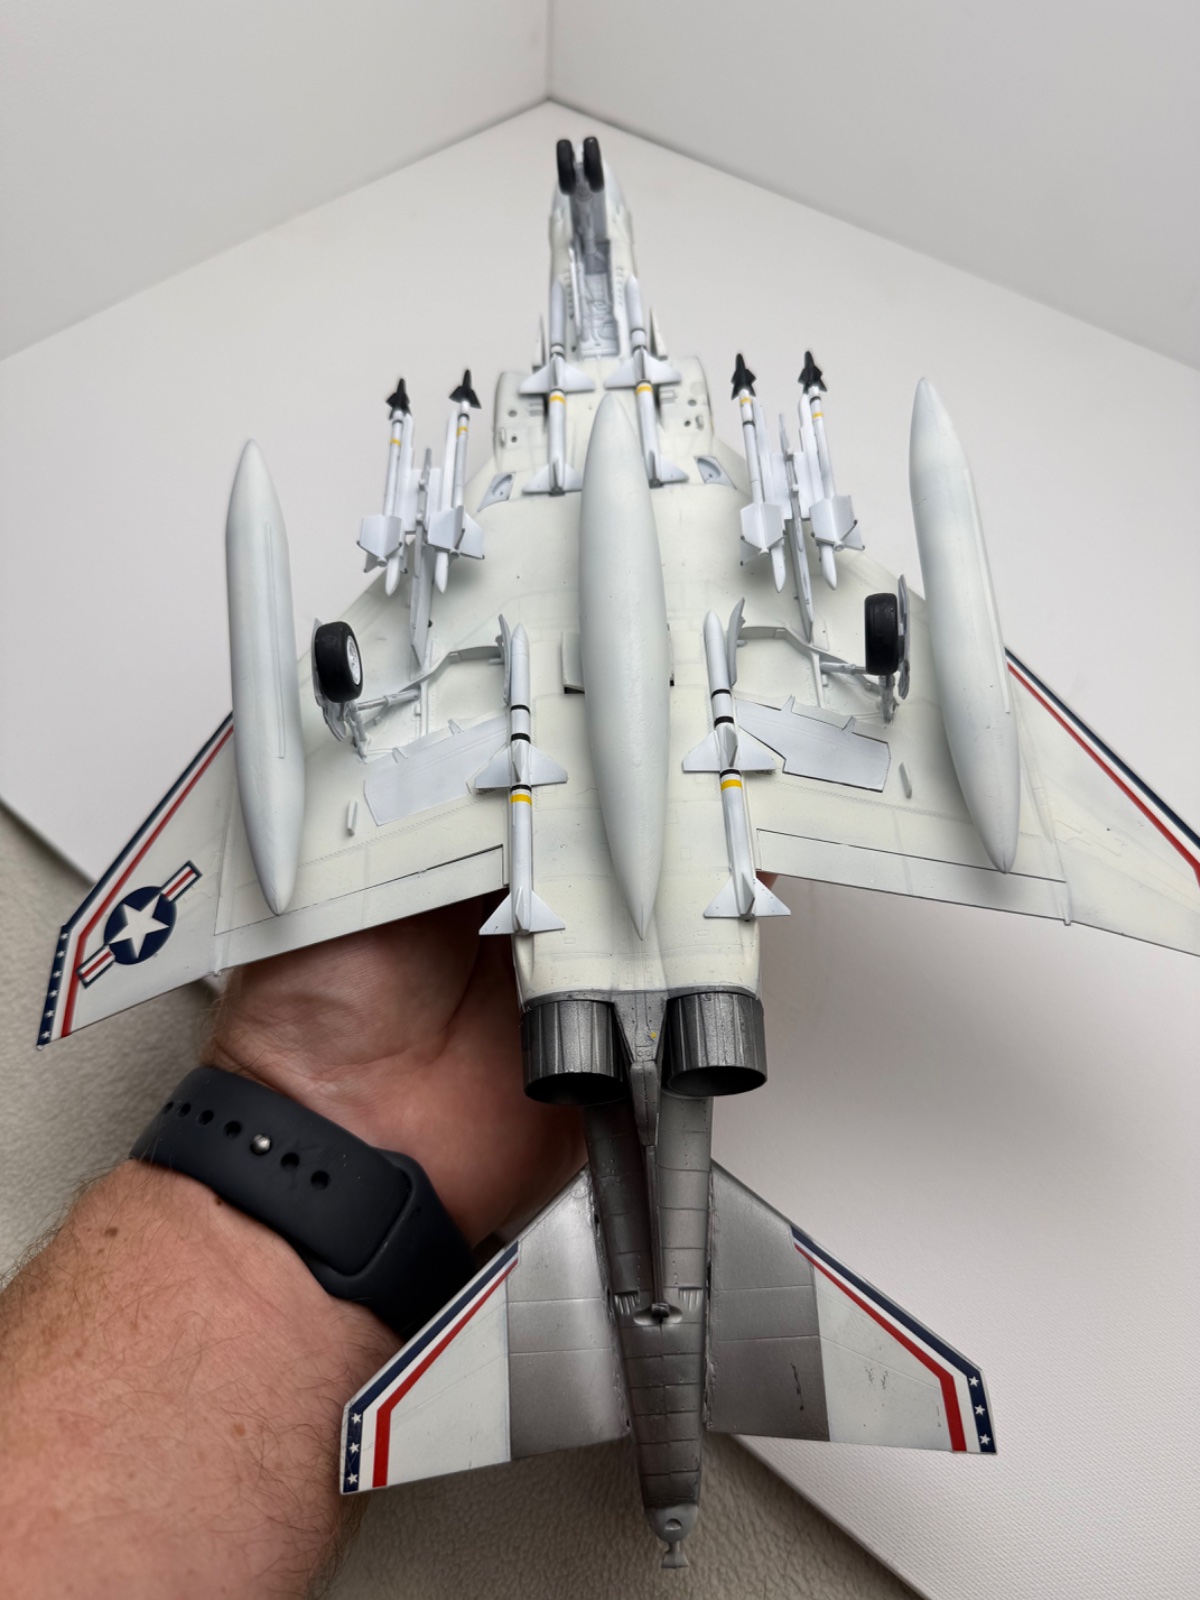
I'm calling this done, mistakes and all. Moving forward I will cut really large decals into workable pieces as these got away from me. I had some damage to two spots that I fixed- definitely not show worthy. It's a fun build. I think the modern planes are more simple in ways but different and hopefully my next will be better.
 

Attachments

  • IMG_6762.jpeg
    IMG_6762.jpeg
    444 KB
  • IMG_6763.jpeg
    IMG_6763.jpeg
    287.6 KB
  • IMG_6764.jpeg
    IMG_6764.jpeg
    273.8 KB
  • IMG_6765.jpeg
    IMG_6765.jpeg
    295.2 KB
  • IMG_6766.jpeg
    IMG_6766.jpeg
    316.6 KB
  • IMG_6767.jpeg
    IMG_6767.jpeg
    327.2 KB
  • IMG_6768.jpeg
    IMG_6768.jpeg
    341 KB
  • IMG_6769.jpeg
    IMG_6769.jpeg
    686.4 KB
That is a pretty busy decal pattern already, so I'd consider minimizing the stencils. There are a lot of them on most Phantom kits. While they may represent reality, they seldom look realistic. That's just a lot of film edges to blend in with your final flat or gloss coat.
I just started an F-4. Only planning on putting a handful of the stencils on. Too much work lol.
I'm calling this done, mistakes and all.
Looks good!
 

Latest posts

Back
Top