
You are using an out of date browser. It may not display this or other websites correctly.
You should upgrade or use an alternative browser.
You should upgrade or use an alternative browser.
Ryfield m1A1 Abram’s Poland
- Thread starter Ron2
- Start date


Wig41
Well-Known Member
How goes your build? I am considering tackling this kit. I rarely do armor but want to join a group build.
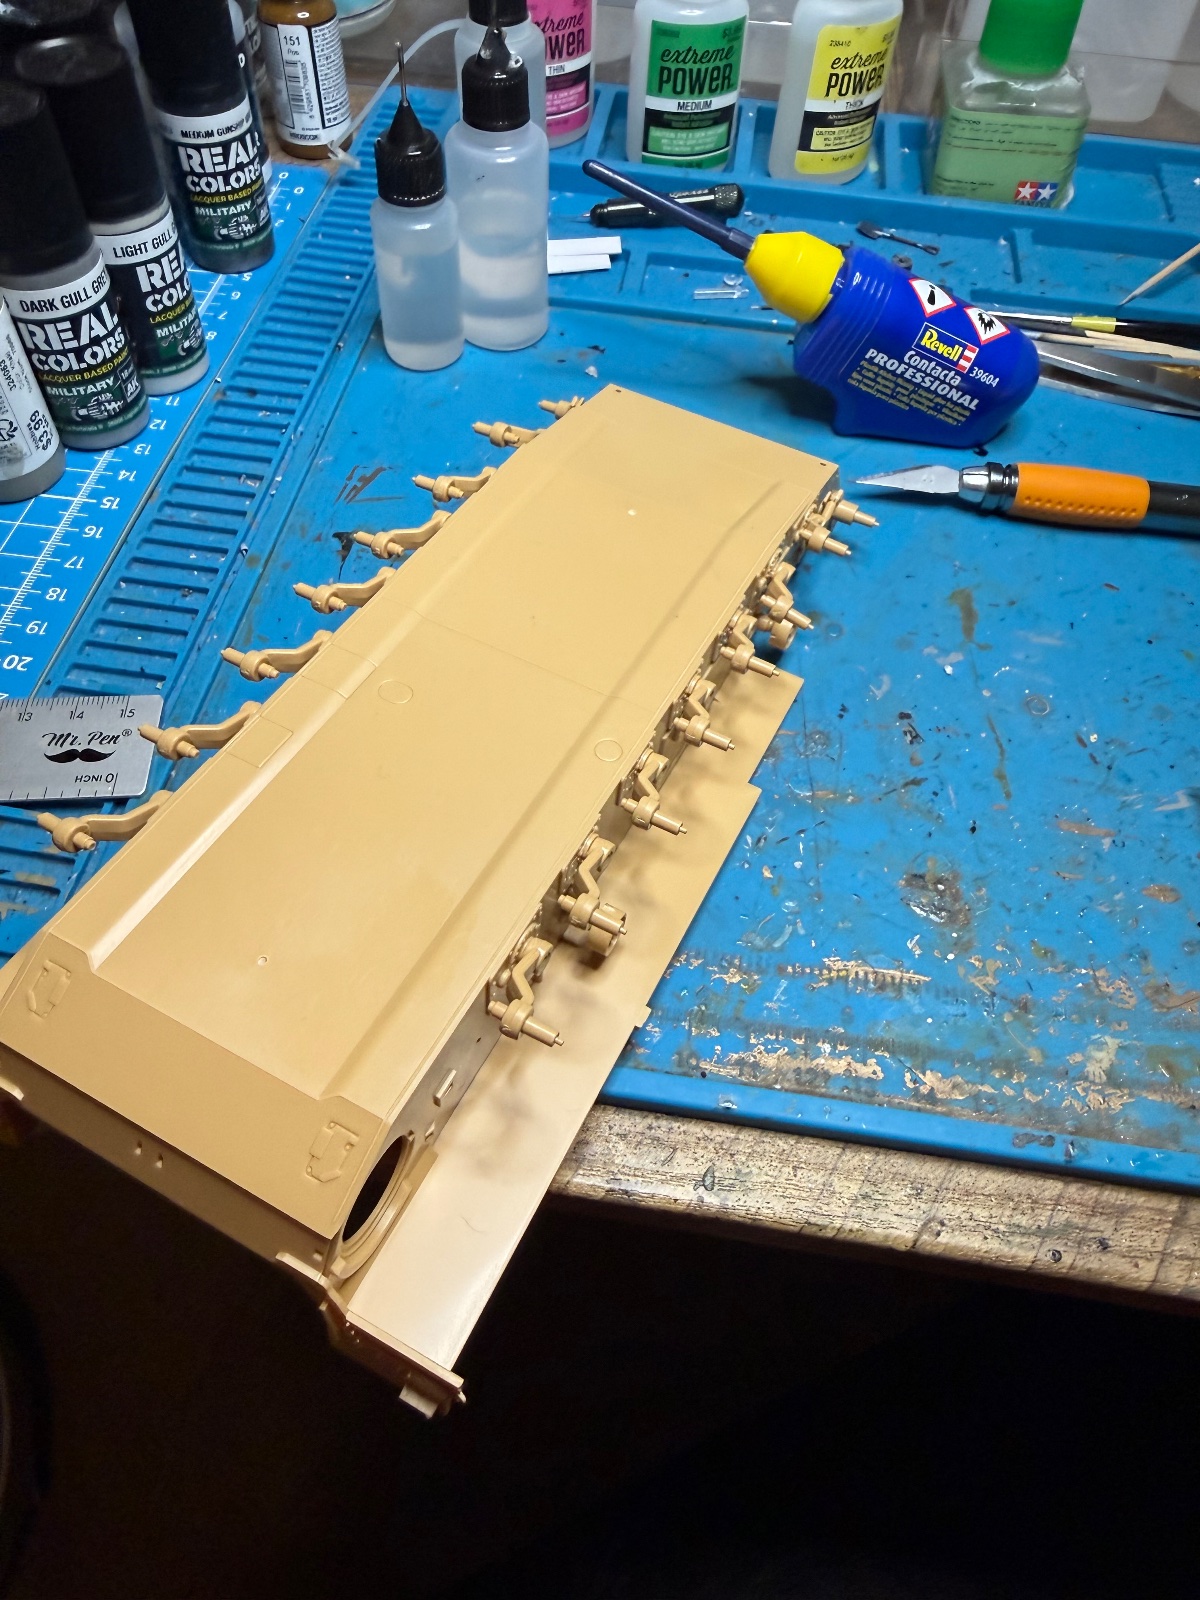
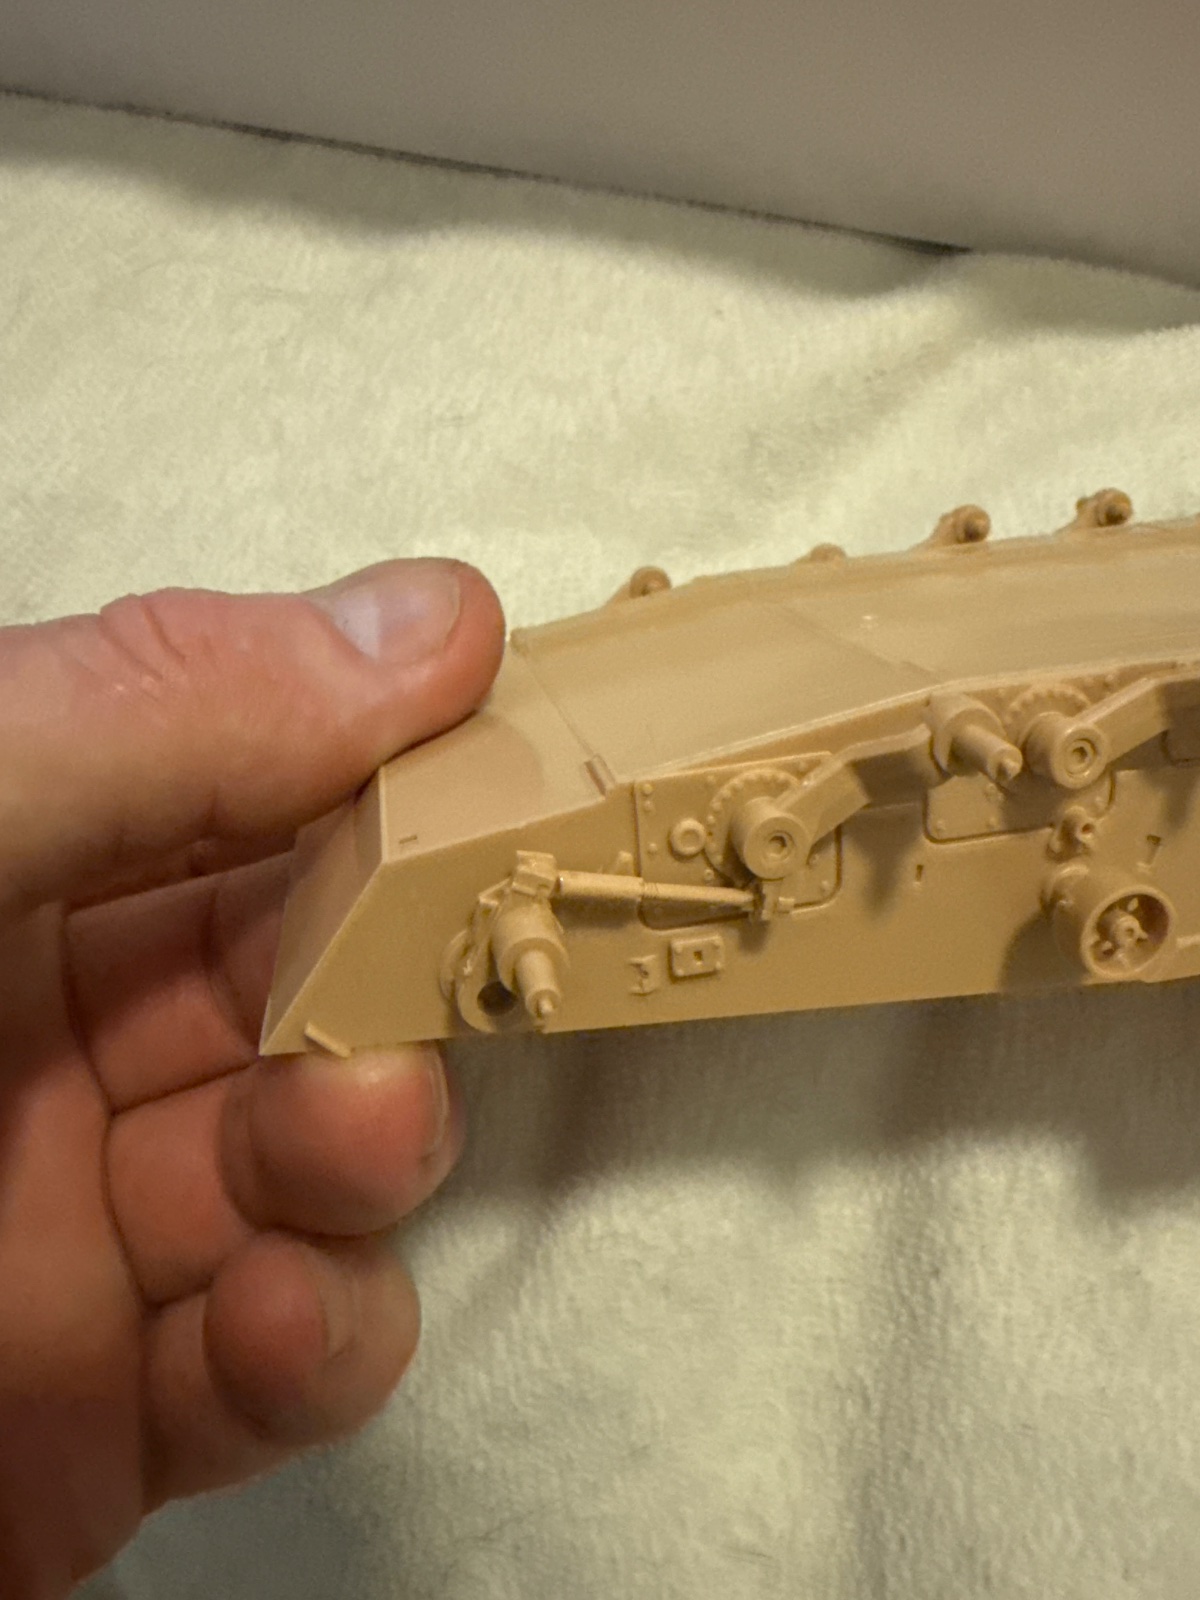
I didn't have any time for this one over the weekend. I usually do a number of builds at same time- keep telling myself I'm going to limit it to 1-2 kits but never do, and I'm trying to wrap up two dioramas and 3-4 other projects. What I had noticed is that I really need to slow down with the Ryfield kit, the instructions are just different. Also, it took more time with the suspension because fit is sloppy and some pieces are interdependent so I had to use slower glue and put it together as a unit. If that makes sense.How goes your build? I am considering tackling this kit. I rarely do armor but want to join a group build.
Wig41
Well-Known Member
Thanks for the heads up!

Jakko
Well-Known Member
If you rarely build armour kits, perhaps one by Tamiya would be a better choice?


![Pampers Sensitive Baby Wipes, Clinically Proven, Fragrance Free, Unscented, Water Based, Hypoallergenic, Multi-Use, Hand Wipes 336 Wipes Total (6X Flip-Top Packs) [Packaging May Vary]](https://m.media-amazon.com/images/I/41KLBHu9CAL._SL500_.jpg)






As an Amazon Associate we earn from qualifying purchases. Product prices and availability are accurate as of the date/time indicated and are subject to change.
That's a really good point.If you rarely build armour kits, perhaps one by Tamiya would be a better choice?
Jantk14
Well-Known Member
I've built three tanks all Tamiya. All three were great kits to put together. One was an Abrams.
Wig41
Well-Known Member
Yes I would agree that Tamiya armor are very good kits, but the group build I was looking at was for anything Rye Field. Still just thinking on it but I do appreciate the concern.
I don't think it's anything crazy. My biggest problem with any kit is rushing into it and not taking the time to read the instructions through. Like I said I did some dry fitting, which I'm terrible at, and the assembly pictured I put together with slower glue because it was interdependent. I'm sure you'll be fine with Ryfield. (There's slop when I installed the axles so I made sure to put them all at the same angle- not a big deal.)
- Joined
- Apr 29, 2024
- Messages
- 1,578
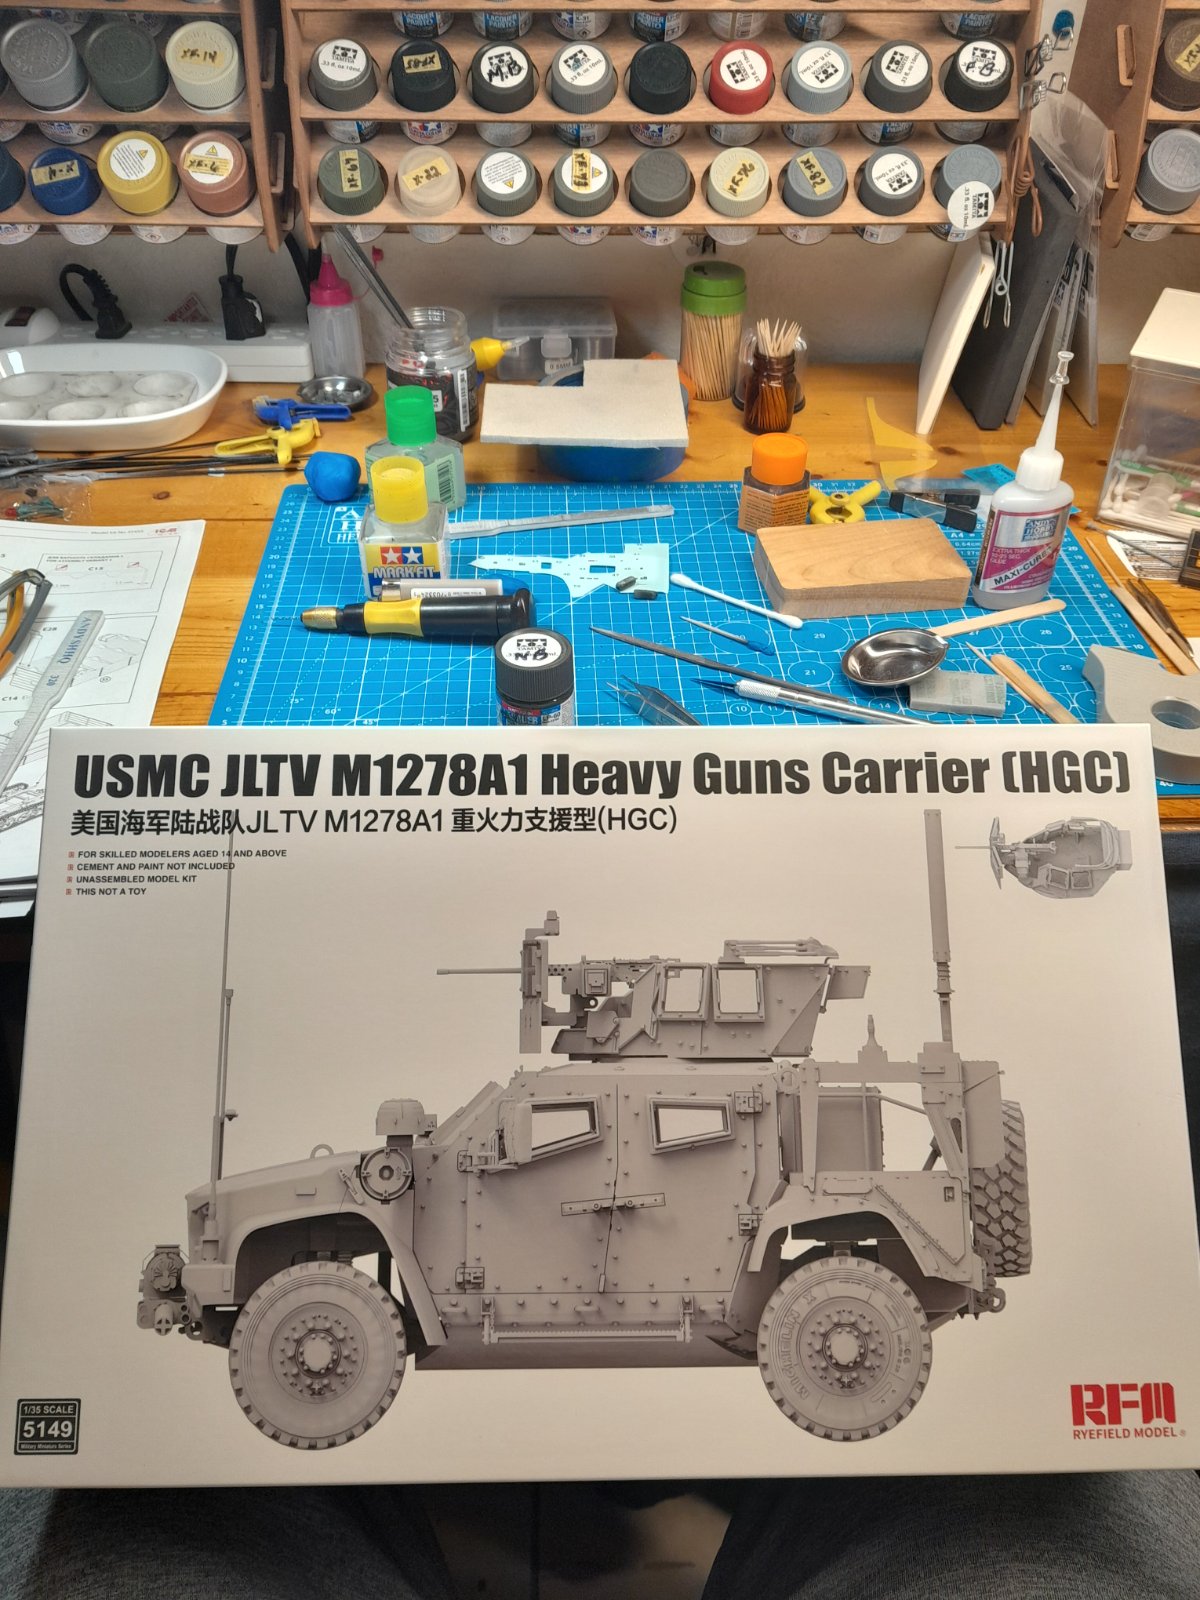
Yes I would agree that Tamiya armor are very good kits, but the group build I was looking at was for anything Rye Field. Still just thinking on it but I do appreciate the concern I just started this. It's going to take a while. It's a rye field. No paint call out whatsoever but I got eyes. Join on in brother
Jakko
Well-Known Member
Ah, yes, in that case the choice is kind of made for youYes I would agree that Tamiya armor are very good kits, but the group build I was looking at was for anything Rye Field.
 I've only built one RFM kit myself, their Sherman VC ("Firefly") that I backdated to a regular Sherman V, and to be honest, I don't think I would recommend it for someone not used to building tanks. It's a very good kit, but fairly intricate to put together.
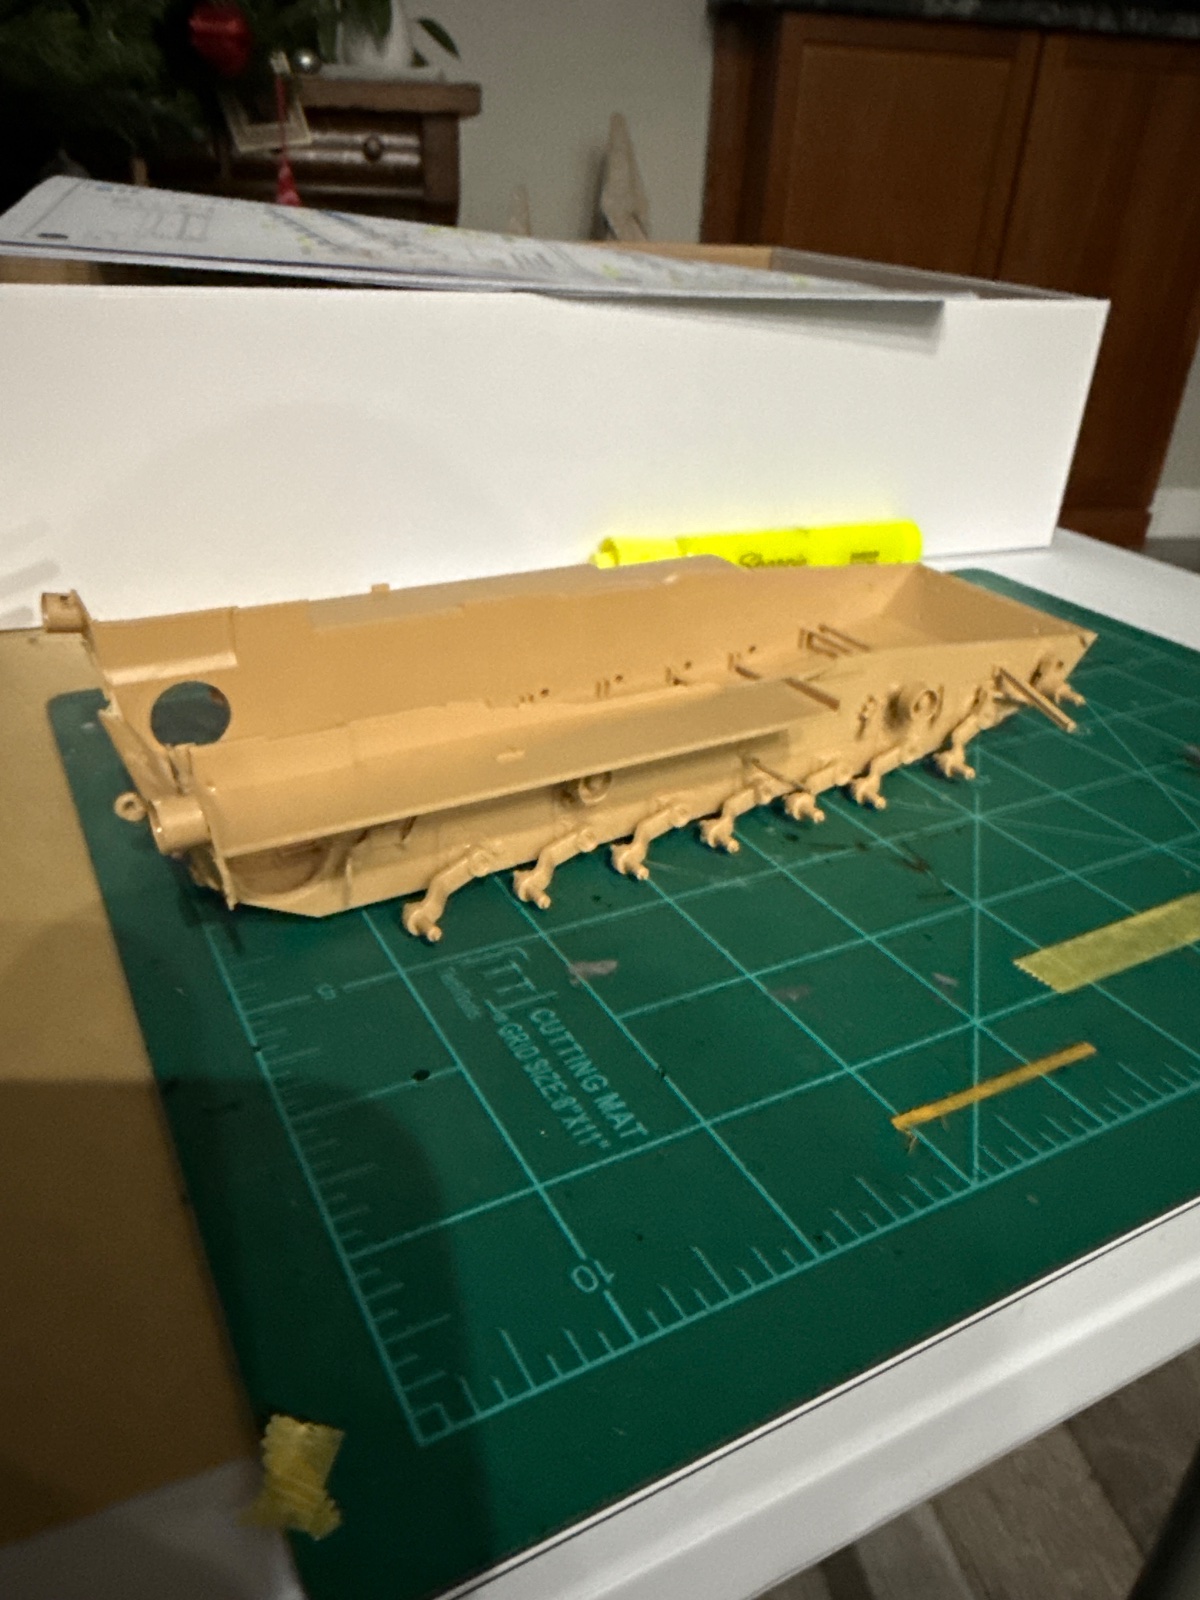
Worked on this a bit tonight. I don't think I'll ever do a Ryfield again. Instructions can be quite vague and pieces don't fit great, leaves me guessing and pics aren't very helpful. This is going to be a long build.My first Ryfield. Nice kit but directions so far are a little murky at times. Nice detail and seems like good plastic. Sprue connections are surprisingly heavy.
View attachment 172949
Attachments
Wig41
Well-Known Member
"Worked on this a bit tonight. I don't think I'll ever do a Ryfield again. Instructions can be quite vague and pieces don't fit great, leaves me guessing and pics aren't very helpful. This is going to be a long build." - Ron2
Hmmmmmmm…….
Hmmmmmmm…….
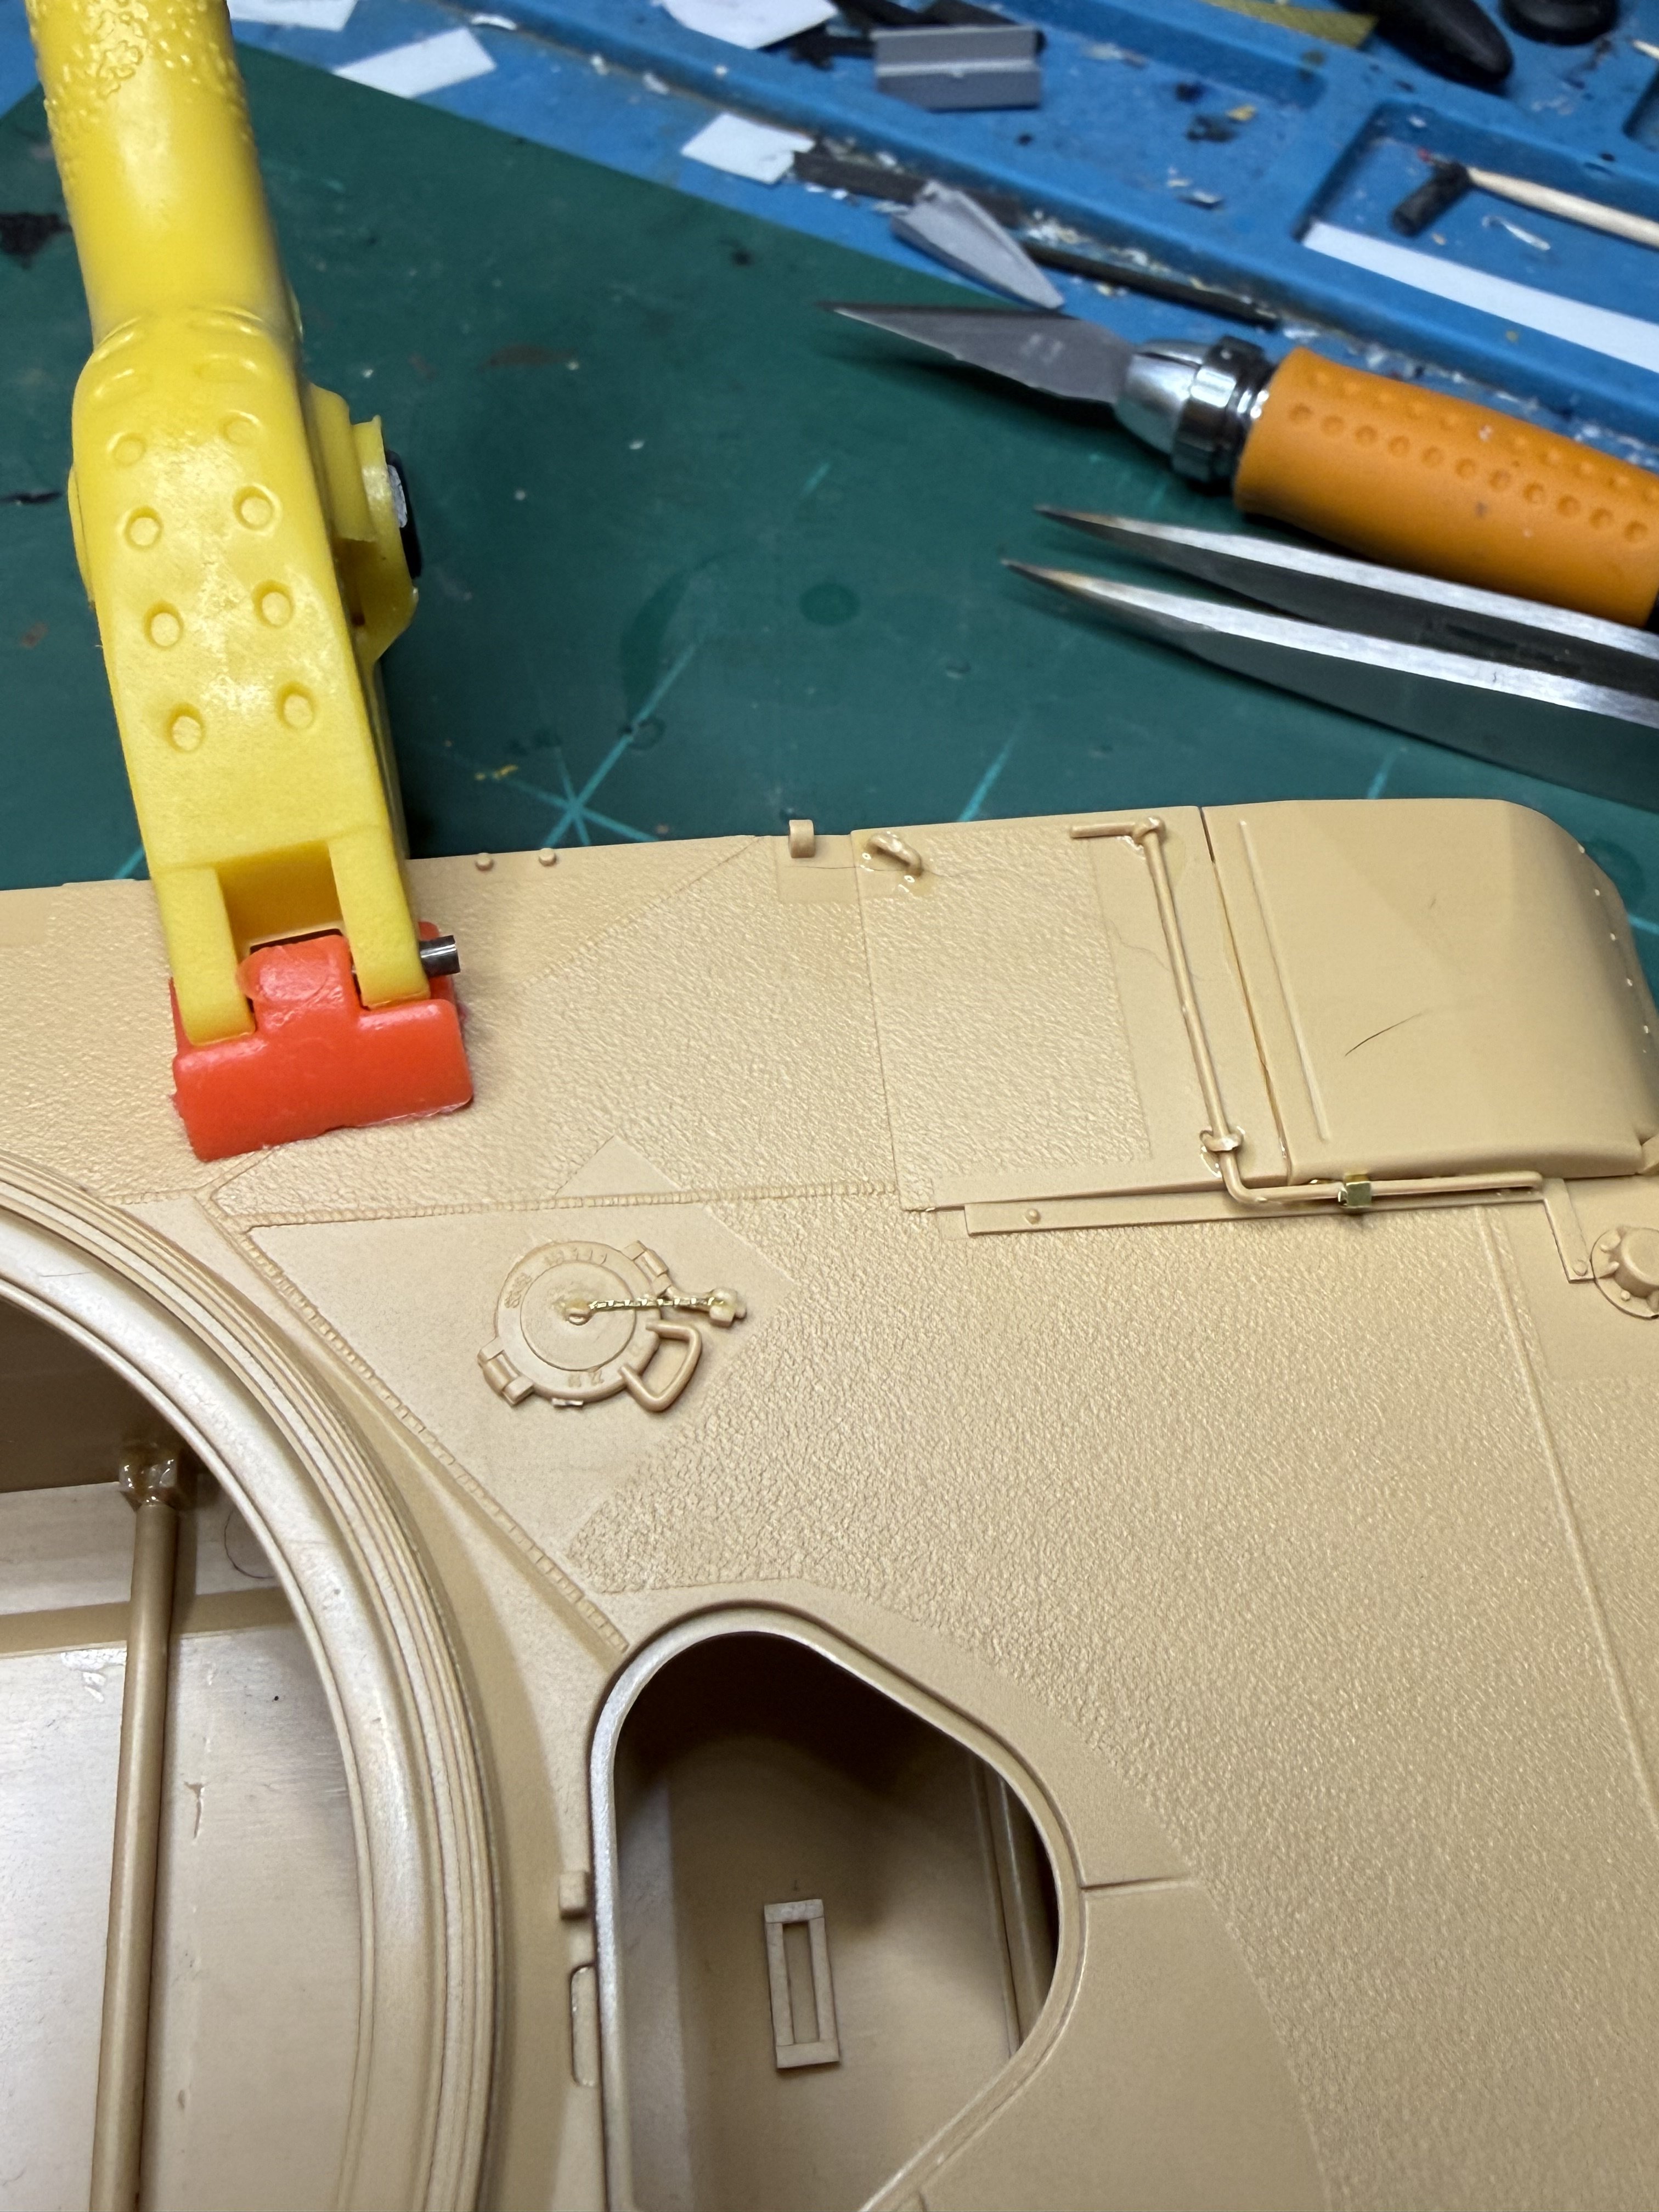
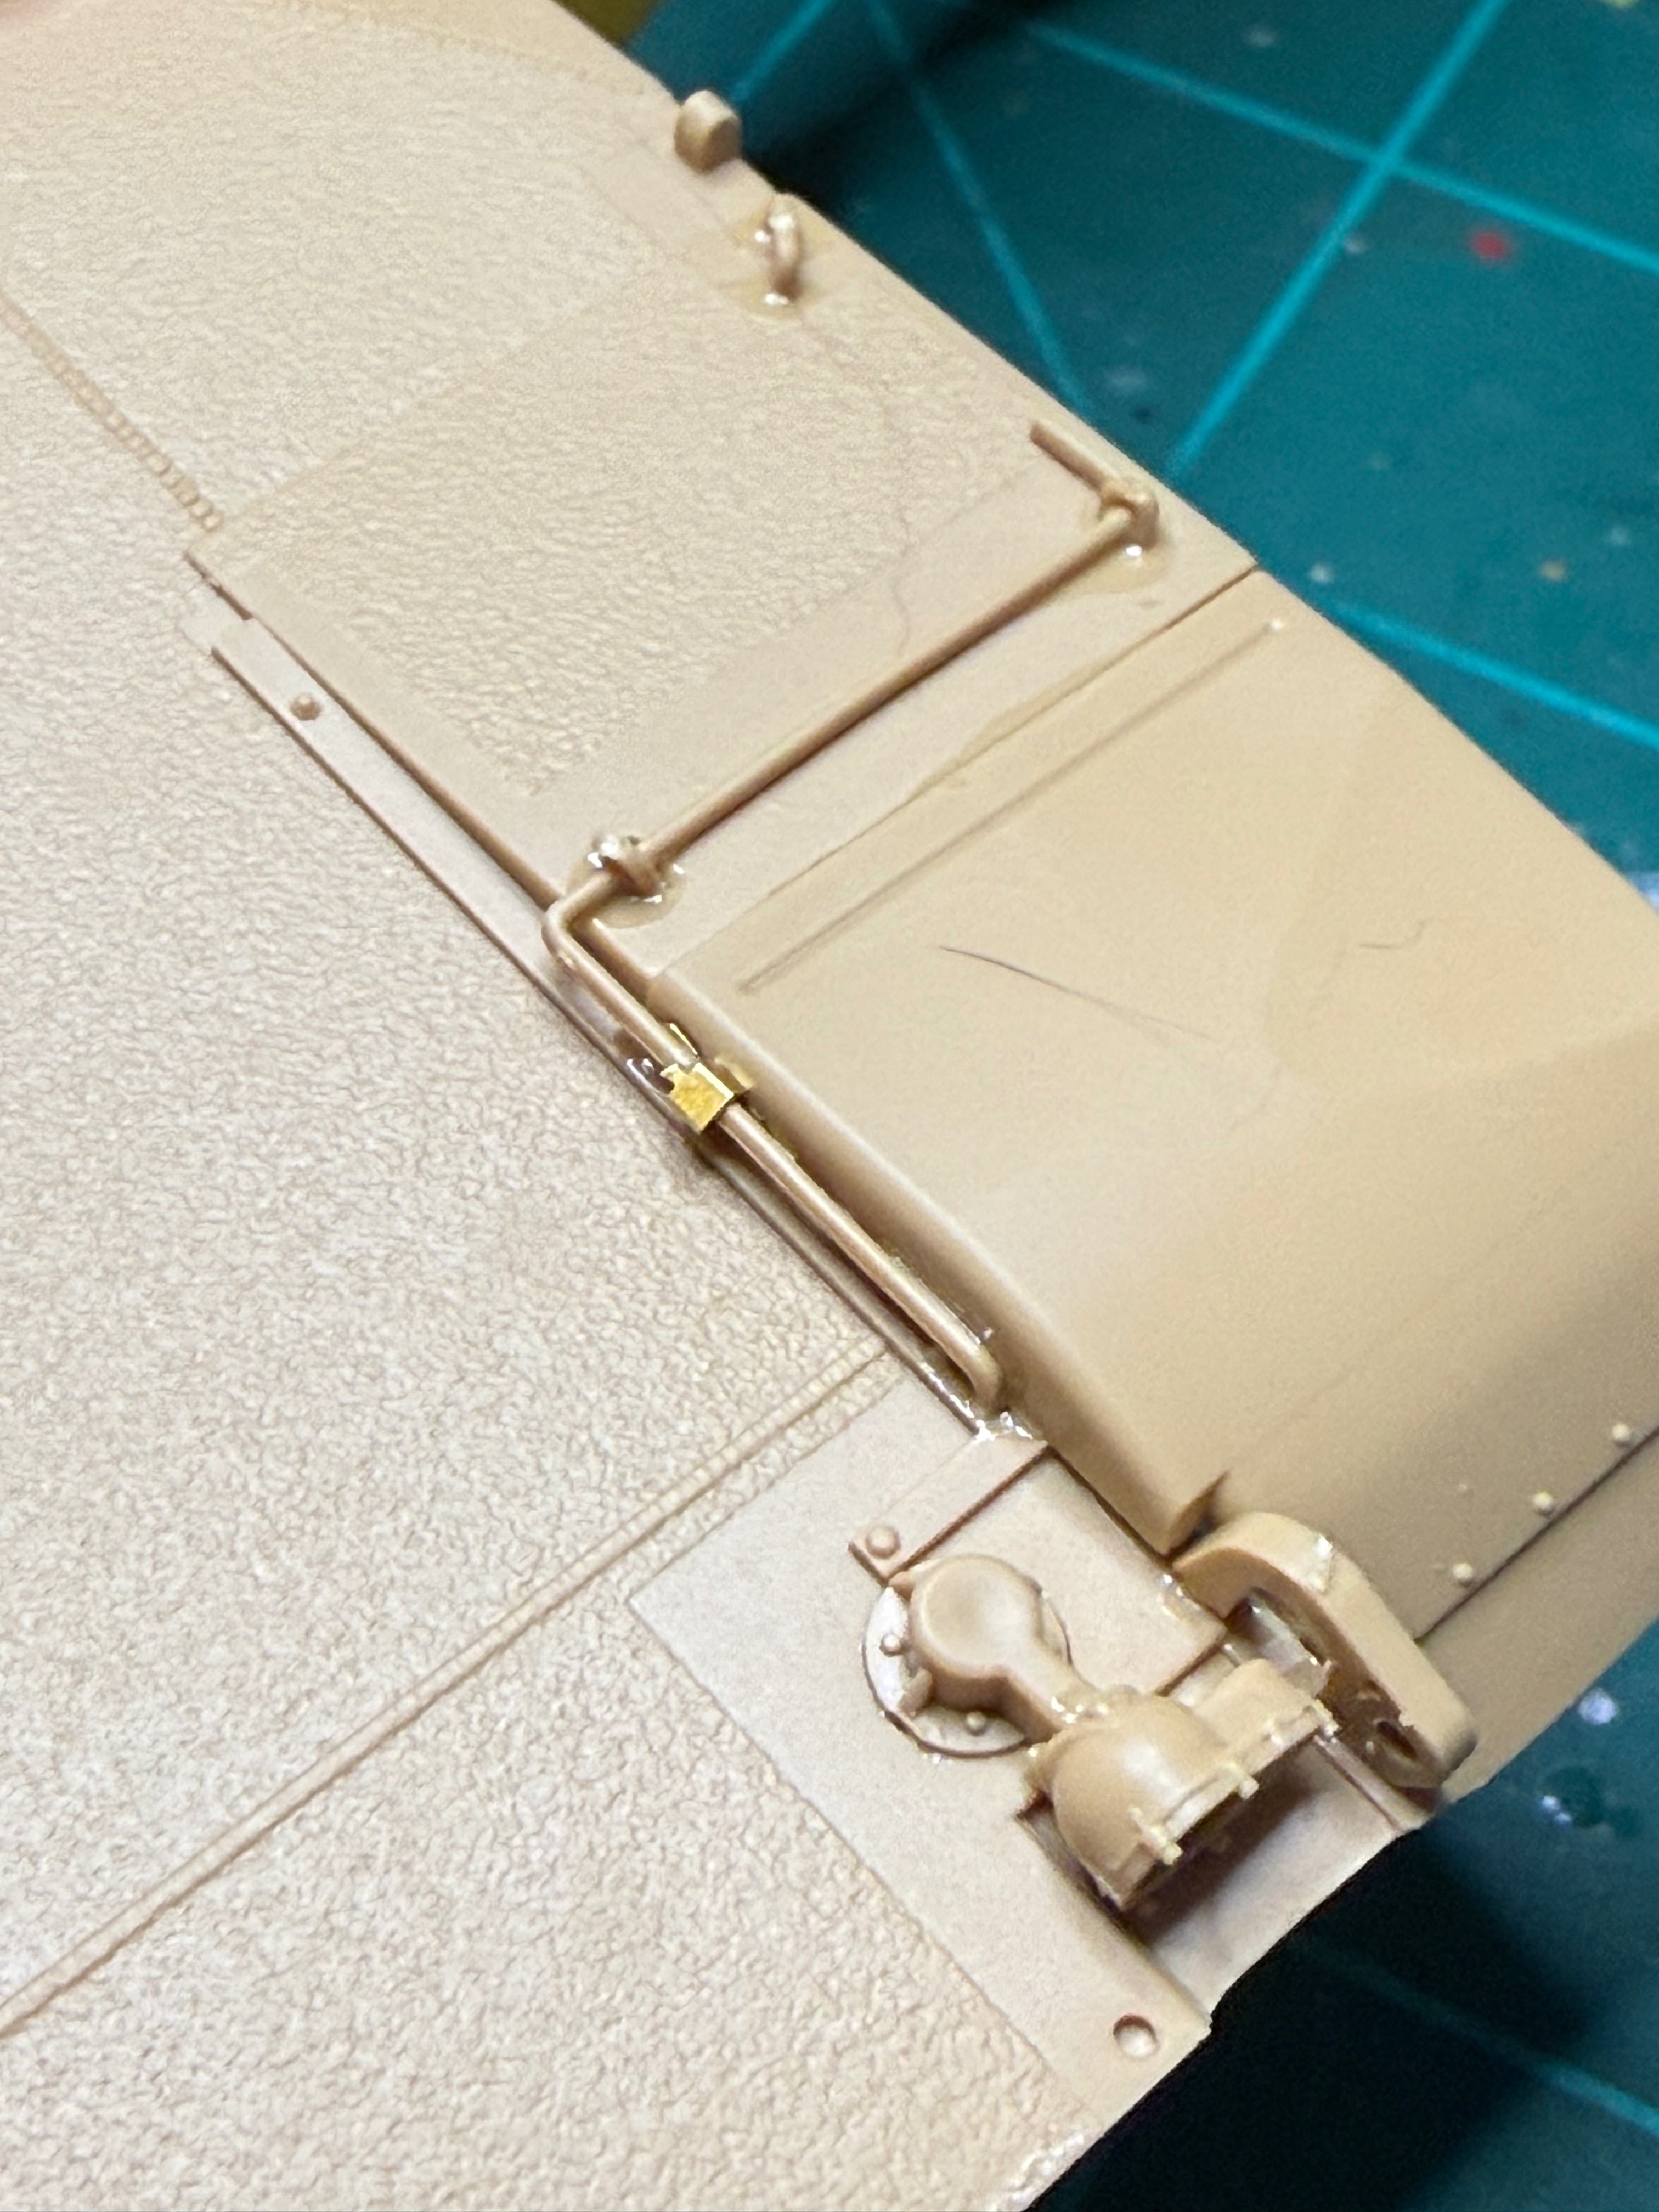
I set this aside d/t the amount of small parts and parts in general. Picked it up again last night. Spent about three hrs putting the top half together. Very detailed. Each fuel cap is individual, has or should say had a PE chain (?) attached to the top. I managed to knock 3 of 4 off trying to get the damn top to fit to the base at 3 am! It ended up being 2/4 as upon trying to go back to bed I felt a sharp pricking sensation in my thumb and one of the chains was imbedded like a splinter. I'm counting that a win. I wasn't going to add the PE last night but it was late and my brain said "It'll be ok!", my brain lied. Im not sure how I feel about this kit yet. I'll let you know after I do the bloody tracks. It doesn't feel like much progress for the effort. Maybe that's why I don't hyper detail kits.
Attachments
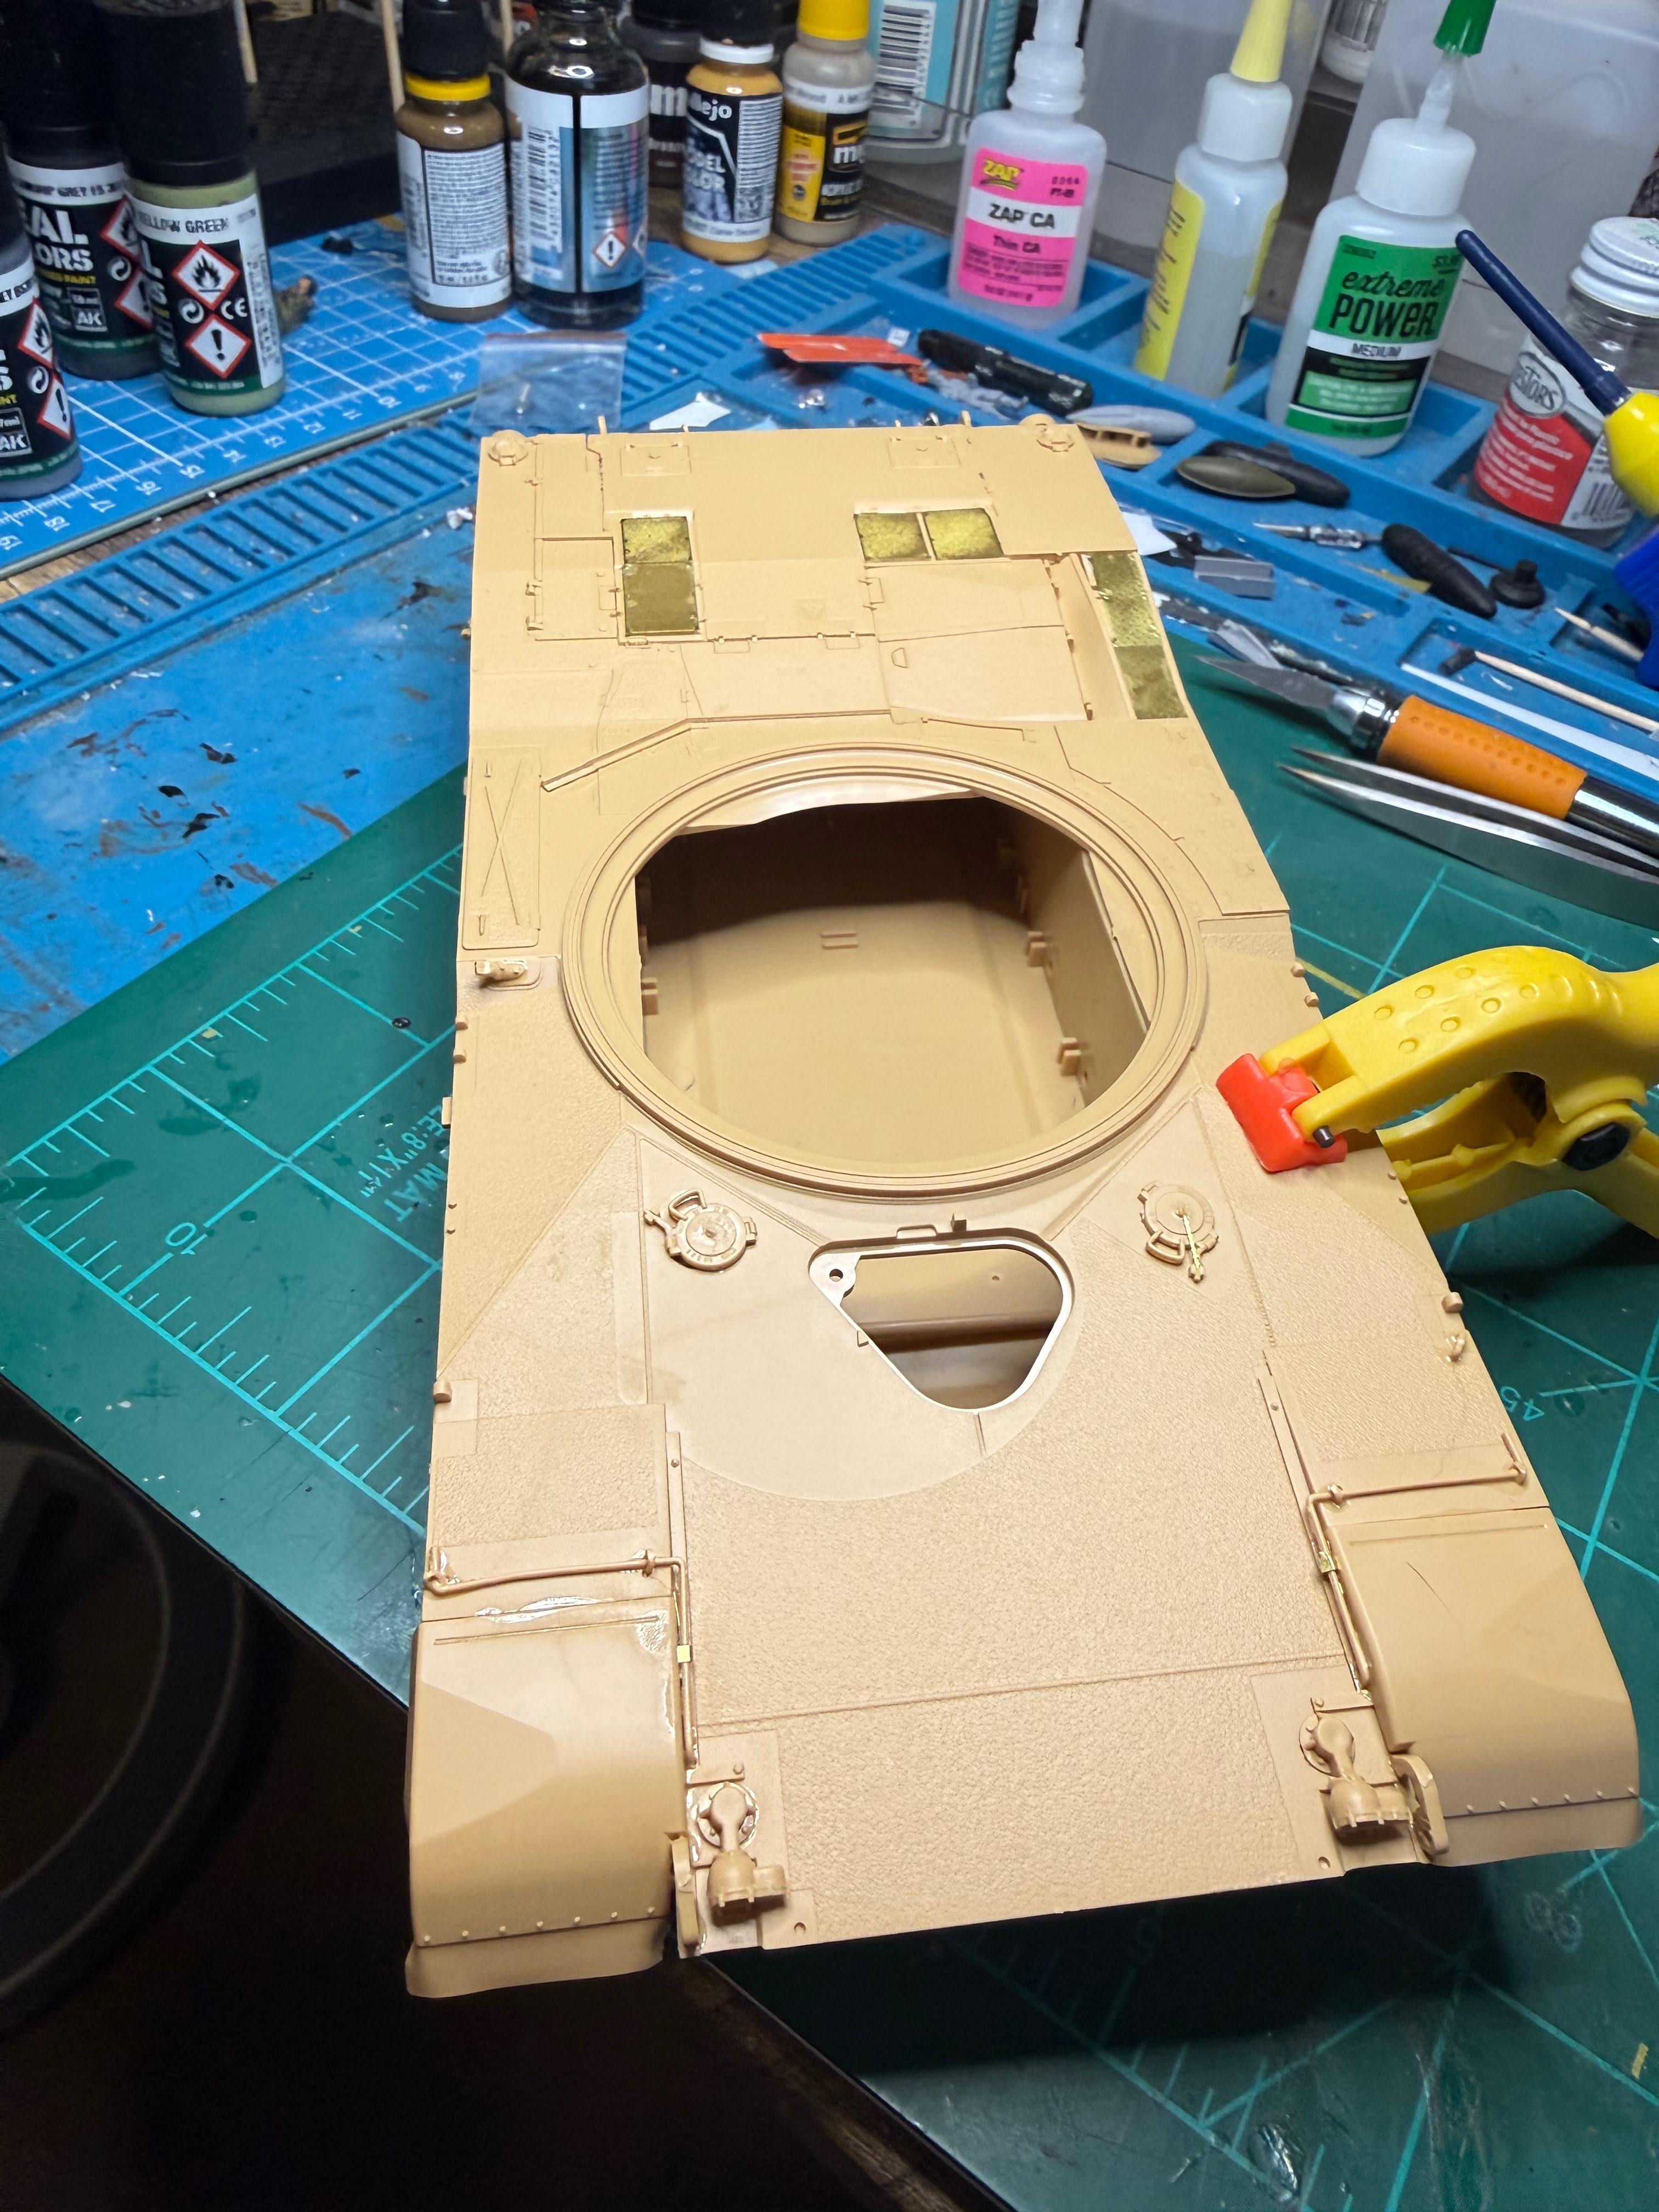
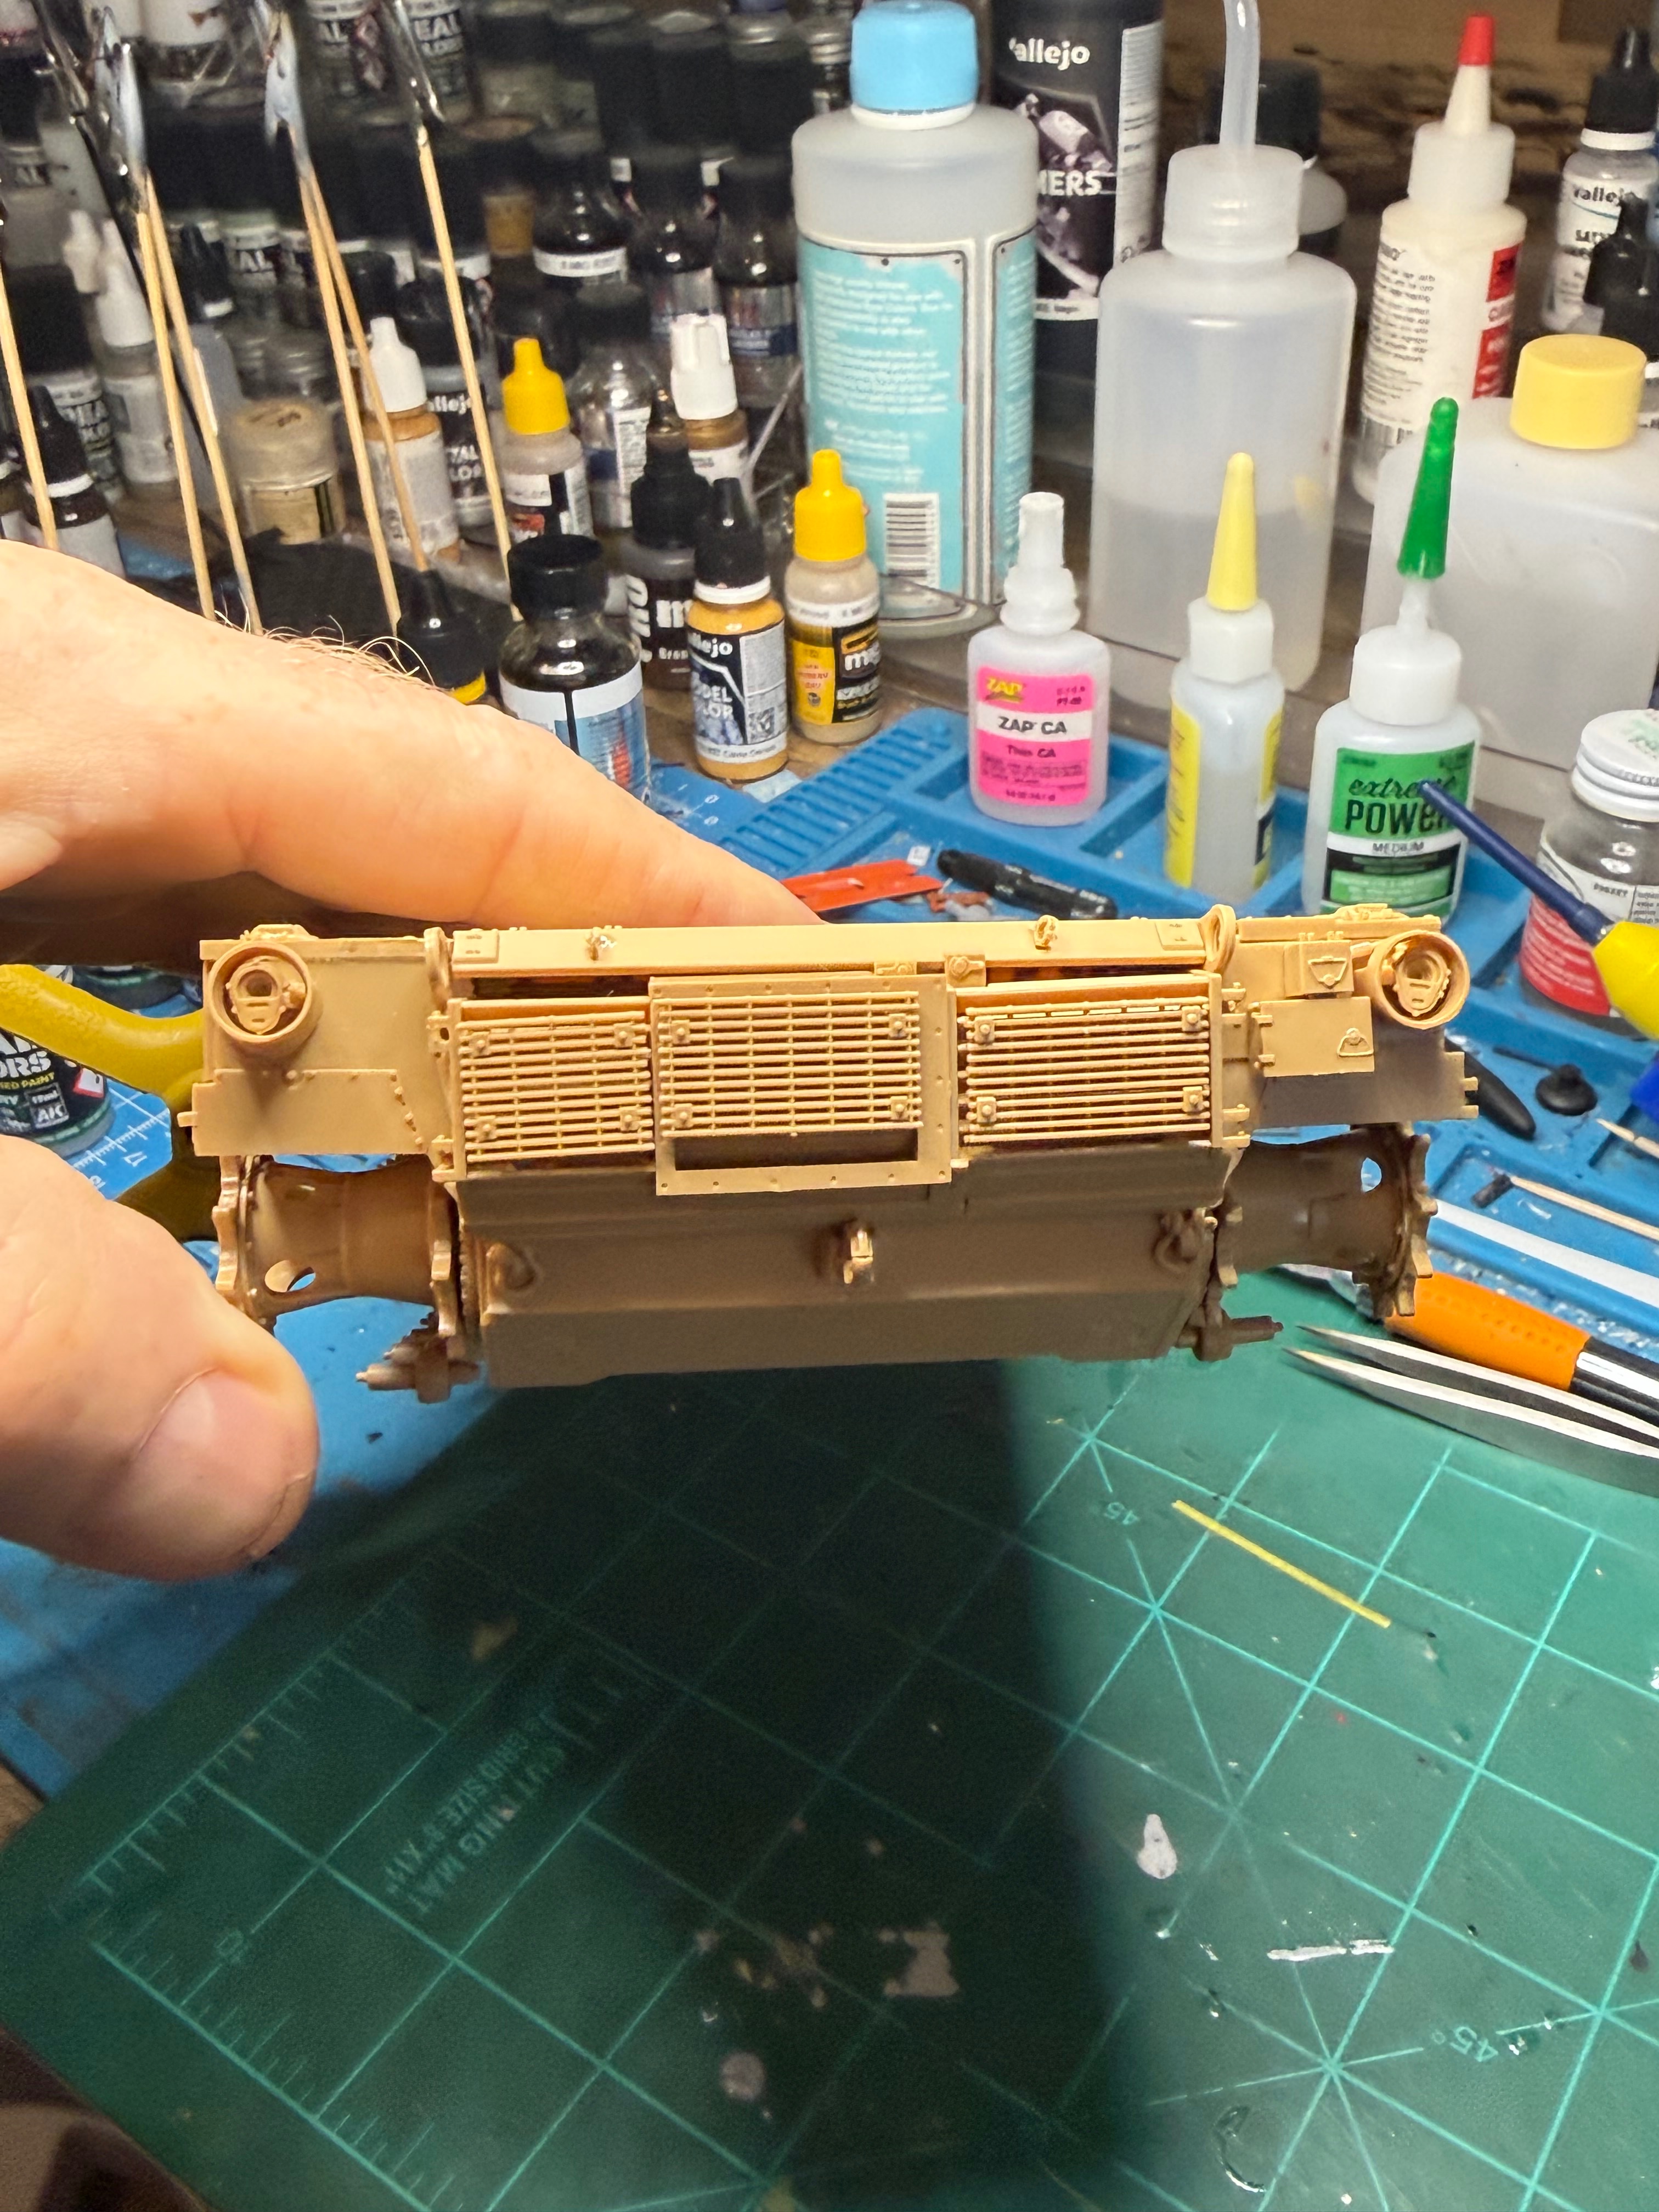
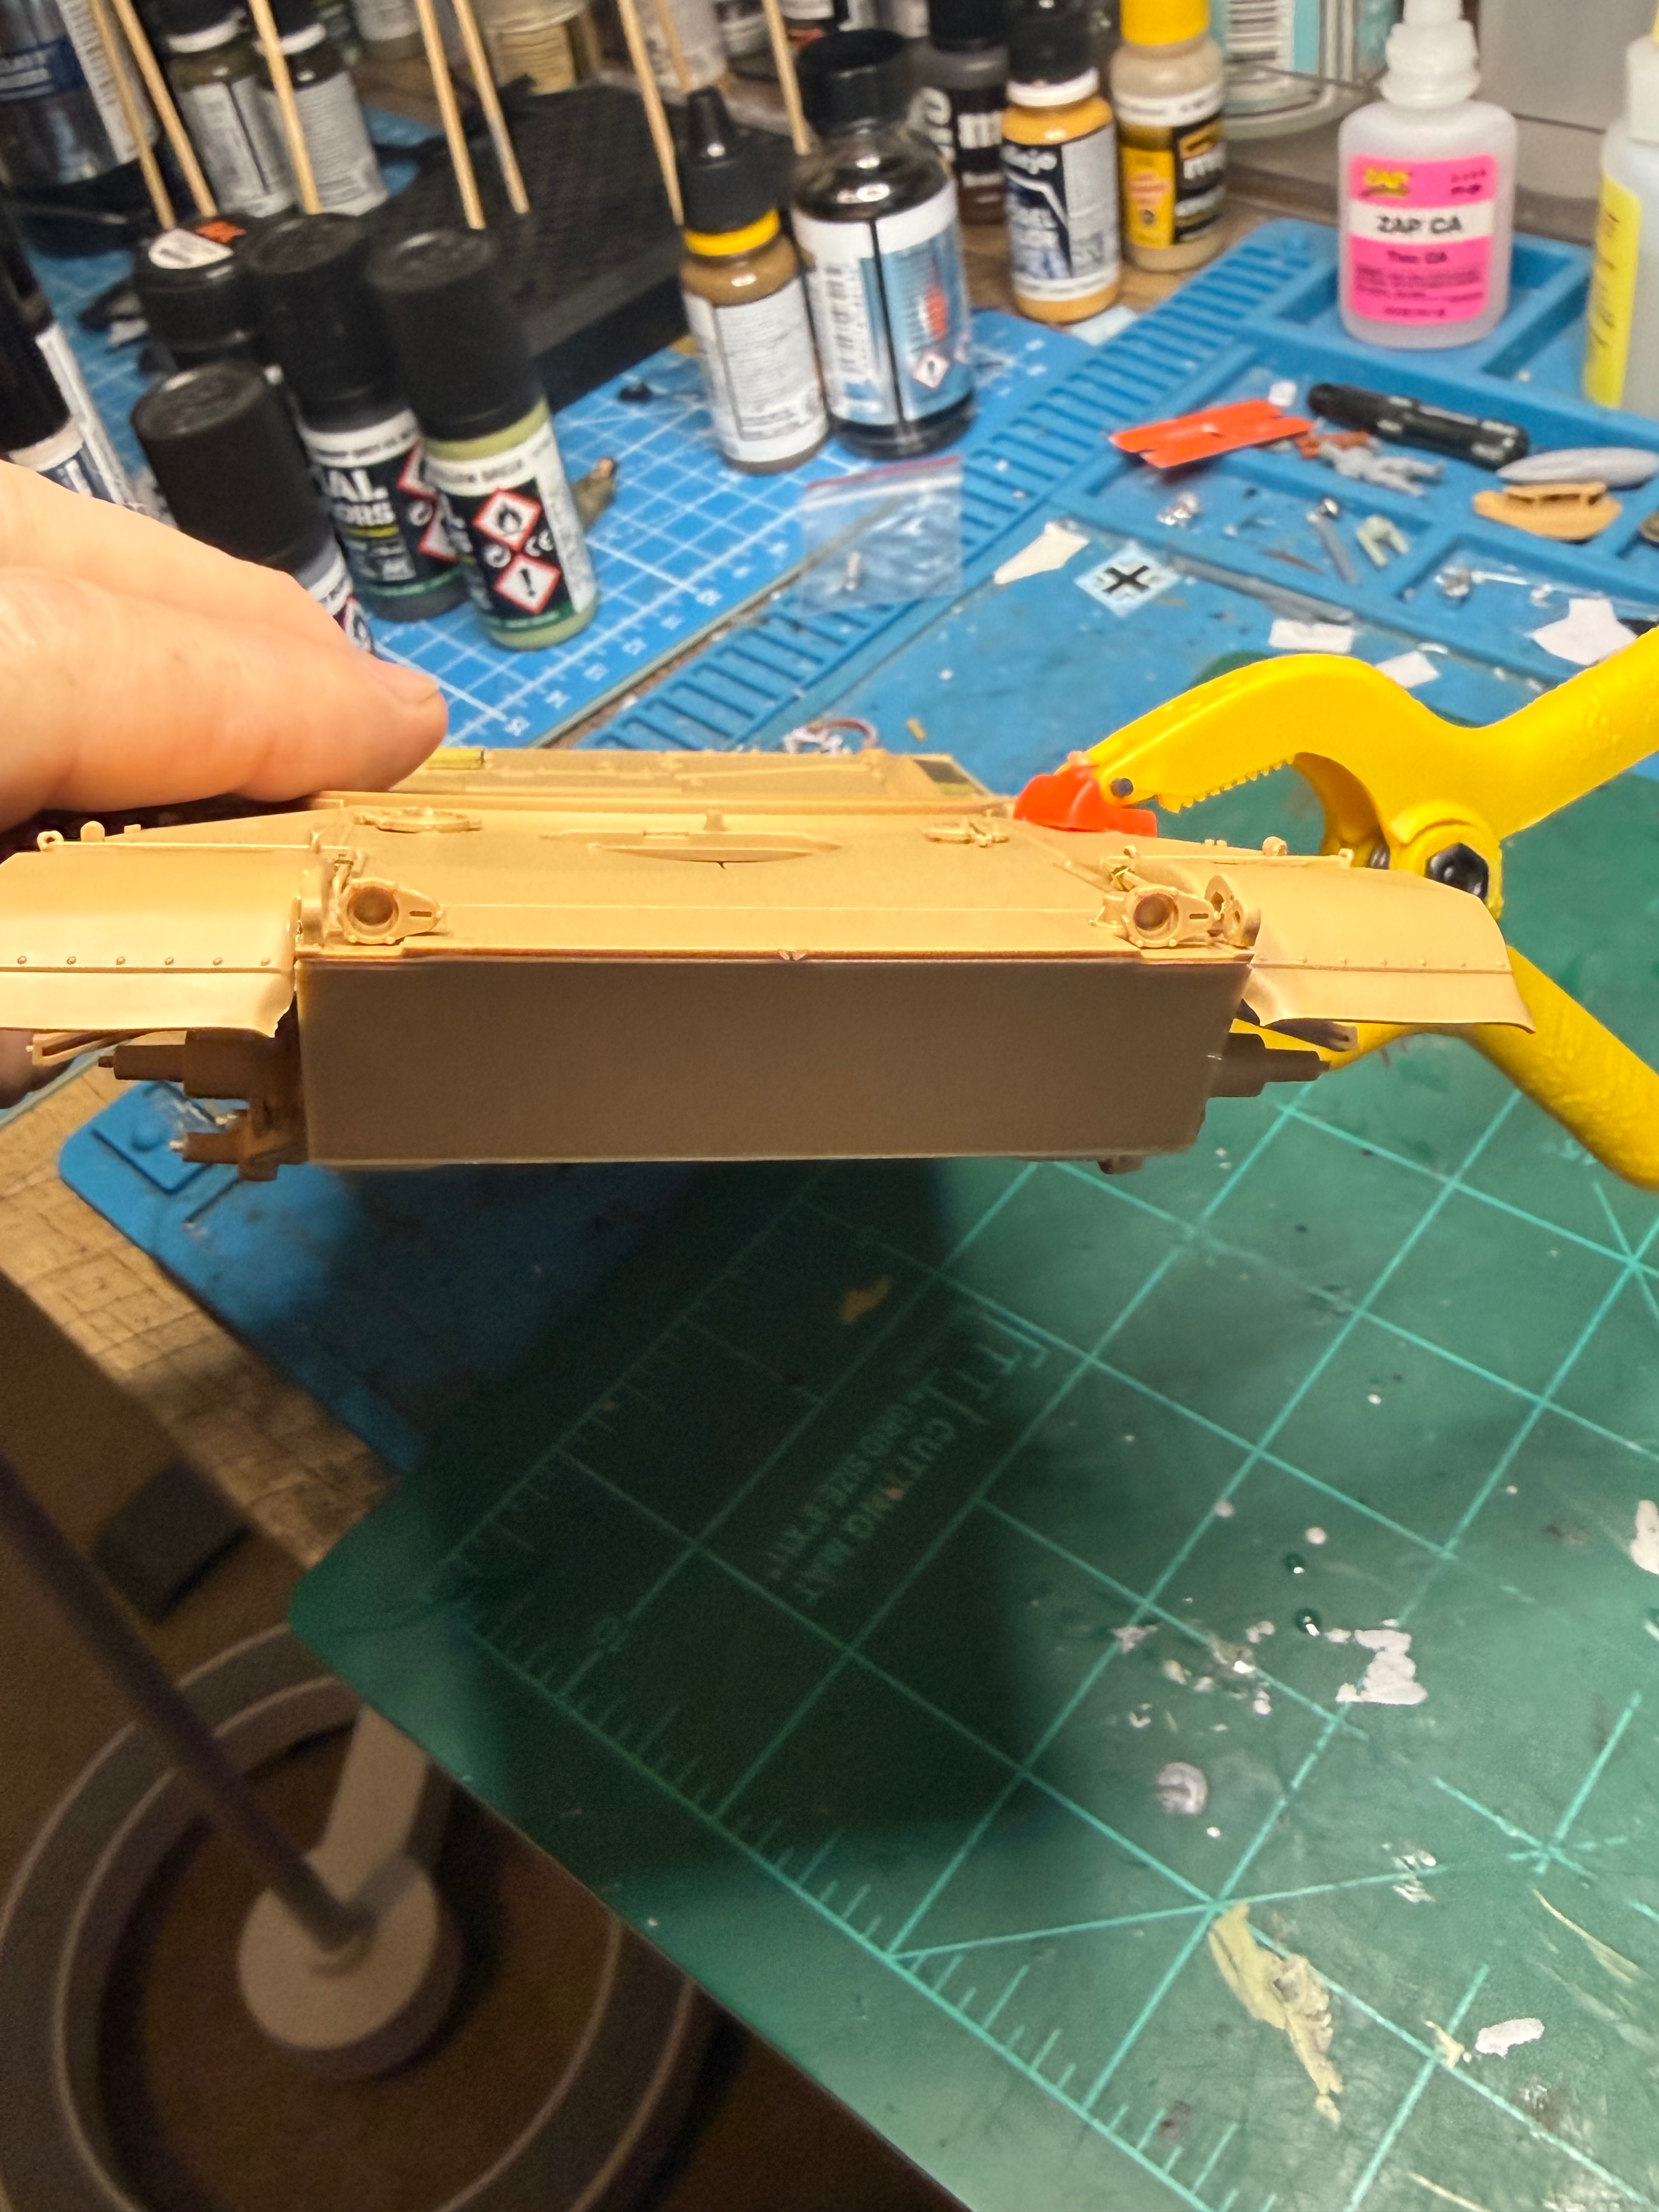
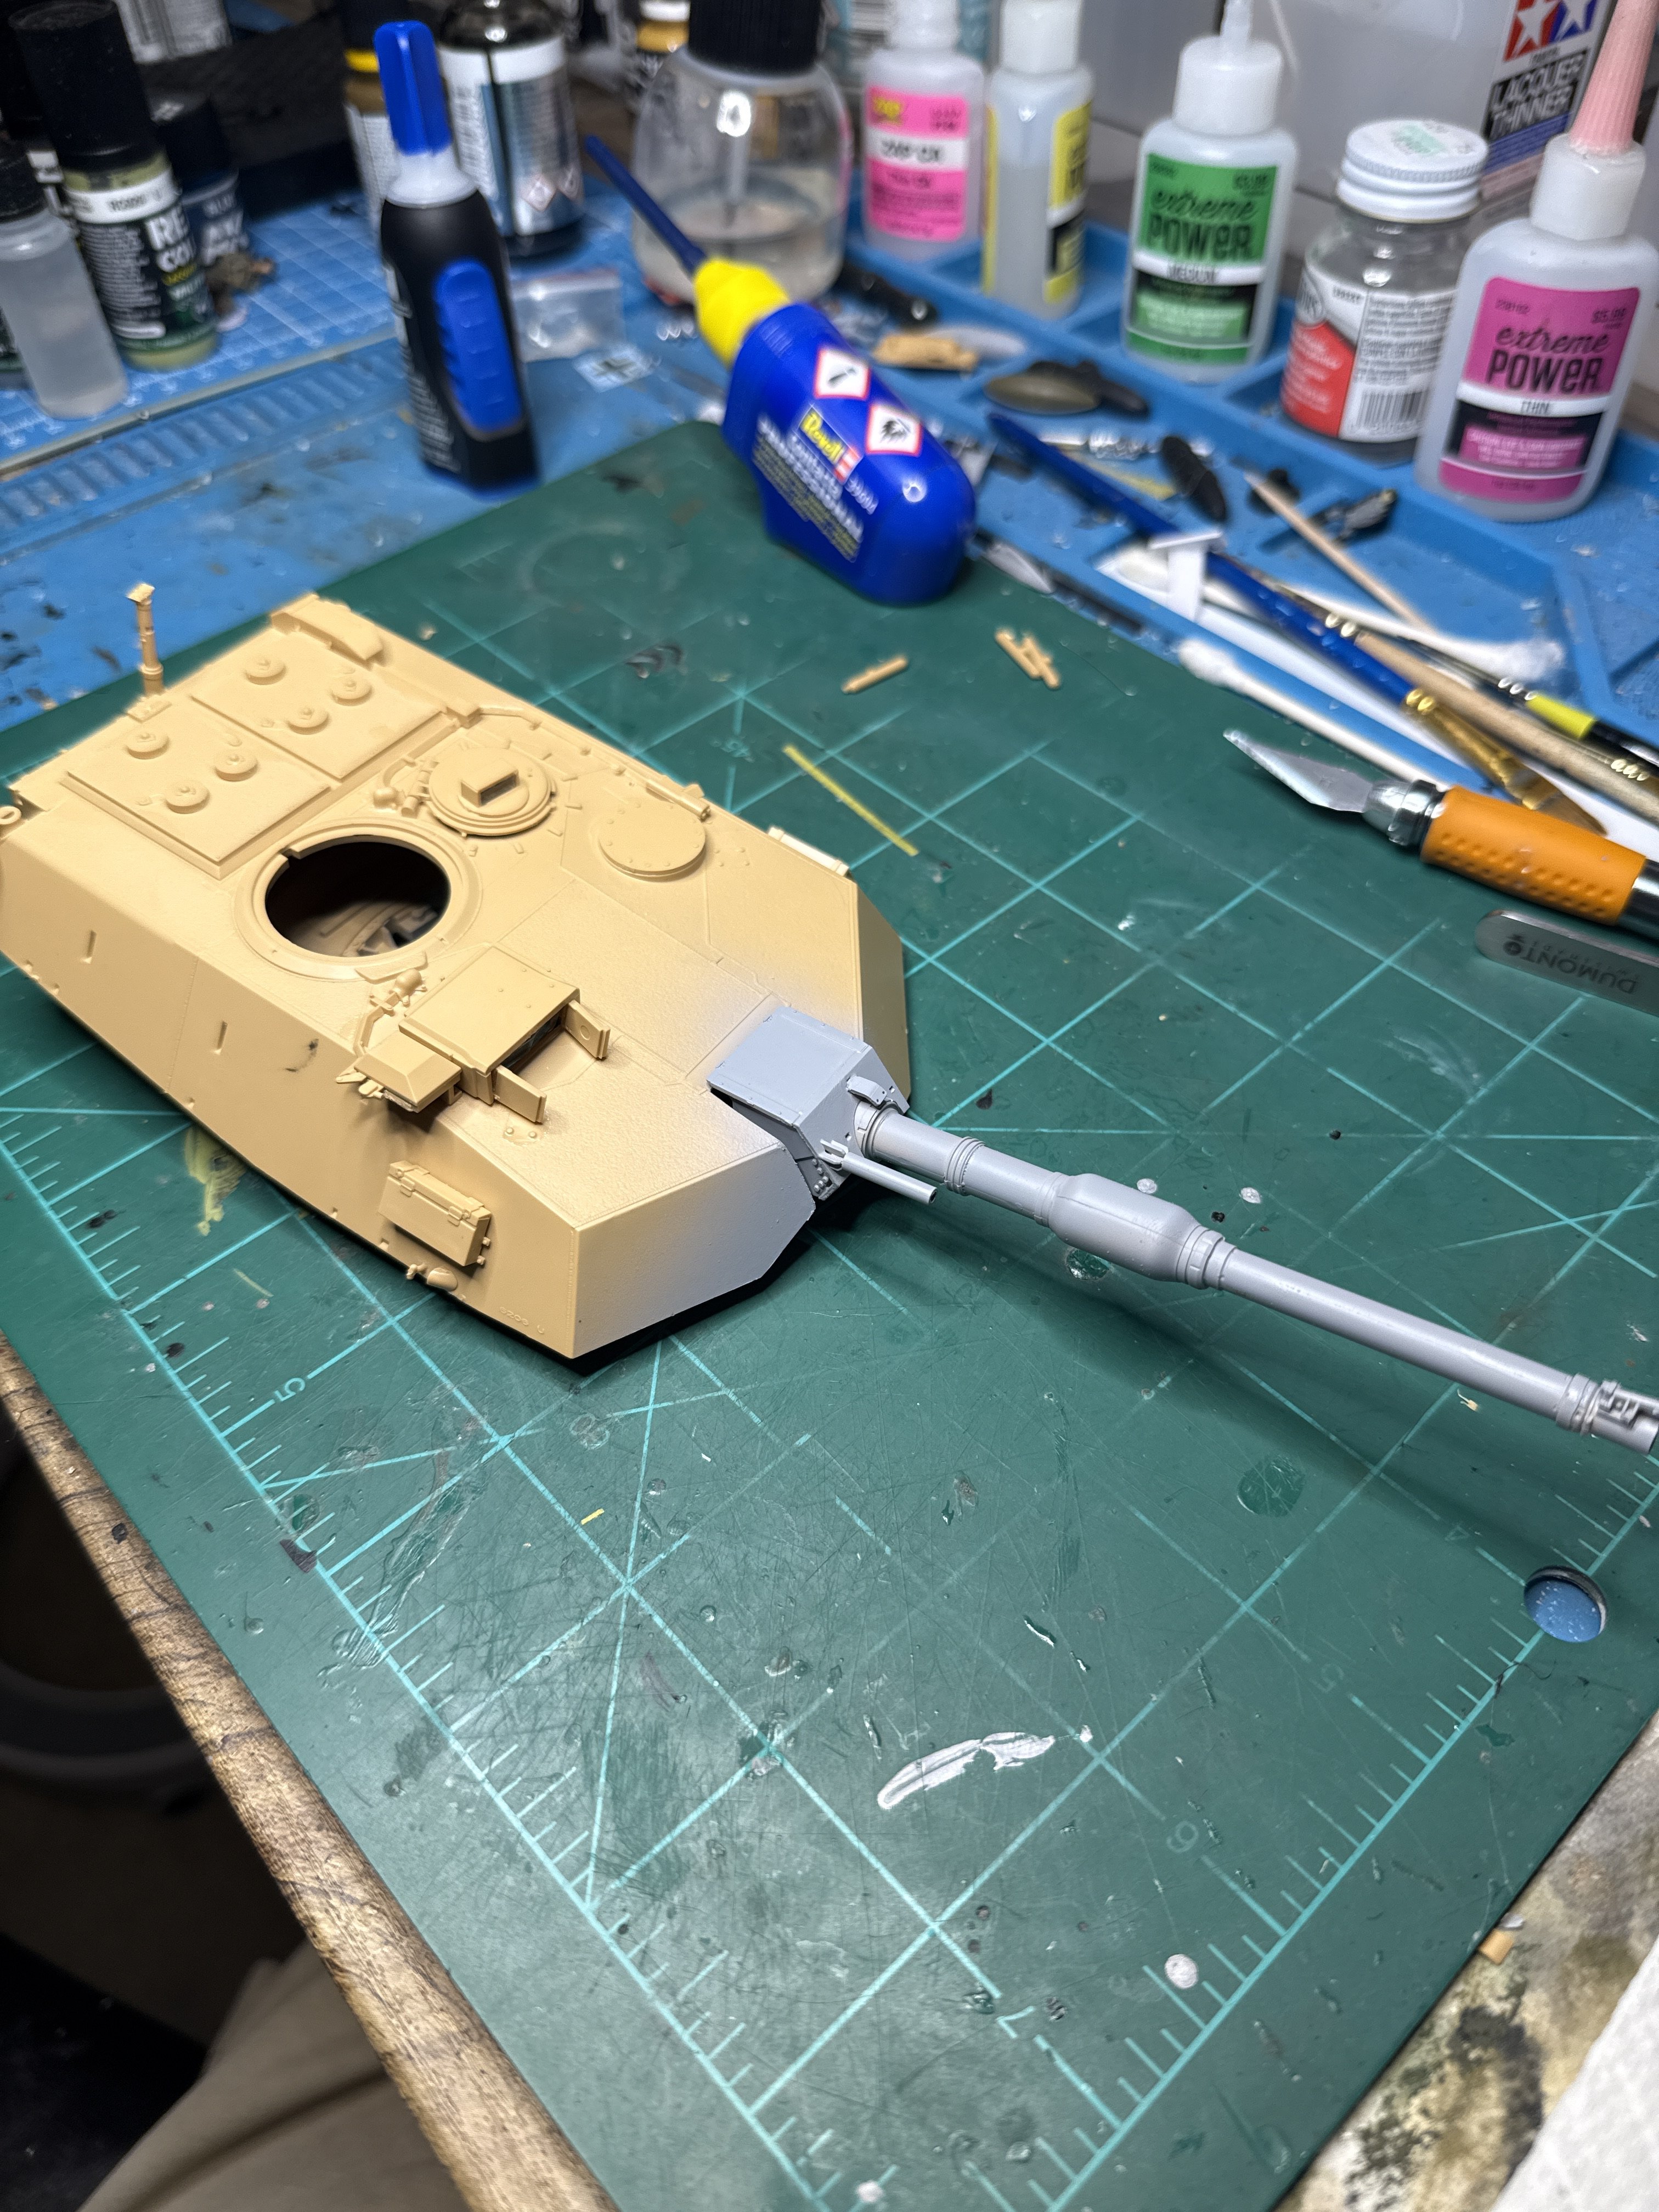
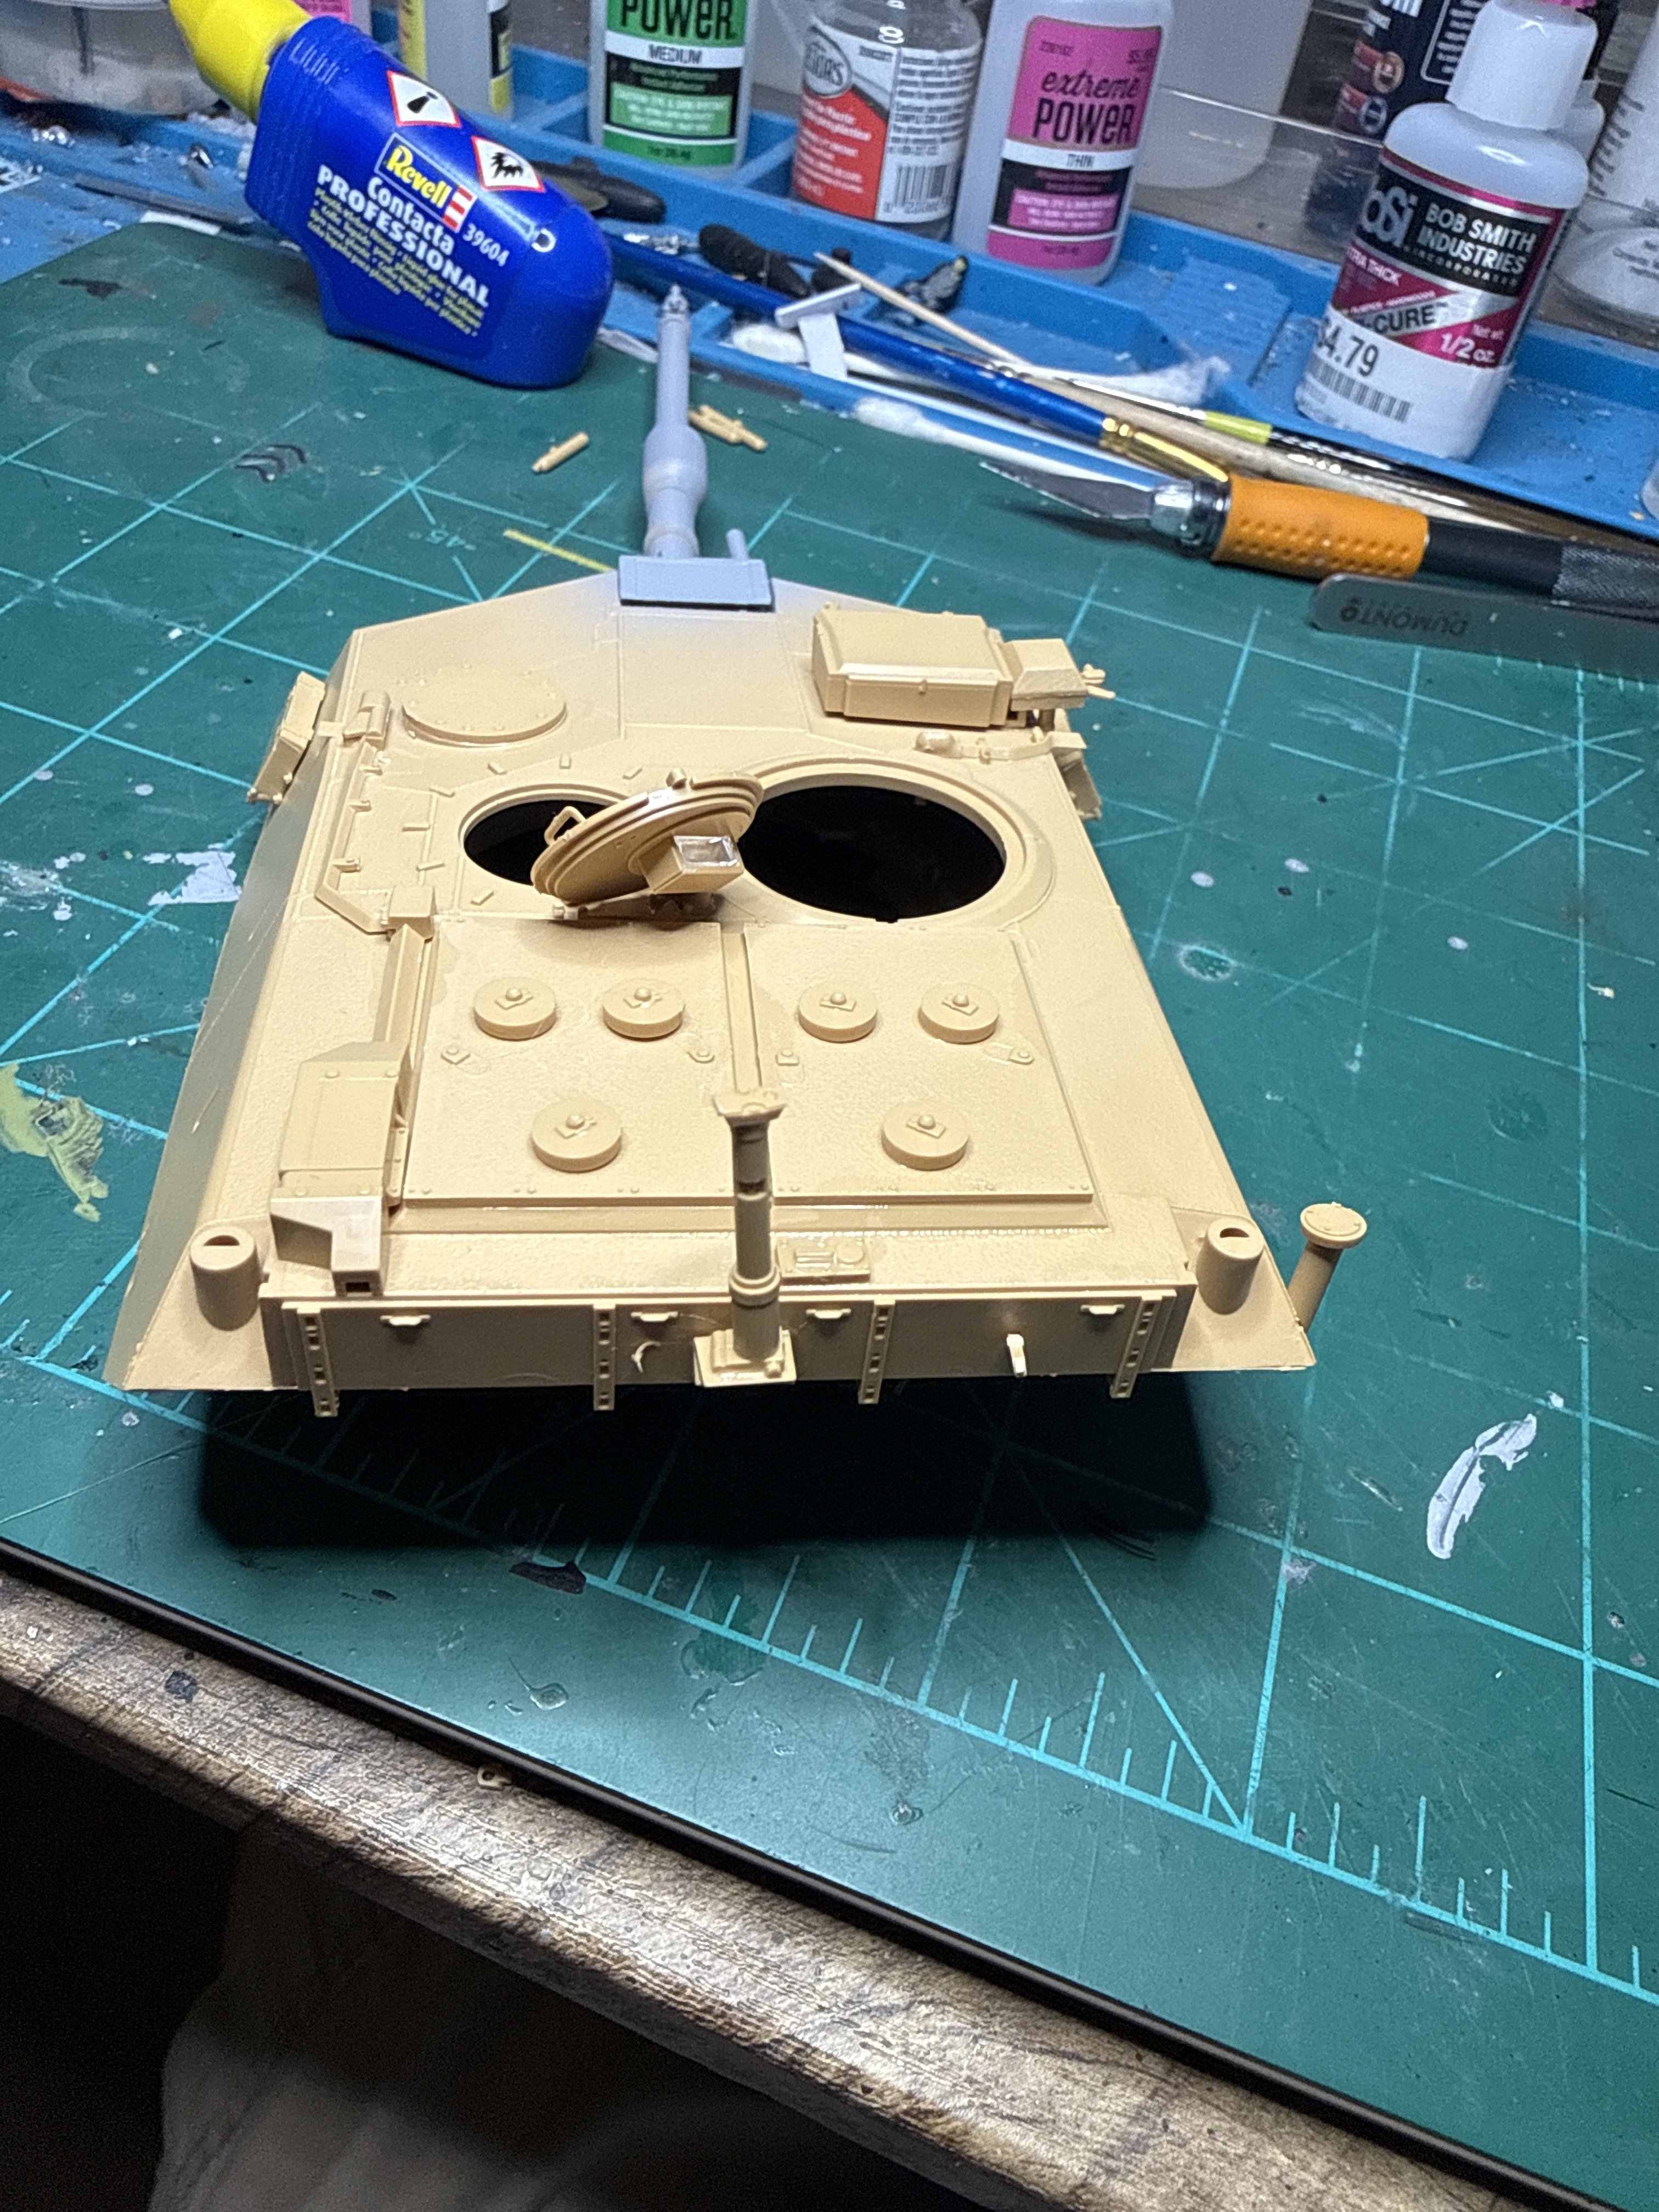
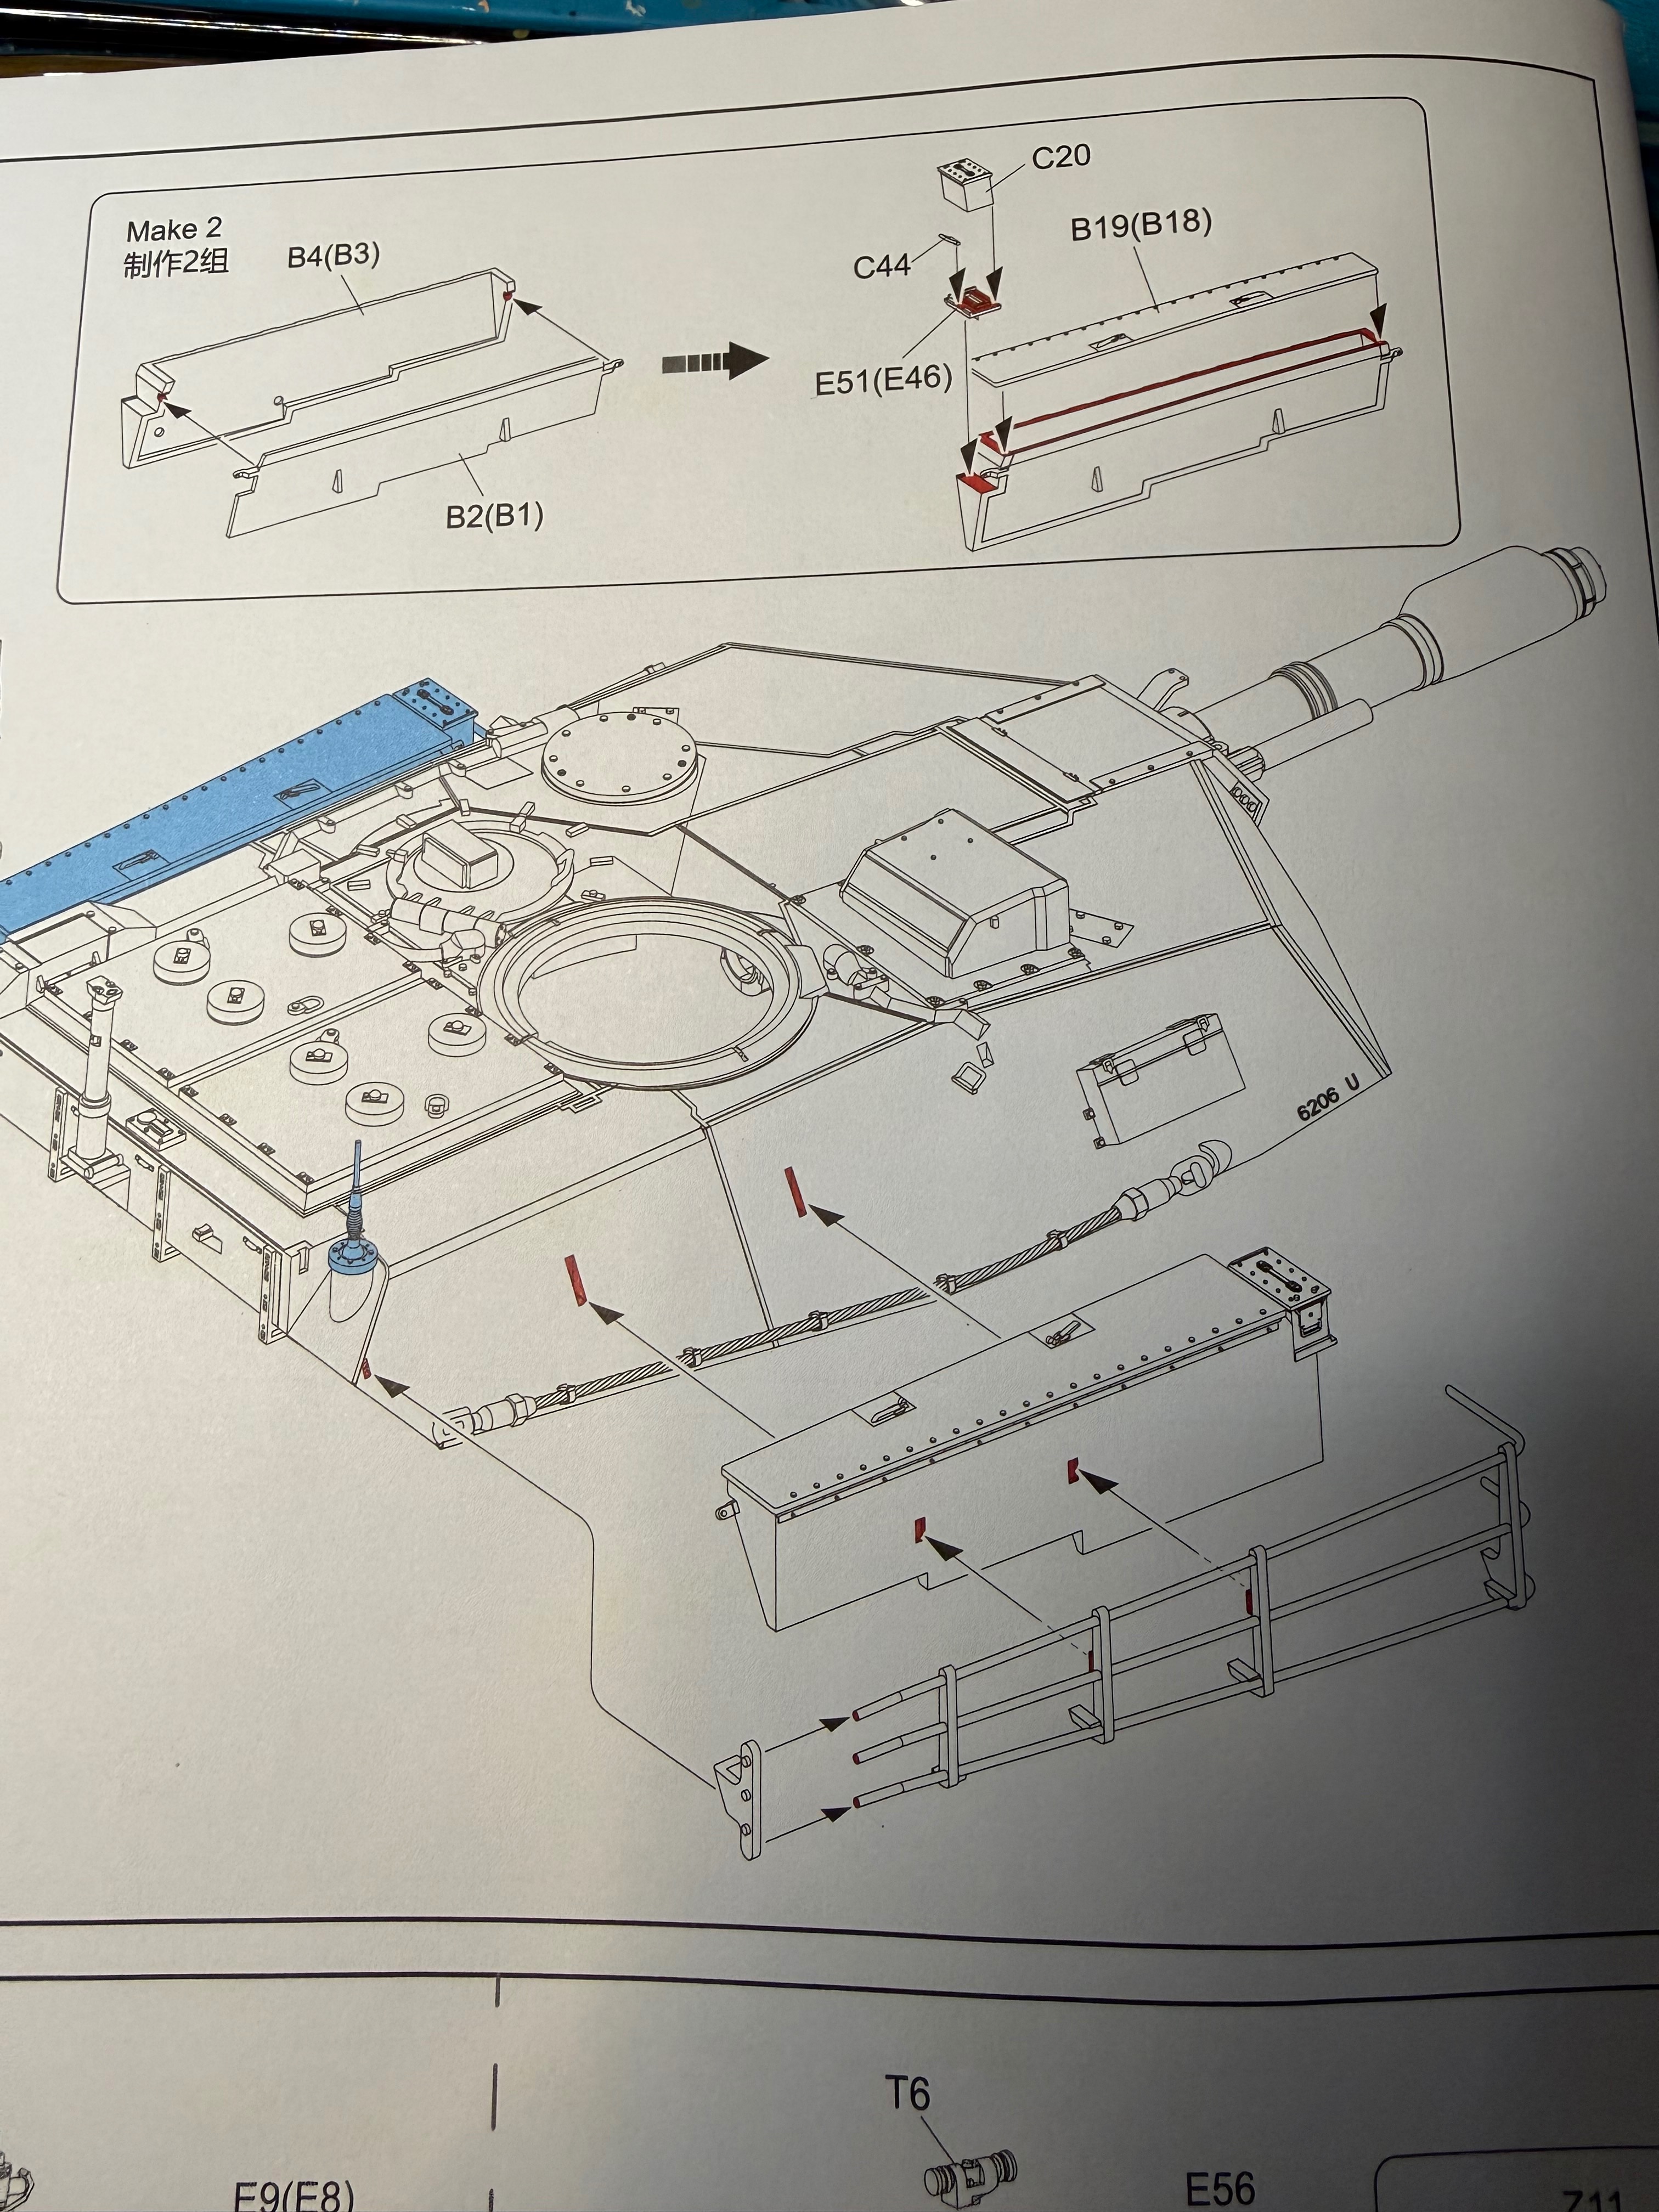
Holy slow progress. Had to do some sanding and modifying to get a couple parts to work. Barrel assembly would not fit even before priming. The electronics housing on the side of the optics box had poor instructions/diagram. Had to search to figure out correct placement and removed alignment pins to do so.
Attachments

Edbert
Well-Known Member
- Joined
- May 16, 2024
- Messages
- 3,123
Don't want to put words in your mouth, but are you saying RFM are akin to AFV?If you rarely build armour kits, perhaps one by Tamiya would be a better choice?
I've only built one of each and both were on the complex/fiddly side for sure.
The suggestion sheet (aka the destructions) in my RFM kit (Easy-Eight) was excellent, as was the fit of parts, just extremely complicated with many itty bits of plastic and PE.
Are you asking me or Jakko?Don't want to put words in your mouth, but are you saying RFM are akin to AFV?
I've only built one of each and both were on the complex/fiddly side for sure.
The suggestion sheet (aka the destructions) in my RFM kit (Easy-Eight) was excellent, as was the fit of parts, just extremely complicated with many itty bits of plastic and PE.
Edbert
Well-Known Member
- Joined
- May 16, 2024
- Messages
- 3,123
I was quoting Jakko, it seemed he was trying to be nice but saying RFM kits can be a pain and suggesting something easier like a Tamiya tank.
I started an RFM M4-E8 about the same time I started a Tamiya Jagdpanther. So far with about the same ammount of time the TD is almost done and I'm still assembling the small stuff on the Sherman so I can paint it.
I started an RFM M4-E8 about the same time I started a Tamiya Jagdpanther. So far with about the same ammount of time the TD is almost done and I'm still assembling the small stuff on the Sherman so I can paint it.
Oh. Yeah I wasn't sure why he thought I don't do tanks. I've done quite a few. Half-tracks is another story- this is my first.I was quoting Jakko, it seemed he was trying to be nice but saying RFM kits can be a pain and suggesting something easier like a Tamiya tank.
I started an RFM M4-E8 about the same time I started a Tamiya Jagdpanther. So far with about the same ammount of time the TD is almost done and I'm still assembling the small stuff on the Sherman so I can paint it.
Jantk14
Well-Known Member
Not to frustrate you even more but I built the Tamiya Abrams M1A1 and it was a great build.
Haha. Of course it was- it was Tamiya!Not to frustrate you even more but I built the Tamiya Abrams M1A1 and it was a great build.
Jakko
Well-Known Member
Somewhere between Tamiya and AFV Club/ICM/MiniArt, I'd say. But then, to be fair, that goes for just about every manufacturerDon't want to put words in your mouth, but are you saying RFM are akin to AFV?

I agree you have to look at each kit.Somewhere between Tamiya and AFV Club/ICM/MiniArt, I'd say. But then, to be fair, that goes for just about every manufacturer
Mr. Goch
Active Member
It comes down to P.A.T.D. I have nine RFM kits, including RM-5007 M1A1/M1A2 and RM-5026 M1A2 TUSK I/TUSK II, both with interiors. The fit of the parts is excellent. Never encountered any problems with construction. The instructions are clear and don't miss anything. If you think there are missing steps for parts placement, go check Scalemates for Rye Field M1 Abrams kits and download the various instruction manuals and compare them. If there are any missing steps/diagrams, they'll be found in one of the other manuals. Basic assembly of all RFM Abrams kits is identical; so, you should be able to follow any of them with no problems.
Tip: don't add fragile PE, or kit parts, until you complete and assemble major assemblies like like the upper and lower hulls. Clamping those parts together with those small parts attached is just begging for trouble. Refrain from building during very late night/early morning hours. Your patience is lower and your frustration level increases the longer you are awake without at least a few hours' rest.
Spent about three hrs putting the top half together. Very detailed. Each fuel cap is individual, has or should say had a PE chain (?) attached to the top. I managed to knock 3 of 4 off trying to get the damn top to fit to the base at 3 am!
Tip: don't add fragile PE, or kit parts, until you complete and assemble major assemblies like like the upper and lower hulls. Clamping those parts together with those small parts attached is just begging for trouble. Refrain from building during very late night/early morning hours. Your patience is lower and your frustration level increases the longer you are awake without at least a few hours' rest.
Yeah I don't normally attach metal parts until I'm ready to varnish these seemed unlikely to get knocked off. Jokes on me! No I have parts of diagrams that do not even show the part number so I'm left sifting through the sprues looking for what matches the pic.It comes down to P.A.T.D. I have nine RFM kits, including RM-5007 M1A1/M1A2 and RM-5026 M1A2 TUSK I/TUSK II, both with interiors. The fit of the parts is excellent. Never encountered any problems with construction. The instructions are clear and don't miss anything. If you think there are missing steps for parts placement, go check Scalemates for Rye Field M1 Abrams kits and download the various instruction manuals and compare them. If there are any missing steps/diagrams, they'll be found in one of the other manuals. Basic assembly of all RFM Abrams kits is identical; so, you should be able to follow any of them with no problems.
Tip: don't add fragile PE, or kit parts, until you complete and assemble major assemblies like like the upper and lower hulls. Clamping those parts together with those small parts attached is just begging for trouble. Refrain from building during very late night/early morning hours. Your patience is lower and your frustration level increases the longer you are awake without at least a few hours' rest.

Hmmm, would love to put in my two cents, except that I haven't built AFV nor RFM.
Will be watching, as I have an AFV and have been tempted to add an RFM to the stash.
The level of detail seems fantastic, hope the rest of the build isn't as frustrating.
That was good advice about Scalemates: I've even downloaded instructions from competitors of the same vehicle when the drawings weren't clear. Not always helpful, but extra data points sometime help.
Will be watching, as I have an AFV and have been tempted to add an RFM to the stash.
The level of detail seems fantastic, hope the rest of the build isn't as frustrating.
That was good advice about Scalemates: I've even downloaded instructions from competitors of the same vehicle when the drawings weren't clear. Not always helpful, but extra data points sometime help.
Edbert
Well-Known Member
- Joined
- May 16, 2024
- Messages
- 3,123
If you find either frustrating it is (speaking for myself) probably the complexity not the fit. I'm not talking about stuff you wont see (like pistons inside an engine complexity, I mean tiny things that will probably not be perfect and are highly visible. Here's an example that I keep using...hope the rest of the build isn't as frustrating.
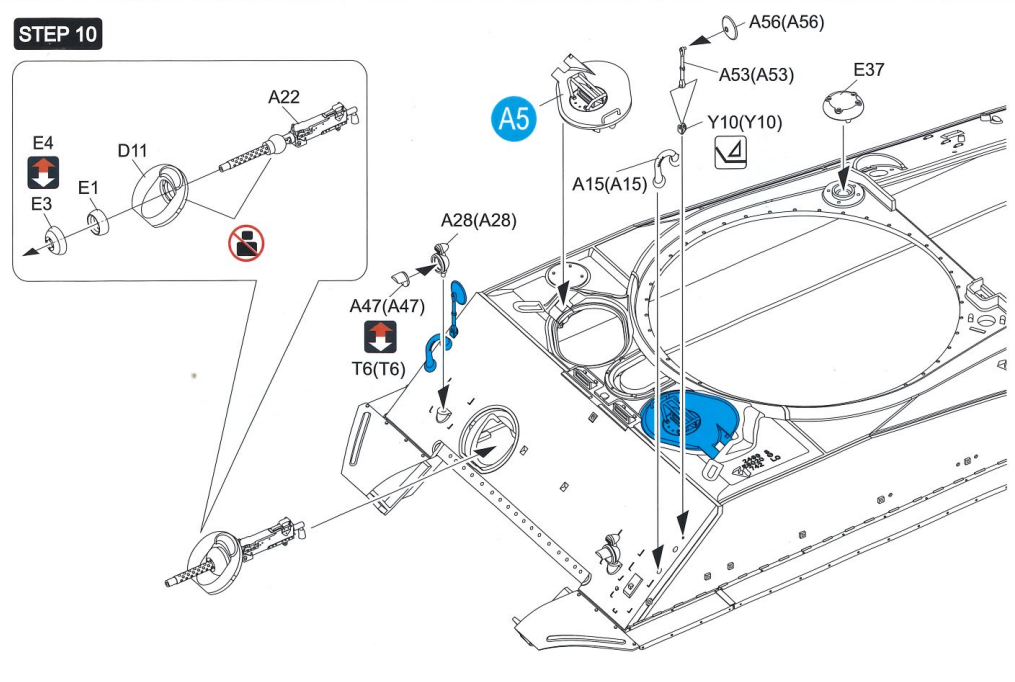
I have to say the instructions are excellent, but check out part A53 & A56, they attach to each other (and each needs to be cleaned) but then they fit into PE part Y10 which needs to be folded twice and glued to the front hull (x2) without any glue showing.
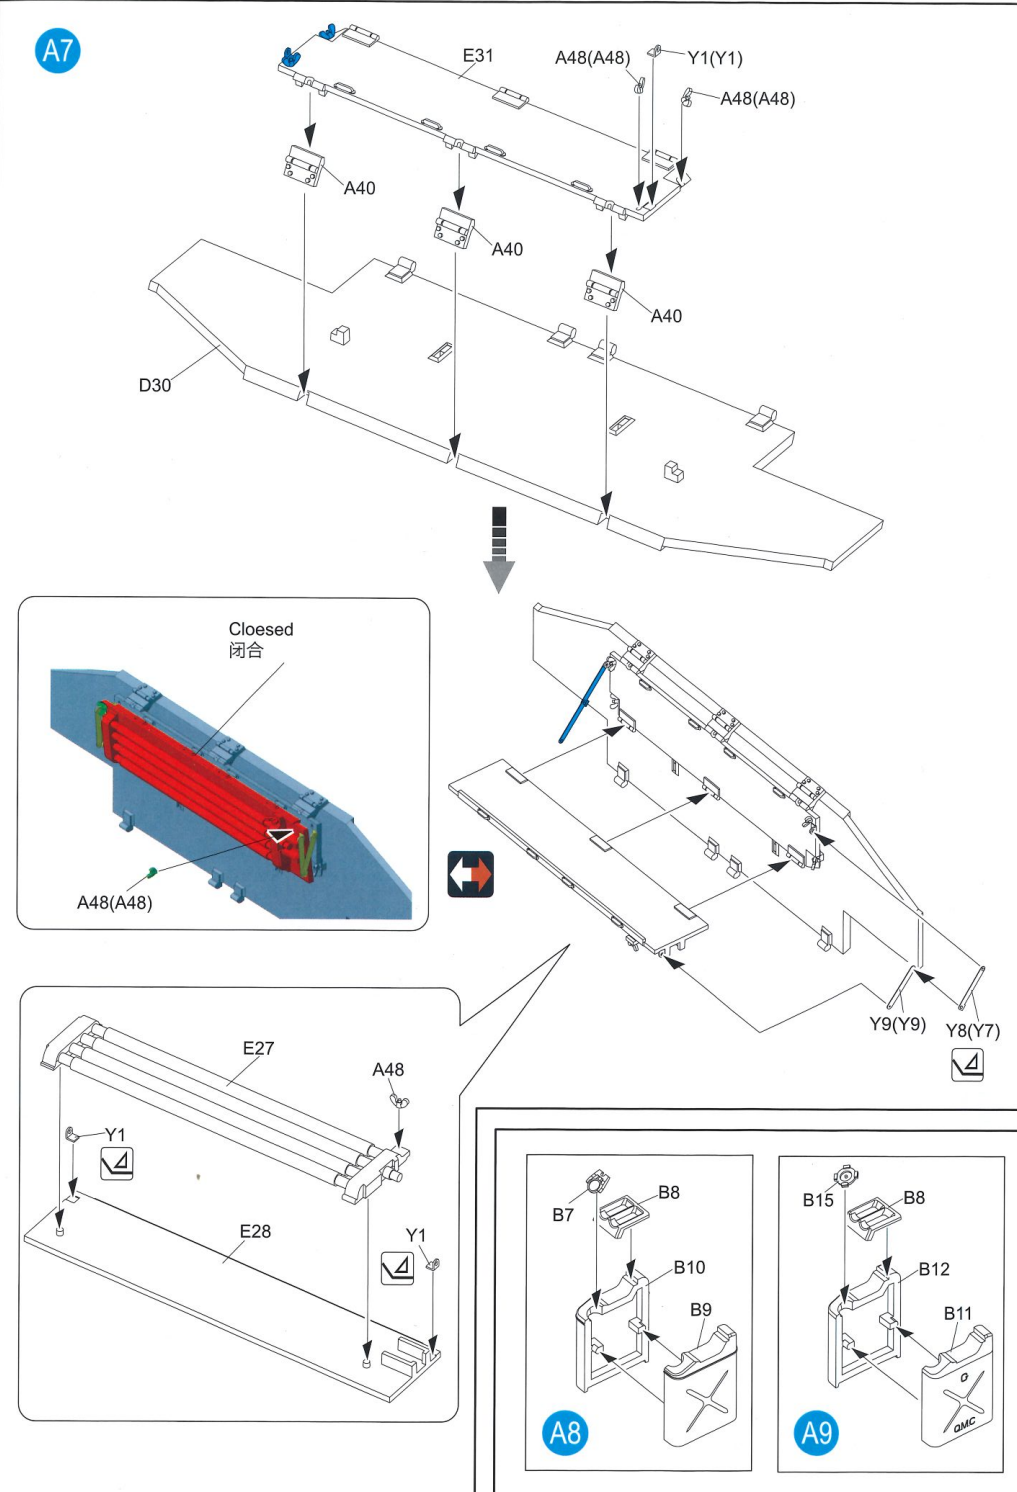
Or how about more folded PE hooks like Y1 (x2) that attach to Y8 & Y9 on one end and another pair of Y1s on the other. Don't forget wingnuts (A48s) while you're at it.
I can say everything fits, if you have the optivisor
Which kit is this?If you find either frustrating it is (speaking for myself) probably the complexity not the fit. I'm not talking about stuff you wont see (like pistons inside an engine complexity, I mean tiny things that will probably not be perfect and are highly visible. Here's an example that I keep using...
View attachment 187977
I have to say the instructions are excellent, but check out part A53 & A56, they attach to each other (and each needs to be cleaned) but then they fit into PE part Y10 which needs to be folded twice and glued to the front hull (x2) without any glue showing.
View attachment 187978
Or how about more folded PE hooks like Y1 (x2) that attach to Y8 & Y9 on one end and another pair of Y1s on the other. Don't forget wingnuts (A48s) while you're at it.
I can say everything fits, if you have the optivisor


