JU88-A4 Pro-Modeler from 1999

Scale Model Addict - Model Tips, Guides, Tools & Tech, Tutorials, and Community

Help Support Scale Model Addict:

Edbert

Well-Known Member
Joined
May 16, 2024
Messages
3,123
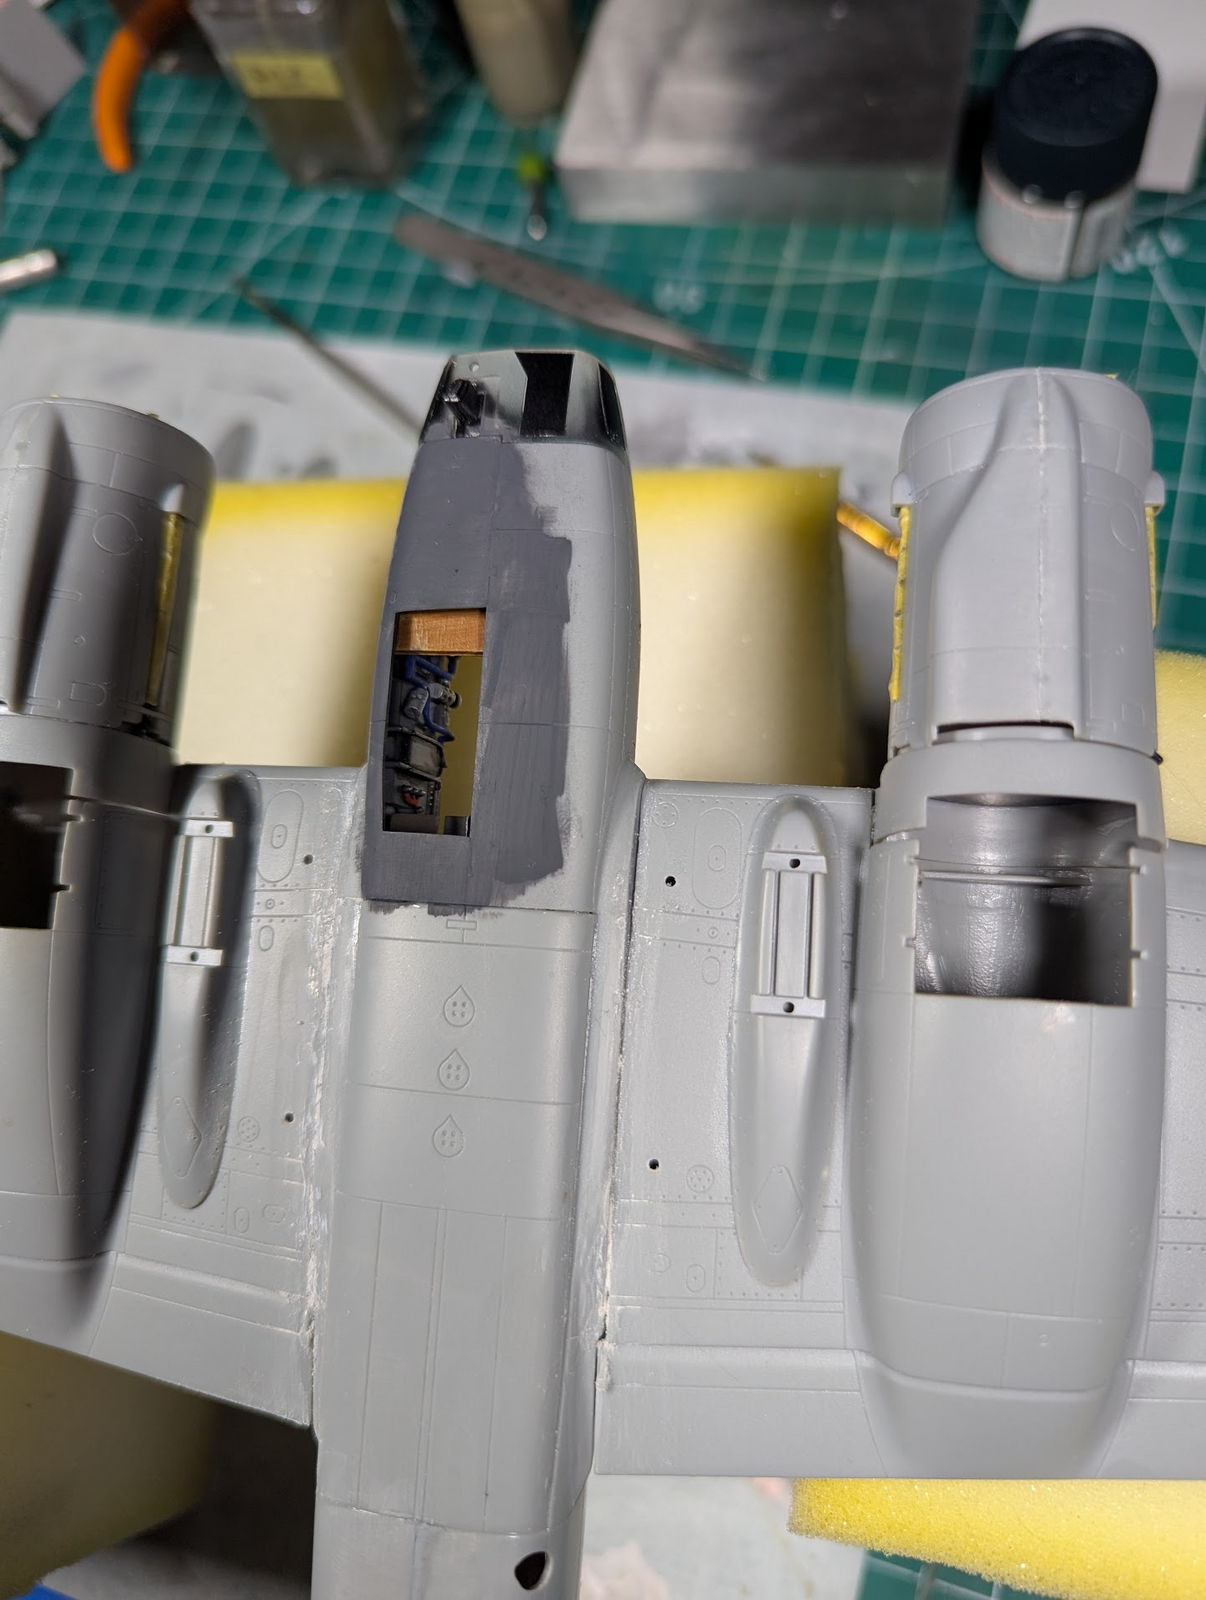
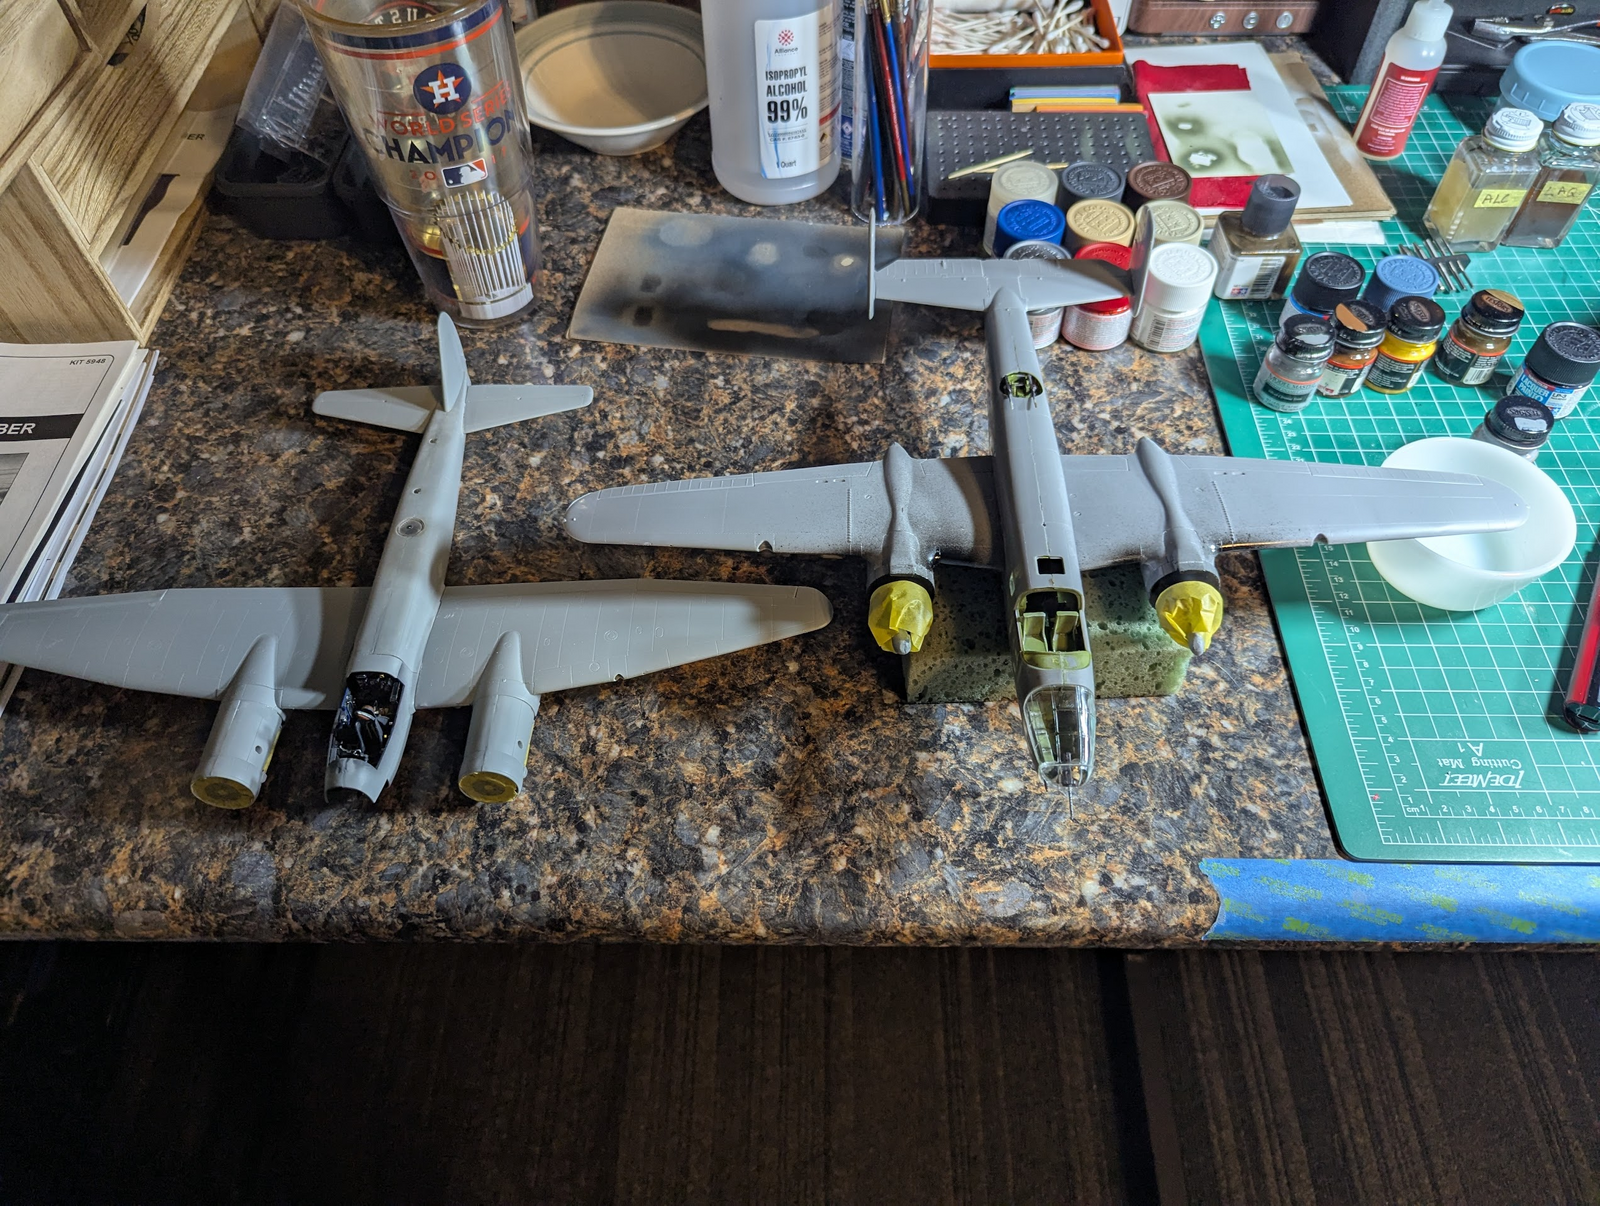
Getting started on the old kit I bought used at the model show last fall for $20. Been fiddling with all sorts of things and realized how little I know about bombers in general. So doing lots of research to catch up a bit. In the course of that I found this "model", you'll want to translate from German...

https://www.fob-scale.com/junkers-cockpit/

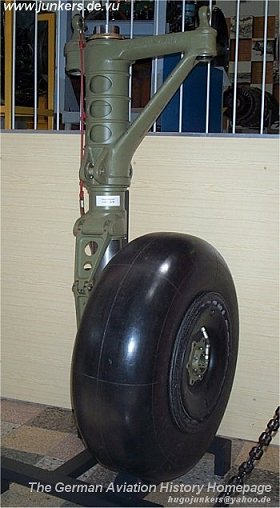
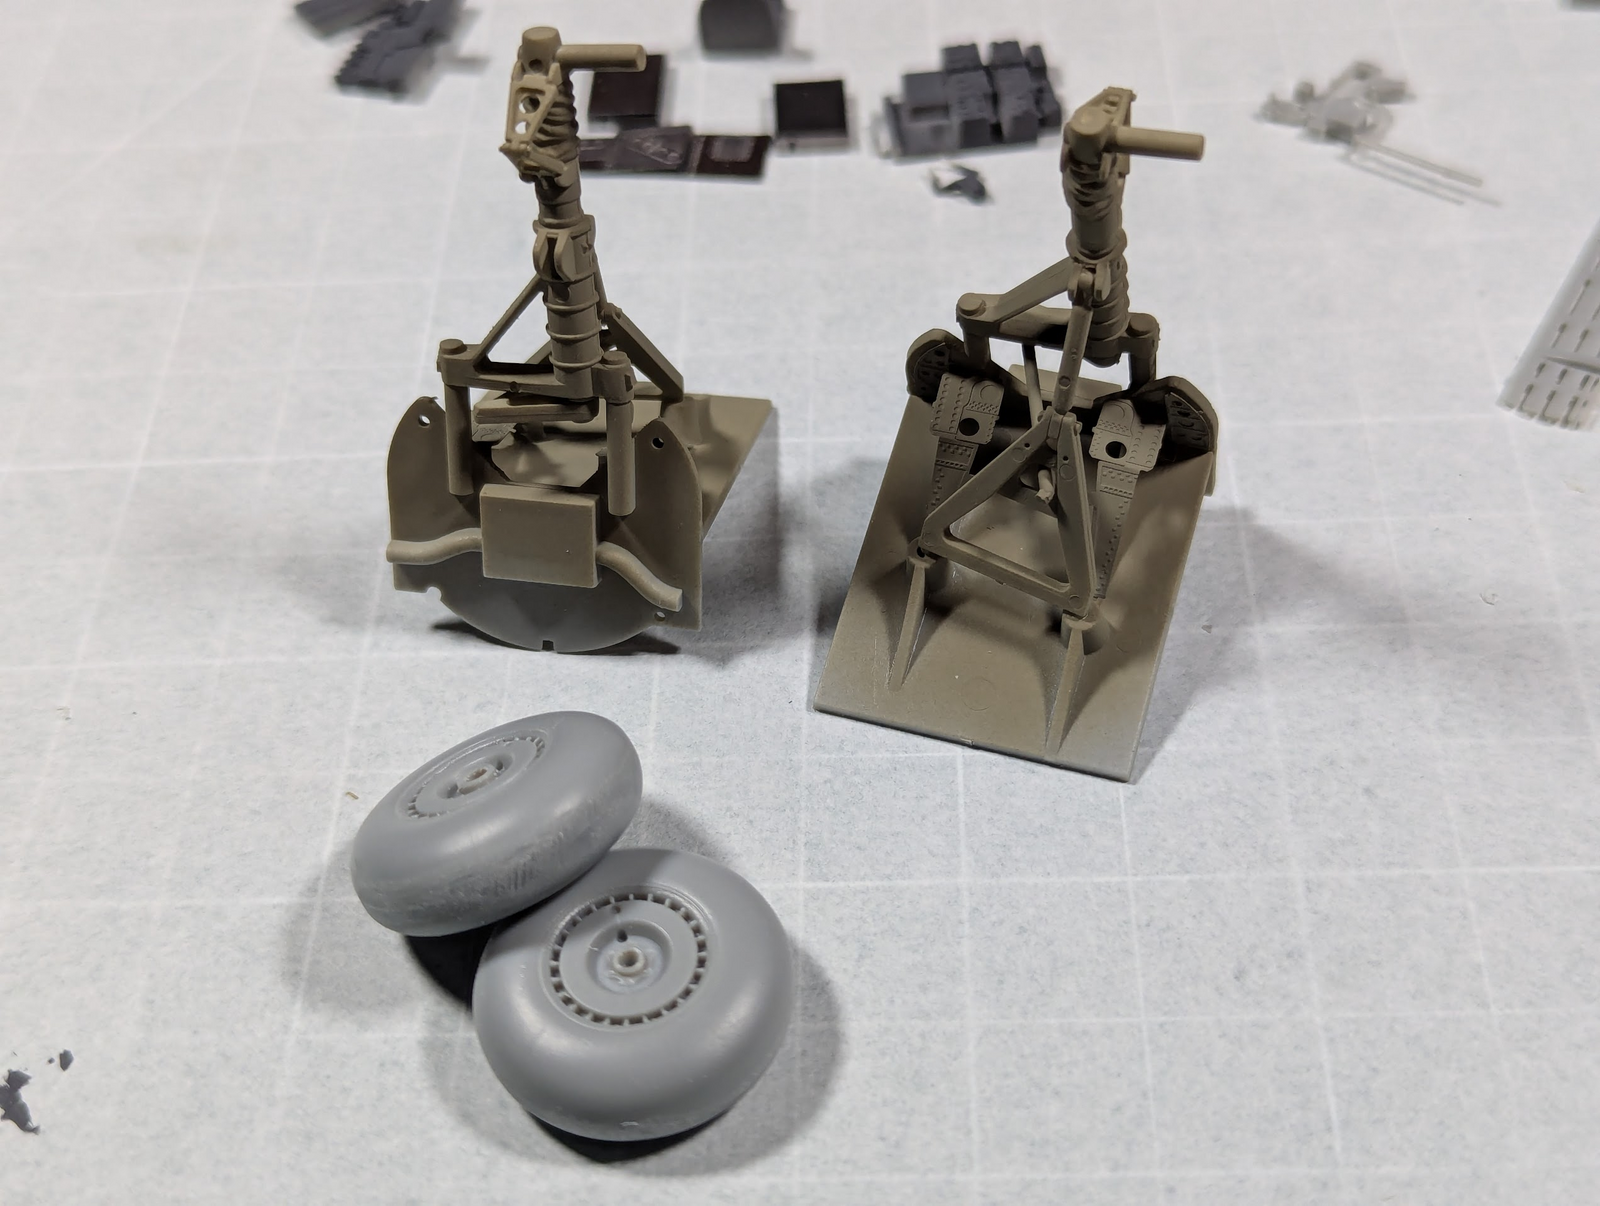
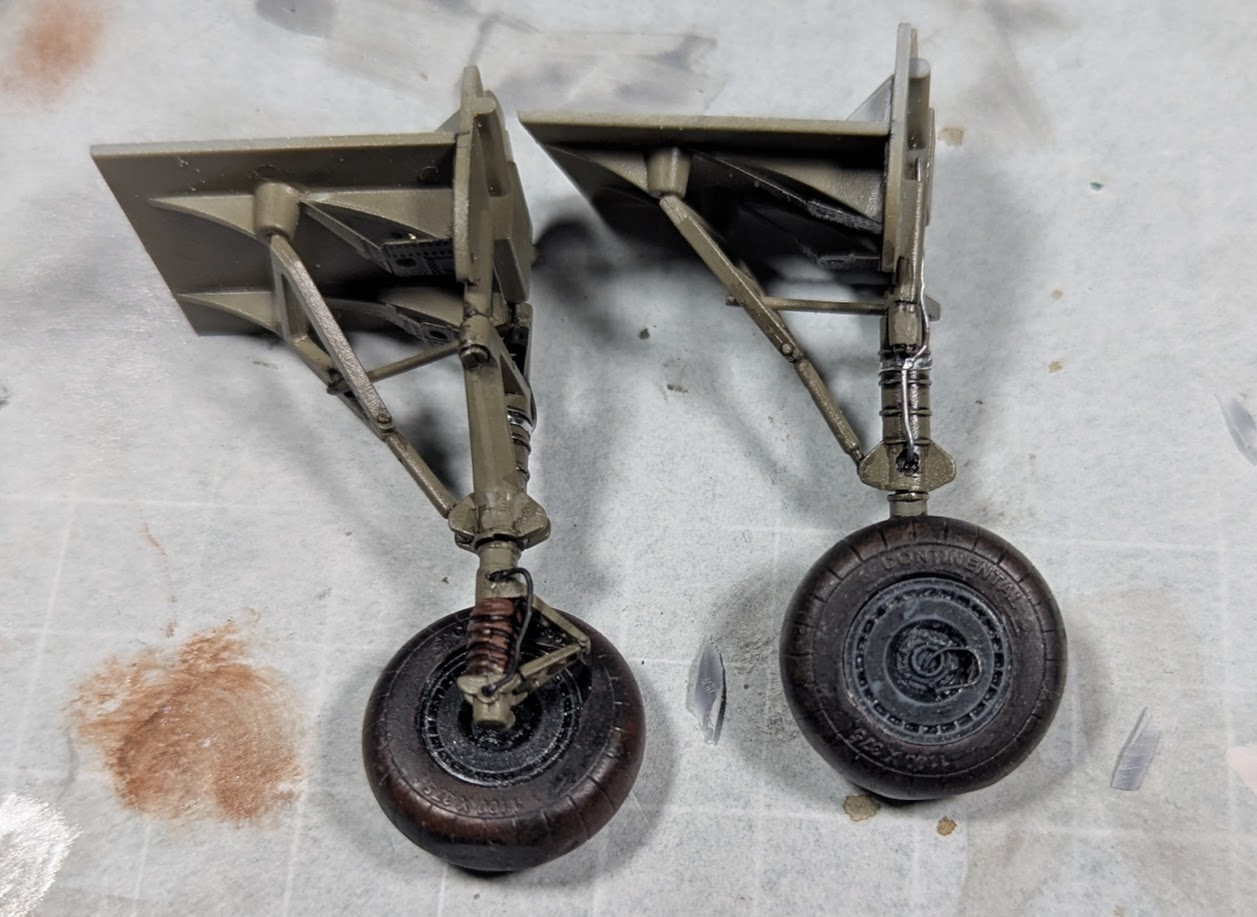
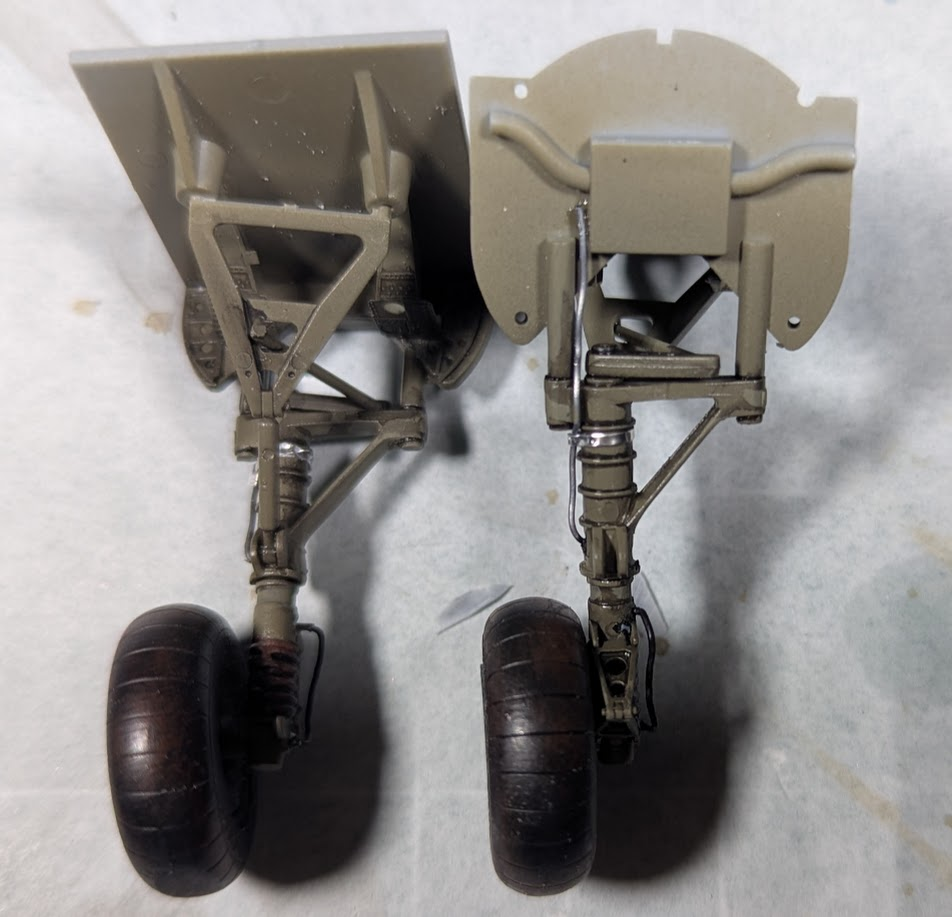
I did build up the landing gear, I must say it is nice to have something so sturdy for a change.
1741215134112.png


The ejector pin mark on the actuator will be hidden, but not the one on the front (left) in this picture. I also have some seams to deal with for sure.

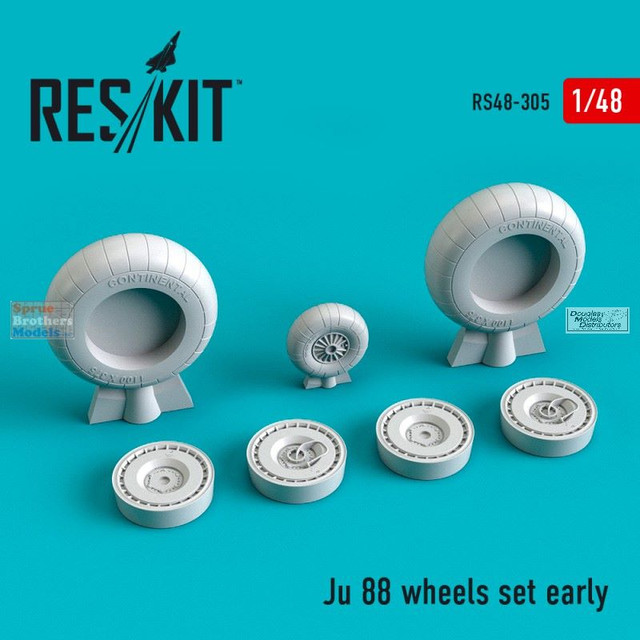
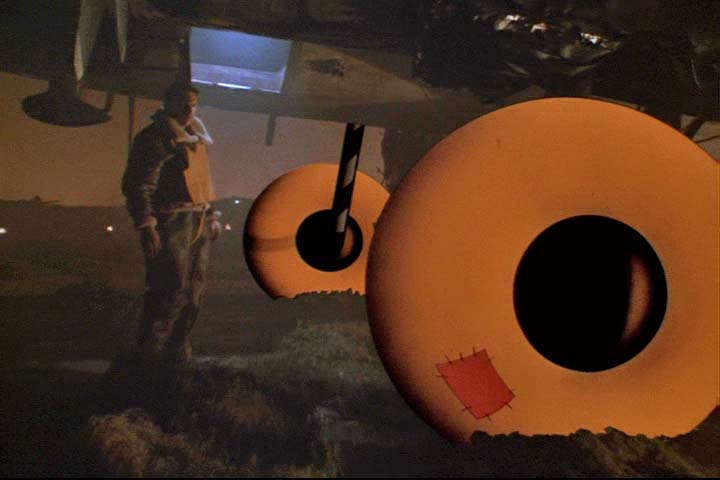
While some time spent sanding might fix the tires, I realized they look like balloons (seriously Revell?), so I ordered some weighted resin ones. The ones in this kit remind me of this short film...
1741215398772.png
 
Last edited:
The JU88 was in service the entirety of the war, it was a good night fighter platform where the HE111 was not. So I believe what they used varied over the years, depending on manufacture, campaign, repairs, and availability

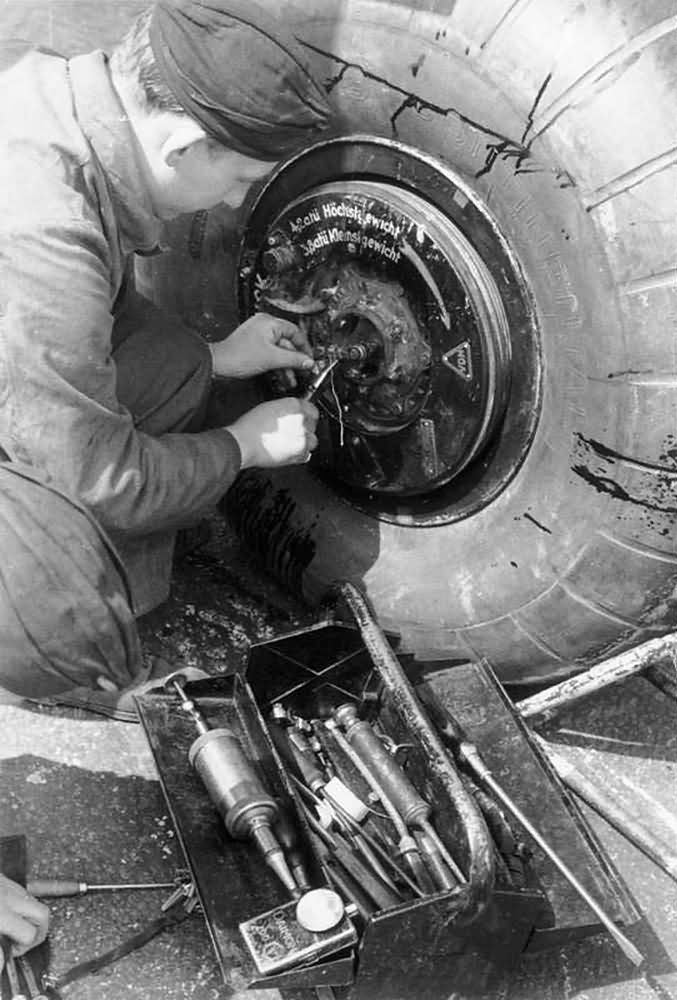
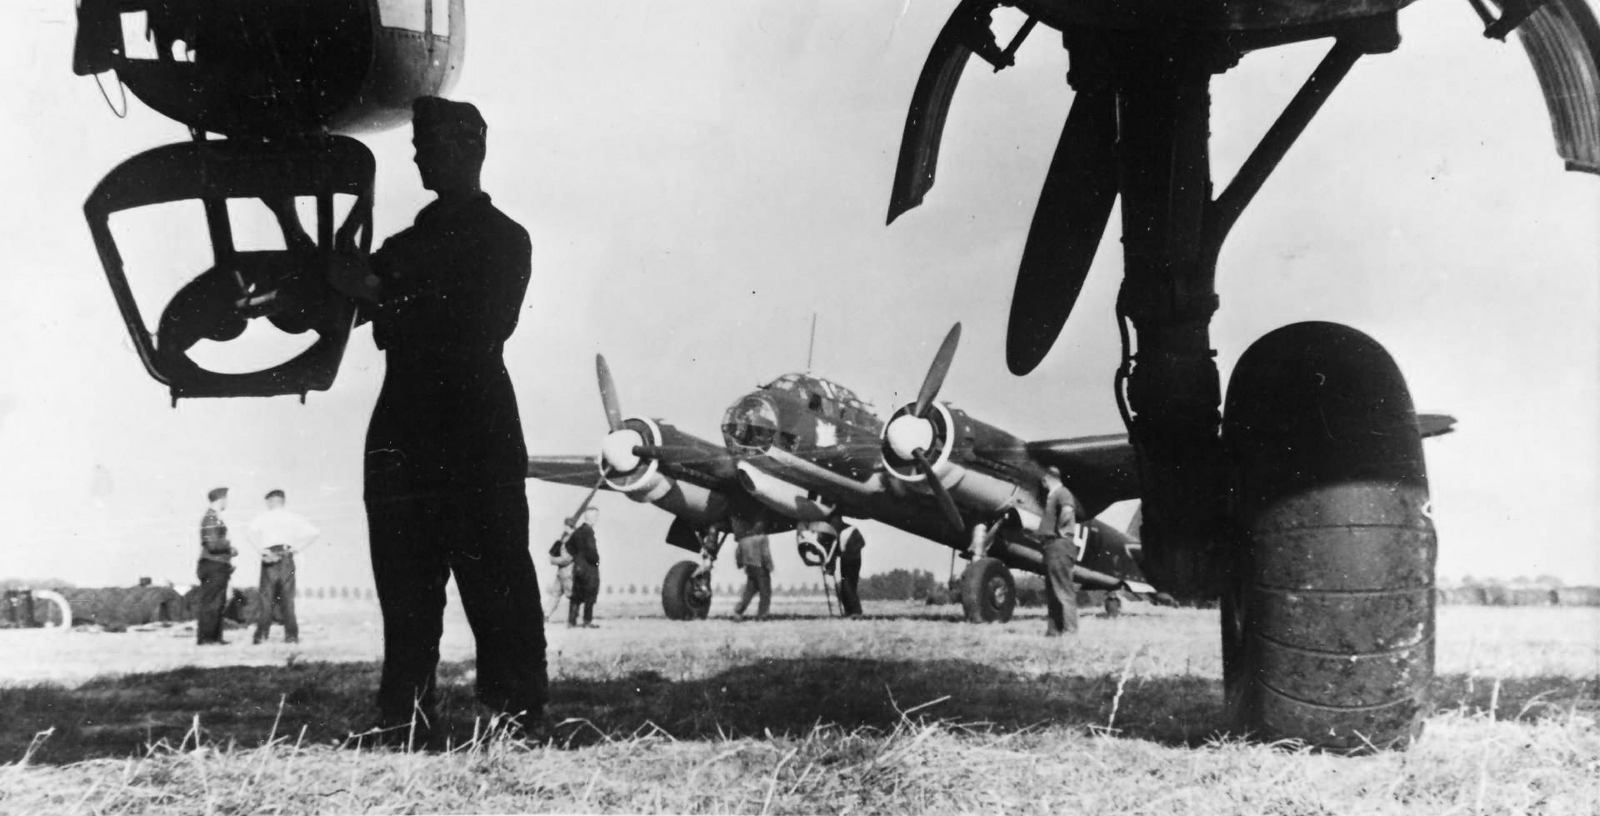
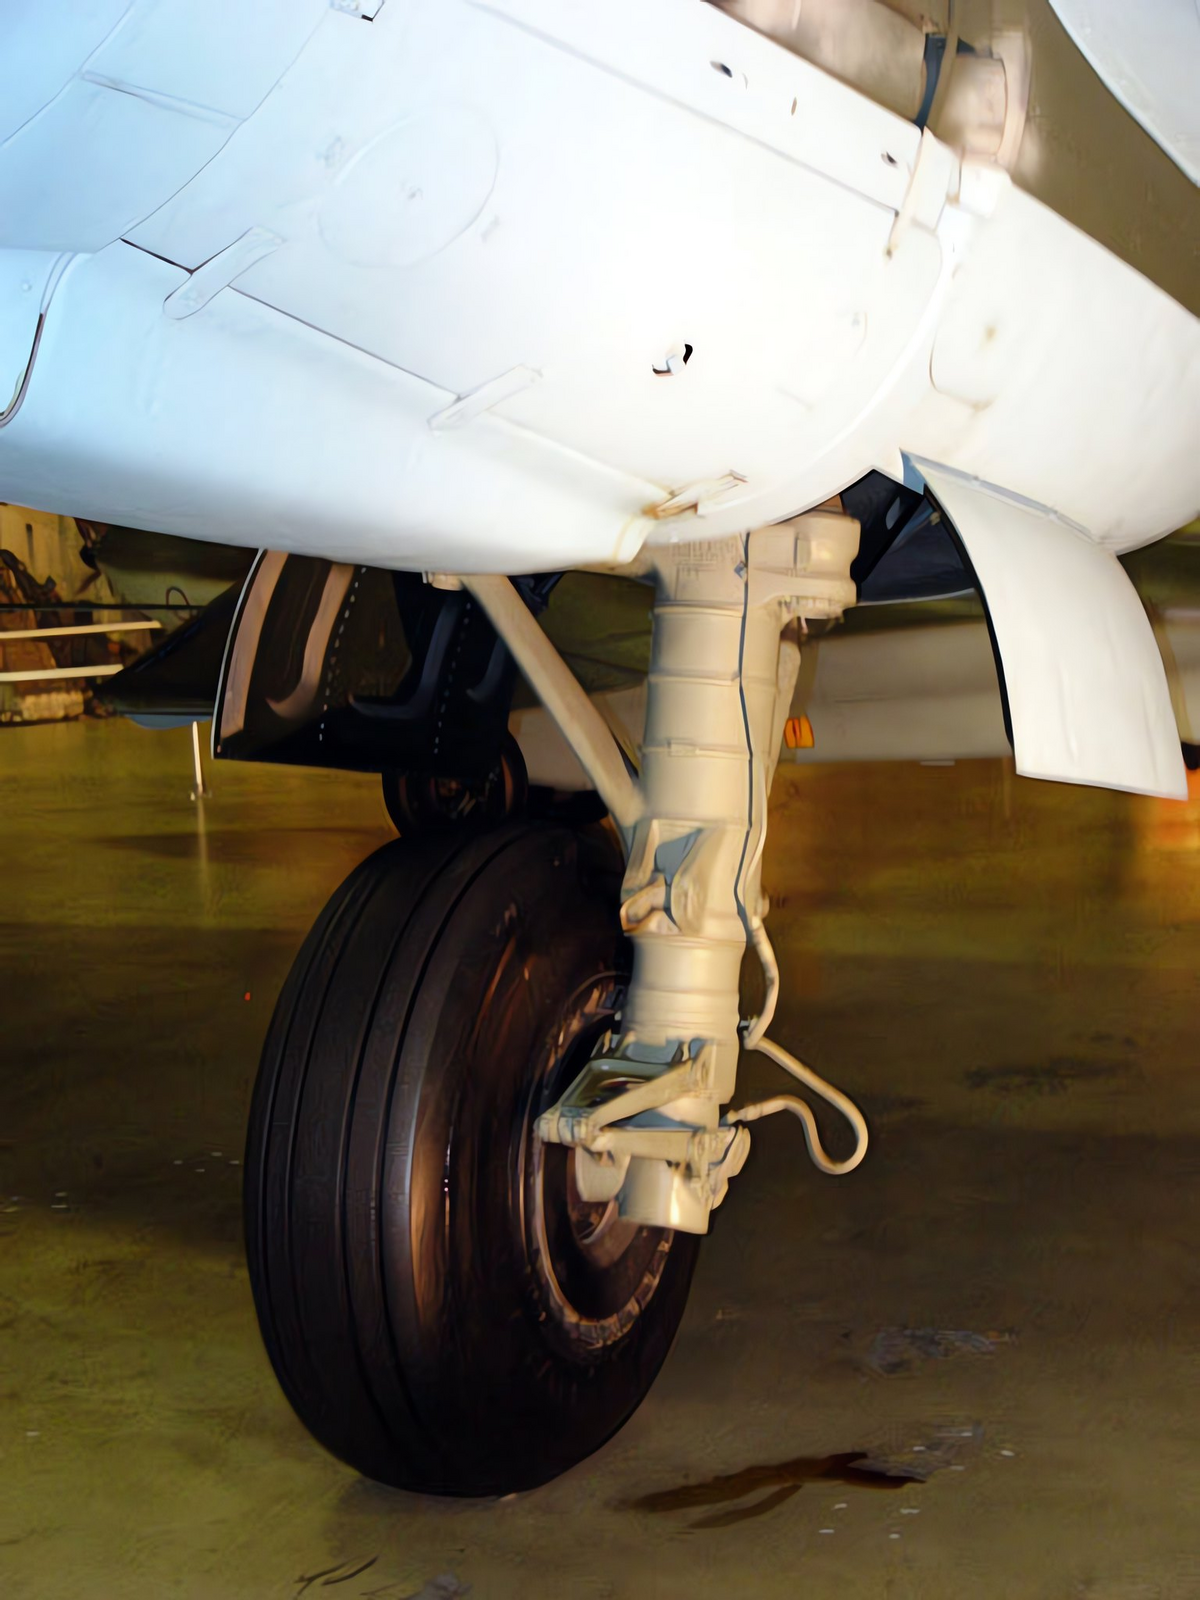
I've seen several different types of tires on them. The one you posted shows very slight tread patterns, could be the molding though as they are few and quite thin, it does seem to be very common version. The ones shown below have more pronounced tread and are also found often.

1741271587077.png


1741271753639.png


It is interesting when going image searches how often your results are of models. But there's a lot of restored ones too. I think these are inaccurate more modern tires.

1741271955720.png


But these are what I have ordered....

1741272012021.png
 
So I believe what they used varied over the years,
That's also the impression I got from looking for a photo of a tyre with little or no profile on it. I posted it to show you could use the Revell parts, not to imply that it's the only correct one :)

It is interesting when going image searches how often your results are of models.
Glad I'm not the only one who's noticed that. It's mildly annoying, IMHO, because I don't care to see what other people have built when I want to know details about the real thing. For subjects from the Second World War, though, what often helps a lot is to click on Tools and then say you only want black-and-white images, not colour ones.
 
Understood Jakko, there was something about those smooth donuts that just bothered me, however the Continental logo looks exaggerated on the resin too. I just have to build what makes me happy. I'll try to sand them down a bit, you care barely make out the logo on the maintenance photo I showed.

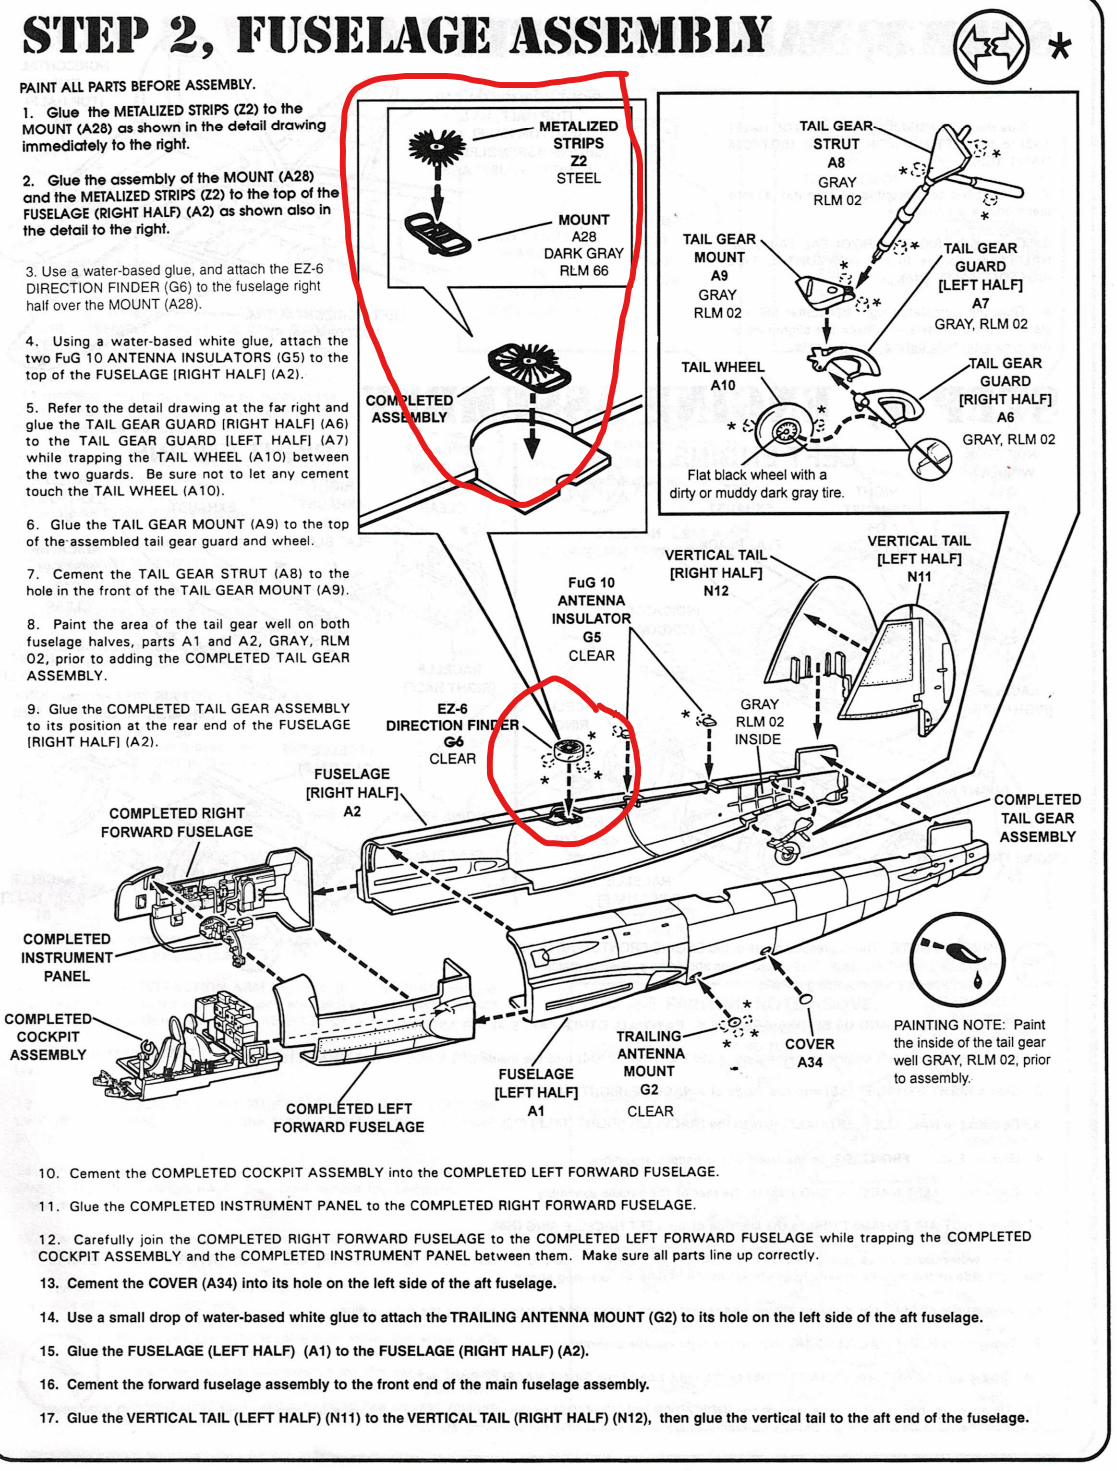
As I said I am not well educated on bombers, there was this step in the instructions (circled in red, click for higher-res) where I went whaaaa?
1741313726249.png


Who knew the old Junkers had an R2 unit?

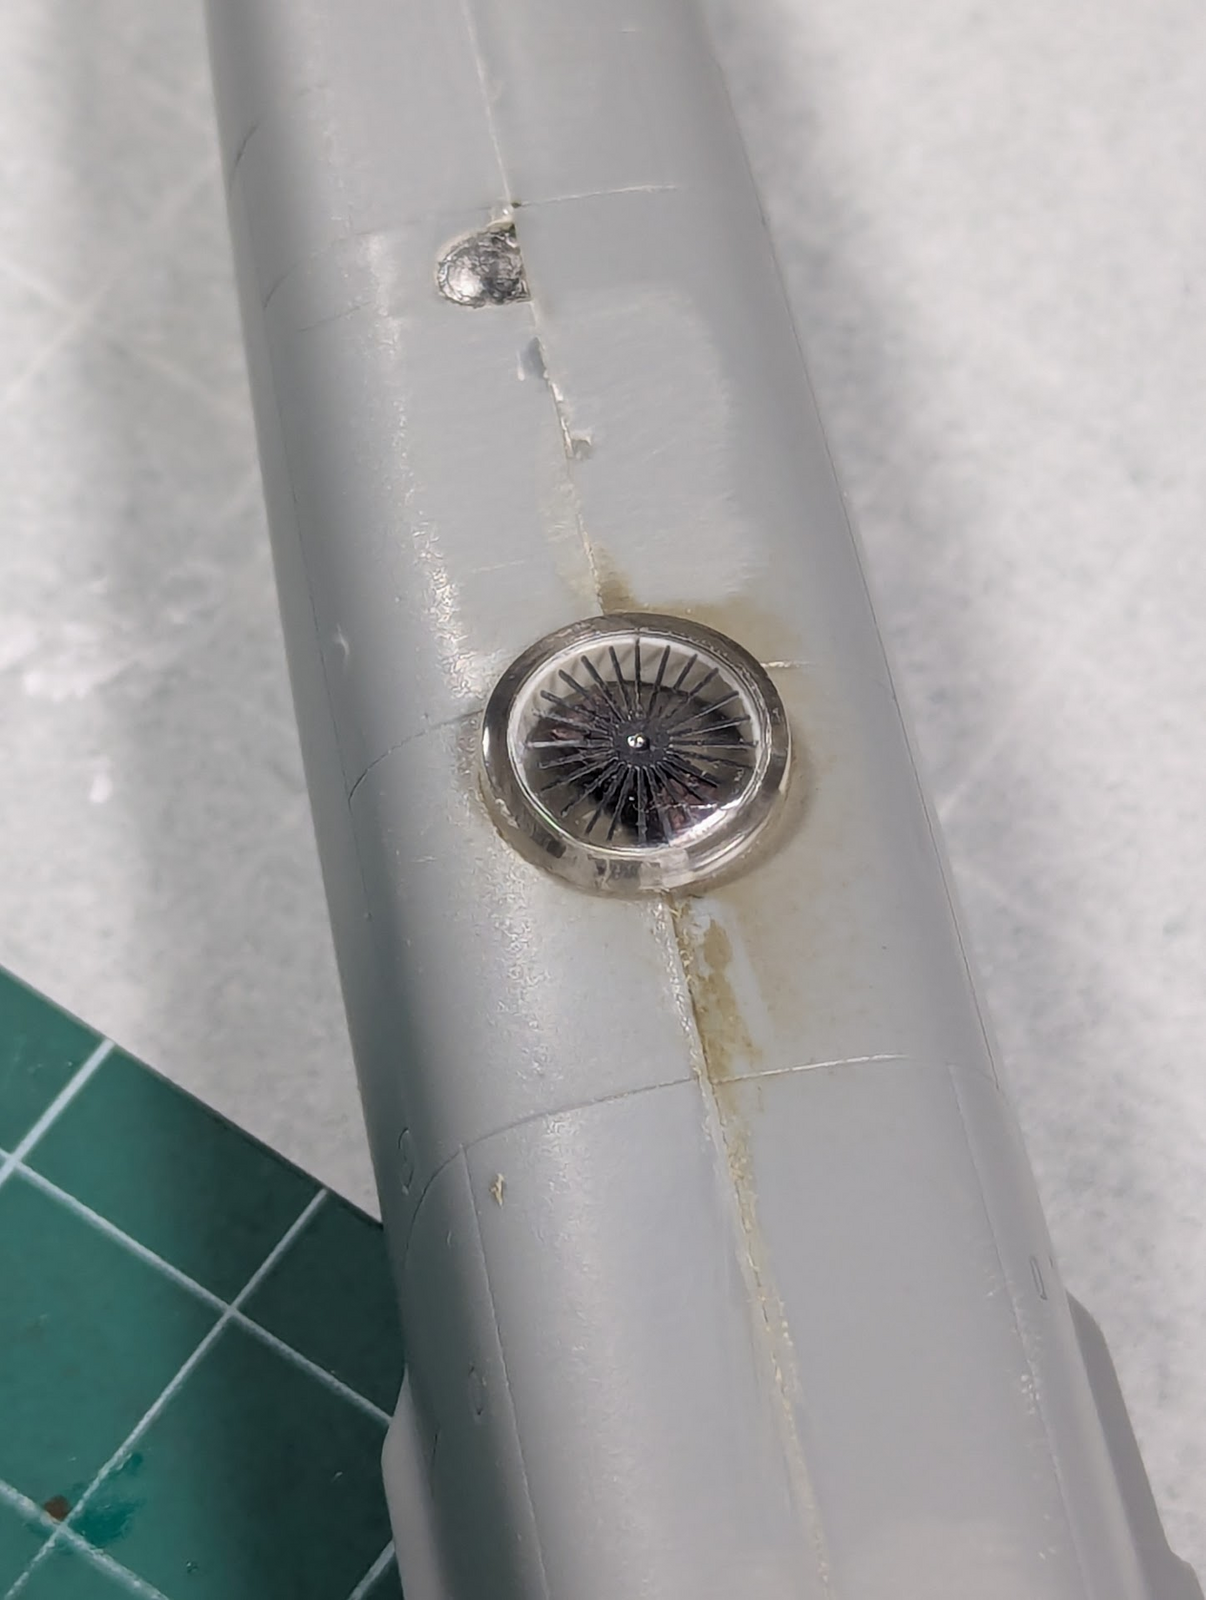
Might be hard to make out, there's a recessed platform of sorts inside the fuselage with a small centering hole. There's a chocolate bar shaped thing with drizzles. A many-bladed fan. As well as a clear dome, not kidding.

Looking for pictures, particularly vintage ones, yielded poor results. However, I was happy to get to "meet" Dieter!

See his video here, jump to about 4:42 for the relevant portion.

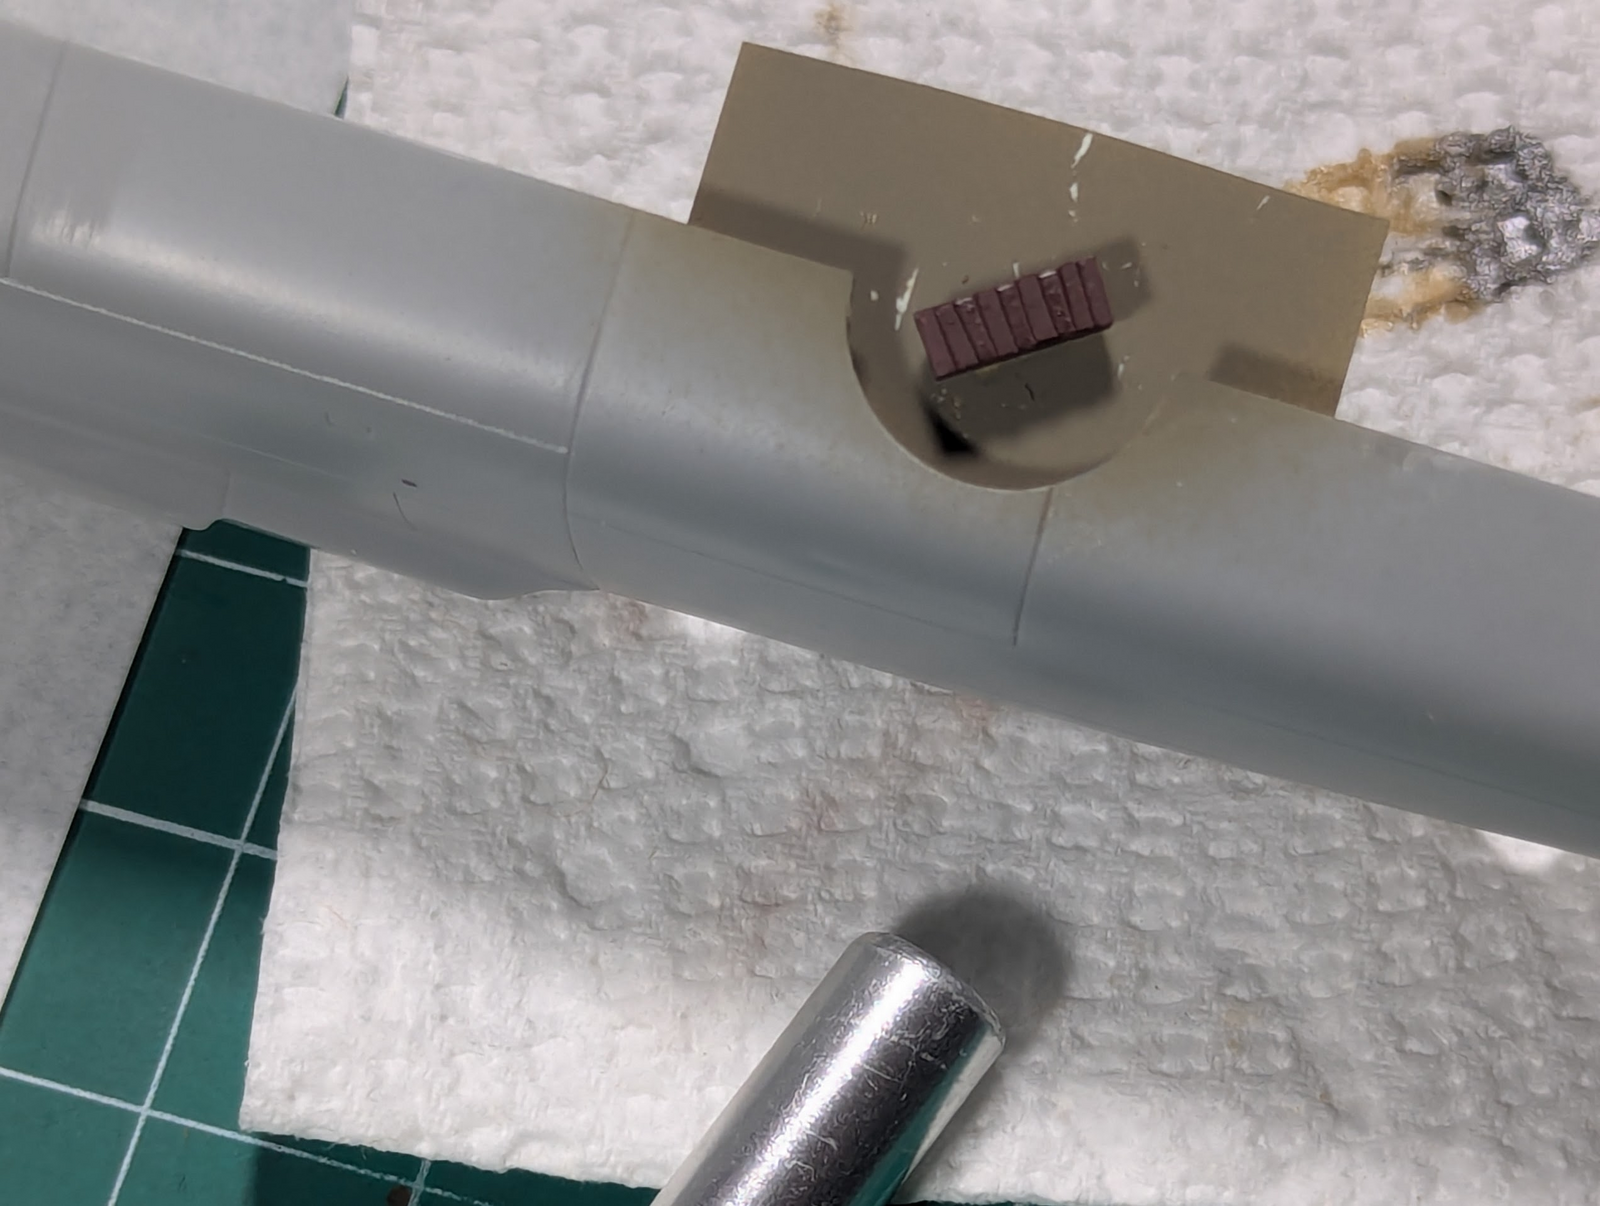
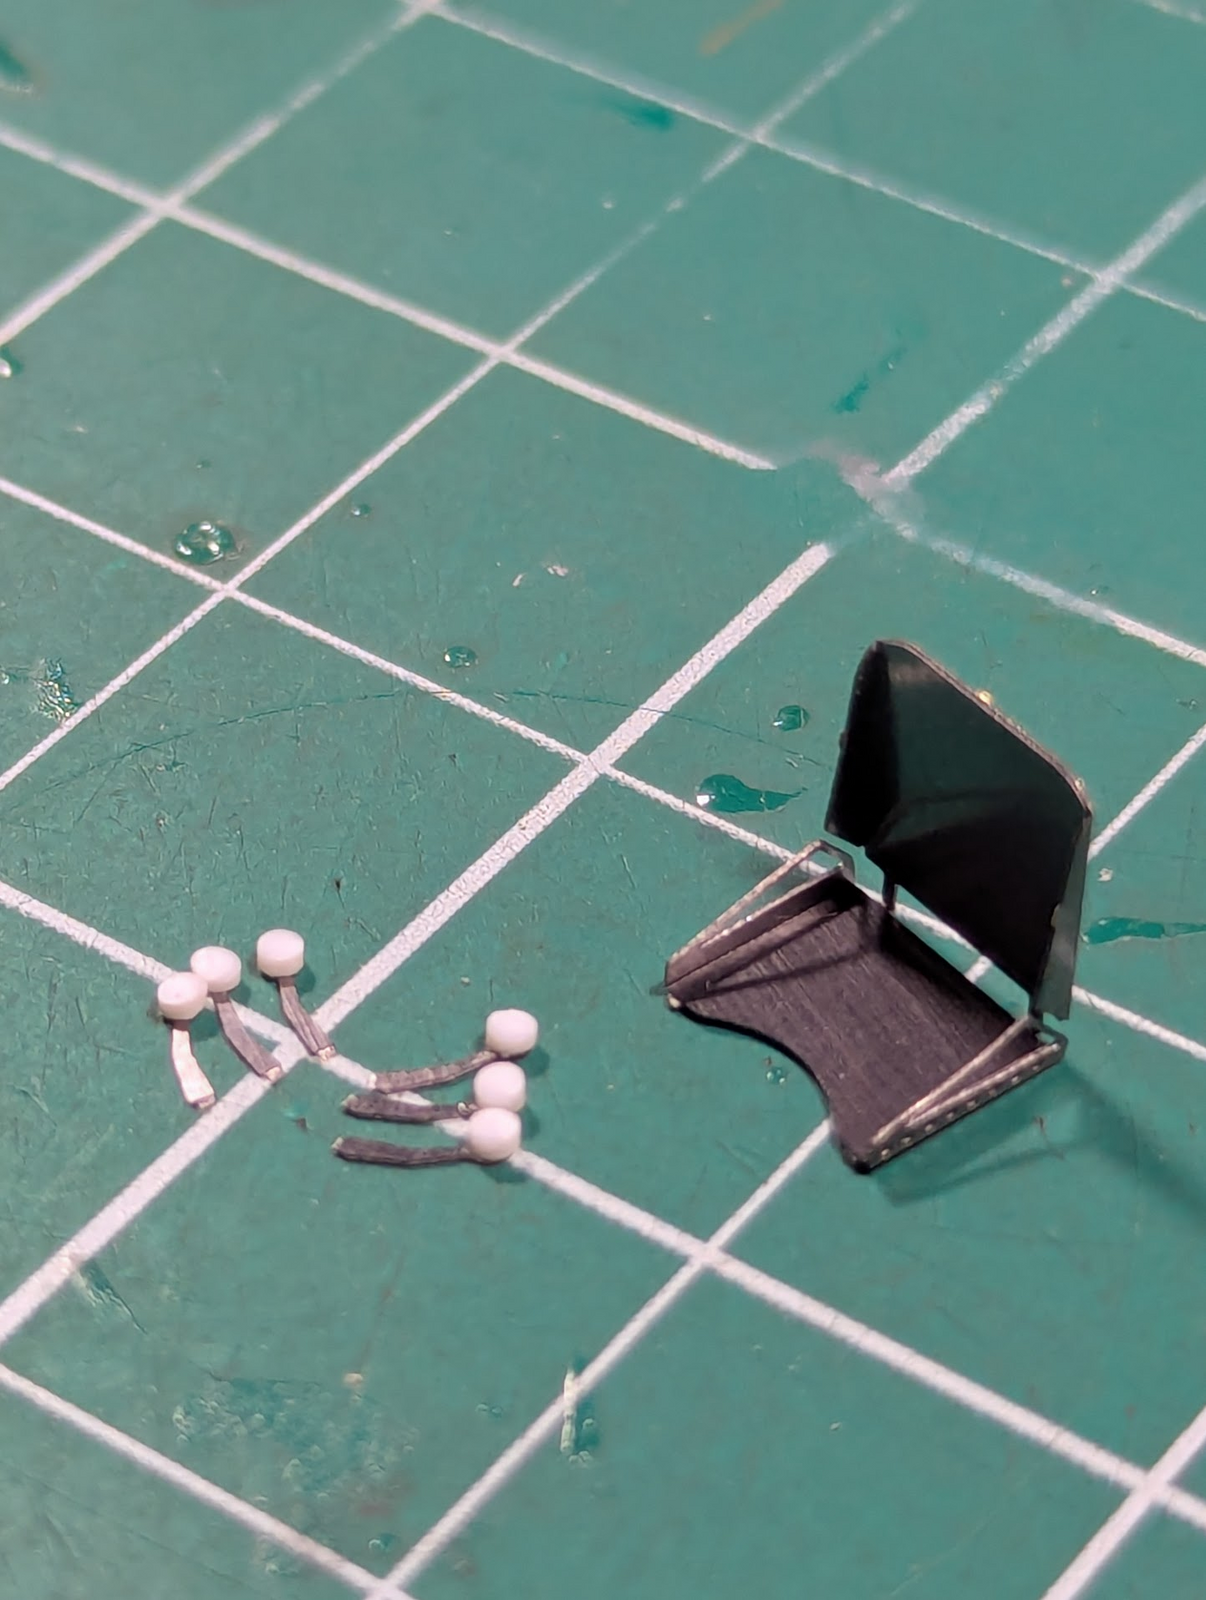
The platform could be painted silver, as the dish appeared, but the parts provided by the kit had big gaps fore and aft. Plus, silver didnt look right, so I chose RLM02. As I was painting my "chocolate bar" dark grey like Dieter's, my tweezers performed another departure-speed launch. So I had to make a replacement out of sheet. When doing that I found most were a rusty brown color not gray, sorry Dieter.

1741314218462.png


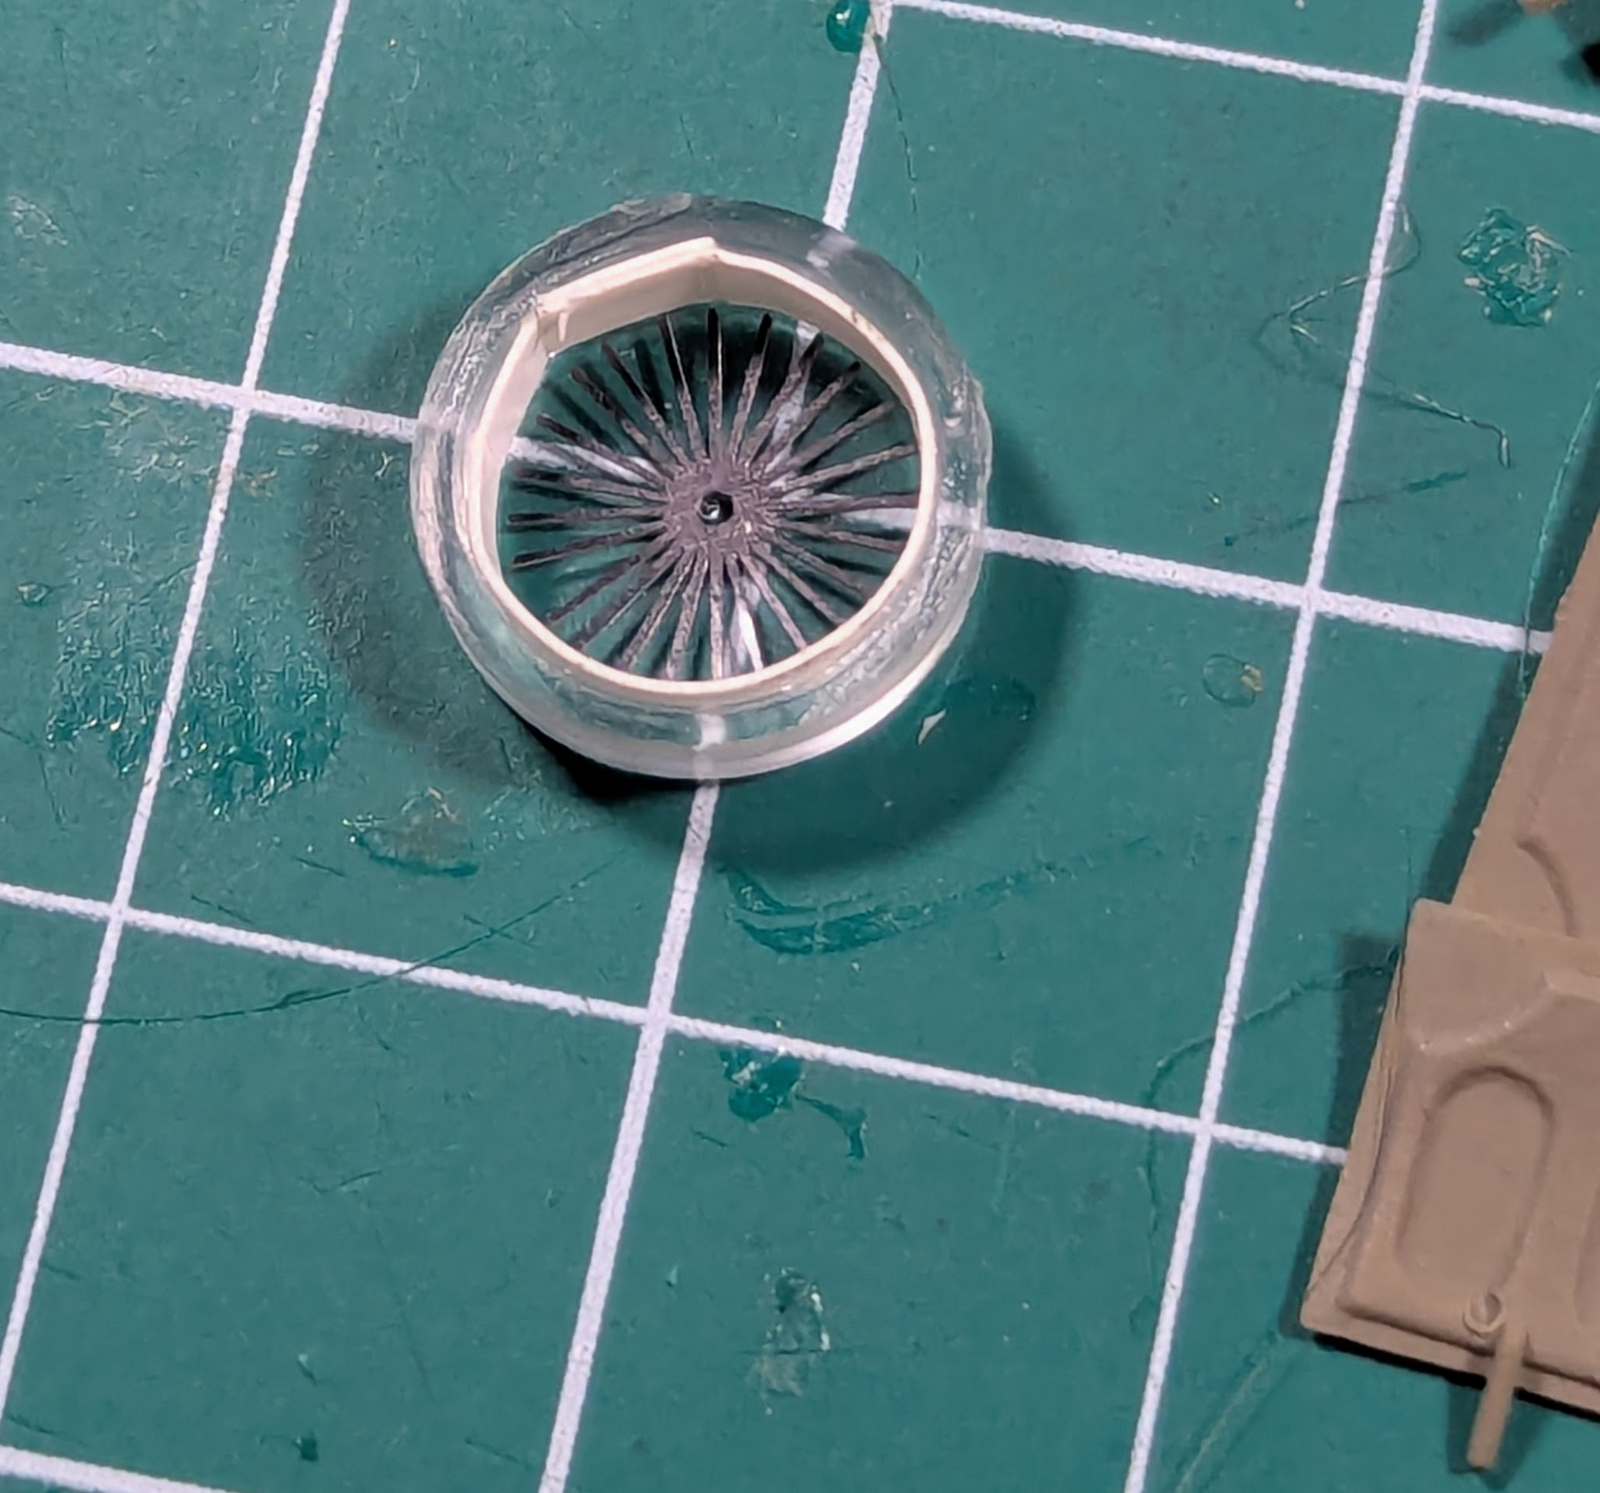
Then there comes that dish, nothing in the kit replicated that, and I'm already stretching my scratch-building here. So I chose the middle ground and put a strip of Evergreen in there to simulate.

1741314354189.png


Looking back I wish there was not that 3/32nd overlap, but, too late. The silver fan is PE of course, the kit's plastic version had fewer blades and looked much worse.

It doesn't matter that much, the distortion of the clear plastic obfuscates much of it.

1741314535662.png


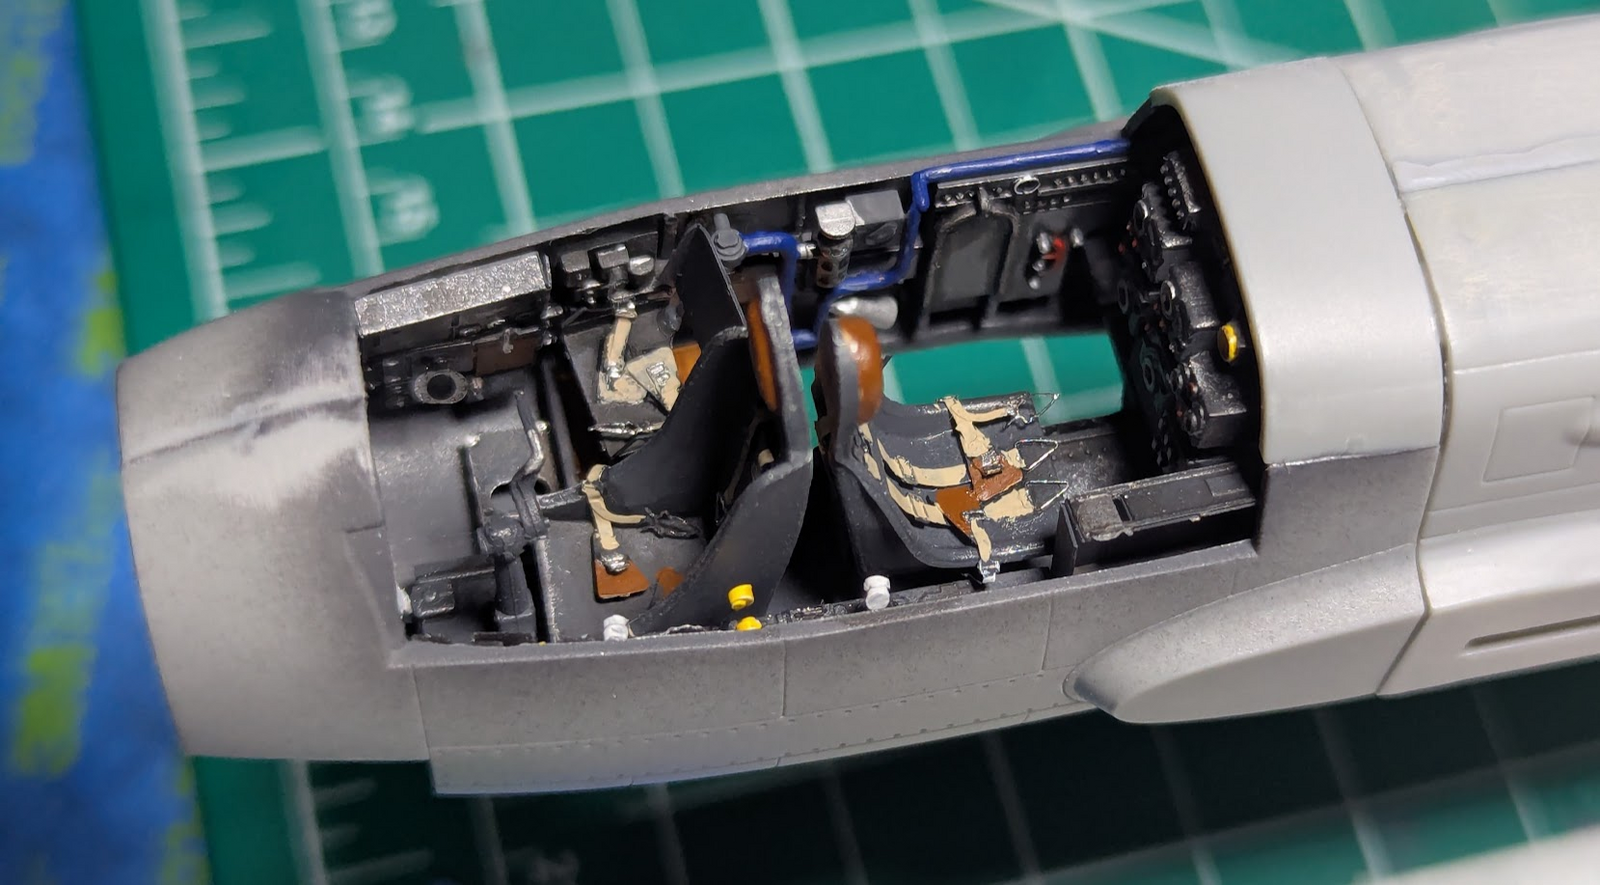
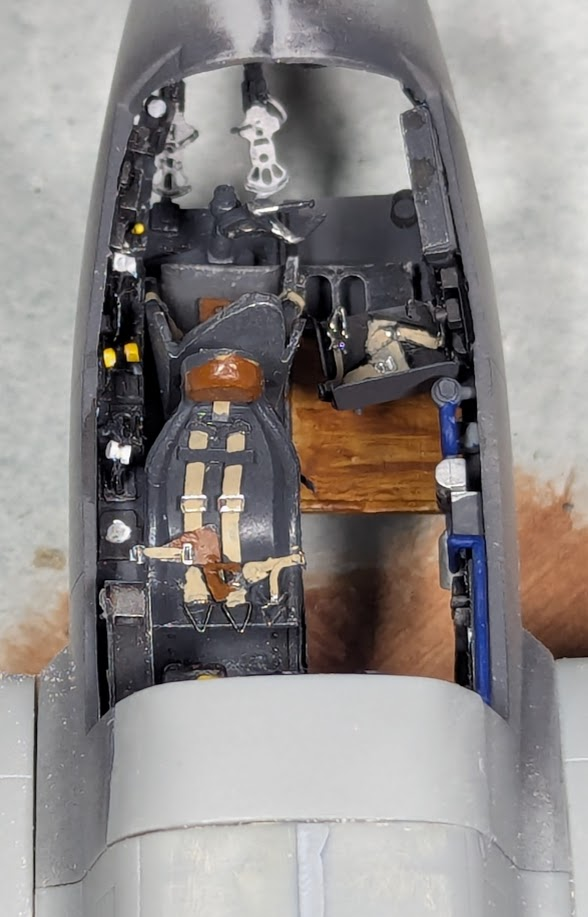
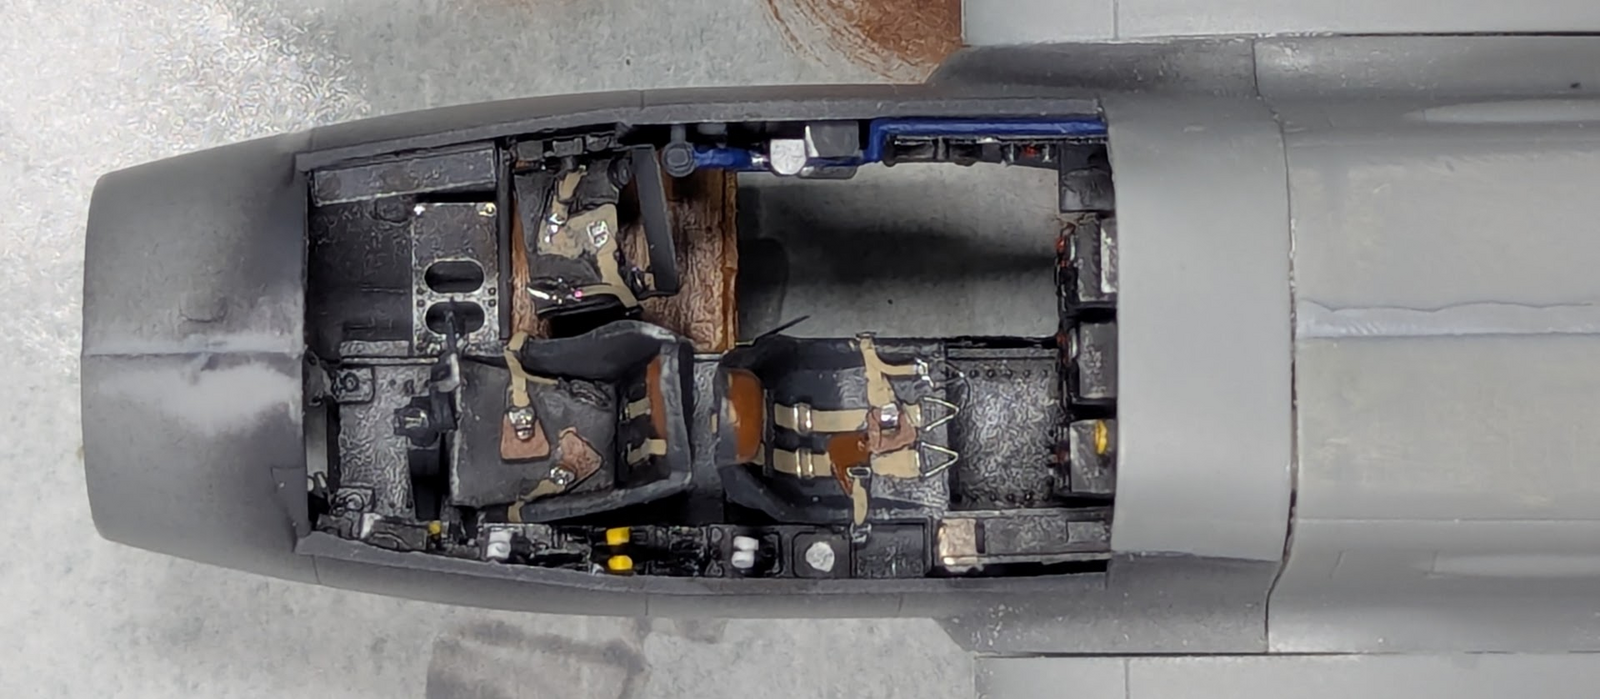
Lots of work to do on the fighting compartment. I do not think I have done a 3-man thing before, arguably the Monogram B-17 I built in the '70s would be 3+, but yeah.
 
As an Amazon Associate we earn from qualifying purchases. Product prices and availability are accurate as of the date/time indicated and are subject to change.
This is annoying. I remembered that I have a book about the Ju 88 that I thought I'd look in to see if it mentions the thing with the clear dome, but I can't find it anymore :( It's not with my aircraft books and not with my books about German vehicles … WTF did I leave it, then?!
 
This is annoying. I remembered that I have a book about the Ju 88 that I thought I'd look in to see if it mentions the thing with the clear dome, but I can't find it anymore :( It's not with my aircraft books and not with my books about German vehicles … WTF did I leave it, then?!
It's the antenna for the direction finder
EZ 6
 
Been meaning to update this. Think I'm done with the landing gear.

1742434152691.png

1742434173083.png


The cockpit is taking far more effort than most aircraft I build. I understand why though, I've built many 2-man aircraft, but they were all fighters, or fighter-bombers. This is the first time I can remember since the Monogram B-17 from 1976 that I have built a kit without an open canopy. The crew entered the Junkers from a ladder below. Of course we all know that, but it slapped me a bit when I realized I have more time into this cockpit than any other single kit, and I need to cover it.
 
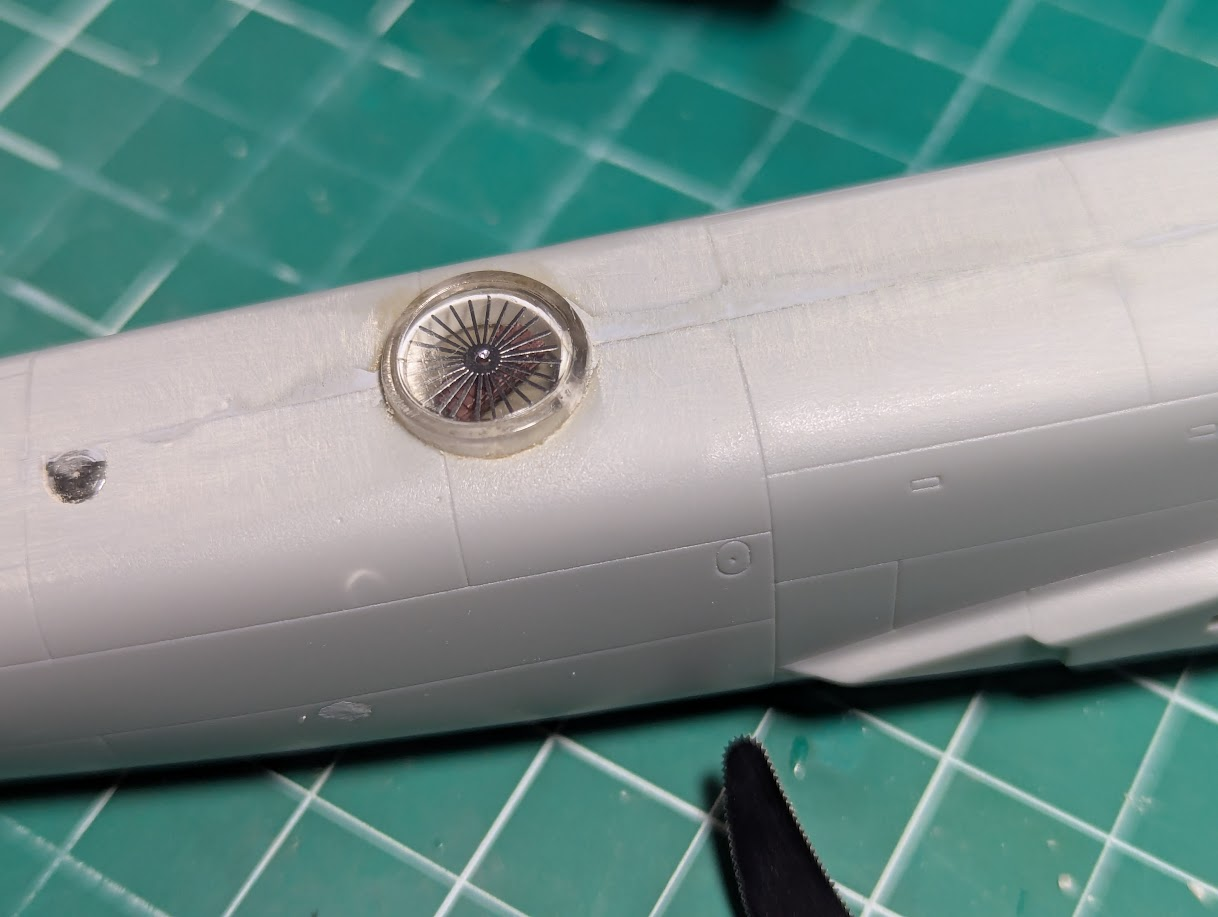
Regarding the R2-D2 unit, I got it all sorted, at least I thought. I was really wondering why I never noticed that large dome before and the answer is...because the clear dome did not extend up above the fuselage like a gun turret.

1742438889724.png


Which is how I mounted mine due to the casting of the parts, imprecise instructions, and me only spending a few hours researching the subject matter.. Here you can see the trimmed clear bit resting on top of the mounting area.

1742438766432.png


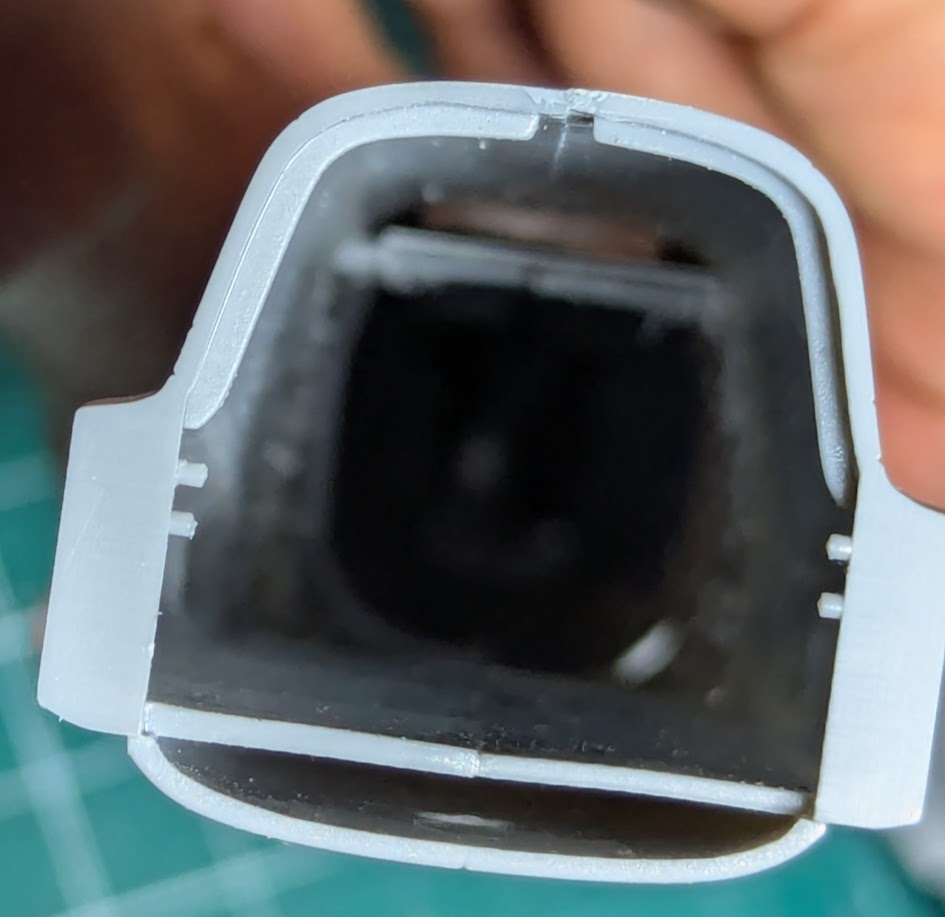
Unfortunately I had glued the fuselage together because I thought I had the direction finder resolved. So I took the razor saw and cut the two longitunal tabs seen in the background above to allow R2 to drop out of position. I polished the clear and reassembled it again but flush this time.
 
Not being at all familiar with aircraft, it just seems counterintuitive for someone to be seated backwards!
You always hear about aviators being pushed back in their seat, so this guy would be straining to keep his head back half the time? Especially in a dive or torpedo bomber role!
 
You always hear about aviators being pushed back in their seat, so this guy would be straining to keep his head back half the time?
Old planes, particularly bombers, did not have the thrust to do that in the extreme. But modern passenger jets can do that a bit, some rows have reverse seating and I did get to experience that once. Take-off was interesting I will say, but once in the air it was not detectable, and on landing was easier when they hit the brakes and reverse thrust.

But in this case there's the 3rd guy with the folding chair, he had to man the forward firing MG, as well as the bombsight, and crawl underneath to man the lower rear-facing gun, and share the two top rear-facing guns with the radio-operator and navigator.
 
it just seems counterintuitive for someone to be seated backwards!
One of the tasks of one of the backseaters is to fire a machine gun towards the rear, for which I guess it helps to be seated facing backward :)

once in the air it was not detectable
Well, no. You can feel acceleration, but not when you're moving at constant speed. You get lots of people who don't want to be travelling backward in trains, because they claim they get sick when they do. This tells you that it's all between their ears, since as long as the train is moving at constant speed (which is most of the time) there is no difference at all in which way you face, or whether you sit in a moving train or at home on the sofa. Though, come to think of it, perhaps these people also only want to sit on sofas that face east, never on ones that face to the west?
 
I tried building this rascal back when it was just released. Yup. Long ago. It outwitted me from the start.
Fearsome job you are doing there!
 
Brave man! Both of those kits take patients and skill!
LOL!

The "Pro Modeler" series are not THAT bad, the ones from the 90s have issues, but force patience.

However, that B-25 came from "Accurate Miniatures", I bought it for 10-15 bucks at a show. It is the second and last kit from that maker I'll ever bother with.
 
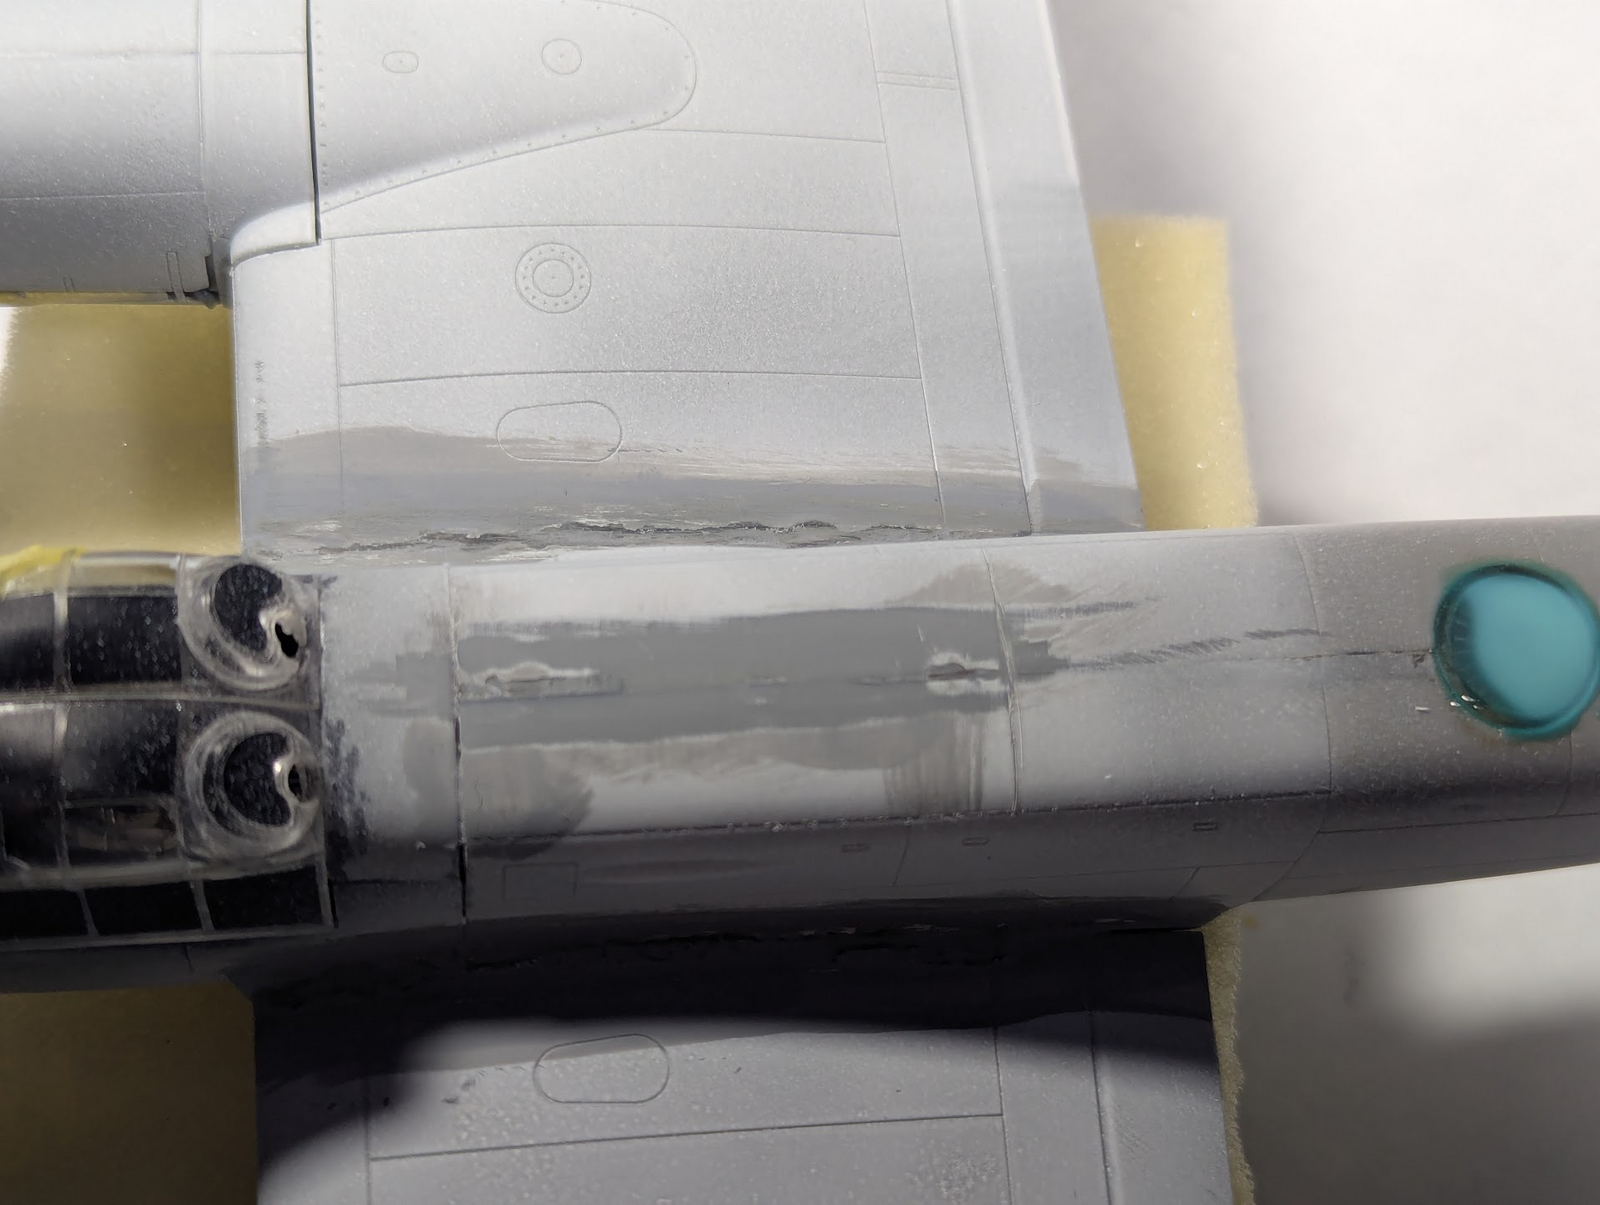
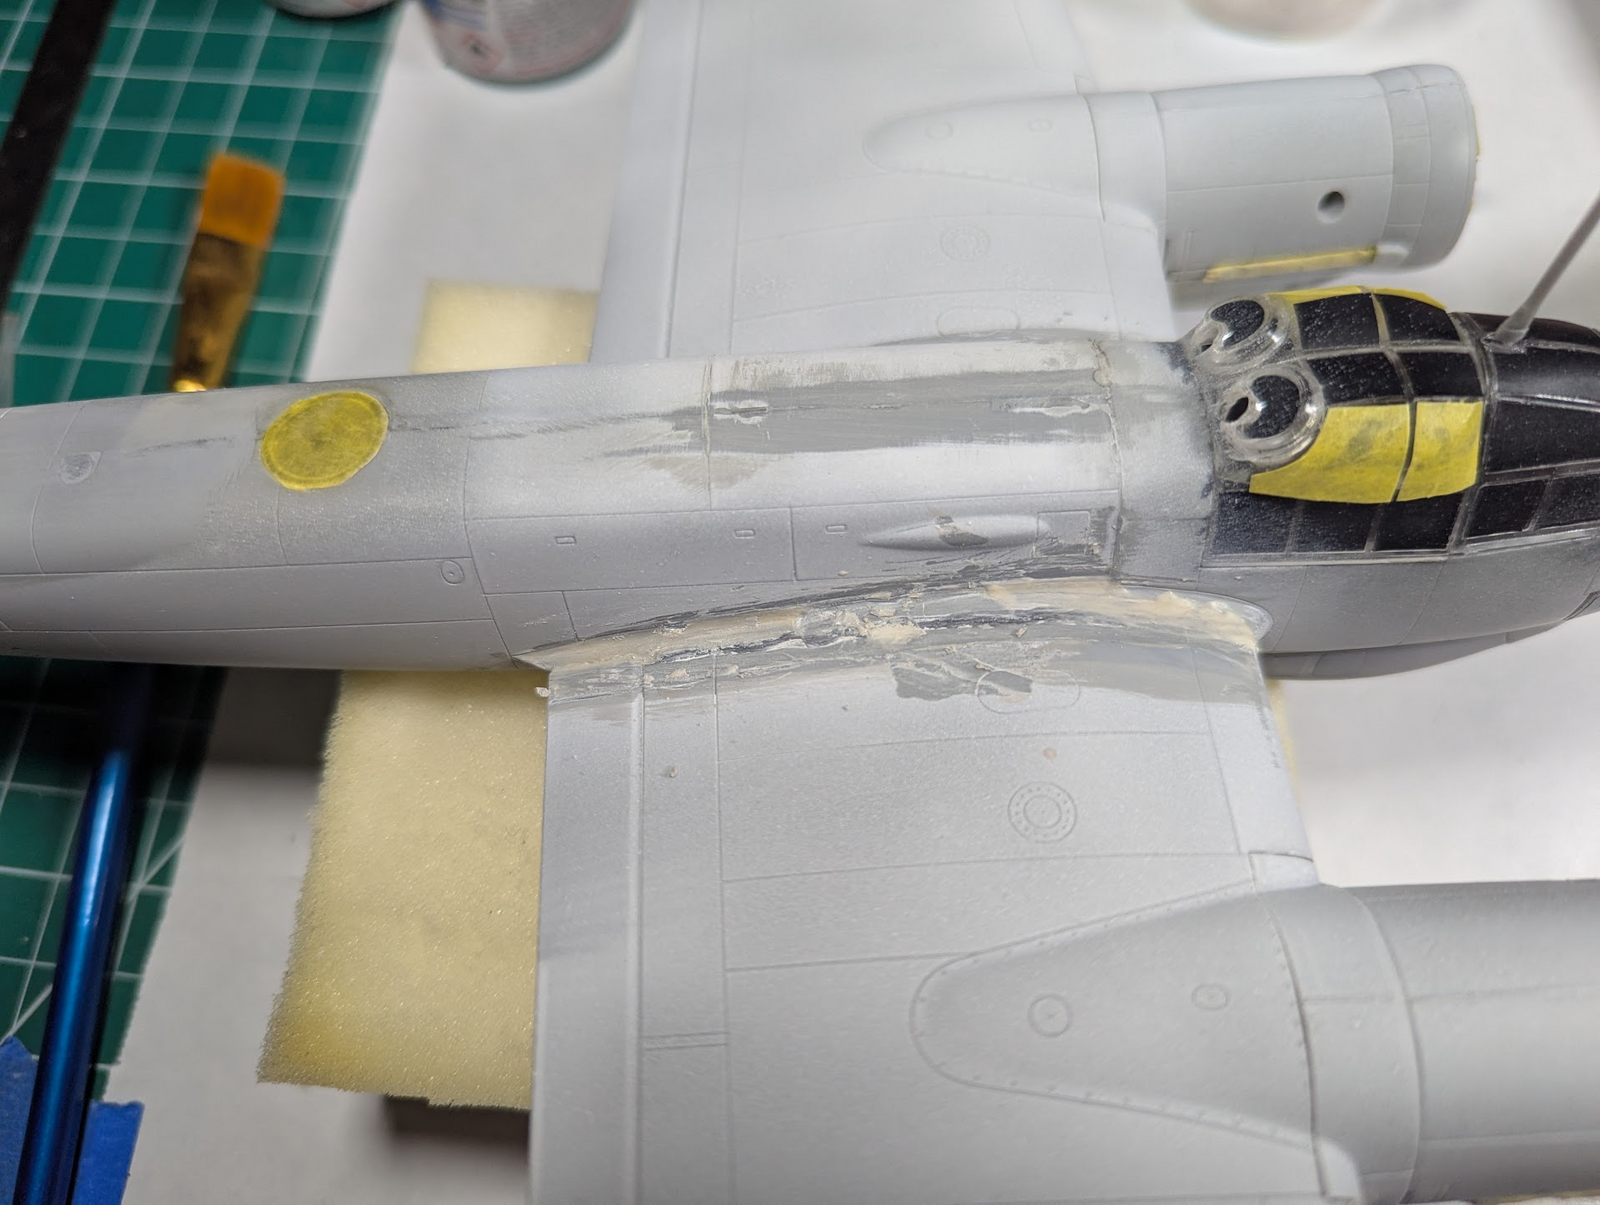
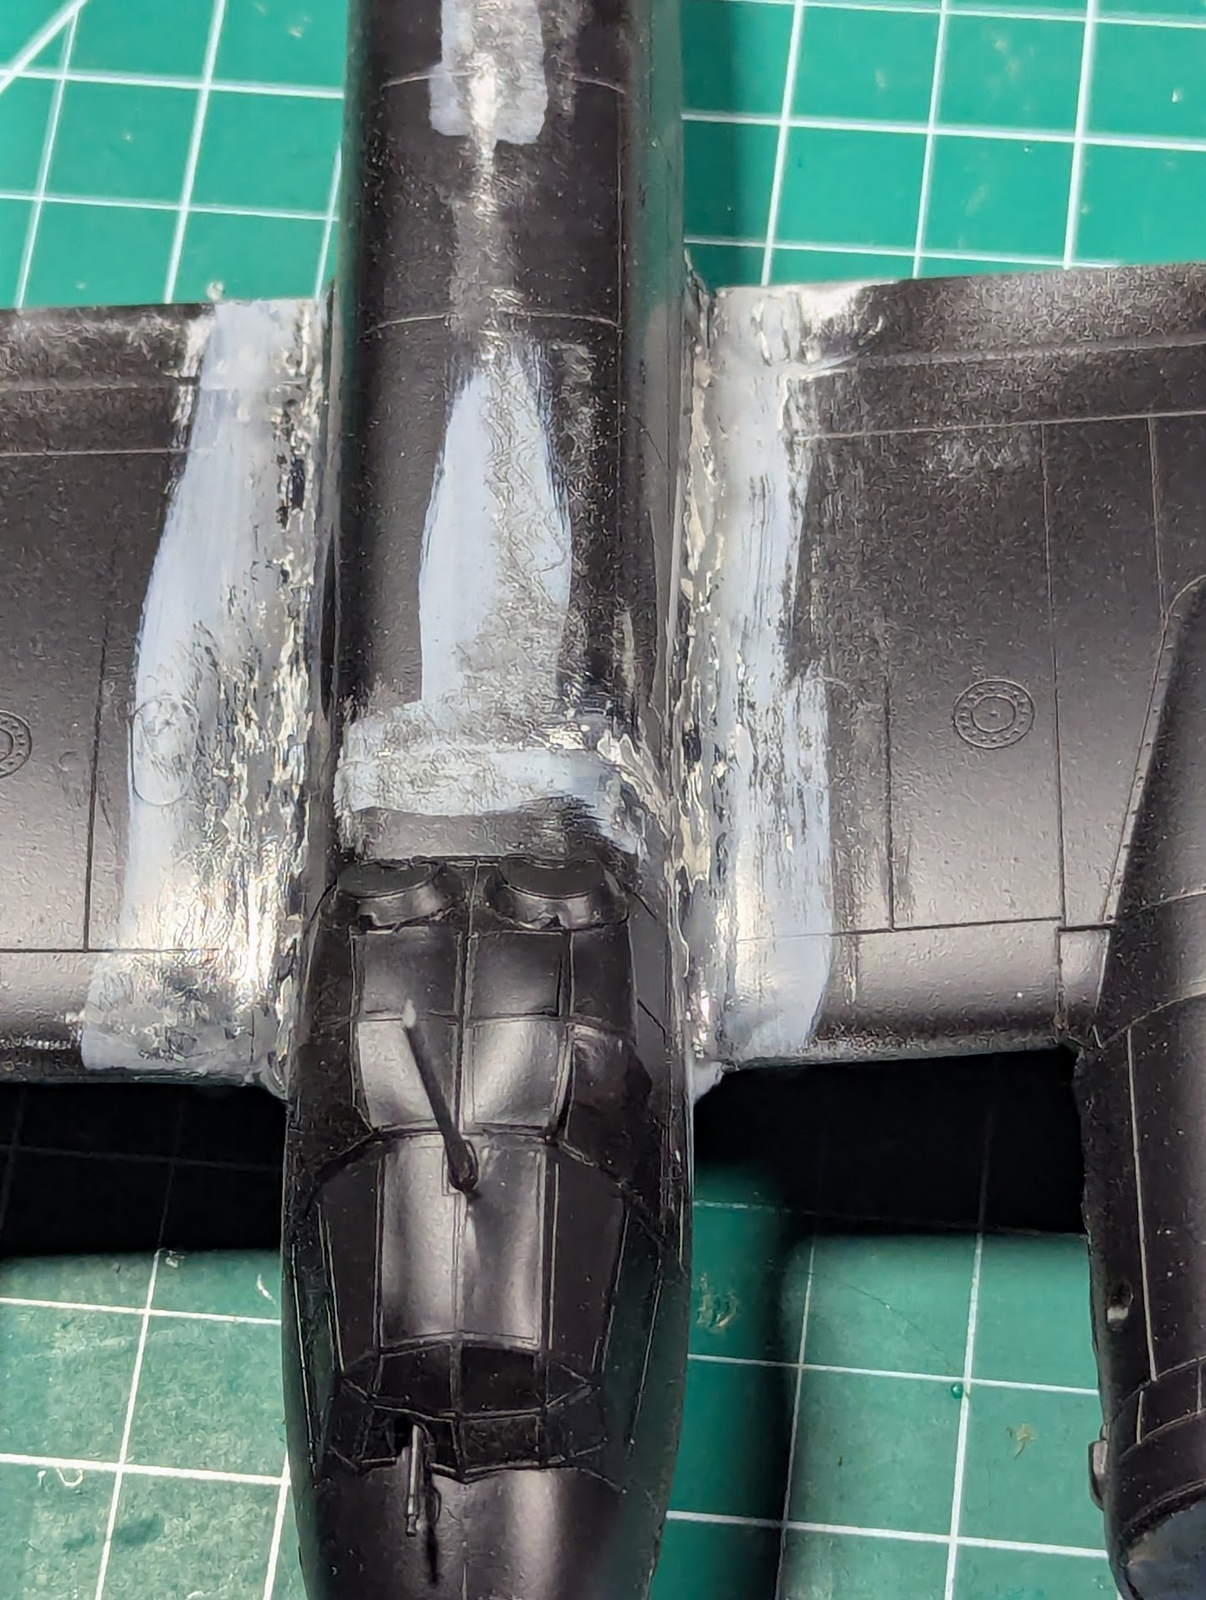
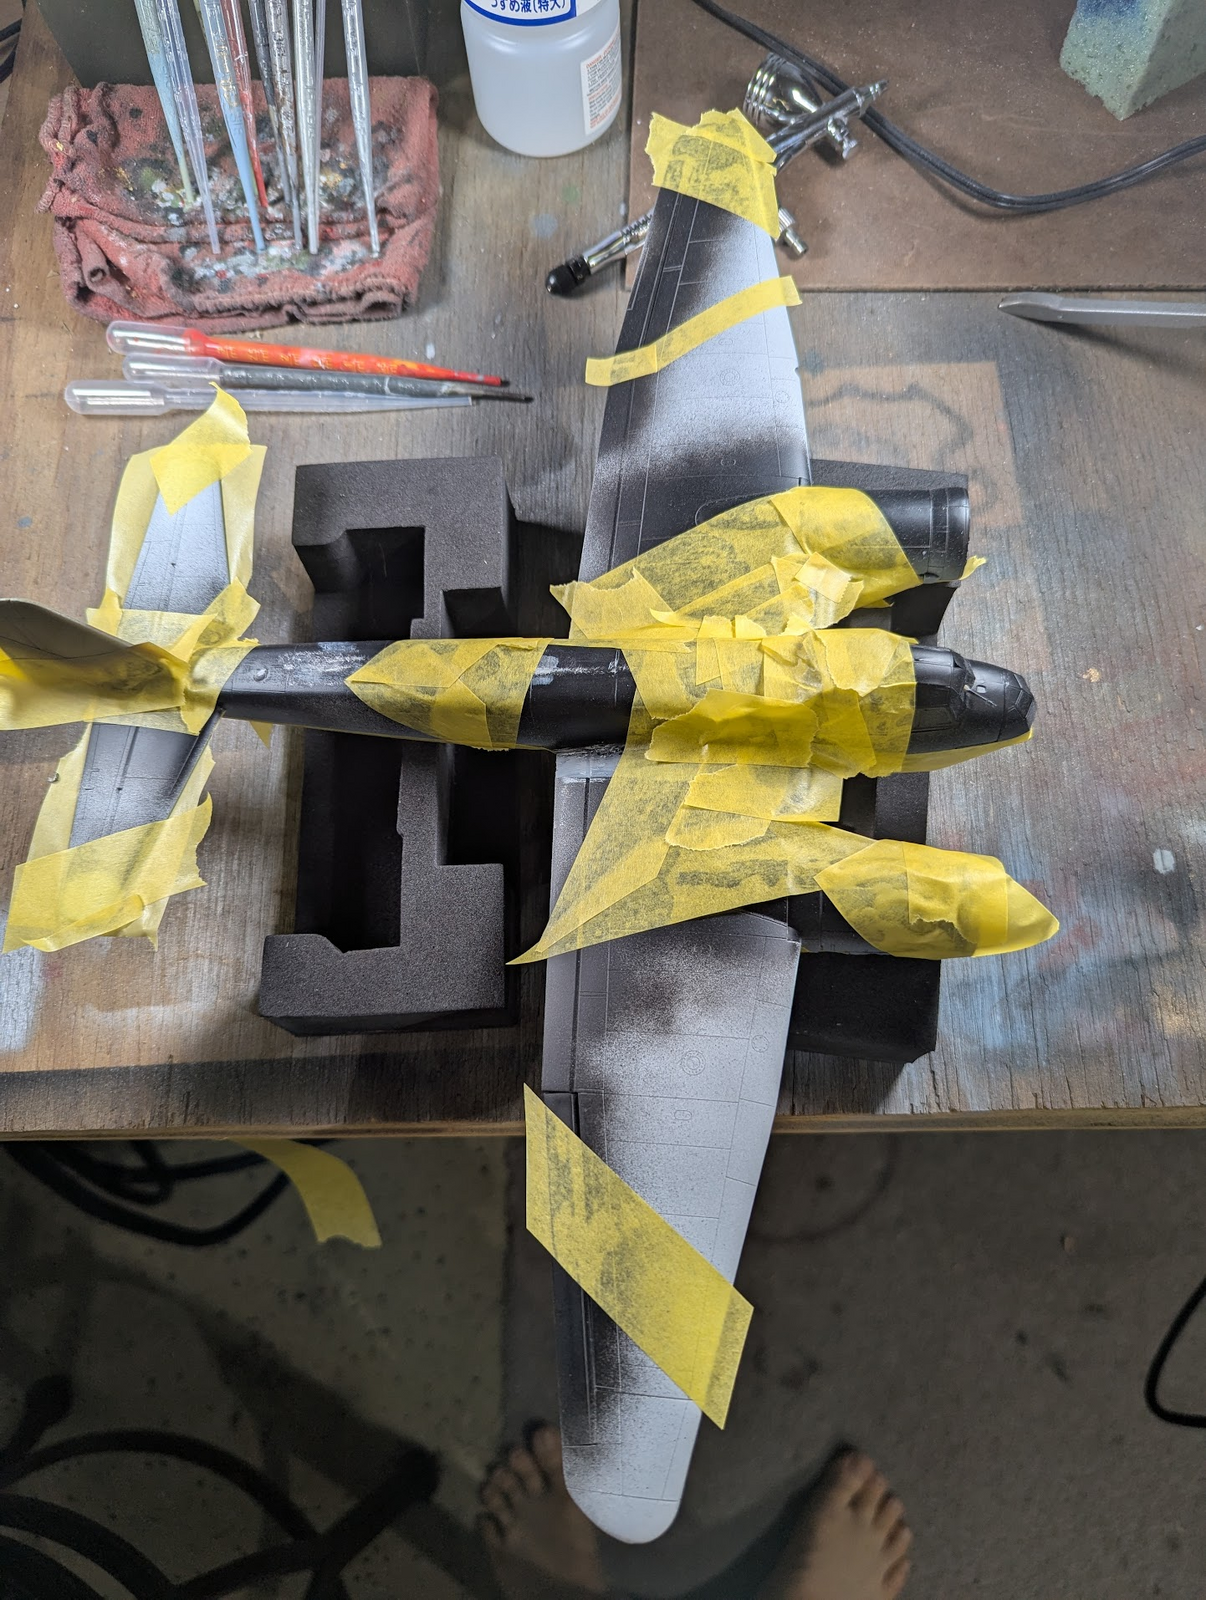
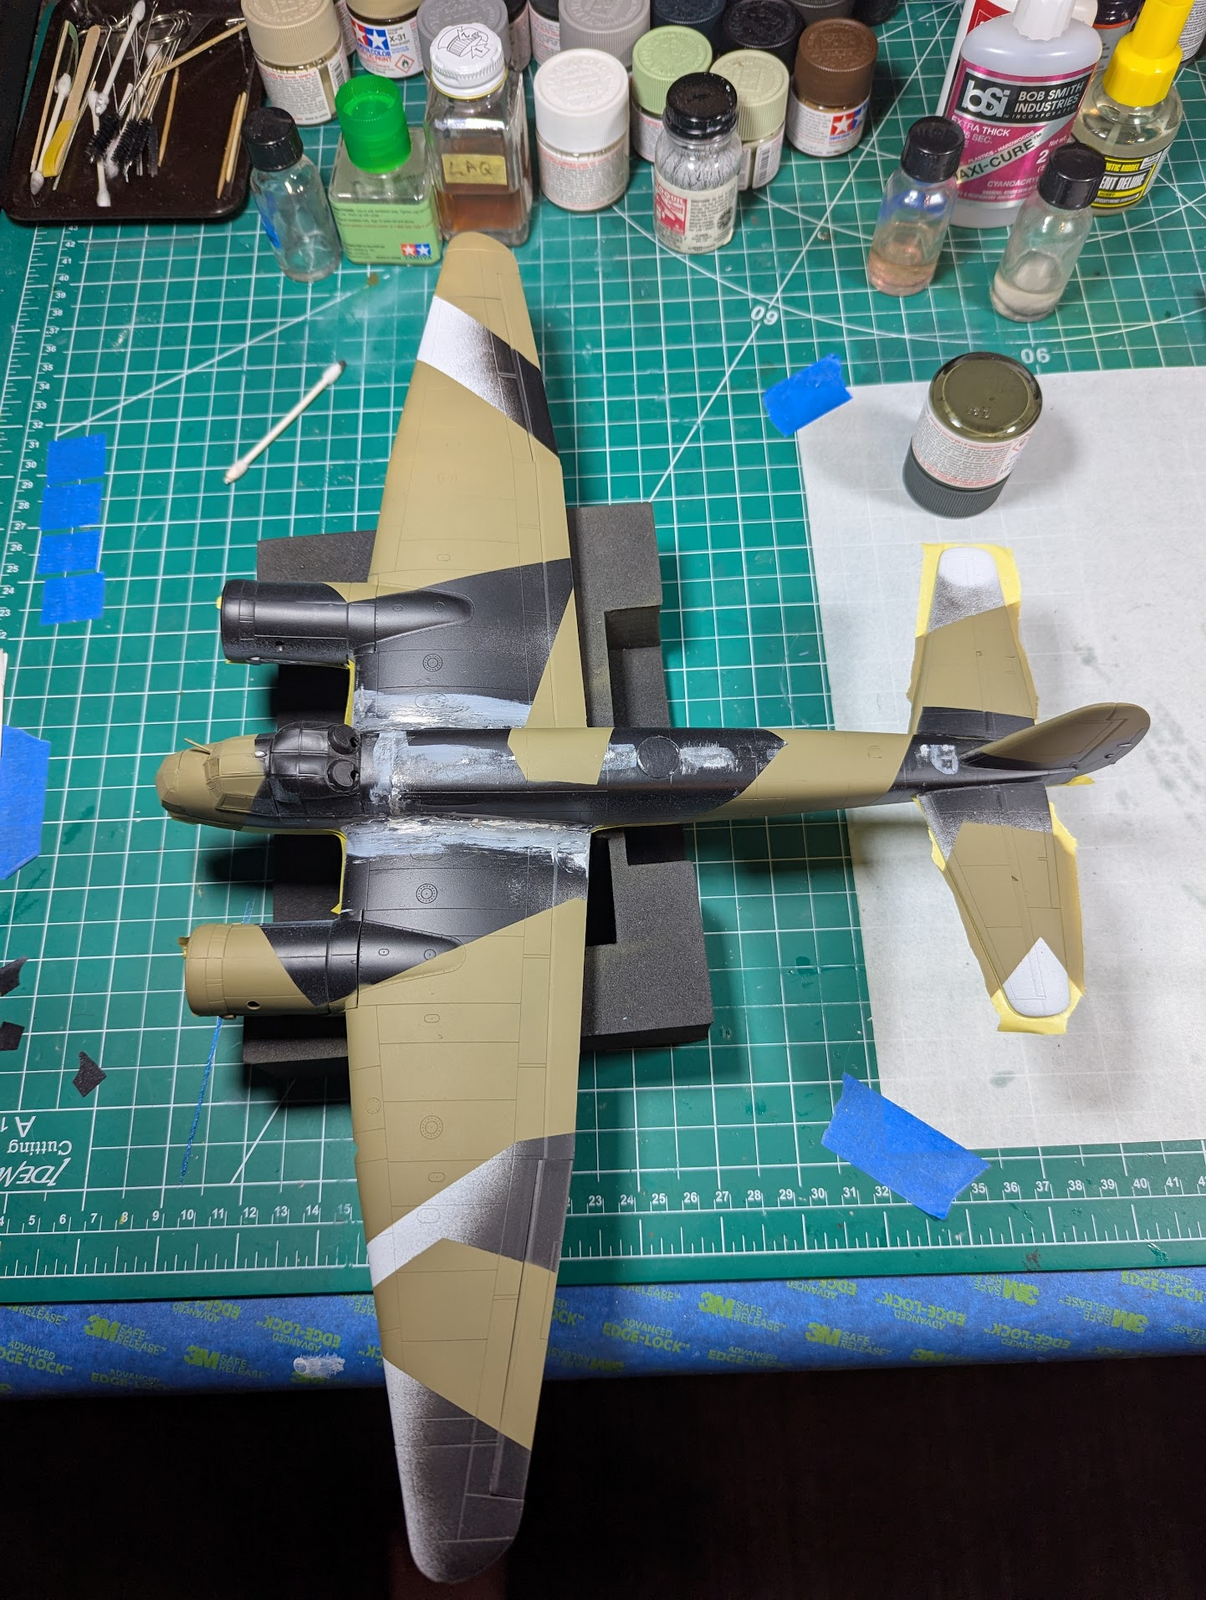
Long time with no update. Reason for that was endless rounds of sanding, sealing, sanding, putttying, sanding, primering, sanding, cursing, giving up and accepting failure as good enough. Yeah I know I just made up some words, that is just how I felt.

1744932980758.png

1744932999840.png

1744933018850.png


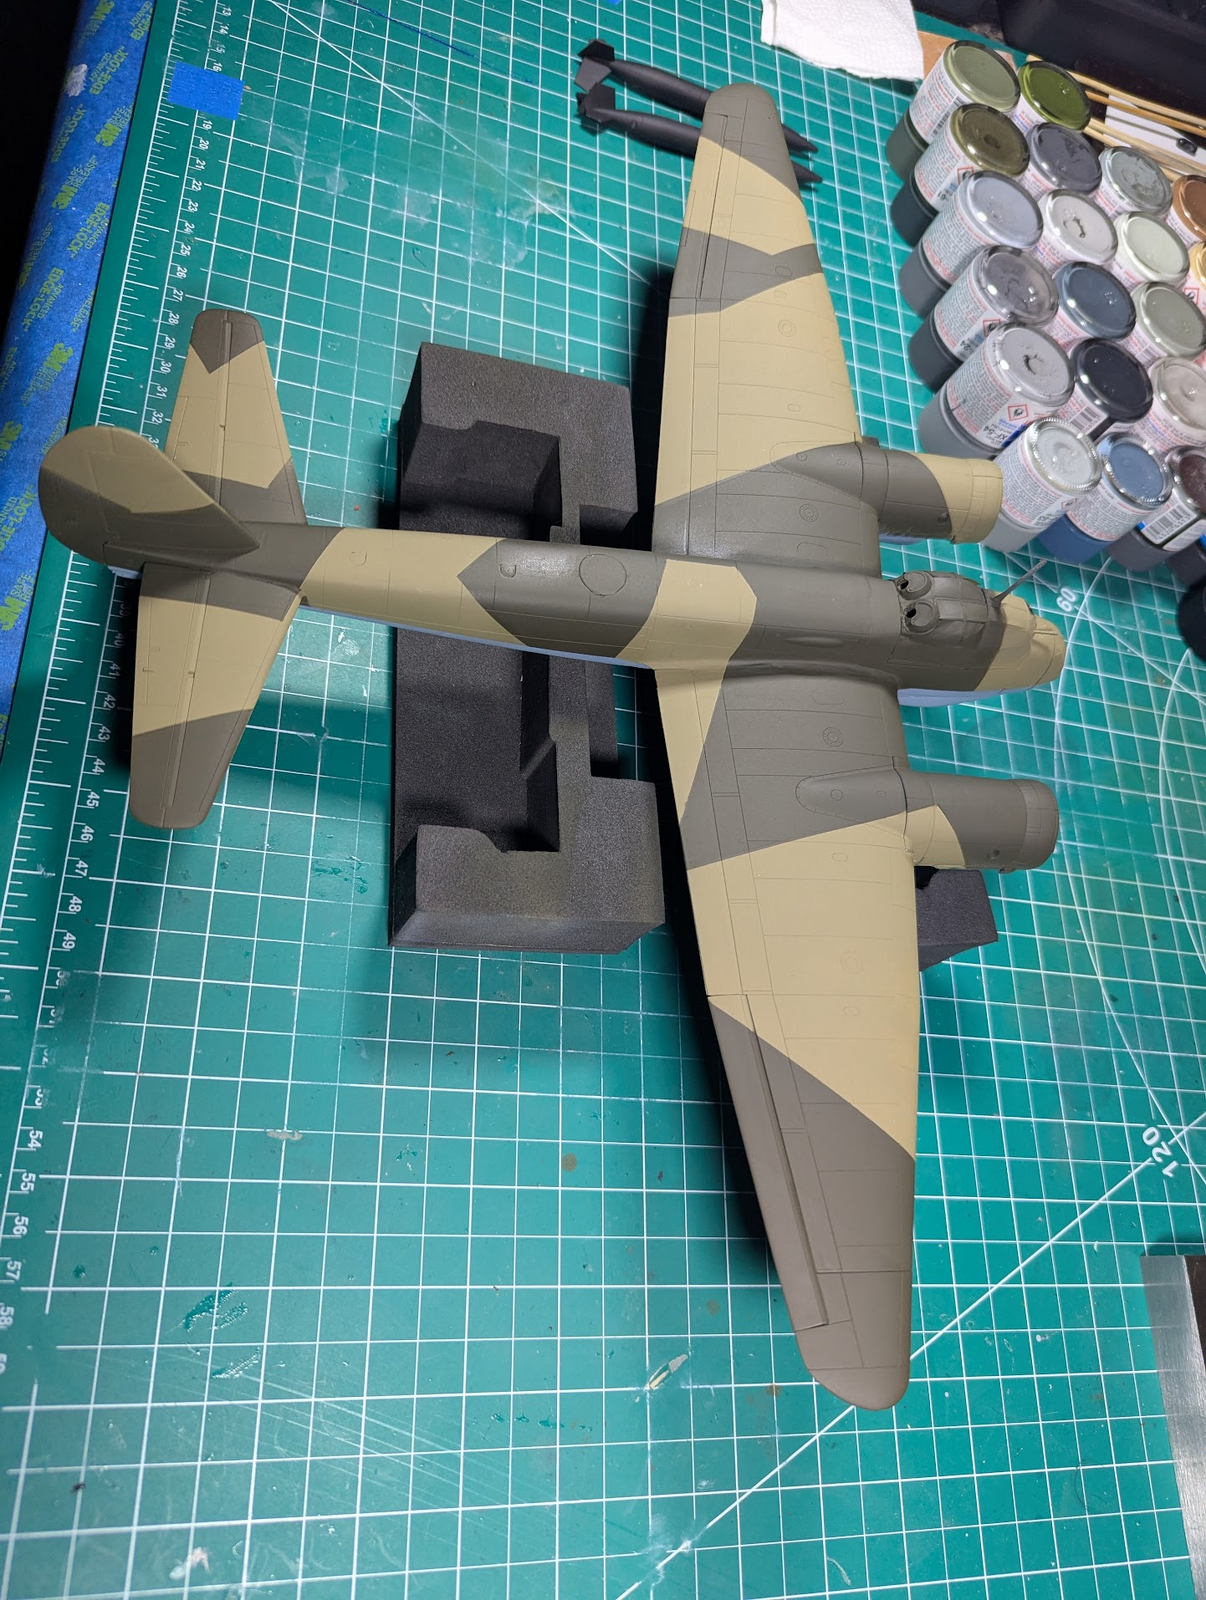
This week I have primed, painted the color-coats, and cleared the entire thing.

1744933040416.png


1744933055037.png


1744933078940.png
 
I've had my battles withy this kit for sure. Several days or weeks going by without updates is a sure sign this one is set aside.

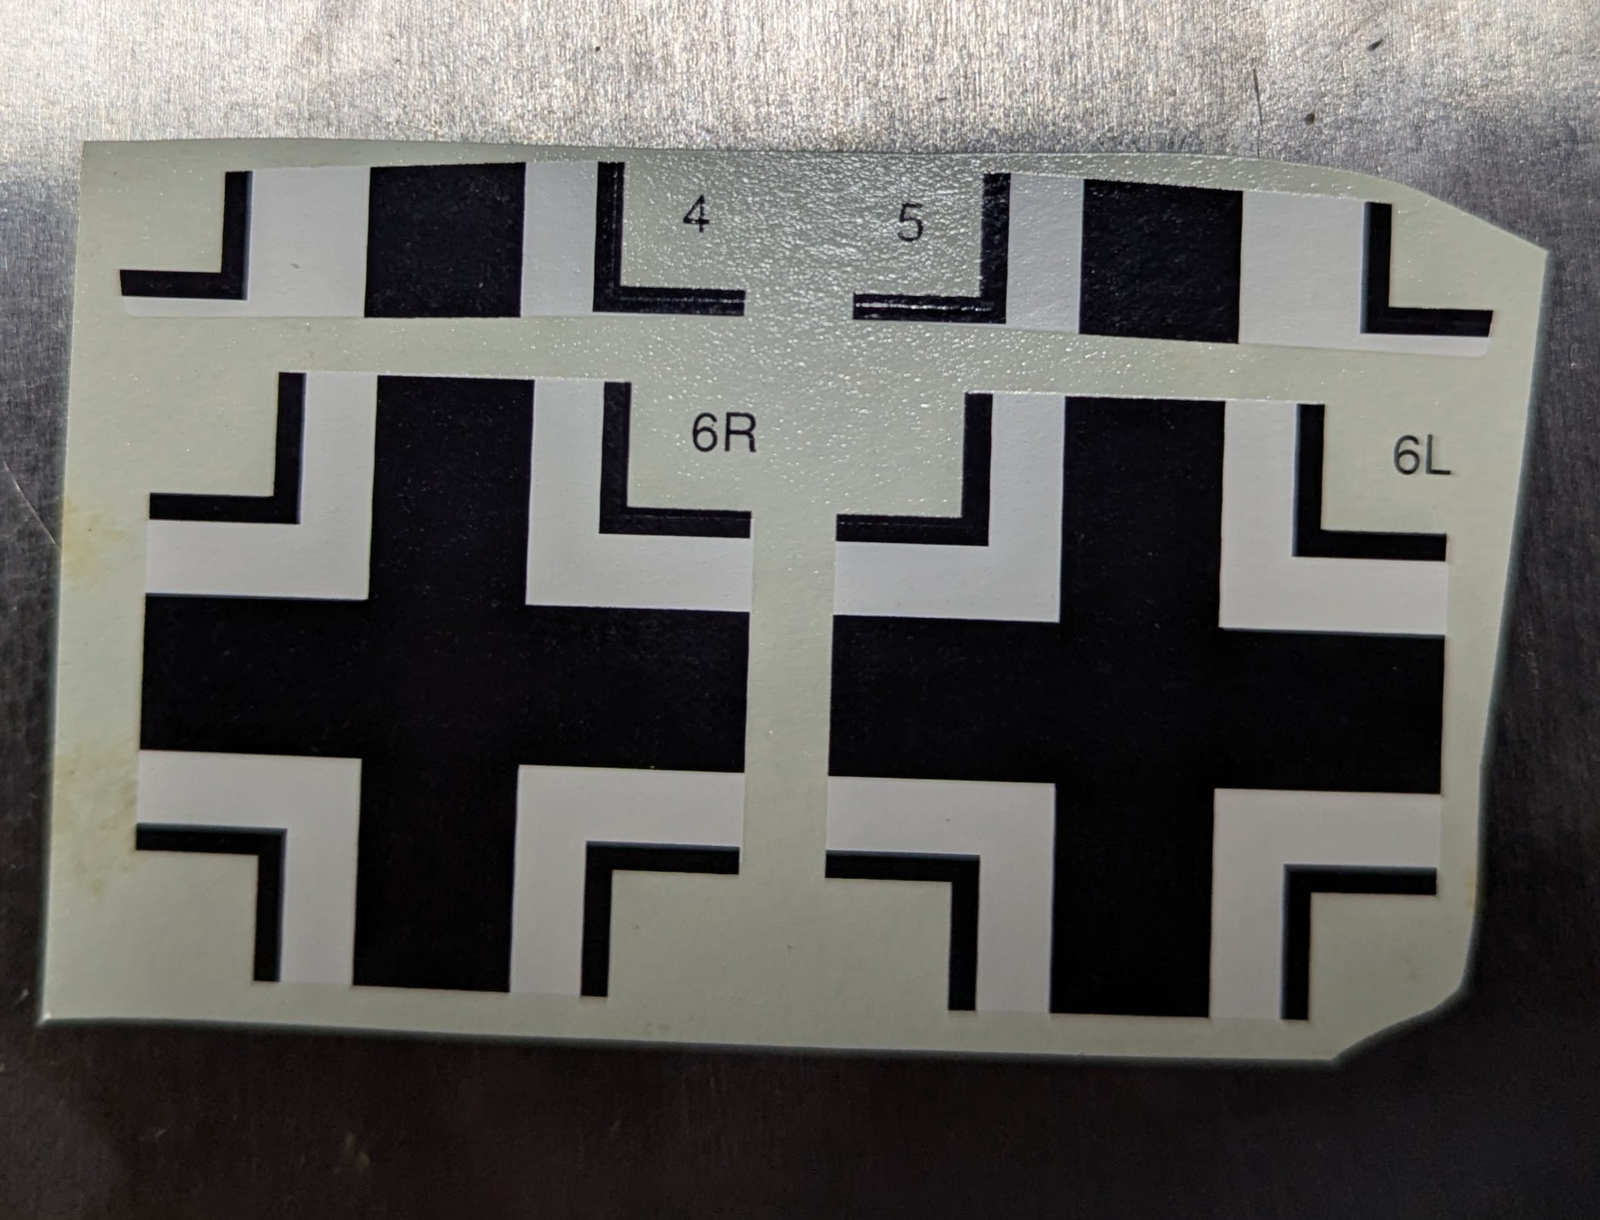
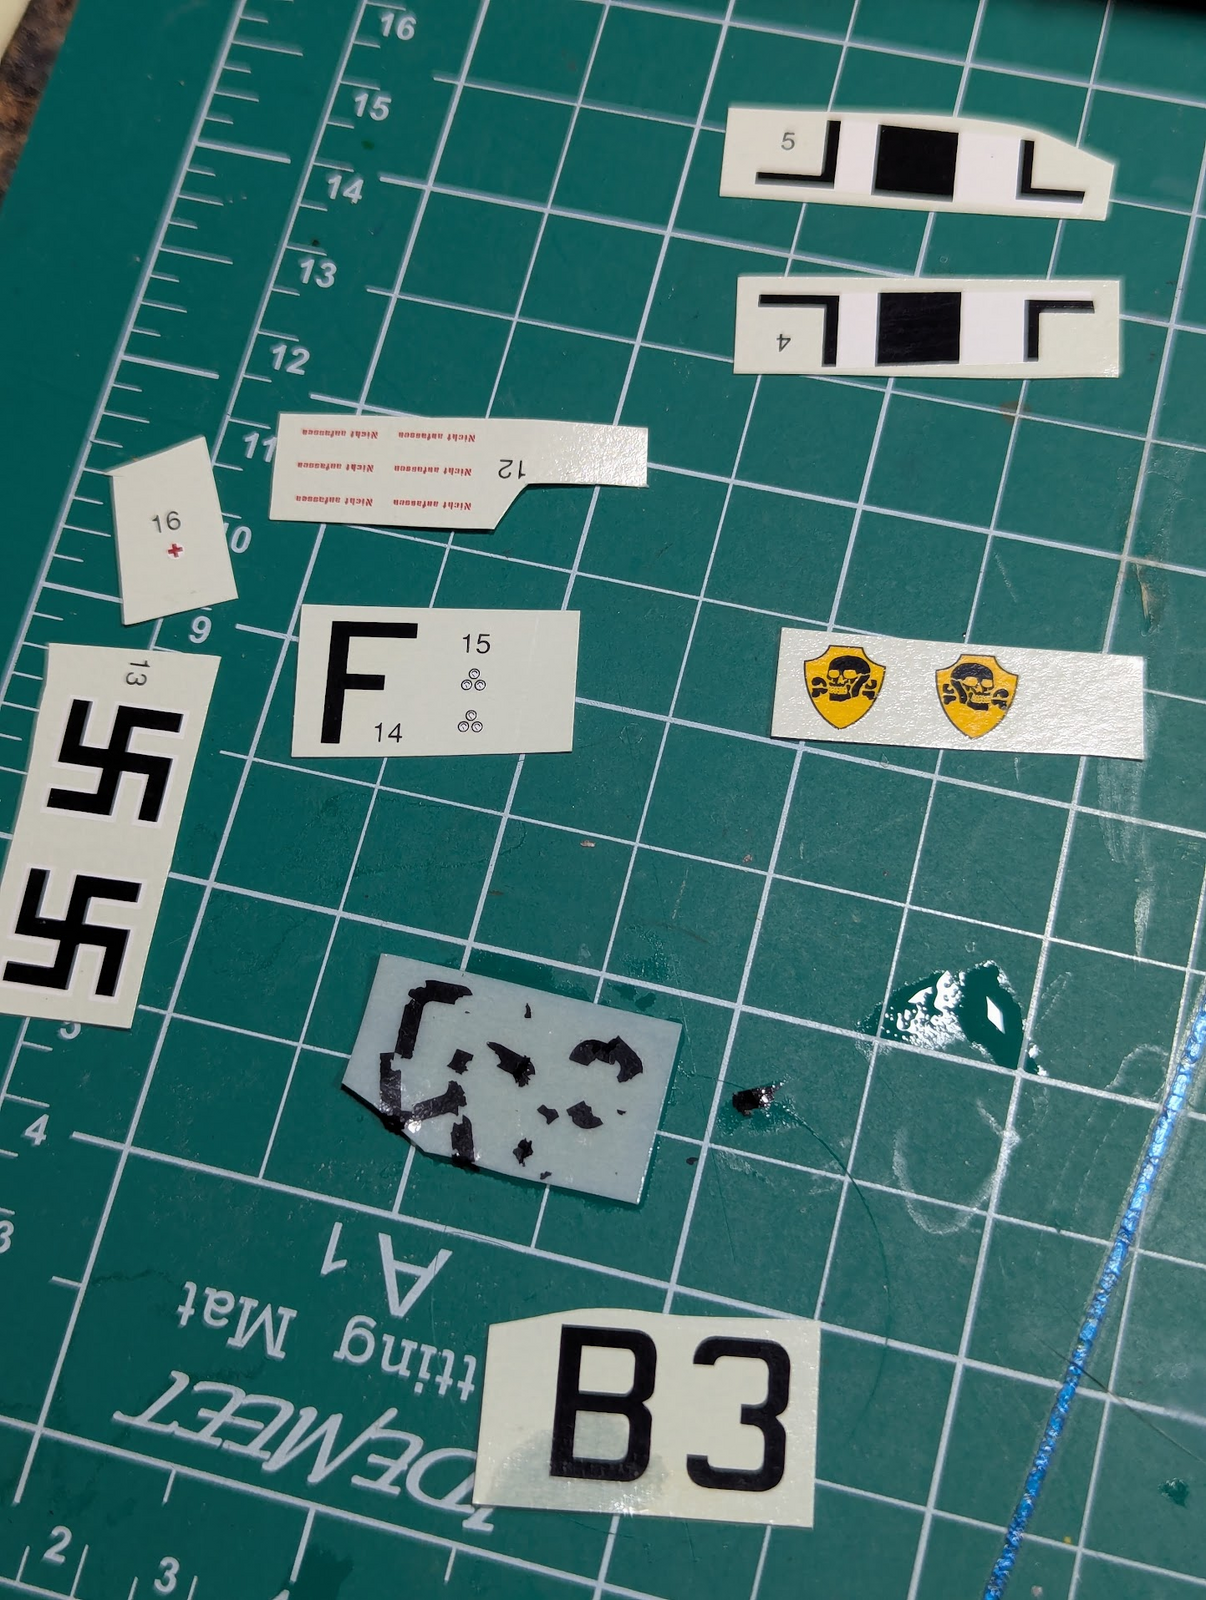
I kept pushing and made it to the sticker-stage, immediate impression is that the designers/artists were high that day. These are the underside insigs.

1746221399885.png


Sticker 4 & 5 are intended to go onto the dive-brakes, with the pair of 6s being put on the wings. Got it! but ummm...why is the white gap of the upper one not sized to match the lower one? Whatever, I'll slice it and make it match, too much white is easier than not having enough. I was able to put 6L and 6R down without a problem. But, it got worse.

1746221685908.png

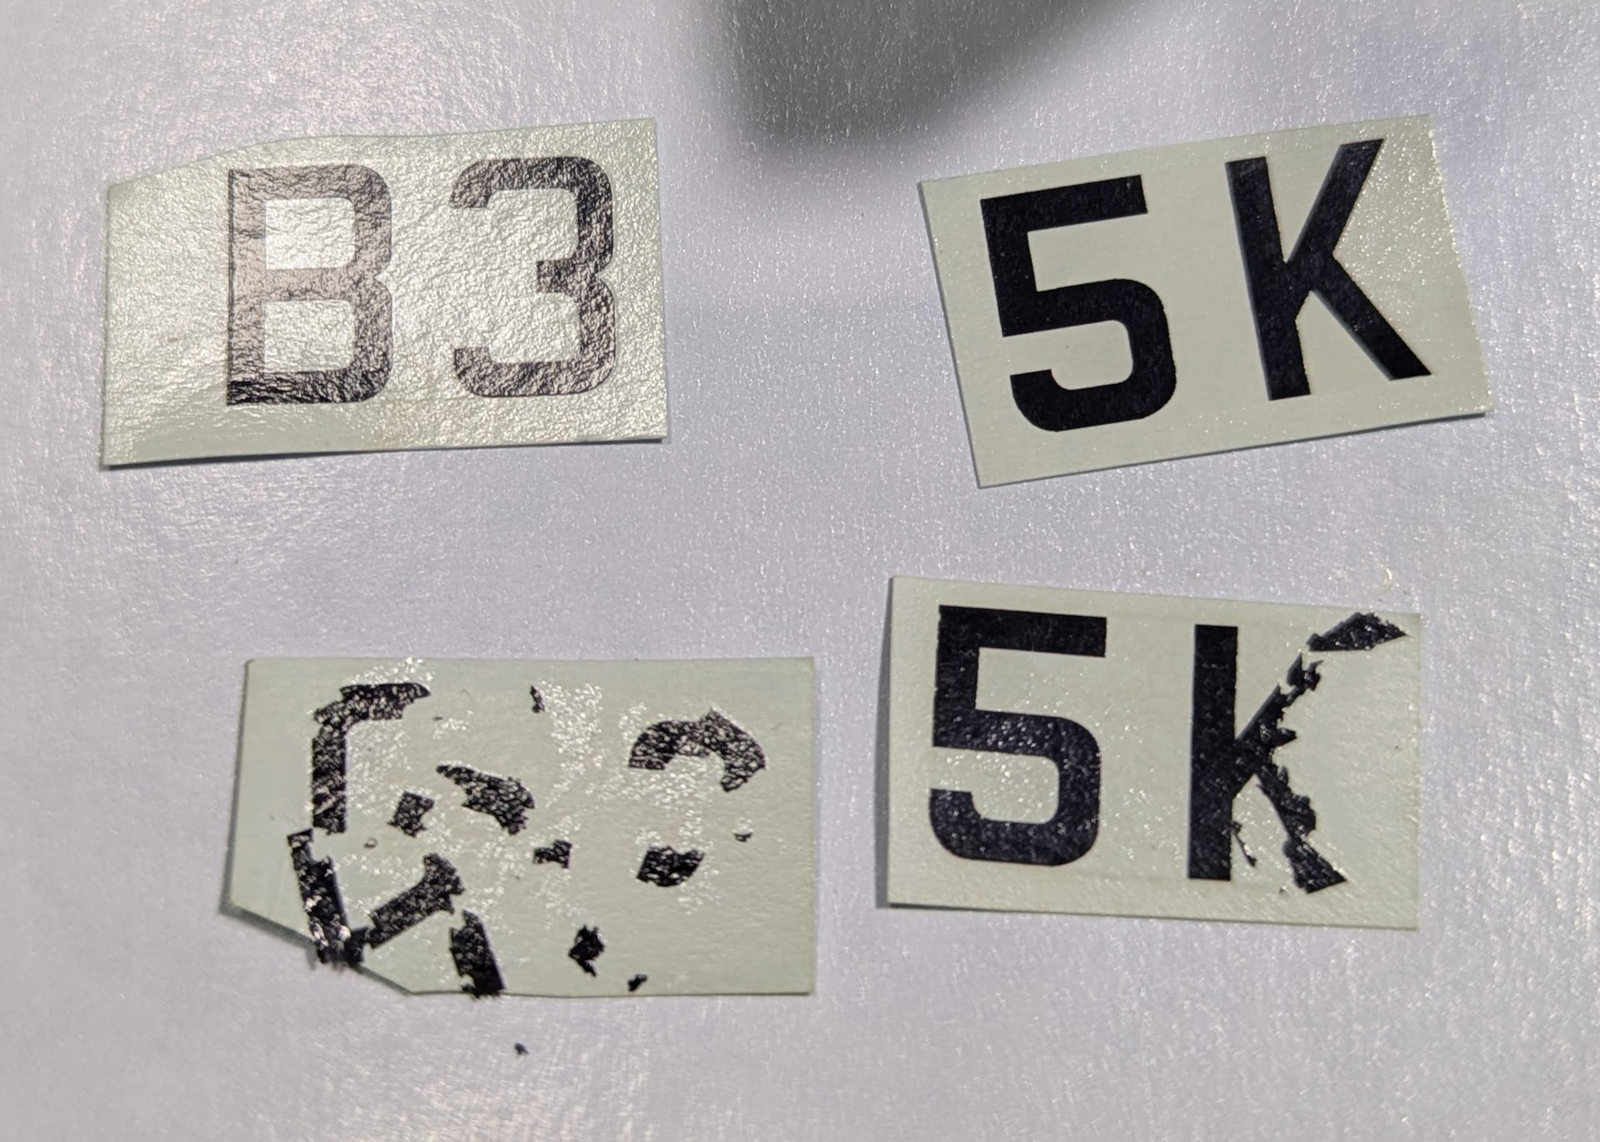
I was unable to remove B3 from the backing paper without it shattering, didn't even get close to the plastic, just disintegration. The actyual aircraft I was building was marked that way, and while I do care about historical accuracy, I also make many concessions. Nobody will notice if I replace B3 with 5K right? Do it!

1746221868432.png


Damnit! Back to the closet with you while I figure out what to do here.
 
Long time with no update. Reason for that was endless rounds of sanding, sealing, sanding, putttying, sanding, primering, sanding, cursing, giving up and accepting failure as good enough. Yeah I know I just made up some words, that is just how I felt.

View attachment 144446
View attachment 144447
View attachment 144448

This week I have primed, painted the color-coats, and cleared the entire thing.

View attachment 144449

View attachment 144450

View attachment 144451
That is a great paint job Edbert. Nice crisp lines,
 
Probably the worst part of any kit is the decals/stickers.
I'll never say I love that phase, but when they work well I do not mind. The Phantom I built would be an exception, I care not how well they lay down when there are ~200 of the bastids!
 

Latest posts

Back
Top