AverageJoe
New Member
- Joined
- Apr 13, 2014
- Messages
- 20
Hi everyone, Here is a quick Step by Step of how I created a quick camo scheme using a combination of acrylics, oils and enamels.
Step 1.
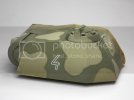
I began by airbrushing a primer of grey. I then airbrushed the base colours along with a basic green camo scheme which was masked using blu-tac.
Step 2.
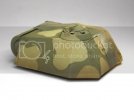
The next stage was to apply oil filters over the whole model to bring the details together. The smaller details also received a pin wash.
Step 3.
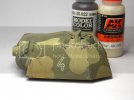
The next stage is to apply chips and scratches (This was my second attempt at this!) These were achieved using acrylics and a No. 00 brush.
Step 4.
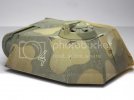
Next, dust filters are applied using AK dust enamels. These were blended in using artist white spirit.
Step 5.
Final filters were used to create oil splats etc. These were applied randomly all over to create surface detail. Rust washes were also added to create colour variation
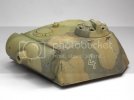
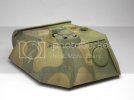
Remember to seal each coat of paint with a matt varnish between each step.
I hope that has helped
Thanks
Joe
Step 1.
I began by airbrushing a primer of grey. I then airbrushed the base colours along with a basic green camo scheme which was masked using blu-tac.

Step 2.
The next stage was to apply oil filters over the whole model to bring the details together. The smaller details also received a pin wash.

Step 3.
The next stage is to apply chips and scratches (This was my second attempt at this!) These were achieved using acrylics and a No. 00 brush.

Step 4.
Next, dust filters are applied using AK dust enamels. These were blended in using artist white spirit.

Step 5.
Final filters were used to create oil splats etc. These were applied randomly all over to create surface detail. Rust washes were also added to create colour variation


Remember to seal each coat of paint with a matt varnish between each step.
I hope that has helped
Thanks
Joe
