Quaralane
Well-Known Member
- Joined
- May 22, 2009
- Messages
- 11,262
Decided that, for my next build, I wanted something that would be relatively quick, and relatively easy.
Mostly so I could have it finished before starting my build(s) for the SMA Big Spring Contest that starts the first of March.
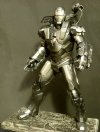
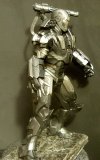
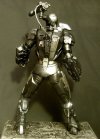
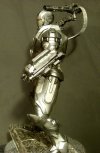
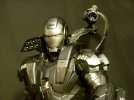
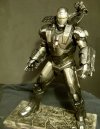
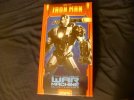
So, to that end, I decided to build up Moebius' WAR MACHINE
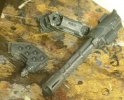
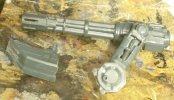
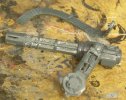
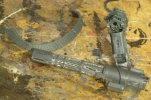
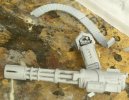
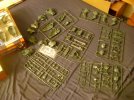
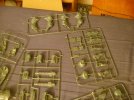
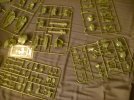
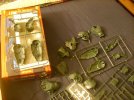
The almost obligatory sprue shots.
There are a good number of pieces in this kit, and most are fairly well detailed.
No issues with flash on my copy, and the detail's only a little soft in some places
Went to work with the sub-assemblies, pretty much according to the instructions.
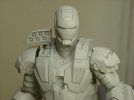
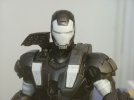
Started with the head:
Only minor seam sanding was really needed after I held it together fairly tightly for a bit.
Just as an FYI, I use Testors' liquid cement for assembly.
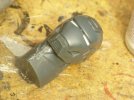
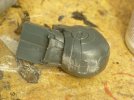
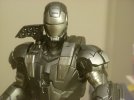
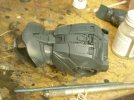
The torso assembly was a bit more complex, involving about four different sections to get completed.
Not many seams to work here, mostly because of them either being hidden, or being along armor panel lines for the most part.
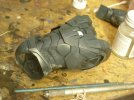
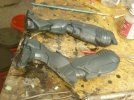
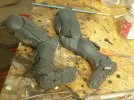
The assembly of the legs was fairly straightforward, if involved.
There were a couple of seams to work, but they came out fairly well.
Under the covers for the calf thrusters are little actuators to make the assembly look believable.
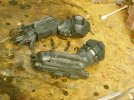
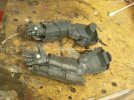
The most complex of the sub-assemblies so far were the arms, specifically the left arm.
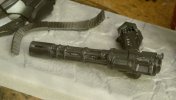
While the right hand was basically two halves with a repulsor disk stuck in, they molded the fingers of the left hand as separate parts.
It made the assembly a bit tricky.
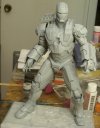
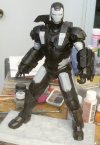
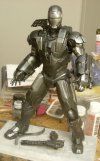
Just for fun, and to see how well the kit as really made, I fitted all of the sub-assemblies together and put him on the base without gluing any of it.
It works really well, even the legs seem fairly stable.
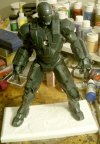
I'd like to point out that most of the armor plates and outer skins are secured by large sturdy pegs runing through the whole assembly.
Youtube link:
War Machine-Part One
Mostly so I could have it finished before starting my build(s) for the SMA Big Spring Contest that starts the first of March.
So, to that end, I decided to build up Moebius' WAR MACHINE

The almost obligatory sprue shots.
There are a good number of pieces in this kit, and most are fairly well detailed.
No issues with flash on my copy, and the detail's only a little soft in some places


Went to work with the sub-assemblies, pretty much according to the instructions.
Started with the head:
Only minor seam sanding was really needed after I held it together fairly tightly for a bit.
Just as an FYI, I use Testors' liquid cement for assembly.


The torso assembly was a bit more complex, involving about four different sections to get completed.
Not many seams to work here, mostly because of them either being hidden, or being along armor panel lines for the most part.


The assembly of the legs was fairly straightforward, if involved.
There were a couple of seams to work, but they came out fairly well.
Under the covers for the calf thrusters are little actuators to make the assembly look believable.


The most complex of the sub-assemblies so far were the arms, specifically the left arm.
While the right hand was basically two halves with a repulsor disk stuck in, they molded the fingers of the left hand as separate parts.
It made the assembly a bit tricky.


Just for fun, and to see how well the kit as really made, I fitted all of the sub-assemblies together and put him on the base without gluing any of it.
It works really well, even the legs seem fairly stable.

I'd like to point out that most of the armor plates and outer skins are secured by large sturdy pegs runing through the whole assembly.
Youtube link:
War Machine-Part One

