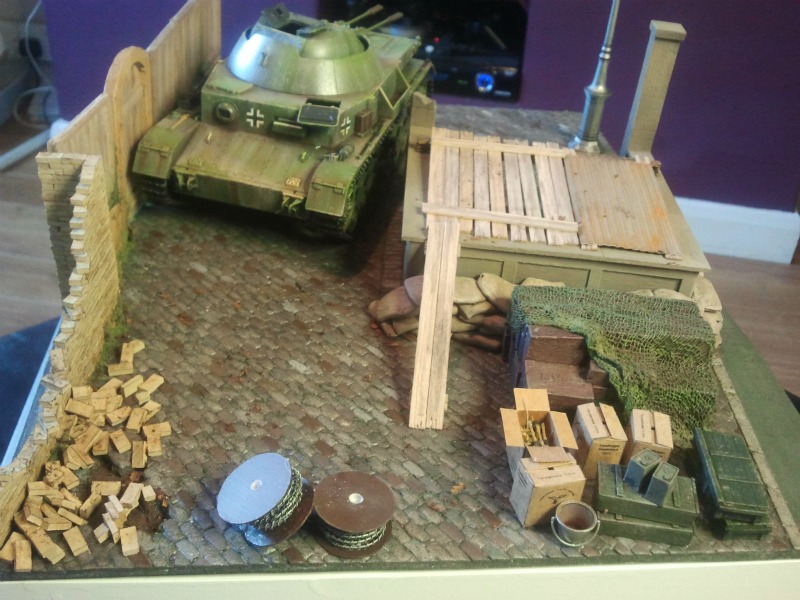
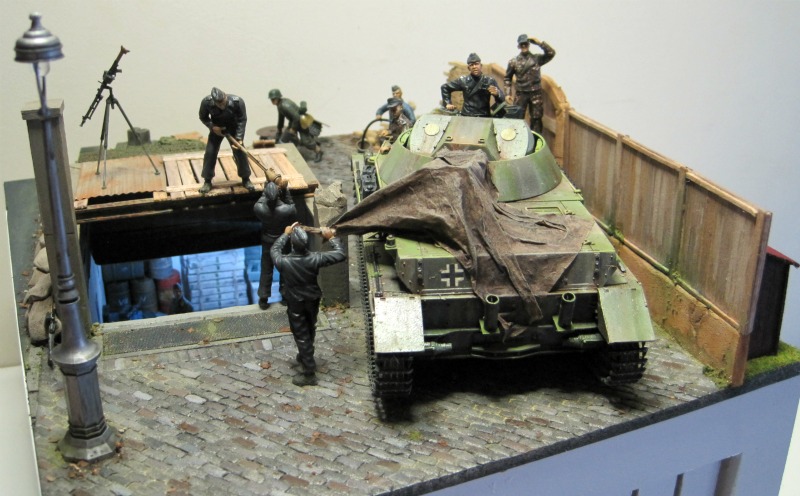
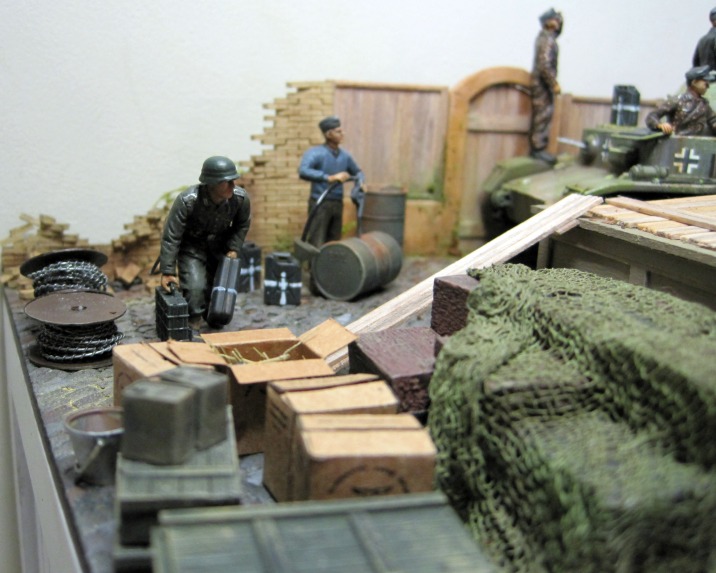
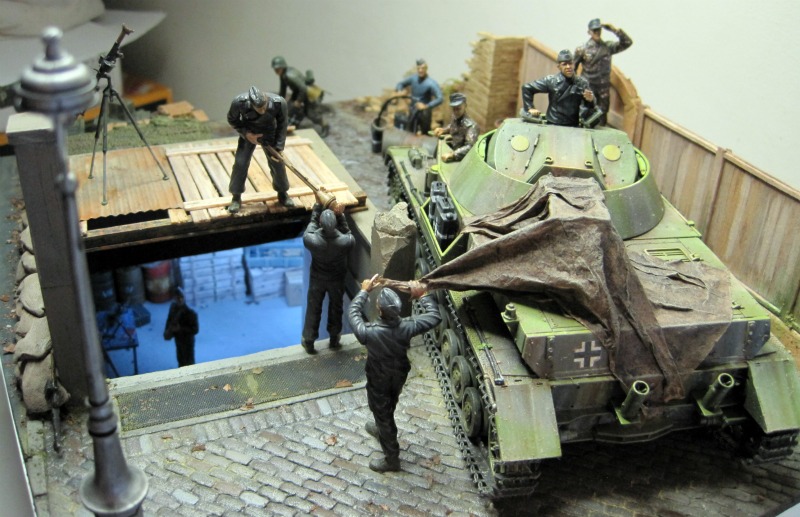
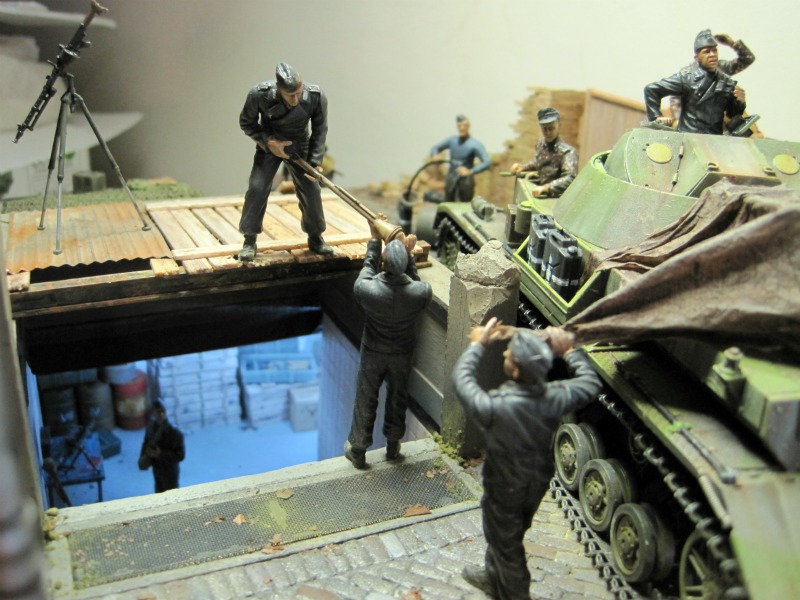
It's all starting to come together now!
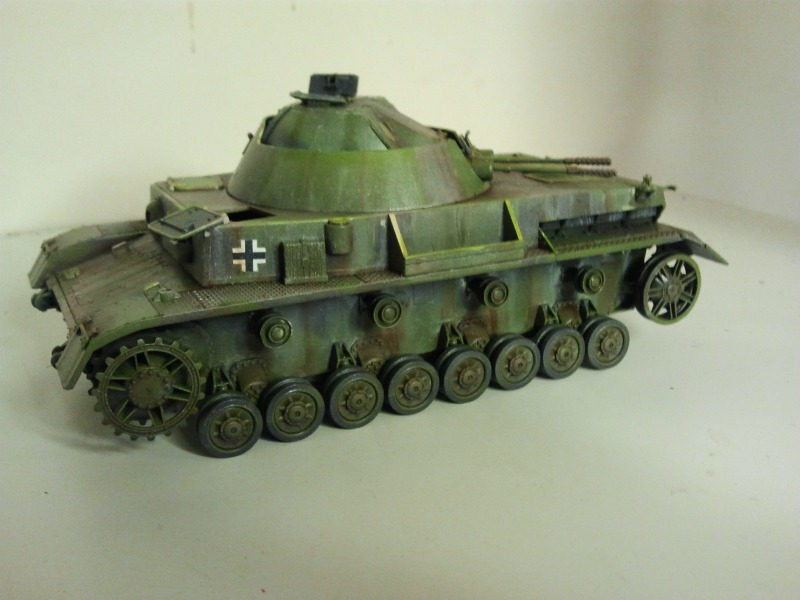
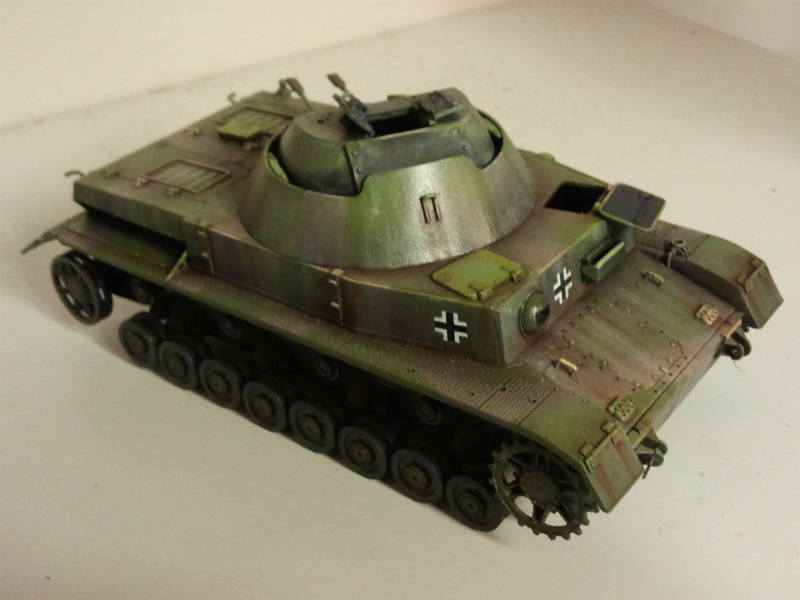
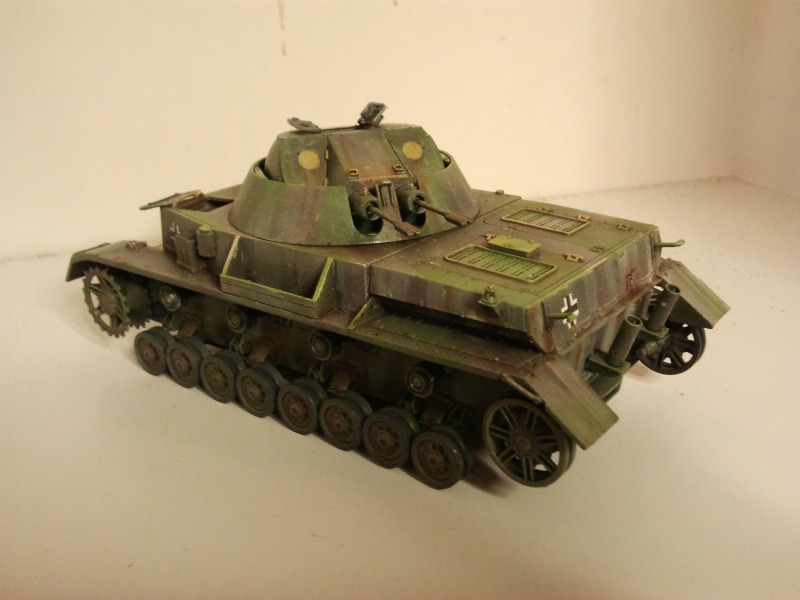
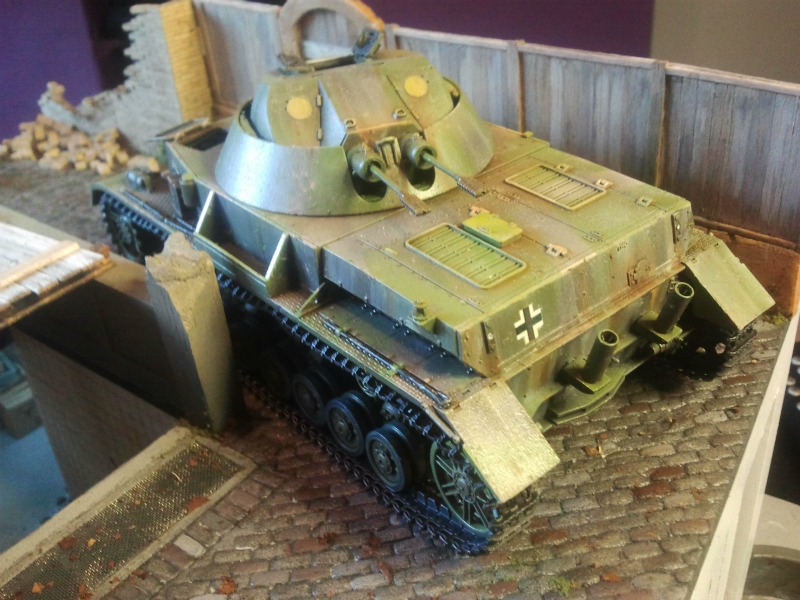
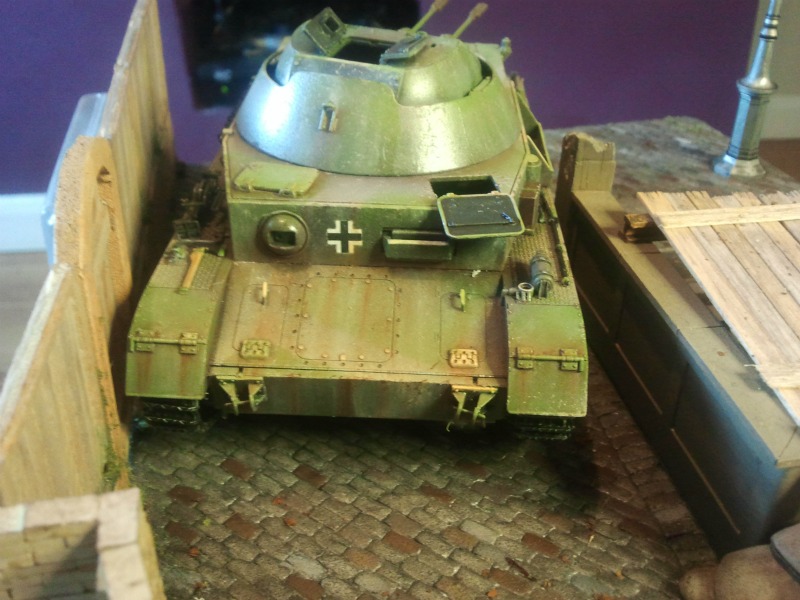
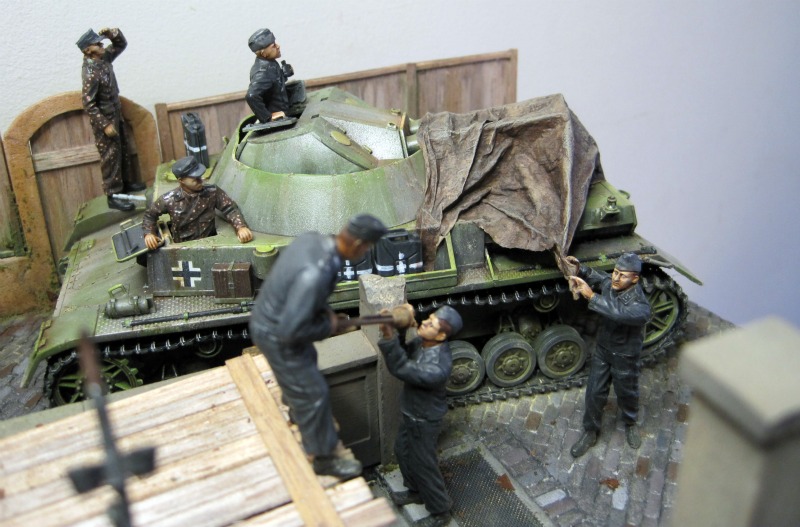
I have put together the tracks (individual links) and painted with black then a steel paint dry brushing to show wear and tear, and fitted them.
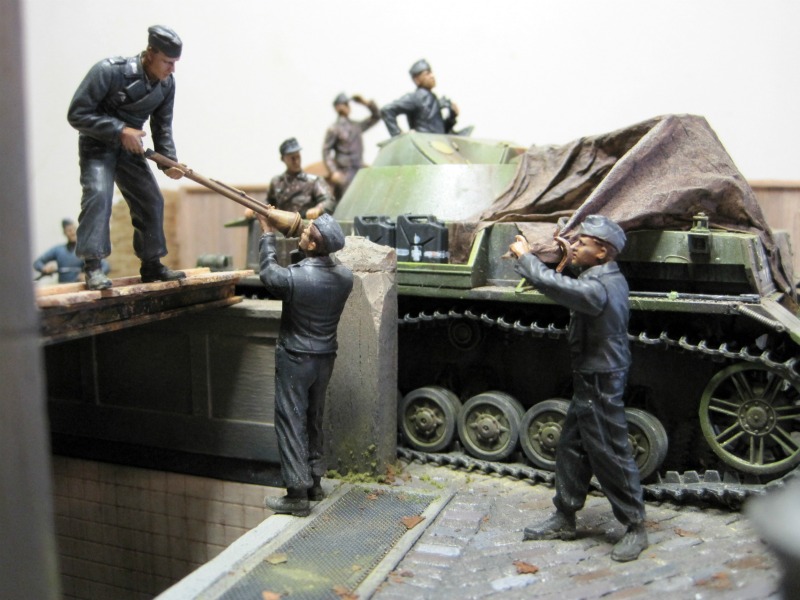
The final job is the chipping. I have not gone over the top on this as the Kugelblitz would probably not have been in the field for too long, so just a hint of chipping for realism.
To hold the tank secure I have drilled throuhg and bolted the tank to the base.
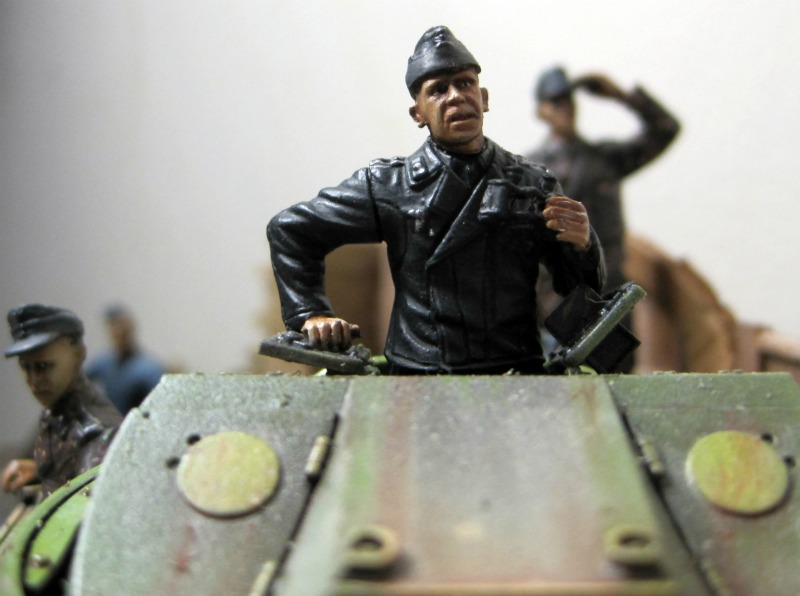
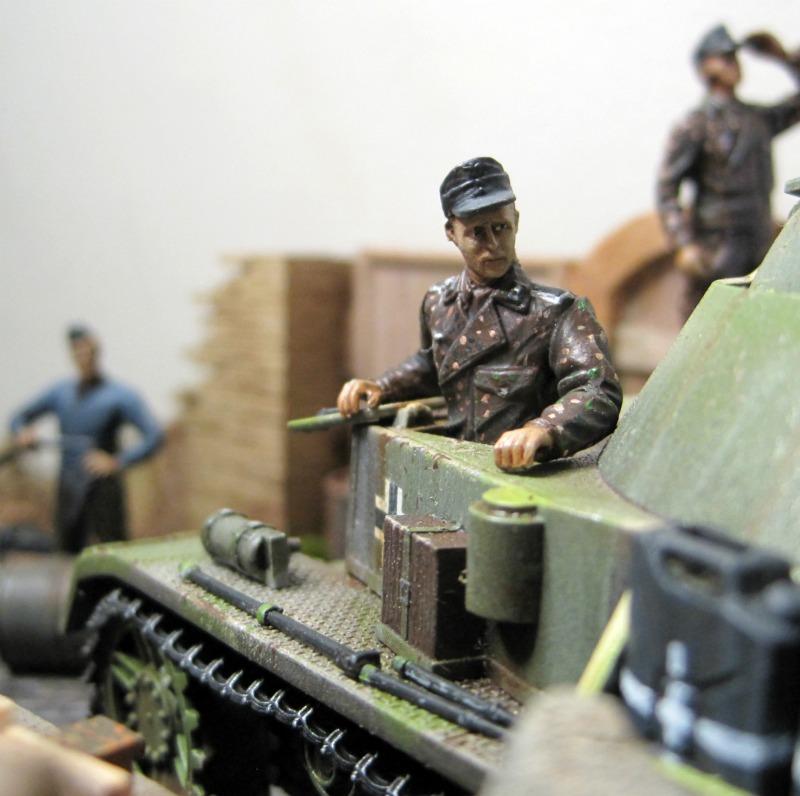
Now I can turn to the figures and other accessories. I used acrylics for the uniforms and flesh undertone on the hands and feet.
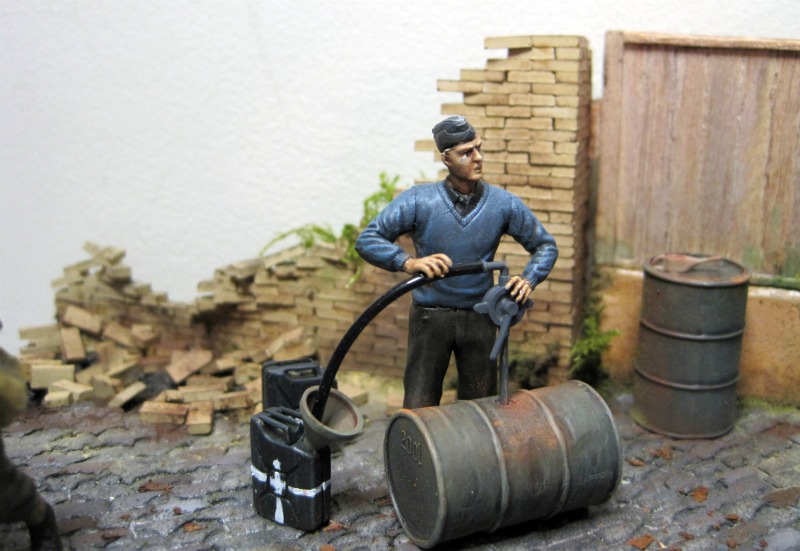
Then I start with a dark brown oil and cover the flesh.
After leaving this to soak in for a while I wipe the excess off trying to leave brown in the correct areas and use a mixed flesh colour oil to gradually build up the highlights. I have also used some white oil paint to pick out the brightest highlights.
Now I have a couple of days wait for the oils to dry before I begin the final assembly.
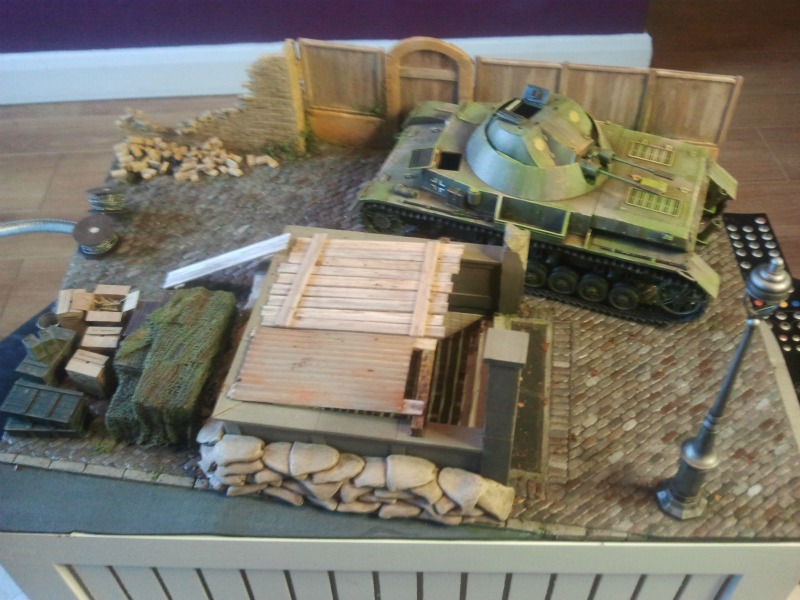
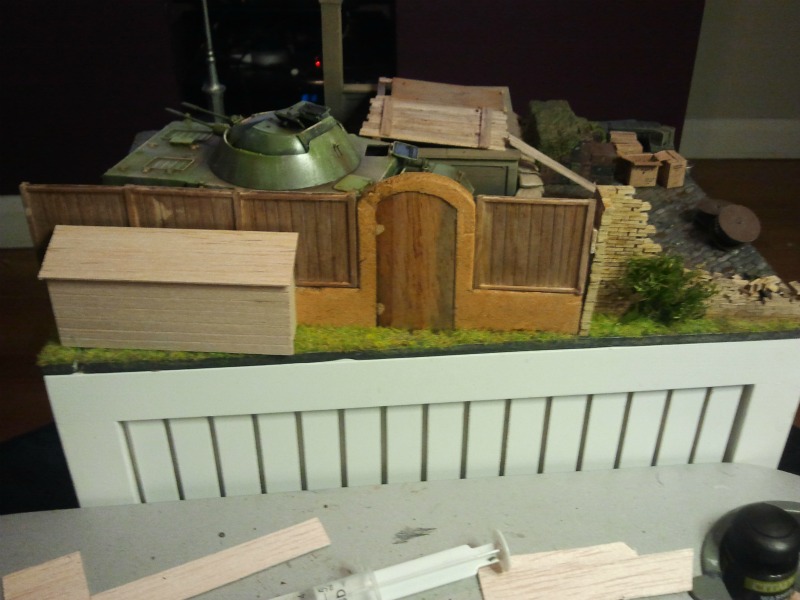
Lastly today I have put the battery compartment for the underground lights behind the fence and needed to disguise them. I first put flock grass down as goundcover and then built a lean to shed out of balsa, which was then grooved and painted. This is wedged in place so I can change the batteries if necessary
Thanks for looking


 . Love it! Tons of work here..... Wow!
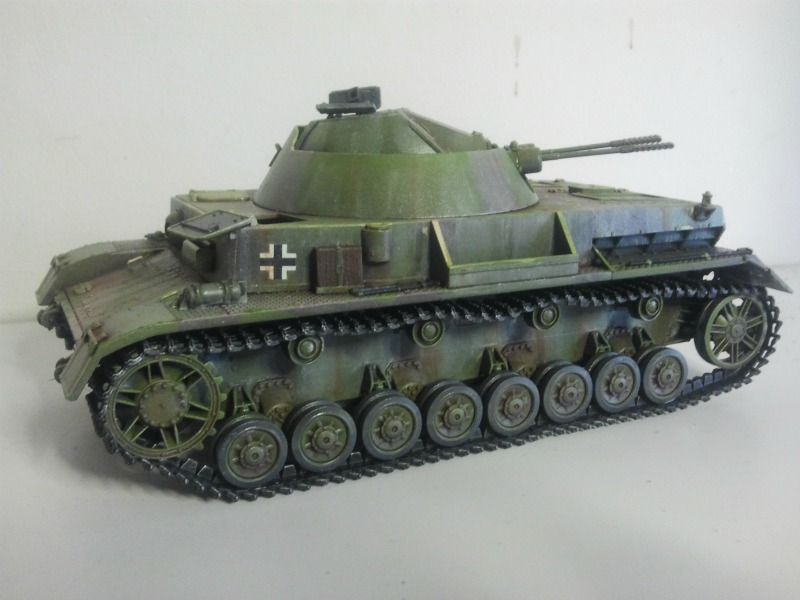


 Do I need to thin my Tamiya X-22 clear coat?