Track edge display base

Shark

Member
Joined
May 6, 2009
Messages
504
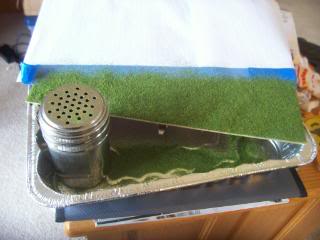
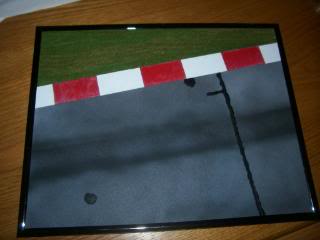
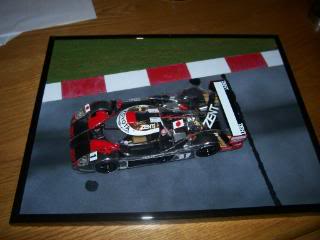
I want a display base to show off different car models, depending on my mood. So I came up 3 different scenes. This is the easiest, and so will be my first. I'm using it as a test bed for skills I haven't tried before. The scene will be the edge of a race track, the road surface and a little of the infield. I spent some time looking at a lot of pics from different race track borders. The good news was, there is so much variation in tile size, design, angle and colors, for the track edge that you really can't go wrong.

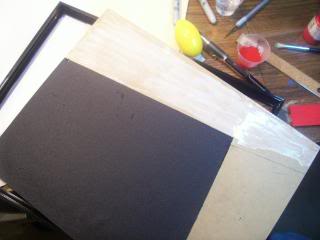
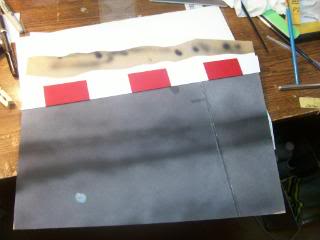
So the first thing I picked up was some picture frames at the carft store. Two for seven dollars. They are 11 inches by 14 inches. This way the model will take up space on the display but not be crowded. I decided just to use the frame backing as the base because it was really stiff.
1picframes.jpg


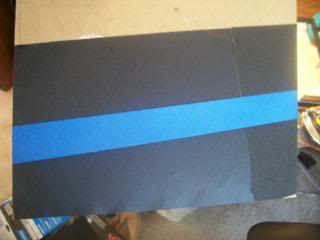
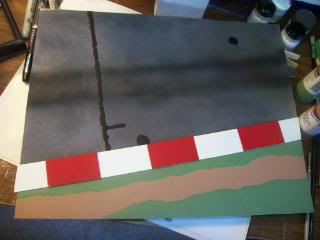
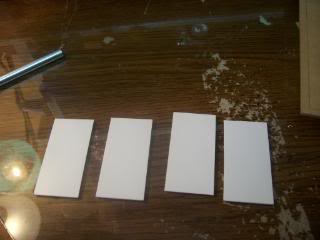
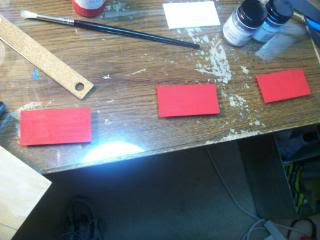
It seemed to me a lot of the track borders are as deep as a wheel and rim are tall. So I cut out a strip of plastic from a sheet of .75mm styrene after measuring the height of a model's wheel. Some of the tiles I looked at were really thick while others were flush with the road surface. Once again leaving it up to you, how you want it to look. I wanted the border at an angle so it was interesting to look at.
2tilelayout.jpg


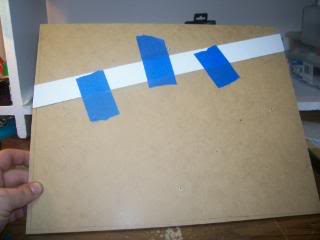
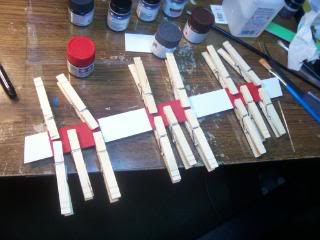
The strip was to short to go all the way across the scene, so I had to glue two pieces together. I wasn't to concerned with the seam as we will hide it later. I did make sure to put it near one end though, instead of the middle.
5tilejoint.jpg
 
My track edge is going to be red and white tiles with the red tiles slightly taller. I used the left over stip I cut from the last step to make the red tiles. I made them double in length of their height. I cut one extra to use as a spacer between them when I glue them down, so they will be even.
3redtilescut.jpg


The bottom strip will be the white tiles. I wanted the ends of the strip to be white tiles so it would be as flush as possible when mounting the board back in the frame. This also worked to cover the seam with a top tile that we had when we glued the strip together. I then painted the top tiles Tamiya flat red.
4redtilespaint.jpg


I used a brush and made sure my final coats of paint were brushed from top to bottom. I figured this might help give the impression of the direction water would travel if it rained on the tiles. I saw in several pics some pristine tiles and some really beat up ones. I'm keeping it simple.
When the paint was finished on the red tiles I clamped them to the white strip using my spare tile as a spacer. Then I hit that bad boy with some thin Tamiya cement.
85glueredtiles.jpg
 
Ah, I love tutorials for bases. Very interesting to see, what other people do and how they achieve things. Your car must be quite big btw?
 
Great start. Are you going to try make the scene look like an action shot? i.e skid marks on the tracks, perhaps the car up on two wheels (how extreme do you want to go?)

Should look cool in the end.

Chas ;)
 
Thanks everyone for your comments. I do have plans to make one that is a turn , were I can do all the skid marks! I'm doing this easy layout as a practice run.
I'm setting it up to display 1:24 size cars. Most of them are in the 9inch long range and 4 inches wide. I just felt an 8 x11 was just to small.

Next I put my first sheet of road surface down. It's black sandpaper around 400 grit I believe. I put a layer of glue all over the board becasue I figured plan flat grass is a little boring and unrealistic.
6roadsurface.jpg


As you can see the sand paper is not big enough to cover the whole area so I had to cut and glue another piece to finish it off. I recently bought an airbrush and decided this is a great place to practice. I masked off a strip down the center because the road is darker in the center of traffic due to dripping fluids.
7roadmask.jpg

I sprayed the road surface with a light gray color and then used a dark gray and black mix to transition teh road to the center stripe I had masked off. In the pic the center looks light, but it's the reflection off teh semi -glossy unpainted area.
8roadairbrush.jpg
 
So the next thing to do was to hide the seam from the sanding papers. I threw a bead of elmers glue down the beast and to up the cool factor I made a little branch, and two pot hole repairs. I saw in some of my research photos, tracks that had this type of up keep. I also decided the grass was still going to need something to break up the flatness, so I cut and glued some regular white paper to that area. I made sure to put some white glue along the edge of the paper to soften the transition.
9roadseams.jpg

I then glued the border tiles down and made sure to over lap the sand paper.
10dryseams.jpg


I painted the dry seam and pot holes with flat black. I painted the area where the grass was going just in case you might be able to see through. I tried two different colors just to see if it made a difference.
11paintedseams.jpg
 
Now it's easy steet. I masked off the road and tiles so I wouldn't get the grass stuck in the texture.
13applygrass.jpg


The little lady even donated a shaker to process. What a gal.


I then weathered the tiles with some thinned gray paint and rubbed most off before it dryed, in a top to bottom pattern of course. I then put it together, and TADA!
14complete.jpg

15withmodel.jpg
 
Wow, that looks really nice. I like the idea with white glue as a "track repair". I often see similiar repairs on our very own streets around my house. Very nice.
 
Really good work. Your results with the airbrush are excellent!

Not too sure about the repair line, looks a little too obvious. Perhaps you could tone it down to a grey shade. But... what do I know about racing track upkeep. ??? Not much. ;)

Great scene overall, the car looks right at home.

Chas
 
You got a driver in that car?
Lemme see lemme see!
Cool base though. Nice idea and work!
 

Latest posts

Back
Top