Dark Kyp
Active Member
- Joined
- Nov 27, 2011
- Messages
- 714
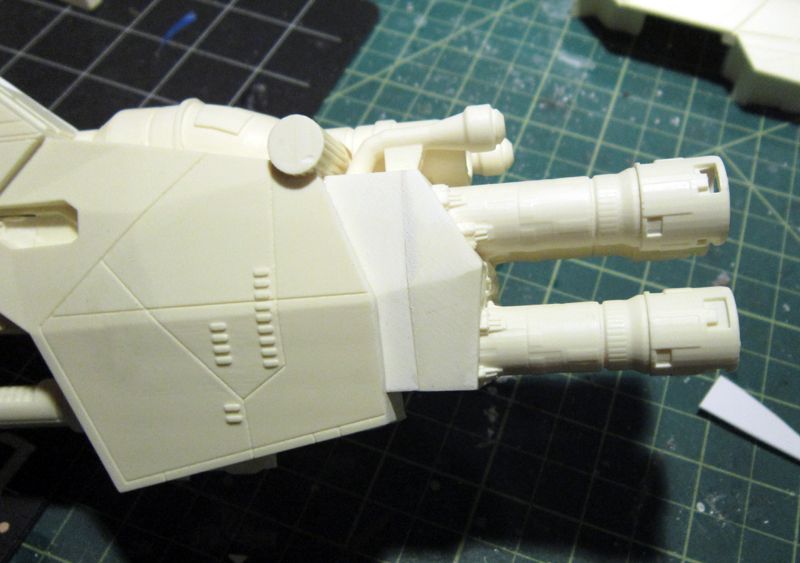
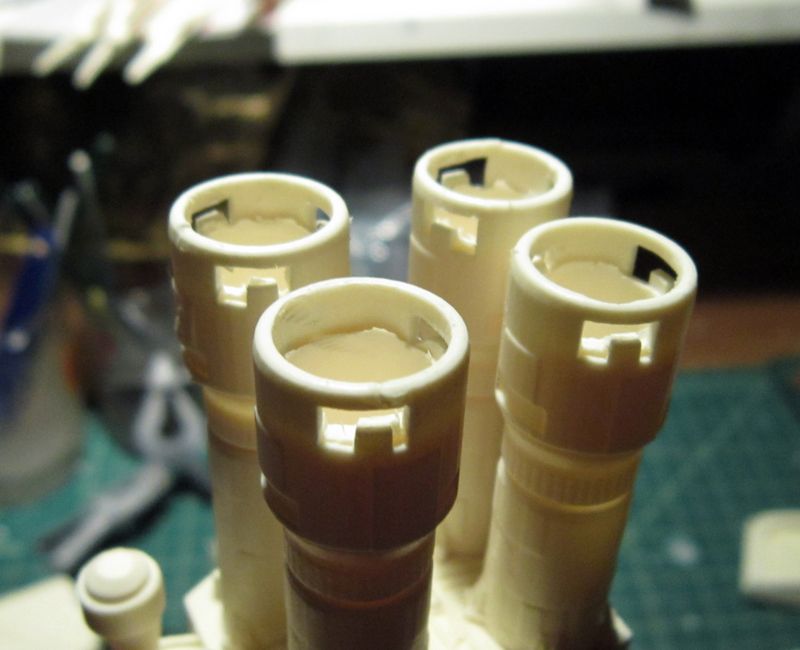
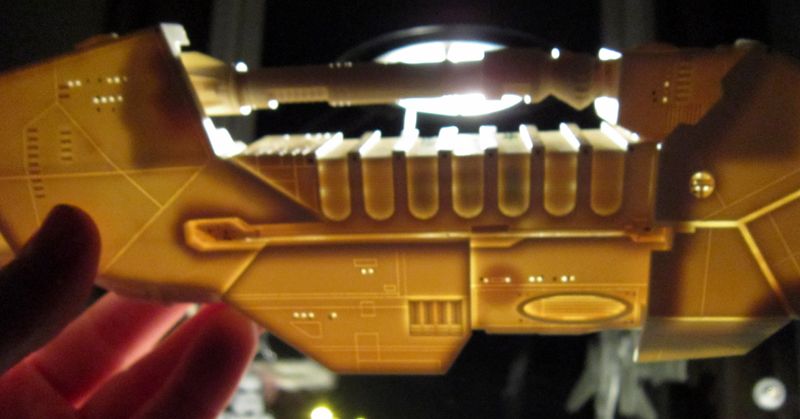
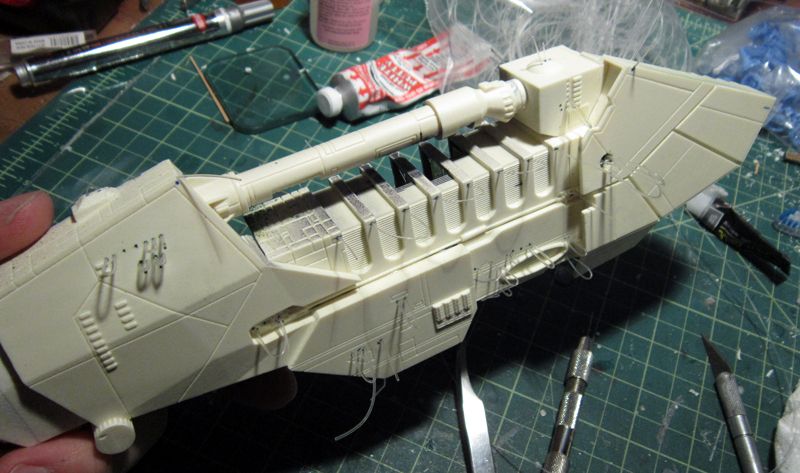
That kit looks nice!
Can't wait to see what you're going to do with it!")
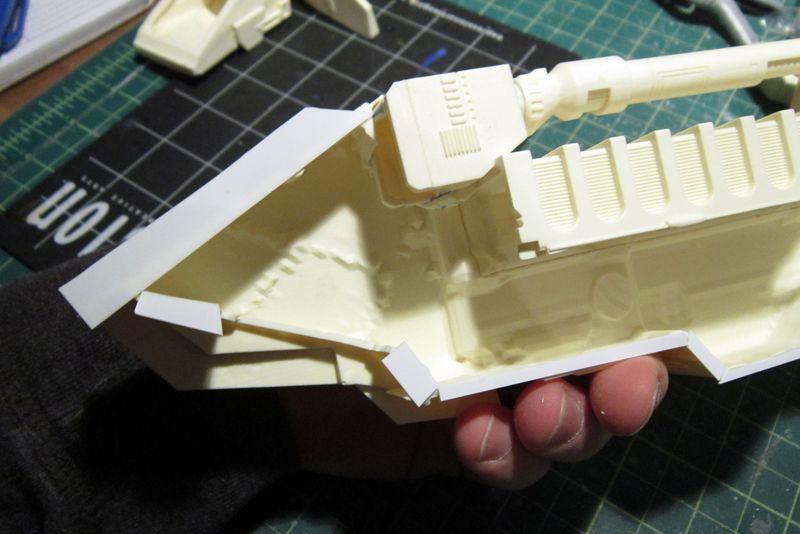
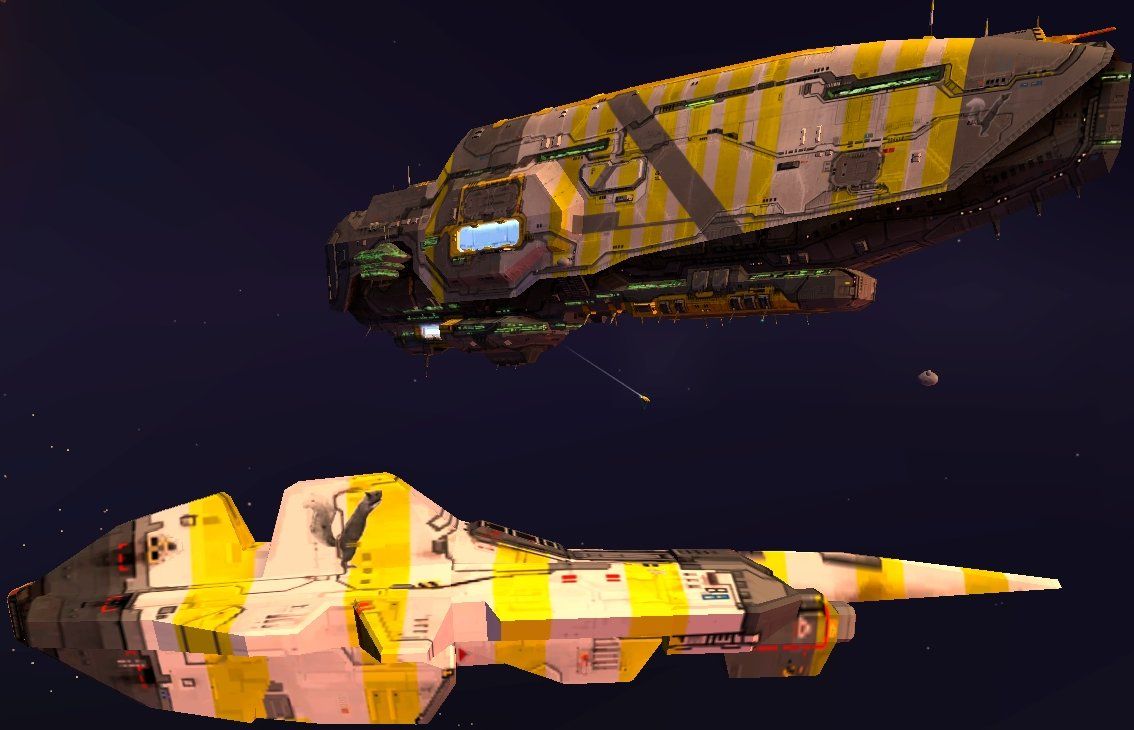
Vaygr? 8) That would be soooo good looking! ;D
Can't wait to see what you're going to do with it!
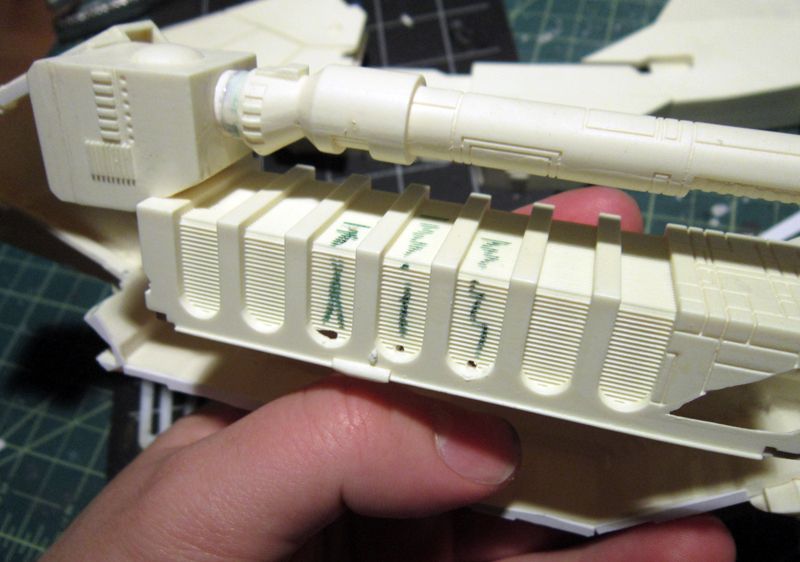
nicholassagan said:Either that or some Homeworld 2 or Chris Foss-inspired scheme.
Vaygr? 8) That would be soooo good looking! ;D