liquorboxracing
New Member
- Joined
- Oct 12, 2012
- Messages
- 62
I have been wanting to build a replica of this plane for awhile now. She's one of my favorite Air Show planes.
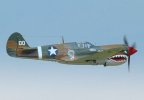
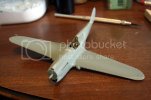
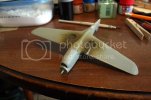
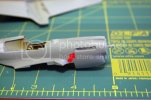
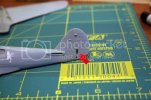
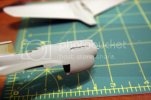
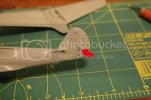
I started with Academy's 1/72 P-40M/N kit. I am building this one as an M as that is what the Jacky C is. Again this will pretty much be an out of box build with a few embellishments, like Quickboost exhaust, and hypodermic tubing, and some PE gun sights. I detail painted the interior and addded masking tape seat belts to finish off the cockpit details. ( what little there are. ) I fitted the M style upper portion to the fusalage halves and lined up and filled all the gaps. I glued the cockpit in place, and have begun getting the wing sections ready to glue together and fit.
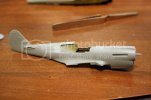
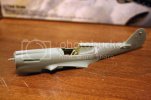
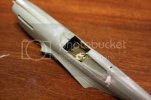
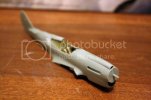

I started with Academy's 1/72 P-40M/N kit. I am building this one as an M as that is what the Jacky C is. Again this will pretty much be an out of box build with a few embellishments, like Quickboost exhaust, and hypodermic tubing, and some PE gun sights. I detail painted the interior and addded masking tape seat belts to finish off the cockpit details. ( what little there are.


