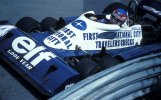
Tamiya Tyrrell P34 1977 1/20

muniz21

New Member
Joined
Jan 27, 2015
Messages
10
Hi everyone, this is the second model I build, I just got into modeling and started with a Revell F18, but got a bit frustrated and put it aside while I get a few parts I screwed up. This is my second model ever, so I'm not expecting an incredibly detailed model, this will be mostly to get experience in F1 cars, since I'm a massive Formula 1 fan so this is the first of many F1's I plan on building later on. I started this kit about a month ago, I got carried away and forgot to take many pictures of the engine building process :(

I will be using Testors and Model Master enamel paints for the whole paint job.

Any tips are greatly appreciated. Also, this will be a straight out the box build, since I don't have experience with photo-etch, but I will be adding some extra detail built by myself. Thanks for watching.

This is the box:
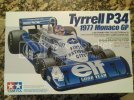
IMG_20150714_184141_zpselzhzbx3.jpg

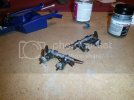
Heres the differential, brake discs and suspension bars and springs all painted and ready to glue:
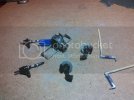
IMG_20150525_171425_zpsvlwrjqit.jpg

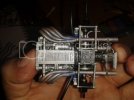
Engine assembly and paint, and rear brake ducts, which were solid and had no detail.
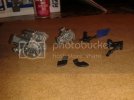
20150520_023526_zpsgx3vg98s.jpg

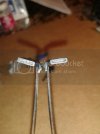
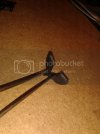
Here is the holes I drilled on the brake ducts, this photo was taken before final sanding and smoothing, but you'll get an idea of how it turns out.
20150520_023739_zps0hppzecp.jpg
20150520_023717_zpsh7y7km5r.jpg

Tomorrow I'll upload some more pics of the finished engine and suspension, sorry I skipped almost the whole engine assembly but I got too excited and just forgot to take pics.

Thanks for watching ;D
 
Yes, one of my favorite F1's of all time. I think I got it on Amazon for $25 so it was pretty cheap. Thanks for following.

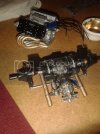
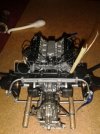
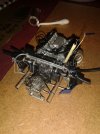
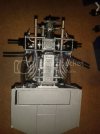
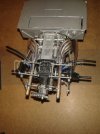
So, at this point the whole engine is done, finished painting all parts last week and married the engine to the chassis.

I noticed I had left two nasty mold holes in the exhaust pipes, but I took the pictures first, so those holes have been filled and sanded off, but it won't show in the pics.

This is before attaching the transmission to the engine block. I went through hundreds of pictures on Google for reference and there were many variations on the exhaust manifold color, some were some kind of dark steel, black and most were burnt steel that turned goldish, so I decided t go with the burnt steel and painted them with a very thin transparent gold shade.
20150601_024607_zps8eseuipr.jpg

After joining the engine and transmission I decided to give weathering a shot, so I bought a set of Tamiya weathering master and decided to weather the exhaust to make it look like its been raced a few times and the steel burnt. I'ts the first time I try weathering so don't be too harsh, In some pics I over did it with the purple and blue so I faded it off and I think I achieved a somewhat more natural exhaust weathering.
20150610_223911_zpsflulbdpu.jpg

20150610_223901_zps7bm2nppl.jpg

20150610_215333_zpsmaju2eiz.jpg

20150610_215055_zps5yprsia2.jpg

So after this it was time to marry the engine to the chassis. Also, I faded off a bit of the exhaust colors, I'd really appreciate opinions, do you think it needs more burnt purple and blue? Or is it fine like this?
20150719_164846_zpsxwau0jqf.jpg

20150719_164906_zpselydamd4.jpg

Notice the longer wheel axle? Well I screwed up and broke it, I tried gluing it back on but it was attached very weakly, so I had to drill a hole where the old axle was and sanded a piece of sprue and sanded it to the same thickness, glued it in and it came out as strong as new, I just need to clip it to the right size.

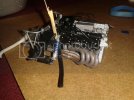
Engine is pretty much done, its only missing a matte clear coat which I'll do later on. Added a wire above the plug wires to give it a little more detail, I made it with telephone cable, cut it and took out the four small wires inside, and attached it with some shrink tube.
20150719_164539_zpskmoxlmqu.jpg

20150719_164604_zpssd5ayeff.jpg

This week I've been assembling the front suspension and brakes, I painted the whole front suspension and springs today, I'll take some pics tomorrow in daylight and upload them.
20150719_164514_zpsgvwtkpvc.jpg

20150719_164507_zpsnu2kqzve.jpg

I'll continue working on it and upload pics. Any criticism, opinions and tips are greatly encouraged and appreciated.

Thanks for watching.
 
Thanks! I've been too busy and haven't made much progress but I'll resume work today.

Thanks for looking.
 
Ok so its been little progress but I'm not too far from finishing.

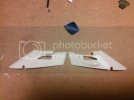
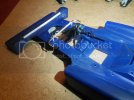
The cockpit cover had to be glued together, since I'm doing Ronnie Peterson's T34, I had to cut off a part of it in both sides, I used a dremel to do this, but extra care must be taken since it can easily melt too much plastic. Left is before, right after.
IMG_20150825_180254_zpsbptyrl6f.jpg

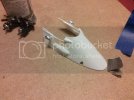
After gluing the mirrors in and filling the center gap, it came out looking like this and its ready for some paint.
IMG_20150830_182318_zpskhdwirjz.jpg

Also glued together the rear wing and suspension. After an hour of sanding, I finally got the joint lines to fade and now it looks like its 1 piece.
IMG_20150830_182416_zps4lrv9xoq.jpg

IMG_20150830_182453_zpsuir04wit.jpg

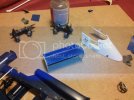
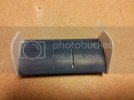
Assembled the suspension and steering wheel frame, masked the inside of the gauges to keep detail from being painted and painted the brake ducts black. The suspension is ready to be glued to the body.
IMG_20150830_182257_zpskrcirszs.jpg

IMG_20150830_182214_zpsigskkywx.jpg

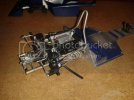
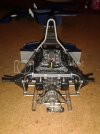
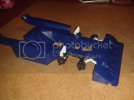
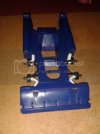
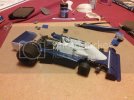
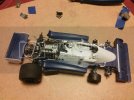
So far this is how its looking put together:
IMG_20150830_183100_zpsqwceexhd.jpg
IMG_20150830_183124_zpsu2dadhwb.jpg

I'm currently grinding and cutting a squared brass rod I picked up at hobby lobby to make the front wing adjusters to give it more detail, will post pics of it when finished.
t7oF3yP.jpg


Its coming together nicely, not many fit issues, and its almost ready for paint after I finish the front wing and gluing the chassis. I'll post some pics when its all ready for paint.

Thanks for watching.
 
Wow! :eek: Fantastic work! This is coming along nicely. Thanks for sharing this build with us.
 

Latest posts

Back
Top