Thank you all for stopping by.
Here is a proper update now.
First a clean up on the engine parts (plastic)

Cowling pieces are up first in this build. They have a good bit of PE to add to them so first clean up the pin marks.
While they are small and shallow, they are still obvious.
Before:


After:

PE Added to the Upper 1/2.

The bottom 1/2 needs more work. First dremel out the slots for the PE.

Then file and sand out the rest of this garbage.

All clean now.

Next up the PE:

A bit of glue later:


Next up is this bit:

Clean up and remove the plastic.

Start gluing

And more PE for engine parts.

Still lots of PE to go to include about 30 parts for the blocks. These are next.

So far..., all is going really well. Wish I had more time to dedicate to it, but I know that won't happen till the end of the month. I'm impressed I've got this much done to be honest.
Thanks for stopping for a look.
Tanker - thanks for checking it out.
Here is a proper update now.
First a clean up on the engine parts (plastic)
Cowling pieces are up first in this build. They have a good bit of PE to add to them so first clean up the pin marks.
While they are small and shallow, they are still obvious.
Before:
After:
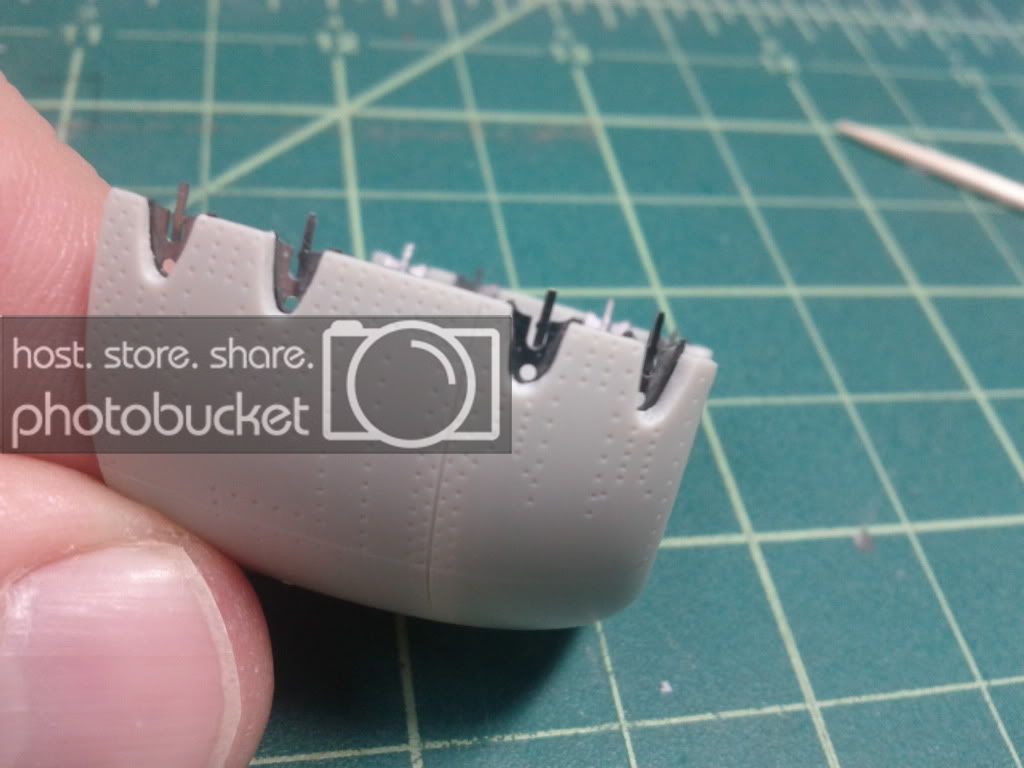
PE Added to the Upper 1/2.
The bottom 1/2 needs more work. First dremel out the slots for the PE.
Then file and sand out the rest of this garbage.
All clean now.
Next up the PE:
A bit of glue later:
Next up is this bit:
Clean up and remove the plastic.
Start gluing
And more PE for engine parts.
Still lots of PE to go to include about 30 parts for the blocks. These are next.
So far..., all is going really well. Wish I had more time to dedicate to it, but I know that won't happen till the end of the month. I'm impressed I've got this much done to be honest.
Thanks for stopping for a look.
Tanker - thanks for checking it out.
")