texastony1946
Member
- Joined
- Mar 15, 2013
- Messages
- 151
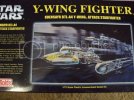
I have always loved the YWING from the Star Wars series, so I decided to build the 1/72 Fine Molds
YWING. This is really a little jewel of a model. The detail is fantastic. It has close to 100 parts so it's
not exactly an easy build. Trying to get all the little pipes in place requires a little patience.
I started with the engines. I used metallic tape to light block the interior.
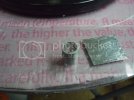
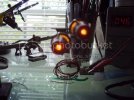
Next I started adding the LED's. I used 1 5mm amber flicker LED in series with a 3mm flat top orange LED.
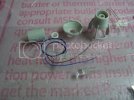
Engines checked.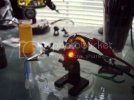
Next I assembled the cockpit, drilled out indicator and gauges and added fiber optics. I also added a SMD LED.
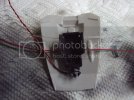
The cockpit is very small at this scale. I could not add a great deal of fiber but I did add two 1mm fibers that are attached to a fading LED.
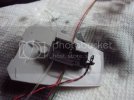
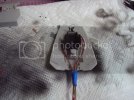
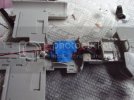
I epoxied the tube in for the stand and prepared to assemble the fuselage.
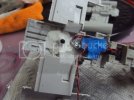
Everything wired in place.
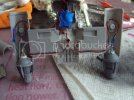
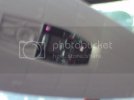
Lighted cockpit minus the pilot. Sorry for the blurry image.
Assembled and ready for primer.
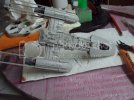
Primer added.
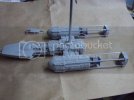
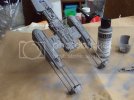
Pre-shading added after primer.
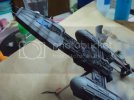
Testing assembled model.
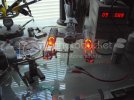
Preparing mask after primary color is applied.
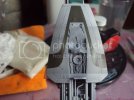
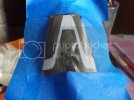
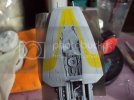
Painting the details and adding some weathering. I used an oil pin wash on the cockpit panels.
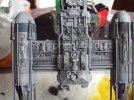
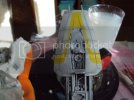
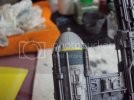
Pilot finished. Another blurry photo.
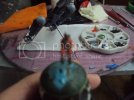
Started base.
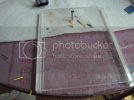
Applied mask.
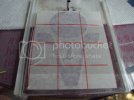
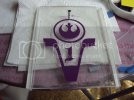
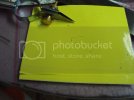
Trial base I didn't use. Too much color.
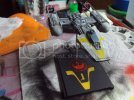
New base.
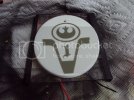
Painted and mask removed.
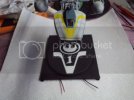
Model finished and weathered. Still photos.
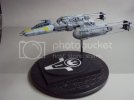
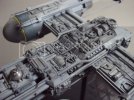
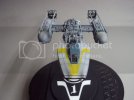
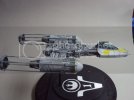
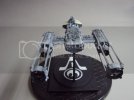
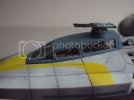
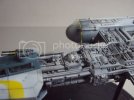
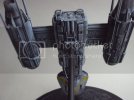
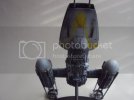
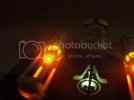
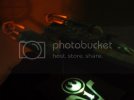
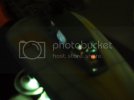
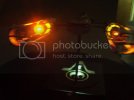
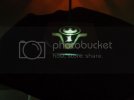
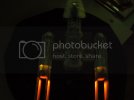
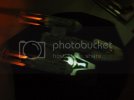
Thanks for viewing. Youtube video.
https://www.youtube.com/watch?v=VppfdB7hNNk
YWING. This is really a little jewel of a model. The detail is fantastic. It has close to 100 parts so it's
not exactly an easy build. Trying to get all the little pipes in place requires a little patience.

I started with the engines. I used metallic tape to light block the interior.

Next I started adding the LED's. I used 1 5mm amber flicker LED in series with a 3mm flat top orange LED.


Engines checked.


Next I assembled the cockpit, drilled out indicator and gauges and added fiber optics. I also added a SMD LED.

The cockpit is very small at this scale. I could not add a great deal of fiber but I did add two 1mm fibers that are attached to a fading LED.


I epoxied the tube in for the stand and prepared to assemble the fuselage.

Everything wired in place.

Lighted cockpit minus the pilot. Sorry for the blurry image.

Assembled and ready for primer.

Primer added.


Pre-shading added after primer.

Testing assembled model.

Preparing mask after primary color is applied.


Painting the details and adding some weathering. I used an oil pin wash on the cockpit panels.


Pilot finished. Another blurry photo.

Started base.

Applied mask.


Trial base I didn't use. Too much color.

New base.

Painted and mask removed.

Model finished and weathered. Still photos.


Thanks for viewing. Youtube video.
https://www.youtube.com/watch?v=VppfdB7hNNk
