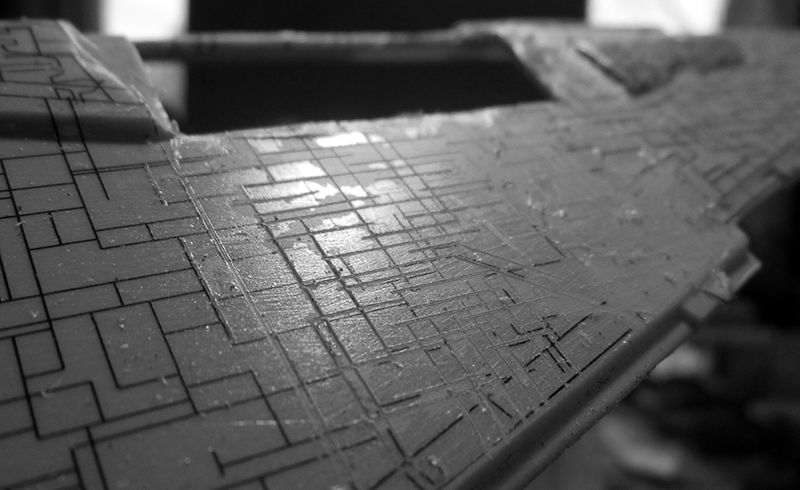
I started scribing tonight and it'll actually be a fun process. I'm using the Testor's tool and since it's new and sharp it's like butter. I'll post some WIP soon outlining the process. First scribing, then more sanding, then more scribing, then brushing...phew. Payin' off already though...
I just realized I need to finish the scribing like THIS WEEKEND because with a week-long vaca in April and some masters to finish before Wonderfest I'm going to be SUPER pressed for time. I even had 2 more entries ready to start but I might just need to hunker down on this and the JV44 bird....
Of course, that doesn't mean I won't toss in a quick thing or two here or there
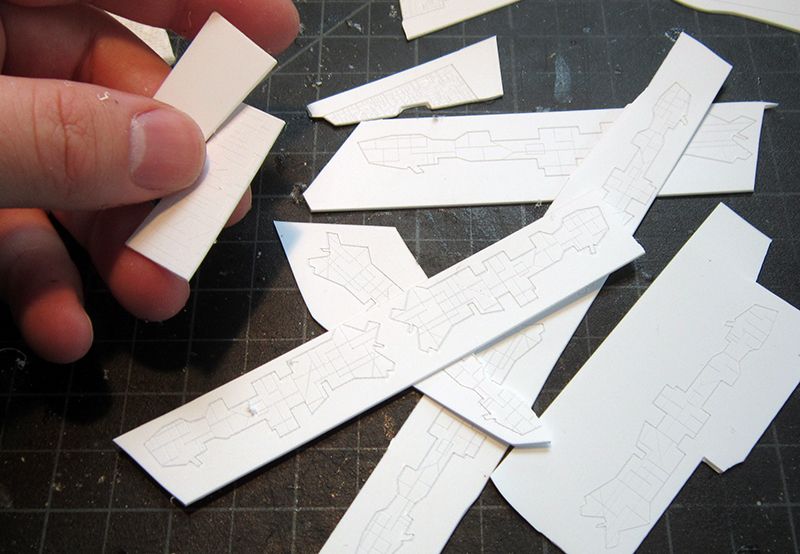
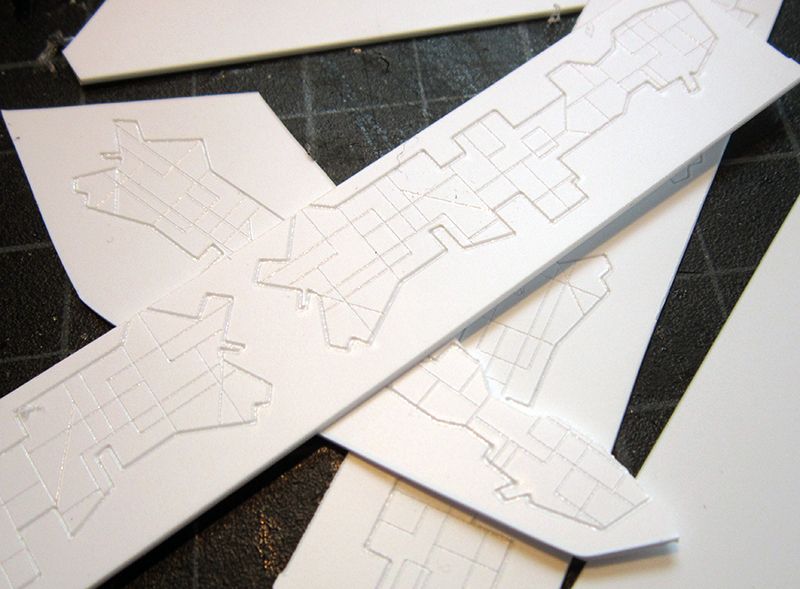
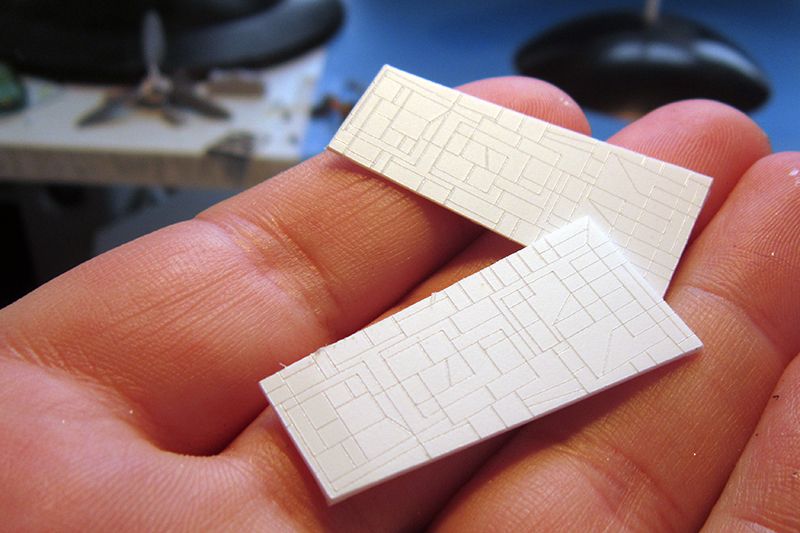
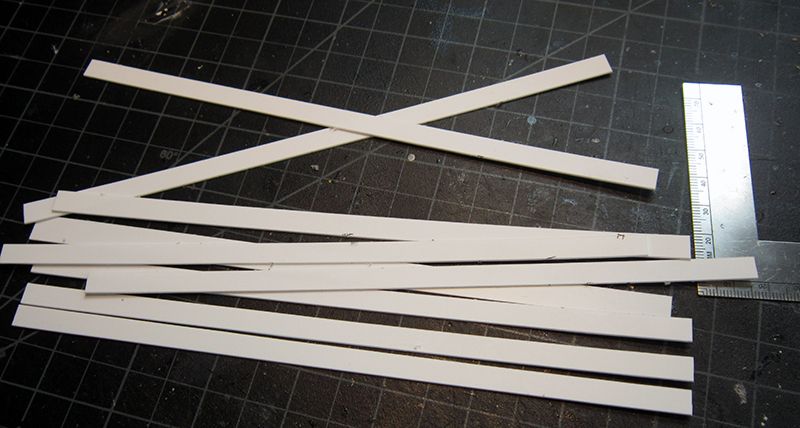
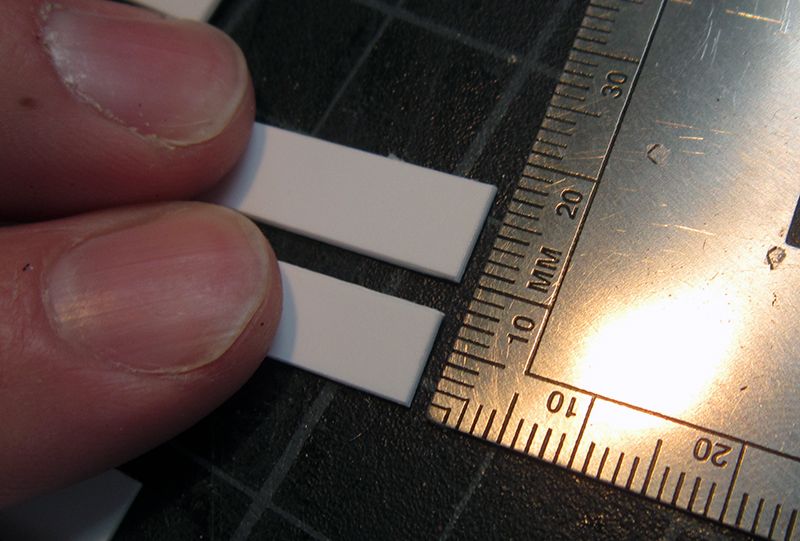
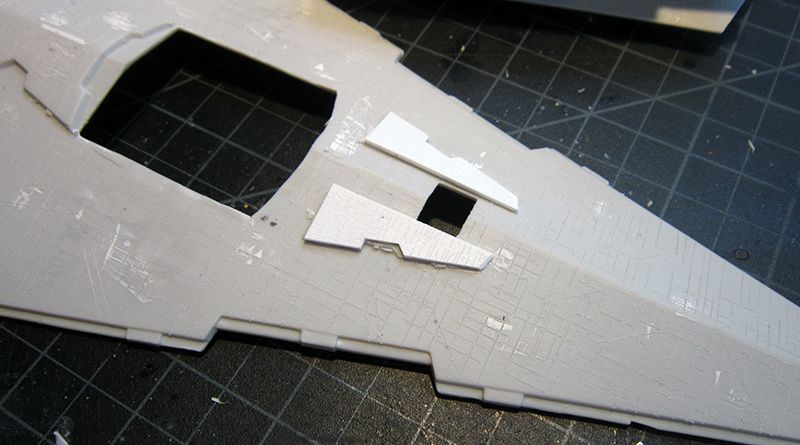
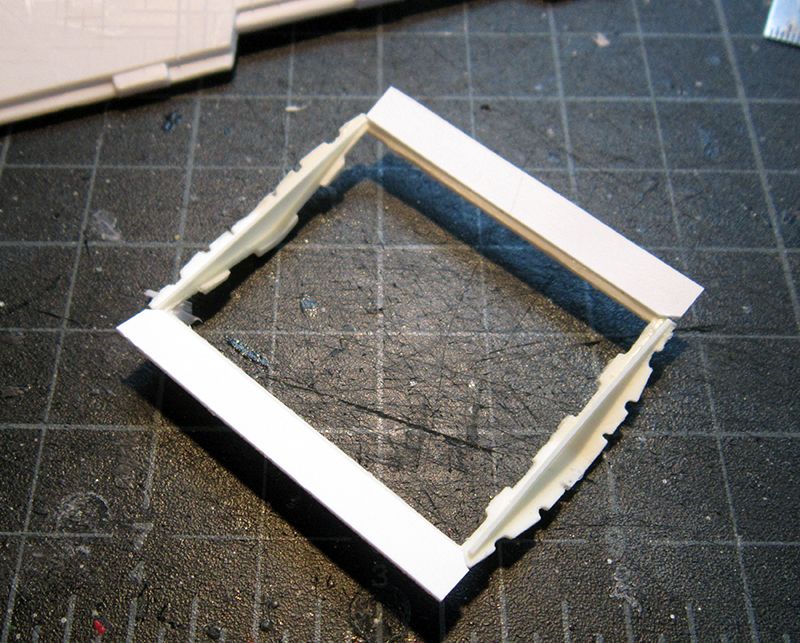
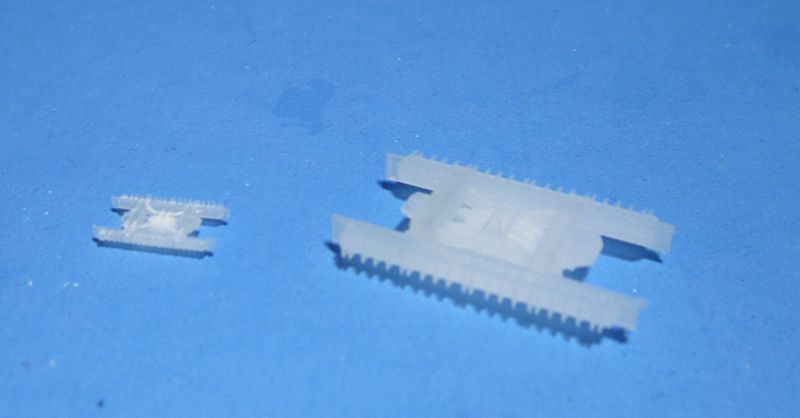
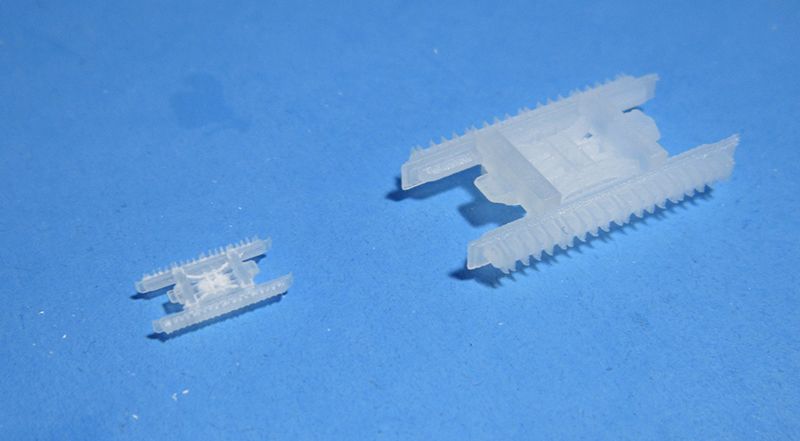
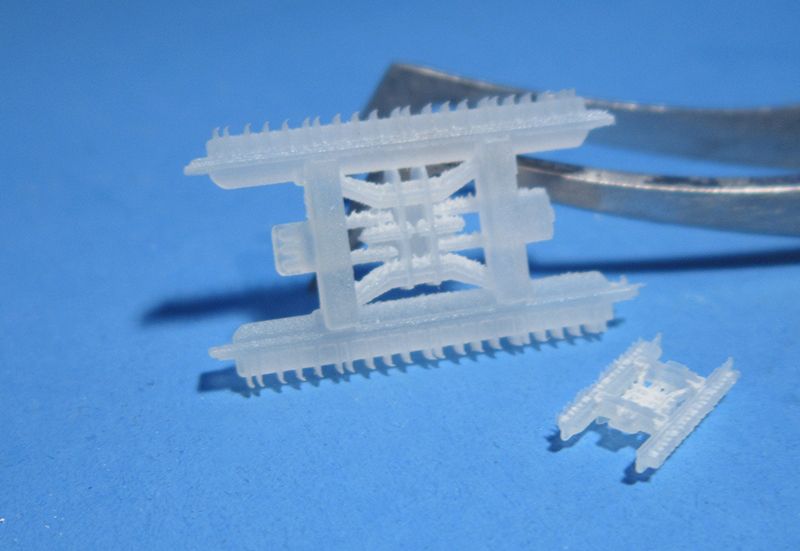
To continue work on the build I dug out some extra laser etched pieces for the ventral armor plating. It was cut on some stock that’s a little thicker than ideal but I don’t mind the look (see more below).
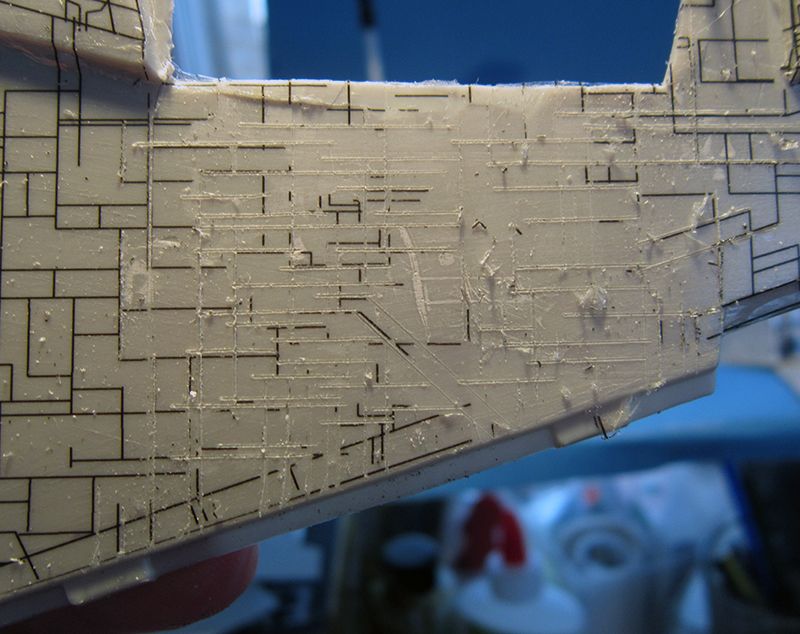
I also found some strips for the side walls. I remember designing them with a slightly larger piece so that the slope would be accommodated. (I also finished scribing the superstructure pieces)
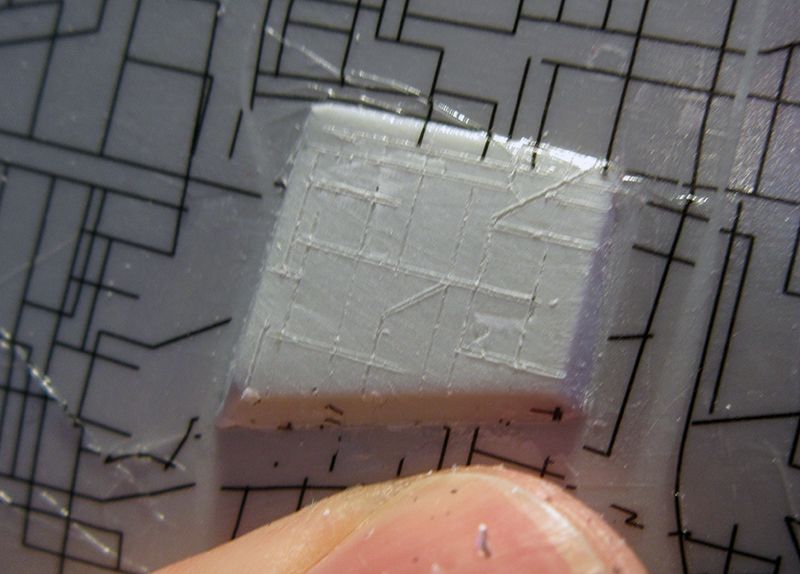
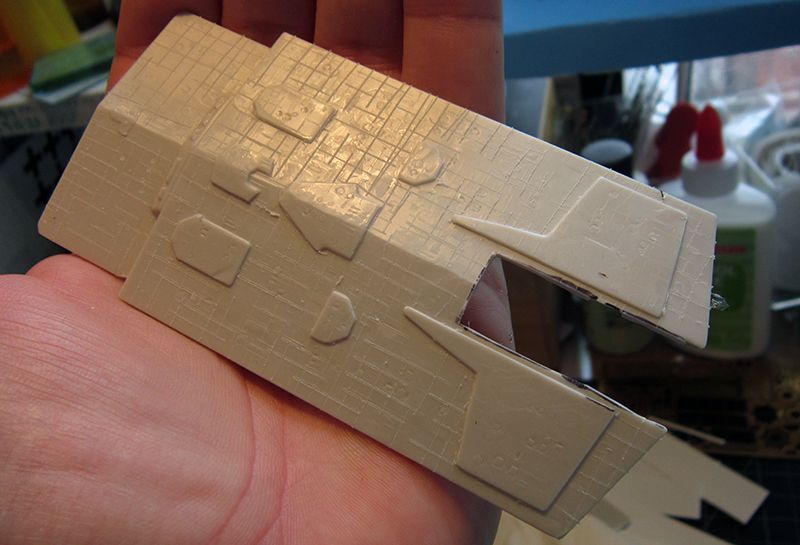
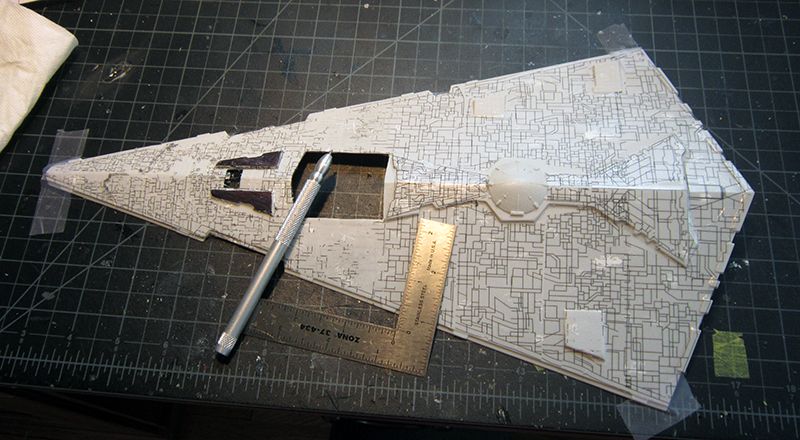
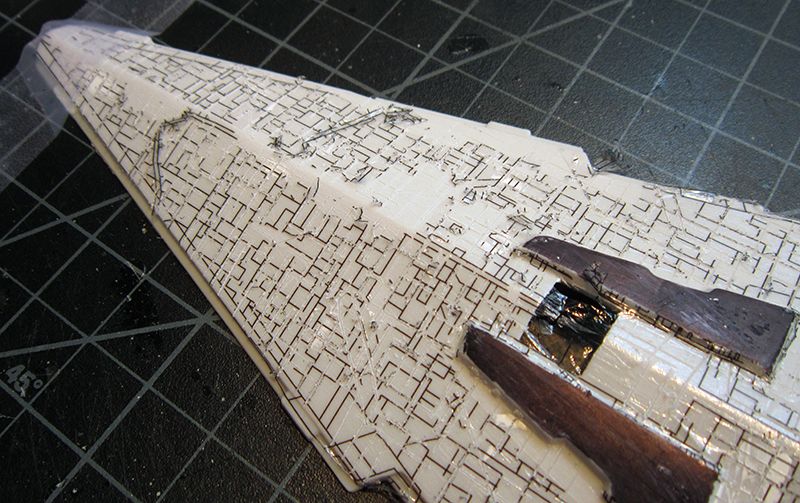
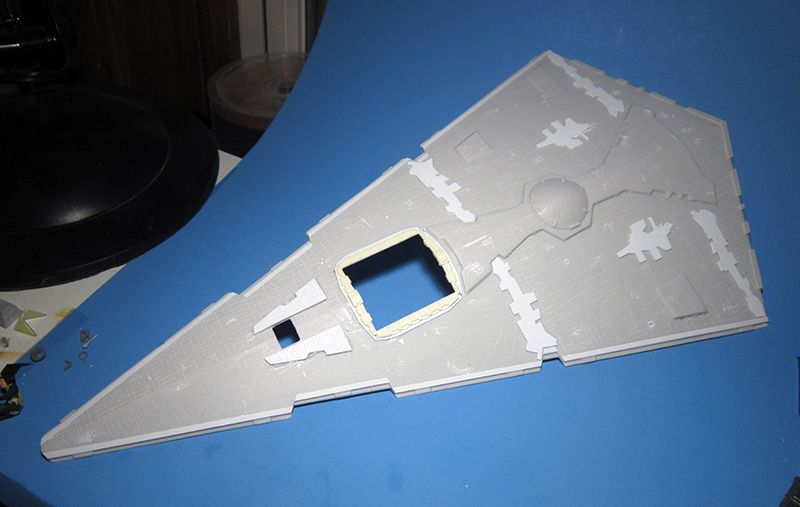
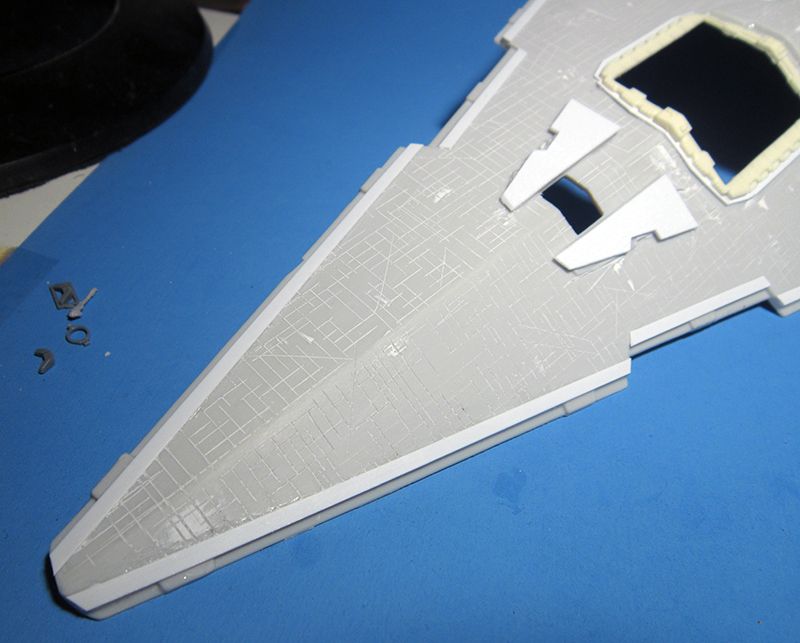
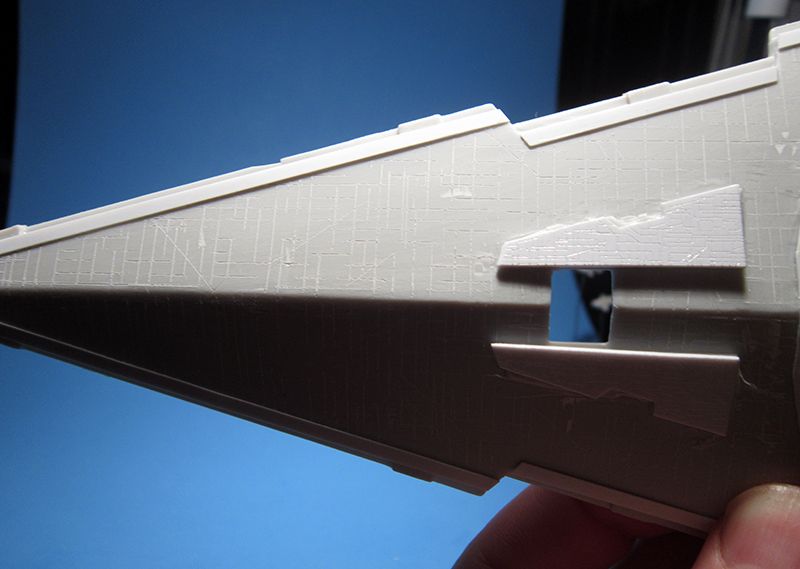
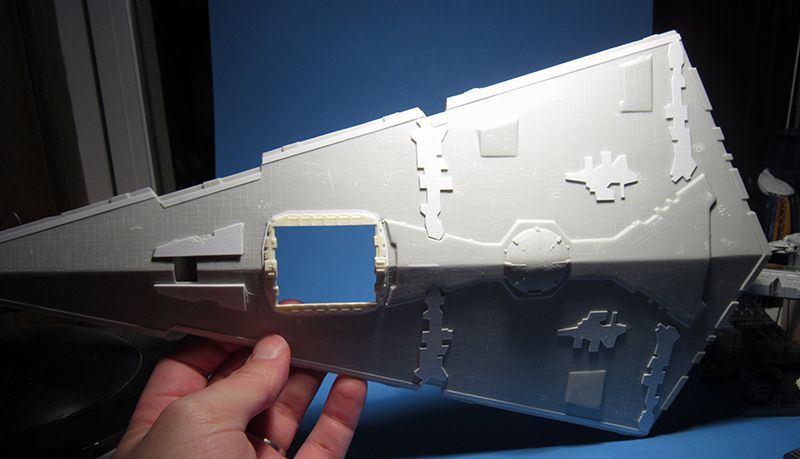
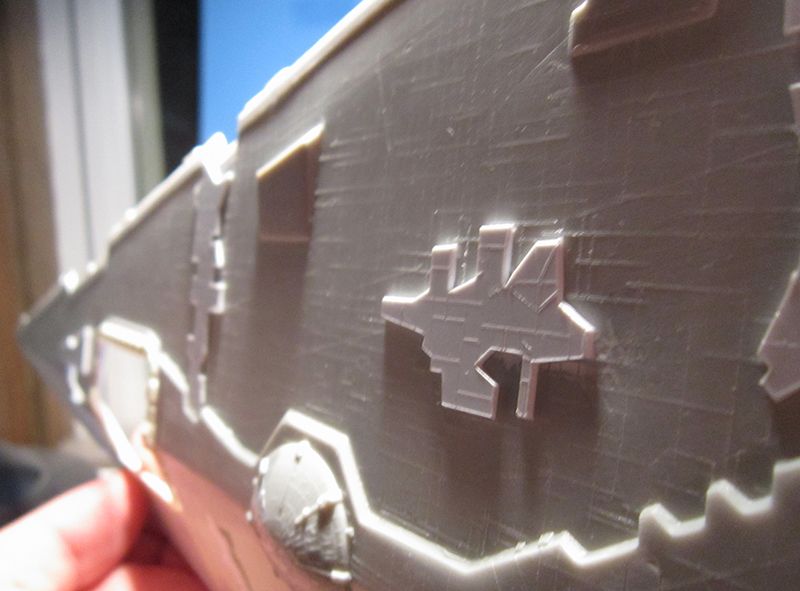
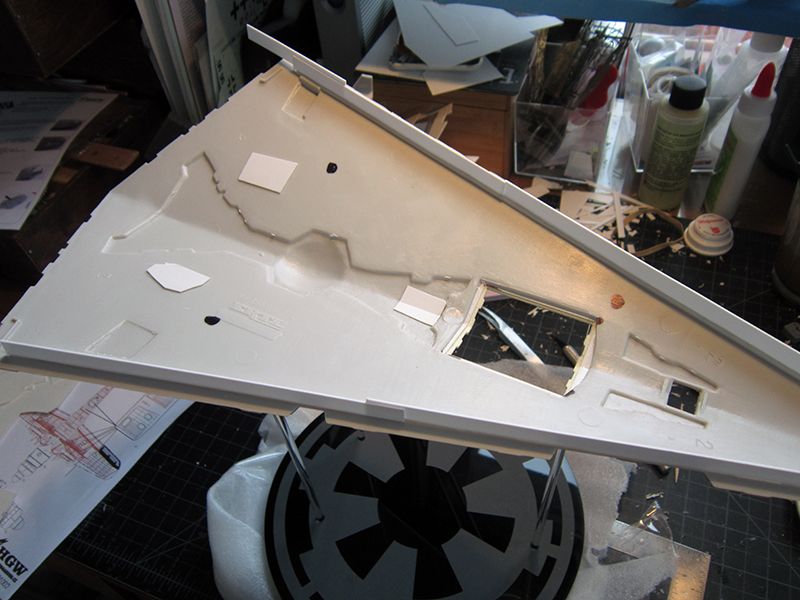
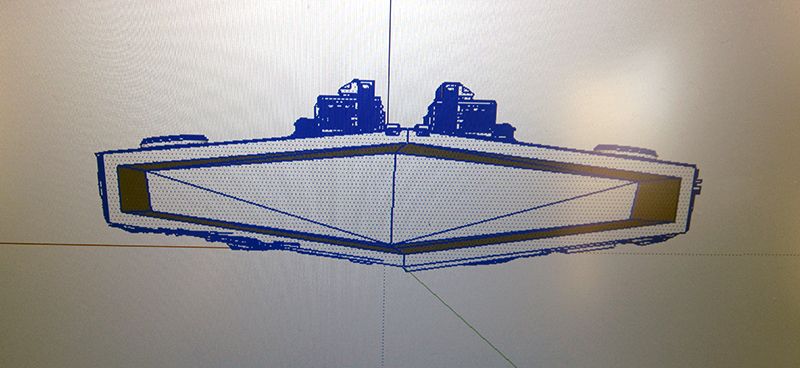
The lower hull got it’s turn under the scriber, too. Surprisingly it only took about an hour!! Well, at least for the first round….I went at it first by doing all the horizontals for each side, then the verticals, then the diagonals.
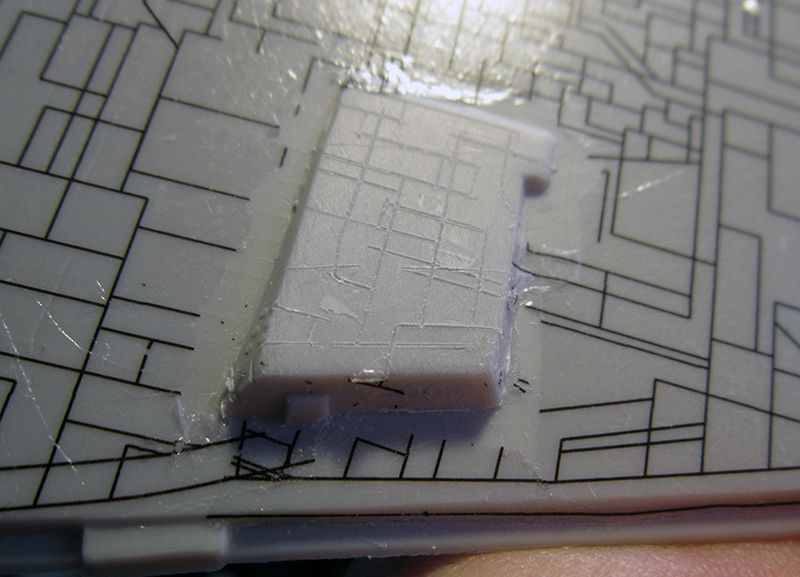
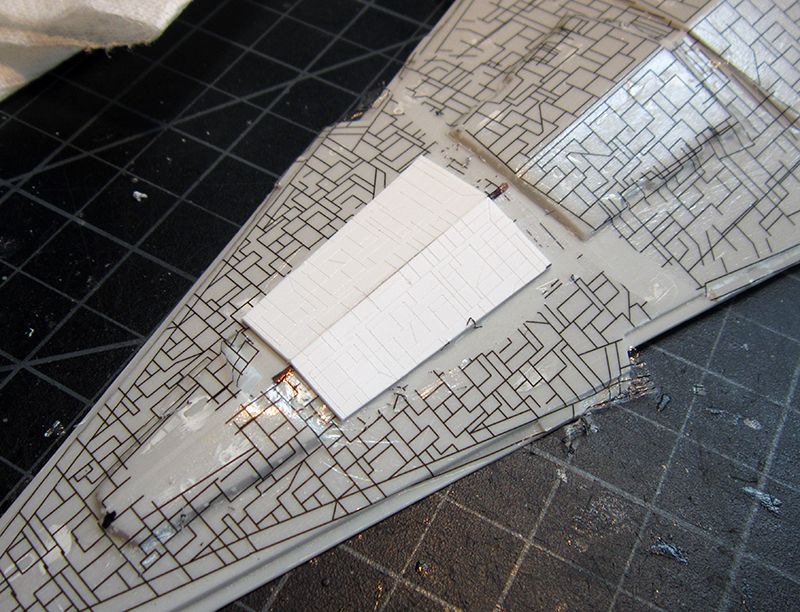
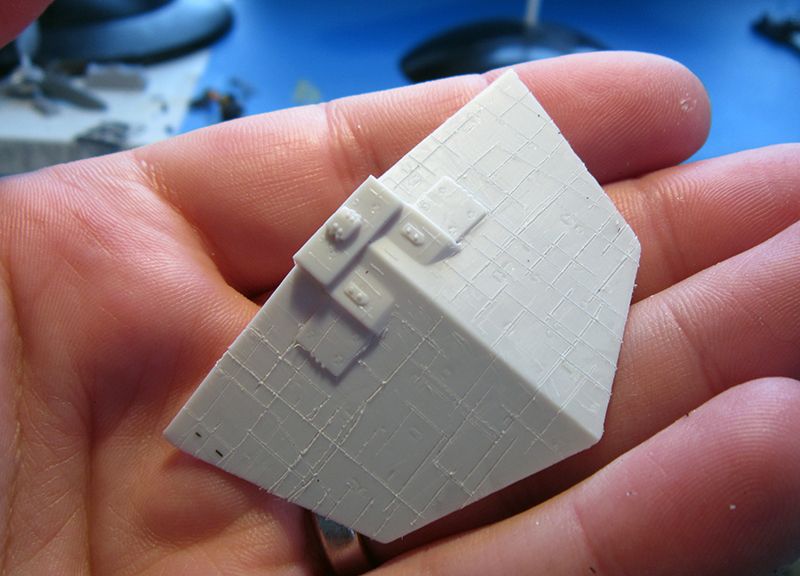
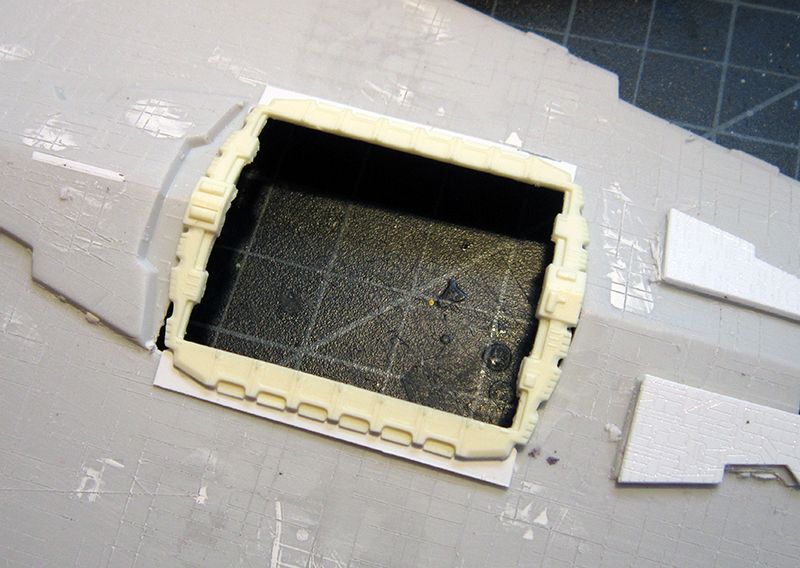
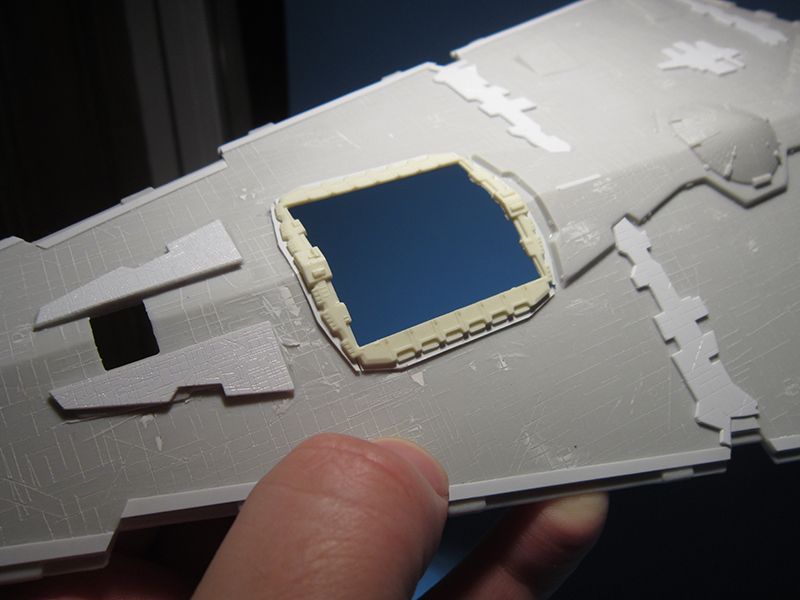
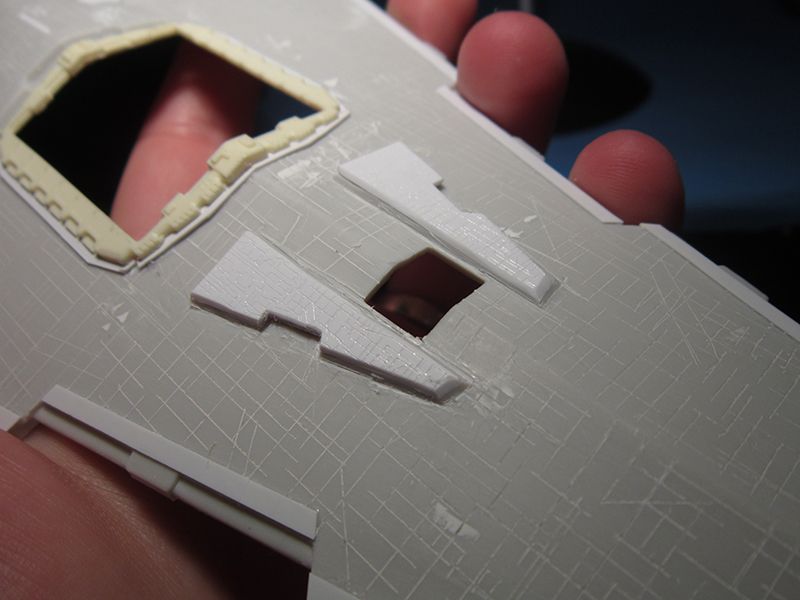
Figured while I was at it with the lower hull I’d start adding some of the other larger details. I fit the outer piece of the hangar but it needed a little reinforcement in the form of some very thin styrene. Anyway, I think the scribing turned out nicely. After the parts were added I sanded the lines down just to clean them up and then scrubbed the lines out with a short-bristled brush.
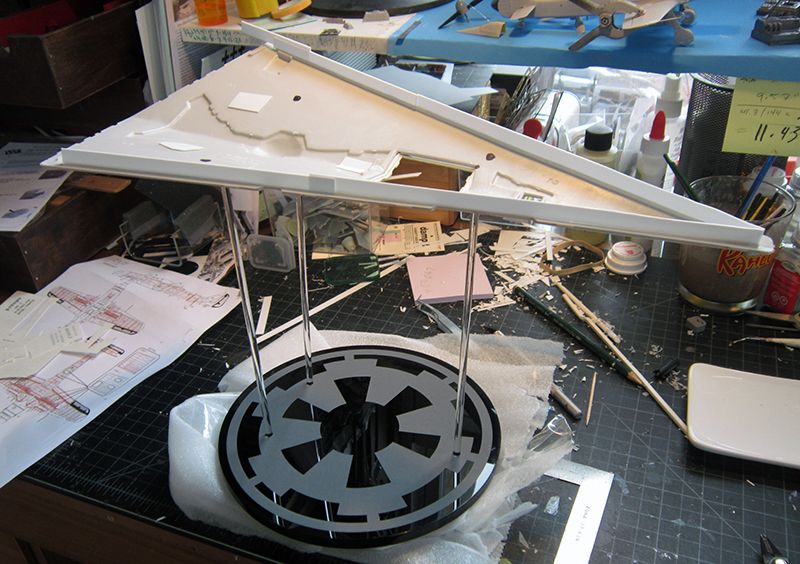
Oh, and check out this bad ass stand Laser Fire Creations made for me.
A wee bit o progress....I decided to hack away at the engine block, too. All the major and minor details were scraped down for the eventual rebuilding process…
ALSO started planning the display base. Obviously it won’t sit that tall, but it’s a start.
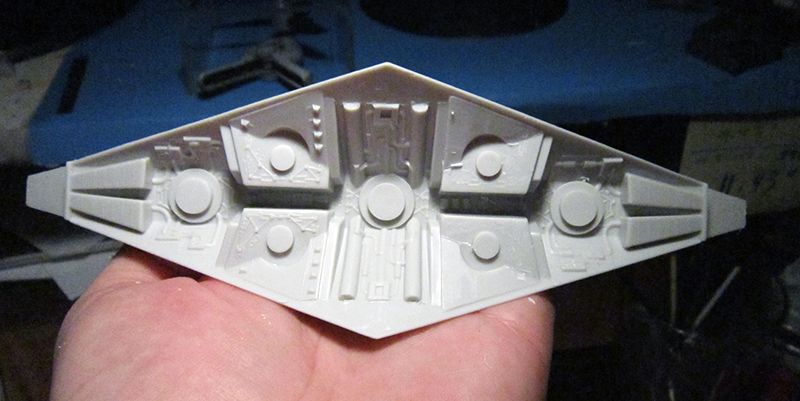
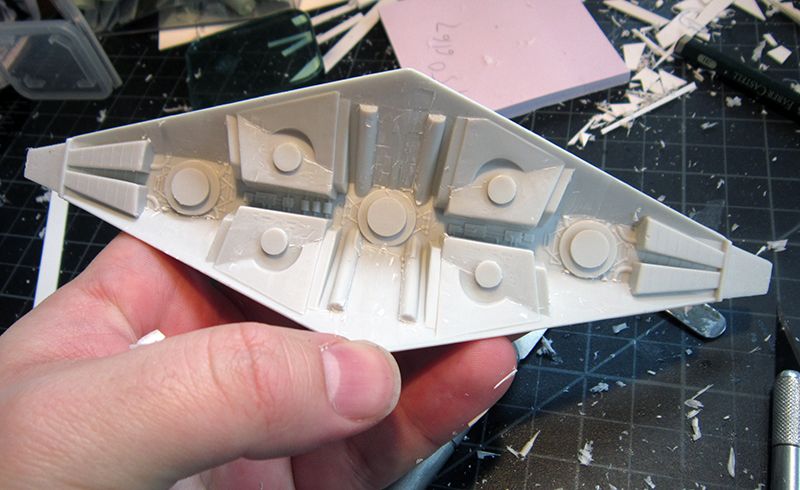
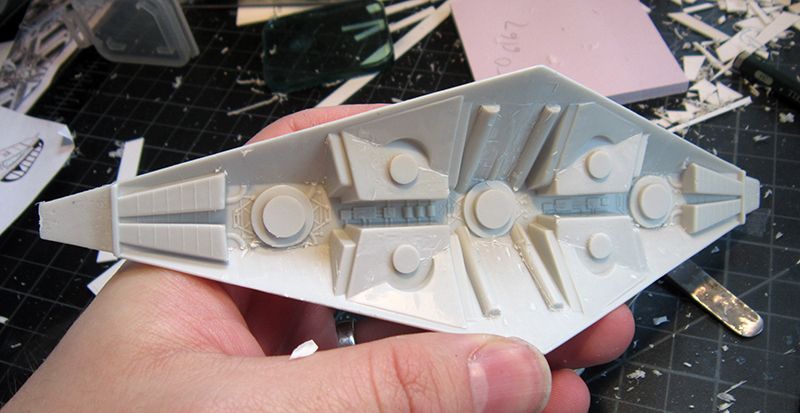
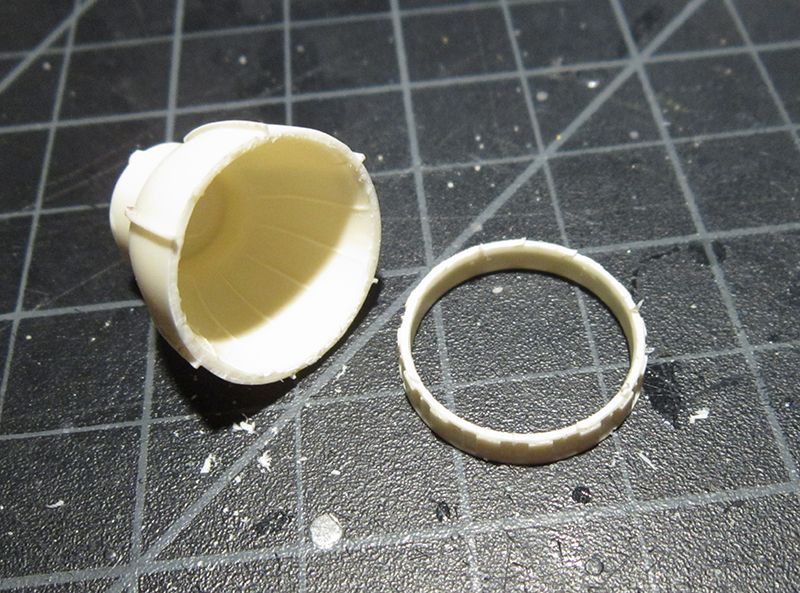
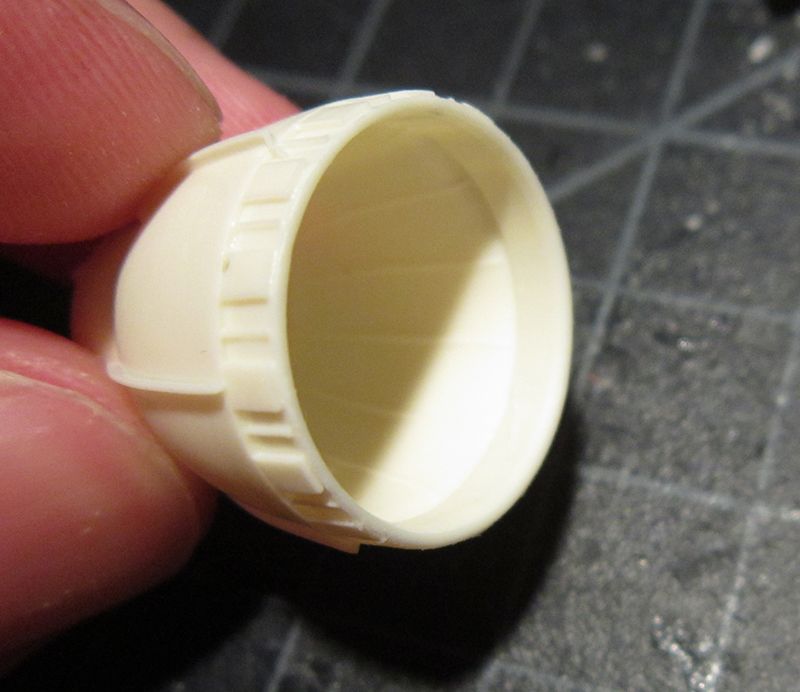
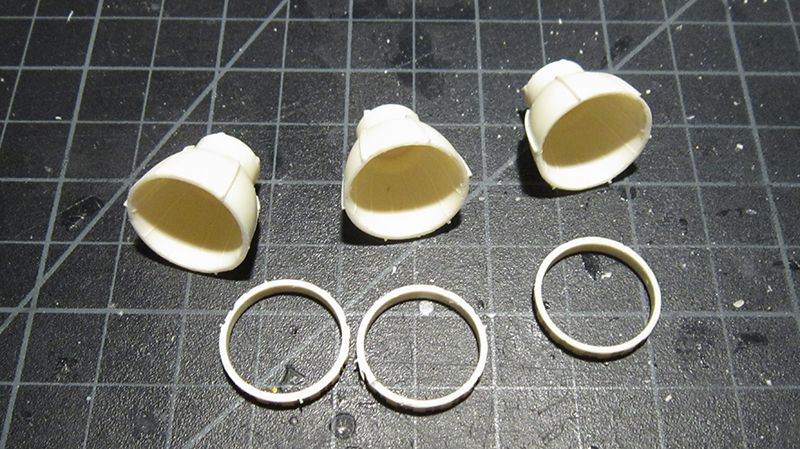
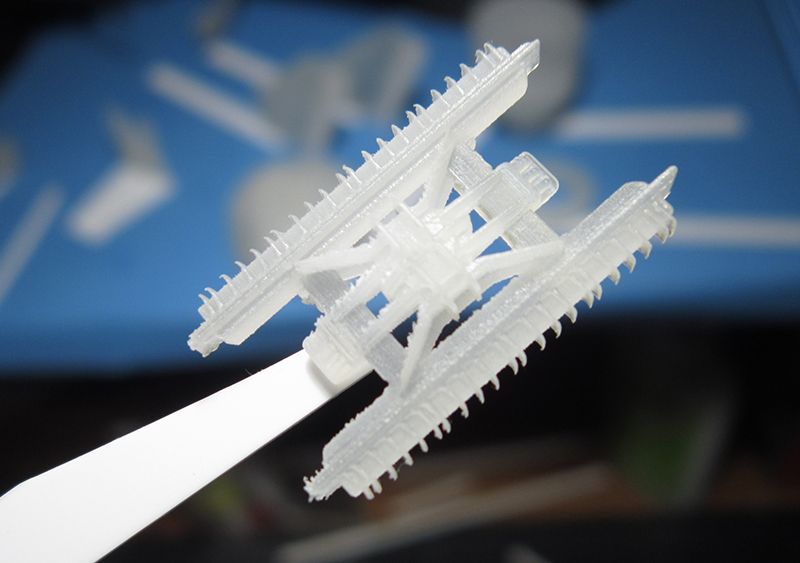
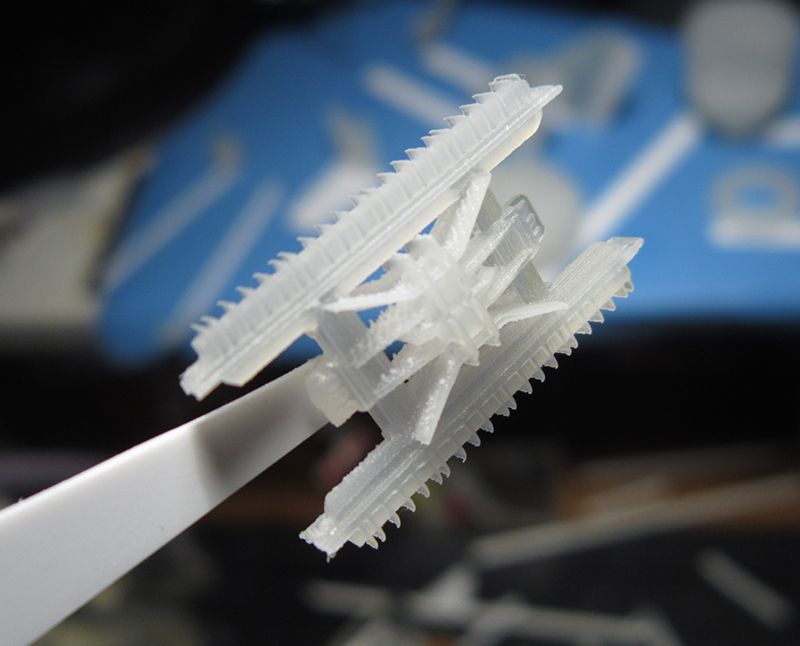
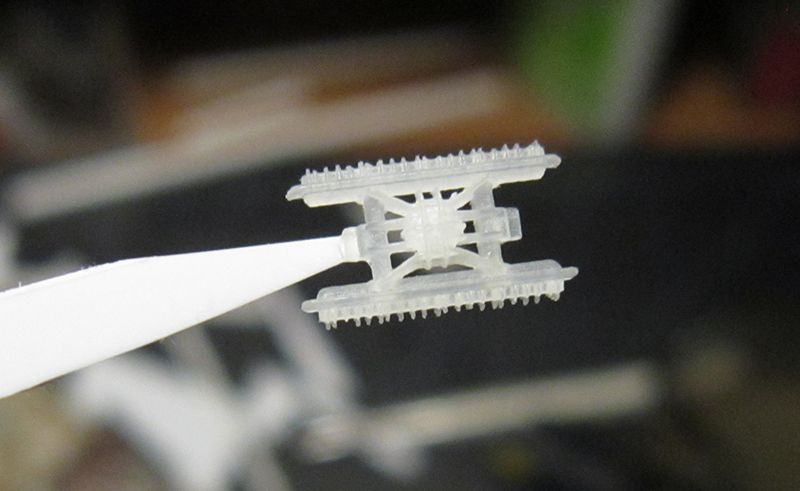
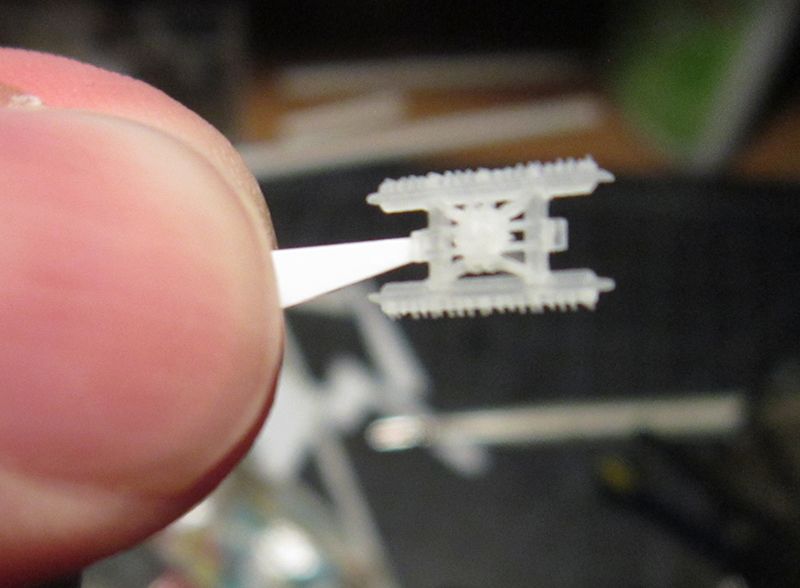
Working on some little fiddly bits. On the studio model there is a gap between the bell and rim on the engine nozzles so I separated them. I’ll use some strip styrene on the inside to lock them back in place. ALSO…my 3D prints for the conning tower came in! WOW this thing came out nice. (I also had a 10k scale printed for the long-benched master) The turret bays are still on the way and the face/head parts are needing some small fix-its before printing. So now my dilemma is this: do I use these printed parts for the build or do I clean them up and have molds made and parts cast for this build within the next month? I give it at least another 2 weeks until all the parts are in my hands. The prints are relatively cheap so I could just print another set for a master…thoughts?
")