Small update: I got the layer of "sky" down on the sides and the 2 tones of green are sitting on my desk Hopefully I'll be able to paint it up this weekend. Tight finish but I think I can I think I can I think I can....but right now it looks like I won't have any "new" builds for the sci-fi category but will have a few all opens. Actually, I take that back, I do have ONE but didn't start a thread for it...
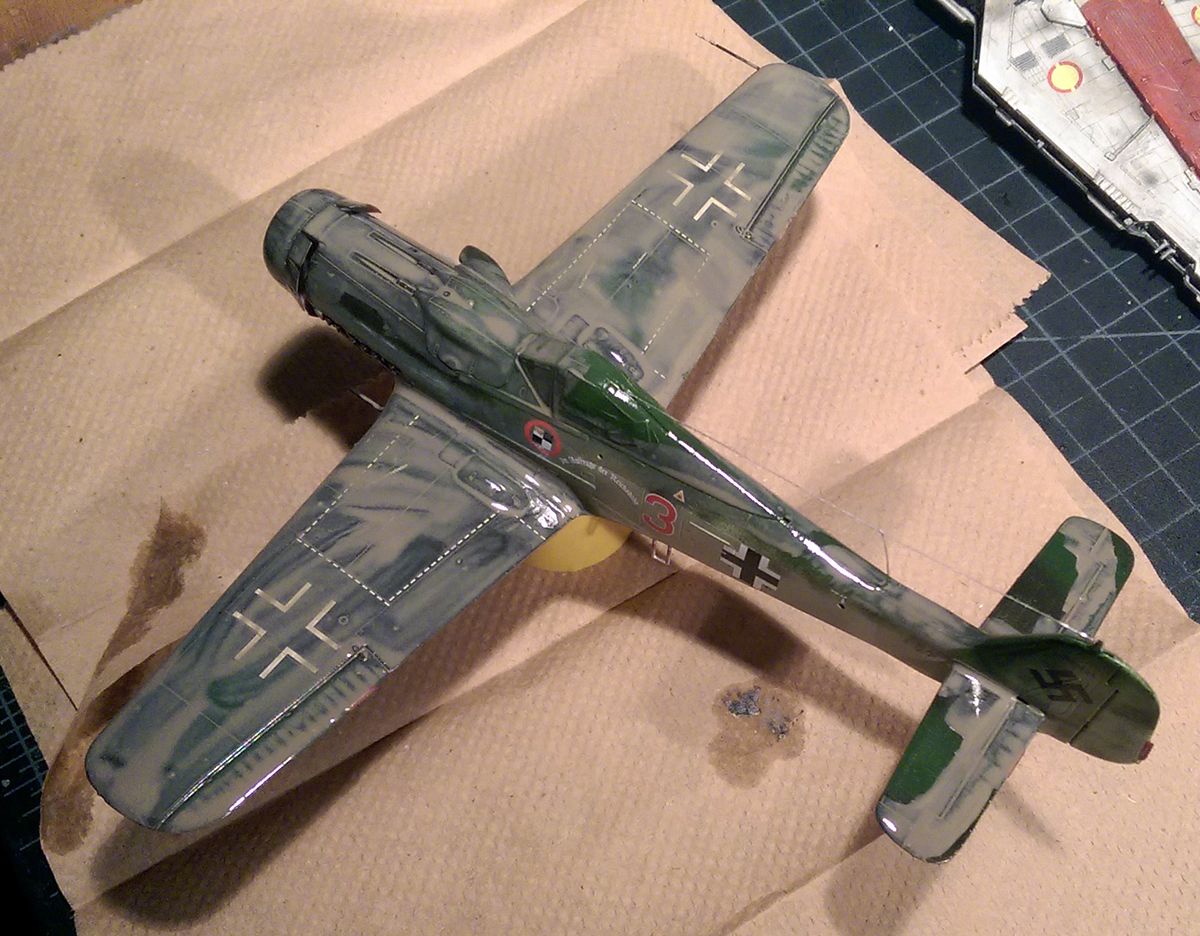
Now that WF is over I've been able to refocus on this guy!!! I need to be more careful here to keep the weathering subtle and in scale.... I did a round of paint touch up and then detail painting. After that it was the flat coat and future. THEN decals!
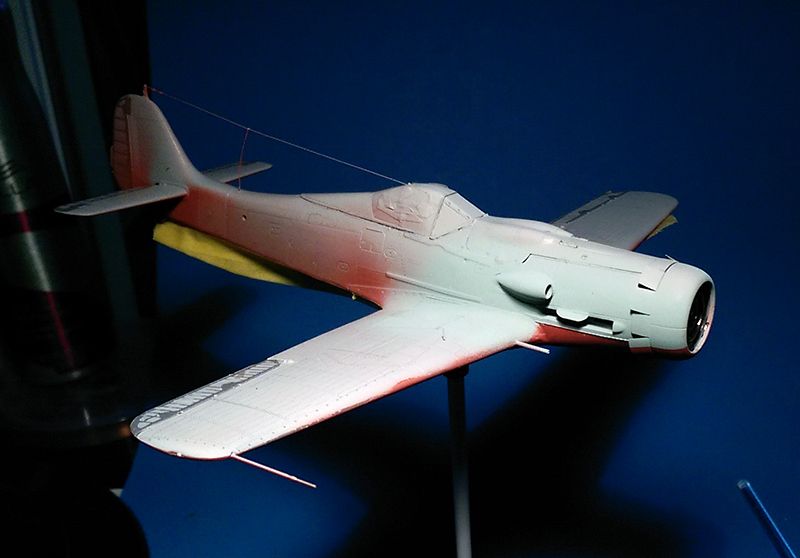
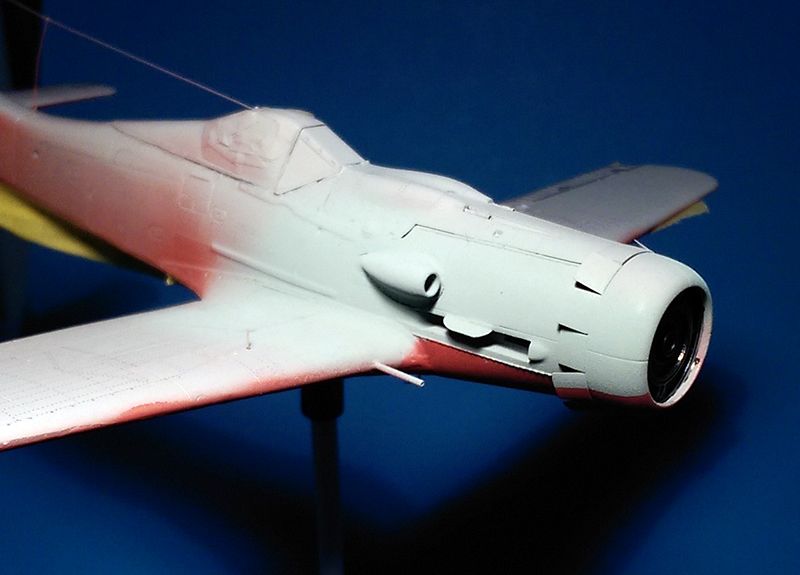
OH, and there was some weird stuff happening with the red on the belly so I went back in and added some variations by hand.
Another trick I read somewhere was that the HGW rivets respond really well to a light sanding. So I carefully went about that...I think the result looks pretty darn good on the wings. Didn't work so well on the belly or the sides mainly because the paint was a little thicker, but that's ok. Just another reason I should stick with the rivet tool...
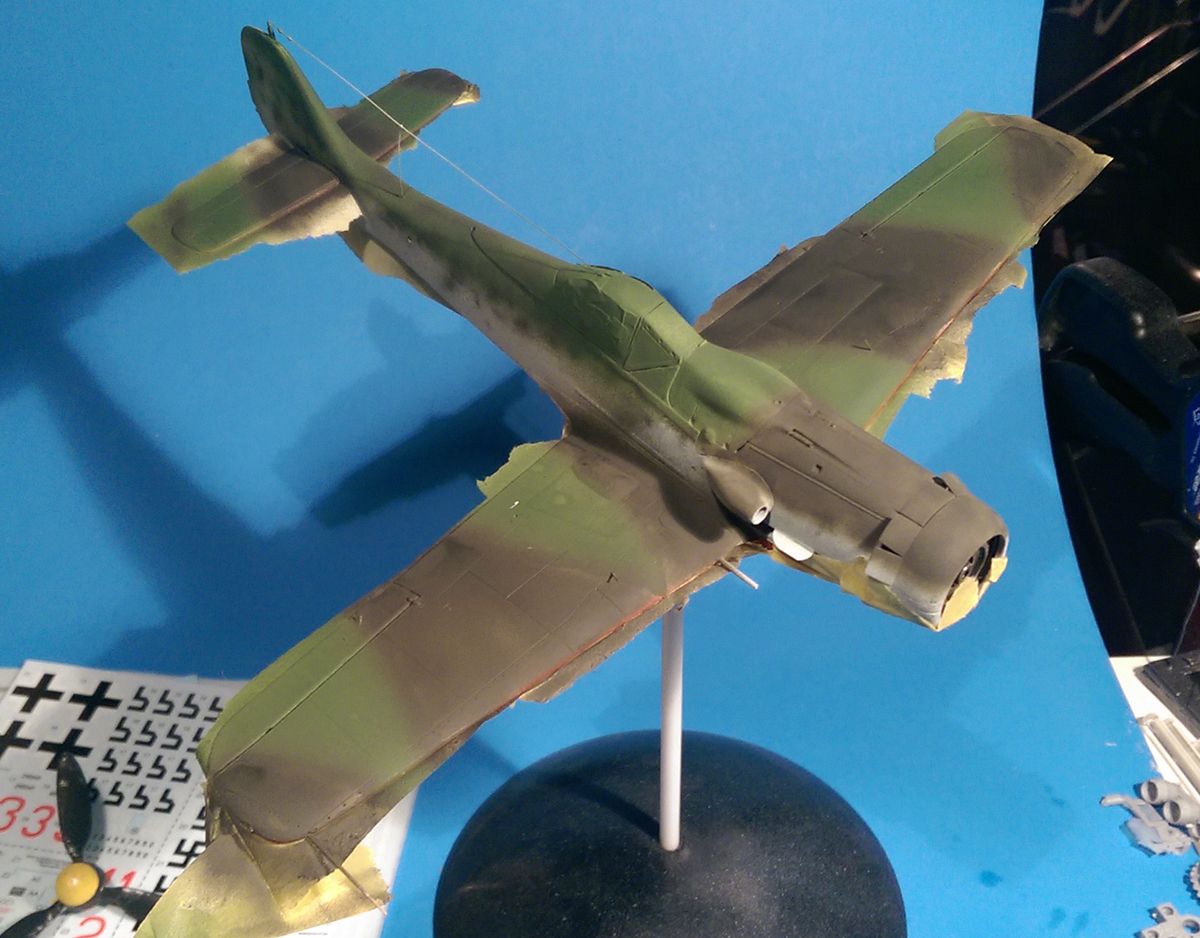
I do kind of like the weathered effect the light sanding brought about...
And in between those steps I had to make a new whip antenna from stretched sprue. The photo etch one just kept bending and wasn’t thick enough.
The stand also got a nice coat of med/dark green with a gloss coat. It also features the name plaque from the PE set and the profile decal from the sheet on it.
Thanks!! They were tricky because the decals actually had carrier film in between the stripes that would have looked like crap. So I trimmed them by lightly scoring through the film to separate it from the stripes and using it as a spacing guide.
Thanks gents! I have an Iwata HP-BH coming soon, too, so I'm HOPING my painting will go nowhere but up. I'm great with a brush, but an AIRbrush is whole different beast!!
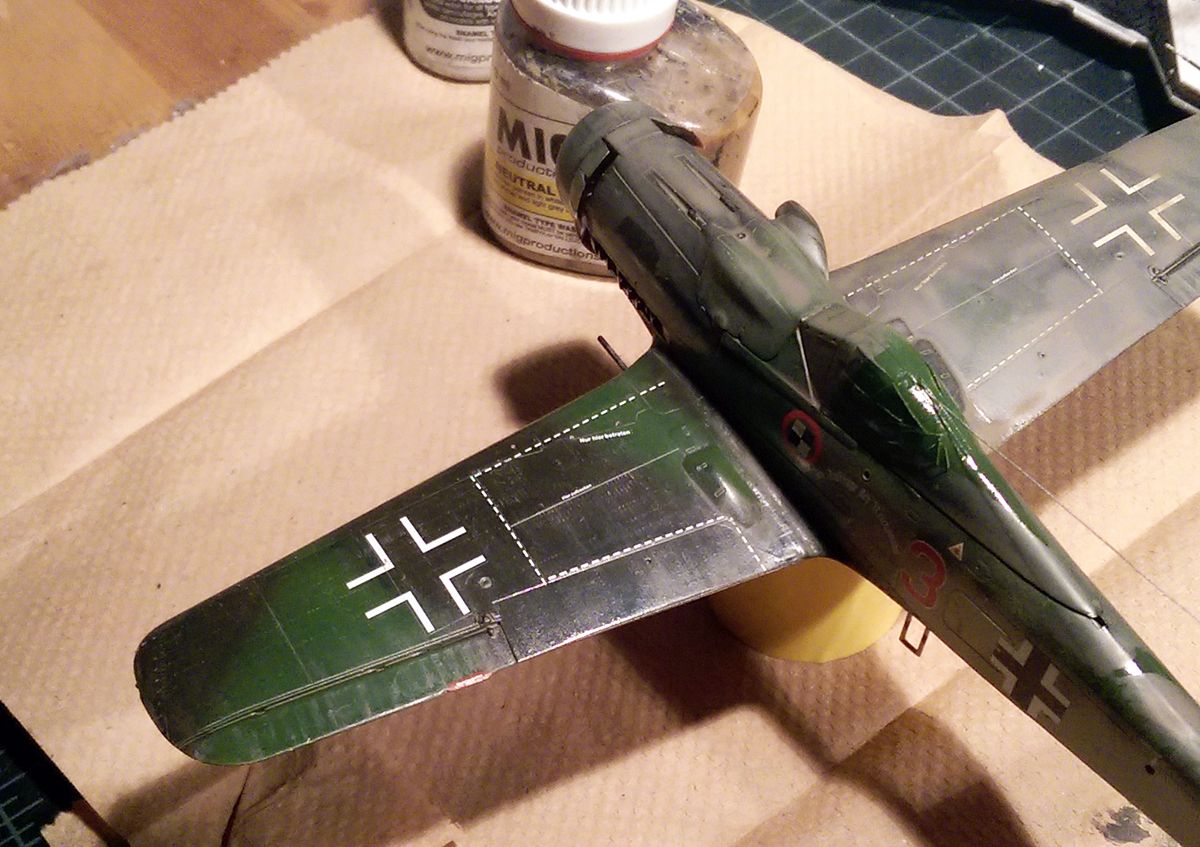
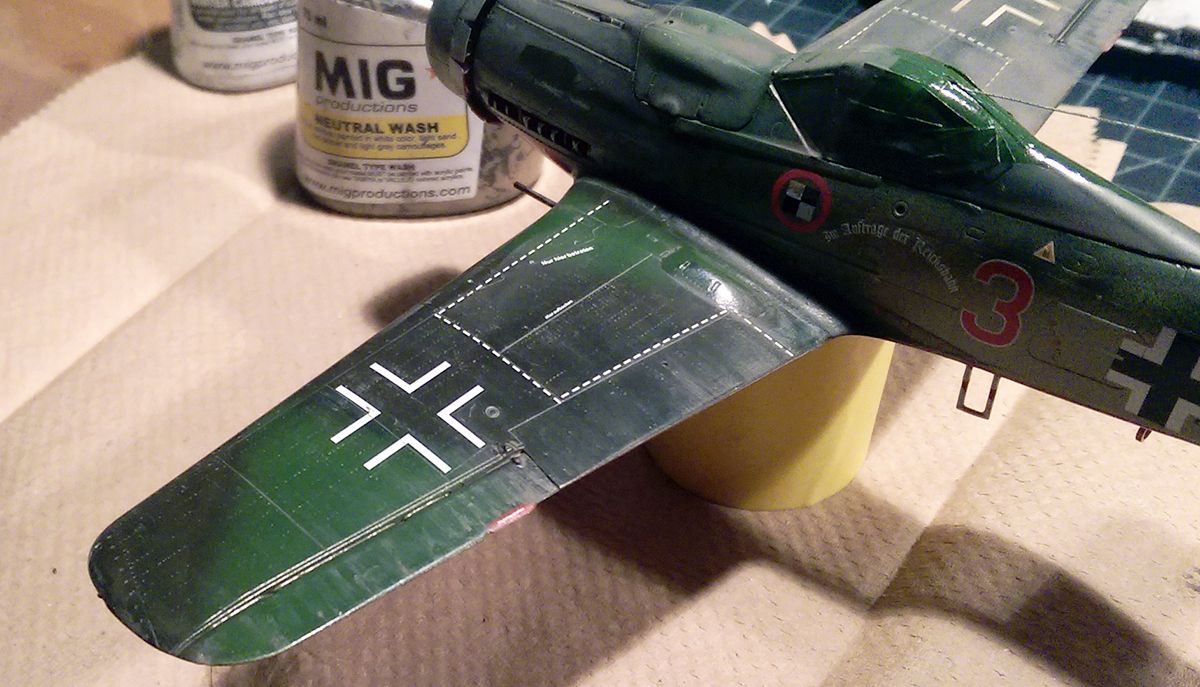
Part 13 on Friday, the 13th!!! Bwahahaha. Ok, after I gave the decals a couple of brushings of Micro Sol I sealed the whole bird with Future again. I didn’t completely get rid of the film, but hey, they’re decals! Not everything can be a dry transfer. Once the Future was completely dry I brushed MiG’s neutral wash over it completely, making sure to brush the more viscous stuff into the deeper panel lines. To clean it off I just rubbed Q-Tips in the direction of airflow until I was satisfied with the result. Not only did it tone down the Future’s gloss, but it gave the colors an overall blending effect, which I like. Once she was clean a coat of flat clear was applied to seal it in. As of now I’m in the chipping phase. I tried using my silver colored pencil but it just wasn’t working how it should, so I switched to using Testor’s chrome paint marker dabbed onto a palette, then using my “chipping effect†brush to lightly dry brush areas. I know this bird didn’t see a TON of action, but the chipping effect makes it feel a bit more real, in my opinion.
 Hopefully I'll be able to paint it up this weekend. Tight finish but I think I can I think I can I think I can....but right now it looks like I won't have any "new" builds for the sci-fi category but will have a few all opens.