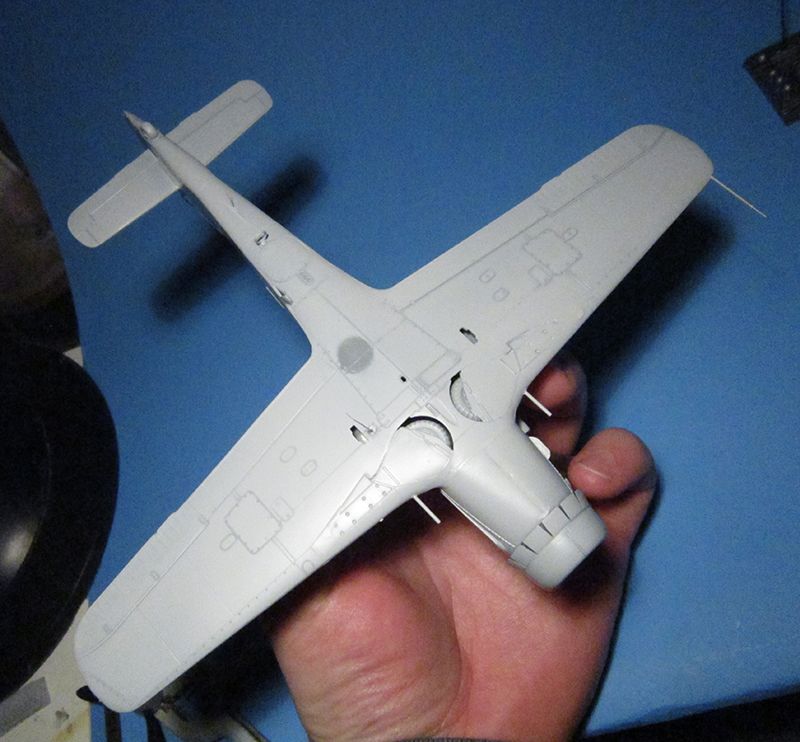
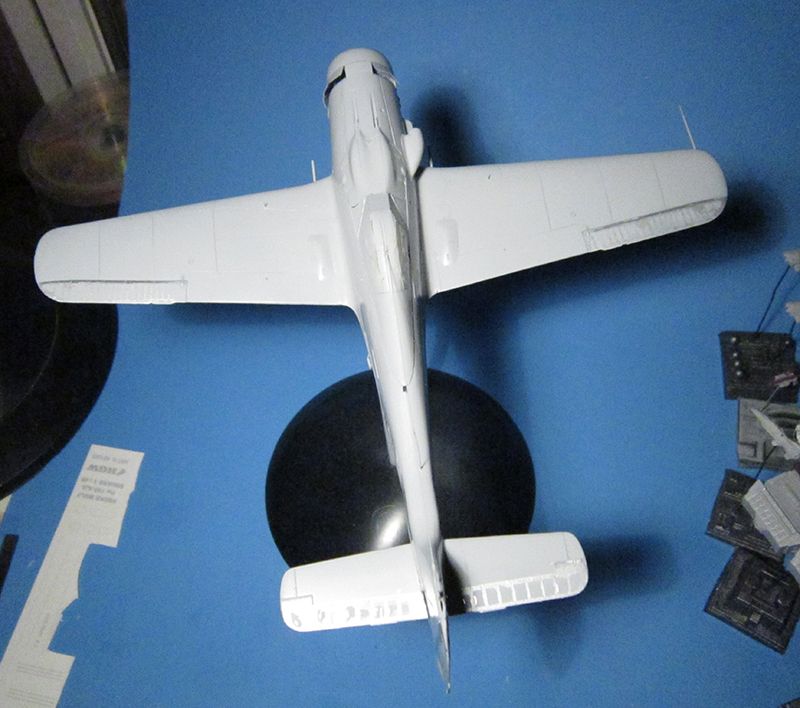
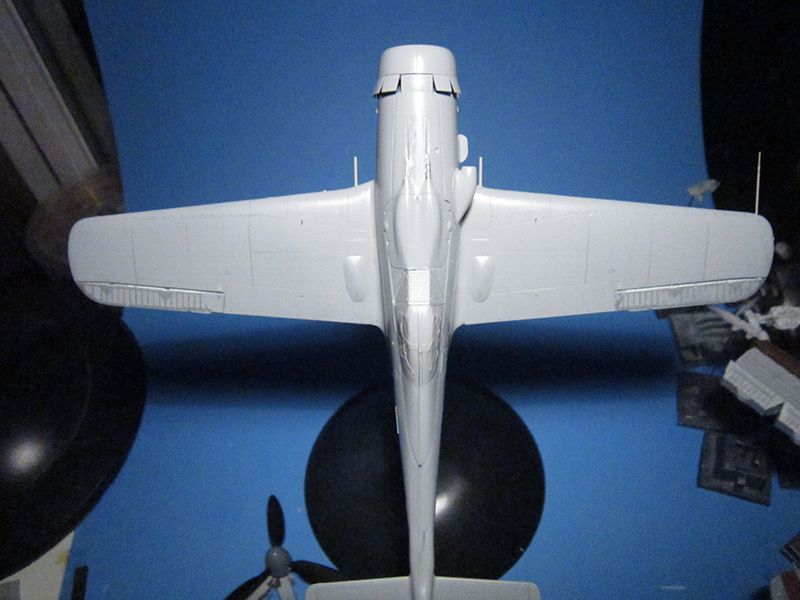
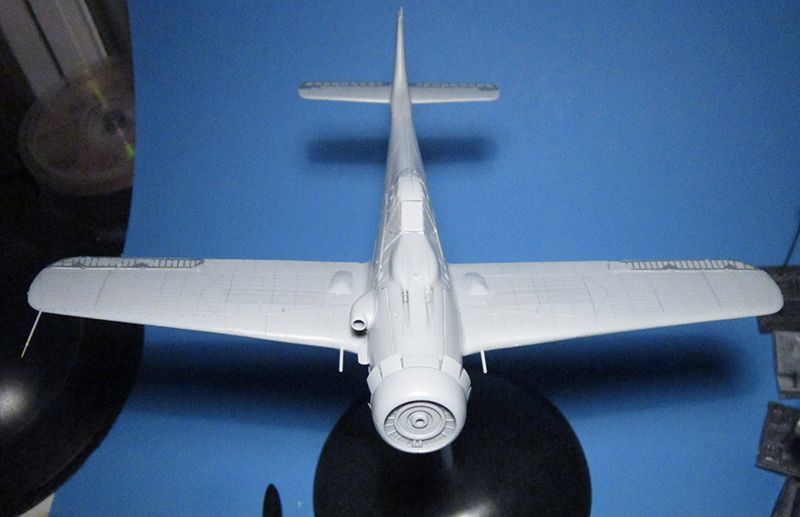
LOADS of progress today. Really narrowing the gap to buttoning her up ready for priming.
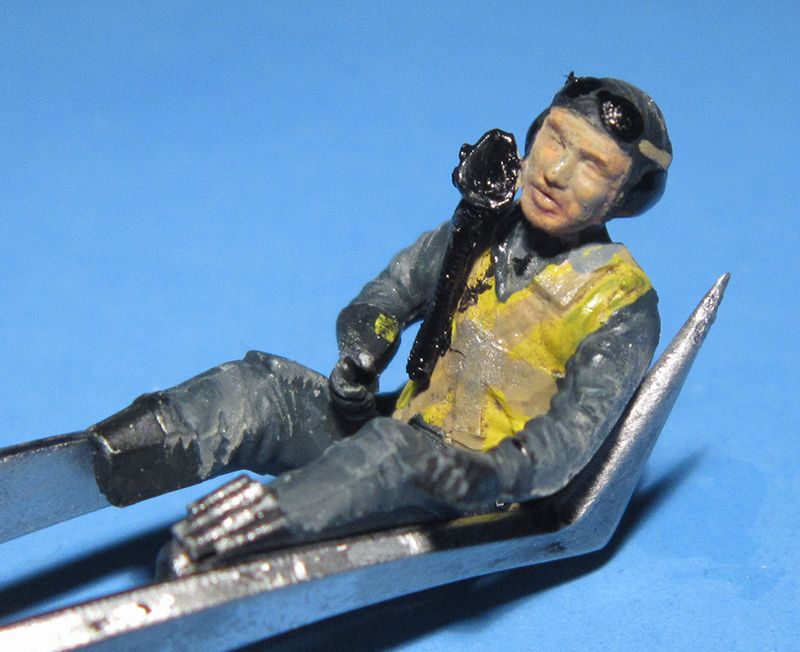
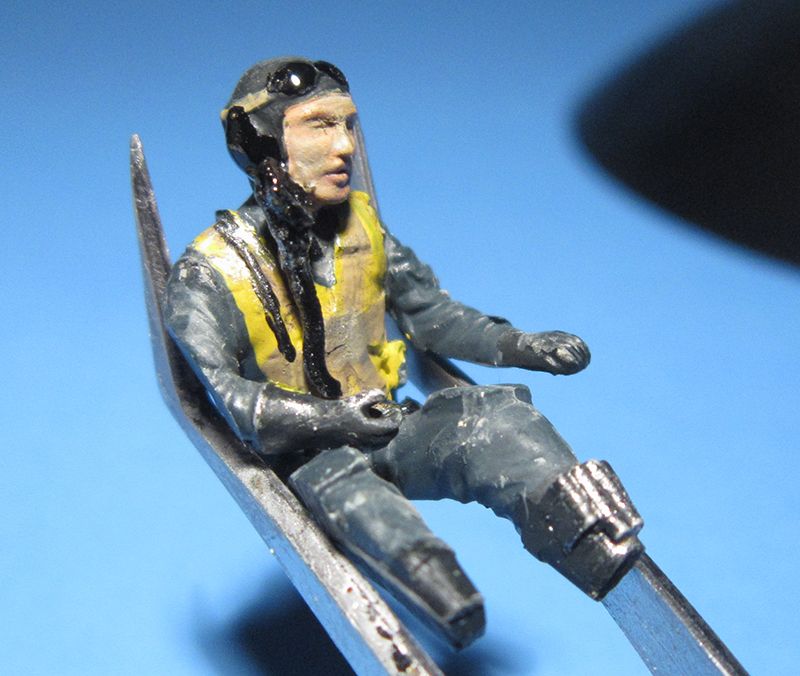
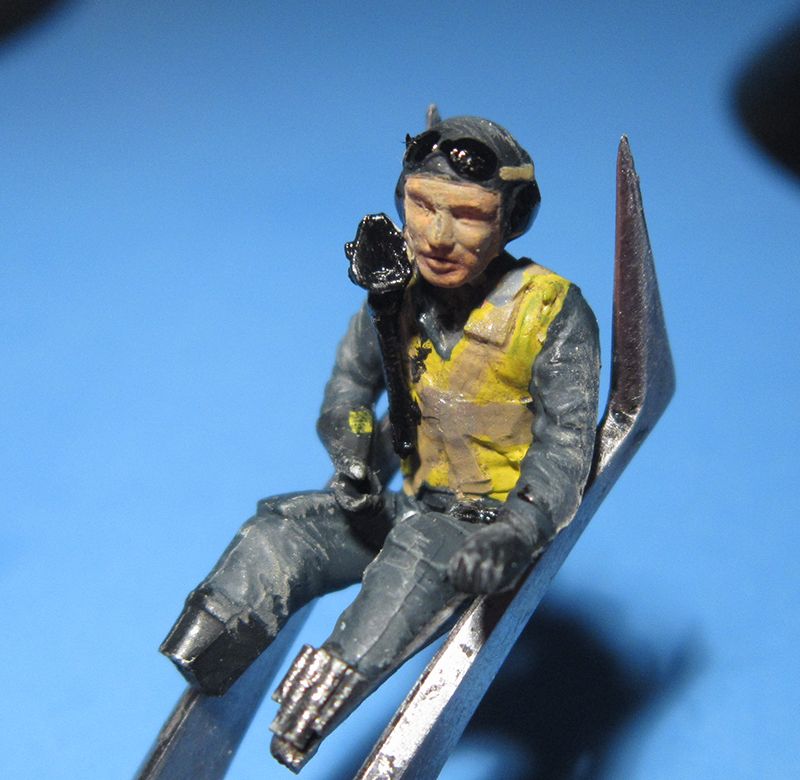
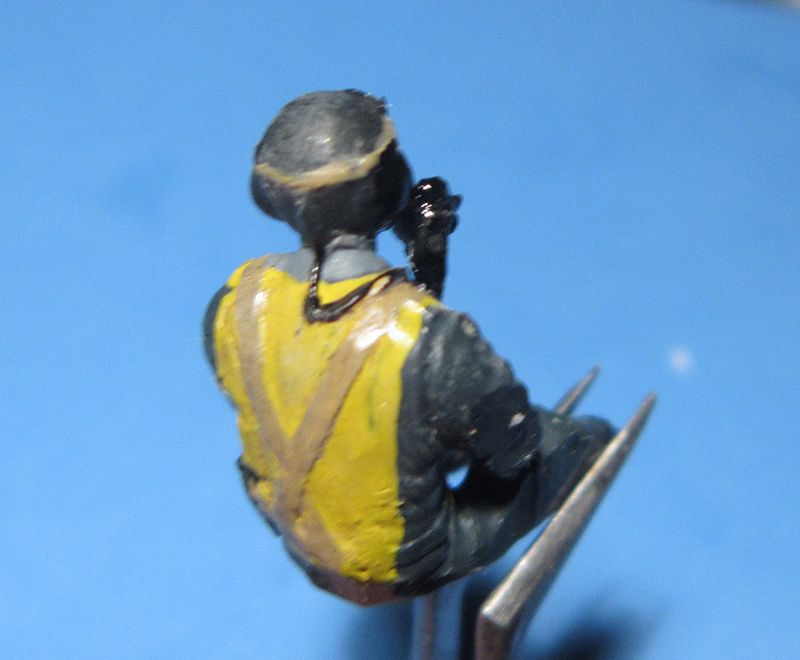
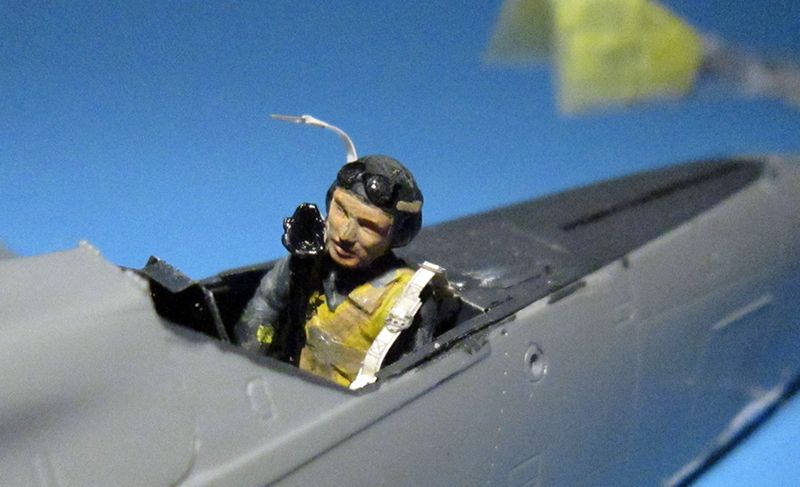
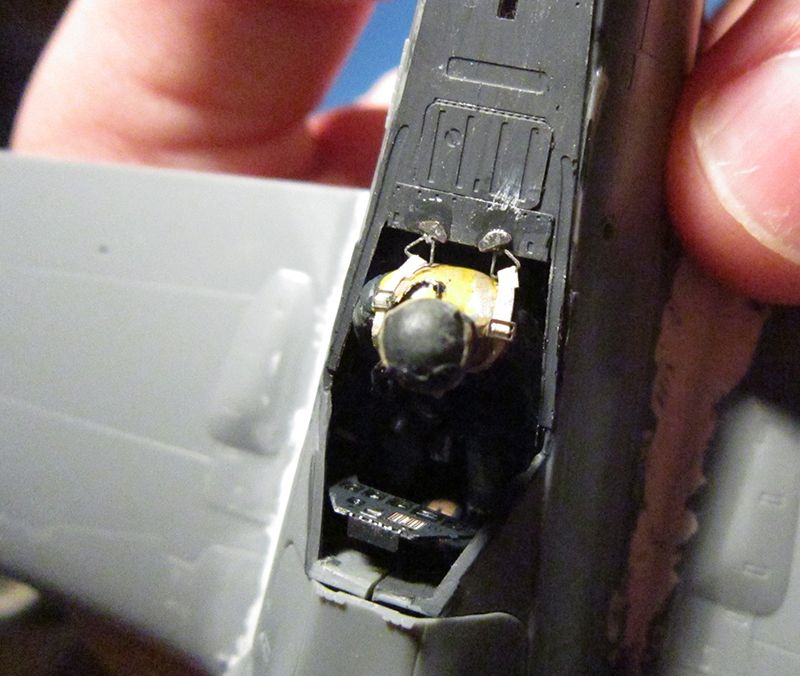
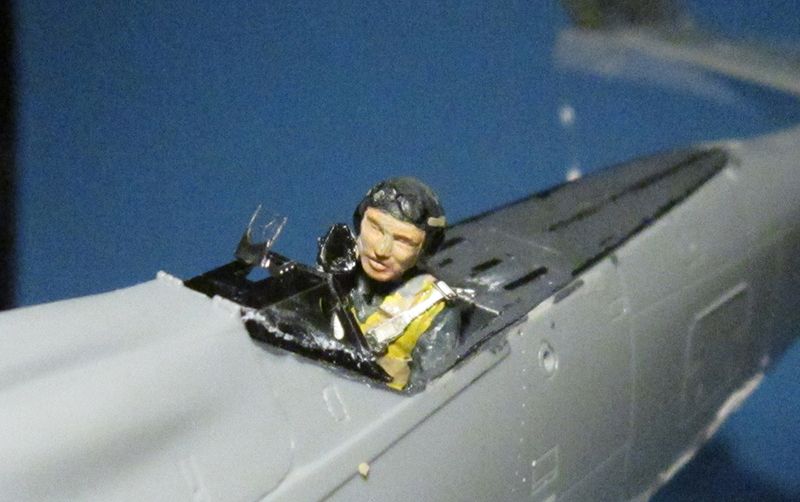
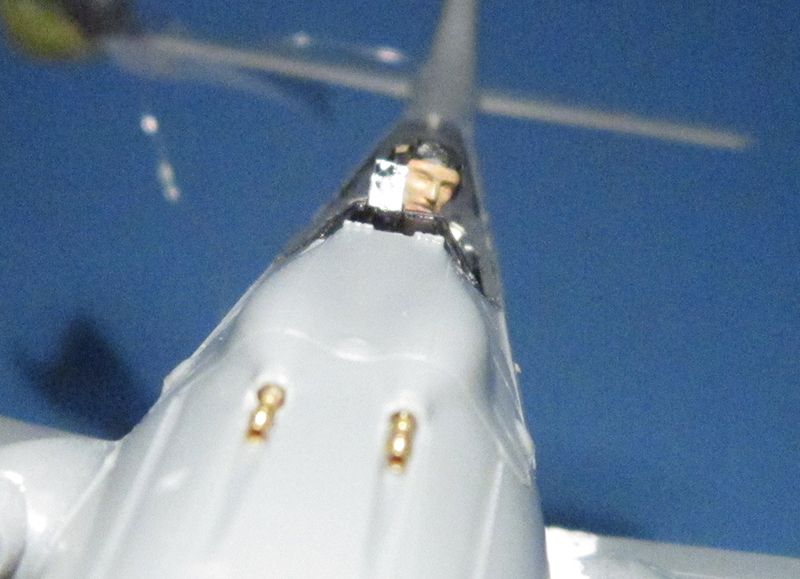
1) Finished up the pilot!
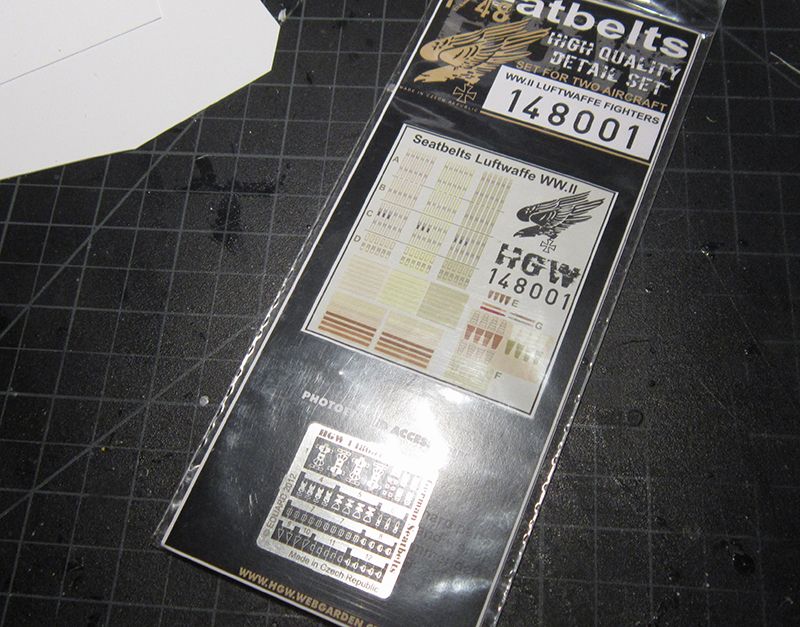
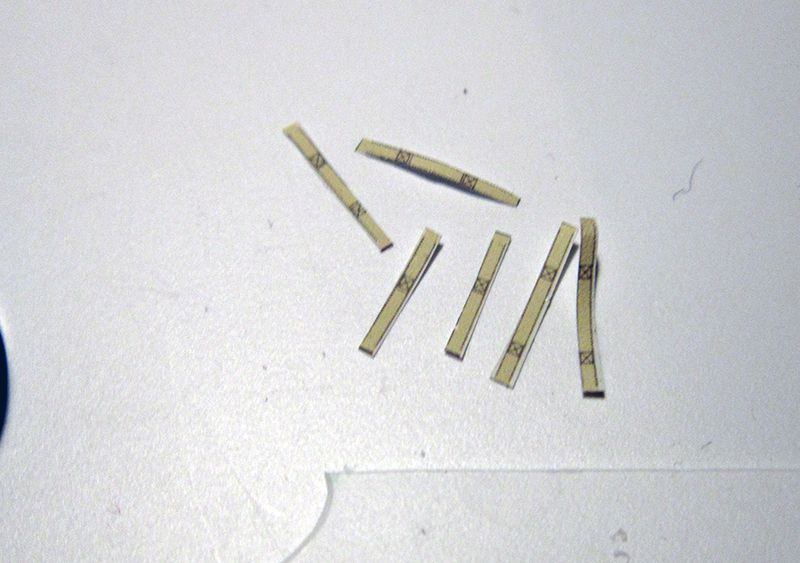
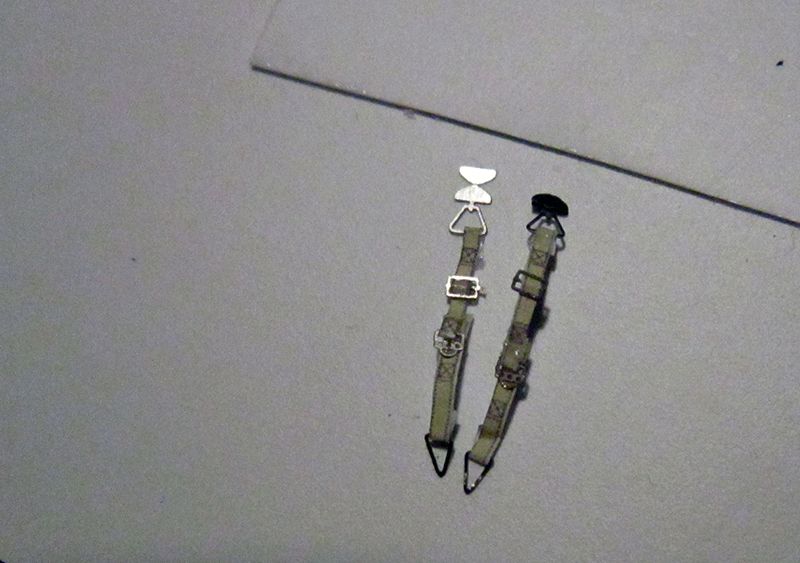
2) THEN it was the long process of getting the seatbelts finished up and strapped down. Man these HGW belts are a nice touch. They stretch nicely over the shoulders and around the wait.
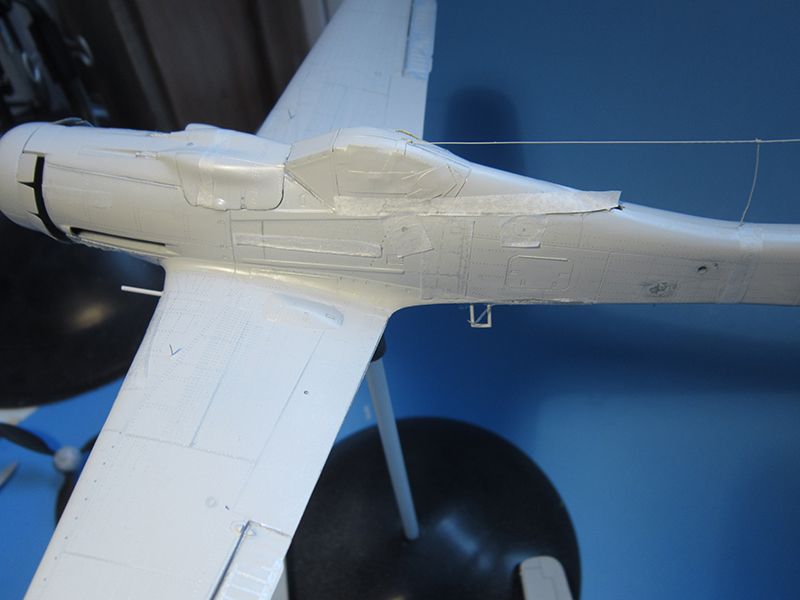
3) And then the last touches in the cockpit before I close it up: a handle on the inside of the canopy, the instrument panel shroud and a nice little PE gunsight.
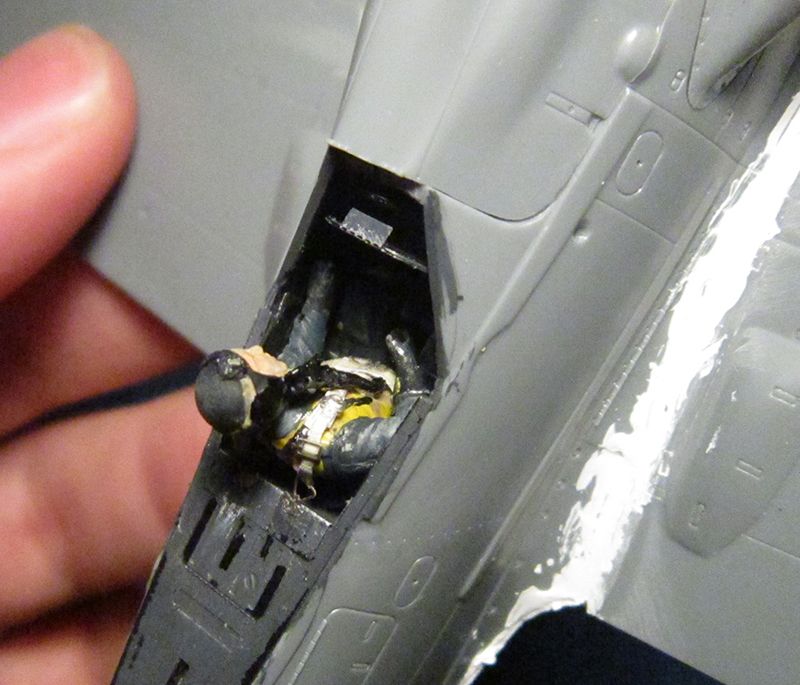
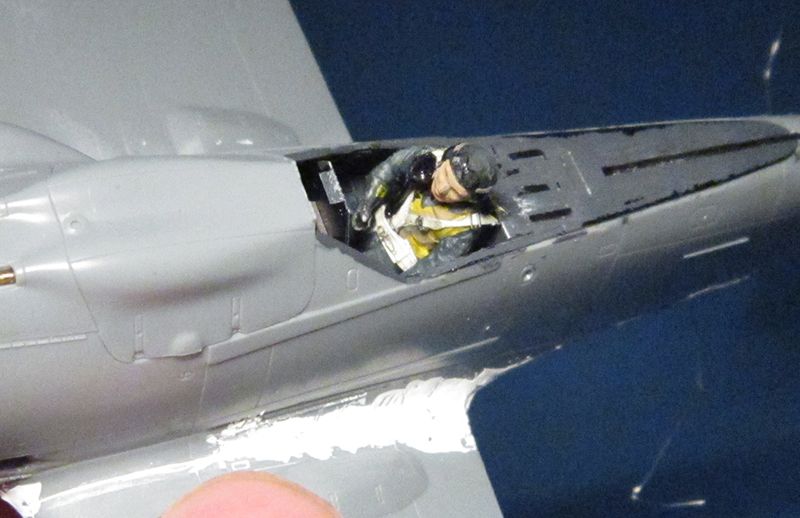
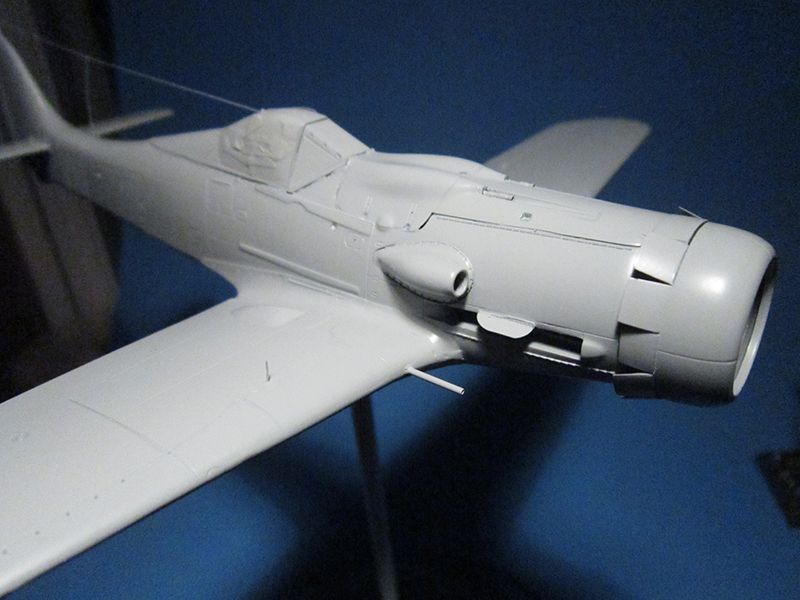
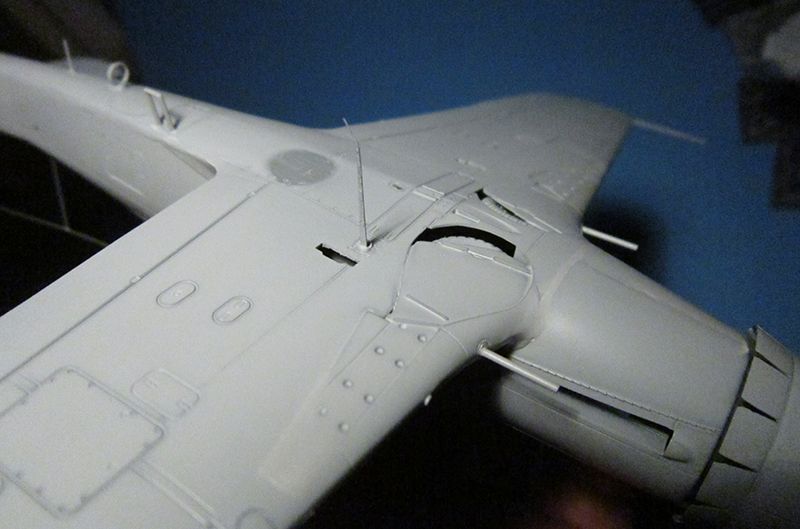
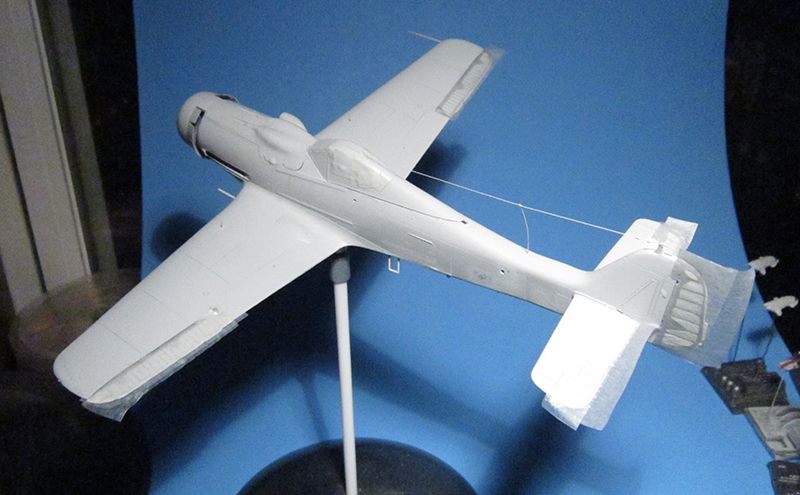
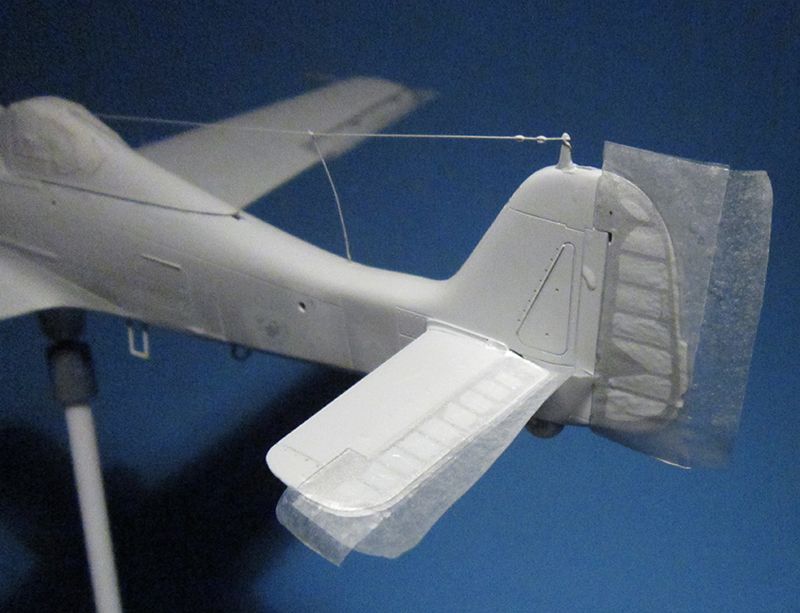
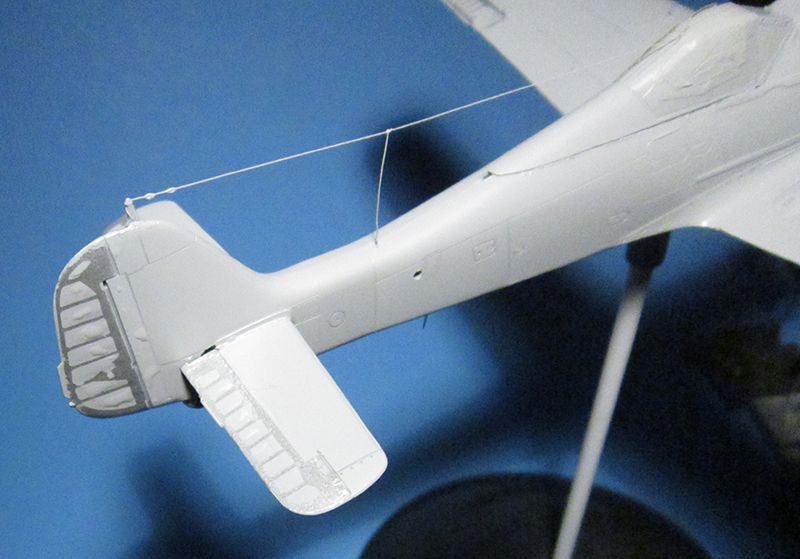
Finally got around to adding all the other little bits and pieces, as well as mounting the canopy parts. I guess I measured the length of wire pretty exactly because it ended up being perfectly taught when the canopy went down.
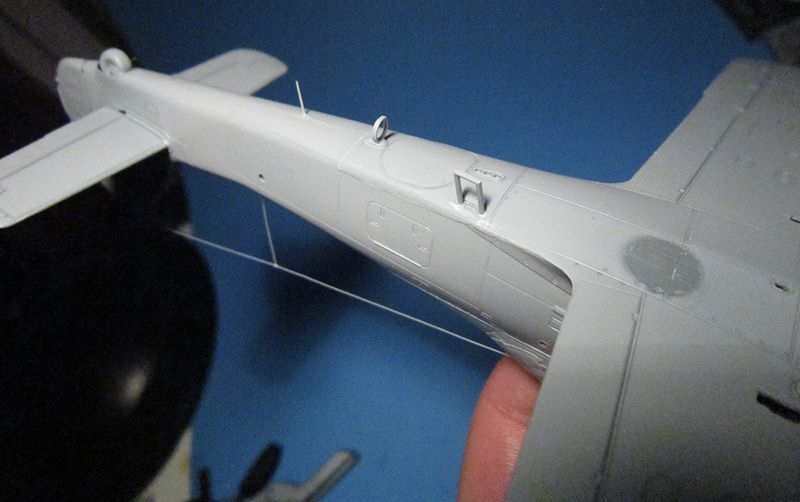
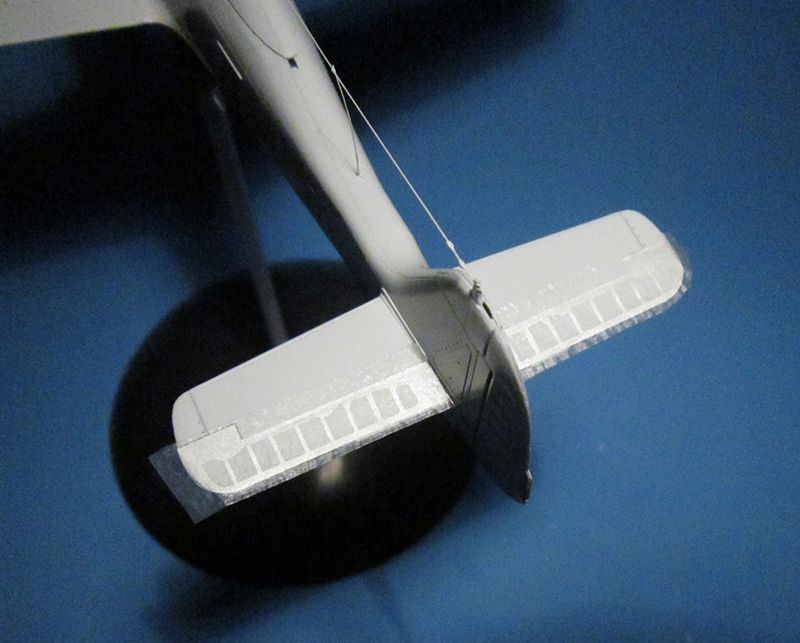
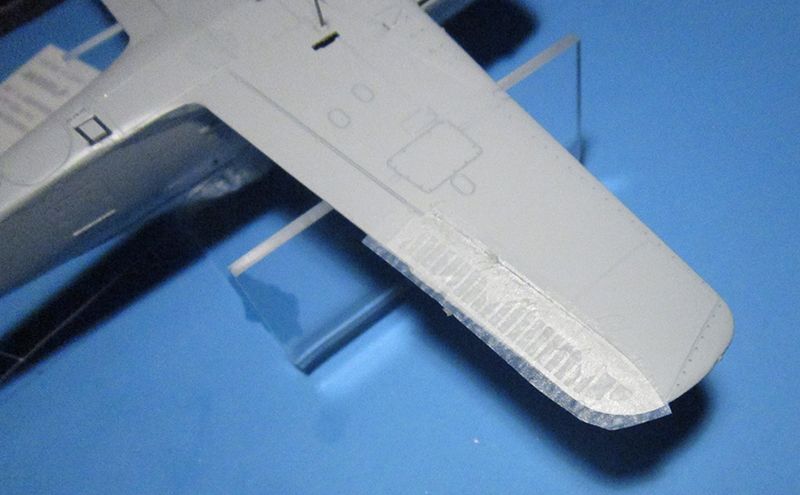
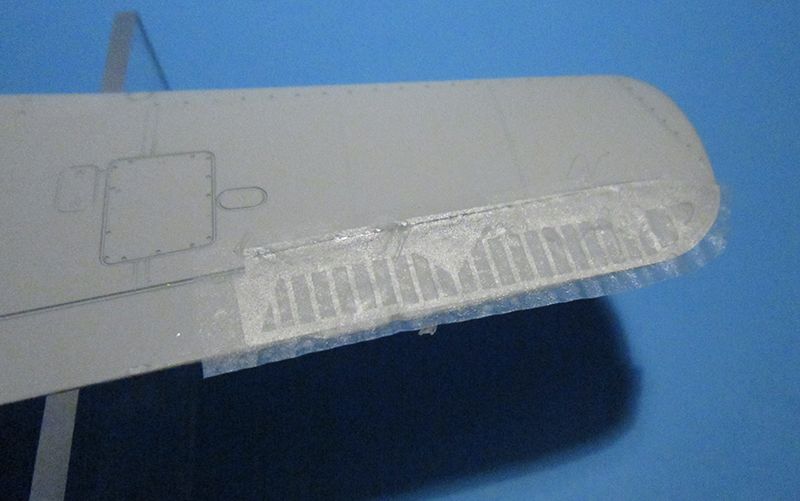
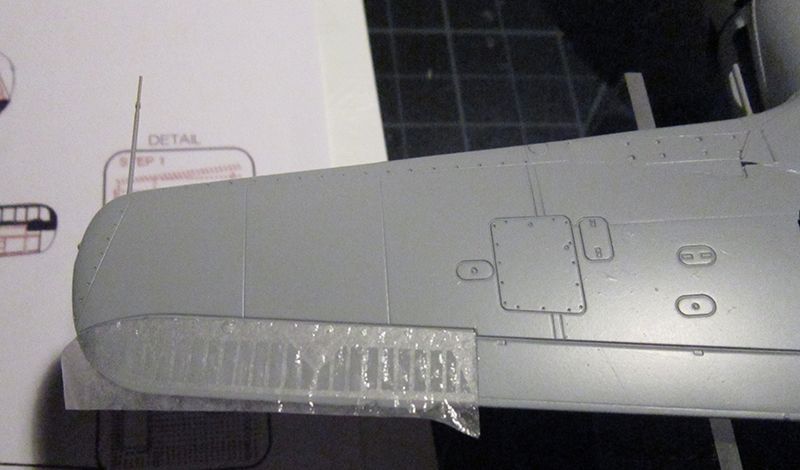
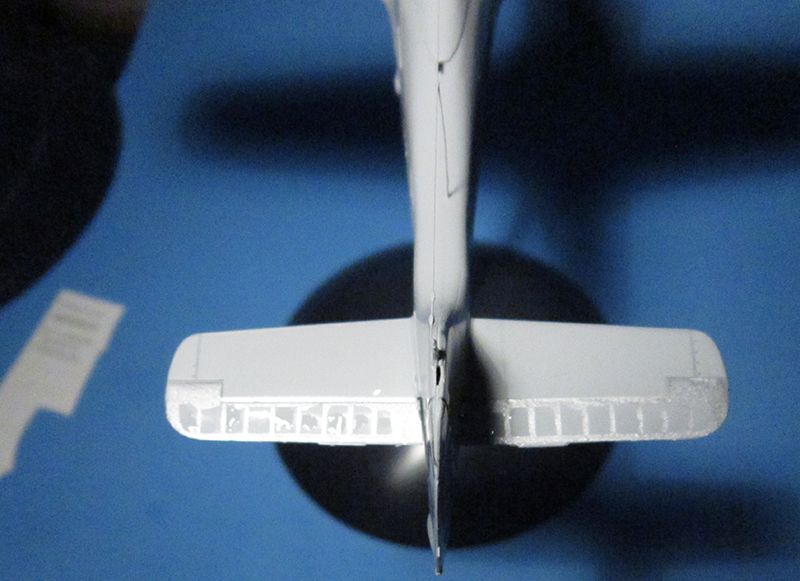
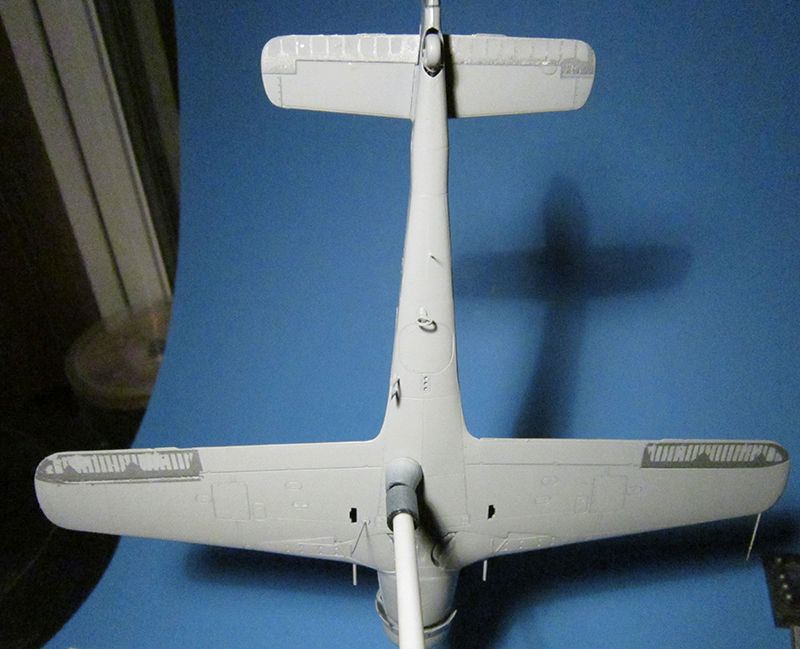
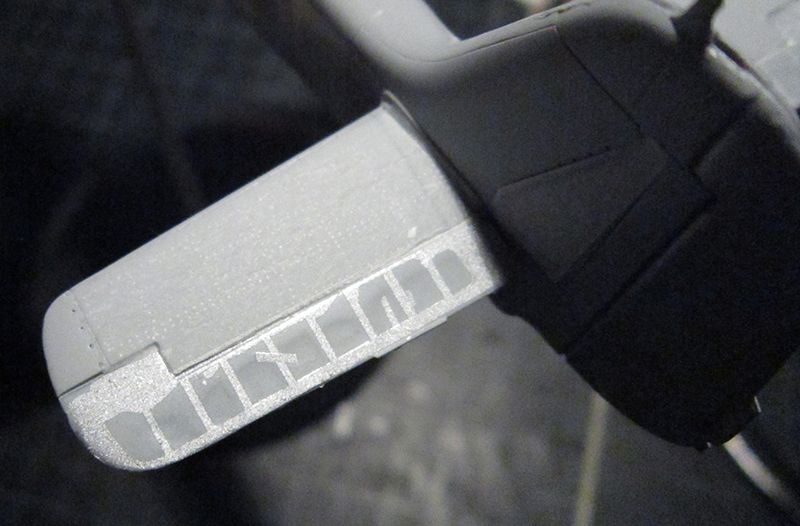
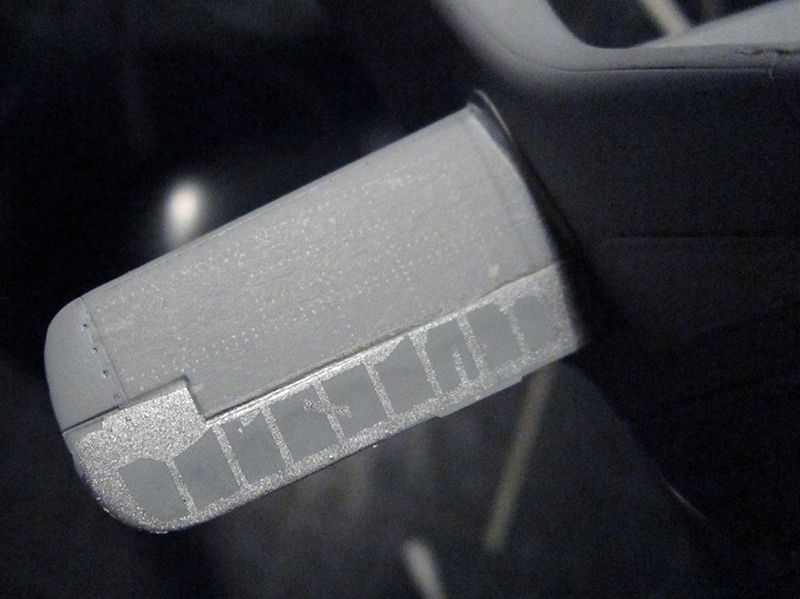
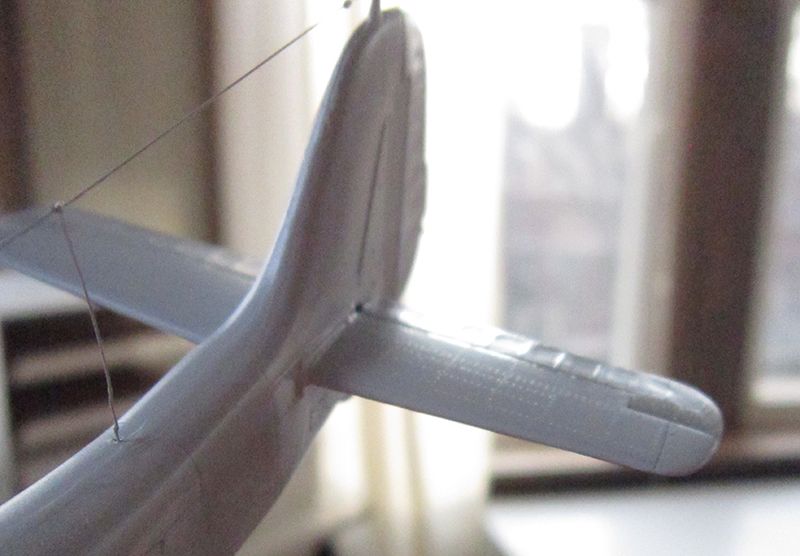
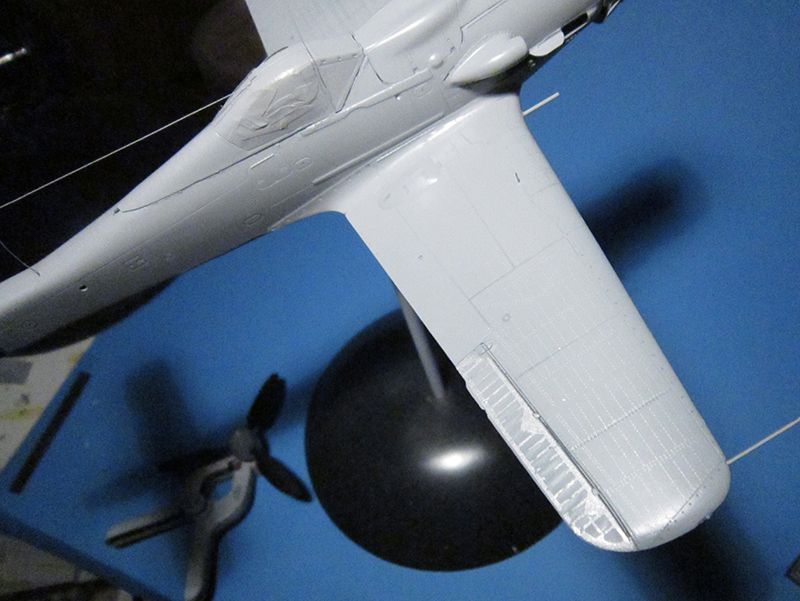
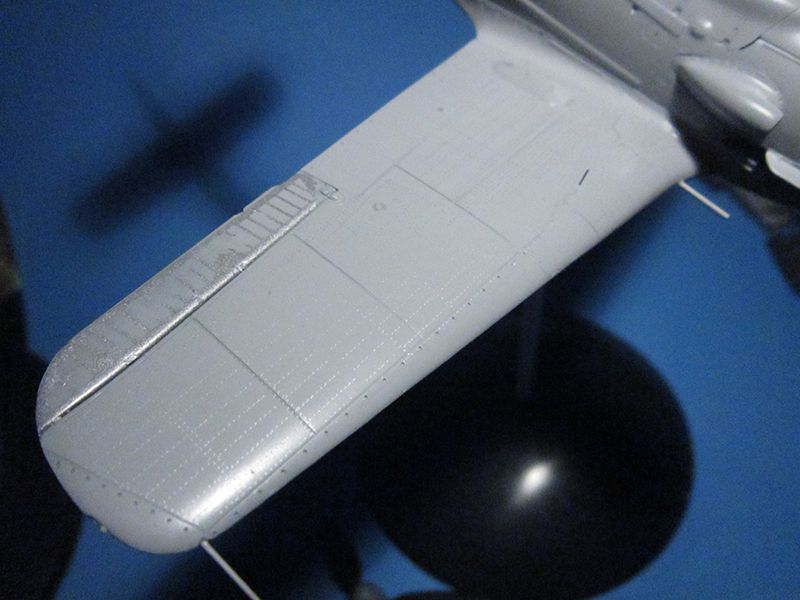
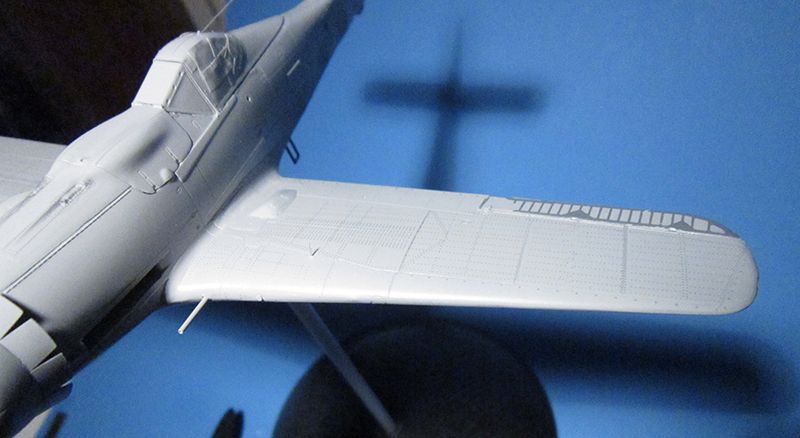
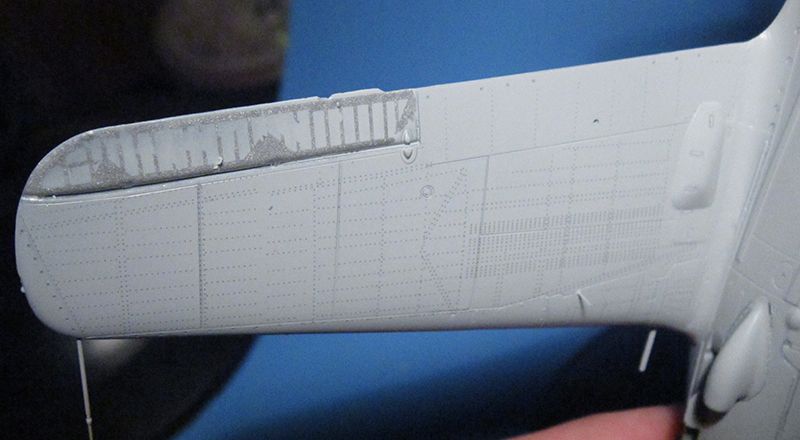
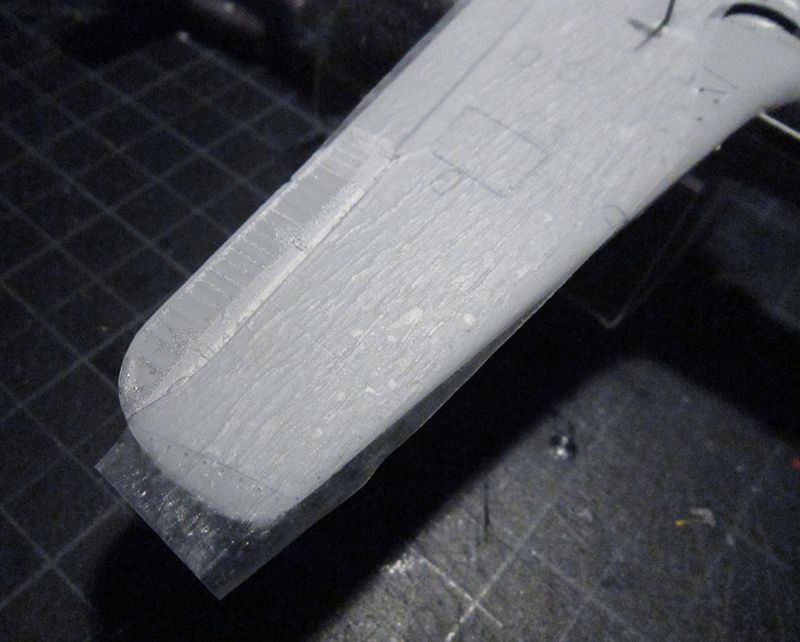
The next big step is applying the HGW rivets and such. This is a long haul multi-step process so I figured I’d start with the easier fabric covered surfaces. They came out nice but the differences between the Eduard and Tamiya Dora’s becomes a bit more clear…some of the HGW parts had to be trimmed to fit. Overall they didn’t go down too bad but some little pieces came up when the backing paper was removed.
And for the heck of it I put on the elevator rivets and let them dry overnight to see if the longer dry time made a difference (it didn’t!). So I can do rivets and leave them for a bit with confidence. These are going to be a nice subtle look. A touch of light sanding after painting will really make these pop just so.
These rivets are great. But in hindsight they might be too subtle....jury is still out because the process calls for very light sanding during the weathering process...
Just another small update: I'm still riveting. This is not something I would do again. In fact, I started an OOB entry in the form of another Dora and I riveted it with the wheel tool in 30 minutes. Blah.
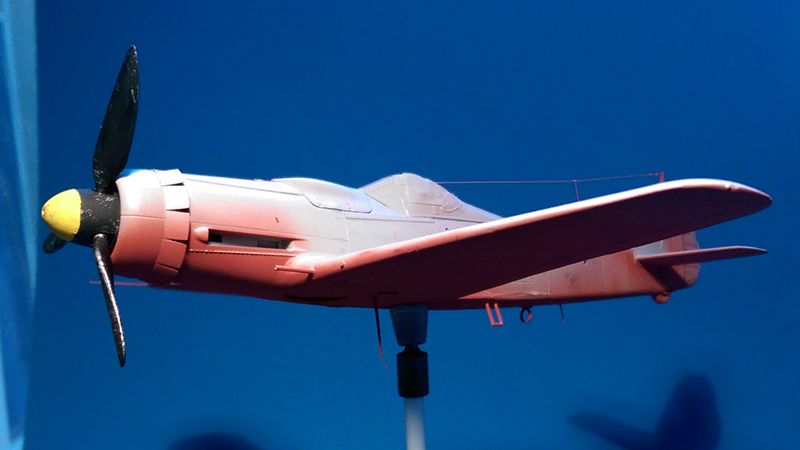
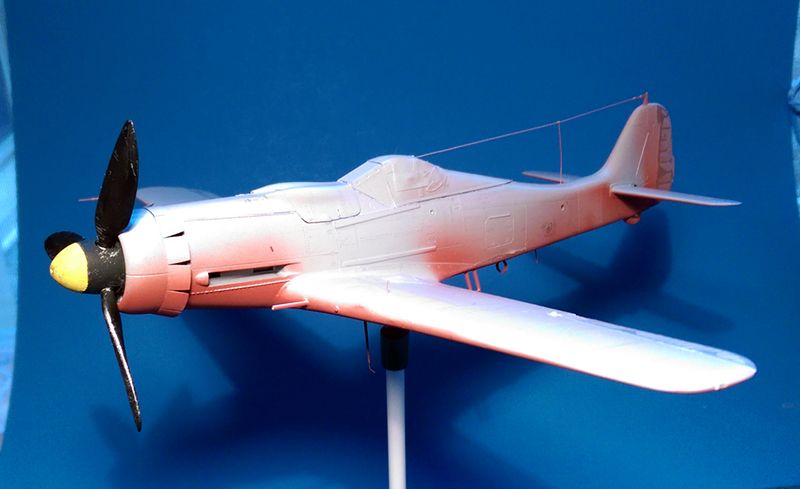
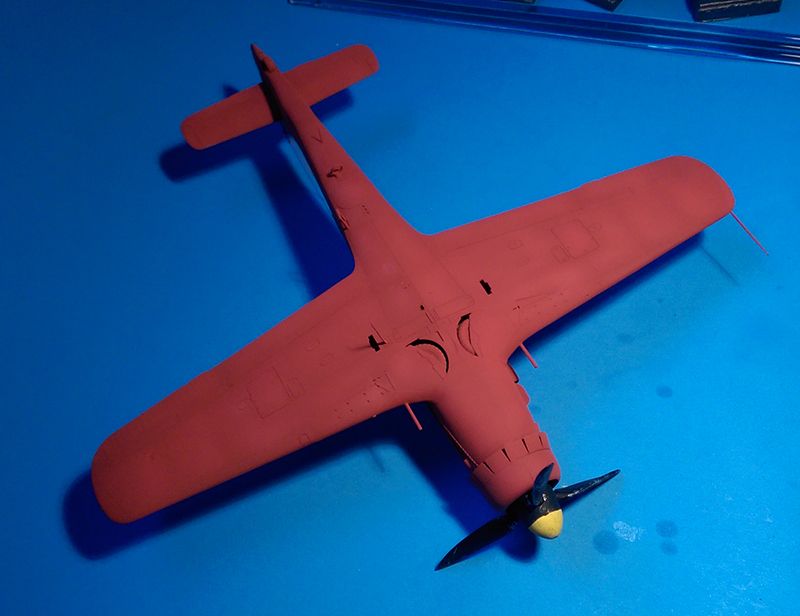
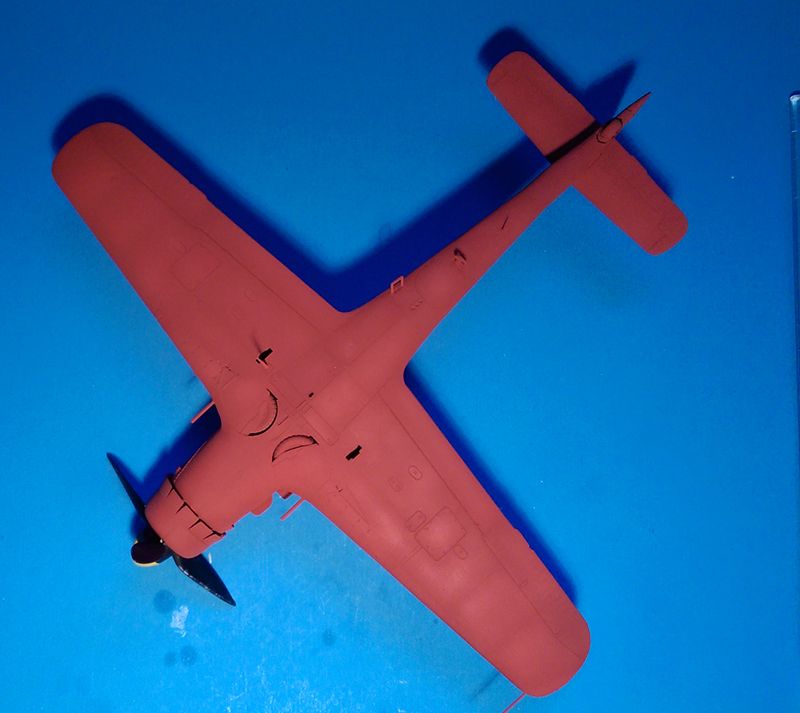
Back from vacation and here's a belly flop! Actually, the belly is coming along nicely. No preshading…all post. First layer was flat red with some splashes of black, second layer was flat red, third layer was flat red with a couple drops of white. And a light misting of straight flat red after that to brighten it up a touch.
")