SHO'T KAL
- Thread starter Chris S
- Start date
JohnSimmons
For Spud: I was once Merseajohn
- Joined
- Jan 4, 2011
- Messages
- 5,645
That's what I like! Get straight to paint!
Chris S
Its a bit like being handcuffed to a lunatic !
- Joined
- Feb 14, 2011
- Messages
- 4,573
Hi folks 
Sorry for the break in transmission ! Hopefully normal service has resumed ;D
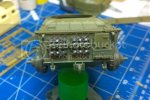
Ok then !! moving on , I finished up most of the work on the back panel , Adding boxes ,hitches, towing eyes and the spare track links . The links suffered badly from EPM's which were taken care of with a swipe of filler and a quick sand ( please excuse the dust : )
)
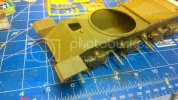
With that done I went ahead and fitted the upper hull sections .The upper hull comes as four seperate parts , The front panel ( with fenders ) goes in place first followed by the drivers hatch panel . The fitment of the drivers hatch panel is a bit vague to say the least ,there are no mounting points for it and simply tucks under the front panel and against the turret ring section . So its best to fit this panel at the same time as the turret ring so you can jiggle things into place .Im probably going to need a little filler along the joint tho ! .
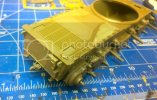
The rear deck is then fixed in place ,and poses no problems ....
The hull was then left aside to dry
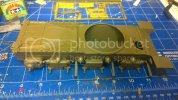
I turned my attention to the turret ,which to be honest goes together really easy ,The only issue being the join line where the top is glued in place . However ,there are a lot of bins and other parts to add to the turret which pretty much cover most of the join with only really the rear bustle needing a bit of work ( not yet done )
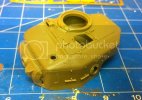
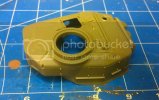
Off course I couldnt resist offering the turret up to the hull for a test fit ;D ;D
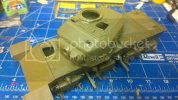
And thats where Im at now !
Thanks for looking.
Chris.
Now,What to do for the comp ?? :
Sorry for the break in transmission ! Hopefully normal service has resumed ;D
Ok then !! moving on , I finished up most of the work on the back panel , Adding boxes ,hitches, towing eyes and the spare track links . The links suffered badly from EPM's which were taken care of with a swipe of filler and a quick sand ( please excuse the dust :

With that done I went ahead and fitted the upper hull sections .The upper hull comes as four seperate parts , The front panel ( with fenders ) goes in place first followed by the drivers hatch panel . The fitment of the drivers hatch panel is a bit vague to say the least ,there are no mounting points for it and simply tucks under the front panel and against the turret ring section . So its best to fit this panel at the same time as the turret ring so you can jiggle things into place .Im probably going to need a little filler along the joint tho ! .

The rear deck is then fixed in place ,and poses no problems ....

The hull was then left aside to dry

I turned my attention to the turret ,which to be honest goes together really easy ,The only issue being the join line where the top is glued in place . However ,there are a lot of bins and other parts to add to the turret which pretty much cover most of the join with only really the rear bustle needing a bit of work ( not yet done )


Off course I couldnt resist offering the turret up to the hull for a test fit ;D ;D

And thats where Im at now !
Thanks for looking.
Chris.
Now,What to do for the comp ?? :
suavetomcat
New Member
- Joined
- Mar 4, 2013
- Messages
- 303
Coming together lovely mate. Looking forward to seeing you weather this one.
Chris S
Its a bit like being handcuffed to a lunatic !
- Joined
- Feb 14, 2011
- Messages
- 4,573
Thanks chum ;D
Little bit more done !! ..Just a little tho .
Next step was to make up the fenders and fit them ,this includes Bins, tools ..etc .
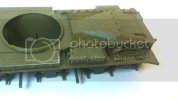
A bit of filling was required around the joins on the bins ,which was done quite easily with Perfect Plastic Putty ...love that stuff I also filled the joint on the upper hull in front of the turret ring
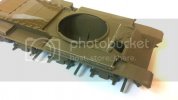
Still more parts to add to the fenders ,but this is where Im at
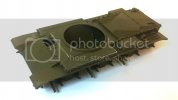
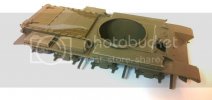
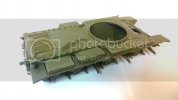
More soon ,Thanks for looking.
Chris.
Little bit more done !! ..Just a little tho .
Next step was to make up the fenders and fit them ,this includes Bins, tools ..etc .

A bit of filling was required around the joins on the bins ,which was done quite easily with Perfect Plastic Putty ...love that stuff

Still more parts to add to the fenders ,but this is where Im at


More soon ,Thanks for looking.
Chris.
JohnSimmons
For Spud: I was once Merseajohn
- Joined
- Jan 4, 2011
- Messages
- 5,645
Nice work Chris! It's coming together well mate.
Chris S
Its a bit like being handcuffed to a lunatic !
- Joined
- Feb 14, 2011
- Messages
- 4,573
Thanks guys 
Work continued on the fenders ..and rear deck .
Jerry can fitted , Barrel clamp and some latches etc ...
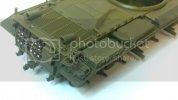
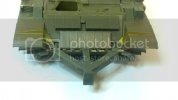
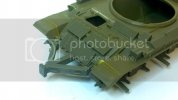
Then on to the front again , fitting extra armor and the Battering Ram . Sorry about the dust ! I really should blow it off before taking pics :
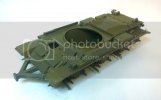
Drivers hatch and more work on the rear deck next .
Thanks for looking
Chris.
Work continued on the fenders ..and rear deck .
Jerry can fitted , Barrel clamp and some latches etc ...

Then on to the front again , fitting extra armor and the Battering Ram . Sorry about the dust ! I really should blow it off before taking pics :


Drivers hatch and more work on the rear deck next .
Thanks for looking
Chris.
JohnSimmons
For Spud: I was once Merseajohn
- Joined
- Jan 4, 2011
- Messages
- 5,645
Great work as always Chris! 8)
Chris S
Its a bit like being handcuffed to a lunatic !
- Joined
- Feb 14, 2011
- Messages
- 4,573
Thanks John 
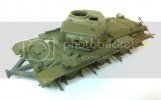
I got a lot of the hull work finished up The front is pretty much complete . The drivers hatch was a bit of a chore as both halves were covered in EPM's on the outside ! But got them sorted ...Hopefully .
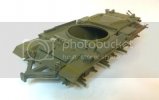
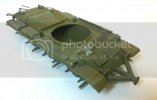
I then made up the tow ropes , The ropes supplied in the kit looked a bit feeble and being string were too floppy to represent steel cables . So I used fine copper wire ,10 strands to each rope and twisted the strands together using a pin vice .I used the cable ends from the kit and drilled them out to accept the new cables .
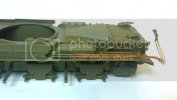
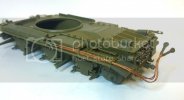
They still need attached to the back plate ,this will be done once the glue has dried on the fender mount .
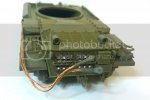
Moving on to the turret , Man ,this needs a bit of work ! There is a join seam around the turret were the top is glued in place ,this needs sanded ,filled and sanded again , followed by redoing the cast effect (still to be completed )
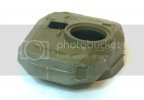
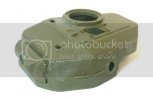
There is a lot of detail on the top of the turret in front of the commanders cuppola that has to be removed for this variant ,again a bit of a chore ,but no biggy .While I was at that I also removed all the molded on cables ( four off ) these will be replaced with copper wire at a later stage .
And thats if for now ,Hope to finish the build this week ...then Paint
Thanks for looking.
Chris.
I got a lot of the hull work finished up


I then made up the tow ropes , The ropes supplied in the kit looked a bit feeble and being string were too floppy to represent steel cables . So I used fine copper wire ,10 strands to each rope and twisted the strands together using a pin vice .I used the cable ends from the kit and drilled them out to accept the new cables .


They still need attached to the back plate ,this will be done once the glue has dried on the fender mount .

Moving on to the turret , Man ,this needs a bit of work ! There is a join seam around the turret were the top is glued in place ,this needs sanded ,filled and sanded again , followed by redoing the cast effect (still to be completed )


There is a lot of detail on the top of the turret in front of the commanders cuppola that has to be removed for this variant ,again a bit of a chore ,but no biggy .While I was at that I also removed all the molded on cables ( four off ) these will be replaced with copper wire at a later stage .
And thats if for now ,Hope to finish the build this week ...then Paint

Thanks for looking.
Chris.
suavetomcat
New Member
- Joined
- Mar 4, 2013
- Messages
- 303
Looking great mate! As usual.... lol
Chris
Chris
Chris S
Its a bit like being handcuffed to a lunatic !
- Joined
- Feb 14, 2011
- Messages
- 4,573
Thank you chaps 
Lots and lots and lots ...did I mention lots ! of work in the turret !!
Probably the most involved turret I've done yet ,quite a bit of building in it ,but worth the effort .
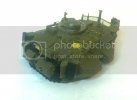
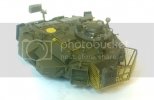
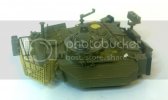
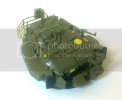
With that the turret is ready for primer ,still a lot of guns to add ,but these will go on after paint .
The last few parts were added to the hull too .
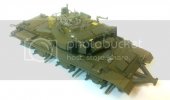
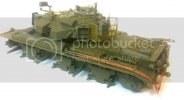
Primer !!
Everything was cleaned down and shot with Tamiya grey primer , It looks much beeter than that green plastic !
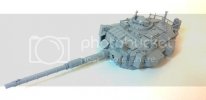
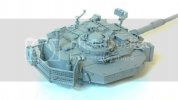
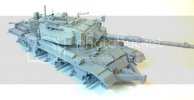
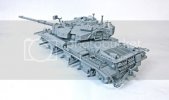
Just sorting all the wheels ,sprockets ,idlers ...etc for priming too ,then on to some paint
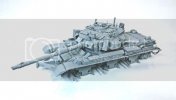
Thanks for looking.
Chris.
Lots and lots and lots ...did I mention lots ! of work in the turret !!
Probably the most involved turret I've done yet ,quite a bit of building in it ,but worth the effort .


With that the turret is ready for primer ,still a lot of guns to add ,but these will go on after paint .
The last few parts were added to the hull too .


Primer !!
Everything was cleaned down and shot with Tamiya grey primer , It looks much beeter than that green plastic !


Just sorting all the wheels ,sprockets ,idlers ...etc for priming too ,then on to some paint

Thanks for looking.
Chris.
JohnSimmons
For Spud: I was once Merseajohn
- Joined
- Jan 4, 2011
- Messages
- 5,645
Primer!!!! Looking awesome mate!
Latest posts
-
-
-
-
-
-
-
1977 Original Large Box VISIBLE MAN MODEL KIT, Revell Models, 1977! $40.00 OBO!
- Latest: SuperheroSanctum
-
