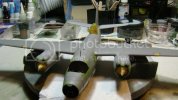
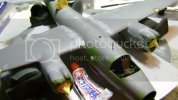
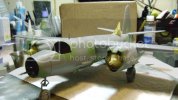
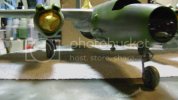
Revell B-26 Marauder 1/48

Chris S said:
Certainly looks like hard work !!! but you'll get there .

Rookie ...its only 'old' re-release Revell kits that can be a bit of a chore ,the New releases are excellent . ;)

Chris.
I haven't done a 'new' release, yet. looking VERY forward to one after this beast. :)
 
Thanks for the encouragement guys!
Update:
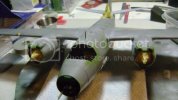
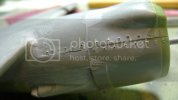
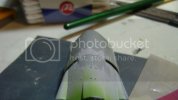
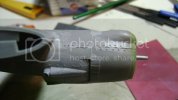
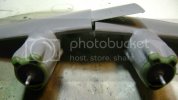
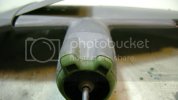
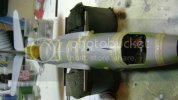
I let the putty and surfacer sit for two days to dry. The sanding didn't take as long as I thought it would. I still need to do a spray of primer, then lightly sand, to fill in some of the tiny air pockets that snuck in under the radar. But here's where it is as of tonight.
Some before and after pix.
DSC01610.jpg
DSC01613.jpg
DSC01614.jpg
DSC01615.jpg
DSC01616.jpg
DSC01617.jpg
DSC01618.jpg
DSC01619.jpg
DSC01620.jpg
DSC01622.jpg
DSC01623.jpg
DSC01624.jpg
DSC01625.jpg
DSC01627.jpg
DSC01628.jpg
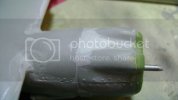
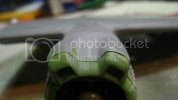
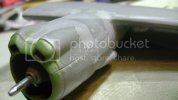
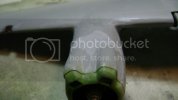
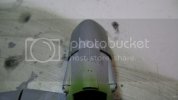
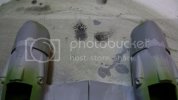
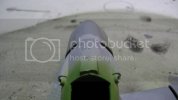
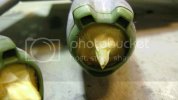
I figured I'd get masking the engines out of the way while working on the wings. Rolled up small bits of paper towel held back by Tamiya tape.
DSC01630.jpg
Getting close.
DSC01631.jpg
Thanks for checking it out! Cheers!
 
Update:
Drilled a 'brain hole' for putting in the noise weight behind the cockpit.
DSC01633.jpg
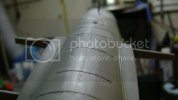
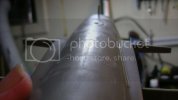
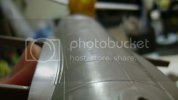
My first attempt to restore panel lines.
DSC01634.jpg
DSC01636.jpg
They came out pretty high.
DSC01638.jpg
But after GENTLY sanding them down, they came out acceptable. Went through the gambit of sanding sticks from course to extra fine.
DSC01640.jpg
DSC01643.jpg
After I get further with the paint, I'll decide if I have to go any further with them.
Attached the wings.
DSC01652.jpg
These went on pretty well. There was a slight gap that I filled with superglue and covered with surfacer and putty.
DSC01653.jpg
Thanks for checking it out! Cheers!
 
I love these big planes, and as I'm thinking of building one for the first time I find this thread quite informative. thanks for sharing :)
 
Hi Ferris i am watching your progress like i am watch my favorite soap, cant wait for next part,, amazing, really coming on:) well done
 
Ravhin said:
I love these big planes, and as I'm thinking of building one for the first time I find this thread quite informative. thanks for sharing :)
It's not too bad of a kit, as nearly every kit has its quirks, this one has them as well. The only part I've really 'sweated' over was the engine cowls. That was a huge step for my abilities. I'd say go for it.
Osquitz said:
this is going to be a masterpiece thanks for sharing !! ;D
Sharing, not a problem. I don't really have all the knowledge that many do on this hobby, but I'm happy to show/explain what I can.
'Masterpiece': After my ego deflated so I could see again, :), That remains to be seen, but thank you very much for the compliment.
stephen said:
Hi Ferris i am watching your progress like i am watch my favorite soap, cant wait for next part,, amazing, really coming on:) well done
LOL! Thanks! Well, not to disappoint, look down and see the most recent episode. :)
Update:
Sanded down the wing roots.
DSC01660.jpg
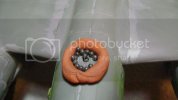
Started to put in the nose weight. The amount isn't in the kit directions, so it's gonna take a bit to fill, then glue with white glue, the see if it sits right, then maybe add more weight.
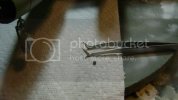
DSC01662.jpg
DSC01661.jpg
After a little bit of 1 at a time, i thought to use some tack and make a barrier and then fill it. Works much faster.
DSC01665.jpg
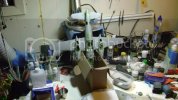
After a while i squeezed in some white PVA glue and set it up to allow it to settle and harden. In several hours i'll see where it sits.
DSC01669.jpg
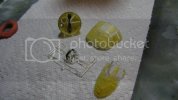
i masked the clear parts. The rear gun area I'm gonna wait until it's in place before masking.
DSC01671.jpg
Thanks for checking it out. Cheers!
 
Thank you sir!
i tested the balance when i got home tonight, needs more weight. By hanging, I'm trying to get the glue gobbed weight to lay up on the buckhead behind the cockpit to ge the weight as far forward as possible.
looks like I'll be at it again tonight...oh darn! :p
 
Good stuff Ferris928, coming along very nicely. Lots of masking on the B-26, and good idea for fencing in the nose weights.

Jason
 
Update:
We have balance!
DSC01672.jpg
DSC01673.jpg
Filled the brain hole with super glue and sanded.
DSC01674.jpg
Washed it the kit up to get the sanding dust and finger oils off. And started to mask for eventually painting.
The blue tape in the bomb bay was to mask off so i cold get in with some alluminum to finish it off. Will have to mask the entire bay.
DSC01680.jpg
DSC01679.jpg
Well, that's it so far.
Thanks for checking it out.
Cheers!
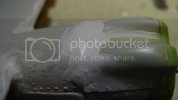
 
Update:
got the clear parts on. Thinking of a better way for the top turret.
Switched to Image Shack over Photobucket. Was having way to many problems with the bucket. The pix should expand bigger now.


Cheers!
 
this is looking great. a light off topic question how did you make that picture for you tag ?
 
Darkblade88 said:
this is looking great. a light off topic question how did you make that picture for you tag ?

Thanks. :)
Signiture: Went to here: http://www.forum-signatures.com/default.html
Then clicked on their original signiture wizard and played around. Save it, it gives you the code and a pic at the top of the page. I copied the code to my profile and I saved the pic to my computer. That way of these guys ever go under, i can still have my sig.
 
Looks like you're putting some effort in this kit and you effort is certainly paying off mate
 
Robbo said:
Looks like you're putting some effort in this kit and you effort is certainly paying off mate
Thanks!

Update:
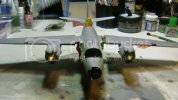
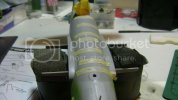
I got the bomb bay masked for the gray belly color.


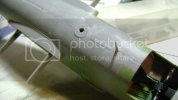
Added 3 small pieces of wire to replace the sanded off lights. They'll be blue when I get to them. More than likely gonna sand these down, they're a bit high.

I also attached the turret on the top to keep any color changes the same. (though since there isn't much to pain on the turret it probably wouldn't matter much if I left it off.)

Then i went through and put a coat of flat black over the interior green to dark it a bit when seen through the windows. i should've done a black coat to the interior first before doing the interior green but oh well.
Then I played around the the Krome trying a sort of preshade. I've never done preshading on a model.


Then i went through and did the Neutral Gray for the bottom.


I stopped there because I think I want to do after-market decals. I've done sooo much work on this kit (Compared to my previous builds and i doubt I'll build another Revell B-26) i don't want to use the stock kit decals. I saw a set on line "Rationed Passion" So I'm gonna order them. With those there are invasion stripes and such, So until i can hold the instructions and details in my hands, this one will be on hold. Hopefull only for a few days.
Thanks for checking it out!
Cheers!
 
Well done on the surface details. The neutral gray shows the hard work you put into getting these great results. Nice job!
 
This is Old kit ! Nice of you to try it out !

Was young kid when build this long time ago !

She has not change one bit !

Good work cleaning it up !

looking forward to paint job
 

Latest posts

Back
Top