Jim2001
Member
- Joined
- Jun 11, 2009
- Messages
- 57
As a winter project I'm building the Revell 1/48 scale lunar module. It's actual box name is Buzz Aldrin Rocket Hero First Lunar Landing.
I was inspired by Vincent Meen's 1/24 scratch-build
http://spacemodels.nuxit.net/LEM-24/index.htm
which I've been following for a at least a year (his build is going on 2 or 3 years now) and thought I would either build a 1/24 from scratch like he's doing or try to bring some of the details he has introduced into his model into a 1/48 or smaller styrene kit. I chose the later.
I had seen ModelManTom's review of the kit, ( OOB Review: Revell's LEM, 40th Anniversery ) and had looked at reviews for similar kits of this subject and was worried that the details in it would not be to my liking, or at the very least would require so much more work to get it close to accurate that I wouldn't want to bother. It seemed to be the best bet of all the kits so I asked for it for Christmas and my wife obliged.
My first impressions of the kit were very good though. When I opened the box and started to examine the sprue trees I found that the kit is pretty good overall as far as accuracy goes for a 1/48 scale model. Sure, it's lacking in plenty of areas but it has "good bones" and I would be able to correct most of the key areas with the scratch building skills I currently have. Actually, at 1/48 I was surprised how much detail they managed to get right. Sure there are some large gaffs here and there (and I will discuss them below as I go over the model in detail) but overall it is a very workable kit.
I started with the Descent Stage since it seemed to be the easiest part to start with. I don't know why I thought that. I guess I like to build from the feet up. Anyway I wanted to display the finished model on a custom made base (not keeping the base it came with since it is too cartoon-like. (the shadow of the LM is moulded into the base - you read that right - and the craters are, well, not very realistic to my eyes. See ModelManTom's video above to see what I mean.)
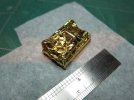
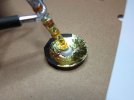
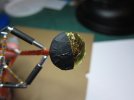
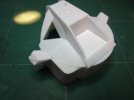
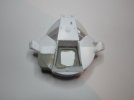
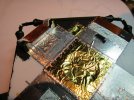
The Descent Stage comes in 3 pieces for the main body (top plate, middle and bottom plate) and includes several smaller bits for the legs. There are also pieces to be stuck on such as an exposed RTG which can be seen in early concept models prior to an actual flight-ready LM being seen by anyone. Gold foil is included with the kit but I didn't really like the feel of it and it was tough to crinkle up and looked too flat when pressed to the body panels. I bought some candy wrapper foils in gold and orange (both had a silver backing) but this stuff was extremely thin. After some experimenting I decided to use some aluminum tape stuck to the back of the foil. This gave the gold and orange foils a lot more thickness and it held the wrinkles much better without completely flattening out.
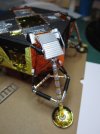
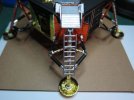
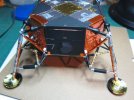
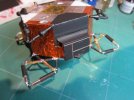
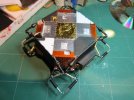
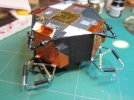
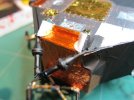
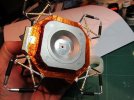
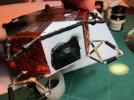
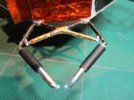
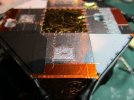
So far I've used silver, orange and gold candy foil (backed with thick aluminum tape), the aluminum tape sprayed with flat black lacquer, aluminum tape straight, Kapton tape (the amber stuff you can see on the legs and on side panels), copper foil tape (used to repair electronics and electric guitars). A lot of the foil is held down with super powered glue stick from UHU. It's the greatest stuff I've found to stick metal foils to whatever you have.
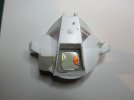
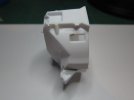
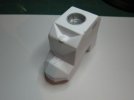
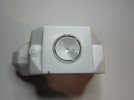
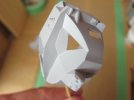
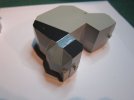
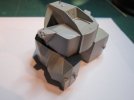
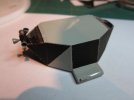
The picture here show some of the details I've scratch-built into this model. on the Descent Stage. I will post more shortly.


