gregfrank
Member
- Joined
- Jul 23, 2012
- Messages
- 49
Thanks to all of you guys for your continued support on this build. I'm more of a Sci-fi guy but wanted something that would be an easy build in three months. That being said, this has been much more work than I could have ever thought. Next time I want a kit that I can finish quickly I'll make sure it says "SNAP" somewhere on the box.
Okay, so... kind of a big update. Wow! Is it the end of May already? While I have had a lot of little victories lately, I have had nothing worth posting until tonight! I'll elaborate on each one with pictures and descriptions, as usual.
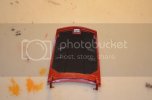
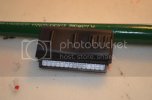
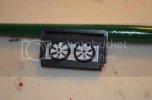
First off I've put the radiator together, may not seem like much , but getting the fan blades to look how I wanted and the overall fit of the part make this quite the chore.
Front
Back
Next up is wheels. There are a lot of parts to this so I'll explain as I go.
First the brakes. I know most brakes are shiny, but this car has carbon-ceramic racing brakes which, in every picture I've seen, look more grey than anything. Then the rotor covers are done in flat black and the calipers are done in flat aluminum.
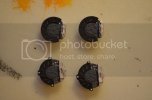
I got the center cap decals on the rims and then gave them a good coating of future. This gives them a nice shine that looks pretty close to the reference photos I have of the wheels.
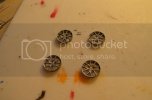
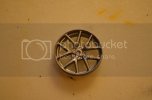
Now the whole wheel together. I sanded down the tread of the tire to look like its been driven a bit, but since I am going for a showroom finish I applied tire dressing to the outside edge to clean it up a bit. I used actual tire dressing for this.
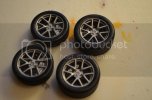
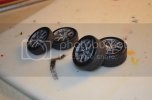
I finally have the entire power-train glued down and the wheel wells in place.
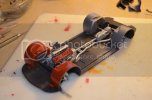
Here is the front suspension
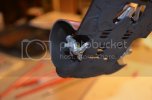
and the rear
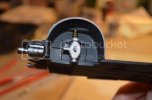
The cabin is completely painted and glued together. The straps on the deck-lid, The stainless steel floors, the entire armrest console, the door inserts, and the pedals have all been painted and added.
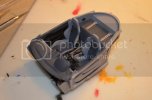
The pedals
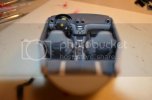
Center consoles
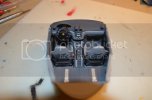
The holes in the pedals and the passenger foot rest were drilled out using a pin vice and about 6 .4mm bits. Those things are tiny and break a lot. :'(
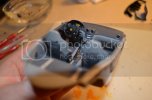
The carbon fiber inserts in the door panels
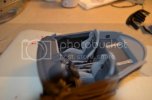
The cabin fits quite snugly on the frame, even without glue.
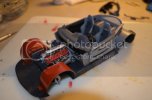
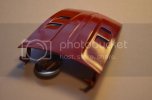
I put the decals onto the engine intake. This included the Ferrari lettering on each side and the warning and information stickers the the right hand side.
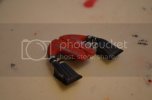
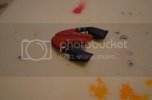
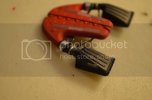
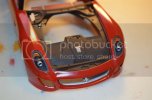
The headlights were painted flat black, with flat aluminum tips, and chrome covered in tamiya clear orange for the turn signals. The turn signals will get a coat of future tomorrow.
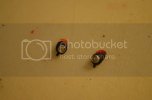
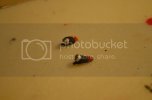
The radiator and intake added to the rest of it.
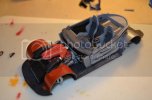
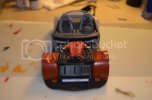
Now with the wheels and rear bumper added
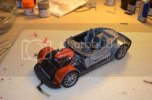
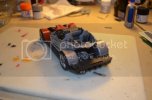
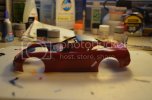
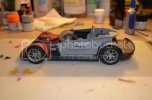
From the side it reminds me of an old 1930's hot rod
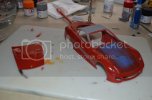
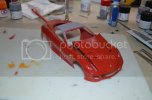
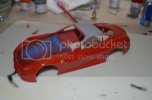
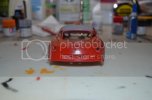
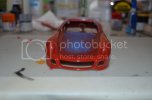
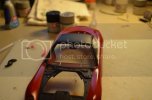
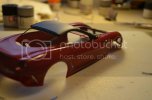
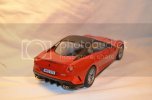
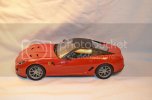
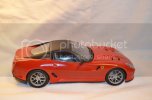
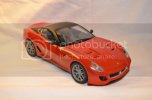
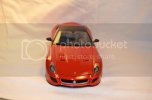
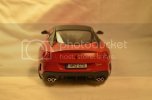
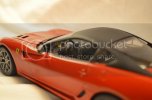
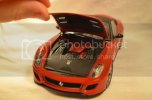
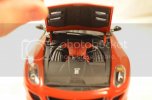
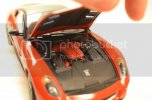
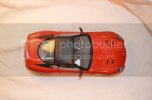
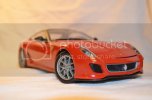
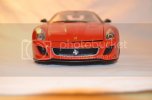
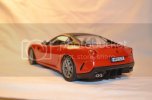
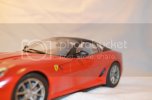
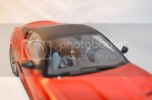
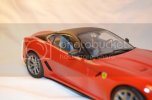
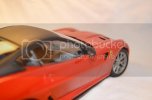
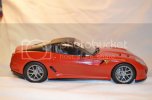
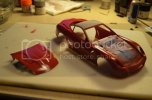
Last but not least I painted the body and hood. I started with about 5 very thinned coats of tamiya flat red at about 12 psi to ensure a nice smooth coat and little chance of build up. After that cured i sprayed maybe 15 passes of future over it. I just kept adding it on until it looked like gloss paint. I let that cure overnight and then applied the decals followed with 5 more full coats of future. There is a slight texture t the gloss coat but that should come out in the polish which I will be doing tomorrow. The roof on this car is matte black and that will be done after the car is polished.
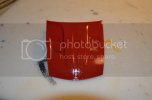
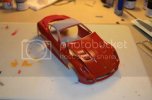
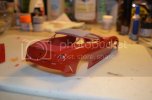
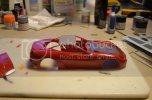
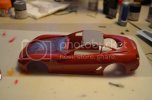
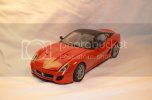
Smile for the camera!
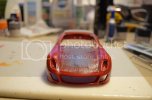
I must say that using a flat base coat and then just spaying layer after layer of gloss over it was, at the time, uncharted territory, however, I could not be happier with the results. Should have another update in a few days (like I have much choice at this point). Thank you for looking!!!!!!!!
Okay, so... kind of a big update. Wow! Is it the end of May already?
First off I've put the radiator together, may not seem like much , but getting the fan blades to look how I wanted and the overall fit of the part make this quite the chore.
Front

Back

Next up is wheels. There are a lot of parts to this so I'll explain as I go.
First the brakes. I know most brakes are shiny, but this car has carbon-ceramic racing brakes which, in every picture I've seen, look more grey than anything. Then the rotor covers are done in flat black and the calipers are done in flat aluminum.

I got the center cap decals on the rims and then gave them a good coating of future. This gives them a nice shine that looks pretty close to the reference photos I have of the wheels.


Now the whole wheel together. I sanded down the tread of the tire to look like its been driven a bit, but since I am going for a showroom finish I applied tire dressing to the outside edge to clean it up a bit. I used actual tire dressing for this.


I finally have the entire power-train glued down and the wheel wells in place.

Here is the front suspension

and the rear

The cabin is completely painted and glued together. The straps on the deck-lid, The stainless steel floors, the entire armrest console, the door inserts, and the pedals have all been painted and added.

The pedals

Center consoles

The holes in the pedals and the passenger foot rest were drilled out using a pin vice and about 6 .4mm bits. Those things are tiny and break a lot. :'(

The carbon fiber inserts in the door panels

The cabin fits quite snugly on the frame, even without glue.

I put the decals onto the engine intake. This included the Ferrari lettering on each side and the warning and information stickers the the right hand side.


The headlights were painted flat black, with flat aluminum tips, and chrome covered in tamiya clear orange for the turn signals. The turn signals will get a coat of future tomorrow.


The radiator and intake added to the rest of it.


Now with the wheels and rear bumper added


From the side it reminds me of an old 1930's hot rod

Last but not least I painted the body and hood. I started with about 5 very thinned coats of tamiya flat red at about 12 psi to ensure a nice smooth coat and little chance of build up. After that cured i sprayed maybe 15 passes of future over it. I just kept adding it on until it looked like gloss paint. I let that cure overnight and then applied the decals followed with 5 more full coats of future. There is a slight texture t the gloss coat but that should come out in the polish which I will be doing tomorrow. The roof on this car is matte black and that will be done after the car is polished.


Smile for the camera!

I must say that using a flat base coat and then just spaying layer after layer of gloss over it was, at the time, uncharted territory, however, I could not be happier with the results. Should have another update in a few days (like I have much choice at this point). Thank you for looking!!!!!!!!

