texastony1946
Member
- Joined
- Mar 15, 2013
- Messages
- 151
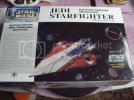
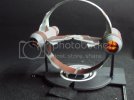
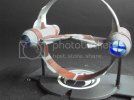
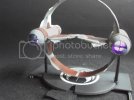
1/72 Finemolds Star Wars Jedi Starfighter. This build tested my patience as much as anything I have
built lately. This is a small model. Lots of detail and a great deal of masking. Many tight fits on the lighting.
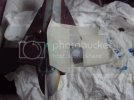
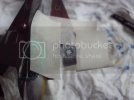
I started with the Star Fighter engines. I had to drill holes in the exhaust port and light block the interior. The following photos show the steps I had to take to light the cockpit and engines.
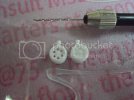
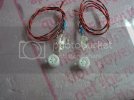
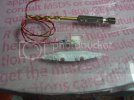
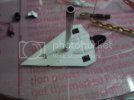
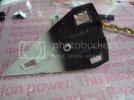
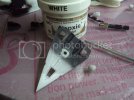
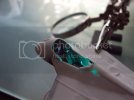
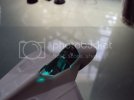
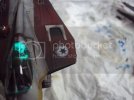
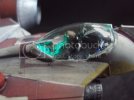
Cockpit lighting. I used an aqua colored led to provide the light source for the instruments. I used fiber optics
on the instruments in the rear of the cockpit.
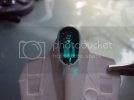
Engines mounted and testing.
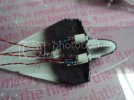
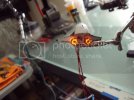
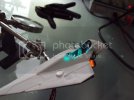
Ready for primer.
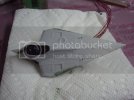
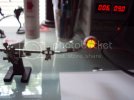
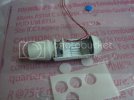
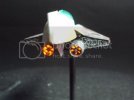
Started work on lighting for hyperdrive engines. Had to cut a circle out of plasticard to mount LED's. I used orange
blue and cool white flicker LED's to simulate different staging of the engines. The next group of photos show the
steps I had to take.
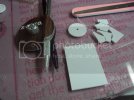
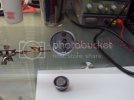
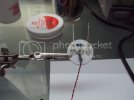
I used a Dremel with a mandrel to get a smooth circle to mount in the engine narcels.
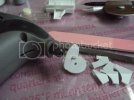
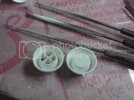
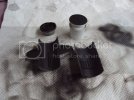
Light blocked and painted white to reflect max lighting
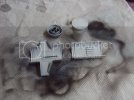
Light tested
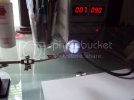
Primed hyperdrive ring and starfighter, Added some preshading. Blocked out red areas of model and used negative
mask. After masking, primed models and painted them with a starship color I mixed.
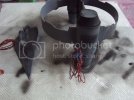
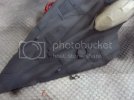
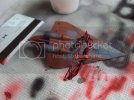
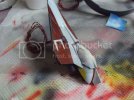
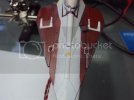
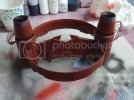
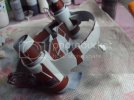
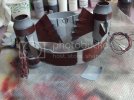
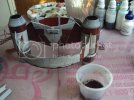
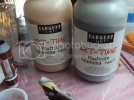
I used a wash I made from tempera powder water and a drop of dish detergent. I really like the way this wash worked and turned out. I like it much better than oil washes I have used before. You just wipe off as much as you want to achieve the effect you desire with a damp cloth. Varnish to seal in effect.
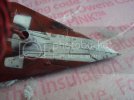
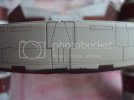
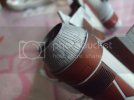
I used some Tamiya weathering powders to highlight several areas.
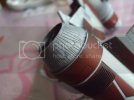

OBI-WAN on a stick.

Started work on te bases. I used a split base to display models individually.
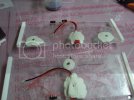
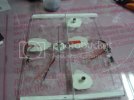
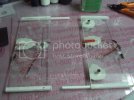

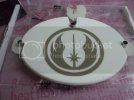
Jedi Order mask.
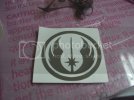

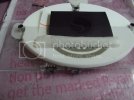

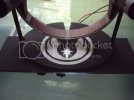
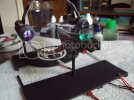
Republic symbol mask.
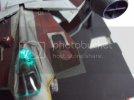
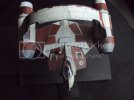
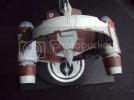
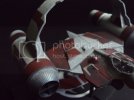
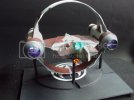
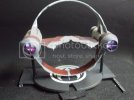
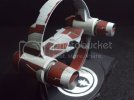
Still photos.
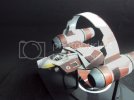
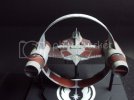
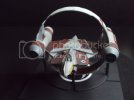
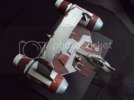

Thanks for viewing.
YOUTUBE video here.
https://www.youtube.com/watch?v=qnG1dLLsPKU&feature=youtu.be
built lately. This is a small model. Lots of detail and a great deal of masking. Many tight fits on the lighting.

I started with the Star Fighter engines. I had to drill holes in the exhaust port and light block the interior. The following photos show the steps I had to take to light the cockpit and engines.


Cockpit lighting. I used an aqua colored led to provide the light source for the instruments. I used fiber optics
on the instruments in the rear of the cockpit.


Engines mounted and testing.


Ready for primer.

Started work on lighting for hyperdrive engines. Had to cut a circle out of plasticard to mount LED's. I used orange
blue and cool white flicker LED's to simulate different staging of the engines. The next group of photos show the
steps I had to take.

I used a Dremel with a mandrel to get a smooth circle to mount in the engine narcels.


Light blocked and painted white to reflect max lighting

Light tested


Primed hyperdrive ring and starfighter, Added some preshading. Blocked out red areas of model and used negative
mask. After masking, primed models and painted them with a starship color I mixed.


I used a wash I made from tempera powder water and a drop of dish detergent. I really like the way this wash worked and turned out. I like it much better than oil washes I have used before. You just wipe off as much as you want to achieve the effect you desire with a damp cloth. Varnish to seal in effect.


I used some Tamiya weathering powders to highlight several areas.


OBI-WAN on a stick.

Started work on te bases. I used a split base to display models individually.


Jedi Order mask.


Republic symbol mask.


Still photos.


Thanks for viewing.
YOUTUBE video here.
https://www.youtube.com/watch?v=qnG1dLLsPKU&feature=youtu.be
