Working with putty and thick primer before primer spray coat ...
AVES epoxy putty was used to fill in any gaps in the Captain's ready room and conference room window frames:

USS Voyager WIP Img - 064 by Steve J, on Flickr
Super detailing going on:

USS Voyager WIP Img - 065 by Steve J, on Flickr
Upper saucer after brushing photo-etch and adjacent plastic surfaces with Mister Surfacer 1000:
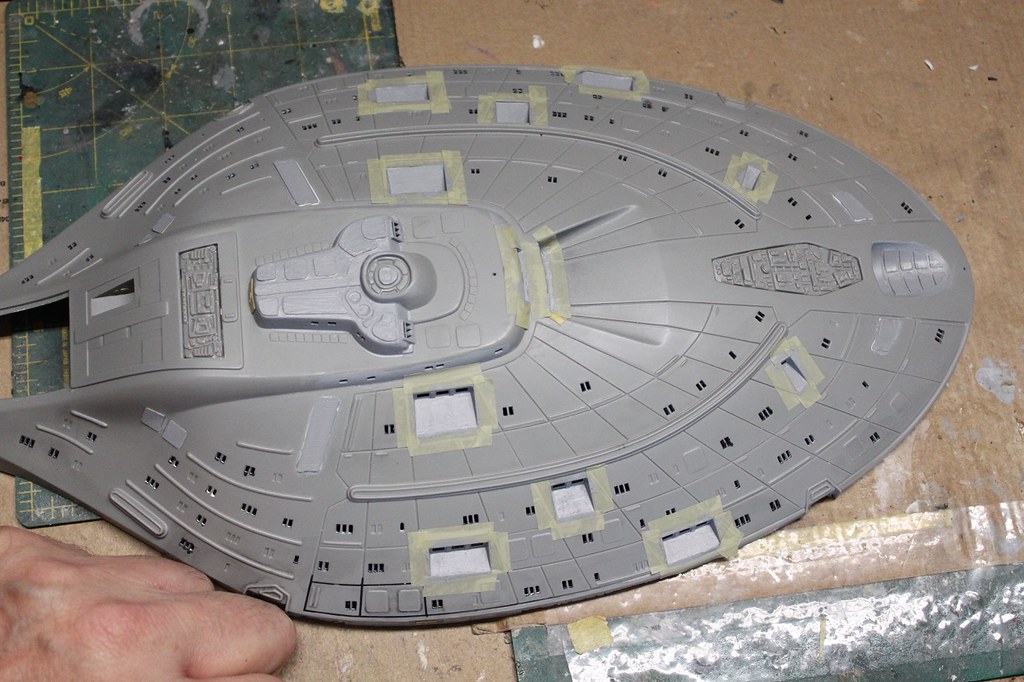
USS Voyager WIP Img - 066 by Steve J, on Flickr
Bridge decks 1 and 2 after brushing with Mister Surfacer.
I also sanded off the little nit on the roof of the bridge leaving it flat:

USS Voyager WIP Img - 067 by Steve J, on Flickr
After Mister Surface brushed on:

USS Voyager WIP Img - 068 by Steve J, on Flickr
Nice angle:

USS Voyager WIP Img - 071 by Steve J, on Flickr
Docking port recesses filled in with styrene strip around brass photo-etch hatches:

USS Voyager WIP Img - 073 by Steve J, on Flickr
Bow brass docking port recess framed with plastic strips:

USS Voyager WIP Img - 074 by Steve J, on Flickr
The rear Deck 2 EVA port PE sat proud of the hull when it should have been recessed.
To correct this I first added AVES epoxy putty to the hull to level it with the hatch, I spent over an hour sculpting and shaping the putty using my dental tools:

USS Voyager WIP Img - 075 by Steve J, on Flickr
To finish the upper EVA hatch detailing I glued a piece of .020 styrene strip to frame the hatch and give it a recessed appearance.
Next I'll use AVES to putty around the strip and make a smooth transition to the hull:

USS Voyager WIP Img - 078 by Steve J, on Flickr
Coming up... working on wing hinges and fixing the rim with strip styrene,