Impulse exhaust vents looking very clean:

USS Voyager WIP Img - 047 by Steve J, on Flickr
One strut's exhaust impulse engine vents are done:

USS Voyager WIP Img - 049 by Steve J, on Flickr
One strut almost done as far as drilling and carving vents. Still need to open up the intake vent:

USS Voyager WIP Img - 050 by Steve J, on Flickr
Nacelle wing struts and impulse engines. All intake and exhaust vents were brushed with Mister Surfacer.
All the plastic removal I did turned out great after a coat of what is basically thick primer IIDSSM:
USS Voyager WIP Img - 052 by Steve J, on Flickr
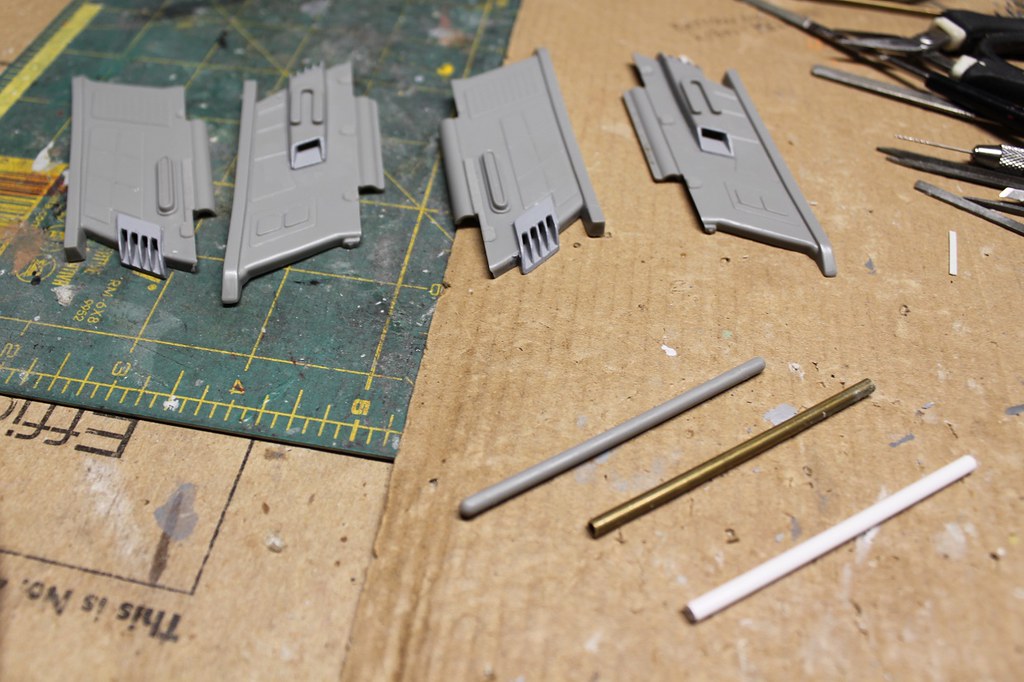
Options for the re-positional strut hinge pins shown to the right.
Whichever option I choose will be glued into the wing strut to allow for wiring around a moving hinge joint.
I like the idea of brass tubing but, as with plastic I would need to drill a hole thru one side to feed the wires thru.
Not easy to do with a brass tube but doable.
Plastic hollow tubing would be easier to drill thru but does not have the strength of brass.
I also need to test them in place to see how they play with the raised positioning strip along the secondary hull strut insertion slot.
The strut has a tab shaped to snap into position against another tab in the hull when forced upward for when the Voyager goes to warp.
I drilled and carved out the impulse engine intake vents and glued the Paragrafix PE grill in place from the inside. Then I gave them and the exhaust vents a brushing with Mister Surfacer 1000:
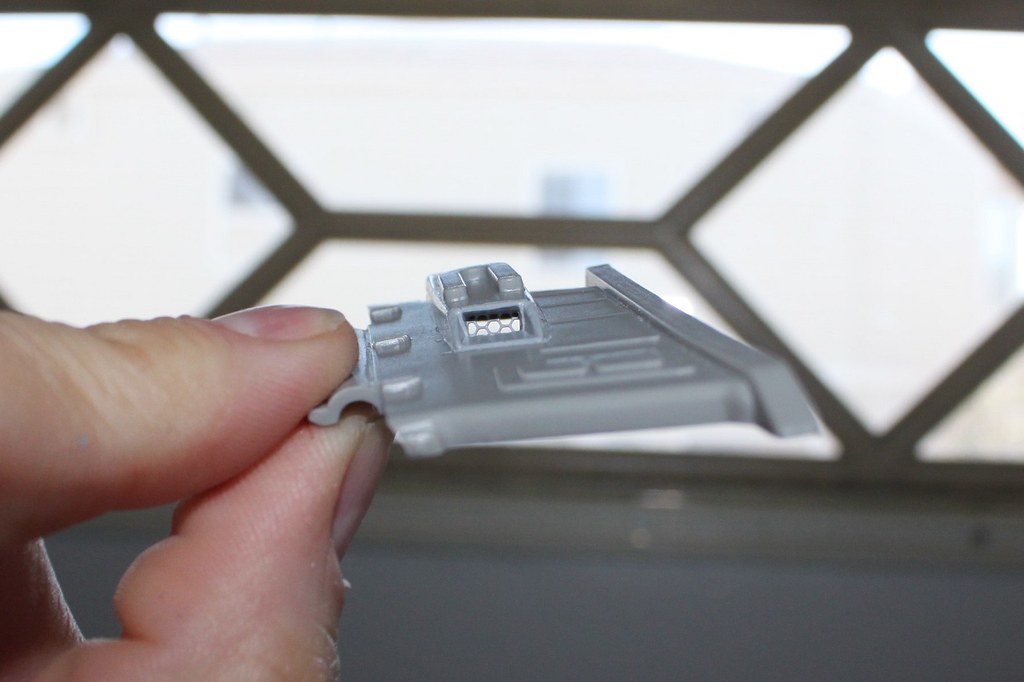
USS Voyager WIP Img - 051 by Steve J, on Flickr
Funny, I didn't notice until uploading this photo how the photo-etch matches my garage door window frames.
Serendipity. Hah!