NCC-1701 (A)

Scale Model Addict - Model Tips, Guides, Tools & Tech, Tutorials, and Community

Help Support Scale Model Addict:

Edbert

Well-Known Member
Joined
May 16, 2024
Messages
3,123
I bought and started this kit in the 1990s before I put all my stuff away for a ~30 year hiatus. Just pulled it out of mothballs, inspired by seeing so many great builds.

1774804354285.png


The fit and surface detail is terrible, about on-par with my fabrication skills. But I want to see what I can make out of it AND get a perpetual shelf-queen into the cabinet.

I am considering adding lighting. :eek:

Part of the cutaway section are clear, so there'll need to be an opaque backing, but other sections have places for "windows" or openings. The easy way out would be to have an off-white/light yellow glow on the entire saucer shell, but that is a tad boring. Red/blue/green LEDs are cheap and easy enough to wire, but how to separate the colors and have the source be far enough away to not show? Frosted clear acetate?
1774804862726.png

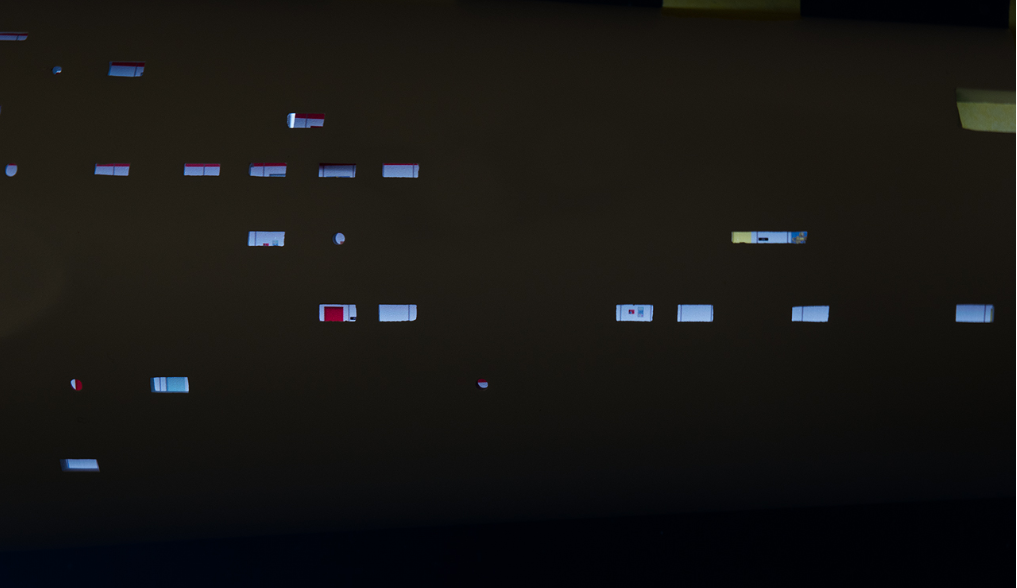
This (above) is what I mean. Are those structural areas (the solid parts) or should there be a light source? I'm a fan of the original show, but not to the level where I'd know. The instructions are very weak, but they did provide a decal (below) that I can use as a guide, it indicated they should be black to simulate openings, but then why not leave them open?
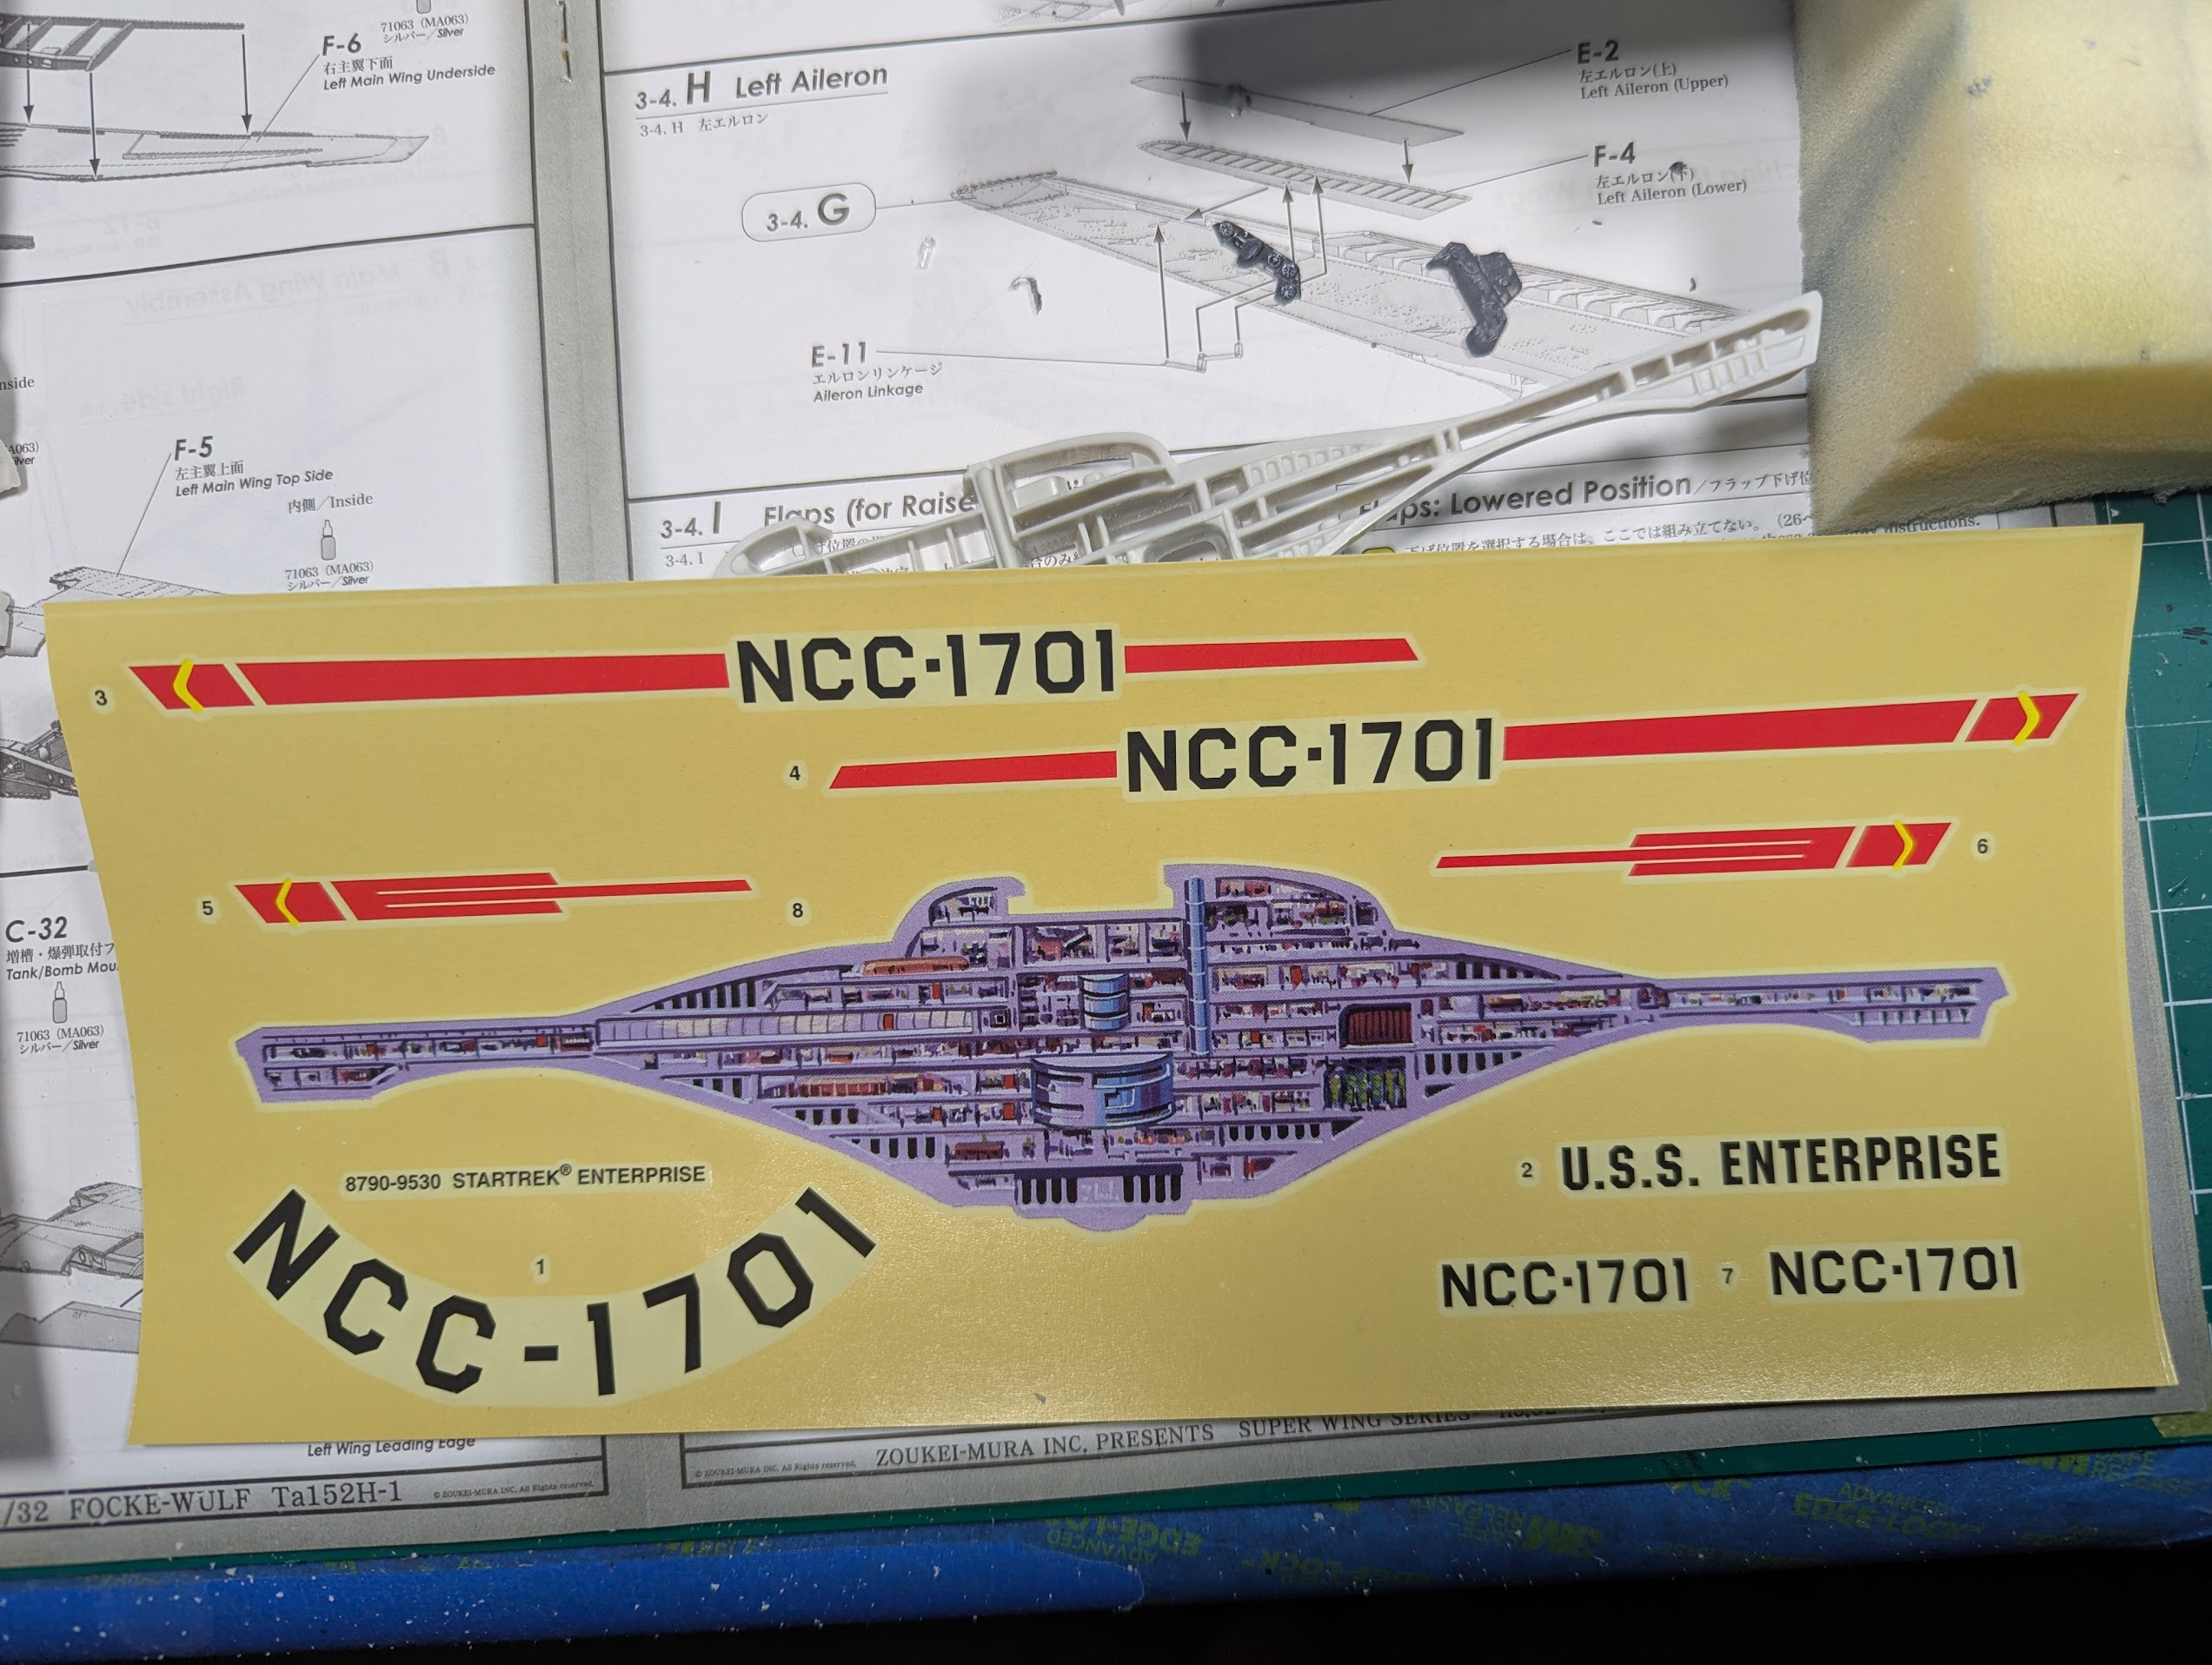
1774805073040.png


I'm actually asking and hoping some of you sci-fi and lighting experts can help out with ideas. Of course I'll look around on the toob too.

Another question, how do you cut rectangular openings with precision and have them all uniform size? That is mainly a thing on the exterior of the saucer and secondary hull, but in general, do you drill 4 tiny holes in each corner and carve them out?
 
Any opinions? Should I throw away this kit or put it in the closet for 30 more years (when I'll be dust), or advice on lighting or how to cut uniform square windows?

This video is not bad, it is old and in Spanish (I understood ~25% since I'm a Texan) but...I hope for better.
 
Any opinions? Should I throw away this kit or put it in the closet for 30 more years (when I'll be dust), or advice on lighting or how to cut uniform square windows?

This video is not bad, it is old and in Spanish (I understood ~25% since I'm a Texan) but...I hope for better.
No, you need to build this! How many windows? And how big?
 
I'd love to see a build of this kit

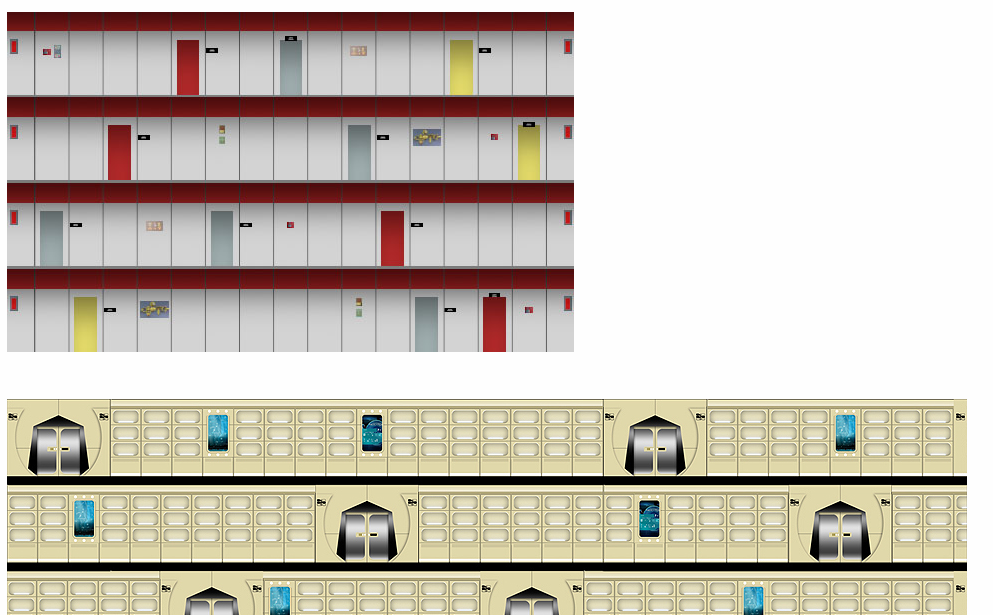
as for interior stuff, I have always wanted to try the trick of getting some images printed on a transparency, and putting it inside the windows and stuff to give the illusion of an interior

There are lots of ETSY pages selling transparencies for the 1/350 Enterprise, but you could easily just make your own using Kinkos or similar to print them for you. Just search for window insert for USS Enterprise

You could even get them to print that waterslide decal on a sheet, or even possibly just try the decal itself on a clear sheet and then back light it

This is not my build, but demonstrates the example
taken from here https://www.therpf.com/forums/threads/making-starship-window-interiors-with-backlit-film.263492/

basically getting these printed out like a slide transparency
1774995360707.png


and then installing them

1774995424385.png

1774995497931.png
 
No, you need to build this! How many windows? And how big?
I've not counted them, but I'd say 30+ rectangular one, as many round ones (not an issue, they're easy) but 3 large squares in the top of the suacer where I think (no offense intended) the creator of the video kinda messed it up.

Edit: as far as size, see what Blake posted. They are are not large or small, call it medium (?) but uniformity is important, and it easy to see it go sideways.
 
As an Amazon Associate we earn from qualifying purchases. Product prices and availability are accurate as of the date/time indicated and are subject to change.
I've not counted them, but I'd say 30+ rectangular one, as many round ones (not an issue, they're easy) but 3 large squares in the top of the suacer where I think (no offense intended) the creator of the video kinda messed it up.

Edit: as far as size, see what Blake posted. They are are not large or small, call it medium (?) but uniformity is important, and it easy to see it go sideways.
Could you make a template, drill out the four corners and then cut them out?
 
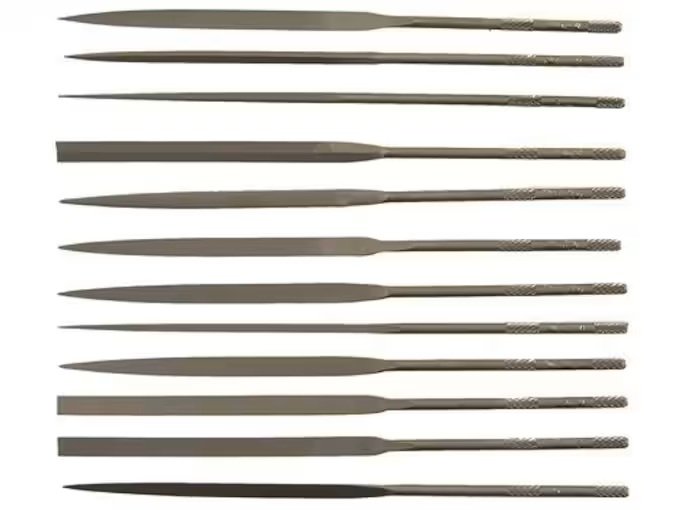
Get you a set of needle files.

nich.jpg


I've had a couple sets of 12 Nicholson for umpteen years and I highly recommend them. There are many different shapes included and one of them is square. Starts, of course, at a point and ends at about 1/8th (?) at the widest. I literally use them every modeling session.

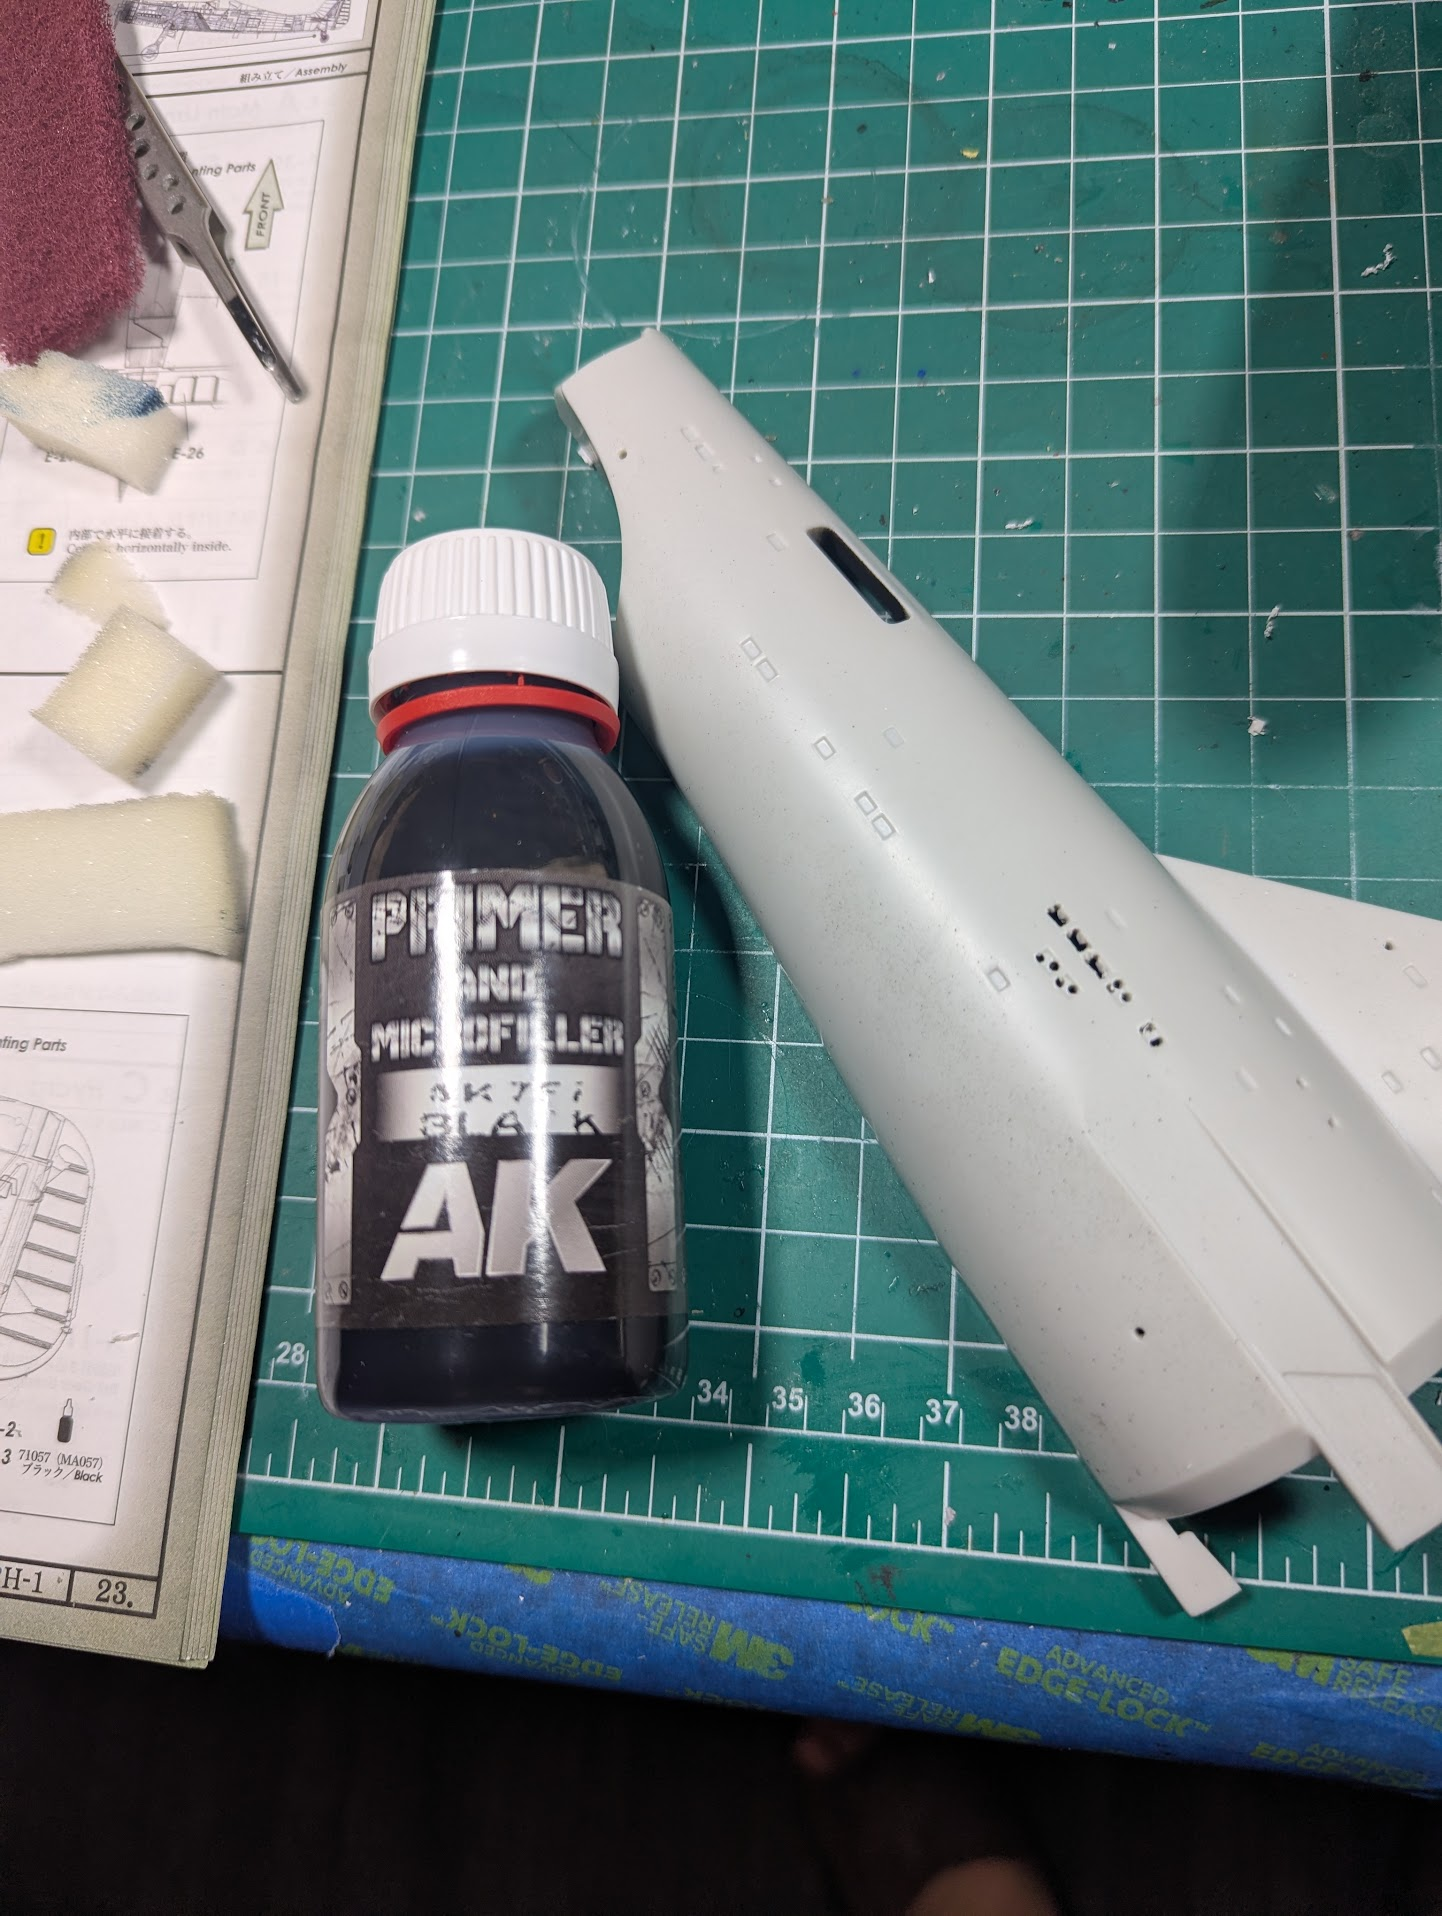
To distribute the lighting, cut some acrylic material (Plexiglas) and run it along where you want subtle lighting with an LED at one end and it'll show light the whole length of the plexiglas. Think lights in a car dash just a few years ago or those signs and stuff folks make now.

eag.jpg


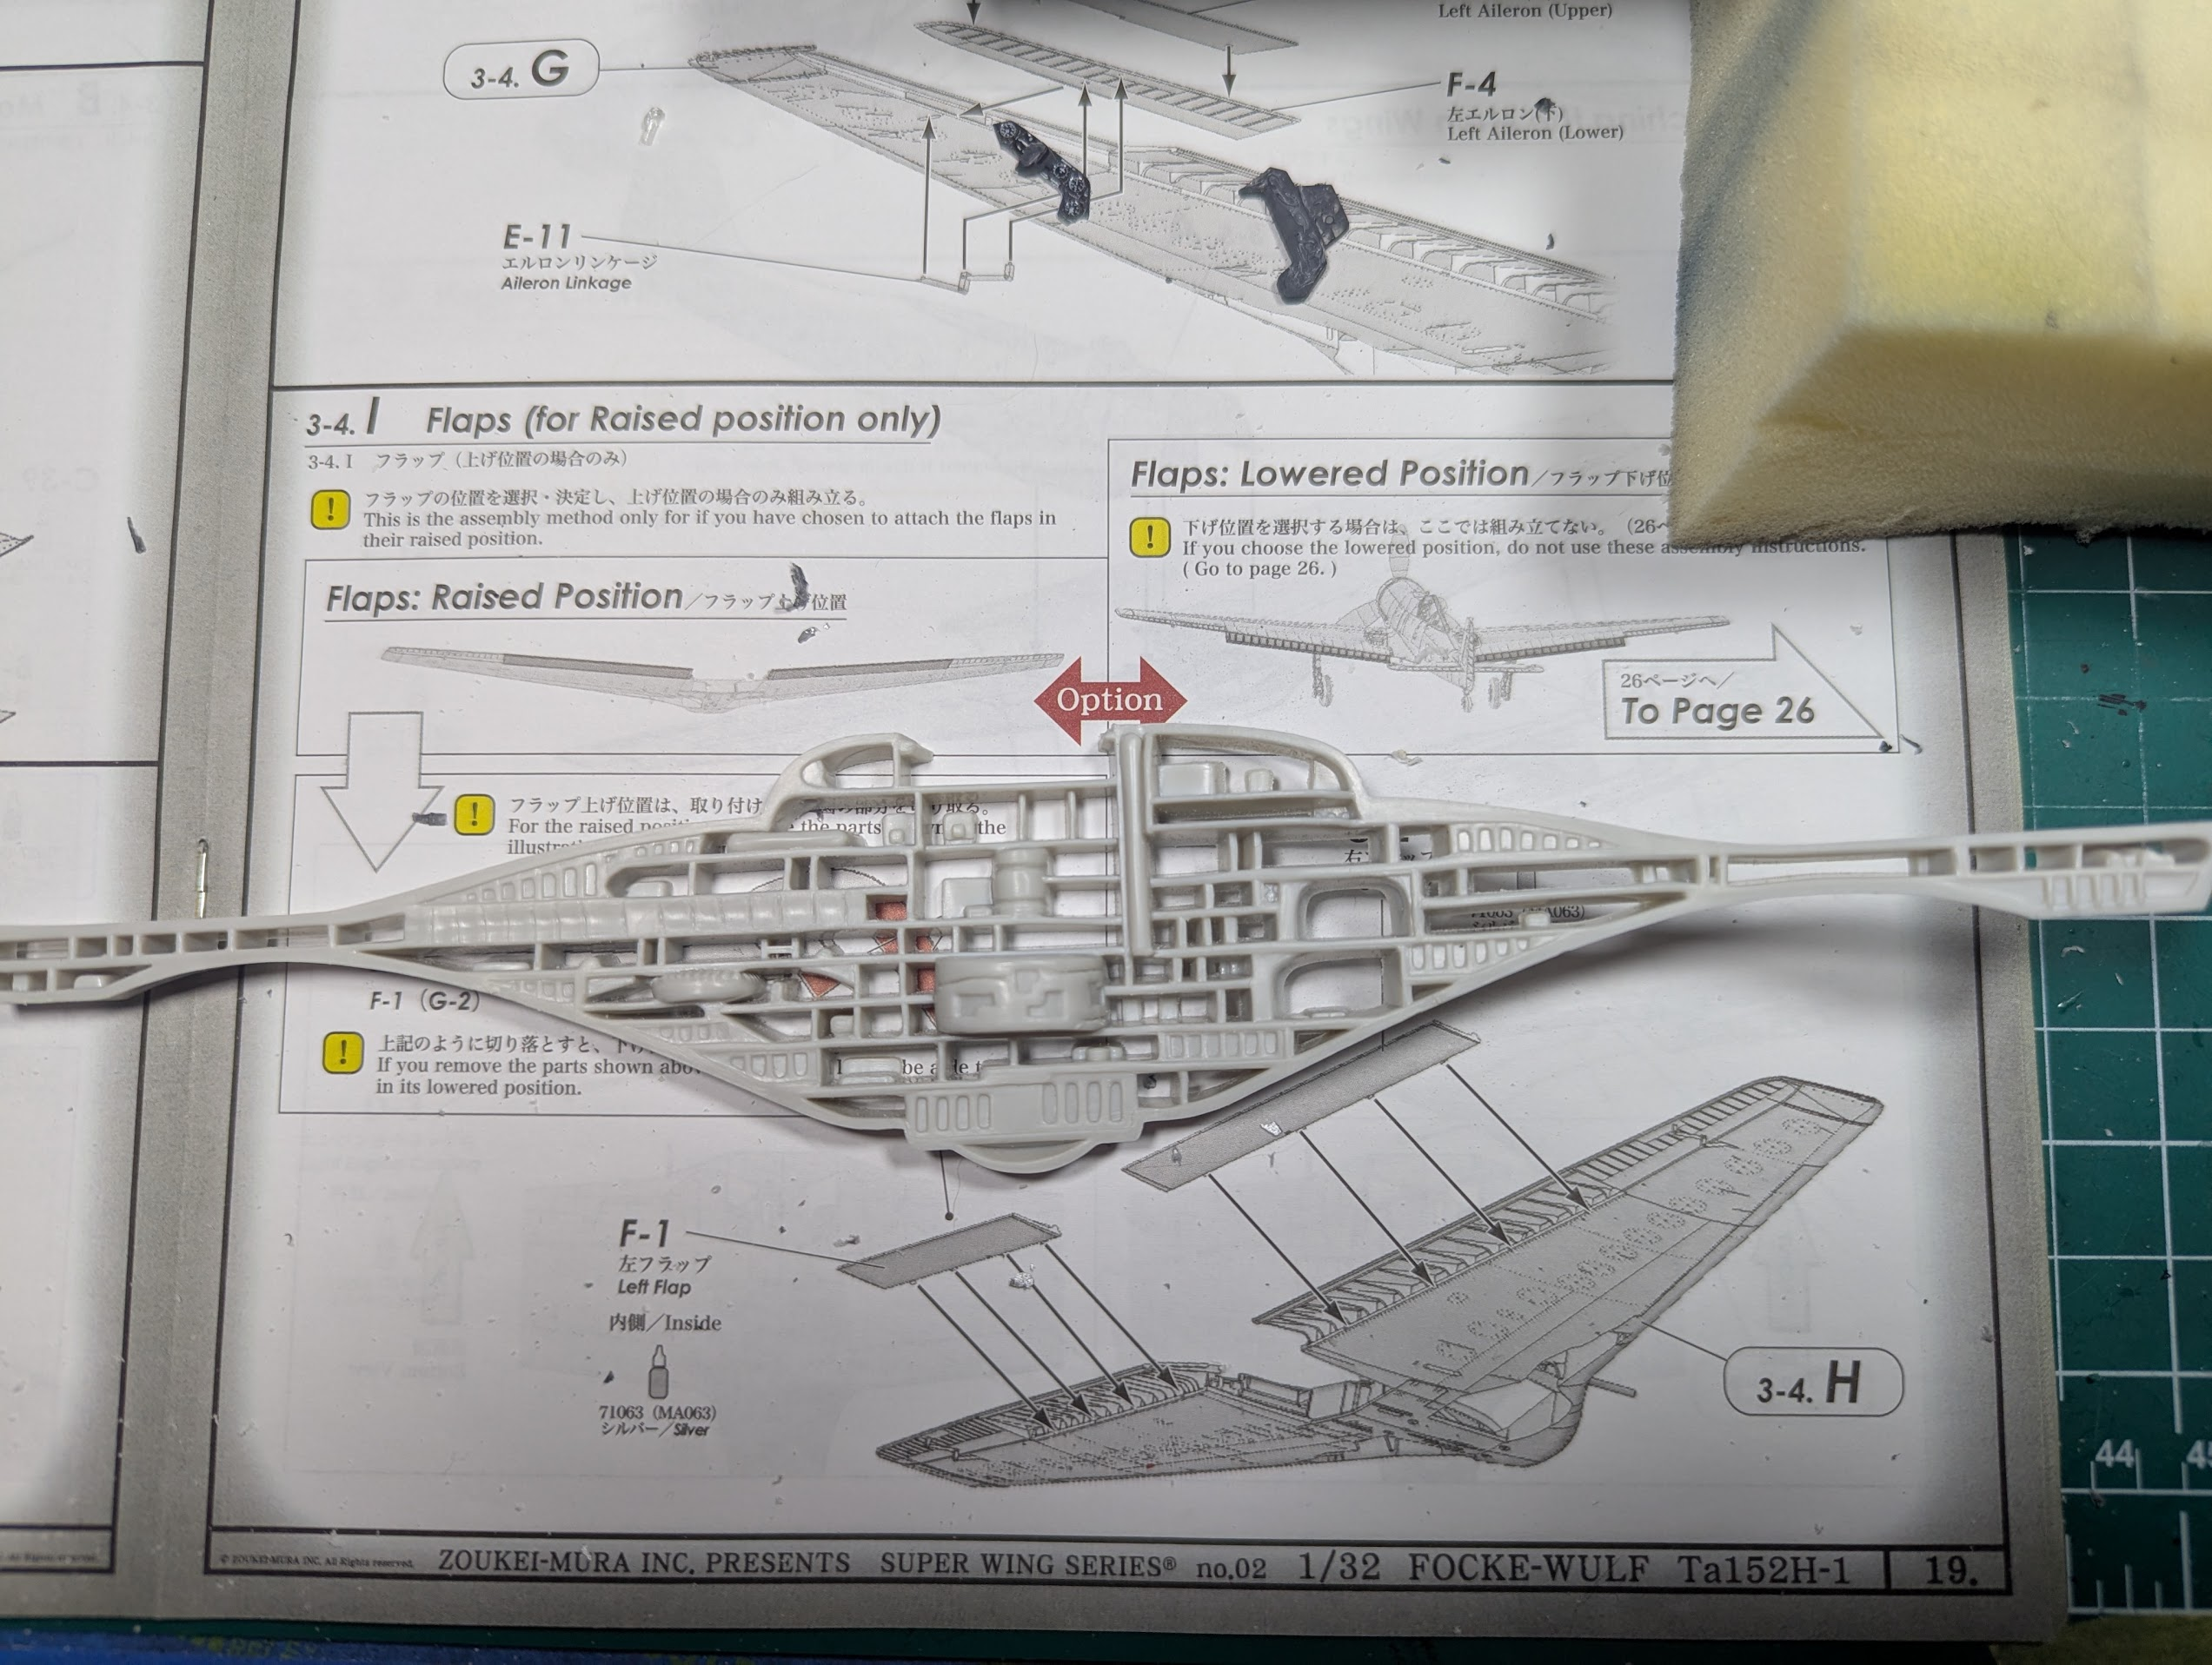
There's also lighting sheet available. The entire sheet lights and comes in colors.

Tape them stickers inside a window in your house facing the sun. They'll unyellow in a day or so.

Rob.
 
Tape them stickers inside a window in your house facing the sun. They'll unyellow in a day or so.
Really, this is a thing/possible?

I was considering buying these...https://jt-graphics.com/D_650.html
 
After all we been through? Trust me.

It'll work right before your eyes actually. Put them inside the window that gets the most sun the longest.

Of course, buying them is always an option, but then, you'll never know whether I'm a liar or not.

Rob.
 
Will do boss. Tomorrow is my "once every other week" drive to the office (only good thing about COVID) so it might need to wait a bit :-)
 
Right now that is my best choice, but I know my limitations and am a bit skeered.
View attachment 185350
I used to tell my son just try if you muck it up throw it away. There's no perfect models out there and quite frankly the joy in modeling is in the doing not the model itself- otherwise we would all build one and be done!
 
Covid? You believe that but doubt the window thing from me?

Just make sure the window is one that doesn't create condensate and tape the decal side towards the sun. Make sure they're not UV blockers either. The UV part is what you'll need.

Rob.
 
COVID is why I am working from home since 2020. Just go to the office every other Wednesday.
 
For windows, I'd drill out and file to shape. As for doing it or dumping it: Will you enjoy the work of making it the way you want it to be? There is not the slightest doubt in my mind that you can do this beautifully, but will you enjoy the work necessary for that?
 
I bought and started this kit in the 1990s before I put all my stuff away for a ~30 year hiatus. Just pulled it out of mothballs, inspired by seeing so many great builds.

View attachment 185037

The fit and surface detail is terrible, about on-par with my fabrication skills. But I want to see what I can make out of it AND get a perpetual shelf-queen into the cabinet.

I am considering adding lighting. :eek:

Part of the cutaway section are clear, so there'll need to be an opaque backing, but other sections have places for "windows" or openings. The easy way out would be to have an off-white/light yellow glow on the entire saucer shell, but that is a tad boring. Red/blue/green LEDs are cheap and easy enough to wire, but how to separate the colors and have the source be far enough away to not show? Frosted clear acetate?

View attachment 185038
This (above) is what I mean. Are those structural areas (the solid parts) or should there be a light source? I'm a fan of the original show, but not to the level where I'd know. The instructions are very weak, but they did provide a decal (below) that I can use as a guide, it indicated they should be black to simulate openings, but then why not leave them open?

View attachment 185039

I'm actually asking and hoping some of you sci-fi and lighting experts can help out with ideas. Of course I'll look around on the toob too.

Another question, how do you cut rectangular openings with precision and have them all uniform size? That is mainly a thing on the exterior of the saucer and secondary hull, but in general, do you drill 4 tiny holes in each corner and carve them out?
Maybe you should just offer it up to someone who would really appreciate it?
There's must be a Trekkie who would love to add this kit to his collection.
 
Prezactly what you need to do. Now, get them files if you ain't got none.

Go ahead, bust my chops about how them stickers look after baking 'em. If you did it, you should see somethin'.

Rob.
 
Really, this is a thing/possible?

I was considering buying these...https://jt-graphics.com/D_650.html
Don't buy from JT Graphics. You may never see your money again. While I'd done business with him about 10 years ago and had no problems (except that I'd requested decals for the Constitution and not the Enterprise), he's since proven to be completely unreliable. He sent my friend in Canada an incomplete order with lousily-printed decals, then promised to right the wrong but failed to deliver and just ignored my friend. Others have had to fight to get their money back. It sucks because a year ago I was ready to buy some Klingon K'tinga parts from him. I'd rather just try to scratchbuild replacements myself.

I dunno what's this tendency with aftermarket sellers, but they tend to end up like that Acreation butt-ass who ripped off all those people. He swore that he would fulfill his backlog of orders and people just sent him money while I shook my head. Then it was "My brother got his arm caught in the microwave and my grandpa hijacked a school bus full of penguins" excuses. Don't take my word for it though. Ask around if anyone's had good experiences with JT recently. I want to believe that JT is still reliable, but it doesn't seem so anymore.
 

Latest posts

Back
Top