NASCAR: 1997 Jeff Gordon #24 Chroma Premier Dupont Monte Carlo

Scale Model Addict - Model Tips, Guides, Tools & Tech, Tutorials, and Community

Help Support Scale Model Addict:

Dan the Modeler

Well-Known Member
Joined
Jan 8, 2025
Messages
467
City & State/Province
Oviedo, FL
So I've fallen back to old ways and have multiple builds going on the bench. I haven't done this in a long time, but figured it would keep me motivated since I have built up a bit of a NASCAR stash, and believe there are some who like to see these kind of builds.

Anyway, I picked up a mint condition Revell 1997 Chroma Premier kit that I've wanted to build since watching that Busch Clash in Daytona back then. I had the chance to live right across from from the Daytona Speedway, and watch some of the greatest races back in the Winston Cup days.
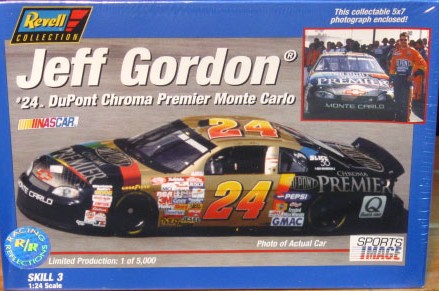
Revell 24 Chroma 1997.jpeg


So without further ado, onto building. I plan to build this kind of out of box with a few additions here are there to spice it up.

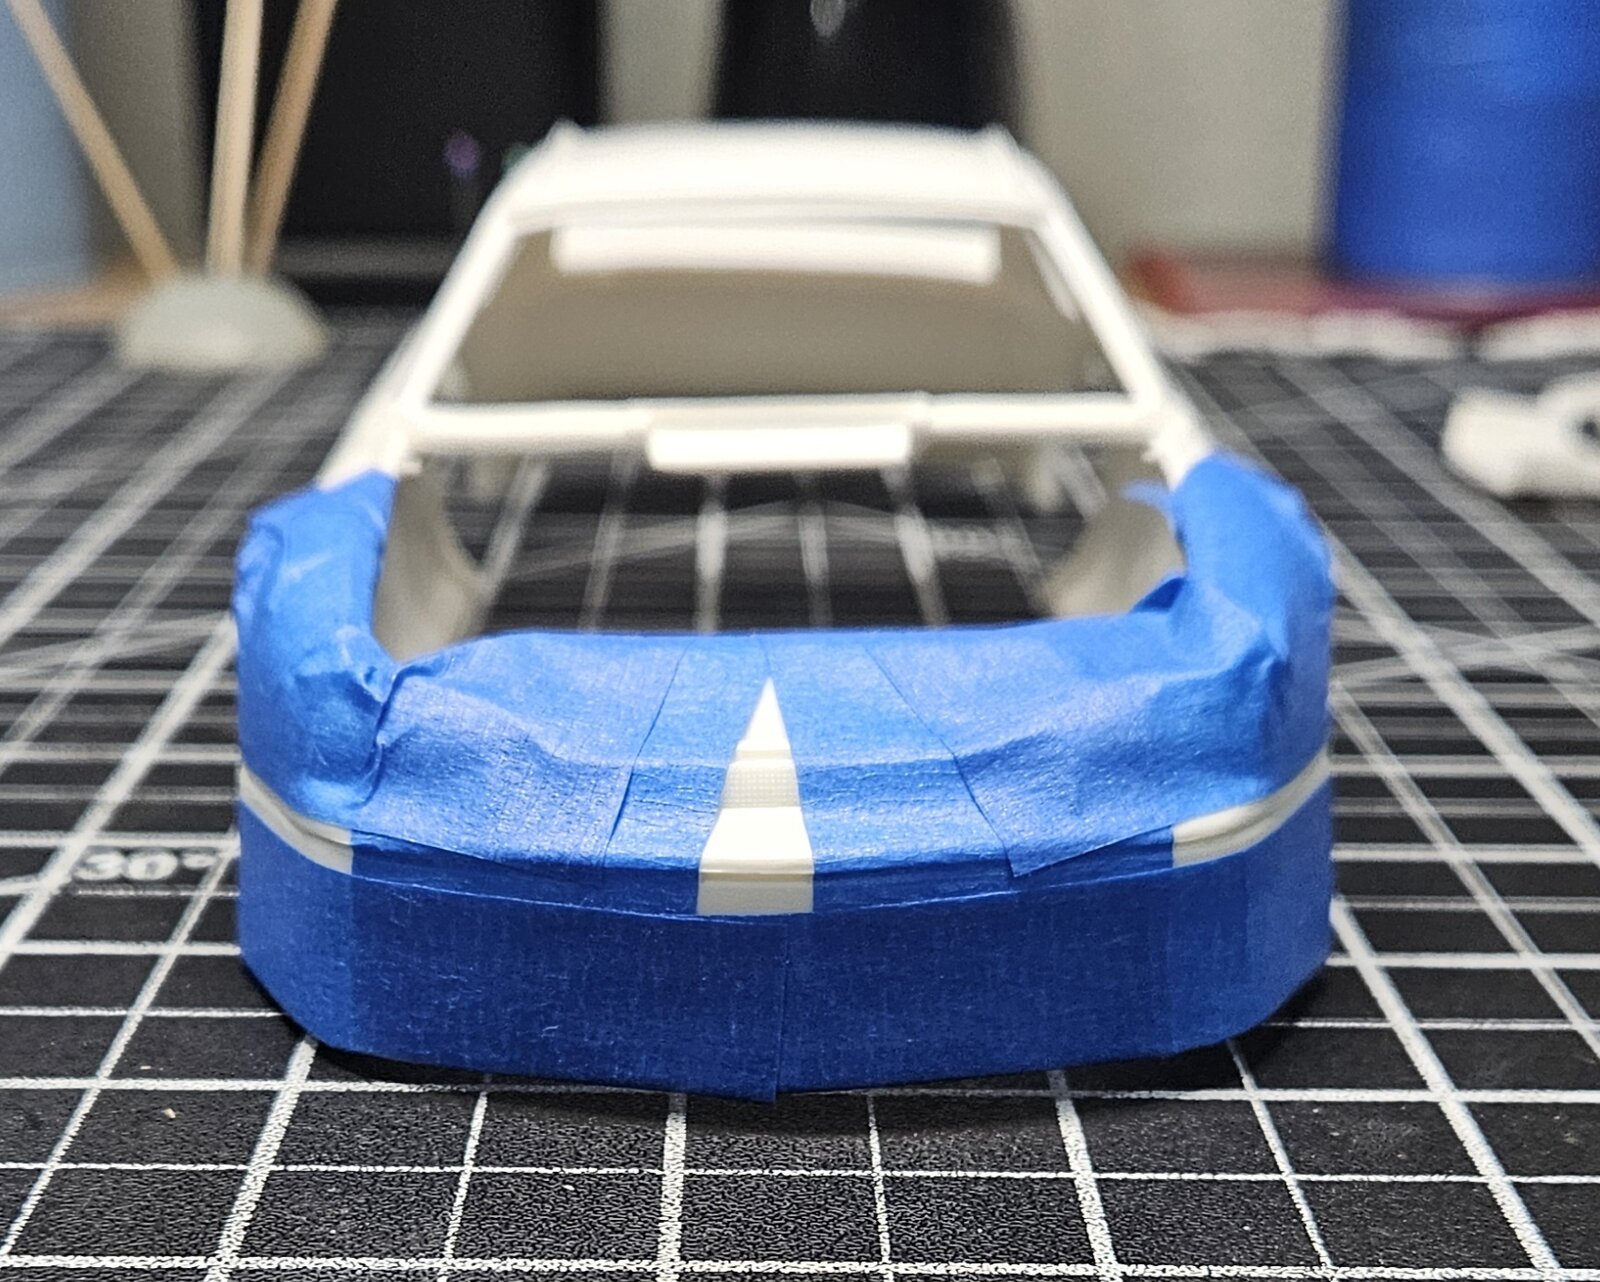
So first off, this being an older kit, there are going to be some fit and clean up issues that come with the territory. Right off the bat, the front bumper is only half there, the lower portion is a separate piece that needs work to get it right, so that's where the build starts.
20251030_192954.jpg


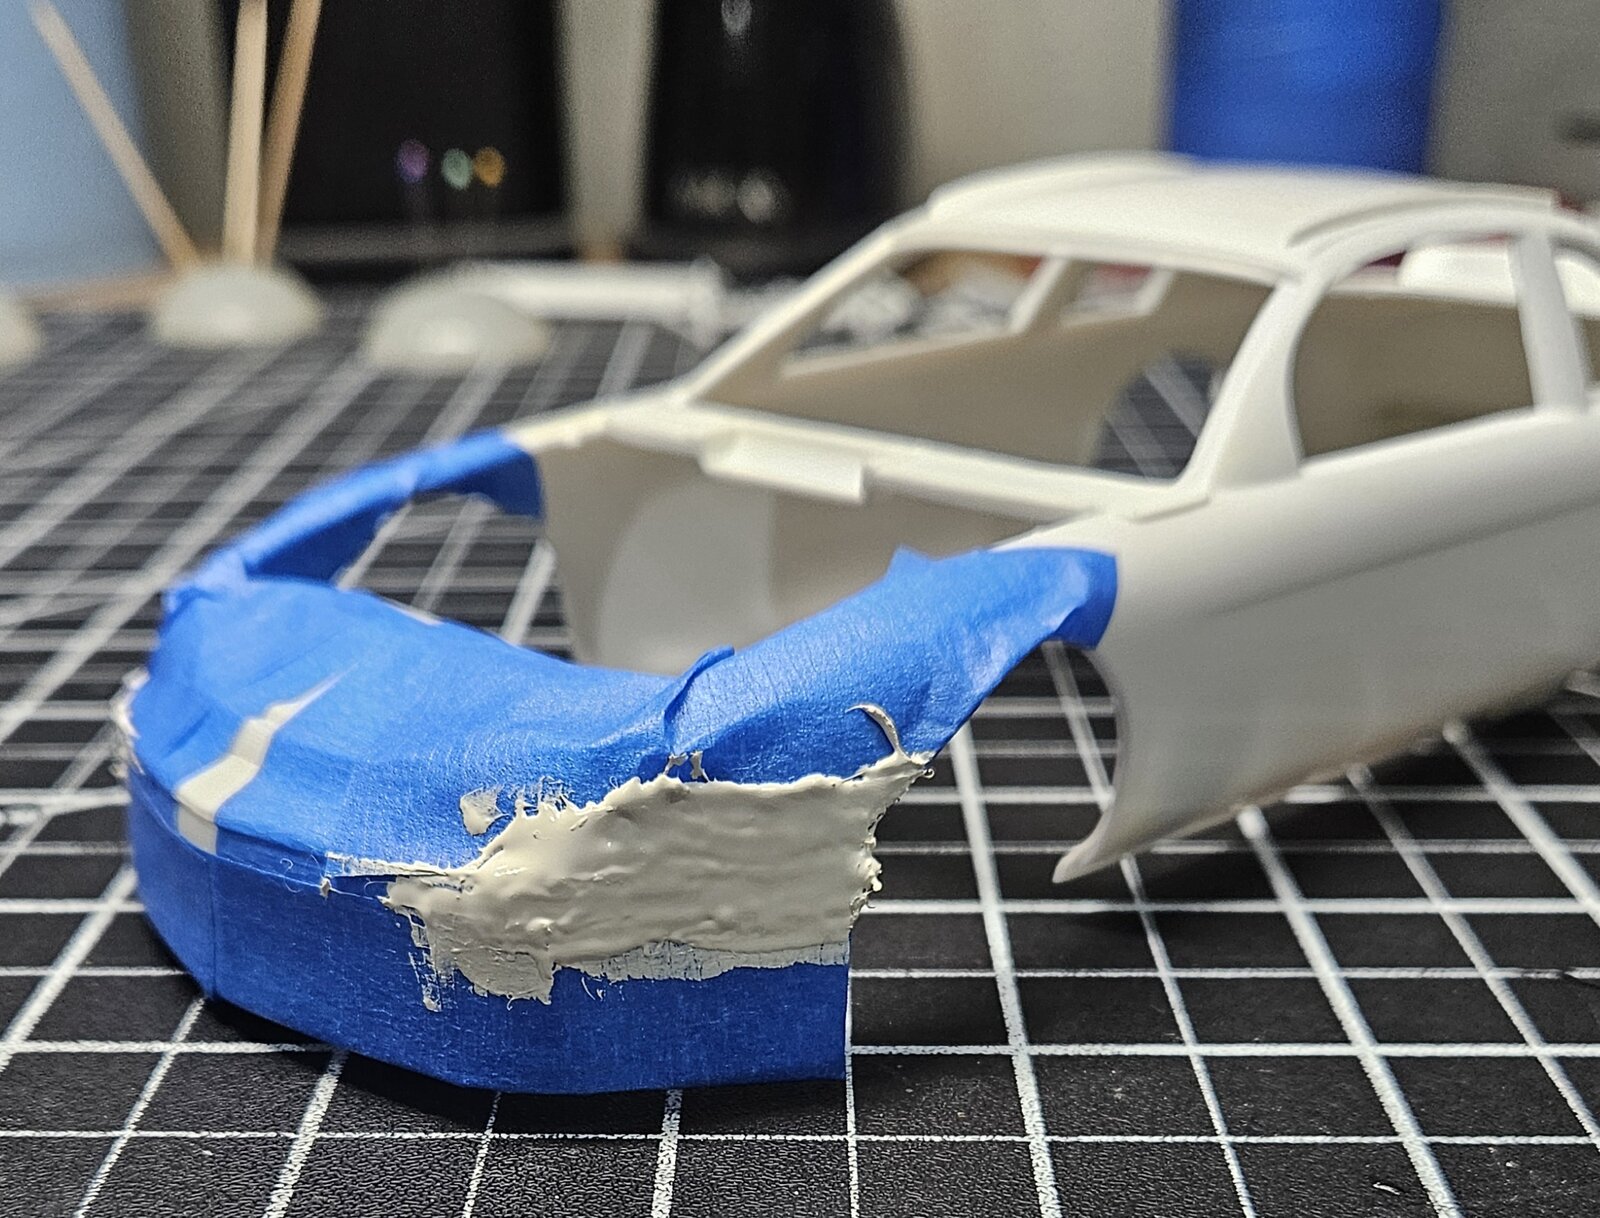
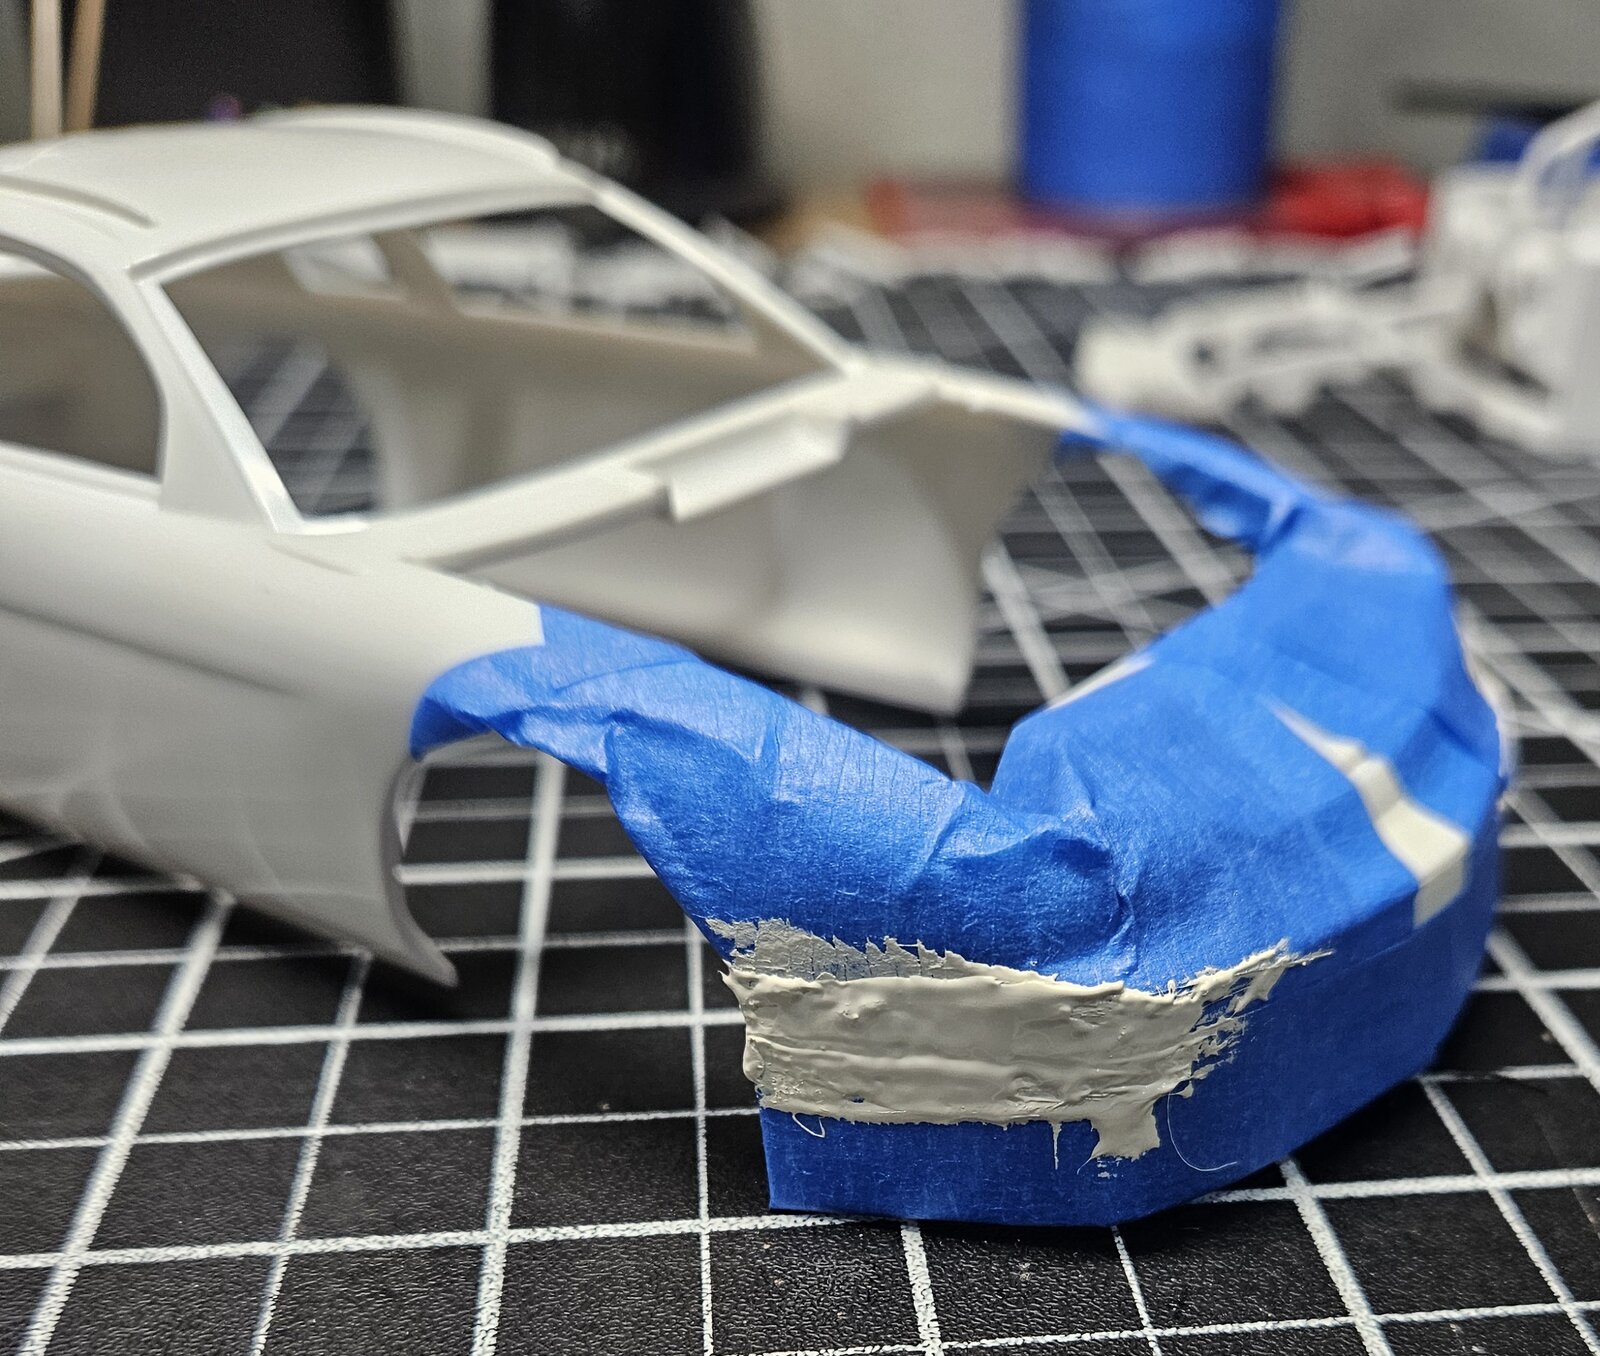
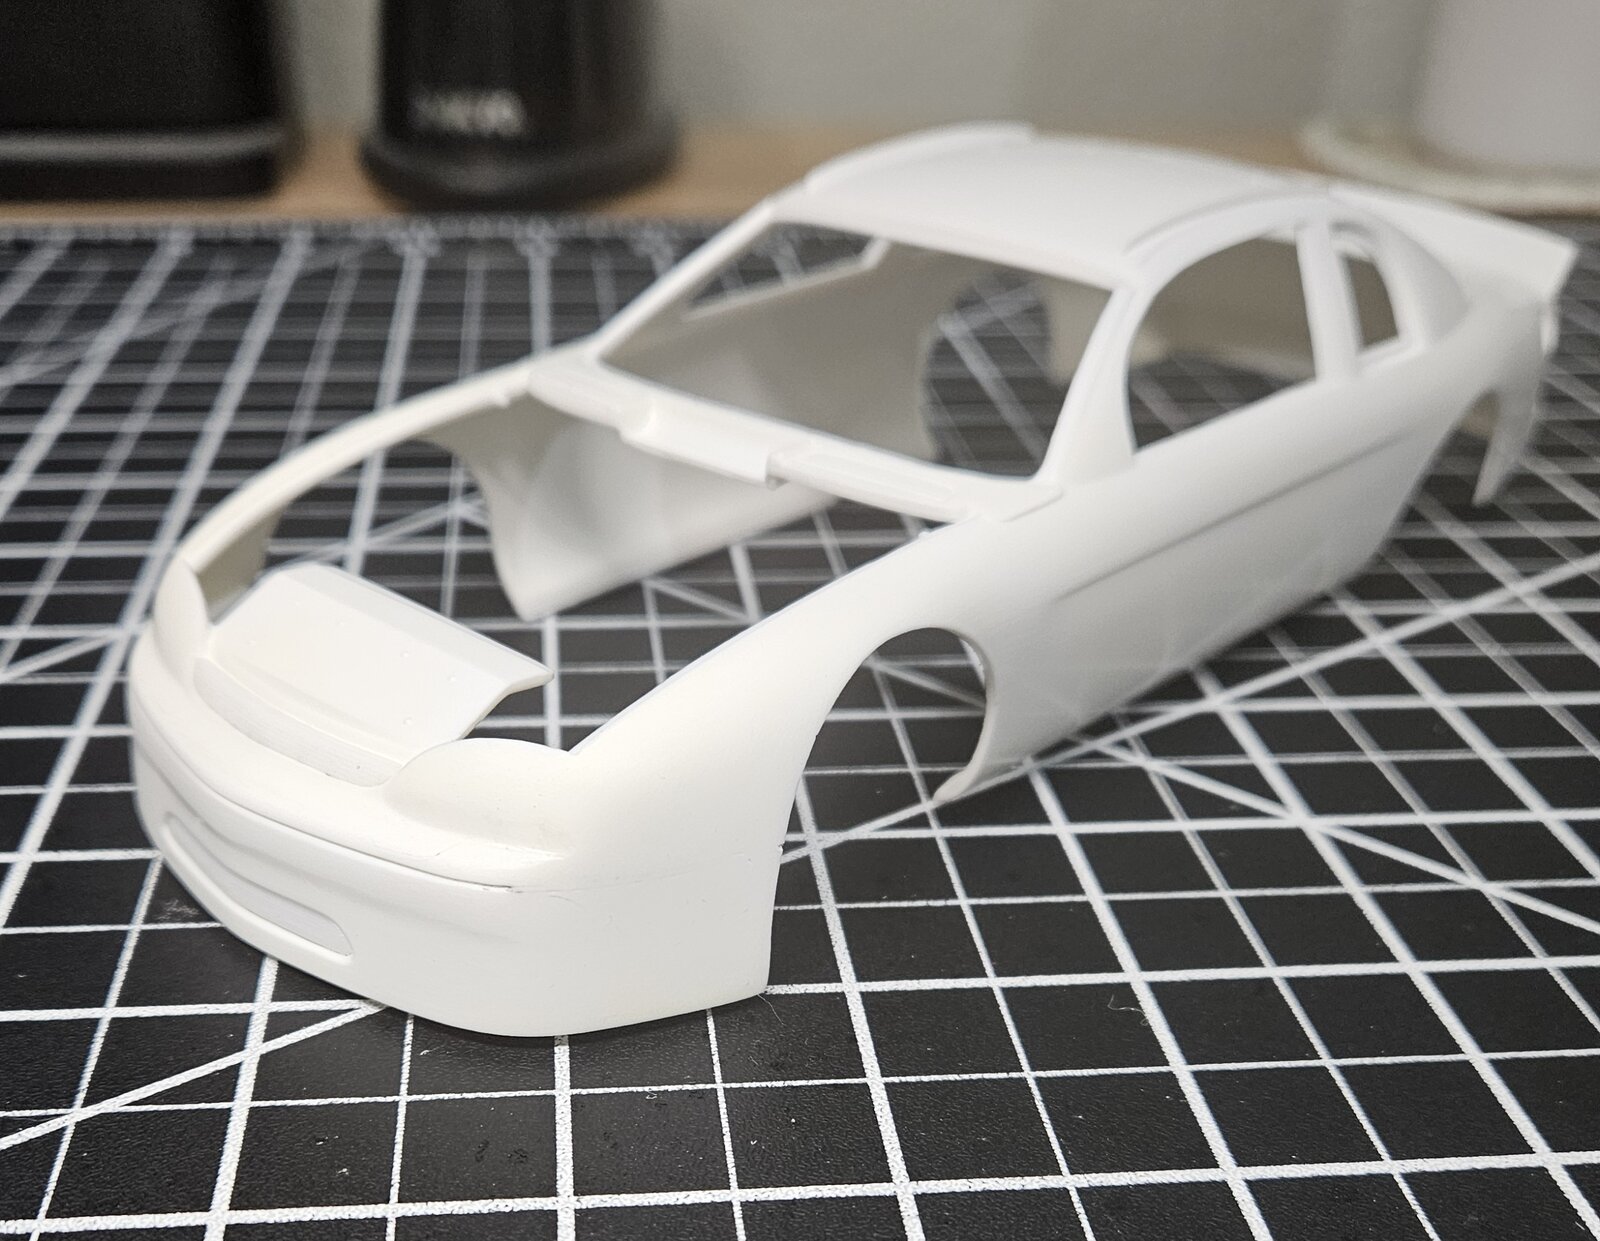
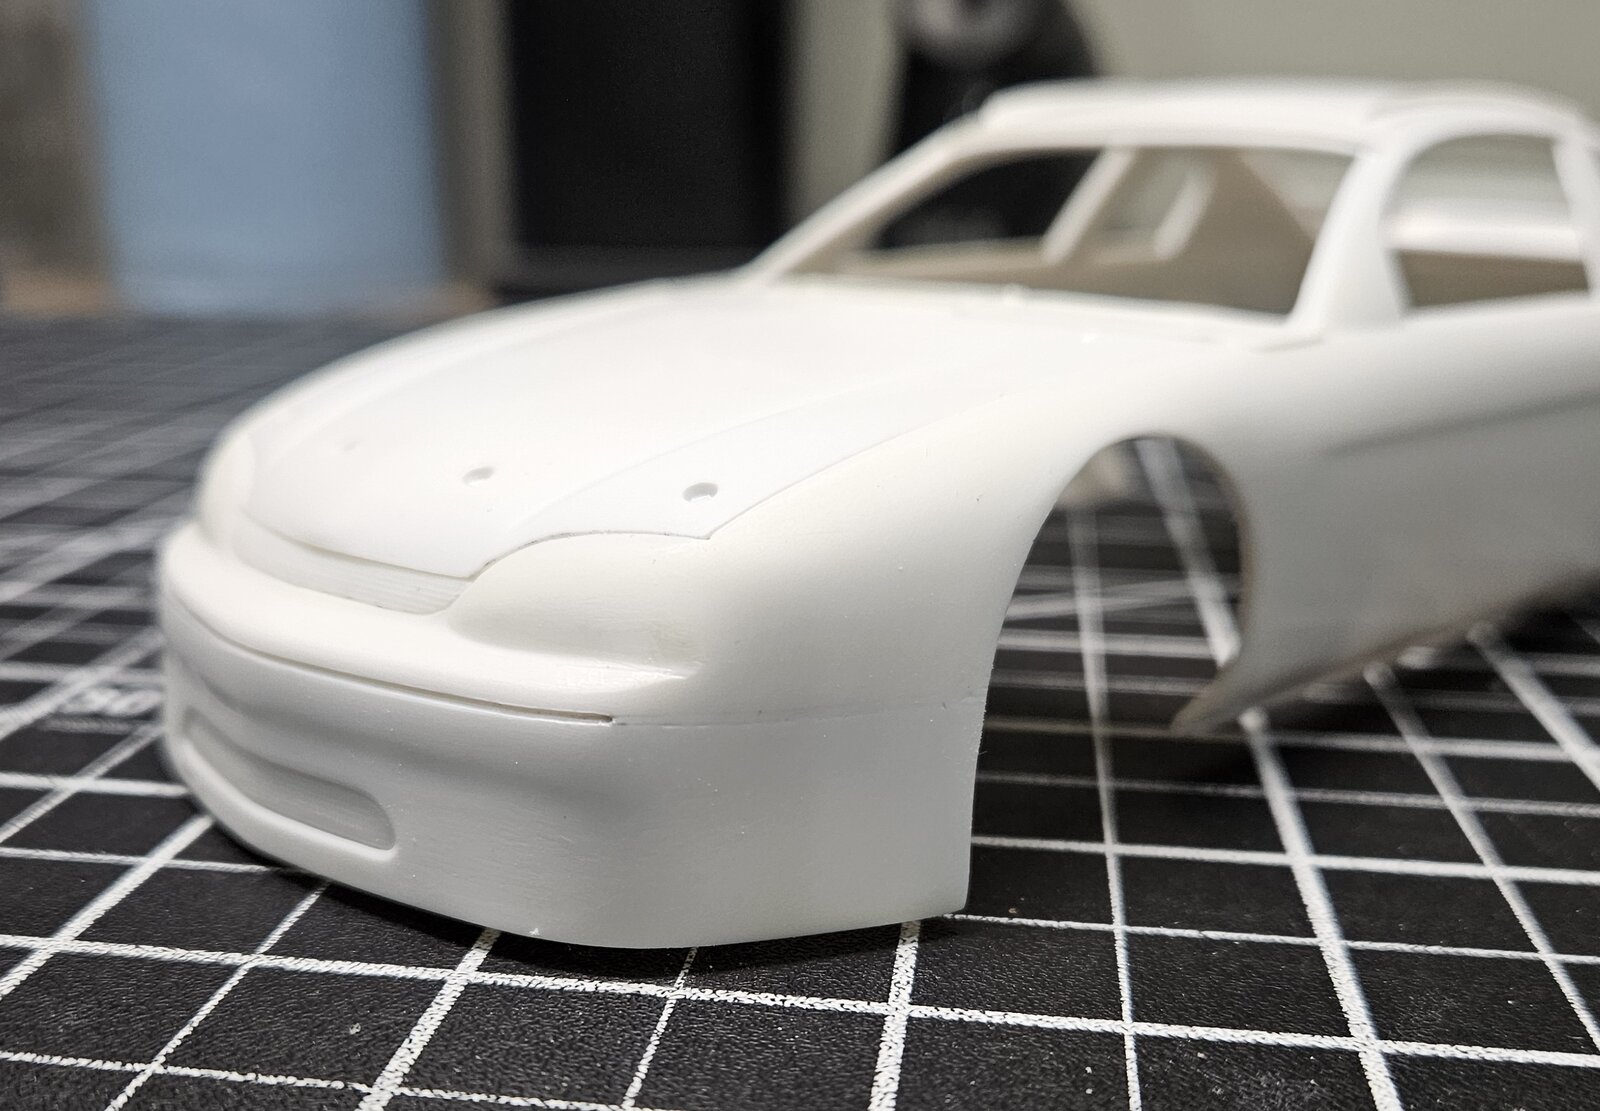
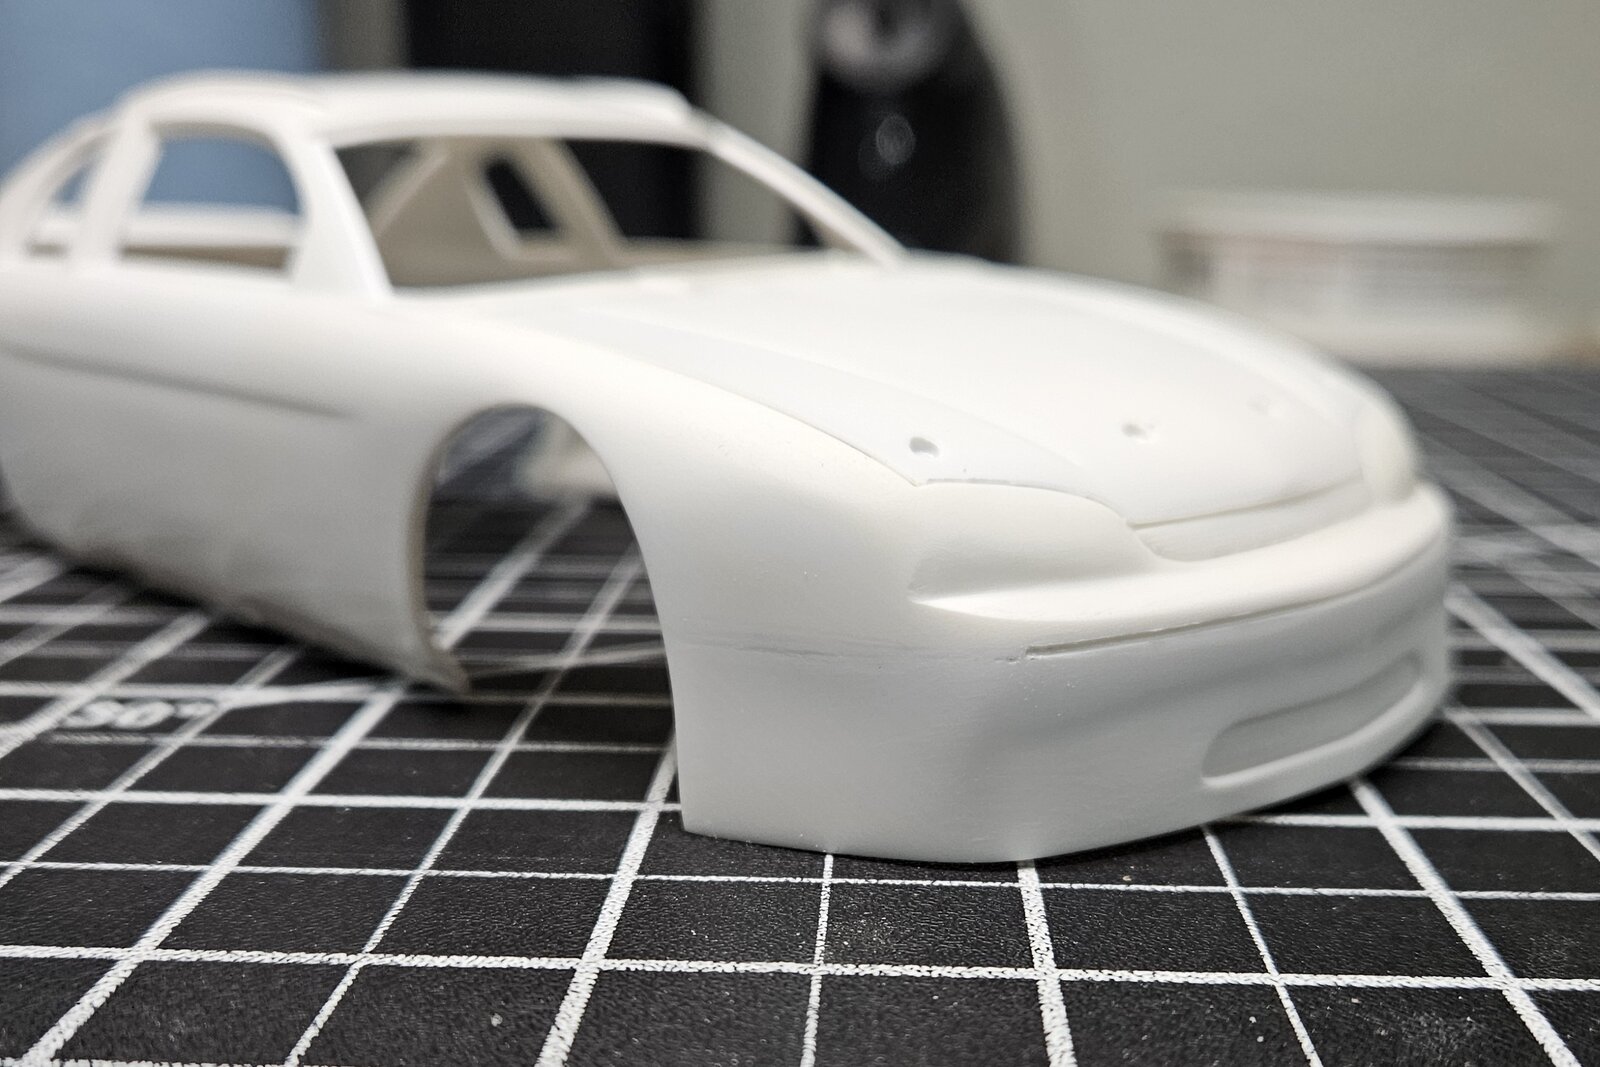
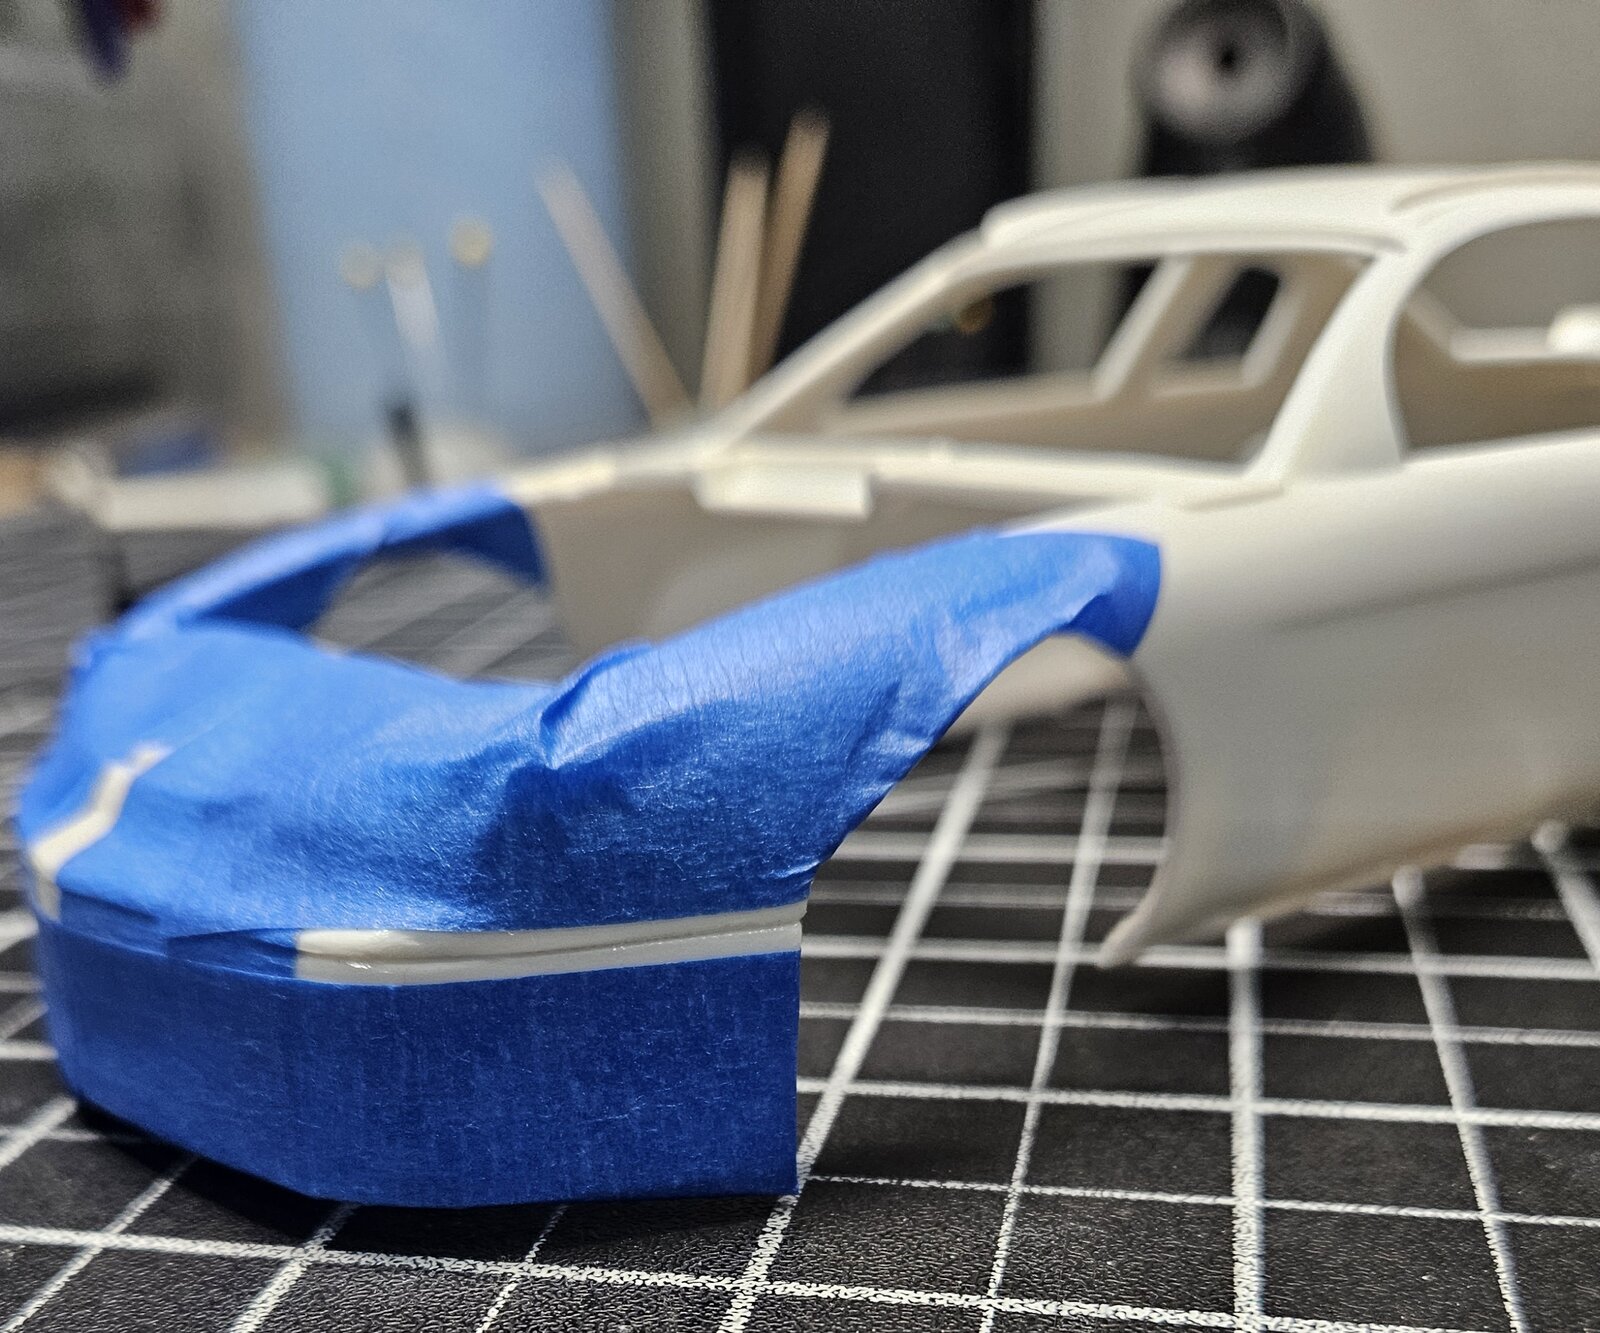
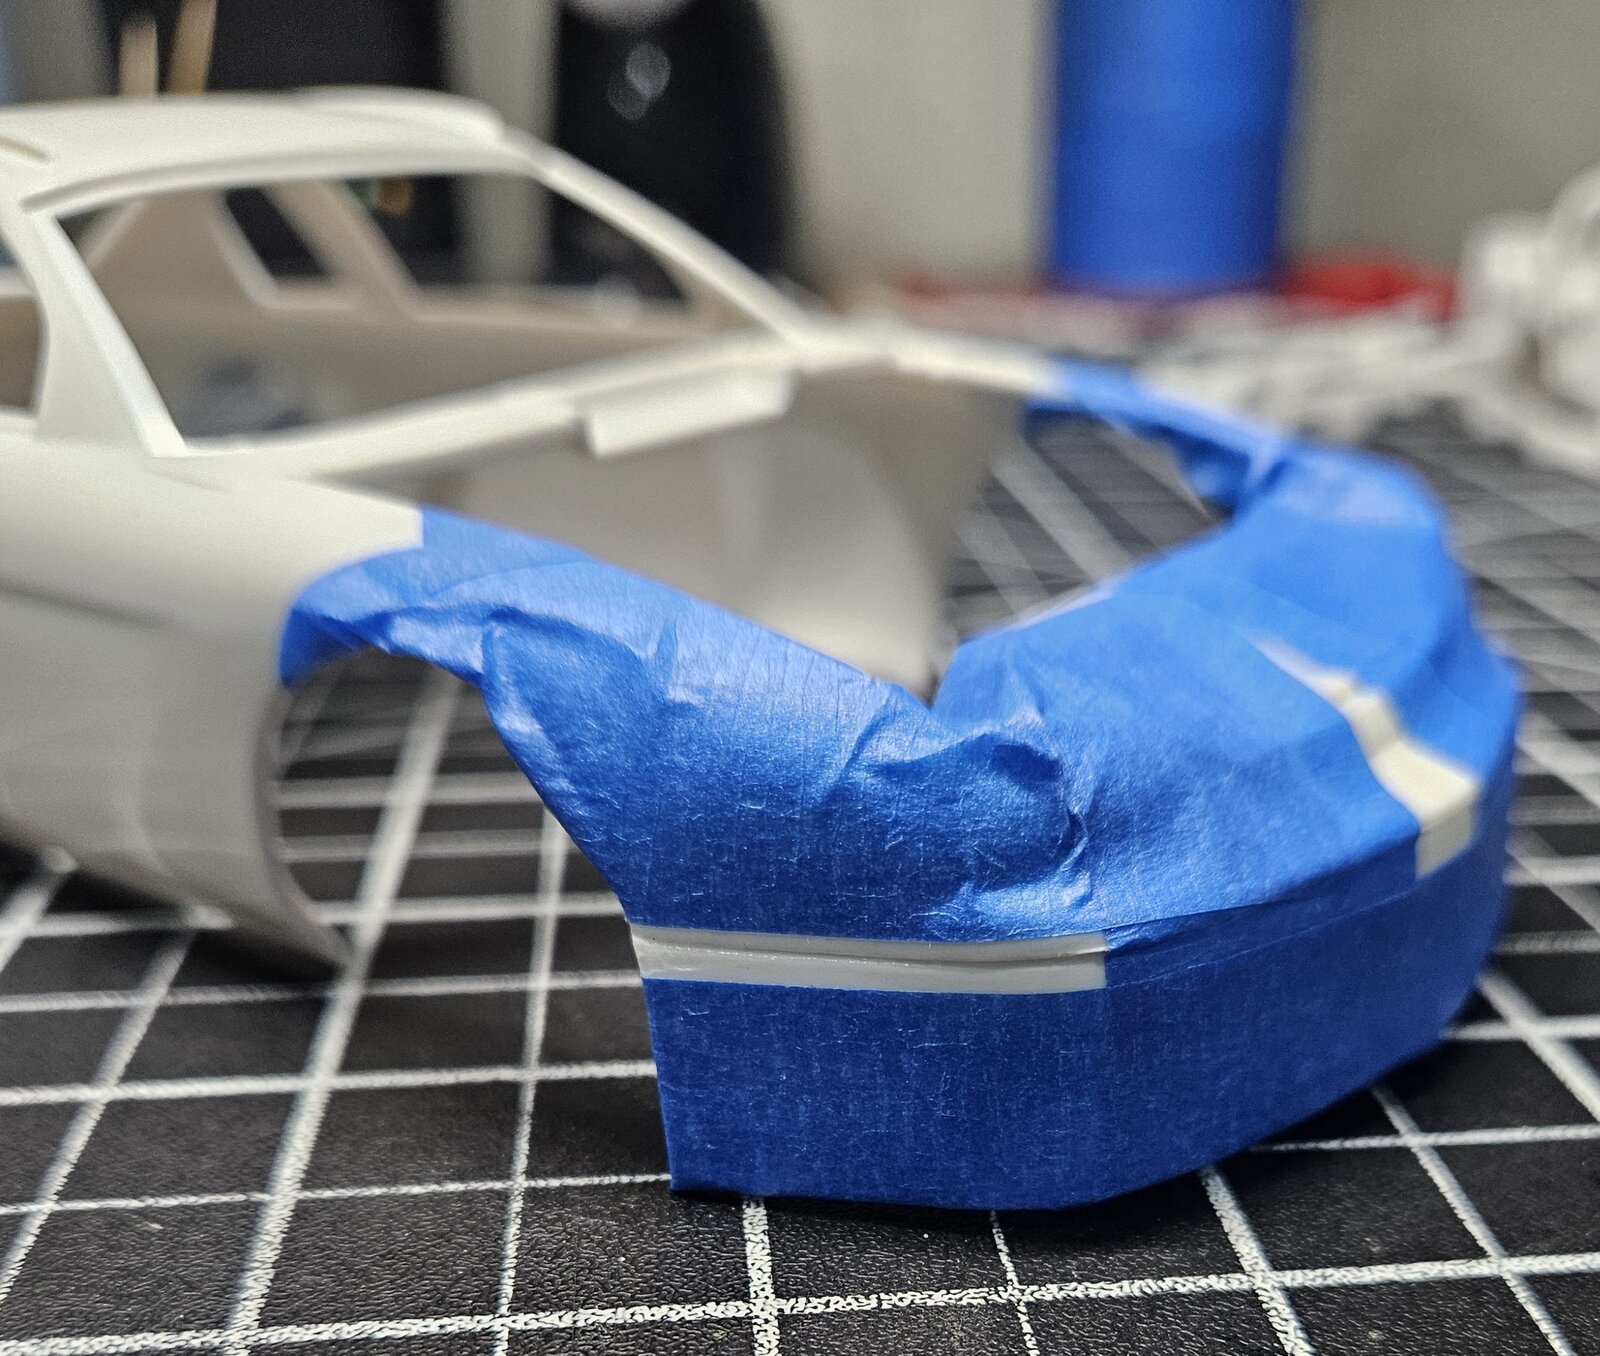
The fit is ok, but there is major seam work that needs to be done. The seam runs the entire front, but on the real car, the front fenders are smooth sheet, with only the crease seam running between the upper and lower grills. To correct this, I've masked of the sections needed to be filled and smoothed out and reshaped with putty. This is only the first step to correcting the issue.
20251030_193001.jpg
20251030_193007.jpg

20251030_201229.jpg
20251030_201234.jpg

20251030_201546.jpg


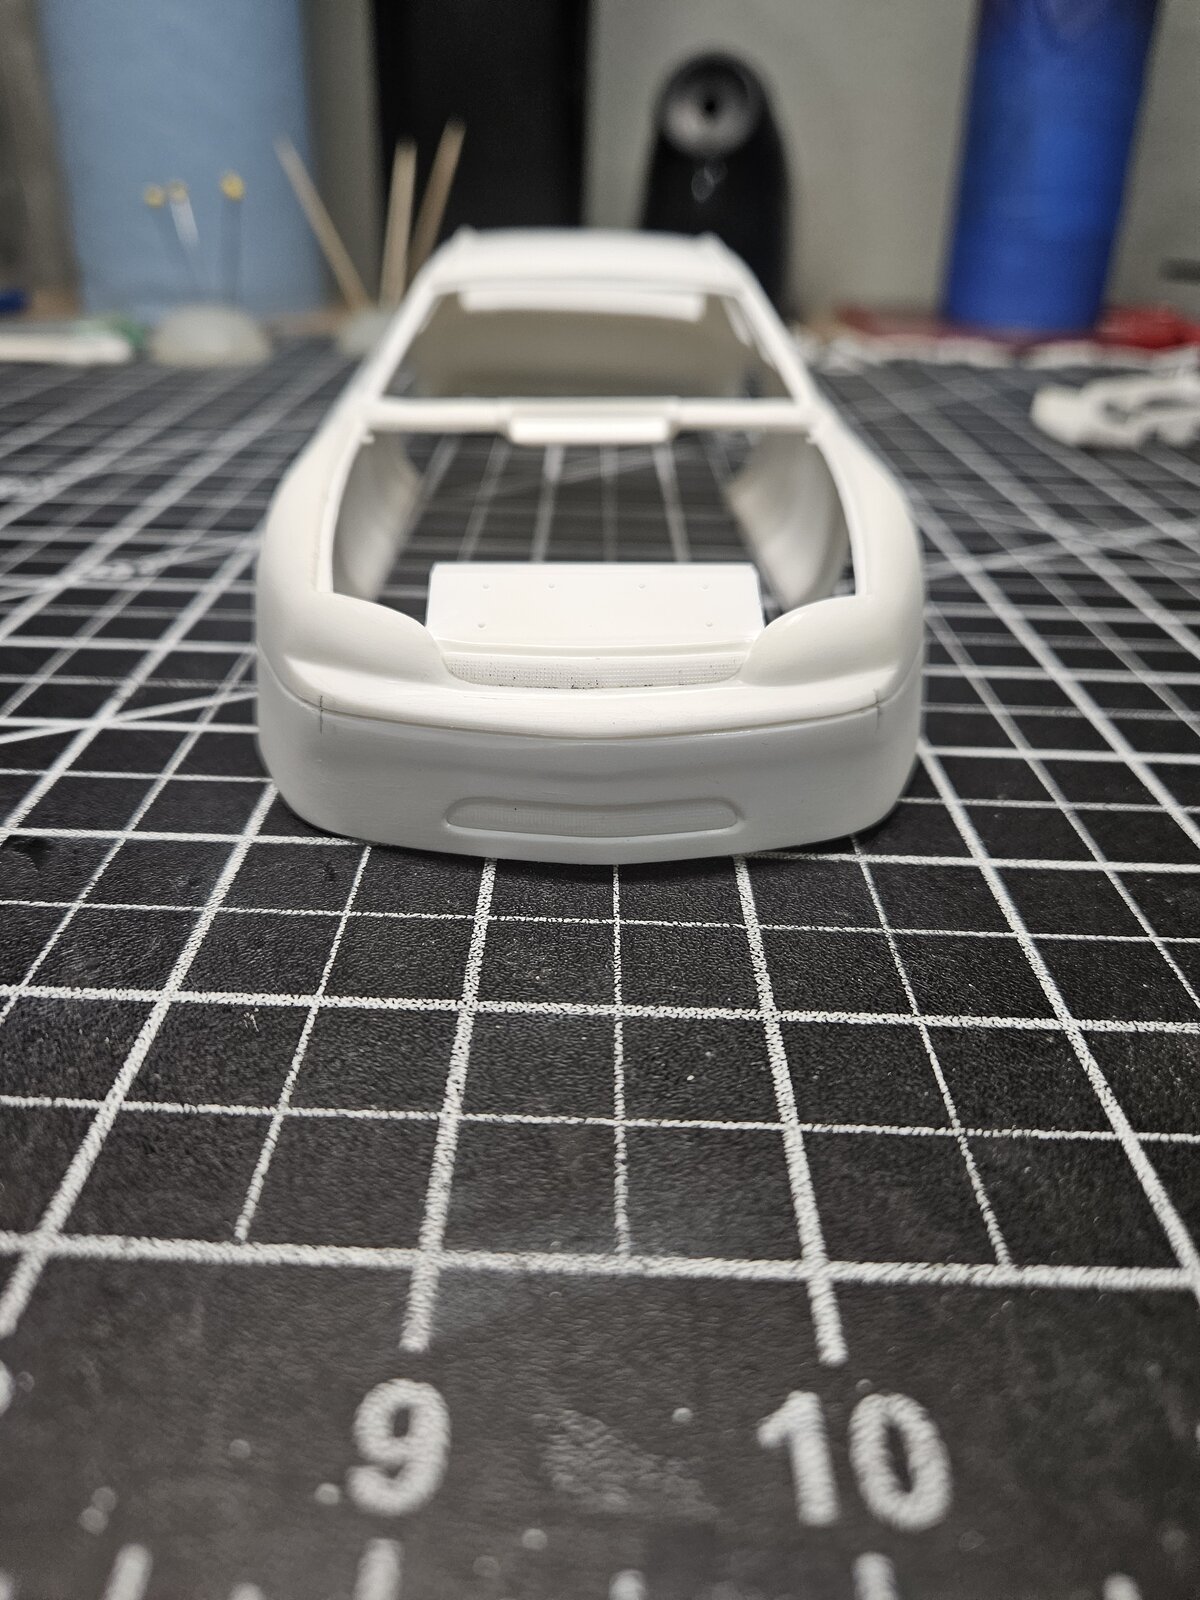
From this point, I did a rough sanding to reshape the front end and all the seams that need to be corrected. In the long run, the putty will eventually crack, so it's on to the next step to rescribe a better channel to fill with styrene rod.
20251031_194018.jpg


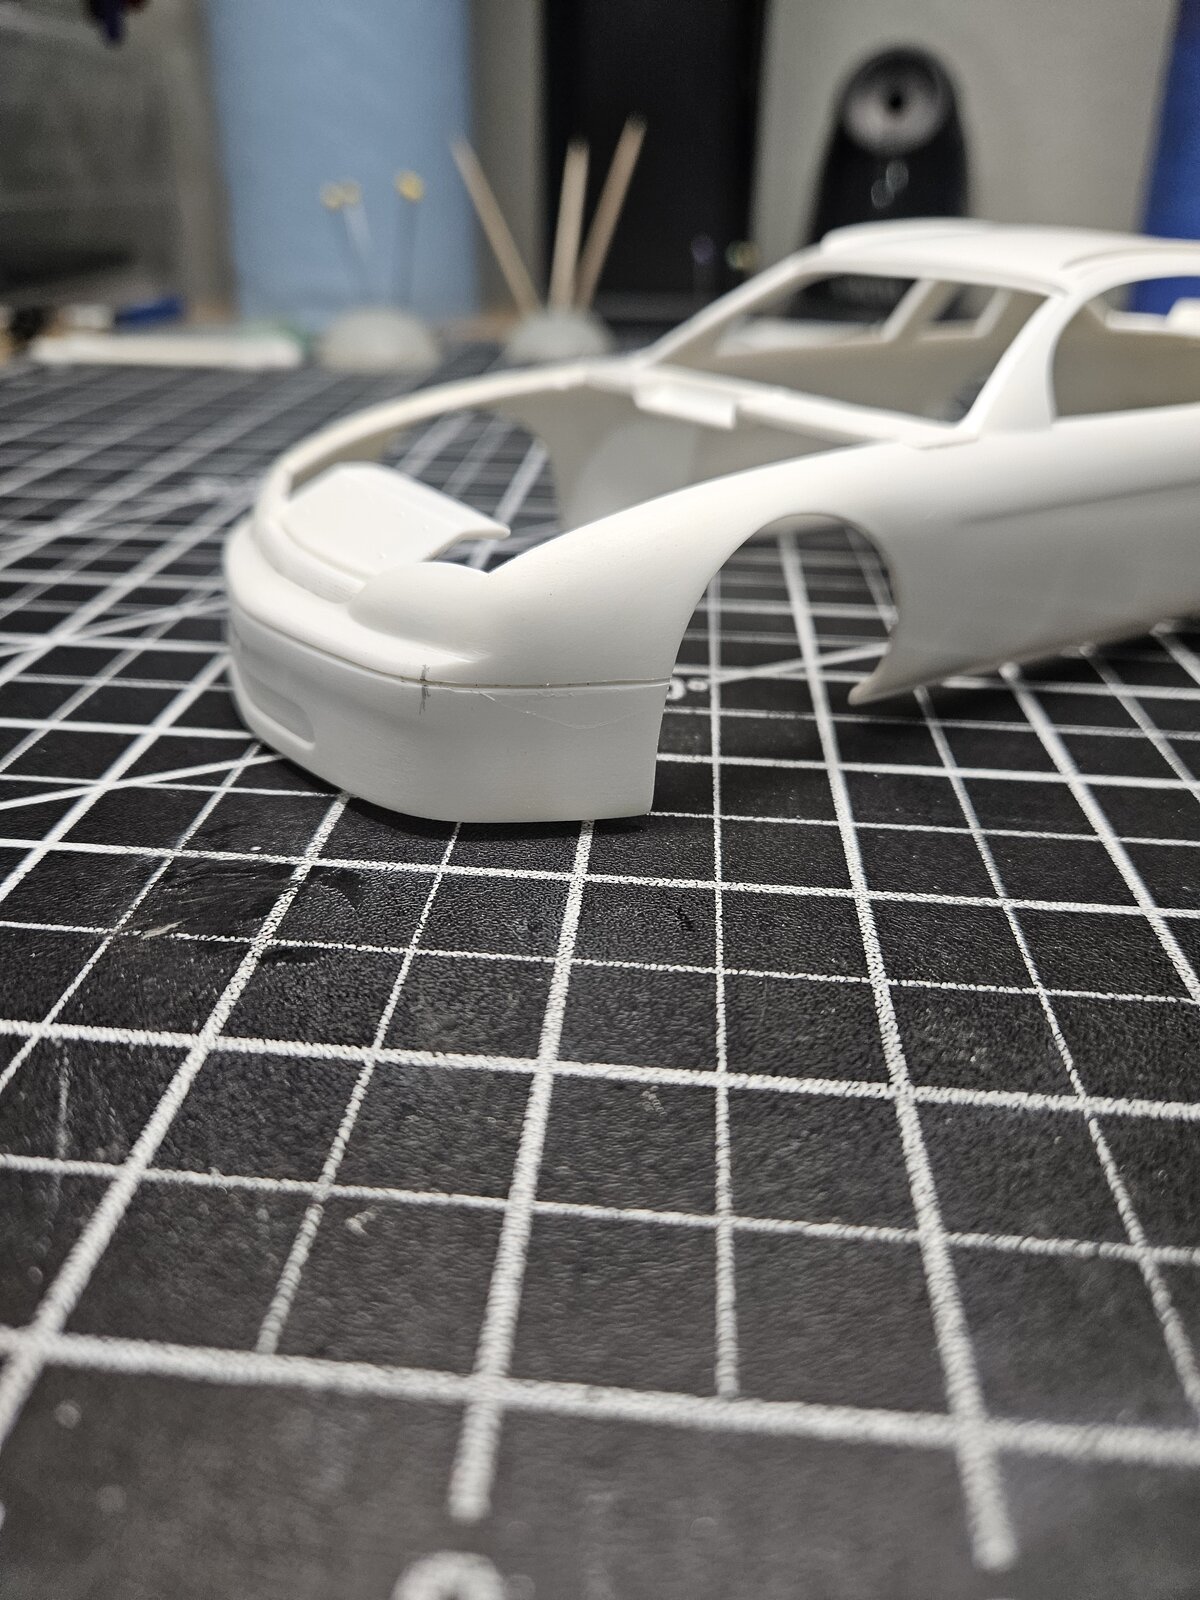
I've marked the location to fill in with styrene.
20251031_194025.jpg
20251031_194031.jpg

More to follow...
 
Then it was on to welding in the styrene round strips and allows to cure well before final sanding and shaping.
20251031_194837.jpg
20251031_195148.jpg

Once secured, I cut off the excess, and used a bit more Tamiya extra thin and flat tool to smooth out the "welding". After getting everything set and cured, it was onto sanding and shaping. I'll let it sit for 24 hours or so before I do the final rescribe of the front crease. Some shots after final sanding and shape.
20251031_204837.jpg

20251031_204825.jpg

20251031_204817.jpg

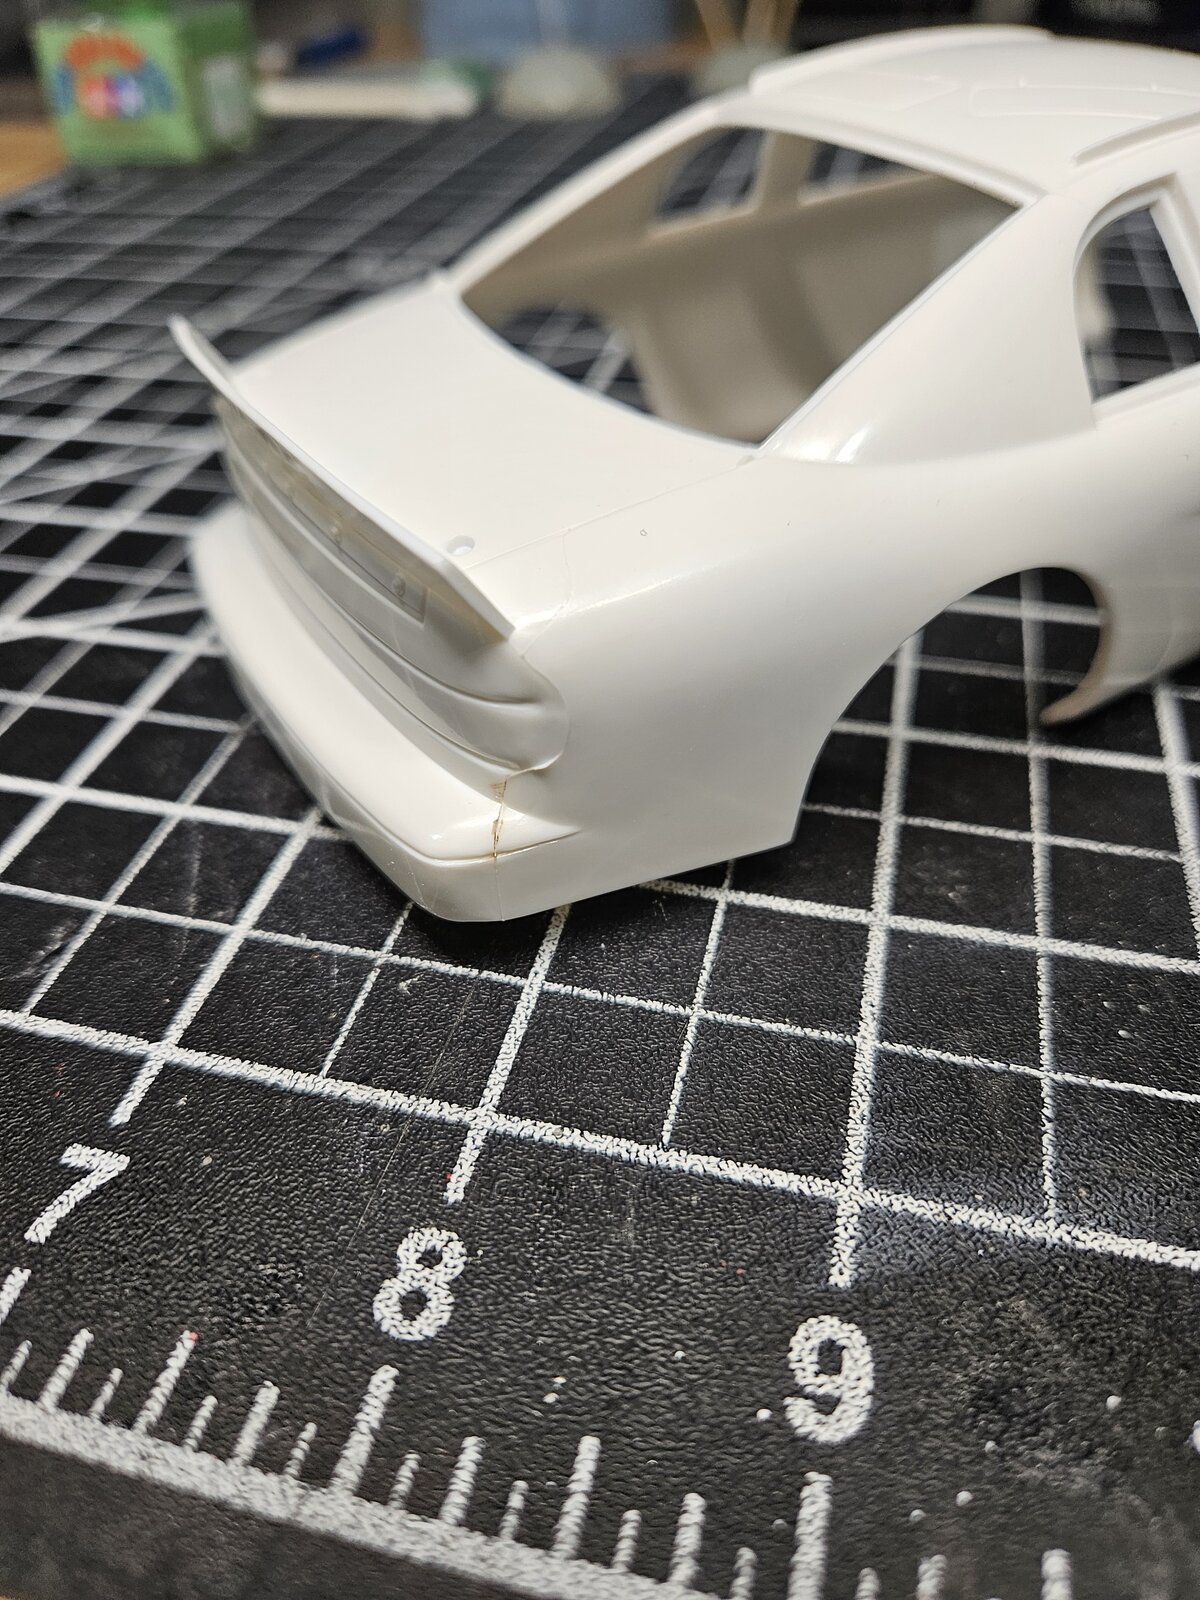
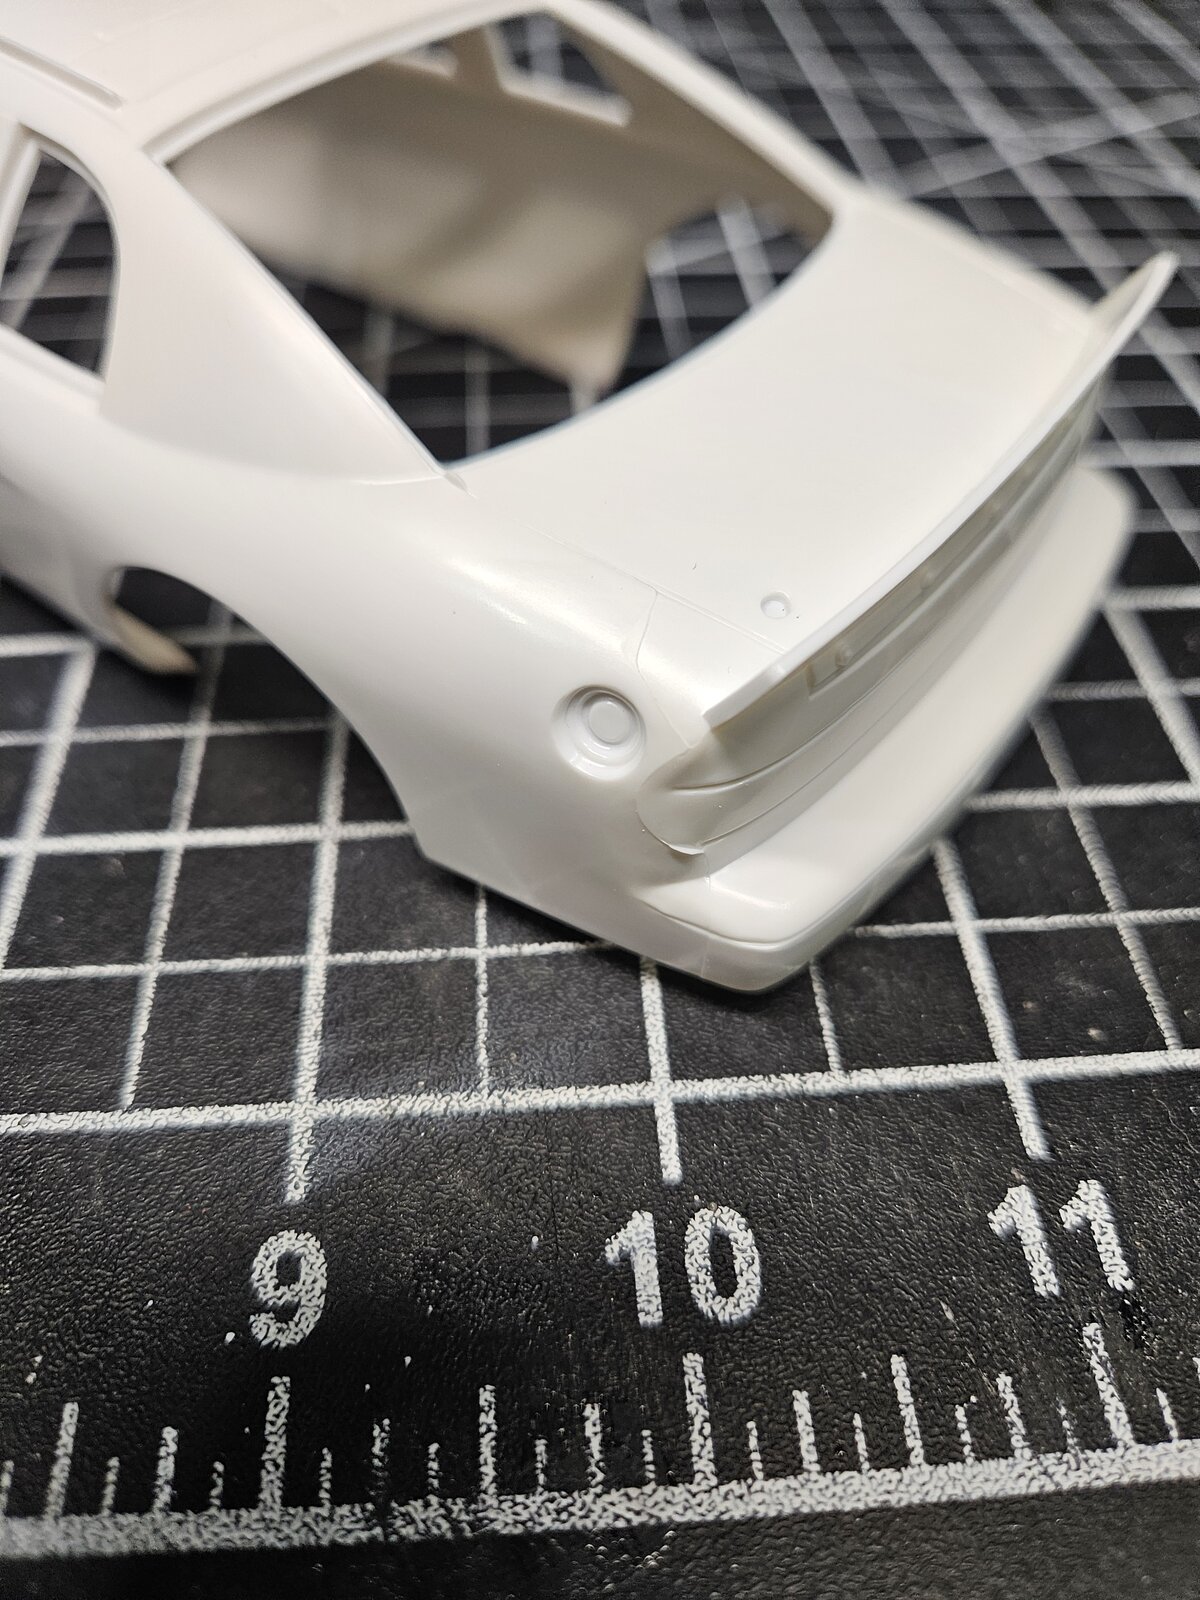
Now it's on to tidy up the rear bumper and seam lines and flash there.
20251031_195855.jpg
20251031_195905.jpg

More to follow soon, stay tuned...
 
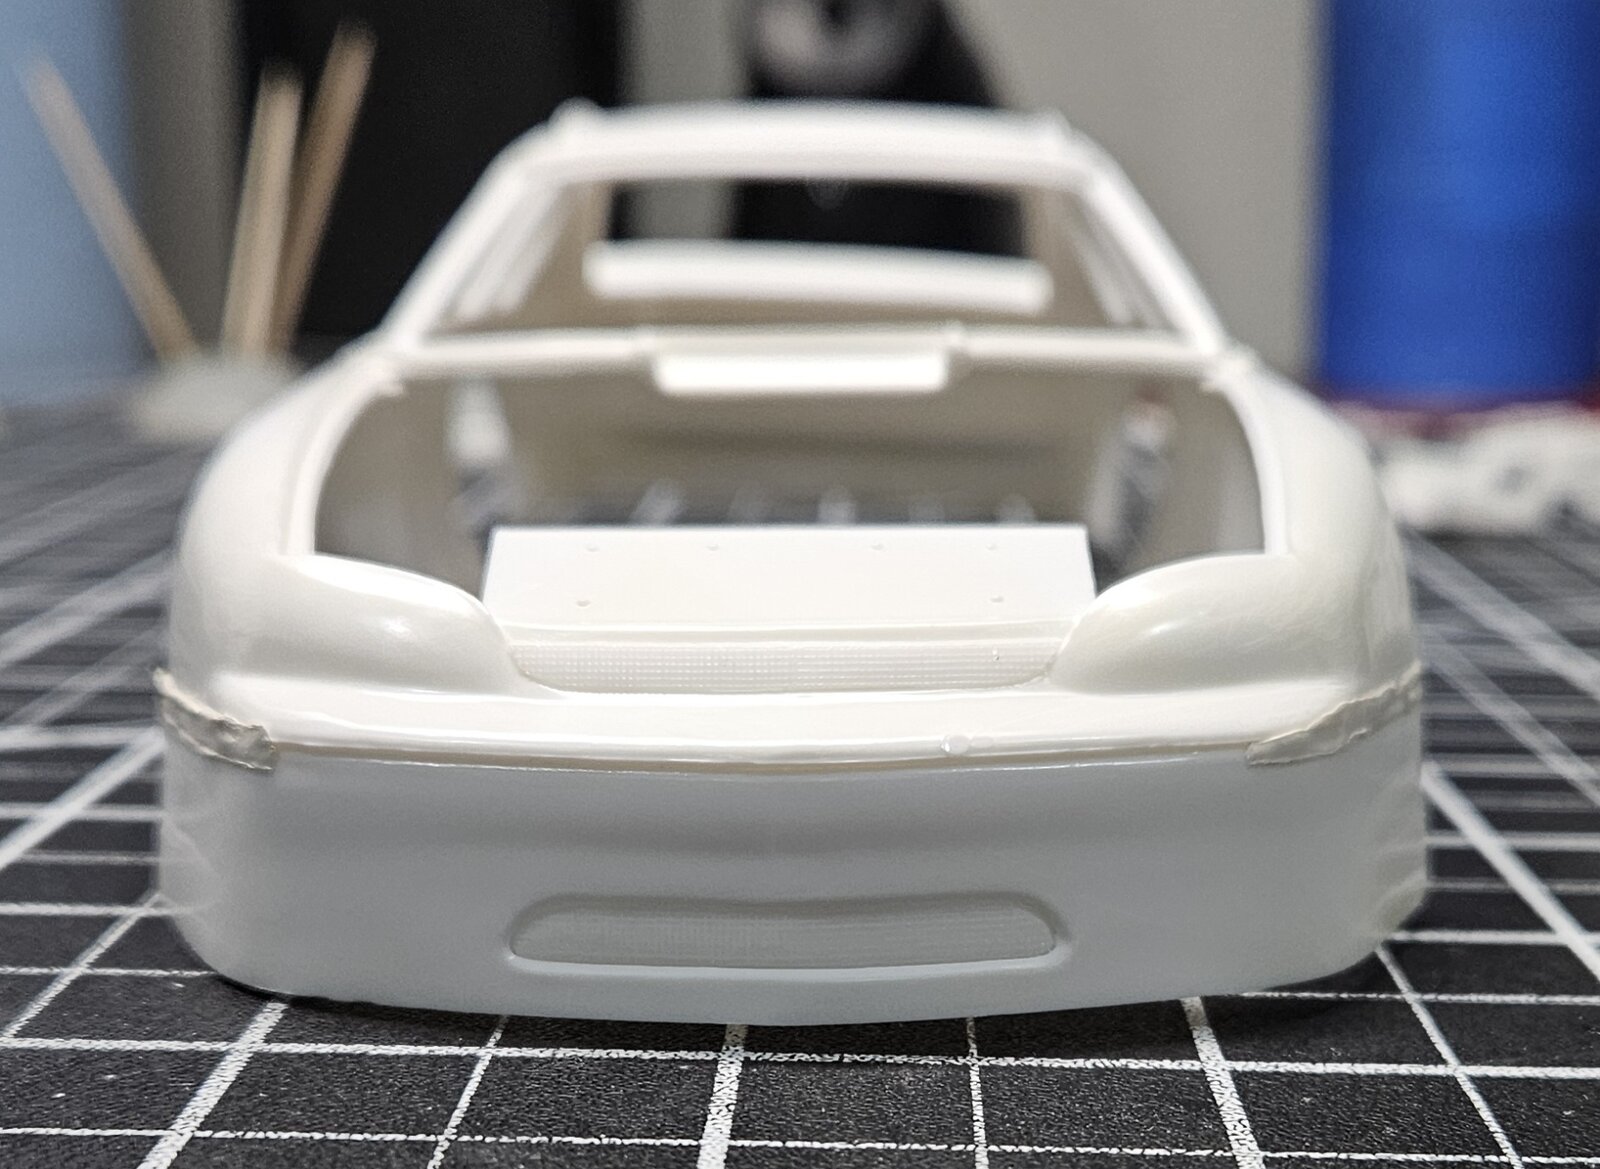
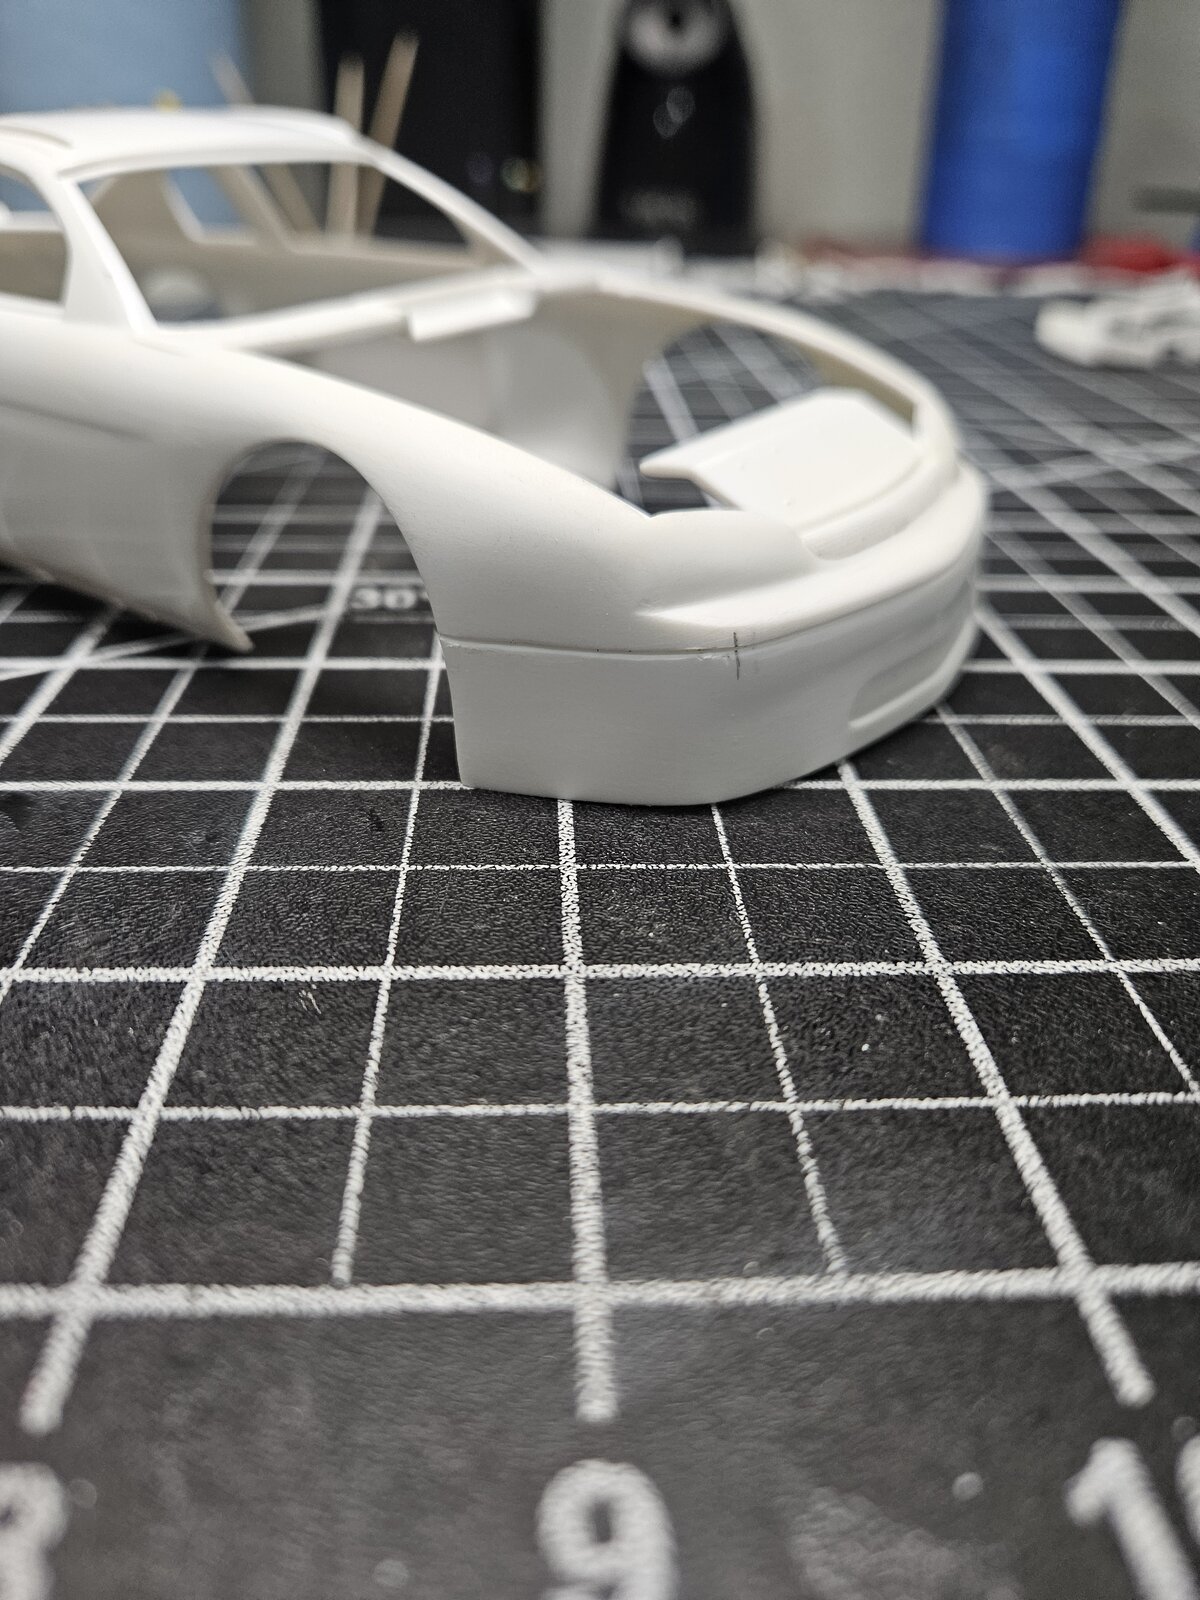
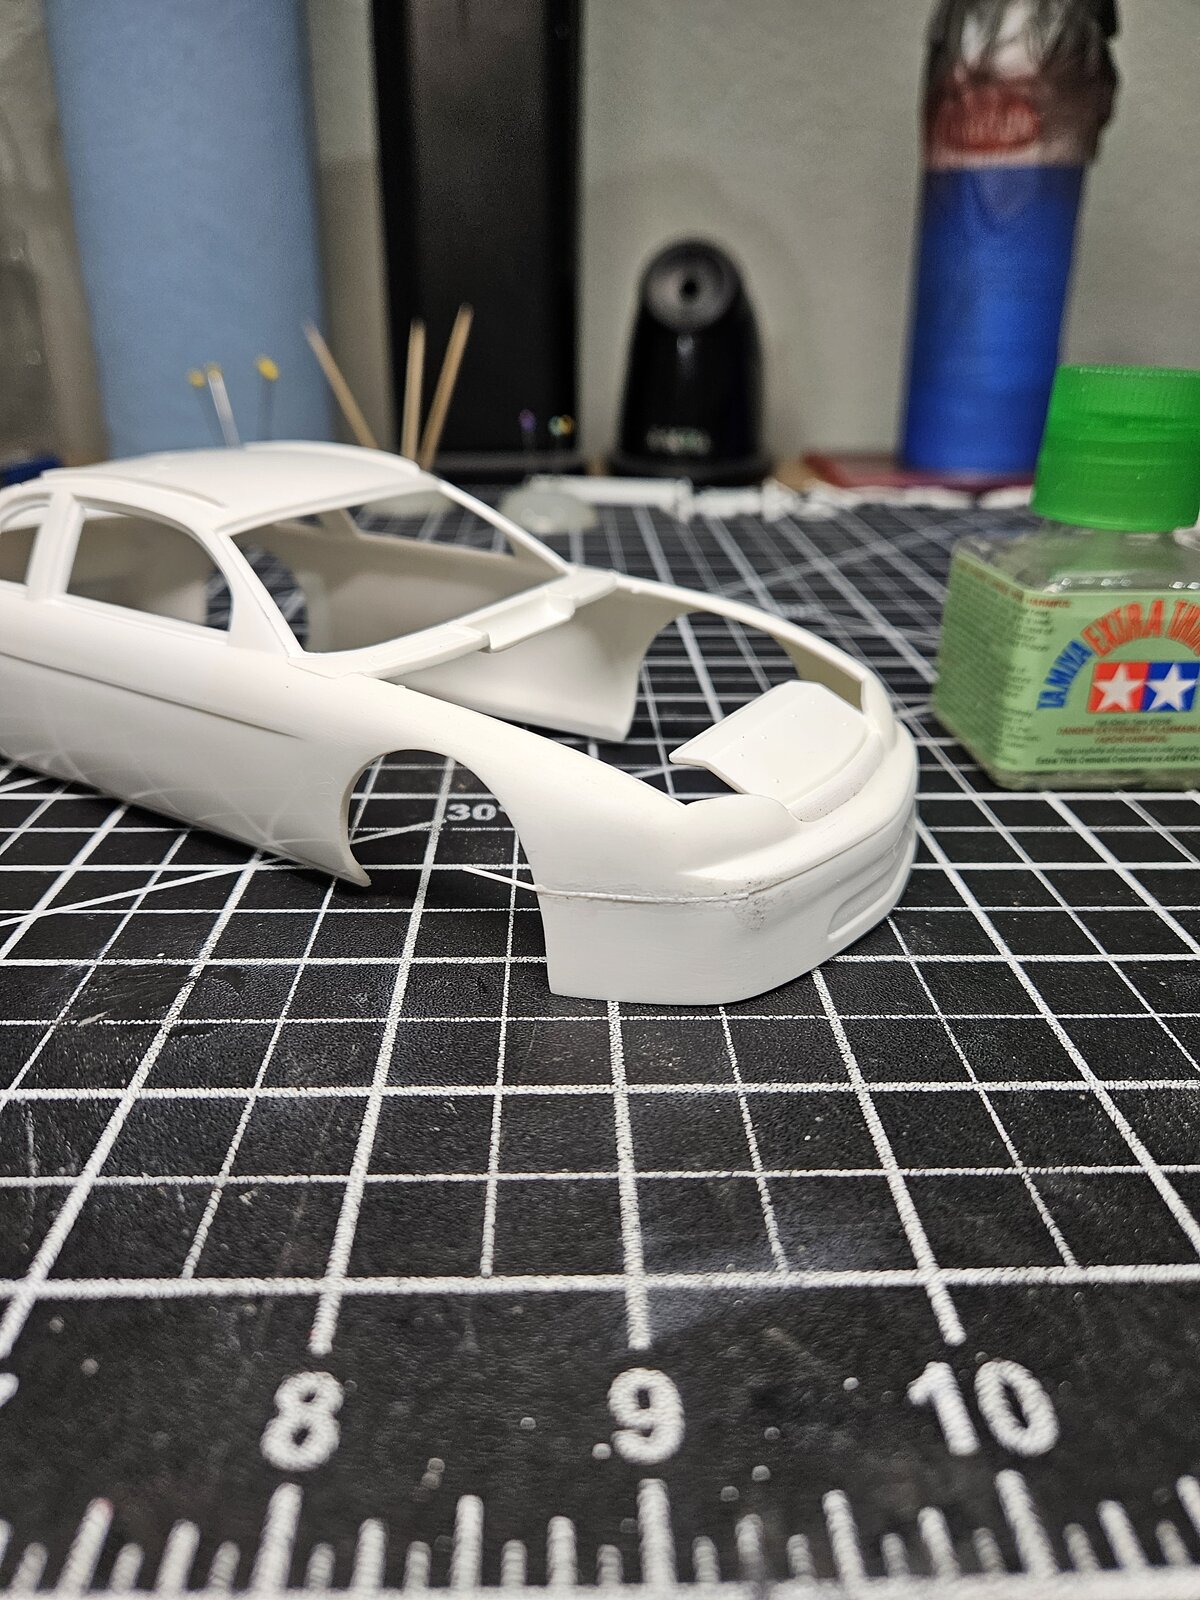
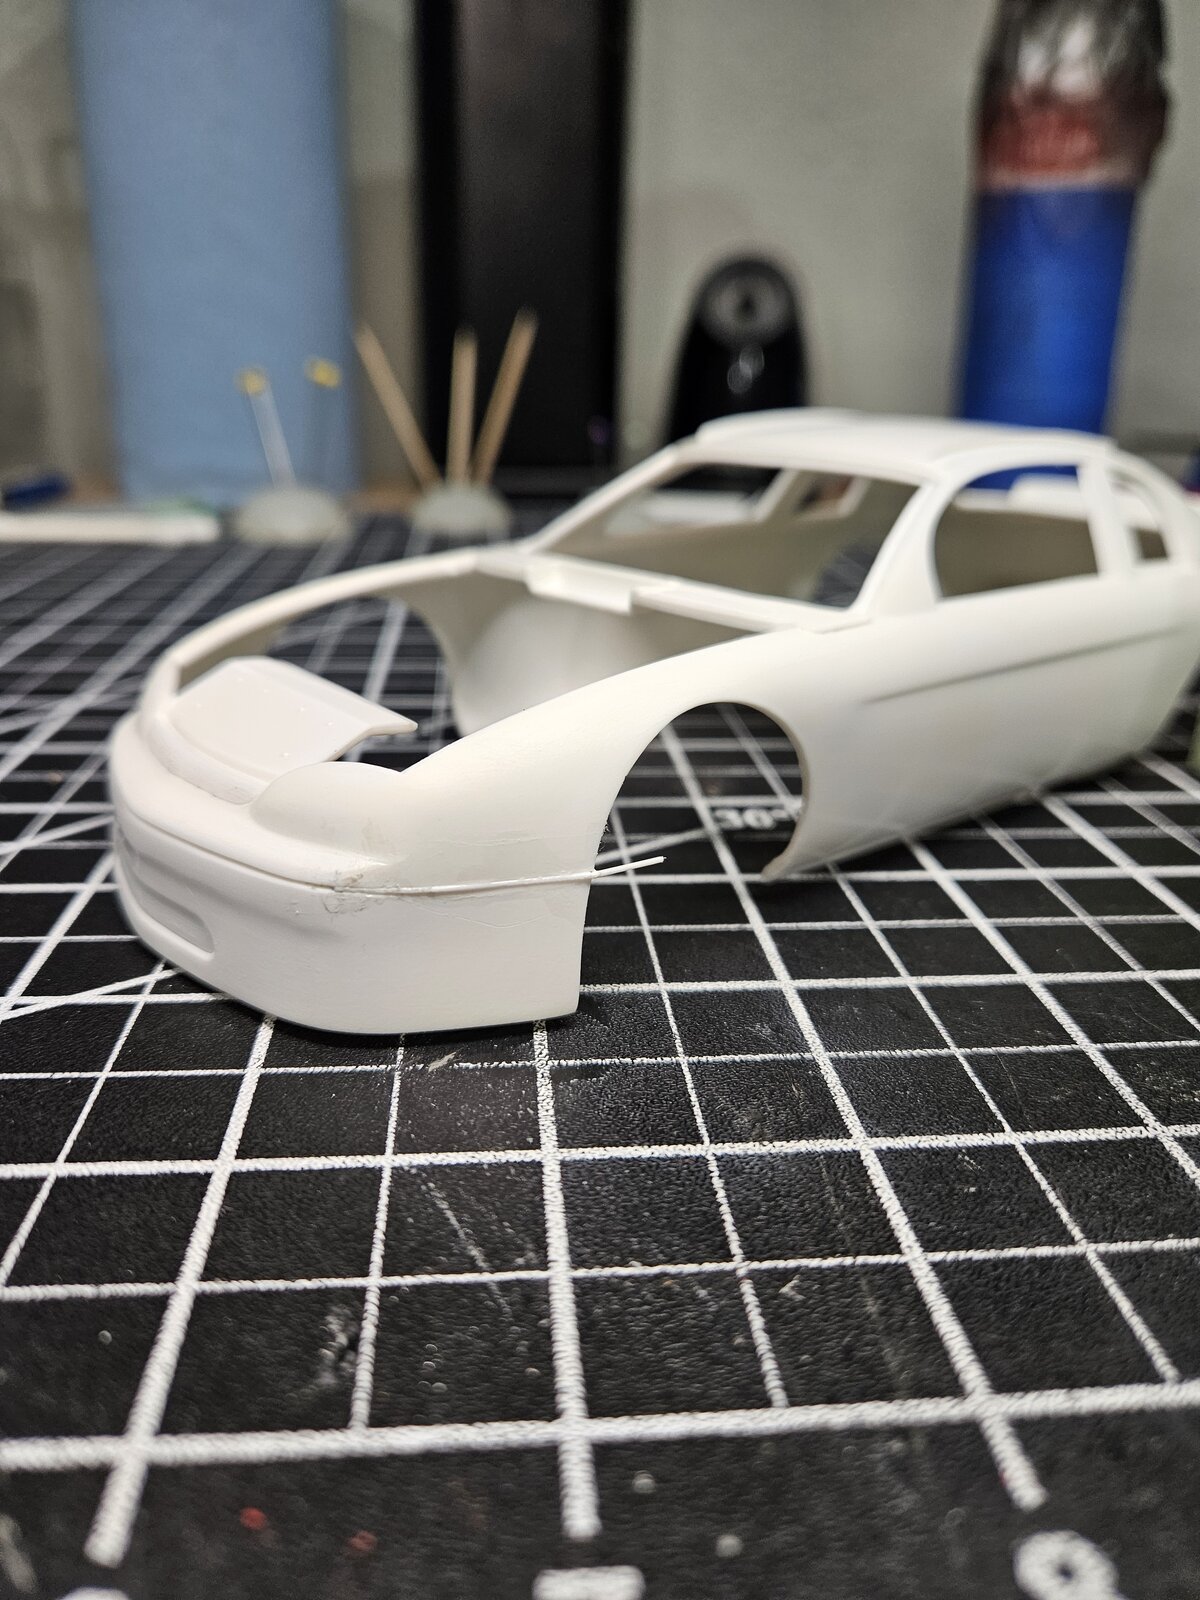
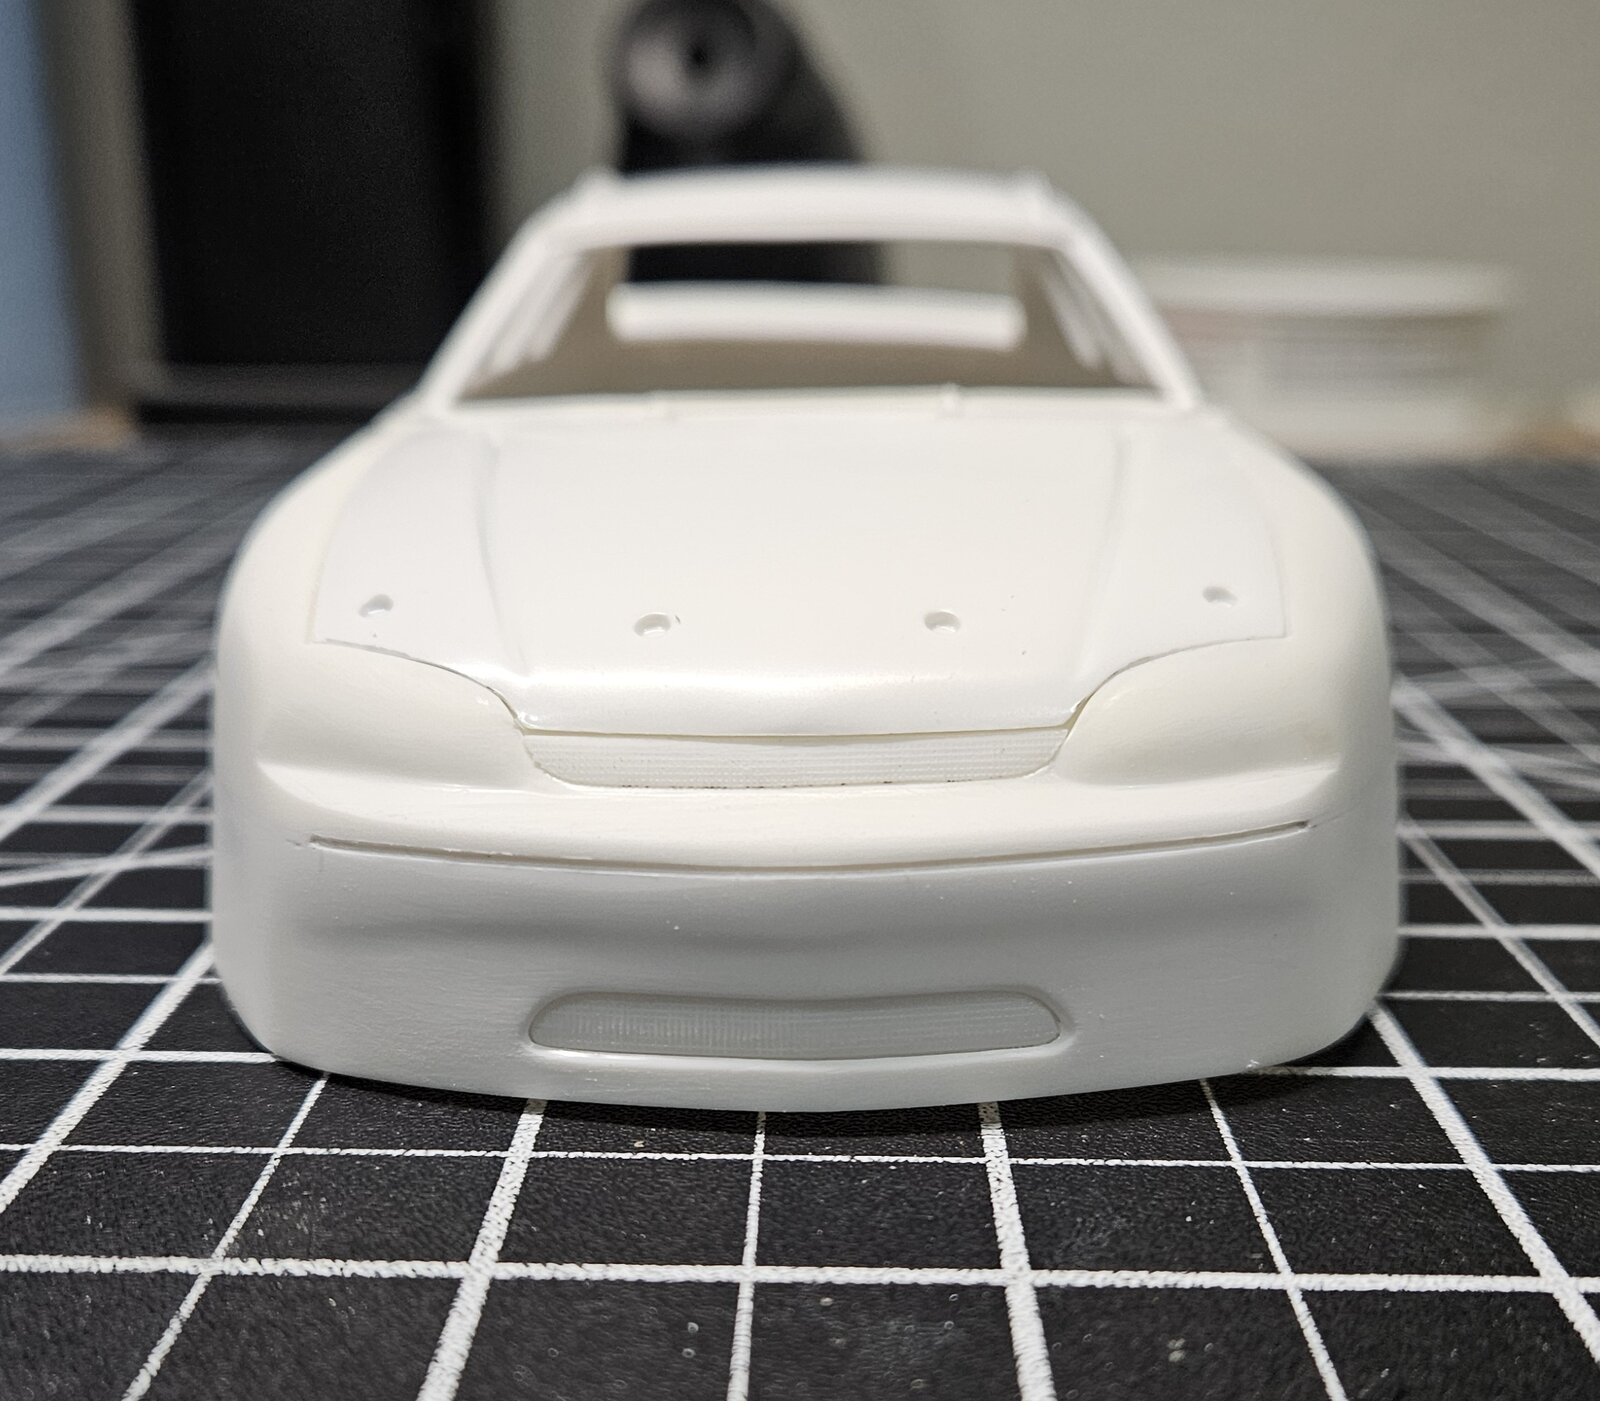
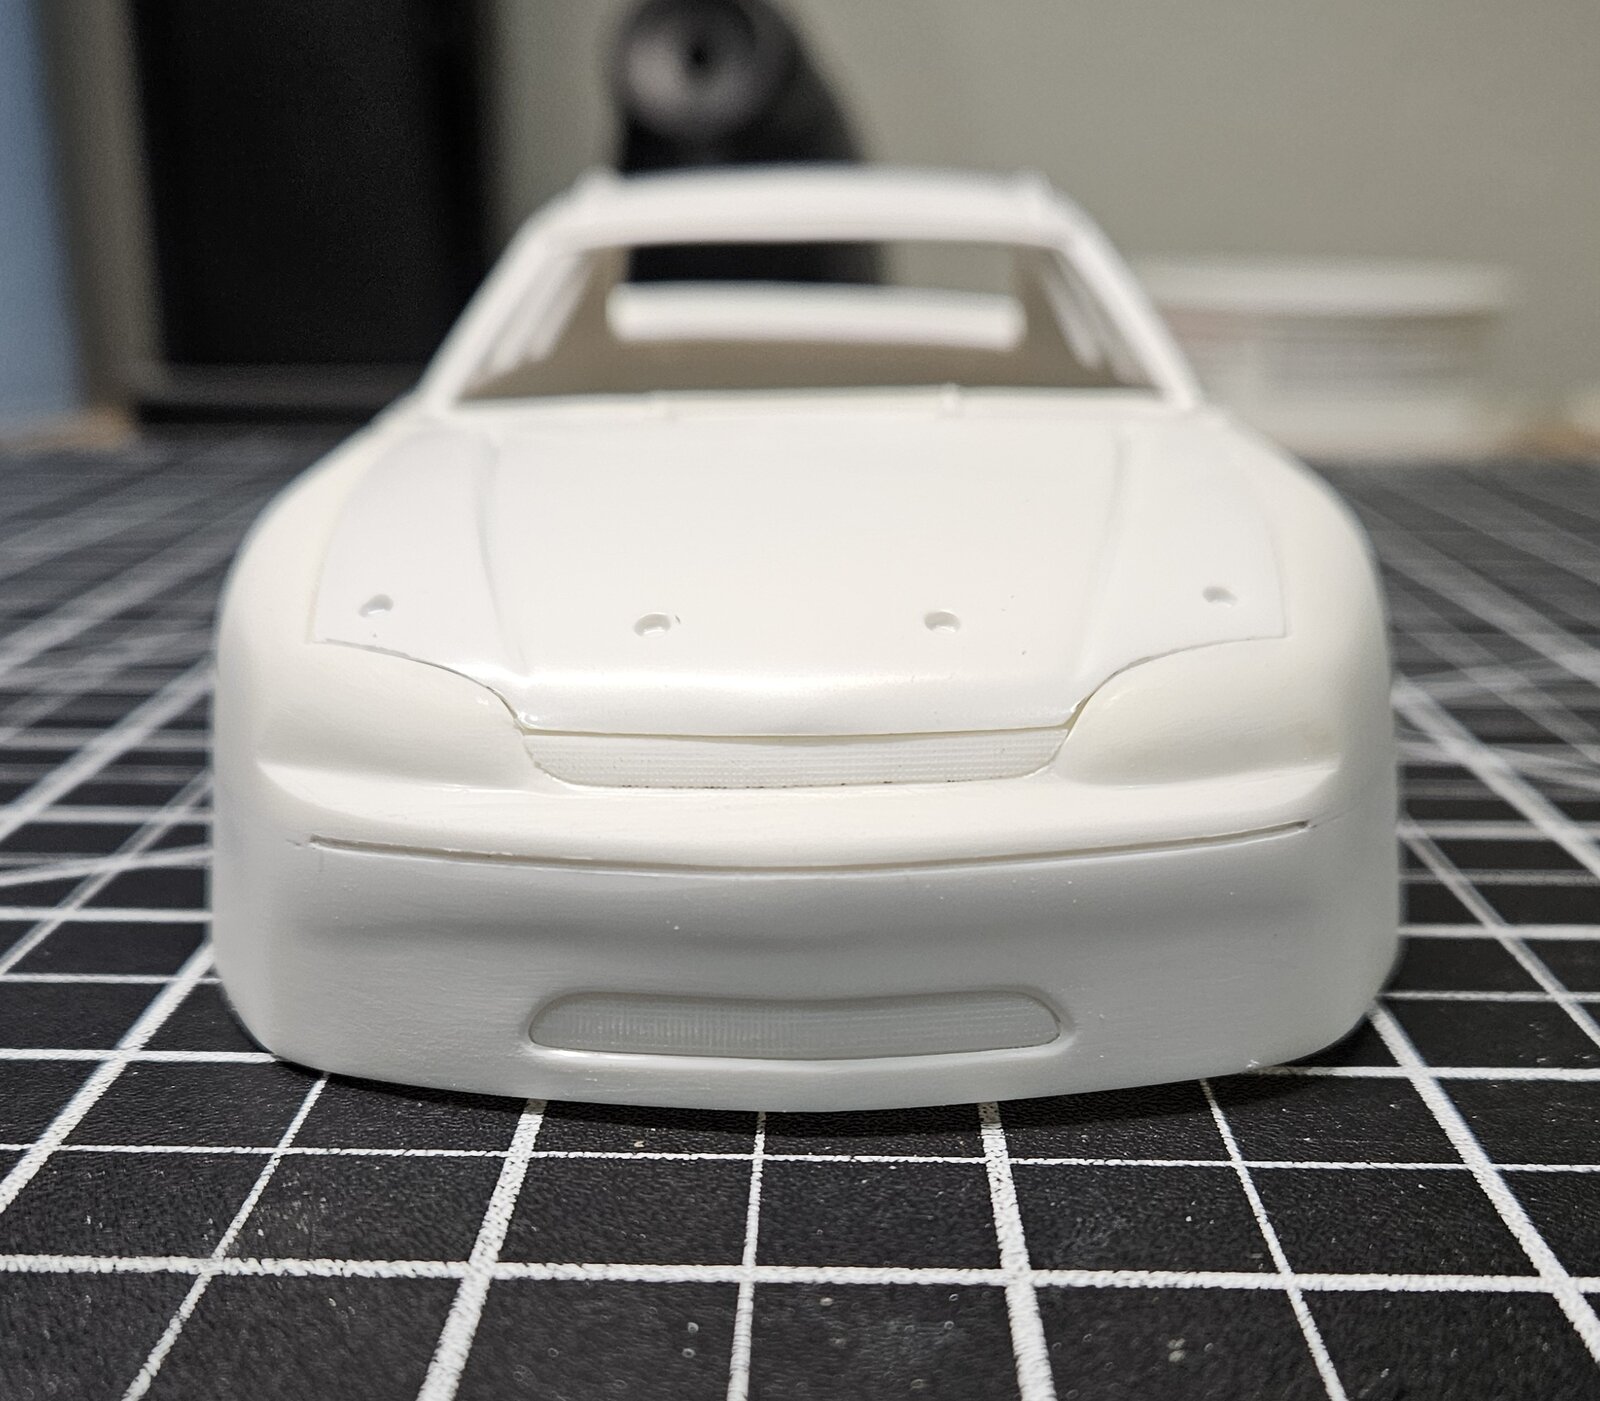
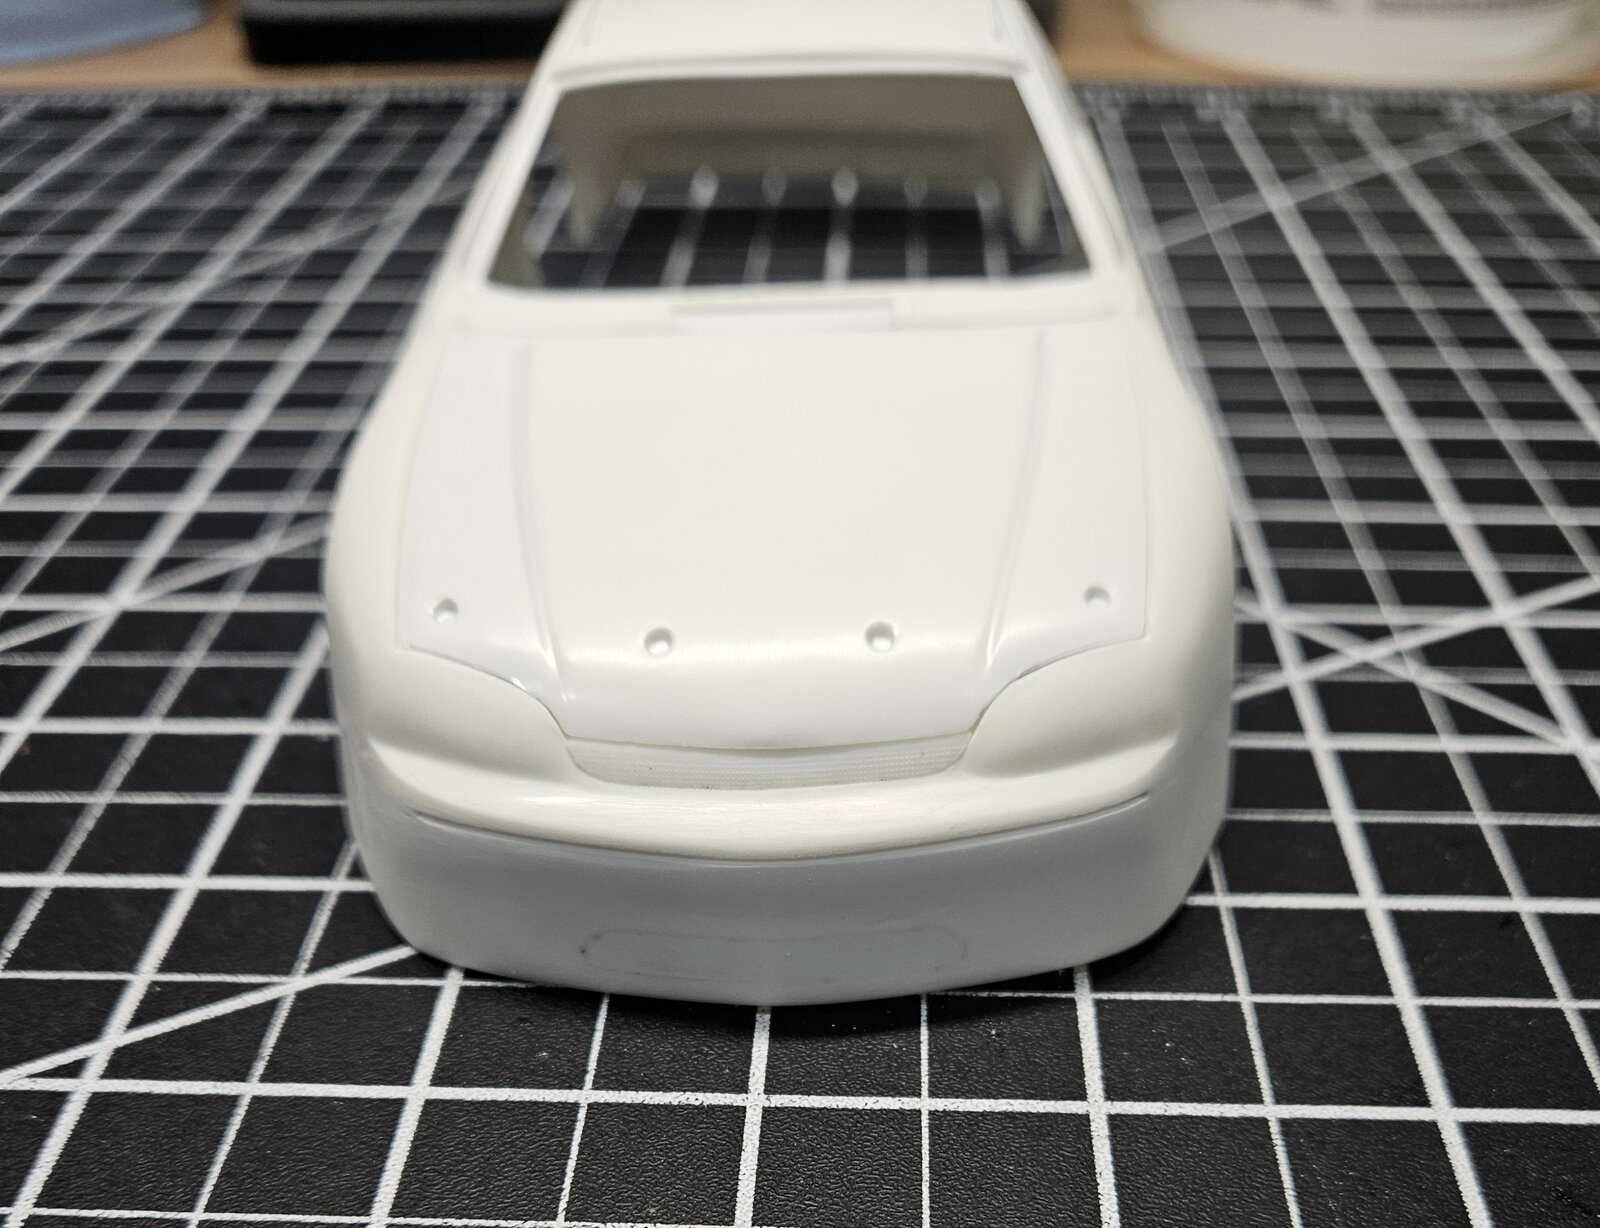
Working the front of the body is complete. I rescribed the front bumper line and finished the reshaping which really cleaned up the lines.

1000021440.jpg
1000021441.jpg
1000021442.jpg


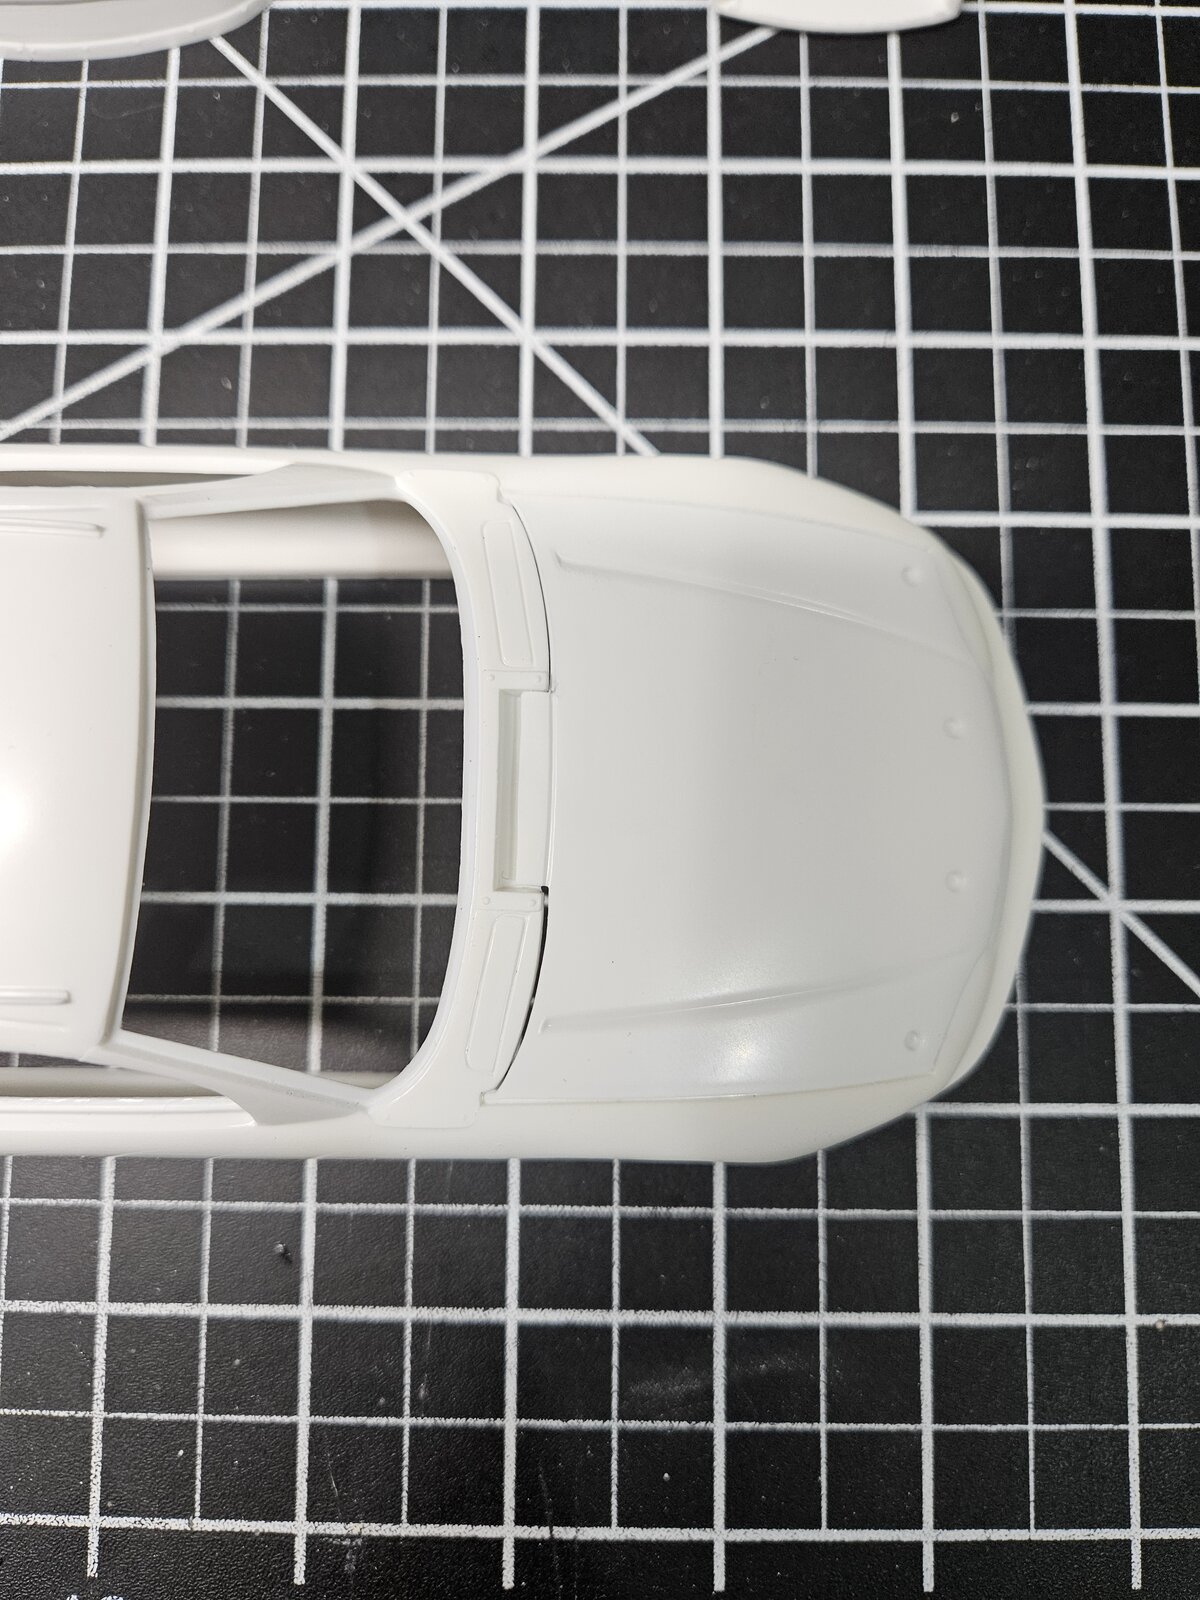
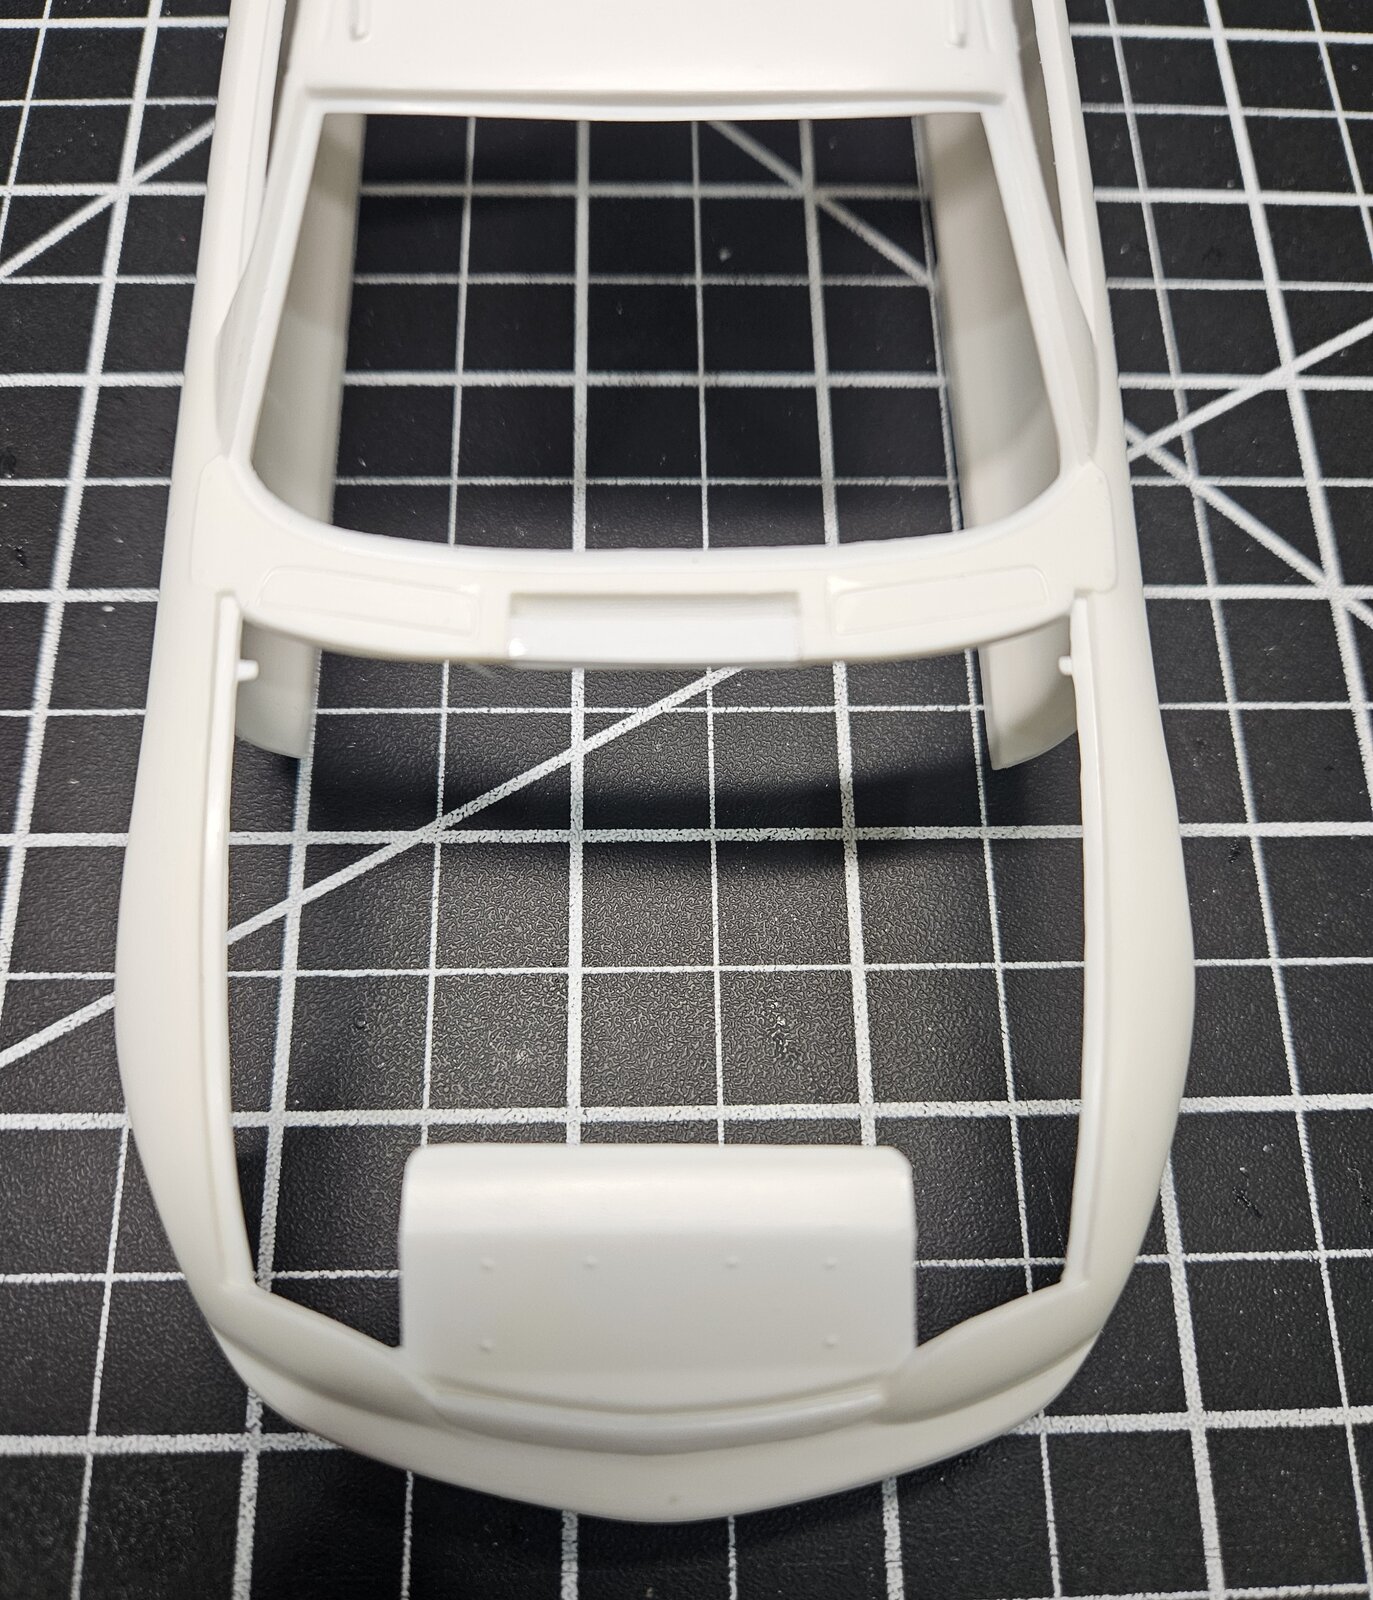
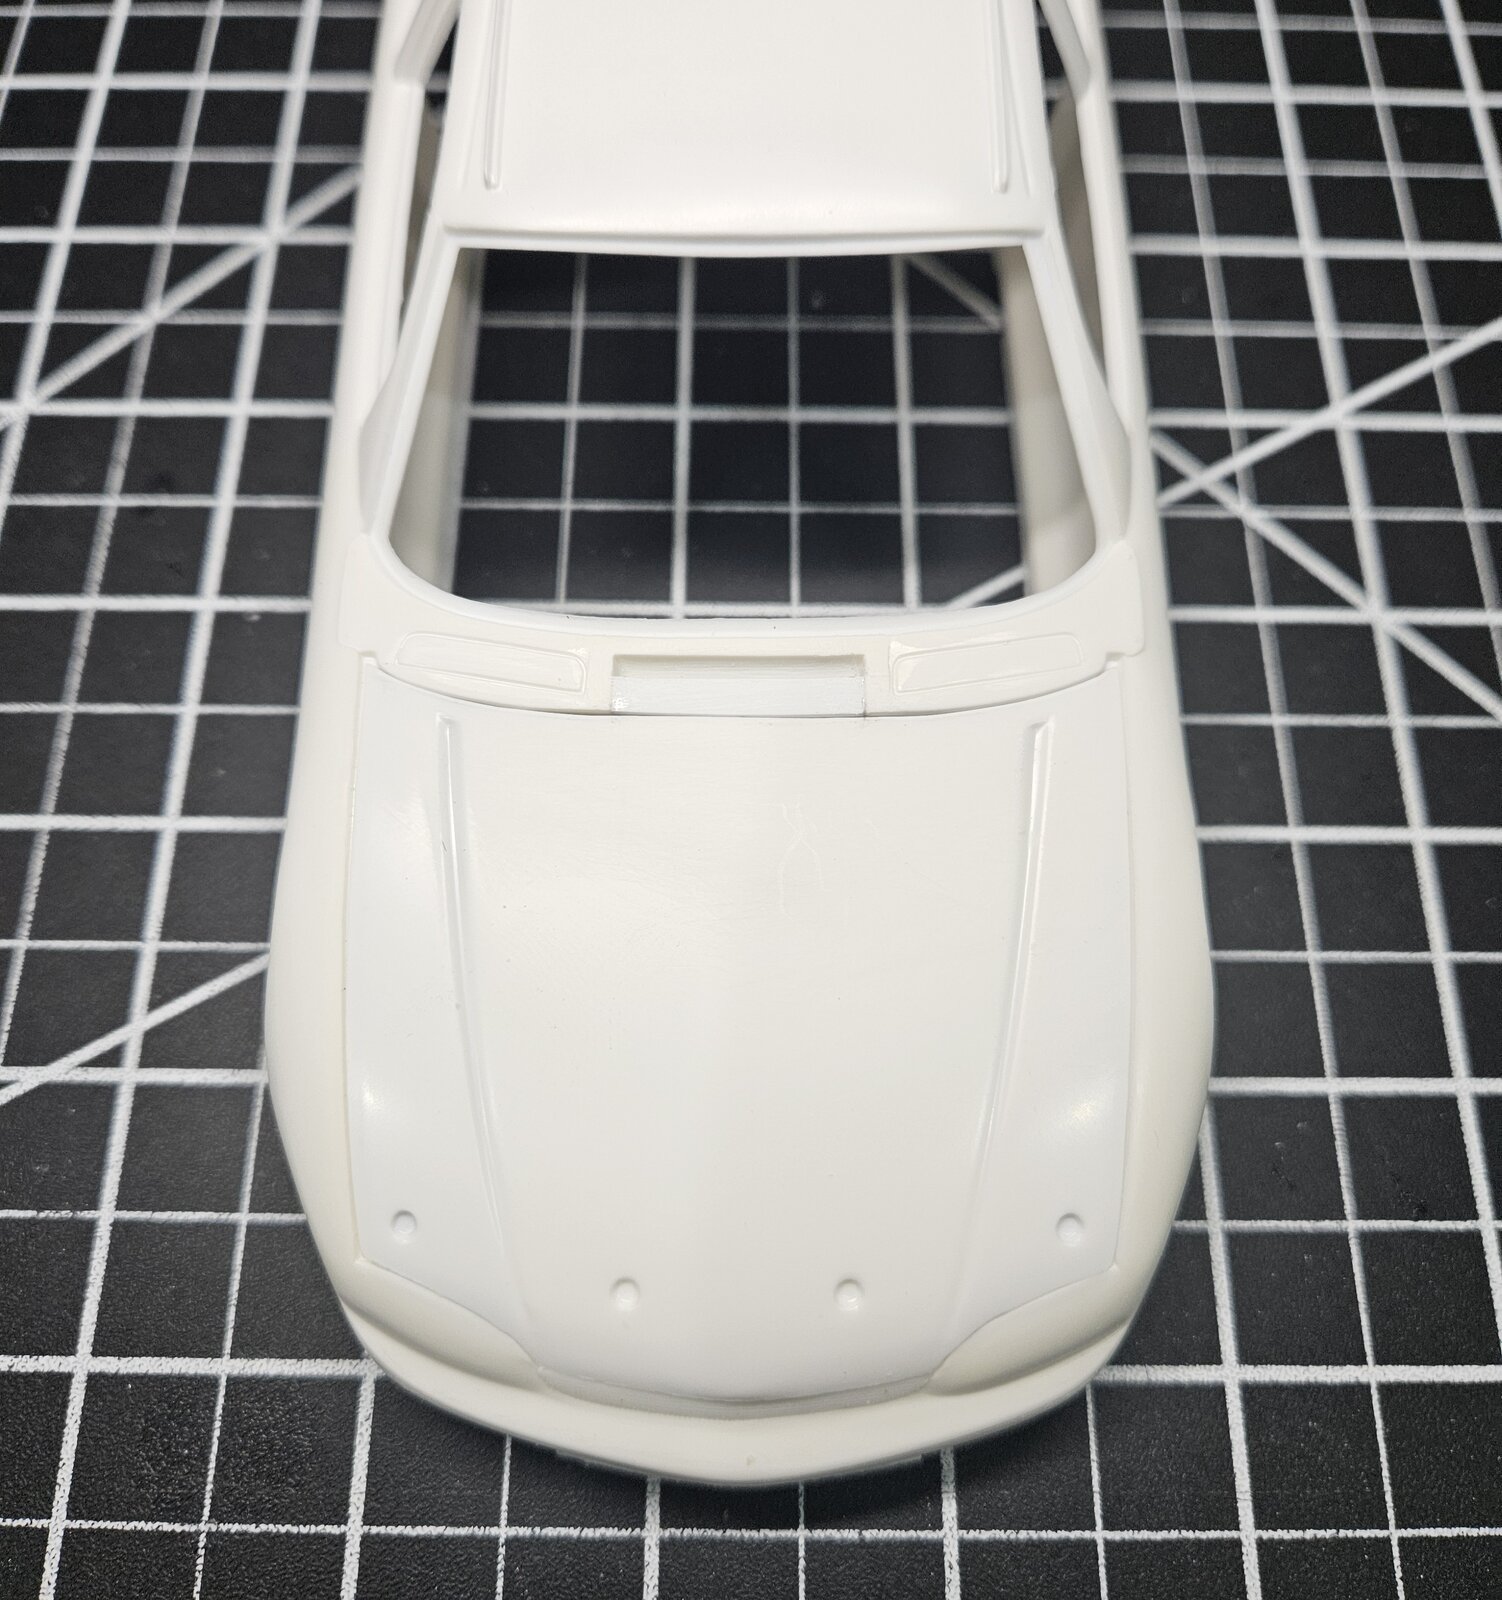
Now most folks that have ever built any of these earlier Revell/Monogram or AMT race cars know, the hood always has gaps, or misalignment somewhere, and if you have decals running from the body onto the hood, those gaps become valleys! A lot of the time I will glue down the hood and just fill in all the gaps and be done with it. However, I'd like to keep this hood soldier it can be opened or removed.
This lead to a lot of thinking out of the box on how to correct the shape and fit of the hood. I decided to use sheet styrene the same thickness as the hood to do some fabrication to improve the fit as well as correcting the cowl vent. I used the hood as a template for the areas where the gaps needed to be corrected. Traced it onto the sheet and cut it out slightly larger than needed. I then glued it in place and using detail files, I reshaped it to have a tighter and more uniform fit.

1000021387.jpg


This is the result on the driver's side of the hood after the correction.
1000021386.jpg

You can see the major difference from the large gap that remains to be corrected. I'll move on to correct the rest of the gaps, and correct the flap added to the hood to create the opening of the cowl vent. I'll remove it from the hood and fabricate the vent separate. More to follow soon.
 
As an Amazon Associate we earn from qualifying purchases. Product prices and availability are accurate as of the date/time indicated and are subject to change.
Amen Brother. I was in when it was "Be all you can be" as well.

This is some really........really clean work on this car Dan. Great efforts going on so far.
Hooah! 84-00 for me. Thanks for the compliment, really enjoy getting back into these older NASCAR builds. I'm actually doing the 97 Premier & 98 Chromalusion side by side. I should just post them up together, rather than doing a separate post I guess...lol.
 
Update on progress of the hood, front bumper, and body. I continued work by removing the cowl vent portion that is molded on the hood, and cut to width and shape styrene to fill the forward portion of the cowl vent. It was pretty tedious to fit it tight and square without bowing or sagging, but got it done.

20251110_104736.jpg


Moved on to welding .75 sheet styrene cut to shape to finish reducing the gap between hood and body.

20251110_104727.jpg


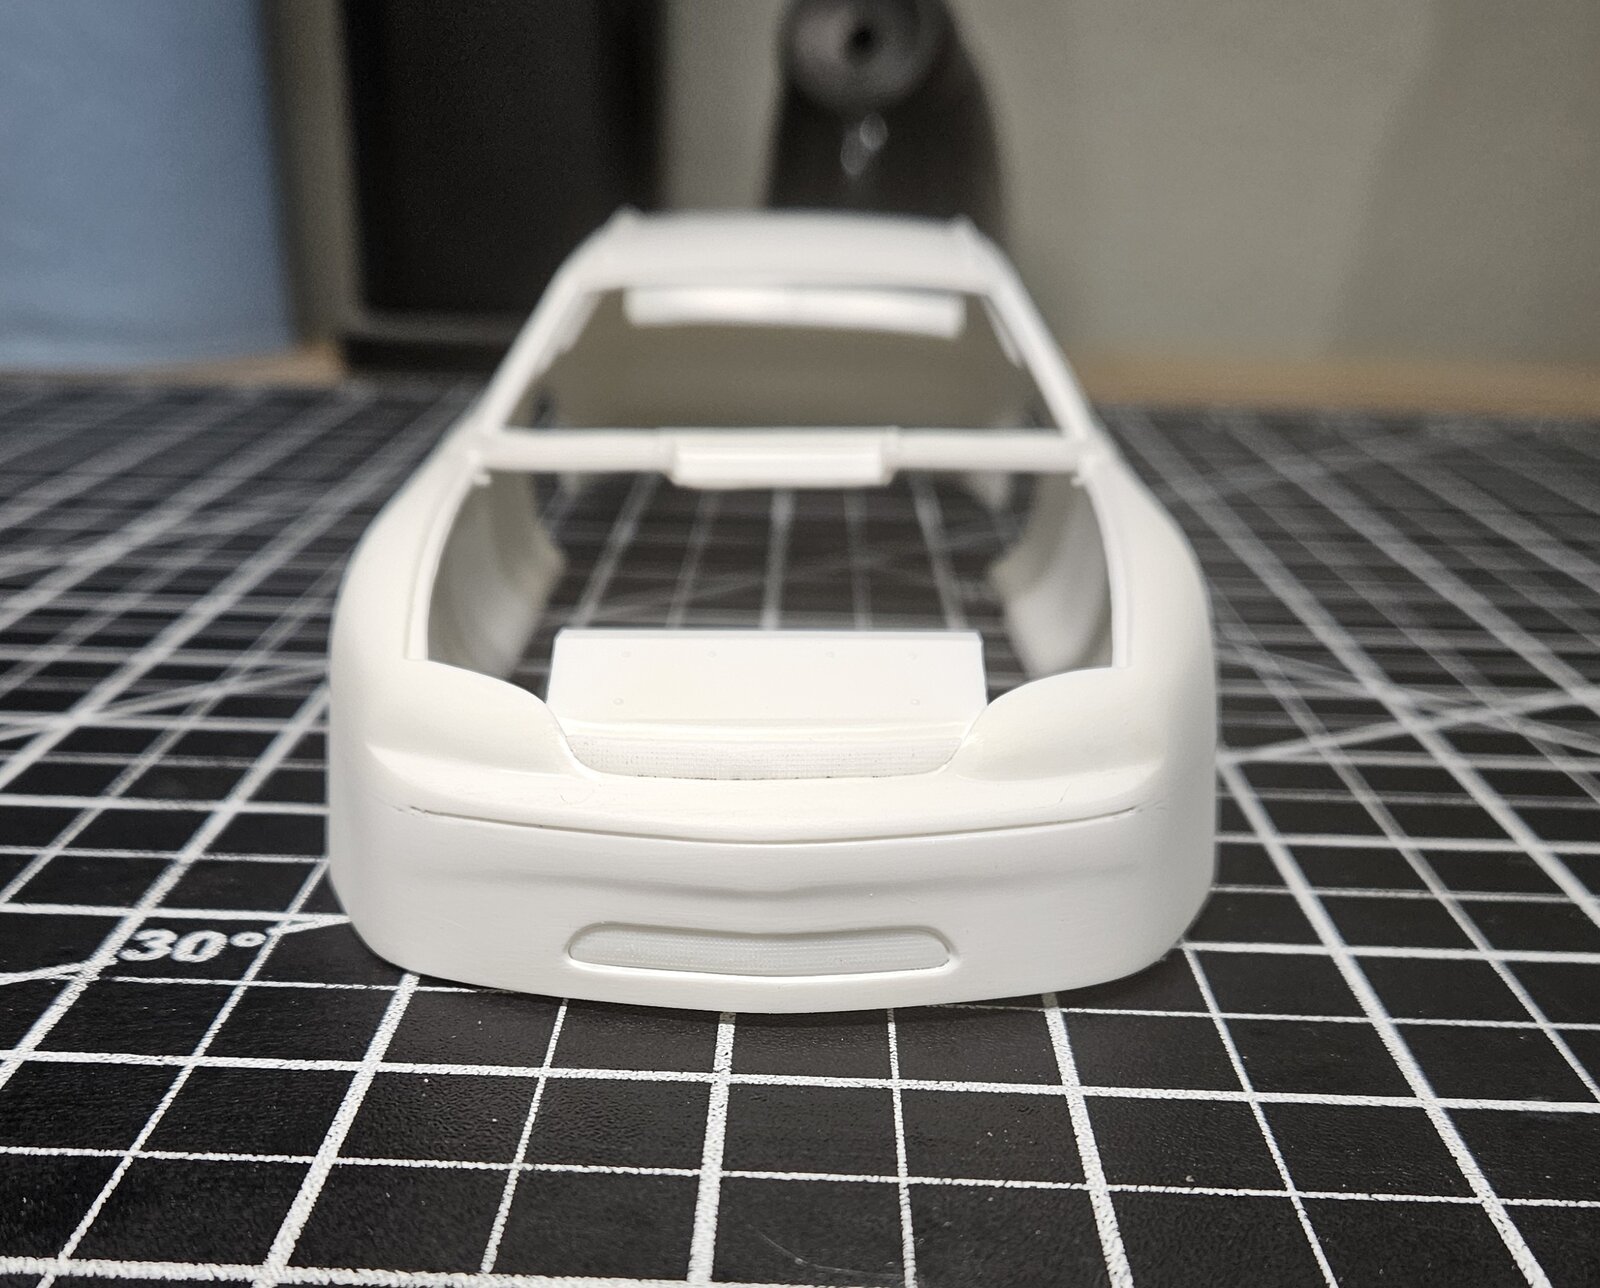
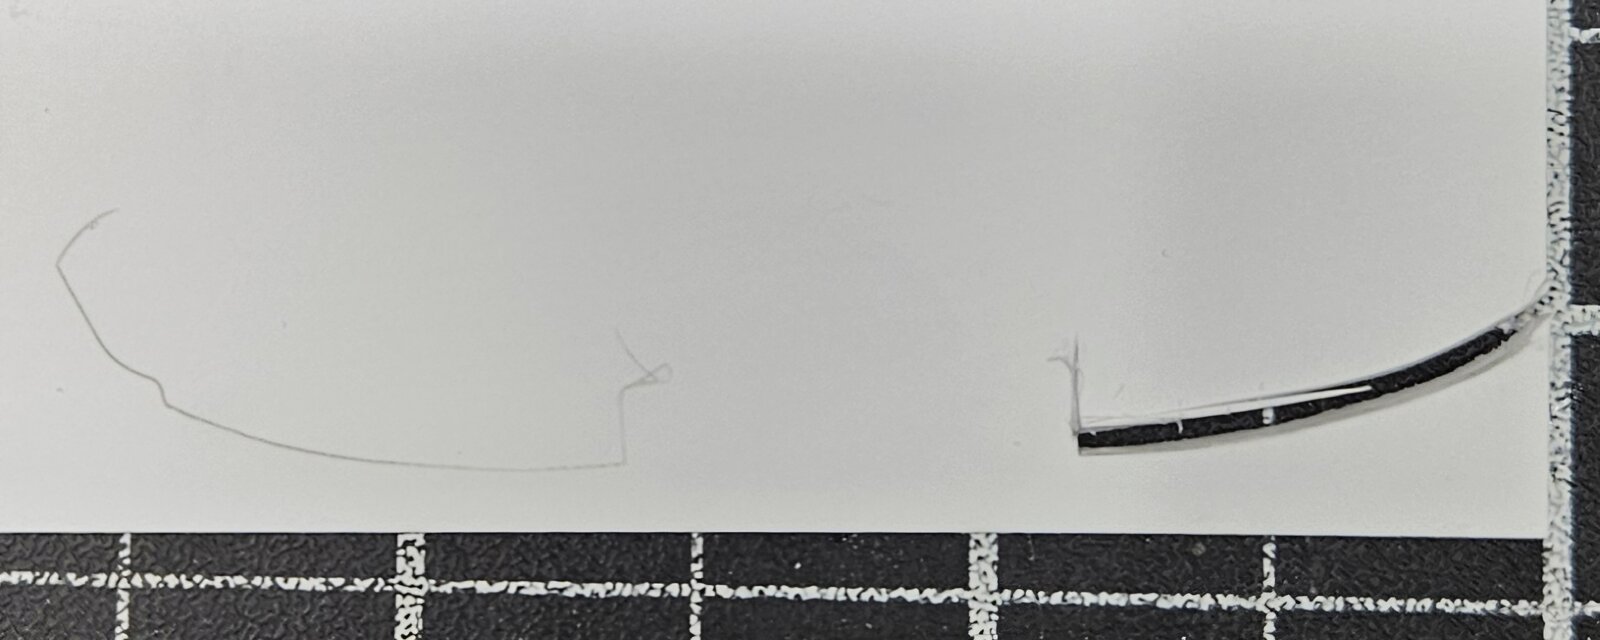
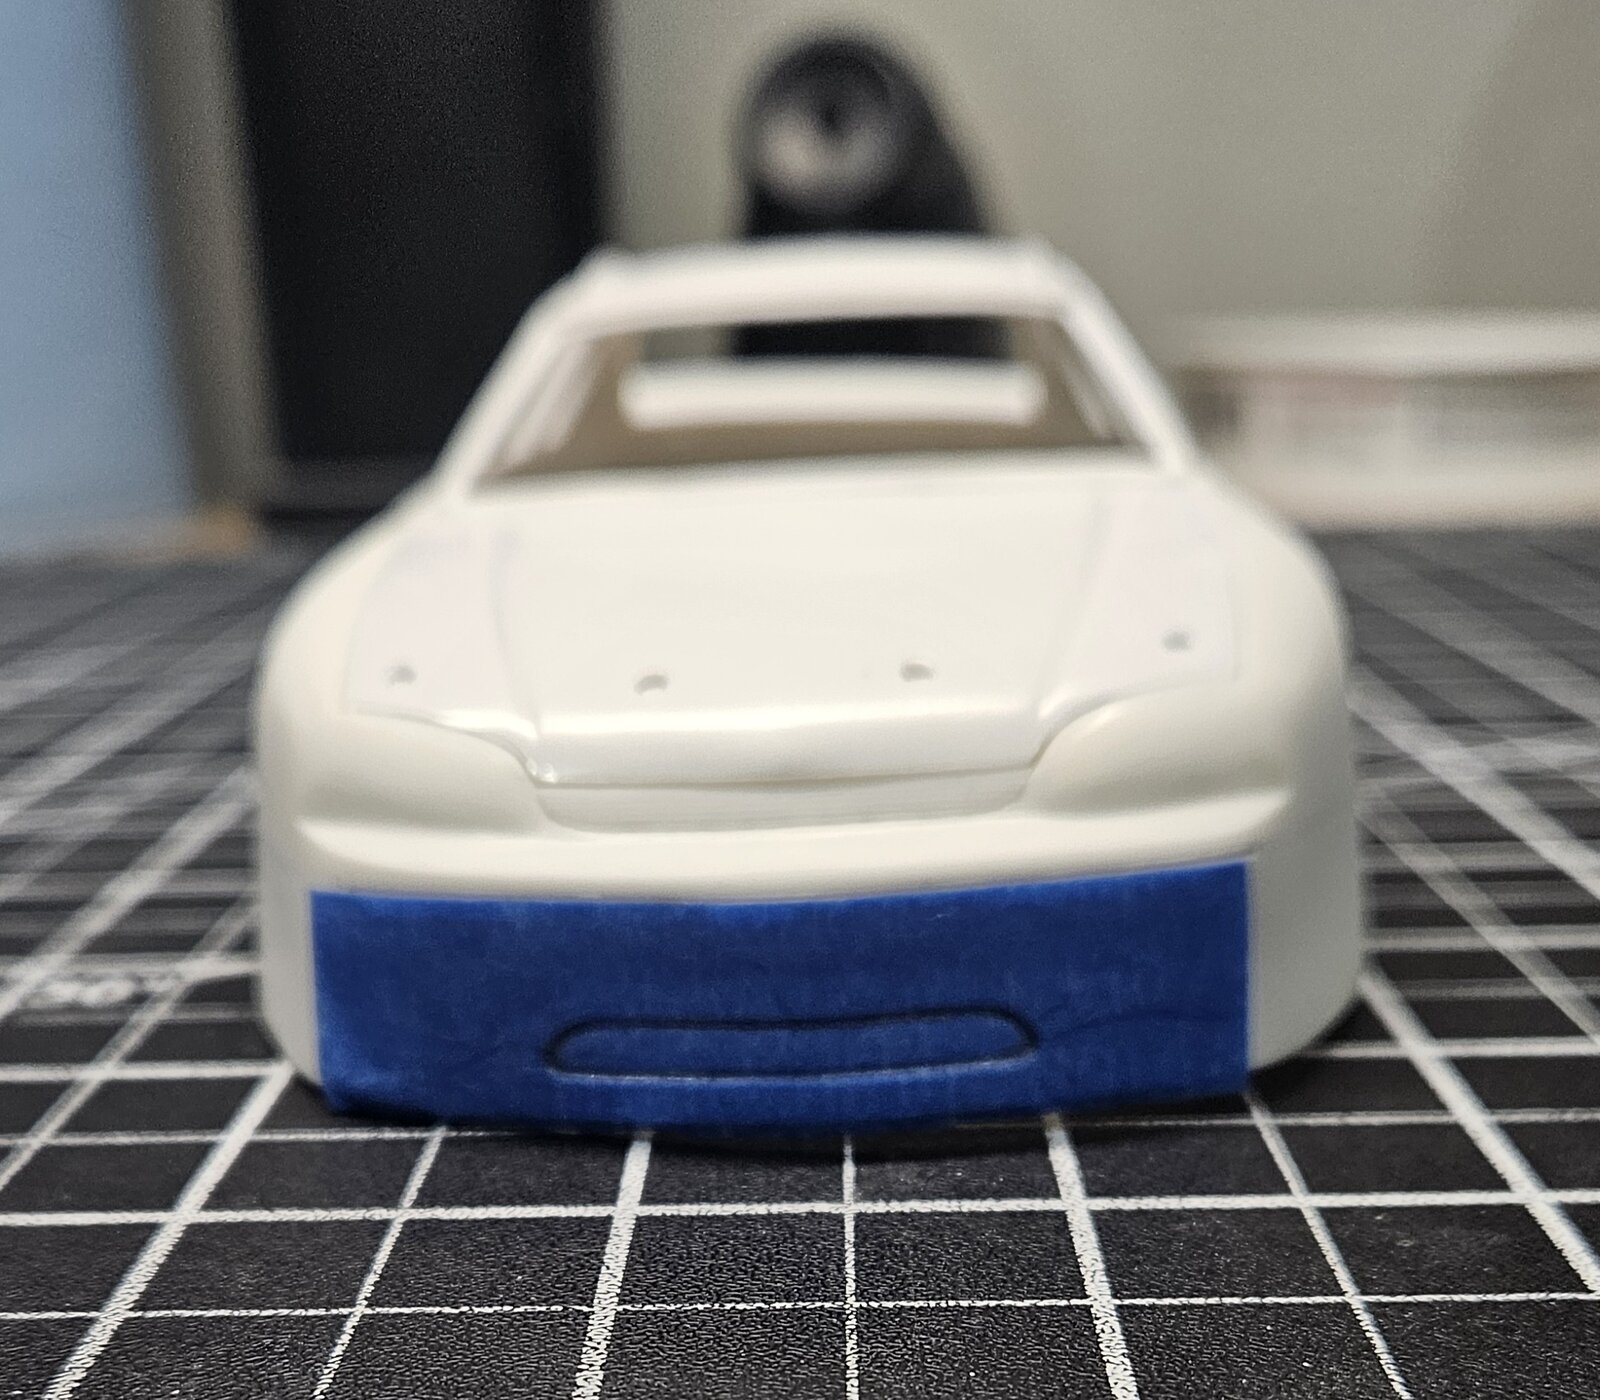
The final work needed was to fill in the misshaped vent on the front bumper.

1000021440.jpg


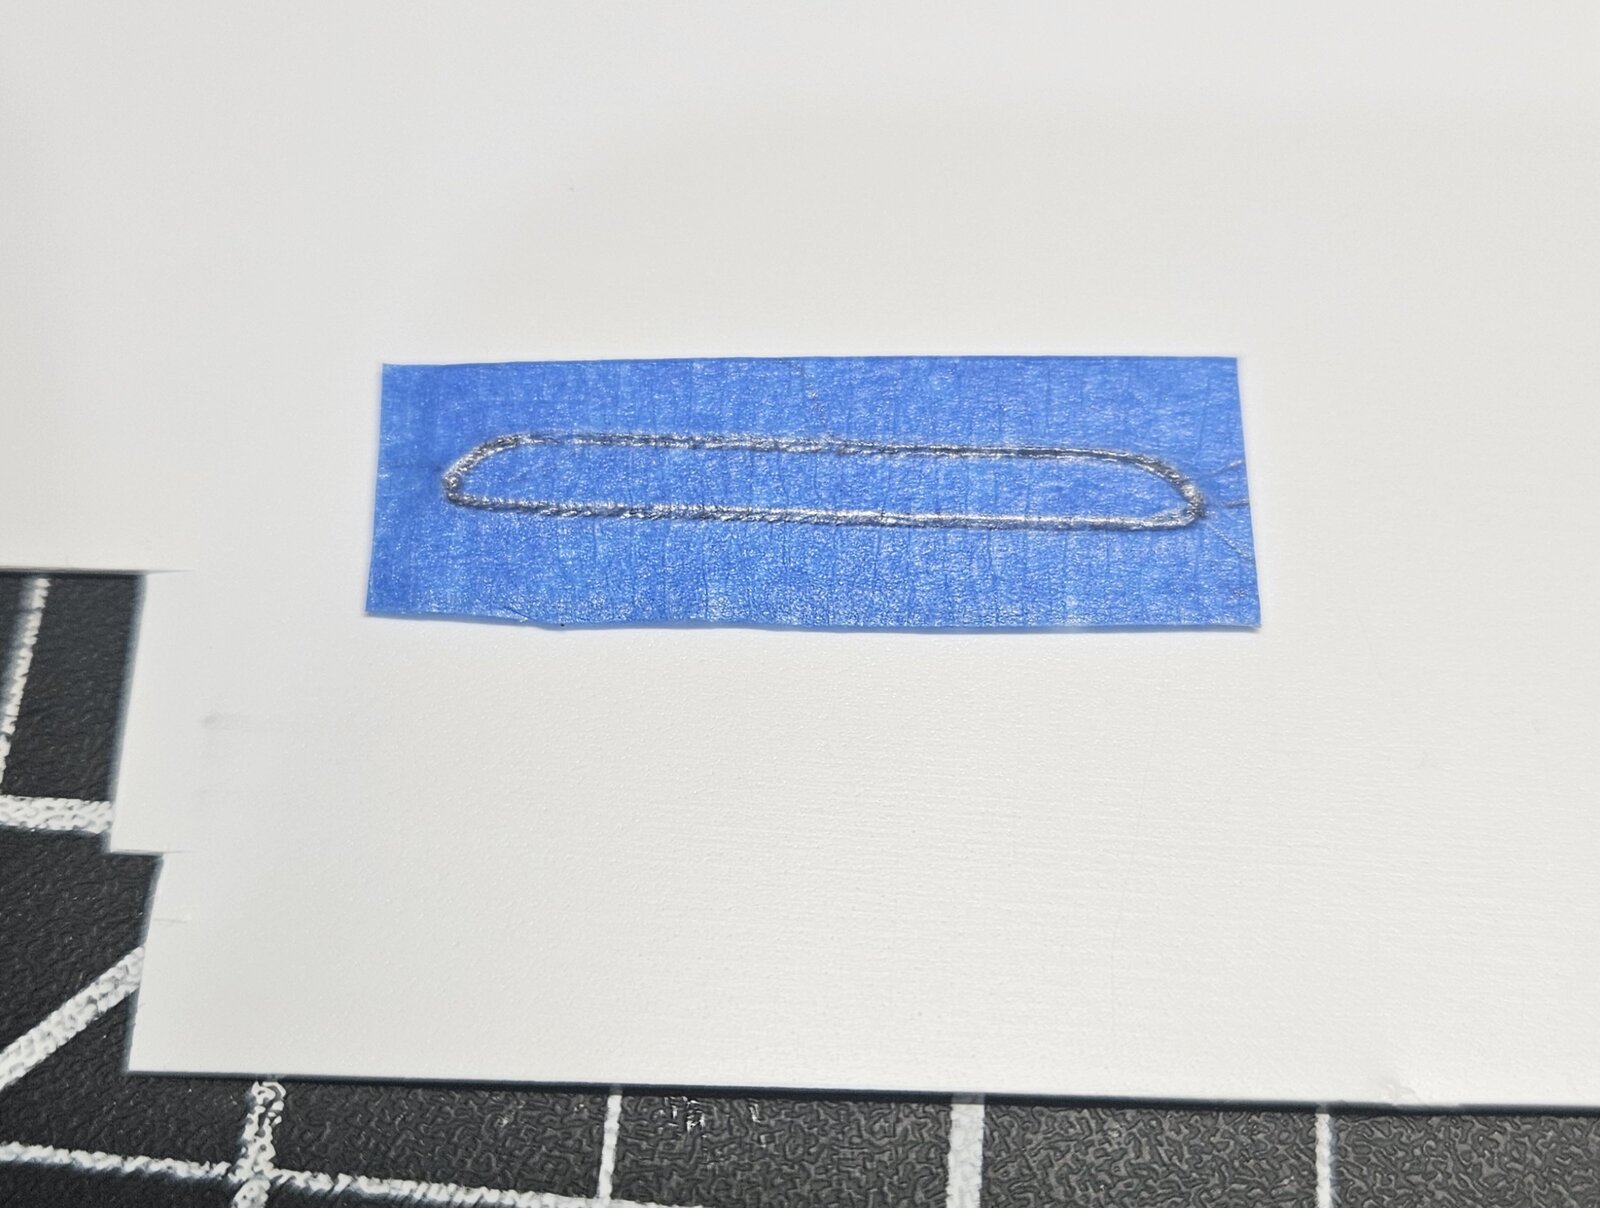
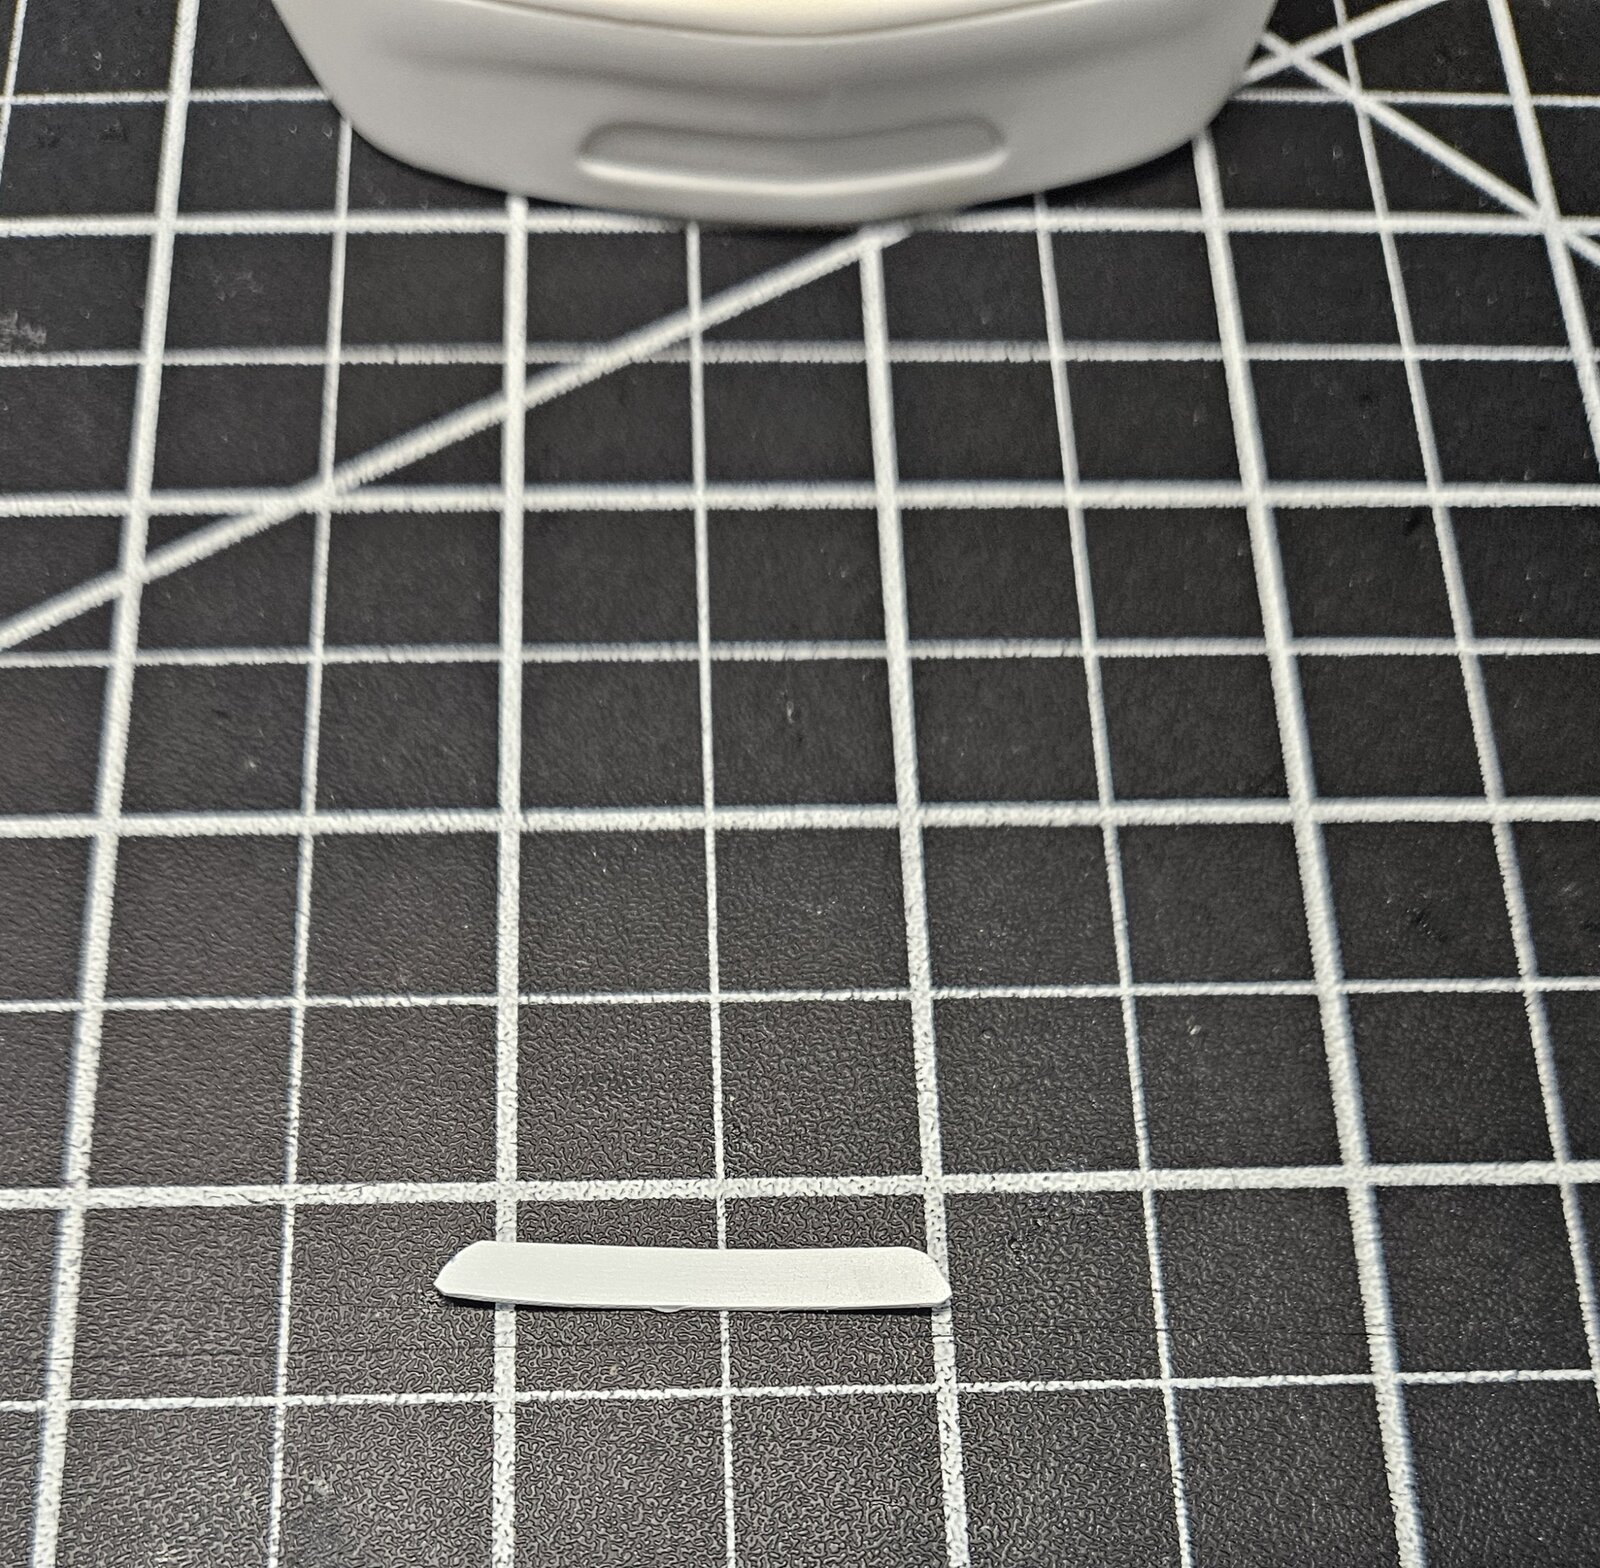
I used painters tape and fine pencil to get the precise shape to cut .25 sheet styrene.

1000021661.jpg

1000021662.jpg

1000021663.jpg

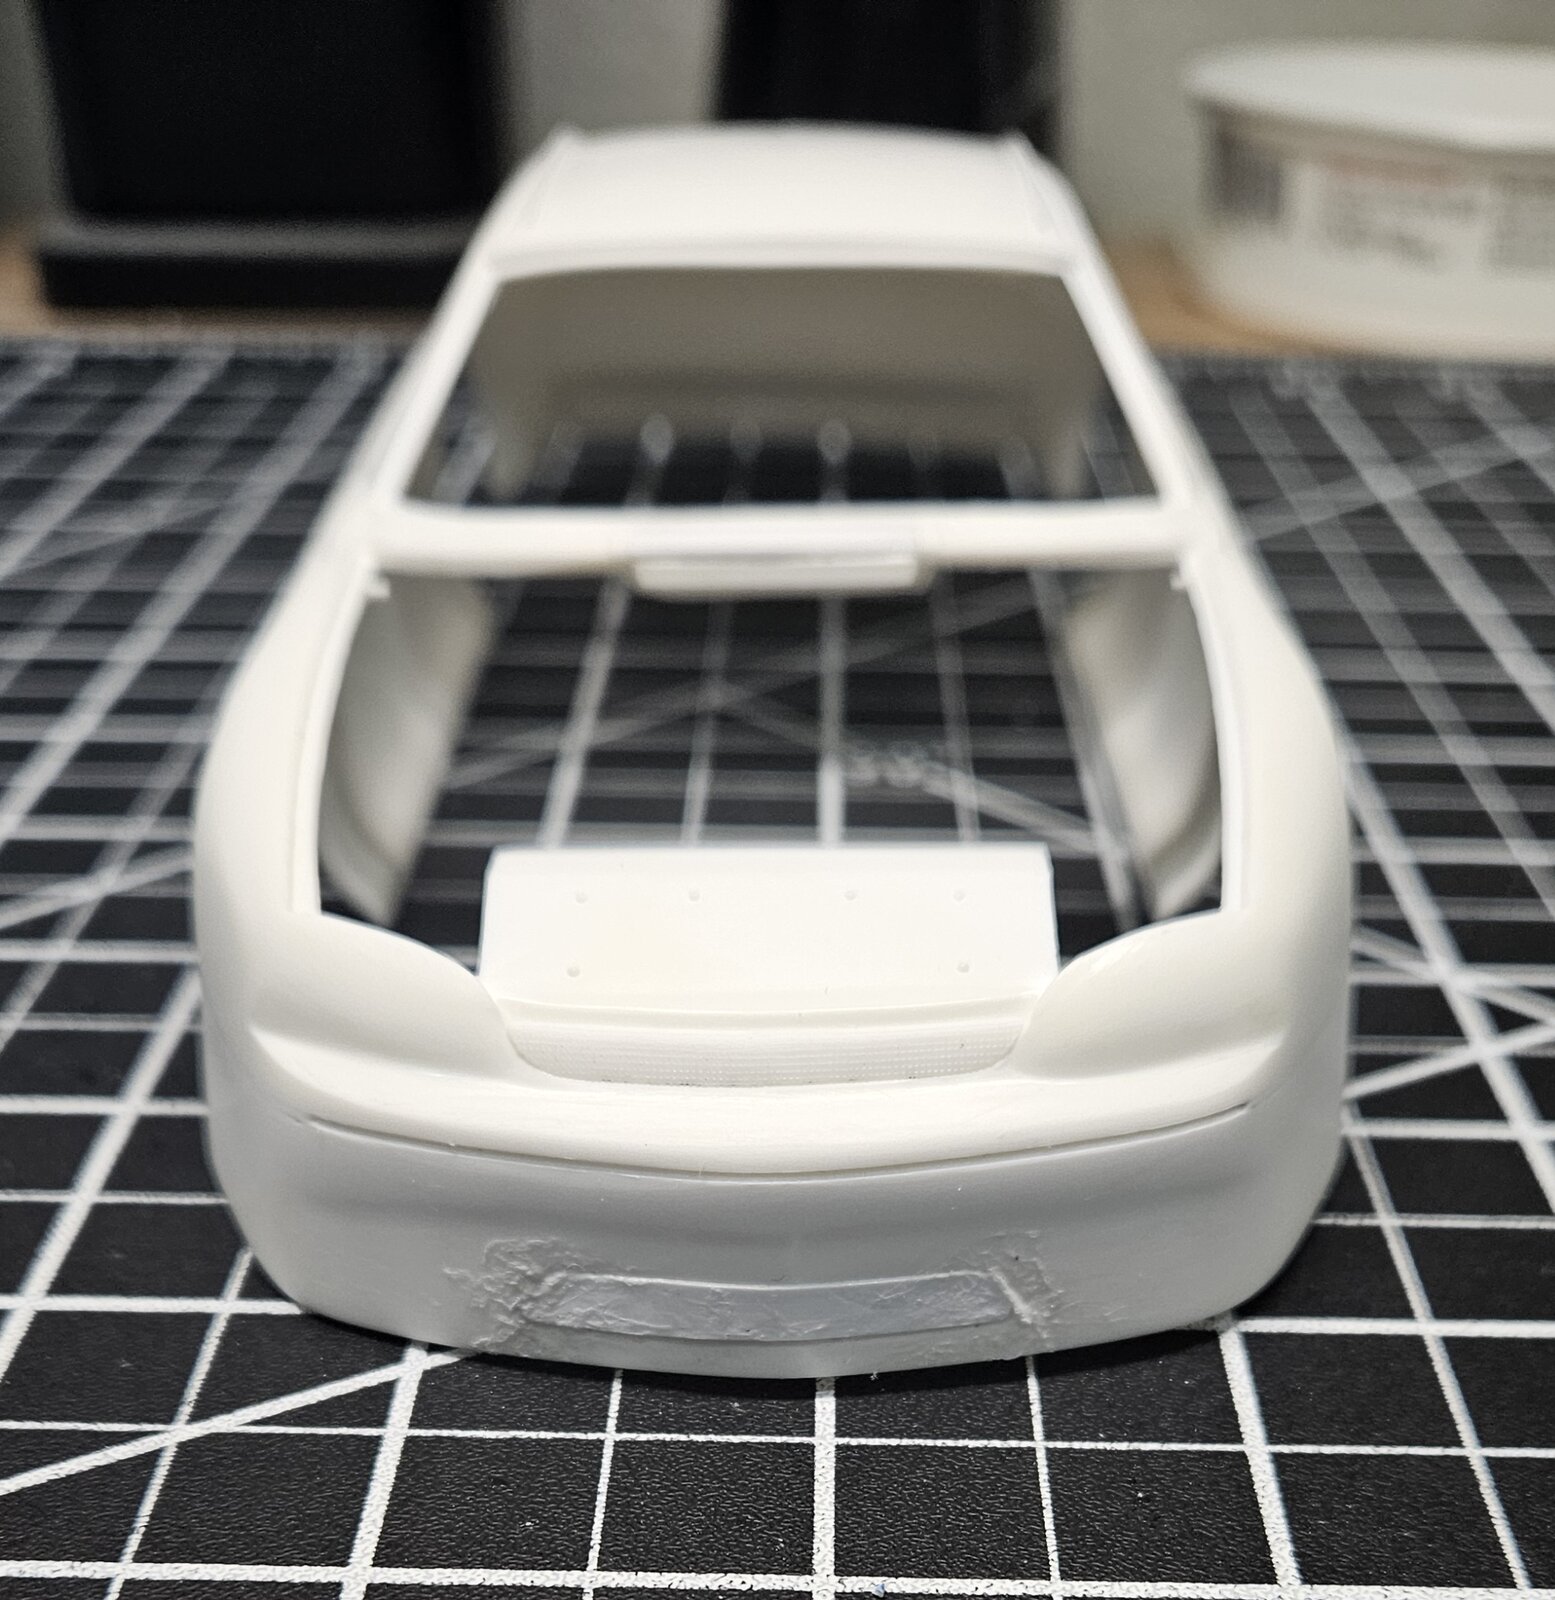
Using Tamiya extra thin, I really softened up the styrene to fill in the vent as tightly as possible. I let that cure enough, and then added extra small round styrene to weld up the seam line around the vent. I know it looks ugly, but once sanded and shaped, this is a permanent fix and no worries of shrinking or putty cracks under paint and finish years down the road.
1000021664.jpg

1000021736.jpg


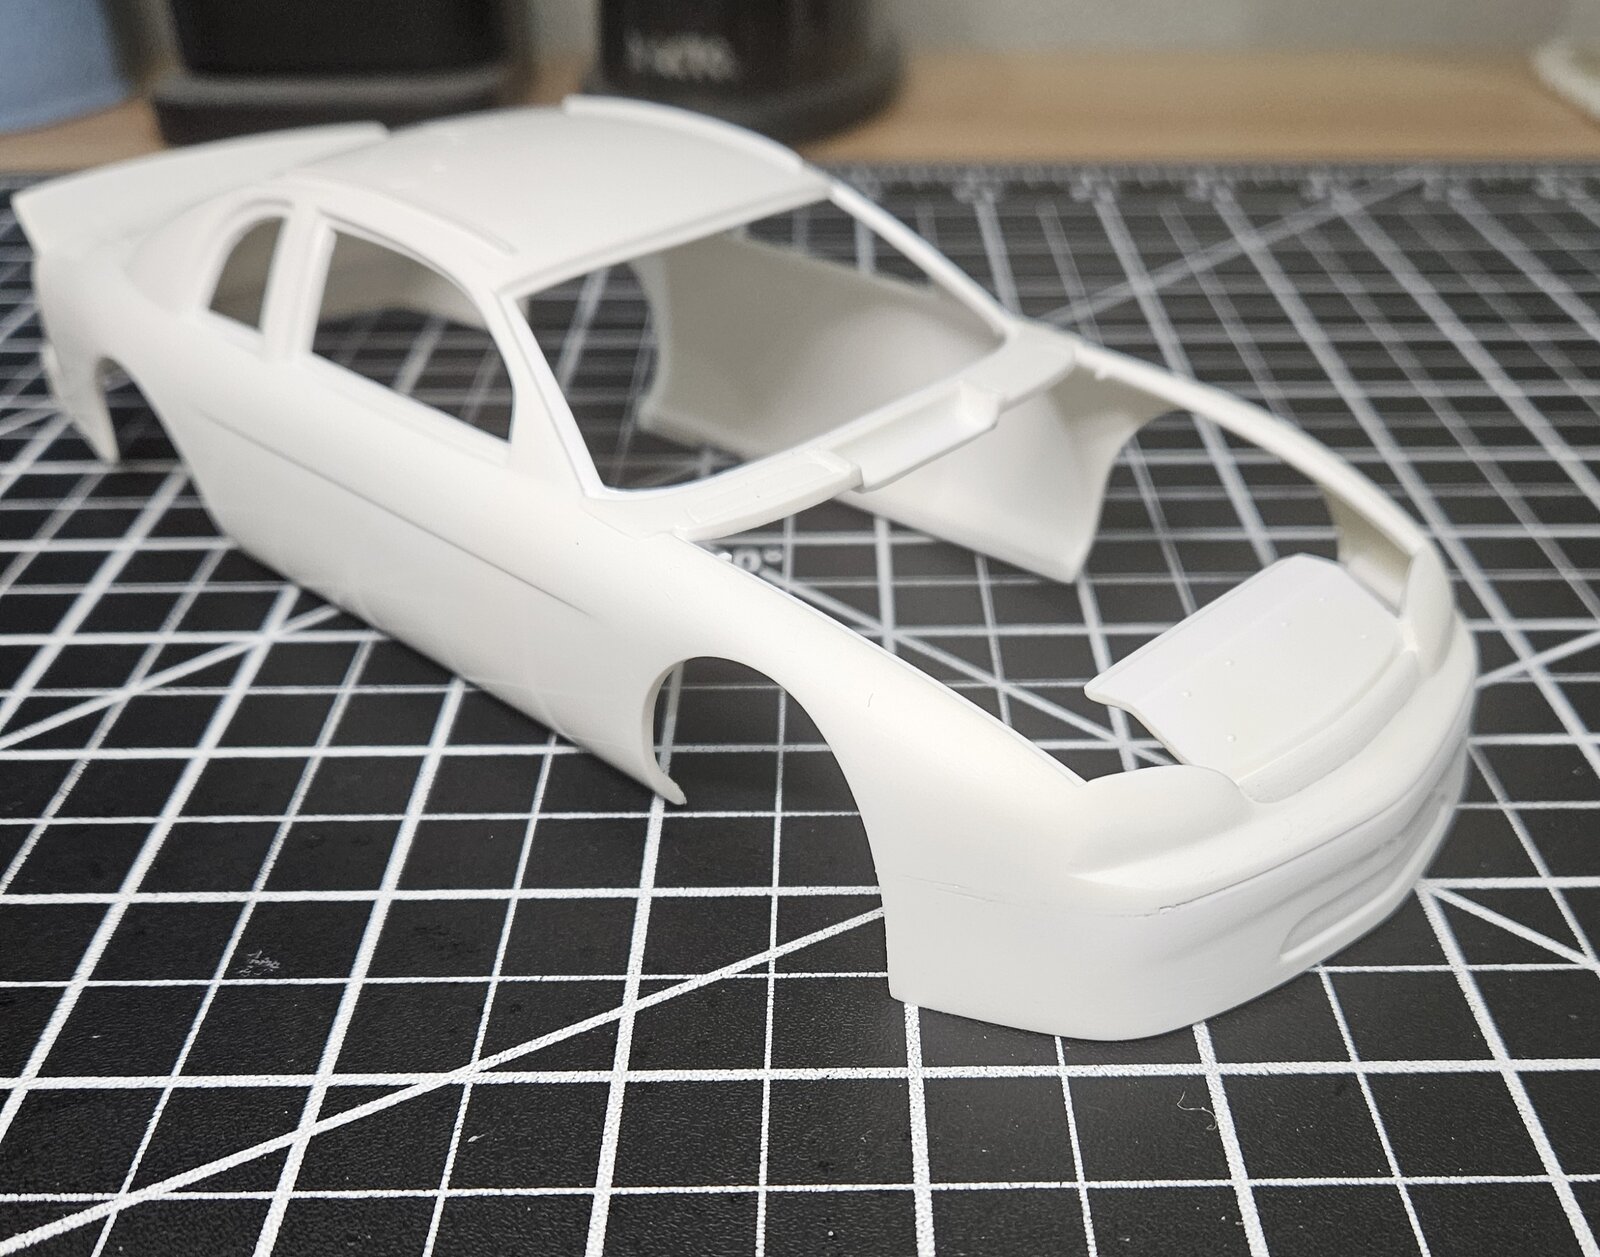
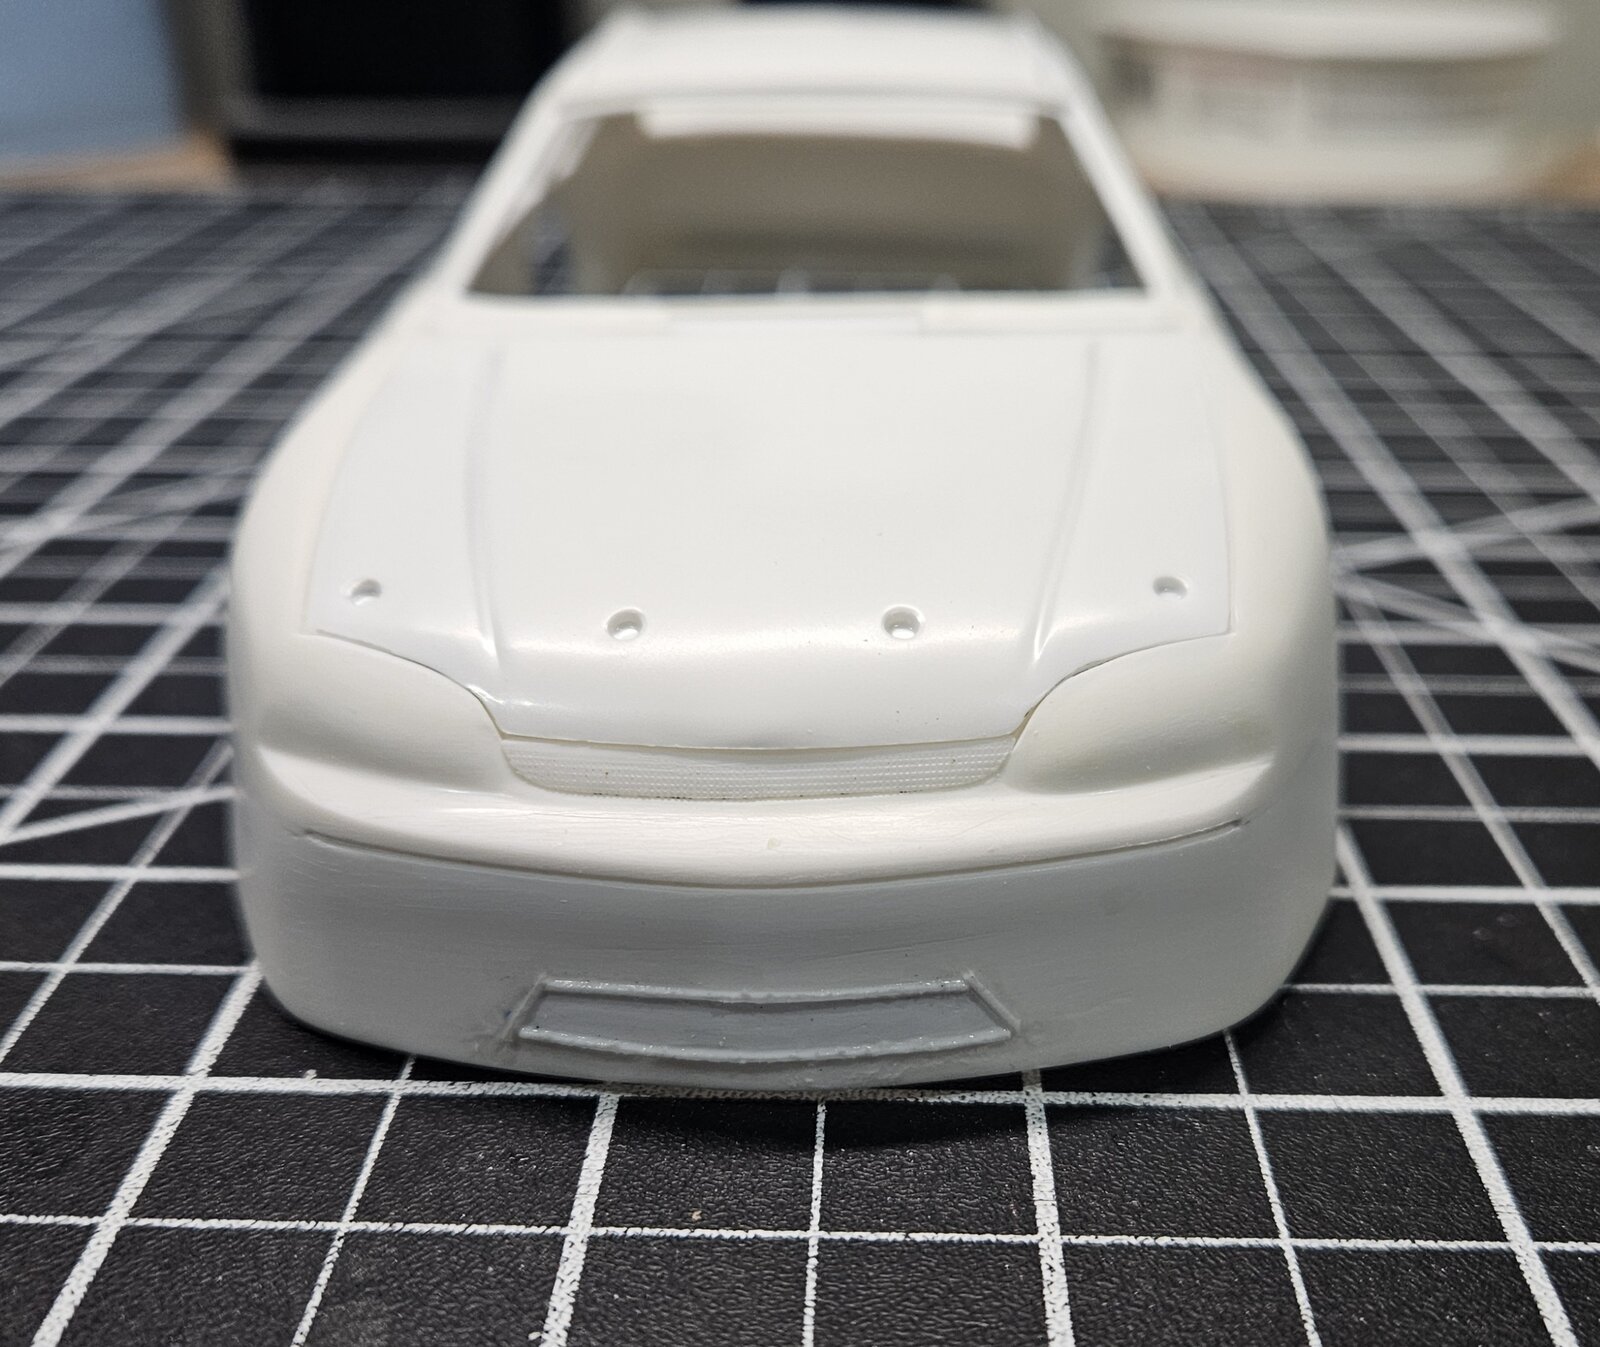
And the final result...
1000021739.jpg


The body and hood are ready for primer, paint, and clear coating, unfortunately, the weather has prohibited this, so it's on pause, but building continues with chassis and roll cage work. More to follow soon.
 
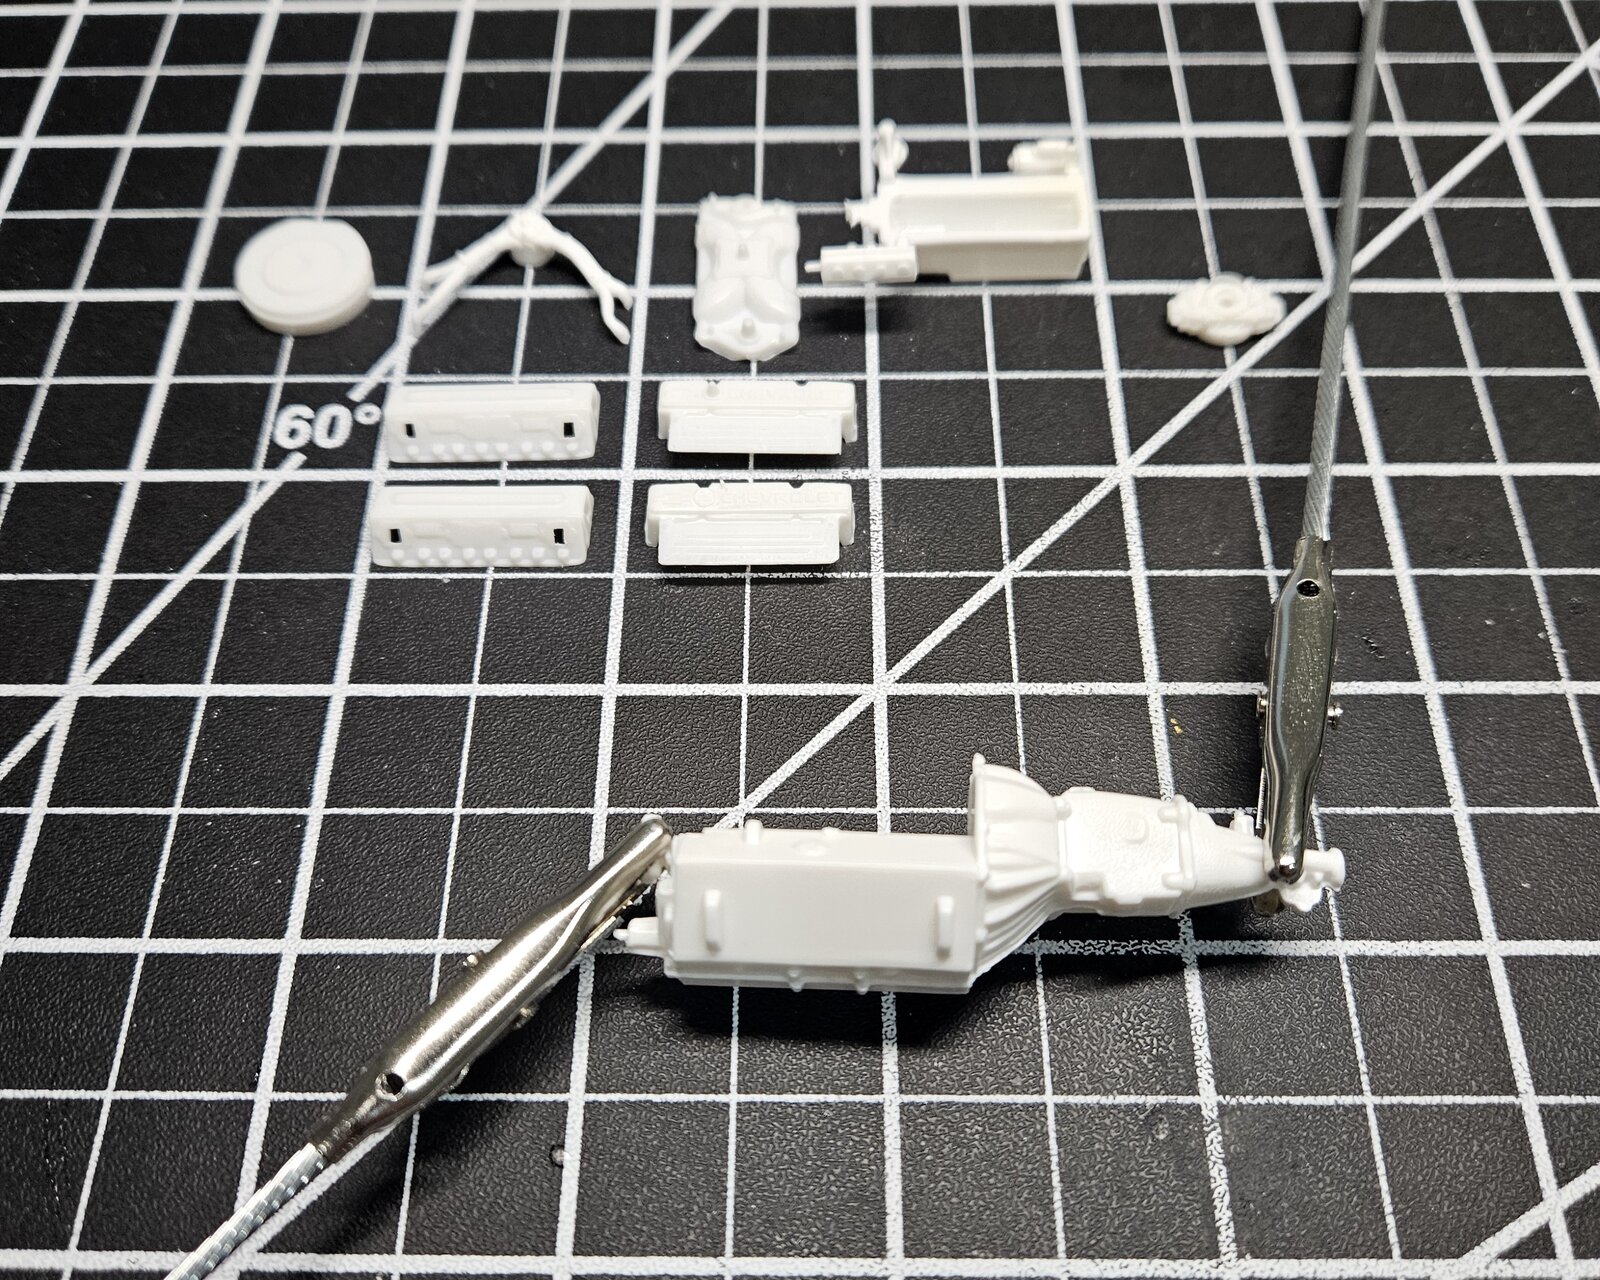
While I wait for warmer weather to prime and paint the body, I started preparing the engine parts. I had to use the new Clean Slate stripper to remove a lot of the chrome plating from nearly all the engine parts. I got the block cleaned up and glued up, let it cure and clean up all the seams.

1000021979.jpg


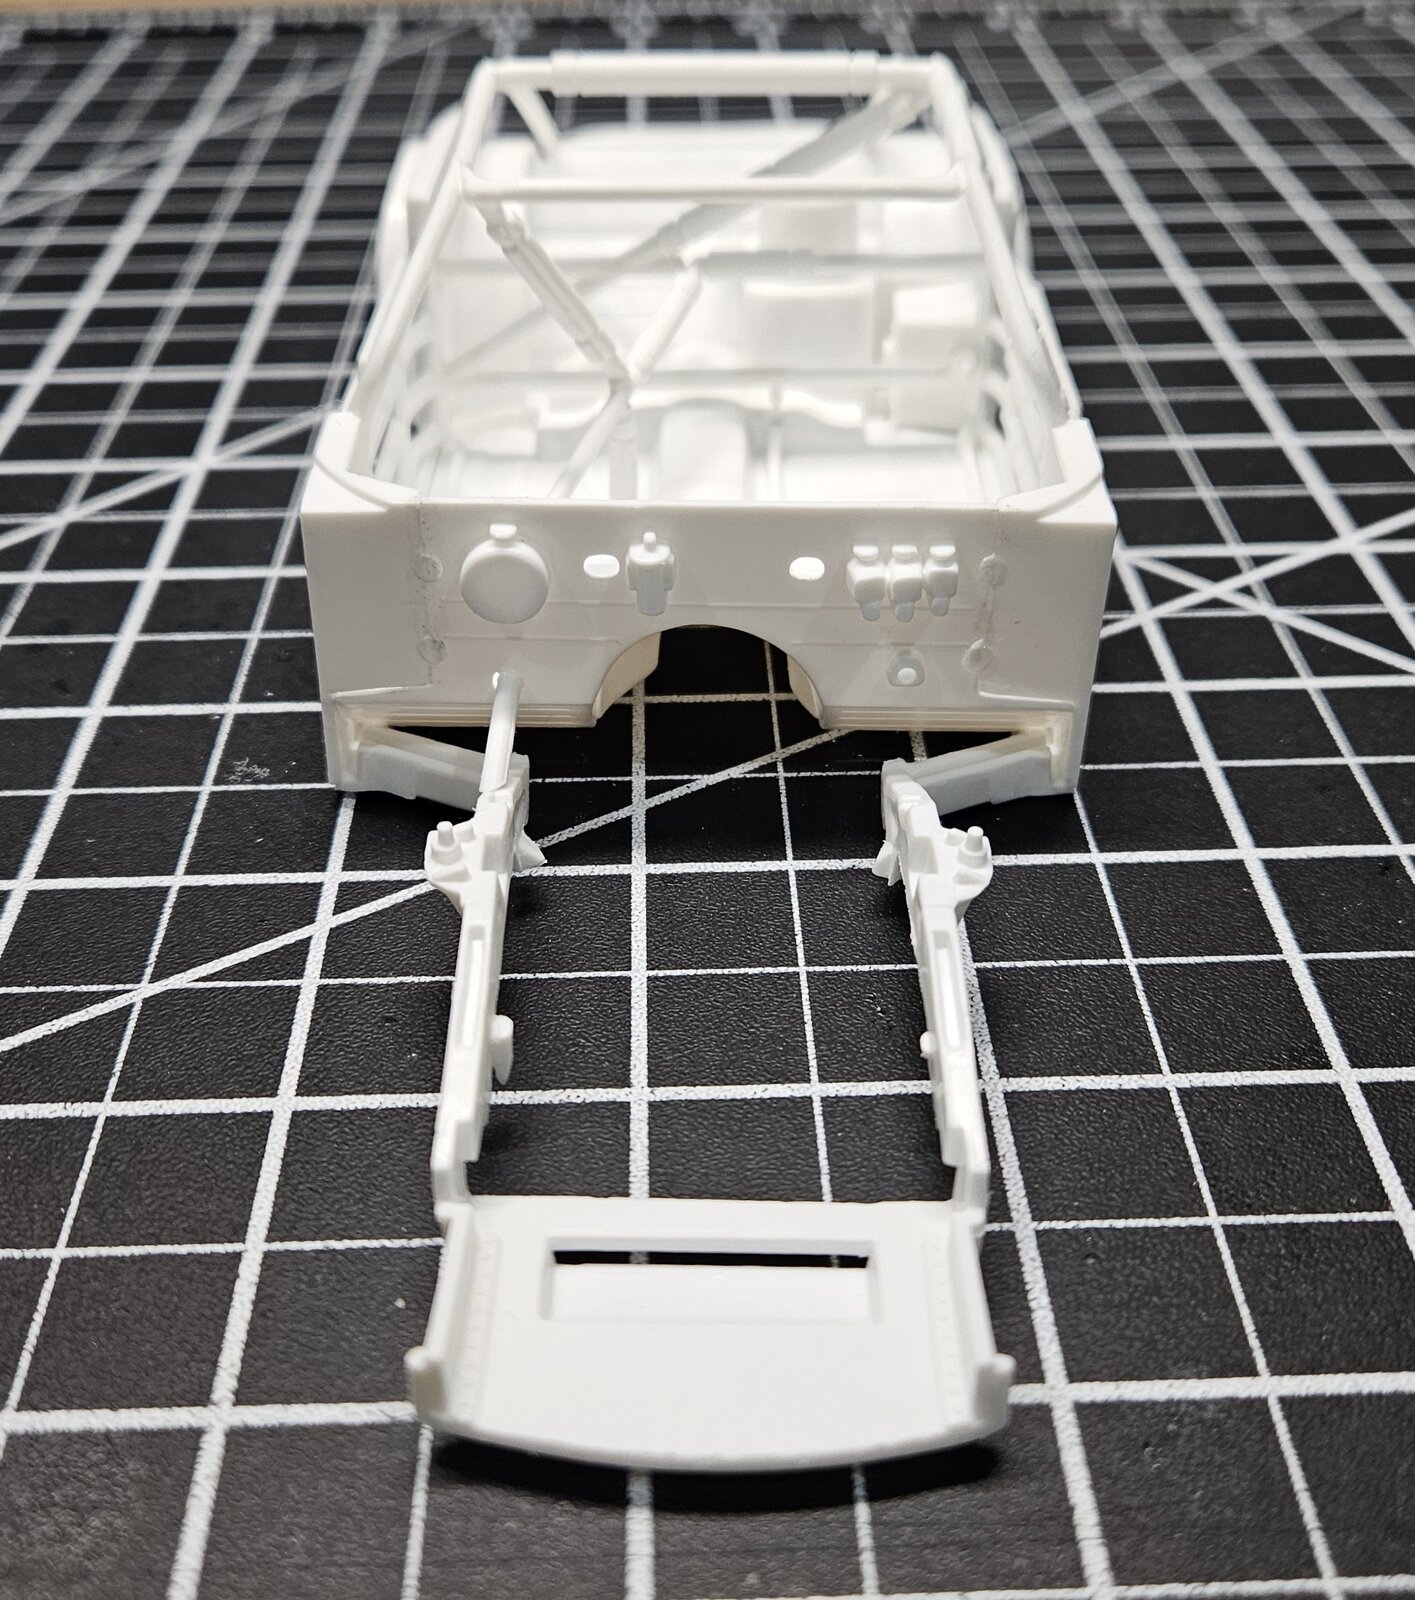
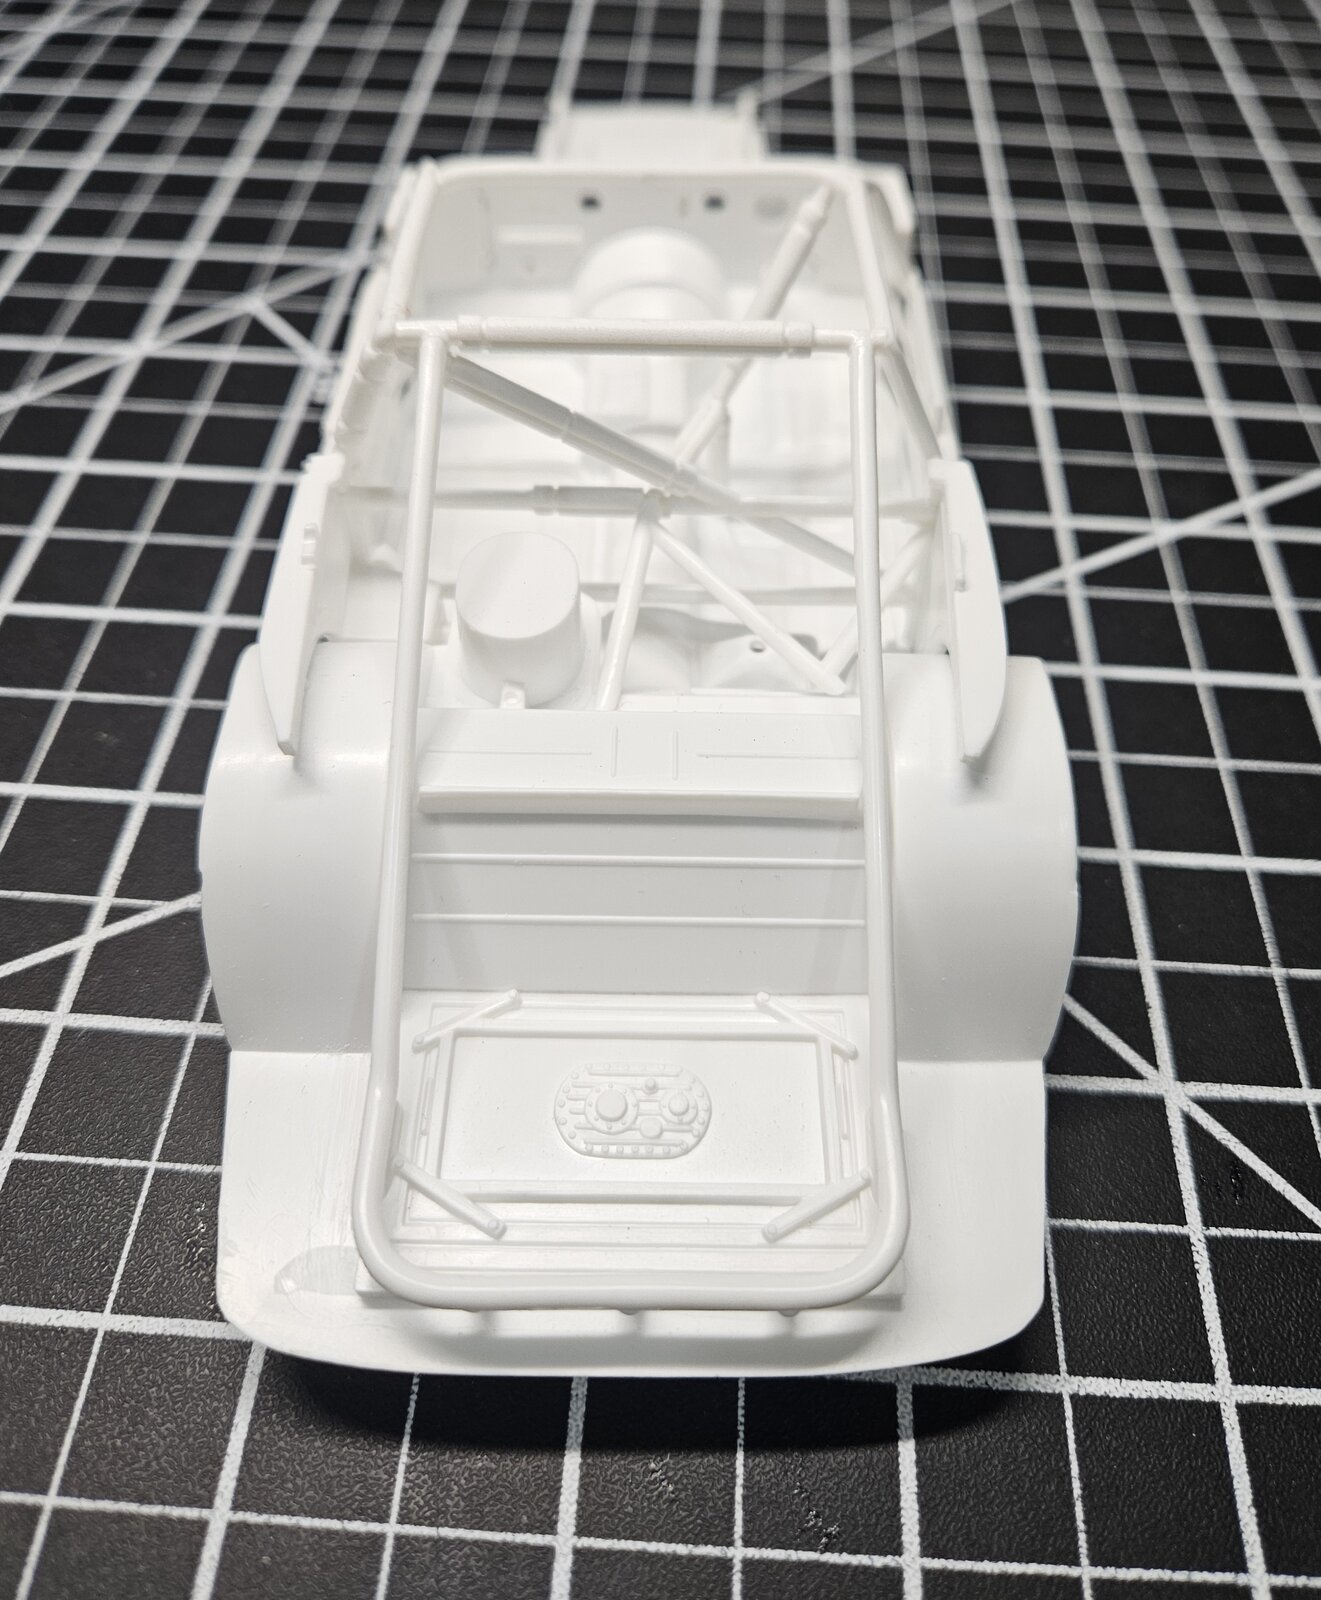
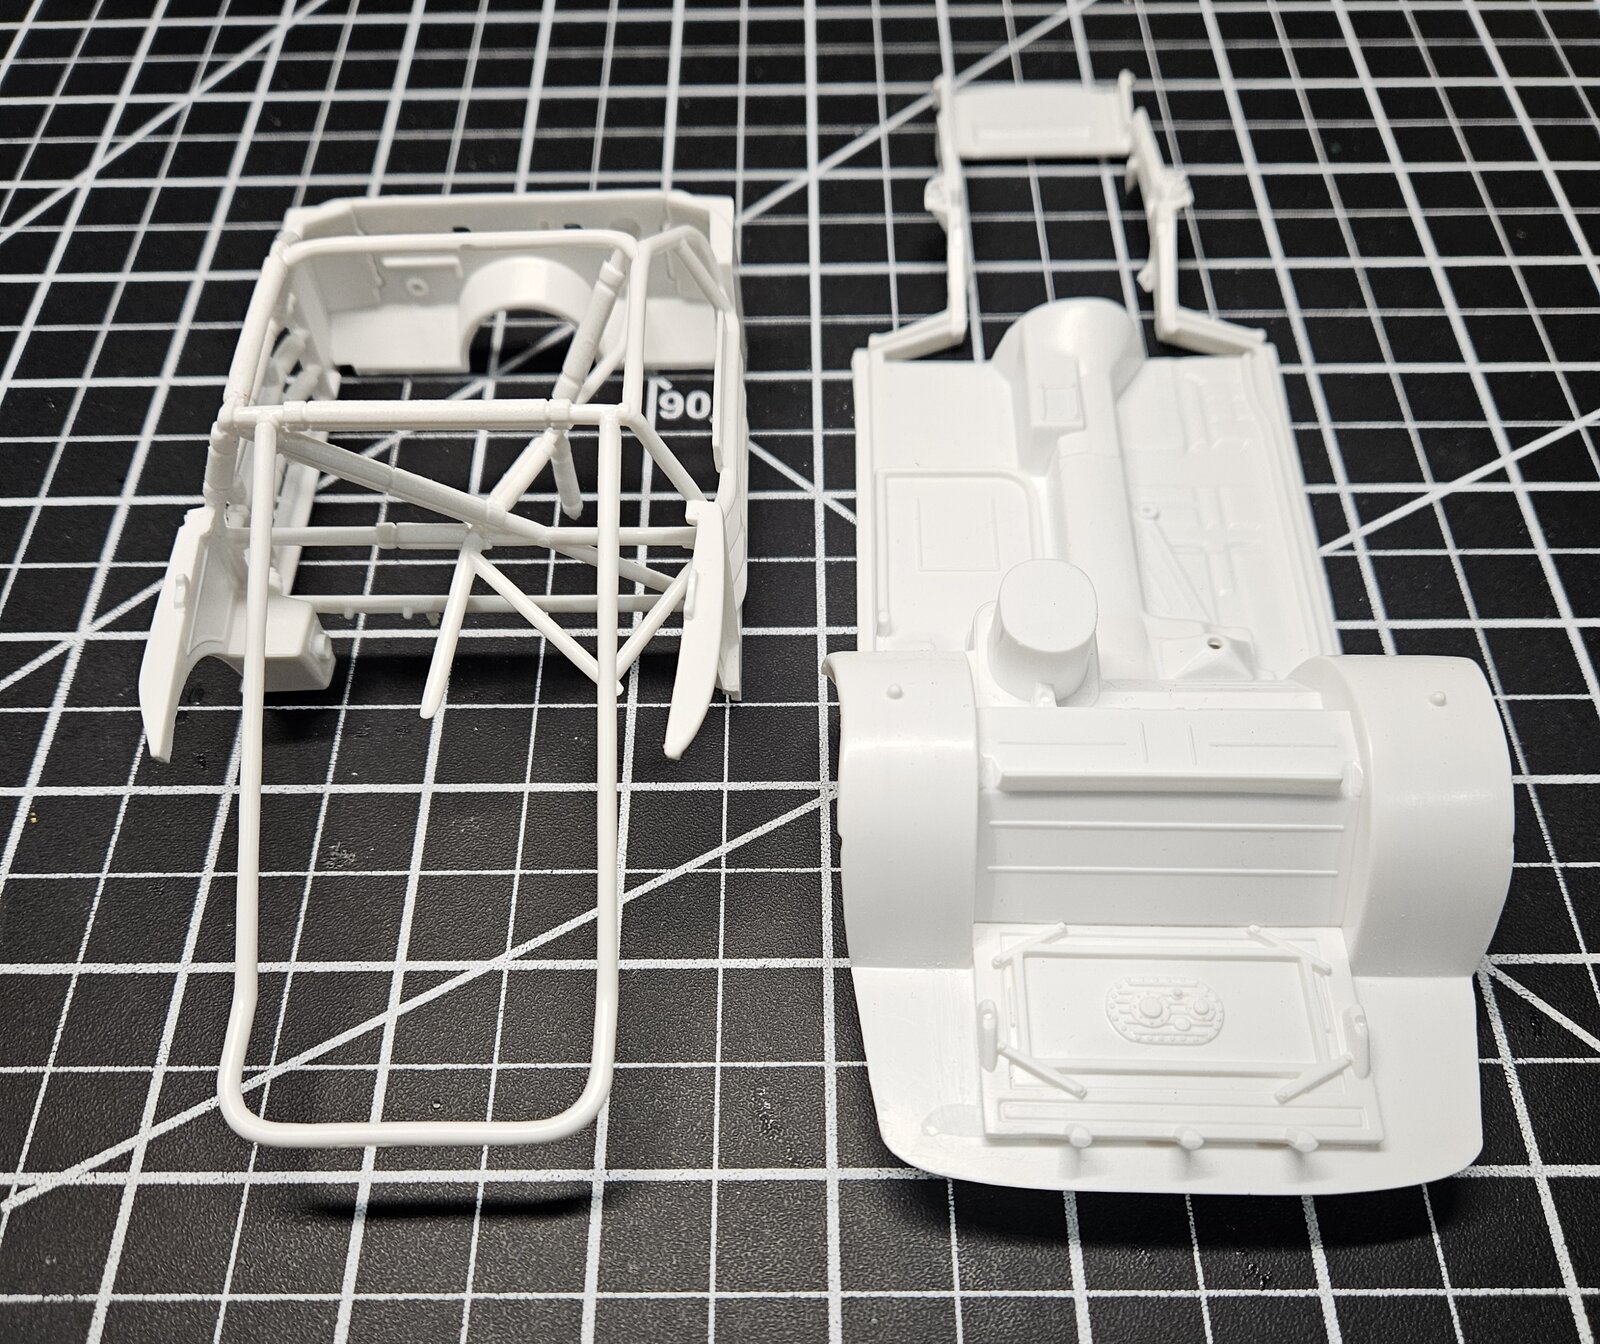
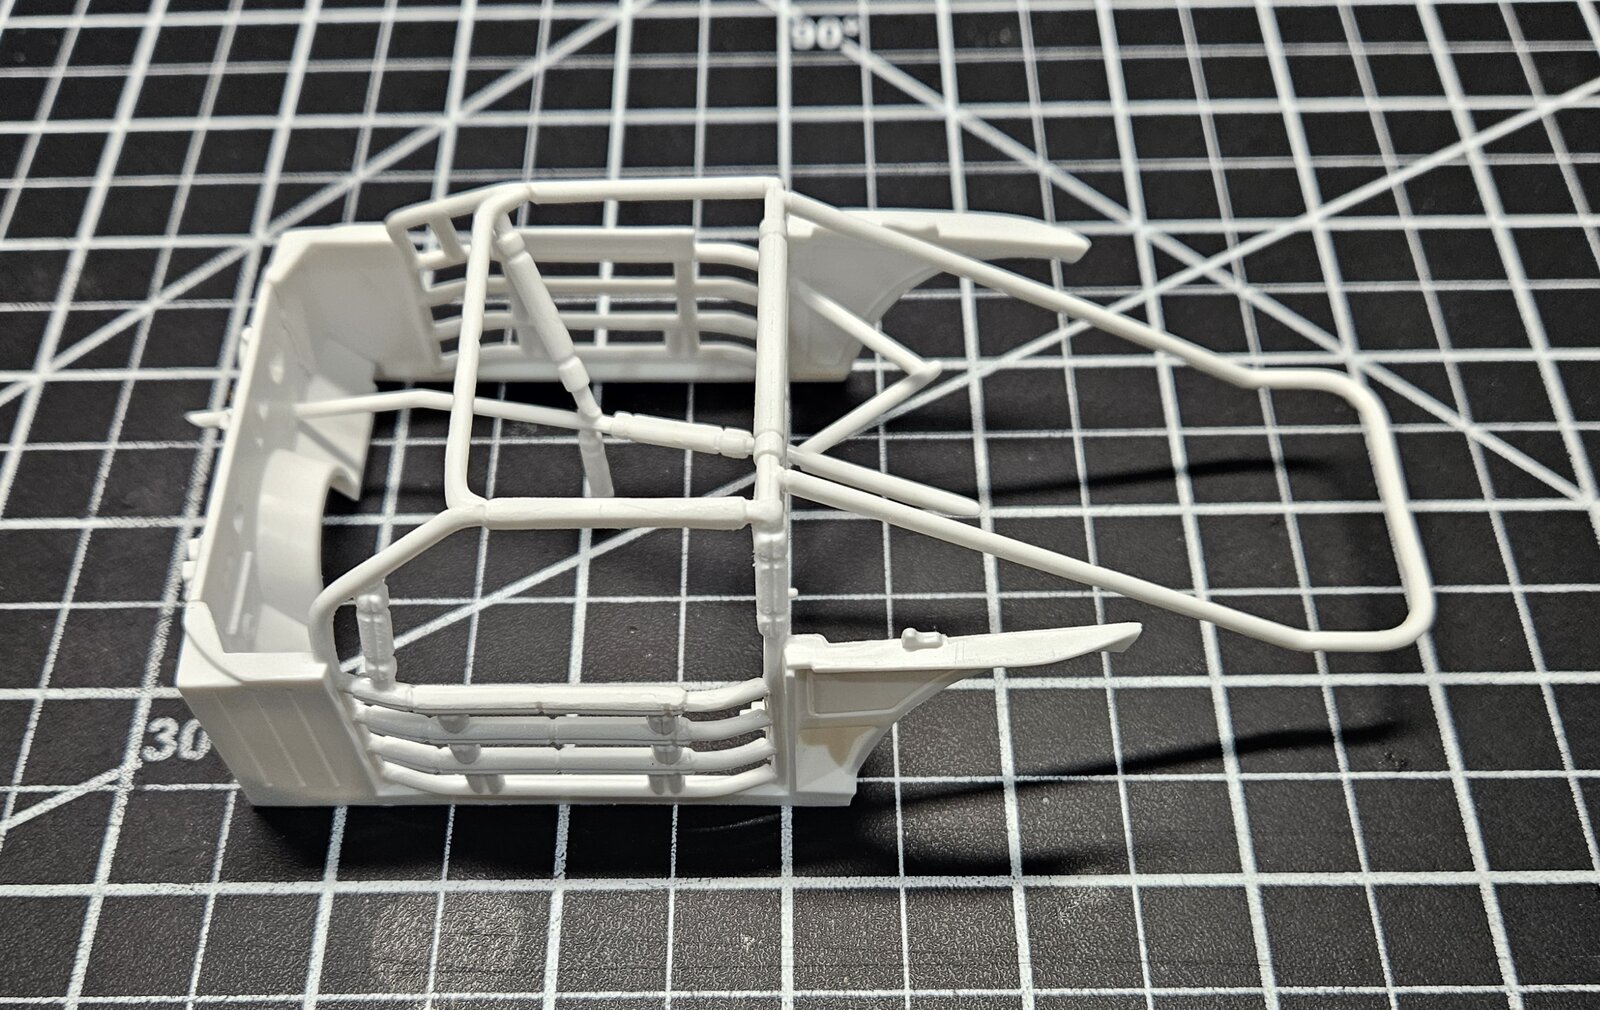
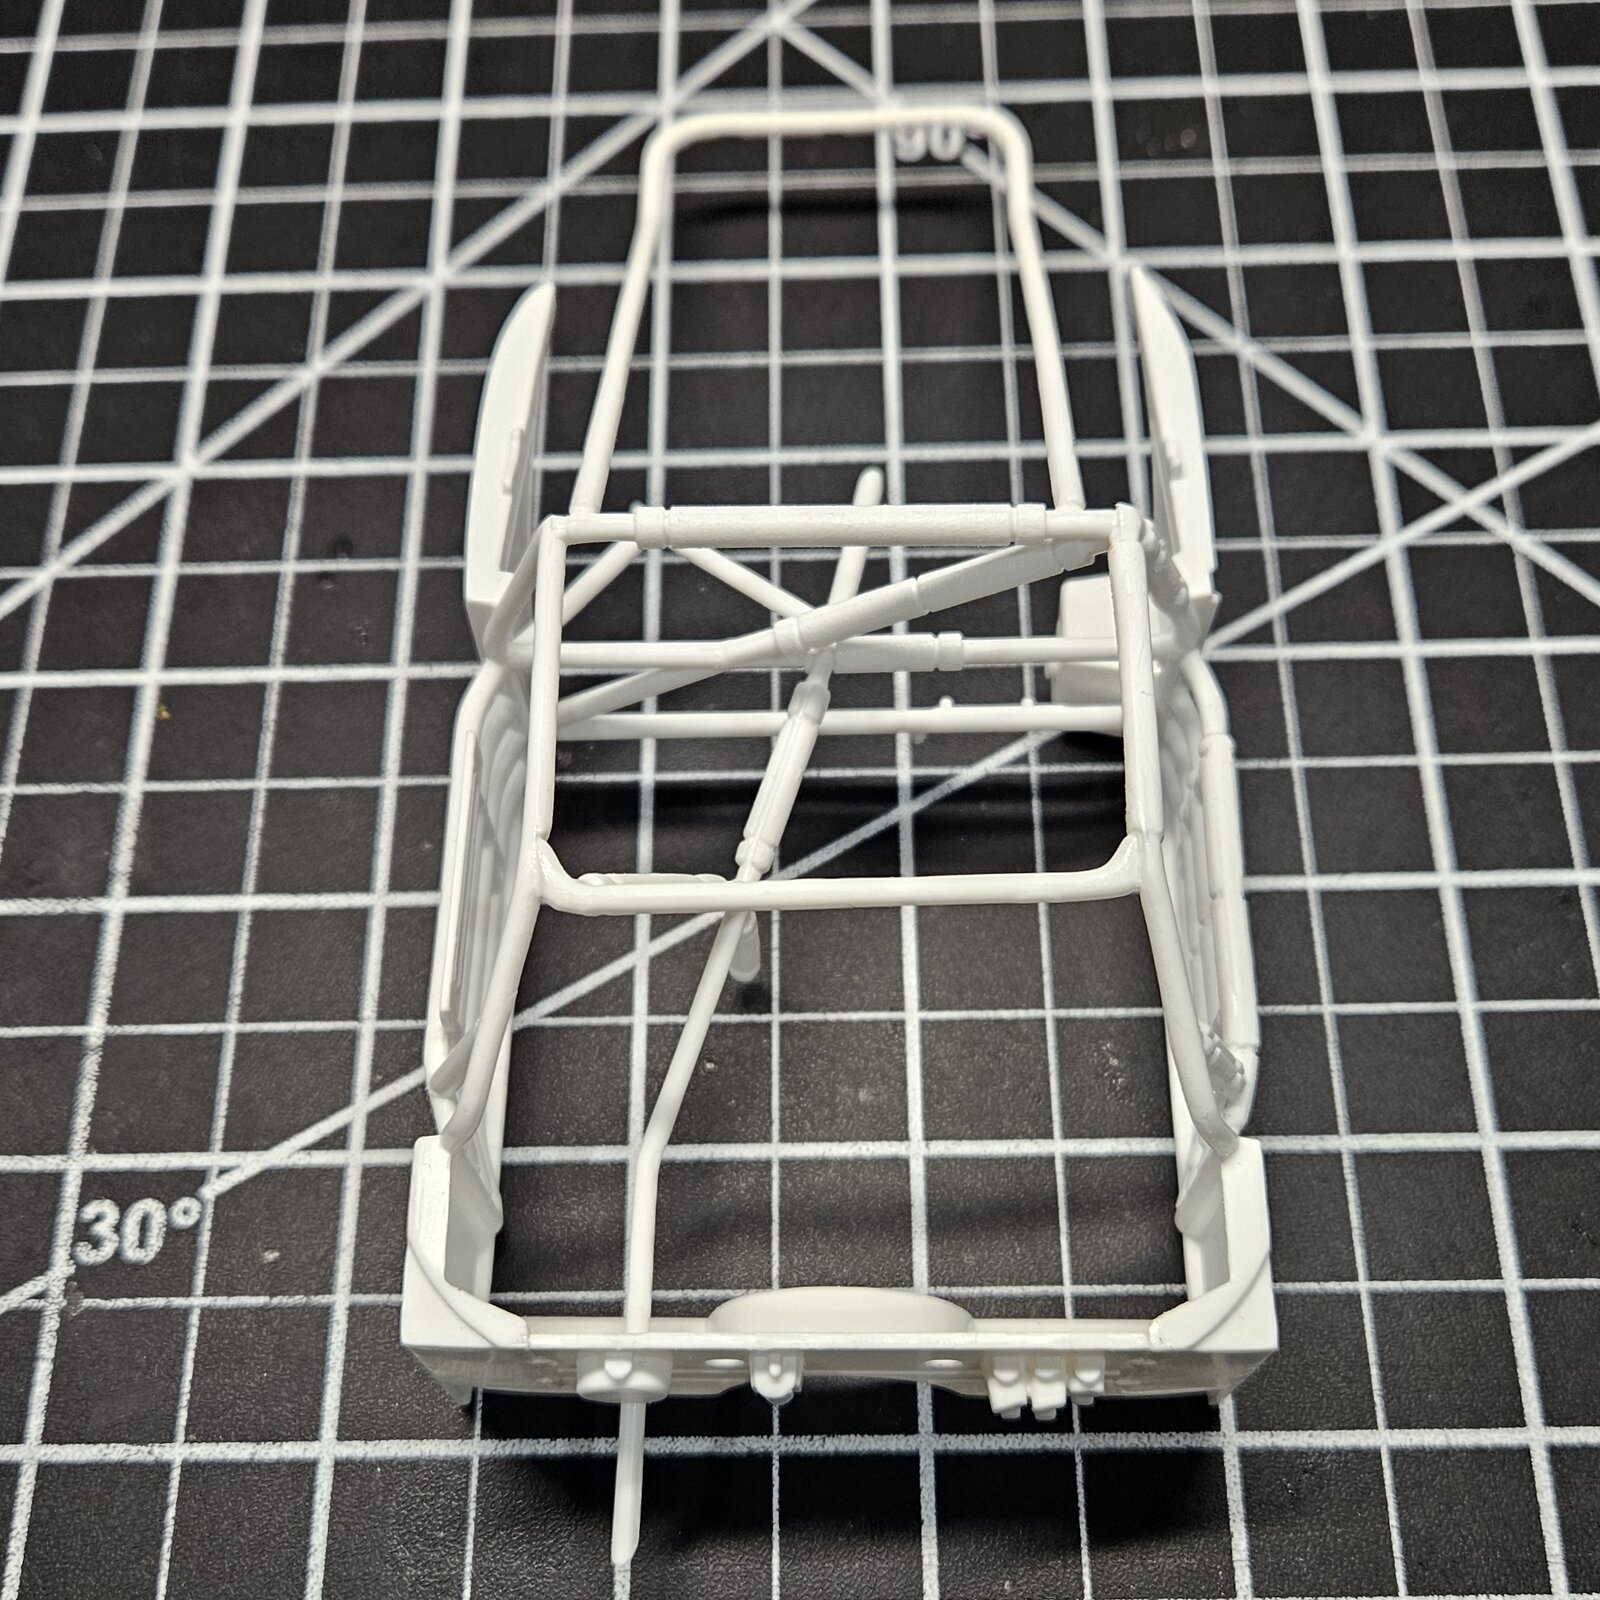
I took a different approach this time with this older 1997 molded chassis and roll cage assembly. I removed the molded in window net, removed the forward engine bay rollbar and radiator box. This gives me more access to the firewall to dress it up properly. I figured I could also detail up the chassis pan and roll cage separately, instead of painting a lot of cage parts, scraping, gluing, touch-ups, and refitting seams.

1000021980.jpg
1000021982.jpg
1000021983.jpg
1000021984.jpg
1000021985.jpg


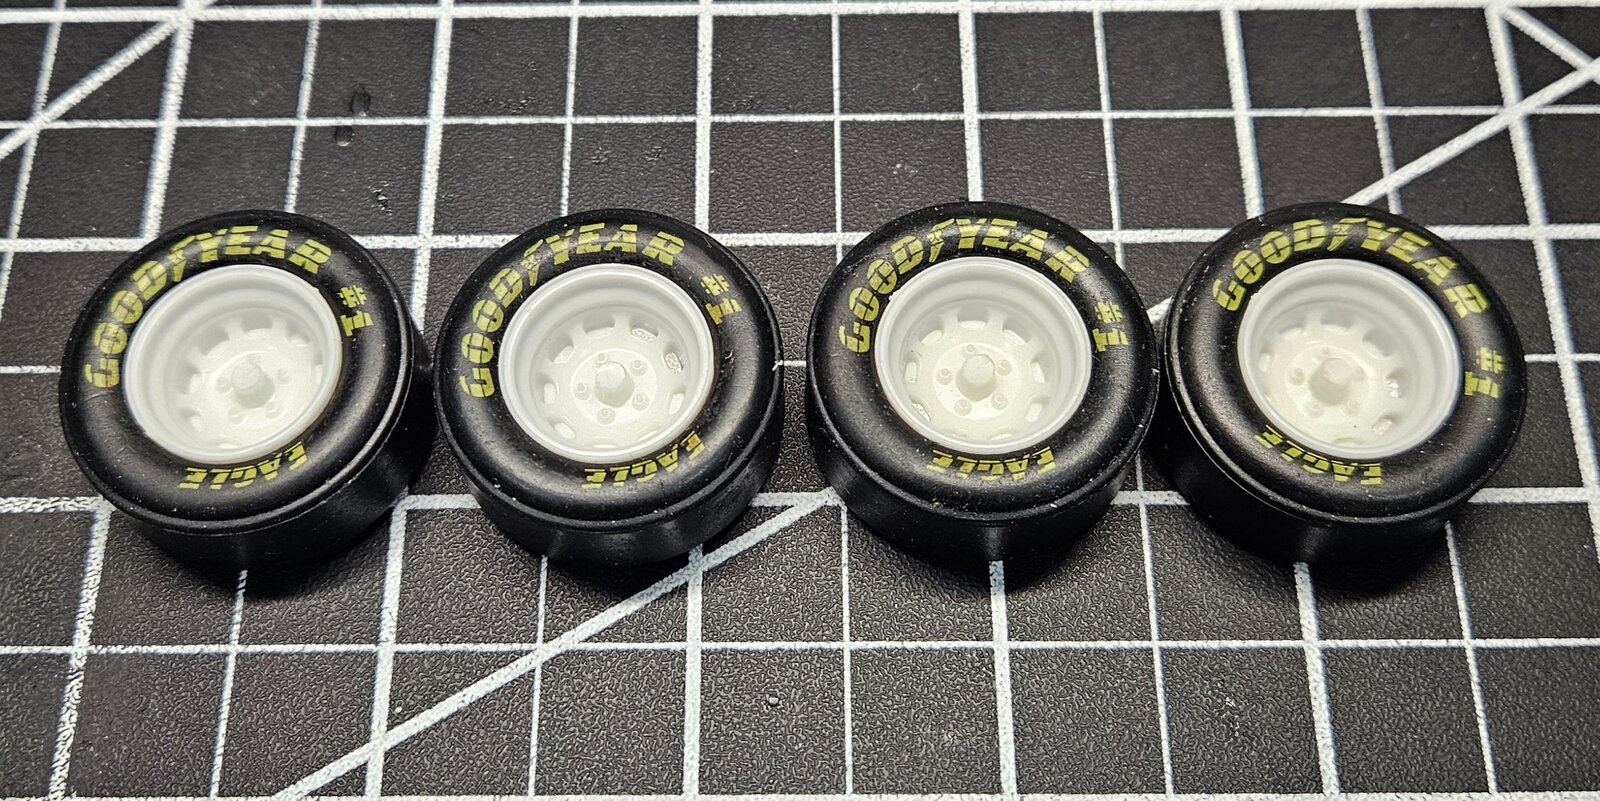
Also stripped the chrome plating on the wheels, but still debating on drilling them out and cleaning them up. I picked up a set of preprinted tires and will add detail decals when I have the hubs painted and detailed.

1000021986.jpg


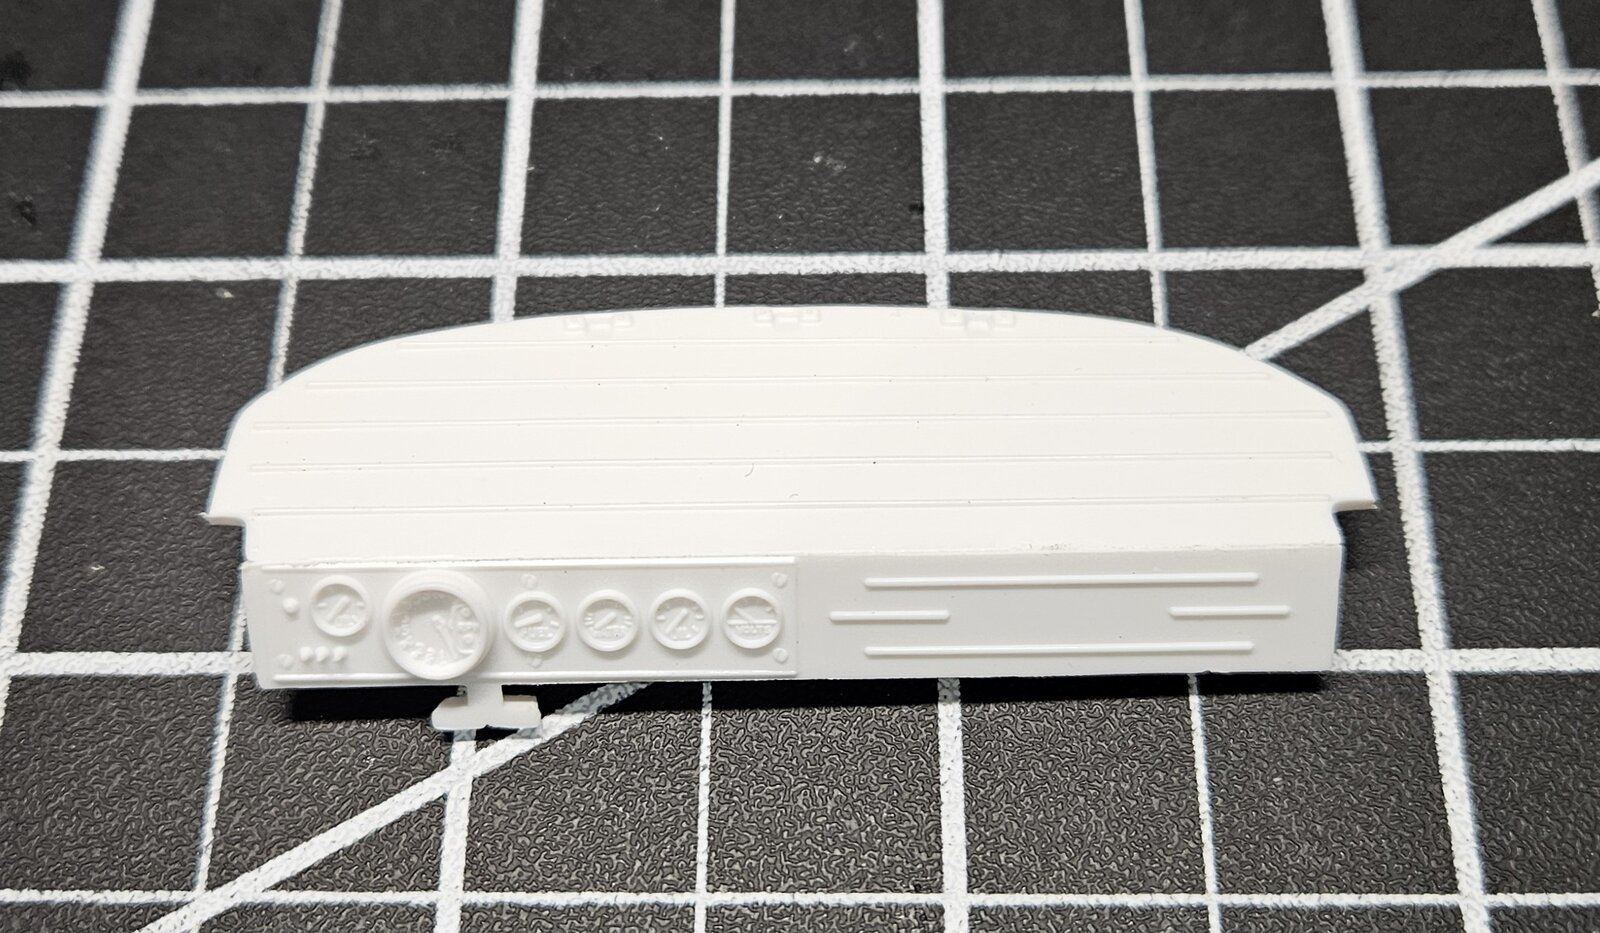
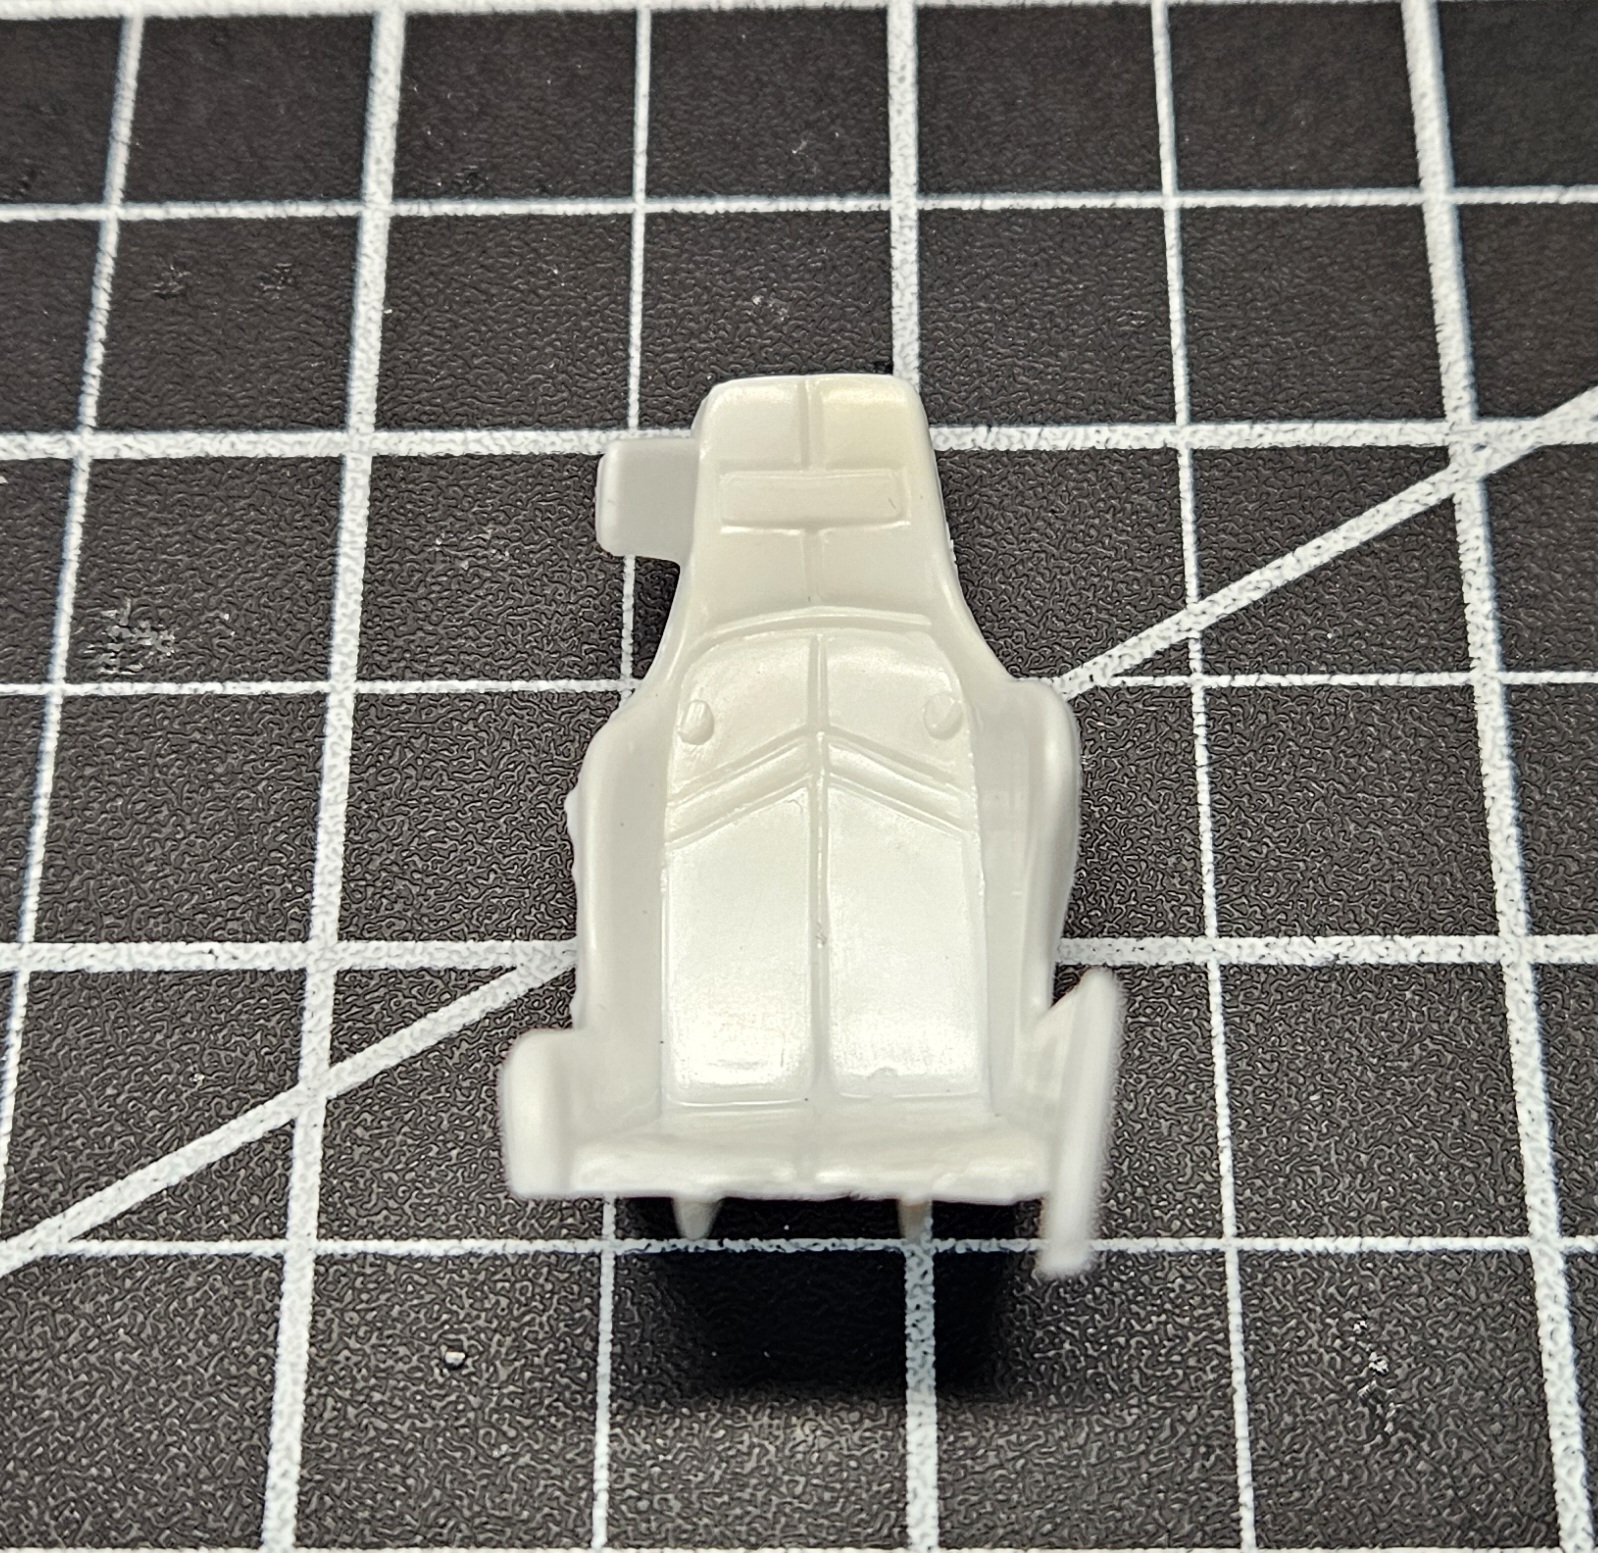
The dash will get the gauges cleaned up and decals and clear resin will finish them up as well as decaling the dash itself. The seat is pretty crude, but I will clean up pin marks and seams, drill and cut out the slots for the seat belt harnesses and resurface it to look more like the padded and cloth material that covers it.

1000021987.jpg
1000021988.jpg


Build continues and post more as it goes...
 
Back
Top