MrNatural
my head is falling off my head
- Joined
- May 27, 2009
- Messages
- 983
...and we're off..
finally got some time last night to dig into the falcon. all a bit over whelming at first My goal with this project is just gonna be heavy modifying to make it look somewhat accurate and totally awesome. Im not going to worry about lighting it. Its just not in my budget right now. my biggest challenge is going to be re-building the side walls from scratch. I have a bunch of 1/72 tanks and a couple 1/24 autos I got just to pilfer the parts. I plan on installing the the PE grille set as well.
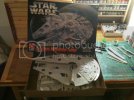
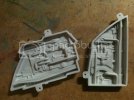
Starting with first three steps, im sure i'll be bouncing around as things get going.
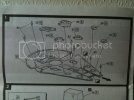
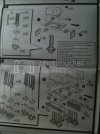
I want to modify all these parts with some styrene and brass rod unfortunately I dont have any of the right size so Im currently waiting on some stuff in the mail :
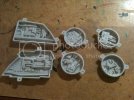
here are some of the landing gear parts. I'm going to rebuild most of this as well just seems really flimsy.
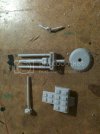
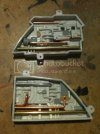
So I basically spent the evening just cleaning up the bottom half of the ship there is a ton of this stuff...
and this stuff...
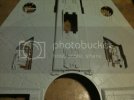
and this thing...
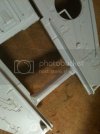
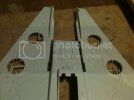
then I notched out all the outer panels
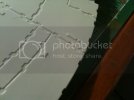
thats it for now I can't really do a whole lot till my packages get in...
catch yall later
finally got some time last night to dig into the falcon. all a bit over whelming at first

Starting with first three steps, im sure i'll be bouncing around as things get going.


I want to modify all these parts with some styrene and brass rod unfortunately I dont have any of the right size so Im currently waiting on some stuff in the mail :

here are some of the landing gear parts. I'm going to rebuild most of this as well just seems really flimsy.

So I basically spent the evening just cleaning up the bottom half of the ship there is a ton of this stuff...

and this stuff...

and this thing...

then I notched out all the outer panels

thats it for now I can't really do a whole lot till my packages get in...
catch yall later

