builder101
New Member
- Joined
- Nov 12, 2012
- Messages
- 131
I have had this kit for a while it was time to have a go at it. This is a discontinued kit by Moebius which state's on their site that a new Chariot at 1/32 scale is in the works. This being 1/24 from the show, "Lost in Space" that I used to watch as a kid on re-runs.
The kit is well made with some pro's and con's. The detail is nice and what you would expect from Moebius. The canopy or glass top was tough to mask and any paint on the clear dome will not be easily corrected. The curtains that come with the kit I don't care much for but think I will go with them rather than fabricating new ones.
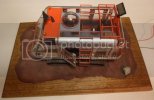
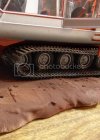
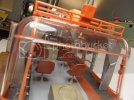
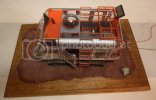
This is what I have completed so far.
Nice box art and upon opening it was pretty cool to take a once over all the sprue.
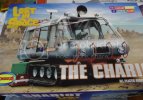
A look at the components
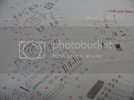
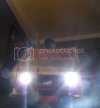
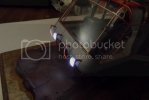
Decided to light the front lights so I began to drill out room for the head lights and do some minor soldering/wiring.
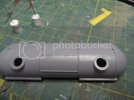
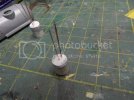
Head lights glued in place using some styrene rod and card to make the led hold in position.
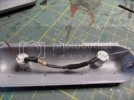
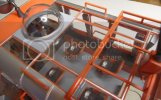
I dressed up the back radar dish that I may dry brush a bit once most of the buggy is put together.
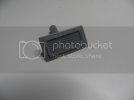
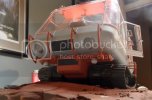
Drilled out the front scanner tube and added some brass grab handles
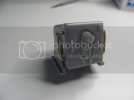
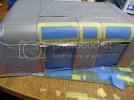
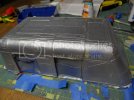
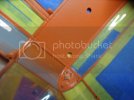
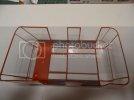
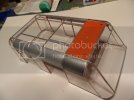
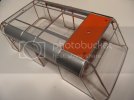
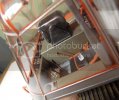
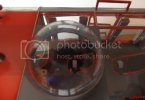
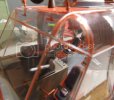
Now the fun part, the masking... This took a lot of time and I need to make a trip to LHS for some more Tamiya tape and primer. The masking is really tough and I know that you can buy masks. It might be nice of Moebius to include some in the next edition. Now not only did I mask the inside but the out side as well with the exception of a few panels. Some of the inner curved glass I used liquid mask. The exterior of the dome I plan to paint certain panels and will need to then mask them to paint the chrome trim. I am a little concerned masking over the metalizer ModelMaster paint but hoping it works out. The inside frame is much wider than the trim on the outside.
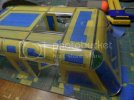
I read on a forum that a guy brush painted all the detail on the glass inside but I took my time and hope that the tape does it's job when I unveil the mask.
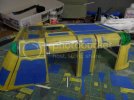
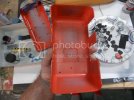
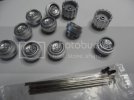
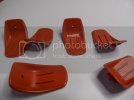
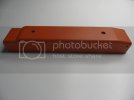
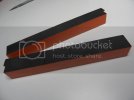
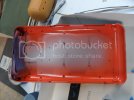
I had to paint a lot of parts before assembly. A look at what has been painted.
That's all for now. I think it's going to start coming together and will have more progress pic' s soon.
Thanks! and happy building..
The kit is well made with some pro's and con's. The detail is nice and what you would expect from Moebius. The canopy or glass top was tough to mask and any paint on the clear dome will not be easily corrected. The curtains that come with the kit I don't care much for but think I will go with them rather than fabricating new ones.
This is what I have completed so far.
Nice box art and upon opening it was pretty cool to take a once over all the sprue.

A look at the components

Decided to light the front lights so I began to drill out room for the head lights and do some minor soldering/wiring.


Head lights glued in place using some styrene rod and card to make the led hold in position.

I dressed up the back radar dish that I may dry brush a bit once most of the buggy is put together.

Drilled out the front scanner tube and added some brass grab handles

Now the fun part, the masking... This took a lot of time and I need to make a trip to LHS for some more Tamiya tape and primer. The masking is really tough and I know that you can buy masks. It might be nice of Moebius to include some in the next edition. Now not only did I mask the inside but the out side as well with the exception of a few panels. Some of the inner curved glass I used liquid mask. The exterior of the dome I plan to paint certain panels and will need to then mask them to paint the chrome trim. I am a little concerned masking over the metalizer ModelMaster paint but hoping it works out. The inside frame is much wider than the trim on the outside.

I read on a forum that a guy brush painted all the detail on the glass inside but I took my time and hope that the tape does it's job when I unveil the mask.


I had to paint a lot of parts before assembly. A look at what has been painted.


That's all for now. I think it's going to start coming together and will have more progress pic' s soon.
Thanks! and happy building..

