Millennium Falcon Paper Model with Cockpit

Update on the Millennium Falcon build.
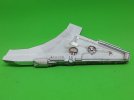
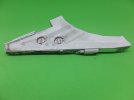
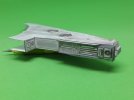
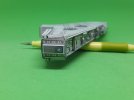
Today finished building the Right Mandible and installed the last of it's details.
This side had more conduits to install and some of these were a little finicky to install.
Some parts placement was dependent on where the conduit fell. Others the conduit could be trimmed to fit.
So this is where I am at tonight.

Right%20Mandible%2010_zpsm4dqbzz7.jpg

Right%20Mandible%2011_zps3adwvbg3.jpg

Right%20Mandible%2012_zps0roposgl.jpg

Right%20Mandible%2013_zpsveitv4hu.jpg

Right%20Mandible%2014_zpsjtxbnqwb.jpg

Next up will be the two air locks.

Thank you for following.
Questions and comments welcome.

Jim
 
Ah - I've seen that stuff but never used it .
I like that Elmer's Tacky Glue , I don't know how it compares .

I just discovered the Elmer's Gel . It's made to wash away so it's good for temp assemblies .
Not really for plastic assemblies but I still use it occasionally .

Thanks ,
Uru
 
That's good to know .
I use it for architectural models . Mainly .

Thanks again ,

Cheers
 
Good day all.
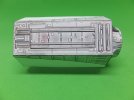
Had a productive weekend with a bit of a snag, while working on the right docking port.
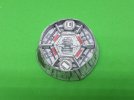
I finished building the airlock and assembled the faring. The faring and airlock were too big, almost the size of the tunnel end. The tunnel section is fine and in scale, just the airlock, docking ring and it's associated parts are out of scale. I think there was a scaling error when the designer moved the docking port from the work sheet to the final sheet, in CAD. I've had that happen to me before.
Anyway I reprinted the sheet reducing it another 4% and that corrected the problem.
Rebuilt the airlock and faring.
Right%20Docking%20Port%201_zps7yh0uz1m.jpg

The tunnel and airlock assemblies for the Docking Port with all the greeblies added.
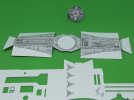
Right%20Docking%20Port%202_zpsrg27ln9x.jpg

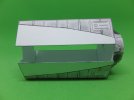
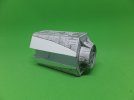
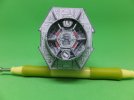
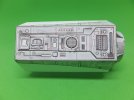
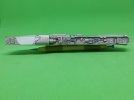
Attached the airlock assembly to the tunnel. Then assembled the tunnel. All went together fine. Since the back of the tunnel is in like two sections, in order to keep it square and aligned, I added a support piece at the end. This will all be hidden inside the fuselage anyway.
Right%20Docking%20Port%204_zpszzvtu5jm.jpg

Right%20Docking%20Port%205_zpsfsesqcnw.jpg

Right%20Docking%20Port%206_zpsjo547lsl.jpg

Right%20Docking%20Port%207_zpsdb0jd5ug.jpg

Right%20Docking%20Port%208_zpscn9gaexg.jpg

Now to do it all over again for the left side.

Thank you for following.
Questions and comments welcome.

Jim
 
Awesome , Jim

Nice to be able to just print up replacement parts .
That's how it will be soon enough for all us styrene builders ;D

Cheers !

Uru
 
Scratch printing! That is nice that you can re-scale and re-print as needed. Looking nice.
 
Thank you Hagoth.
It does make it convenient that you can manipulate a model as necessary.

Jim
 

Latest posts

Back
Top