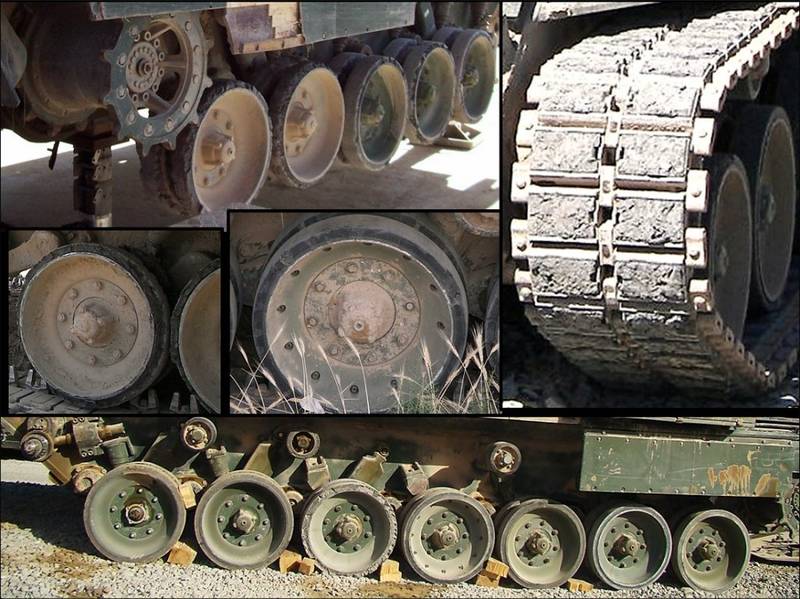
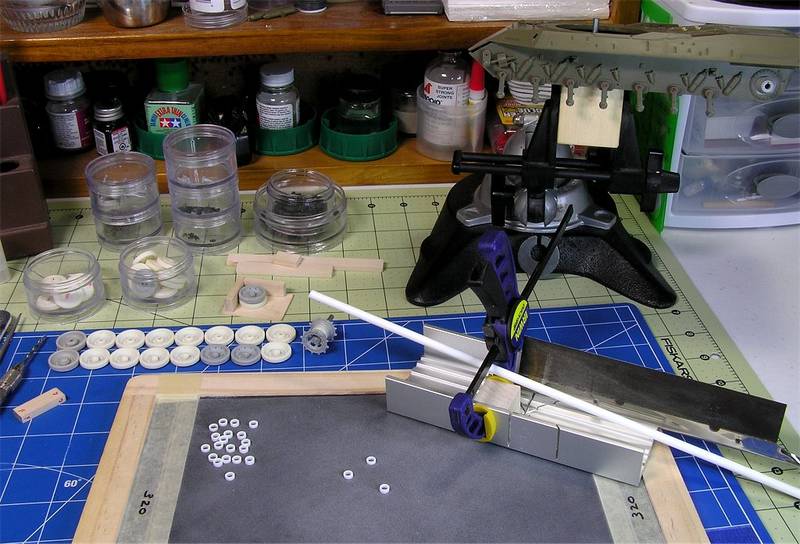
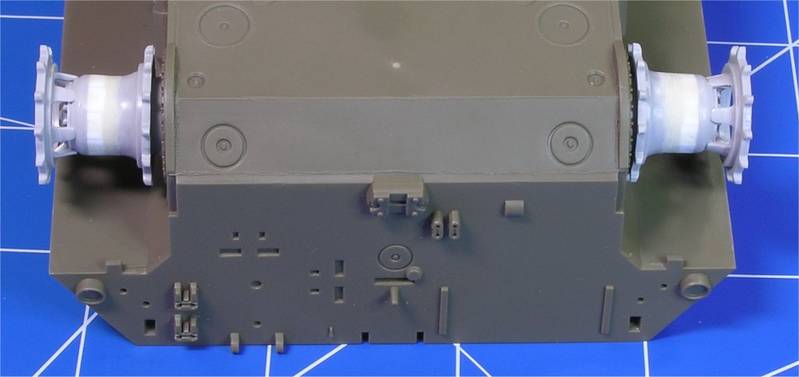
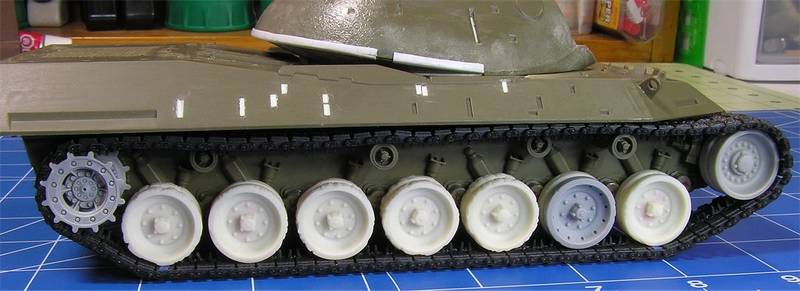
Completed the suspension and tracks for the Takom C2 MEXAS, with significant changes being the replacement of the drive sprocket and road wheels.
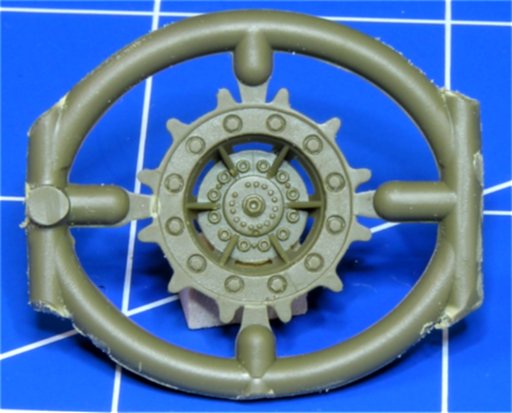
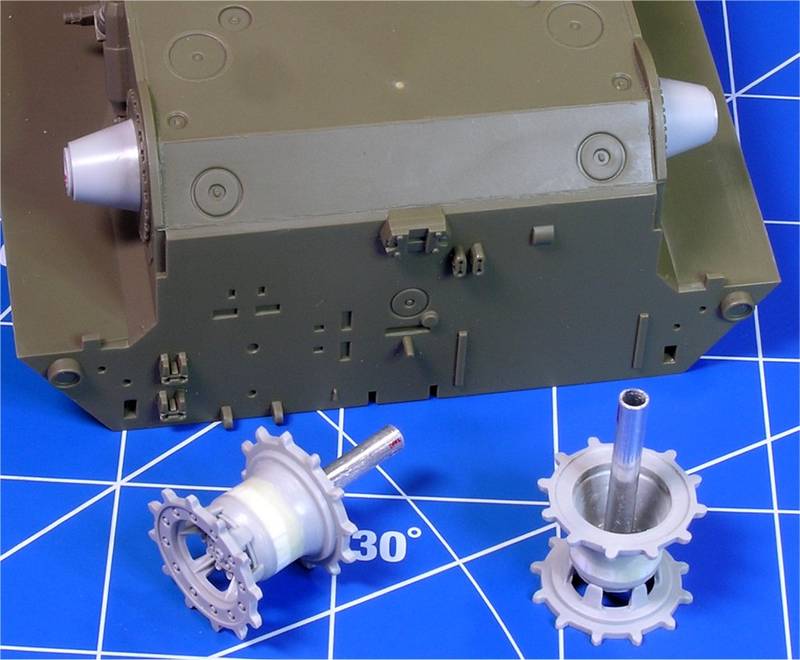
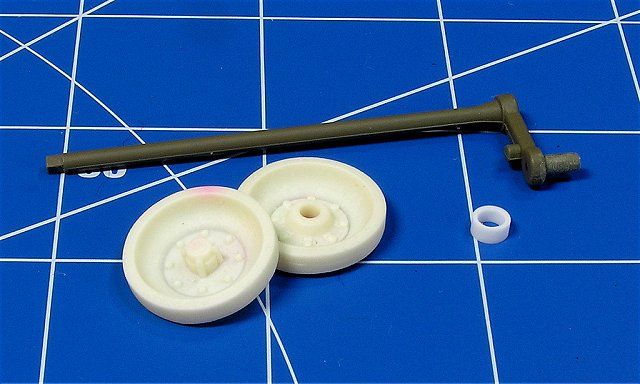
First order of business was to replace the drive sprocket. The molding of the Takom Sprocket soft and lacks detail, lucky an Italeri Leopard 1A5 was on hand that donated its drive Sprocket. By the way the Italeri kit is actually a rather nice kit. With very little modification and new axles they fit nicely on the Takom Kit. Removed the track guild from the sprocket but later found out that it is not necessary as some C2s deployed to Afghanistan still used them.
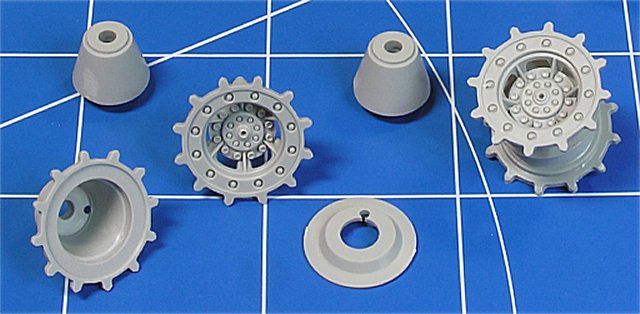
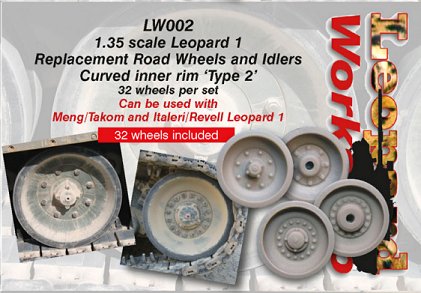
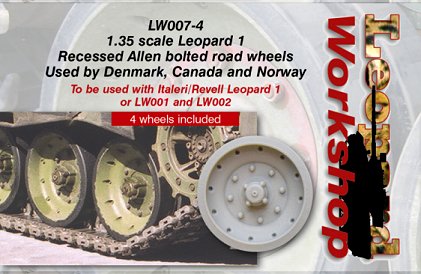
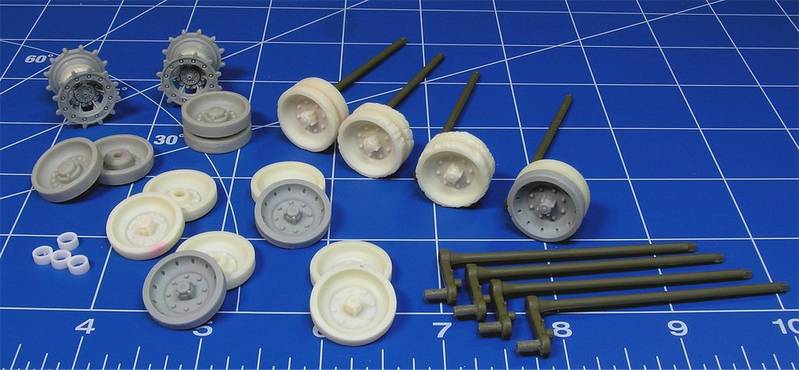
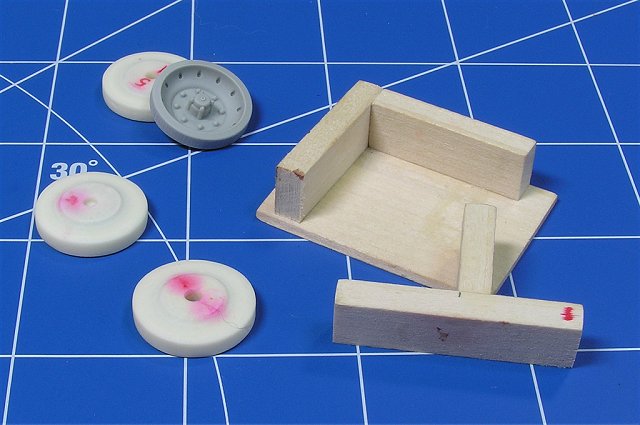
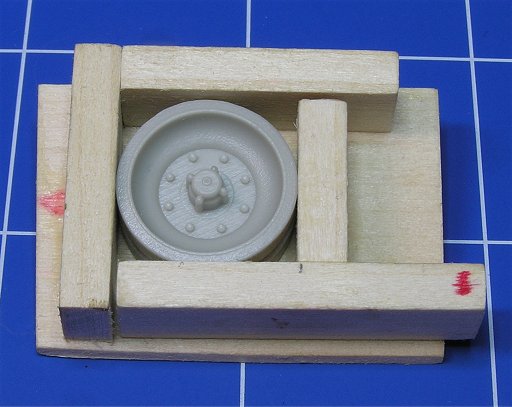
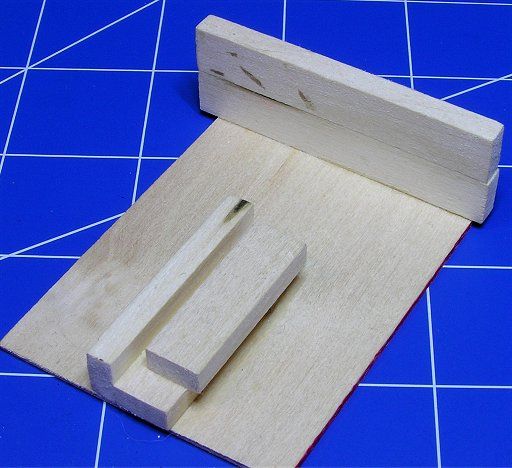
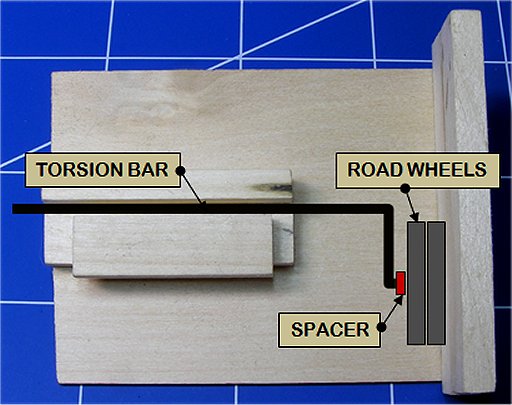
Pictured below are the two sets of road wheels offered by Leopard Club that were used. The detail provided by these replacements is outstanding and are reasonably priced. With only slight modification to torsion bars and the rear hubs of the road wheels everything fitted nicely. A spacer was also added so that all the road wheels are evenly space off the back of the torsion bars and to help align the wheels. Two special jigs were constructed to help make sure everything lined up correctly. This first jig was simply to align the road wheels on top of each other as the Leopard Club replacements lacked positive alignment tabs, not really a big deal. The second was a bit more complex but vital. Its job was to align and square the road wheels, spacer and torsion bars. Once everything was assembled the torsion bars and road wheel were fitted to the lower hull.
Used the kit supplied Orochi Leopard 1 tracks. At first I was not so sure about them but once assembled I was blown away. Totally functional and even have a slight rubber ban effect which is great for fitting them to the running gear. The only modification done to them was adding some ware and tare to the track pads. This was done using a motor tool and a small drill bit. Thin liquid cement was applied after to clean them up afterward.
Thanks for stopping by and taking a look. Please feel free to leave any comments and or suggestions.