'Lobos' Viper *COMPLETED*

Afterburner

Gluing my fingers...painting my hand...
Joined
Aug 3, 2010
Messages
205
Been at this for a while now.So I thought I'd share.I hope someone finds it interesting! :p


Kit is the awesome Tamiya version of the F-16C Blk25/32 converted to a Blk 30 (GE engine,MCID)

A few things I decided to throw at it...

Aires wheel bays
Royal Resin wheels
Eduard goodies
Shawn Hull GE engine
Afterburner decals

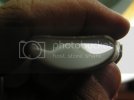
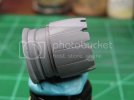
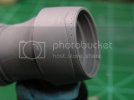
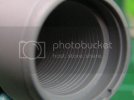
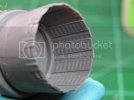
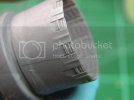
I decided to get the hardest part of the build outta the way right out of the box...trying to get a seamless intake.I had read on other forums about using acrylic latex house paint.After a couple of days I decided to try using 'Kilz' primer/sealer...

After getting the Aires main wheelbay attached I started working to get get 4 pieces to look like 1...
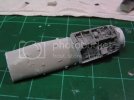

PICT0006.jpg

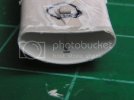
After a few applications of 'Kilz'...
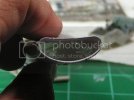

PICT0005.jpg


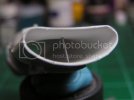
PICT0018.jpg


I think it turned out Ok for being my first time using it.I wish things went that way all the time.

I'll post more again soon.Comments welcome!
 
Re: 'Lobos' Viper WIP

good start. the one thing I did to save a lot of headaches with the inlet is to get Steel Beach's plugs. easy way to cover up the seams.
 
Re: 'Lobos' Viper WIP


Ialarmu said:
great job on the air intake!!!!

Thanks Ialarmu!!


Ferris828 said:
Very cool!

Thank you Ferris!


WayneBt said:
good start. the one thing I did to save a lot of headaches with the inlet is to get Steel Beach's plugs. easy way to cover up the seams.


I did in fact grab a set...just in case! :p Thanks for looking!
 
Re: 'Lobos' Viper WIP

Finished up the intake.I added the support strut and a small decal on the inside,and then the rest of the sub-assemblies on the outside.

PICT0021.jpg

PICT0025.jpg

PICT0066.jpg


Next up is the cockpit.Thanks for looking!
 
Re: 'Lobos' Viper WIP

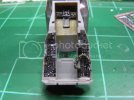
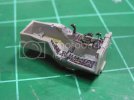
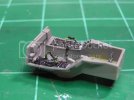
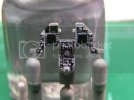
A few cockpit WIP pics..

PICT0008.jpg

PICT0001.jpg

PICT0002.jpg


PICT0010.jpg


Thanks for taking the time to check it out! God Bless!!
 
Re: 'Lobos' Viper WIP

i was wondering if the oxygen tubing was with the kit or if you made it yourself if so what did you use it looks realy cool
 
Re: 'Lobos' Viper WIP

ozzy59he said:
i was wondering if the oxygen tubing was with the kit or if you made it yourself if so what did you use it looks realy cool

Hey Ozzy...sorry it took so long for me to get back to you...And thanks for the comments!!

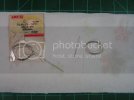
The O-2 tubing is actually something I did make myself... The first thing I did was get some soft wire the approximate diameter of the hose.

PICT0085.jpg


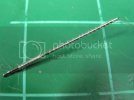
Then,I used a small sewing pin to wrap some very small diameter wire around.

PICT0086.jpg


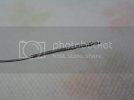
After that was complete..I heated up the spring with a cigarette lighter to anneal the stiffness out of it.Removed the spring and then slipped it over the flexible wire,glued and painted it..

PICT0087.jpg
 
Re: 'Lobos' Viper WIP

That's a sharp looking cockpit. Nice work.
 
Re: 'Lobos' Viper WIP

that is a really great tip man thanks a bunch i will have to try it soon :D
 
Re: 'Lobos' Viper WIP

Yes - great tip Afterburner. Thanks for sharing it, I've wondered how guys model details like that.
 
Re: 'Lobos' Viper WIP

Very impressive work... I like your attention to details.... The air scoop finish is to die for! The cockpit is just nuts! Keep up the good work!

Norm.
 
Re: 'Lobos' Viper WIP

Thanks for the comments guys... I'll post some WIP pic's soon!
 
Re: 'Lobos' Viper WIP

Now that the cockpit is done..moving on to other things.

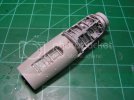
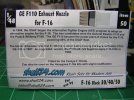
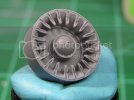
I picked up a GE F110 engine set from Shawn Hull (www.SHULL24.com). He's got some way cool stuff for modern jets.I have a couple of other things of his I'll be using on this build.The engine being the first.I can't say enough about this engine kit...the quality is awesome for the price and the finished assembly really makes a difference.I'll let the photo's do the talking.


PICT0057.jpg

PICT0060.jpg

PICT0059.jpg

PICT0058.jpg
 
Re: 'Lobos' Viper WIP

A few more photo's:

PICT0061.jpg

PICT0062.jpg

PICT0063.jpg

PICT0064.jpg

I'll post more soon.Thanks for checking it out!
 
Re: 'Lobos' Viper WIP

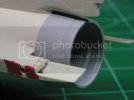
Preliminary test fitting:

PICT0084.jpg

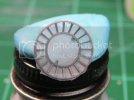
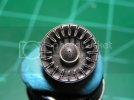
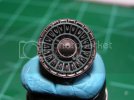
Painting begins with the afterburner and flame holder.I painted the afterburner with a mix of gunmetal and pale burnt metal,followed by a dark wash with Phil Flory's Pro-modeller washes:

PICT0088.jpg

PICT0089.jpg

The flame holder ring is painted a mix using photo's from Jake Melampy's "The Modern Viper Guide" as reference.
 

Latest posts

Back
Top