BigKahunaFL
New Member
- Joined
- May 15, 2023
- Messages
- 4
First and foremost is the expense. Obviously, it's much more expensive, but in reality, what isn't? So THAT is really a wash. But it's still a shock. The last time I purchased a model, it was a car, I think it was the AeroVette (Revell?), and I probably paid around $4.50 for it. I just saw one on fleaBay for over six times that amount, and it doesn't include shipping. I'll have to think about that…
So I decided on a model to make my return with; the Bell 47D Army 4077th M*A*S*H Helicopter - 1/35 Scale 1993 MRC Model Kit#: BA102. Quality-wise, it's about what I expected and recall. Certainly, nothing to get excited about. Instructions leave a LOT to be desired! This is going to be a challenge, to say the least.
Time to BUILD! Don't worry, I won't be wasting your time with a full-blown step-by-step commentary, but I really need to get this started.
Glue the two halves of the engine block together. I'm using Tamiya Extra-Thin cement. Well, THIS is different. I grew up using the thick, red tube, by Testor's. It stunk to high heaven! I'm certain that it's why I was so "creative" back then; Everything was so much, uh, brighter. But this new stuff works. It's just weird putting the glue on AFTER you put the parts together.
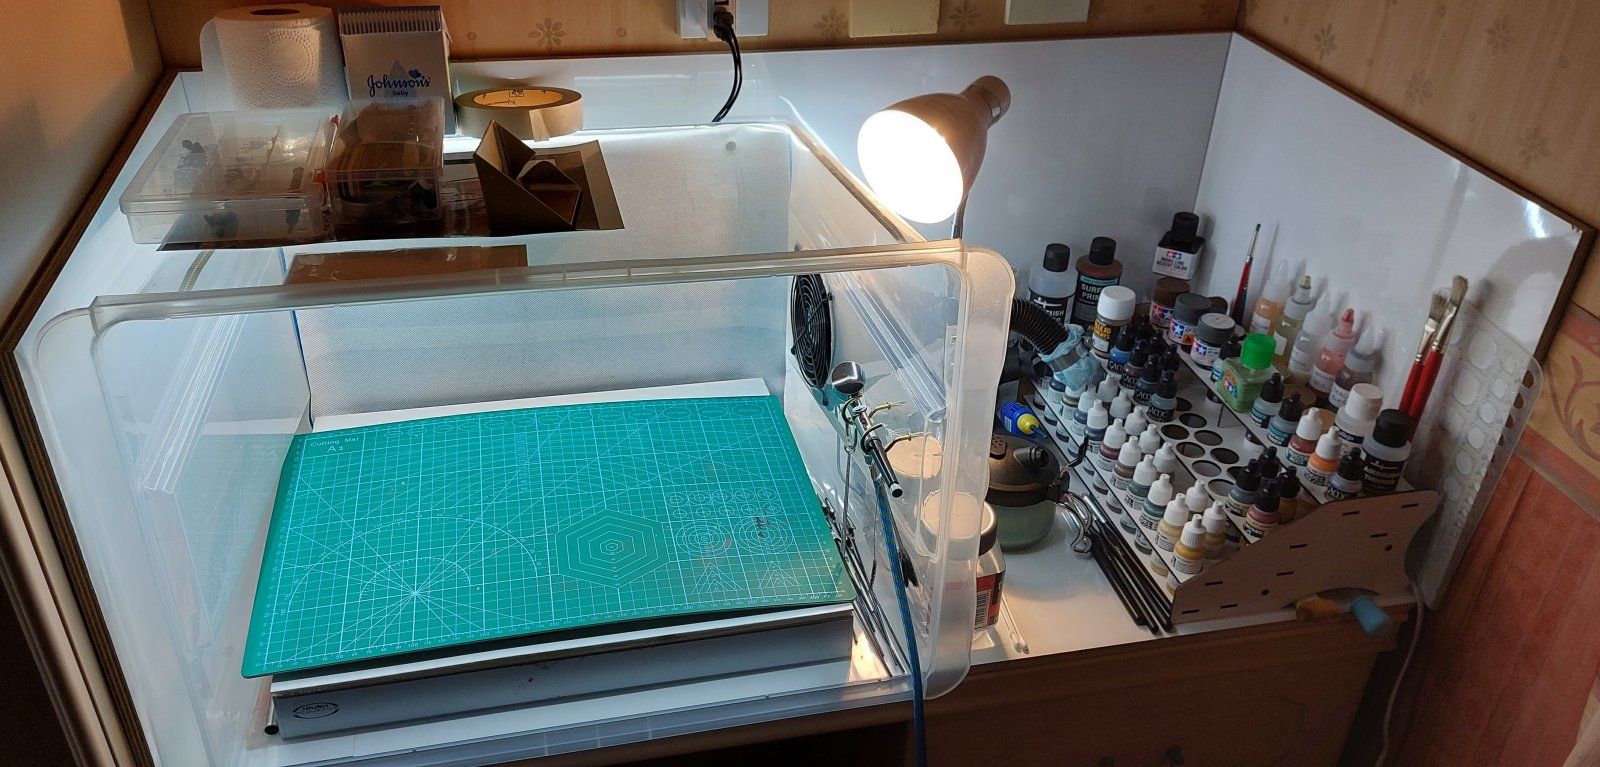
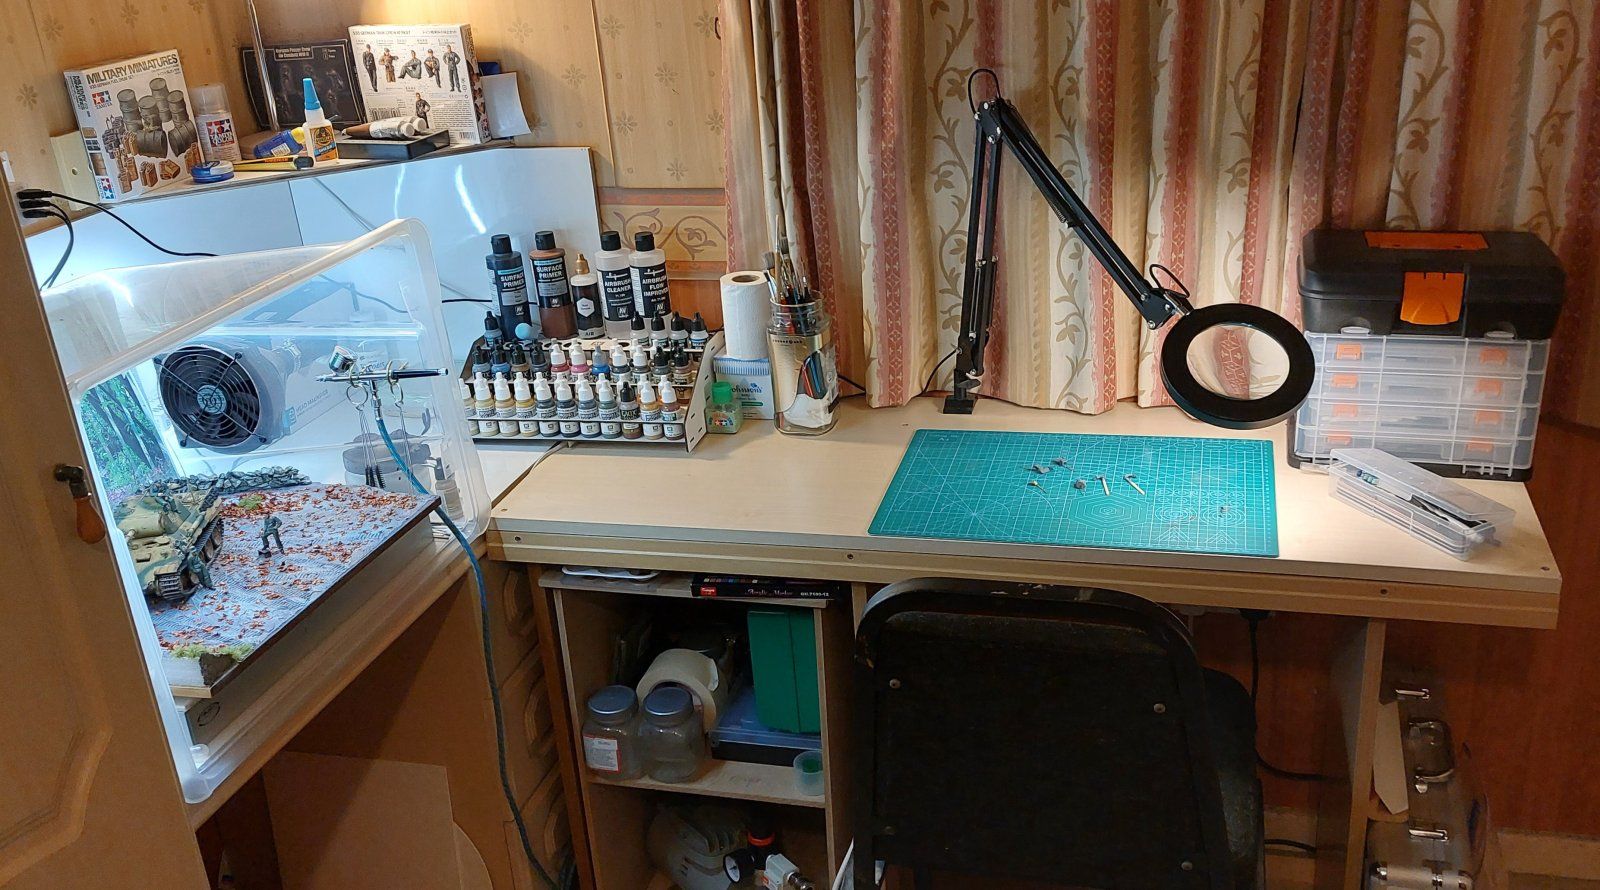
Paint the block. Okay. This SUCKS! I've been convinced by many on YouTube (which is why I'm here…to learn) that acrylic paints are the way to go. Fine. I purchased a bunch of Tamiya colors that I figured I would need. It doesn't stick to the plastic! Back in the day, I used Testor's Enamel which came in little square bottles. Open, stir, stick in the brush, spread it on the part(s), and let it dry. DONE. NOW? Wash the parts to remove any oils or mold release. Prime, to give the paint something to "bite" into. Brush the paint on? NOPE. Buy an airbrush to spray it on. Mix the paint with thinner, add "leveling" chemicals, and maybe "extender" so it doesn't dry too fast. Then, once dry, Spray it with a clear coat to add gloss if it's flat or "DULL-coat" if it's glossy. And what the heck is with the FUTURE FLOOR POLISH? So much work to do to an engine block assembly just to add the exhaust manifolds!!
What the HELL have I gotten myself into?!?!
So I decided on a model to make my return with; the Bell 47D Army 4077th M*A*S*H Helicopter - 1/35 Scale 1993 MRC Model Kit#: BA102. Quality-wise, it's about what I expected and recall. Certainly, nothing to get excited about. Instructions leave a LOT to be desired! This is going to be a challenge, to say the least.
Time to BUILD! Don't worry, I won't be wasting your time with a full-blown step-by-step commentary, but I really need to get this started.
Glue the two halves of the engine block together. I'm using Tamiya Extra-Thin cement. Well, THIS is different. I grew up using the thick, red tube, by Testor's. It stunk to high heaven! I'm certain that it's why I was so "creative" back then; Everything was so much, uh, brighter. But this new stuff works. It's just weird putting the glue on AFTER you put the parts together.
Paint the block. Okay. This SUCKS! I've been convinced by many on YouTube (which is why I'm here…to learn) that acrylic paints are the way to go. Fine. I purchased a bunch of Tamiya colors that I figured I would need. It doesn't stick to the plastic! Back in the day, I used Testor's Enamel which came in little square bottles. Open, stir, stick in the brush, spread it on the part(s), and let it dry. DONE. NOW? Wash the parts to remove any oils or mold release. Prime, to give the paint something to "bite" into. Brush the paint on? NOPE. Buy an airbrush to spray it on. Mix the paint with thinner, add "leveling" chemicals, and maybe "extender" so it doesn't dry too fast. Then, once dry, Spray it with a clear coat to add gloss if it's flat or "DULL-coat" if it's glossy. And what the heck is with the FUTURE FLOOR POLISH? So much work to do to an engine block assembly just to add the exhaust manifolds!!
What the HELL have I gotten myself into?!?!
")


![Pampers Sensitive Baby Wipes, Clinically Proven, Fragrance Free, Unscented, Water Based, Hypoallergenic, Multi-Use, Hand Wipes 336 Wipes Total (6X Flip-Top Packs) [Packaging May Vary]](https://m.media-amazon.com/images/I/41KLBHu9CAL._SL500_.jpg)


")