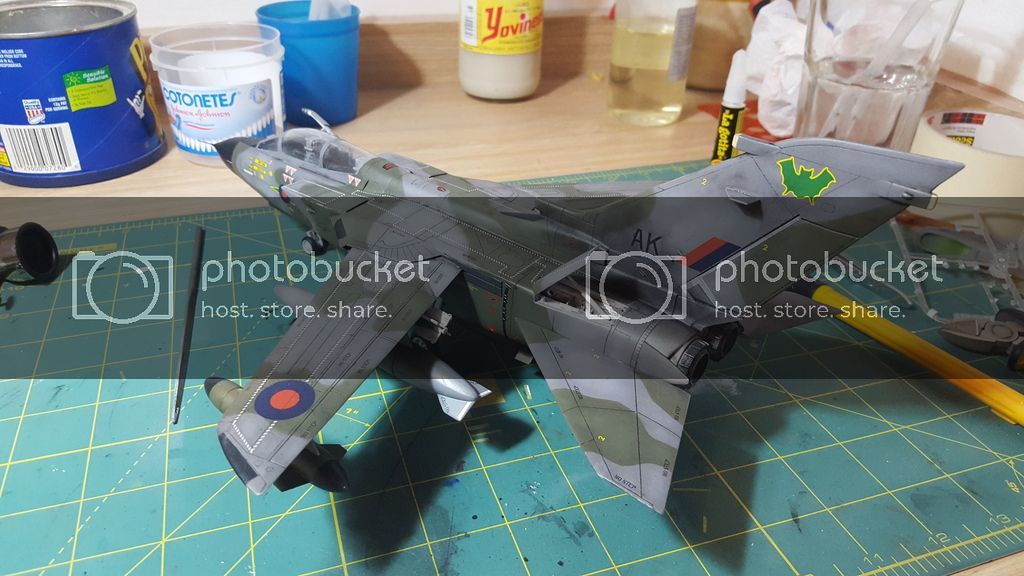
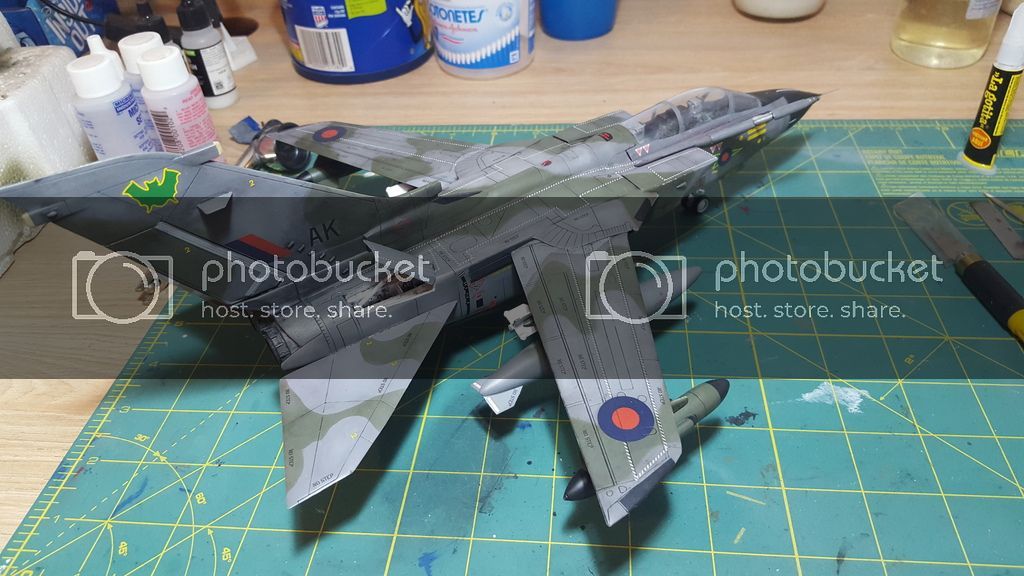
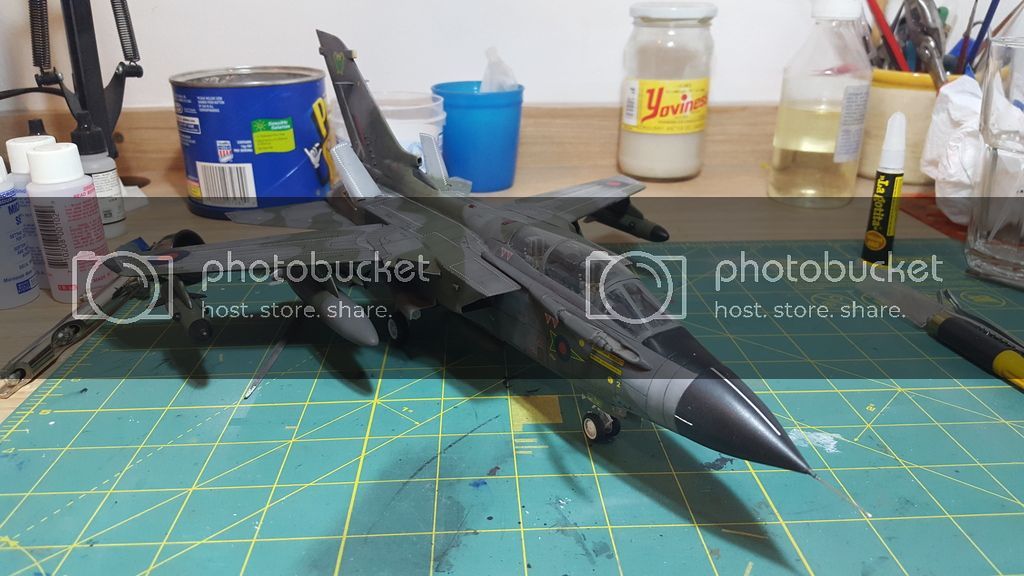
Italeri 1/48 Tornado GR.1

yanpol

New Member
Joined
Aug 25, 2012
Messages
101
Hi everyone, I started building Italeri's 1/48 Tornado GR.1. I will build an aircraft from No. 9 Squadron, RAF.
1_zps1f098c31.jpg

I bought this kit to practice airbrushing acrylics. The kit is OK for its price, but it will require a lot of filling and sanding.
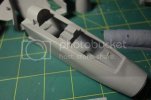
3_zps71c74284.jpg

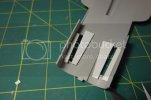
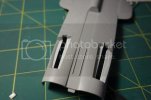
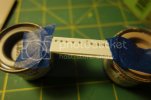
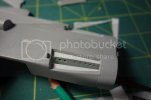
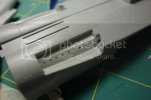
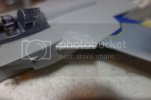
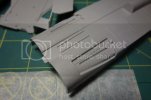
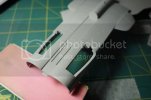
The airbrake interior is awful, and so was the fit of the airbrake and the fuselage, so I decided to try and do a little scratch building.
5_zpsdaffc5ac.jpg

6_zps90cef8bc.jpg

7_zps88d787cc.jpg

8_zps895783aa.jpg

9_zps2e3d1f47.jpg

10_zpsa13f39bb.jpg

11_zpsad7f4c31.jpg

Nowhere near a PE set, but it does look better than the kit's offering (I know the bar wasn't set very high, but still). I have to add some details to the interiors. Hopefully, this build will advance a little faster than my previous ones.

Thanks for looking.
 
Nice start in an IDS Tonka. Very cool, I know I'll be following along.
 
Hi everyone, it's been a while. After some personal issues, I continued with this build.

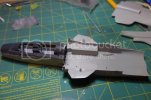
According to the instructions, you should build the front section and the fuselage separately and then glue them together. I decided to glue the bottom part of the fuselage to front section because it would be easier to address any fit problems.

12_zpstlgnu43i.jpg

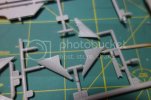
One of the four parts that make the wing fairings was missing.

13_zps1cthdxiz.jpg

At first I thought that I may have dropped it, but the aft section of the refueling probe was also missing, so I blame Italeri ;)

I did whatever I could with styrene sheet. I glued the corner first and once it cured, gently bended and glued the rest of the part.

14_zps3asfbqz3.jpg

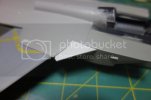
Both fairings required a lot of work. I sanded them so much that I had to add more sheets to the leading edge:

15_zpsx0rpgnug.jpg

The vertical stabilizer-spine joint also required some card and abundant amounts of putty and Mr. Surfacer. I used Vallejo surface primer

16_zpsbuzddnv4.jpg

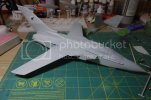
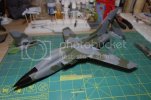
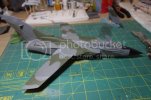
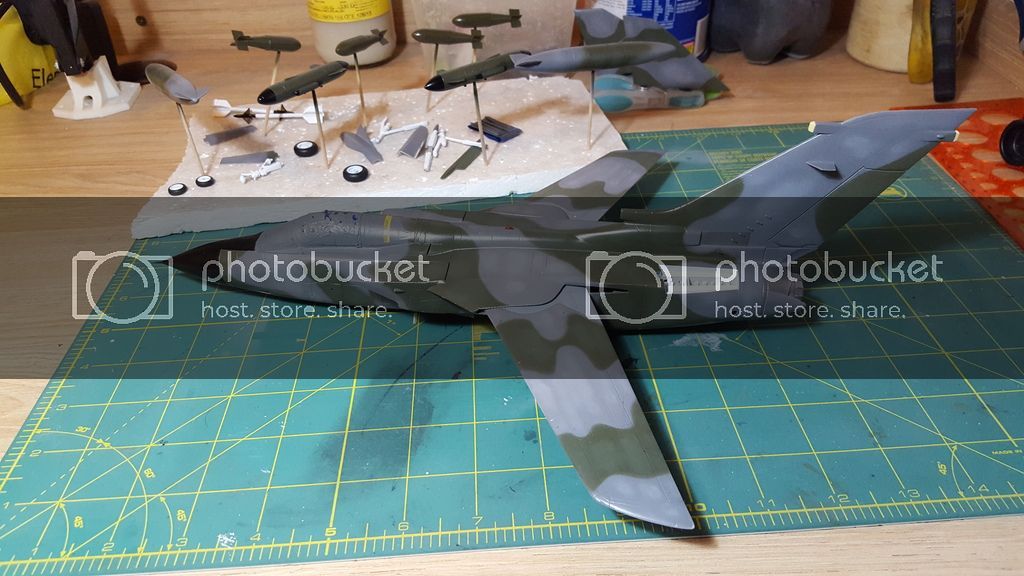
I used Vallejo Model Color paints for the radome (70.861), and camo (70.991 and 70.893). This is the first time that I use acrylics. I find them more forgiving than enamels, but you have to be VERY careful when handling a painted kit (you can see that there's some chipped paint here and there). Also, it's great to be able to airbrush inside the house and not in the laundry room.

17_zpsepxvfrtu.jpg

18_zpsvnpkhhbt.jpg

A couple of areas that will need additional work:

19_zpsxpapiare.jpg

20_zpsbz5ctljz.jpg

The fins in the fuel tanks are at a 90º angle, but the actual fins are placed at a larger angle, so I cut one of them and made a new fin with plastic.

21_zpsxgpdabq7.jpg

22_zpsxgx5jnpf.jpg

That's all for now, thanks for looking.
 
Good to see paint on the Tornado. Nice fix with the missing parts also.
 
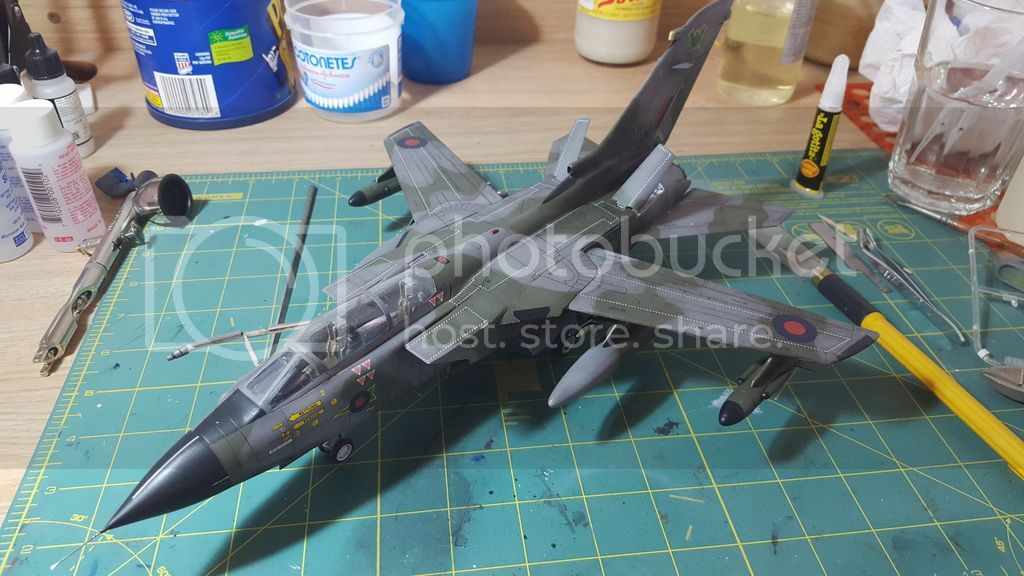
Hi everyone, however slowly, I finished this build


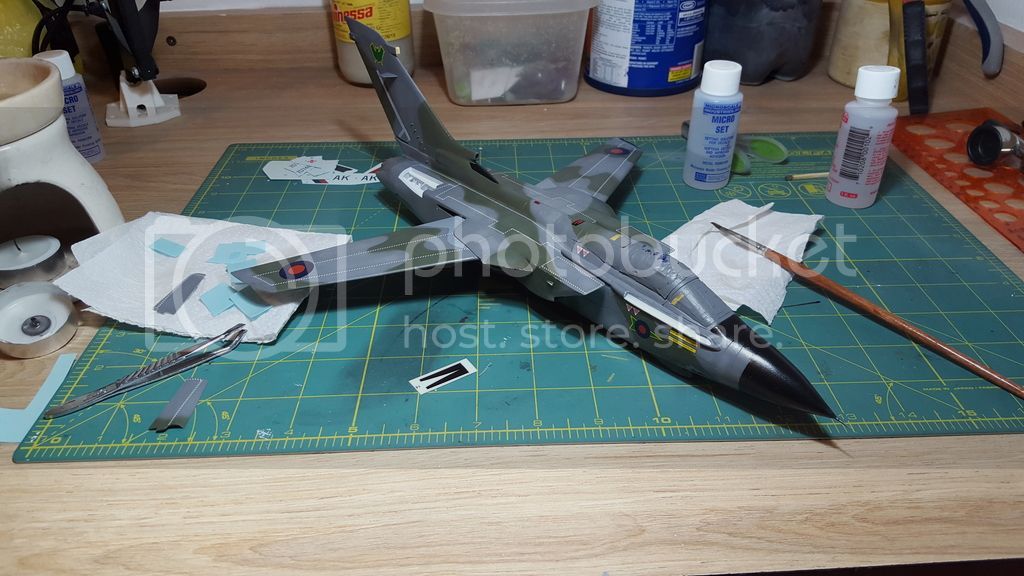
After several coats of Blem (Future), the model was ready for decaling.


The decals (by Cartograf) went down perfectly. You may think that those white stripes were a pain to apply. In that case you would be right.


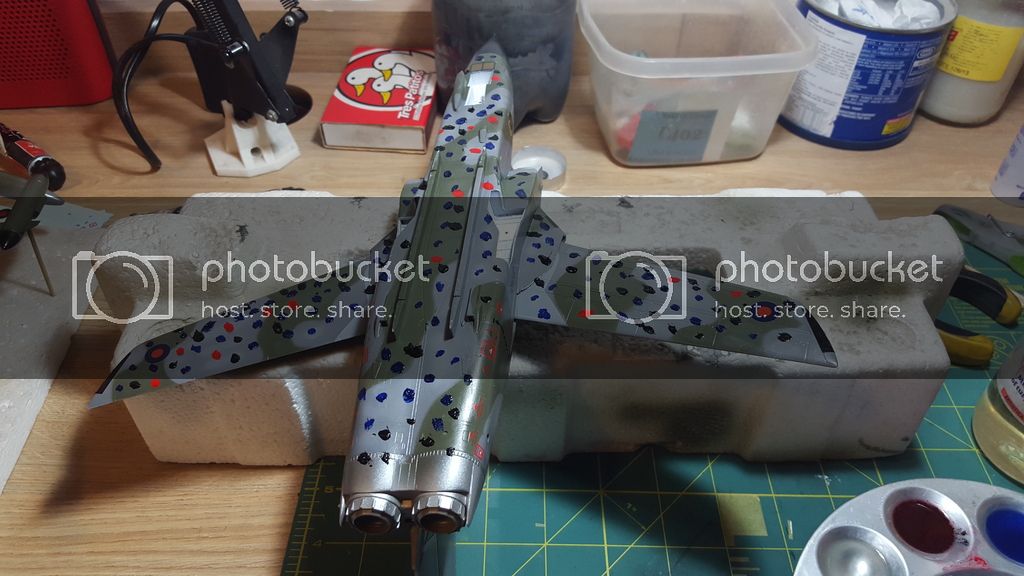
I tried the oil dot technique for weathering for the first time. Let's just say I'm not a fan.


And that's pretty much it. Nothing to be particularly proud of, but it looks OK in its display. Thanks for looking (will try to drop by more often).
 
Jake, Quaralane and Tanker, thank you for kind words. The same goes to Arohk, JMac and Buck, whom I never thanked for their interest in this build.
 
Awesome build! I have the Revell Germany Panavia Tornado sitting here intimidating the snot out of me. If I ever actually tackle it, I hope it turns half as nice as yours did. :)
 
Thank you guys. From what I've read, Revell's is the best Tonka in 1/48. The instructions do make it look a bit daunting, but every review and build I've found says that the fit is great. Hope to see your build soon.
 

Latest posts

Back
Top