Papermodder
Modeller in both Plastic and Paper Card
- Joined
- Jan 2, 2013
- Messages
- 1,224
Hello all.
With the Yamaha TMAX build complete, it's now time to get back to the ME-329 papermodel build.
This build was started with the intent as a project for last springs SBC, but life and a build that became more complex than I was expecting, it did not get completed.
Now back into build season, I really want to finish this build.
As a refresher one can see where we left off on the contest build thread.
http://www.scalemodeladdict.com/SMF/index.php/topic,10842.0.html
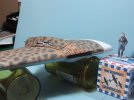
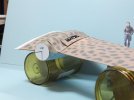
Now here is where I am at at this time.
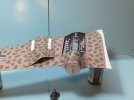
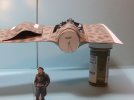
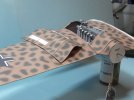
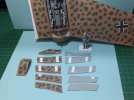
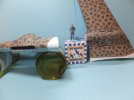
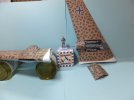
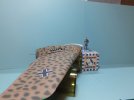
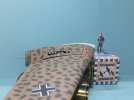
The leading edge of the nacelles have been covered and the rad intakes cut out, and then the assembly of the lower nacelle skins were constructed. These are 2 layers of card thick. The pieces where preshaped before assembly. Then tweaked when the section was completed, to match the nacelle.
Completed left nacelle lower skin.
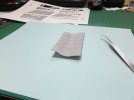
Right nacelle lower outside skin and pieces for the inside skin.
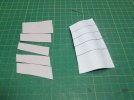
Completed right nacelle lower skin.
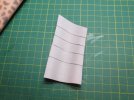
Attaching the skin.
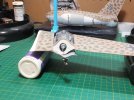
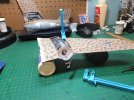
Attaching the prop fairings. These were assembled earlier.
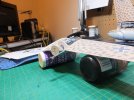
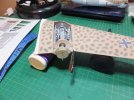
Finished lower nacelles and where I am at tonight.
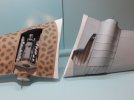
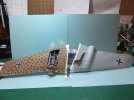
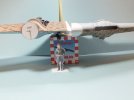
Next up are the top nacelle skins and engine covers.
Have a good evening and thank you for following.
Questions and comments are always welcome.
Jim
With the Yamaha TMAX build complete, it's now time to get back to the ME-329 papermodel build.
This build was started with the intent as a project for last springs SBC, but life and a build that became more complex than I was expecting, it did not get completed.
Now back into build season, I really want to finish this build.
As a refresher one can see where we left off on the contest build thread.
http://www.scalemodeladdict.com/SMF/index.php/topic,10842.0.html
Now here is where I am at at this time.
The leading edge of the nacelles have been covered and the rad intakes cut out, and then the assembly of the lower nacelle skins were constructed. These are 2 layers of card thick. The pieces where preshaped before assembly. Then tweaked when the section was completed, to match the nacelle.
Completed left nacelle lower skin.

Right nacelle lower outside skin and pieces for the inside skin.

Completed right nacelle lower skin.

Attaching the skin.


Attaching the prop fairings. These were assembled earlier.


Finished lower nacelles and where I am at tonight.


Next up are the top nacelle skins and engine covers.
Have a good evening and thank you for following.
Questions and comments are always welcome.
Jim

