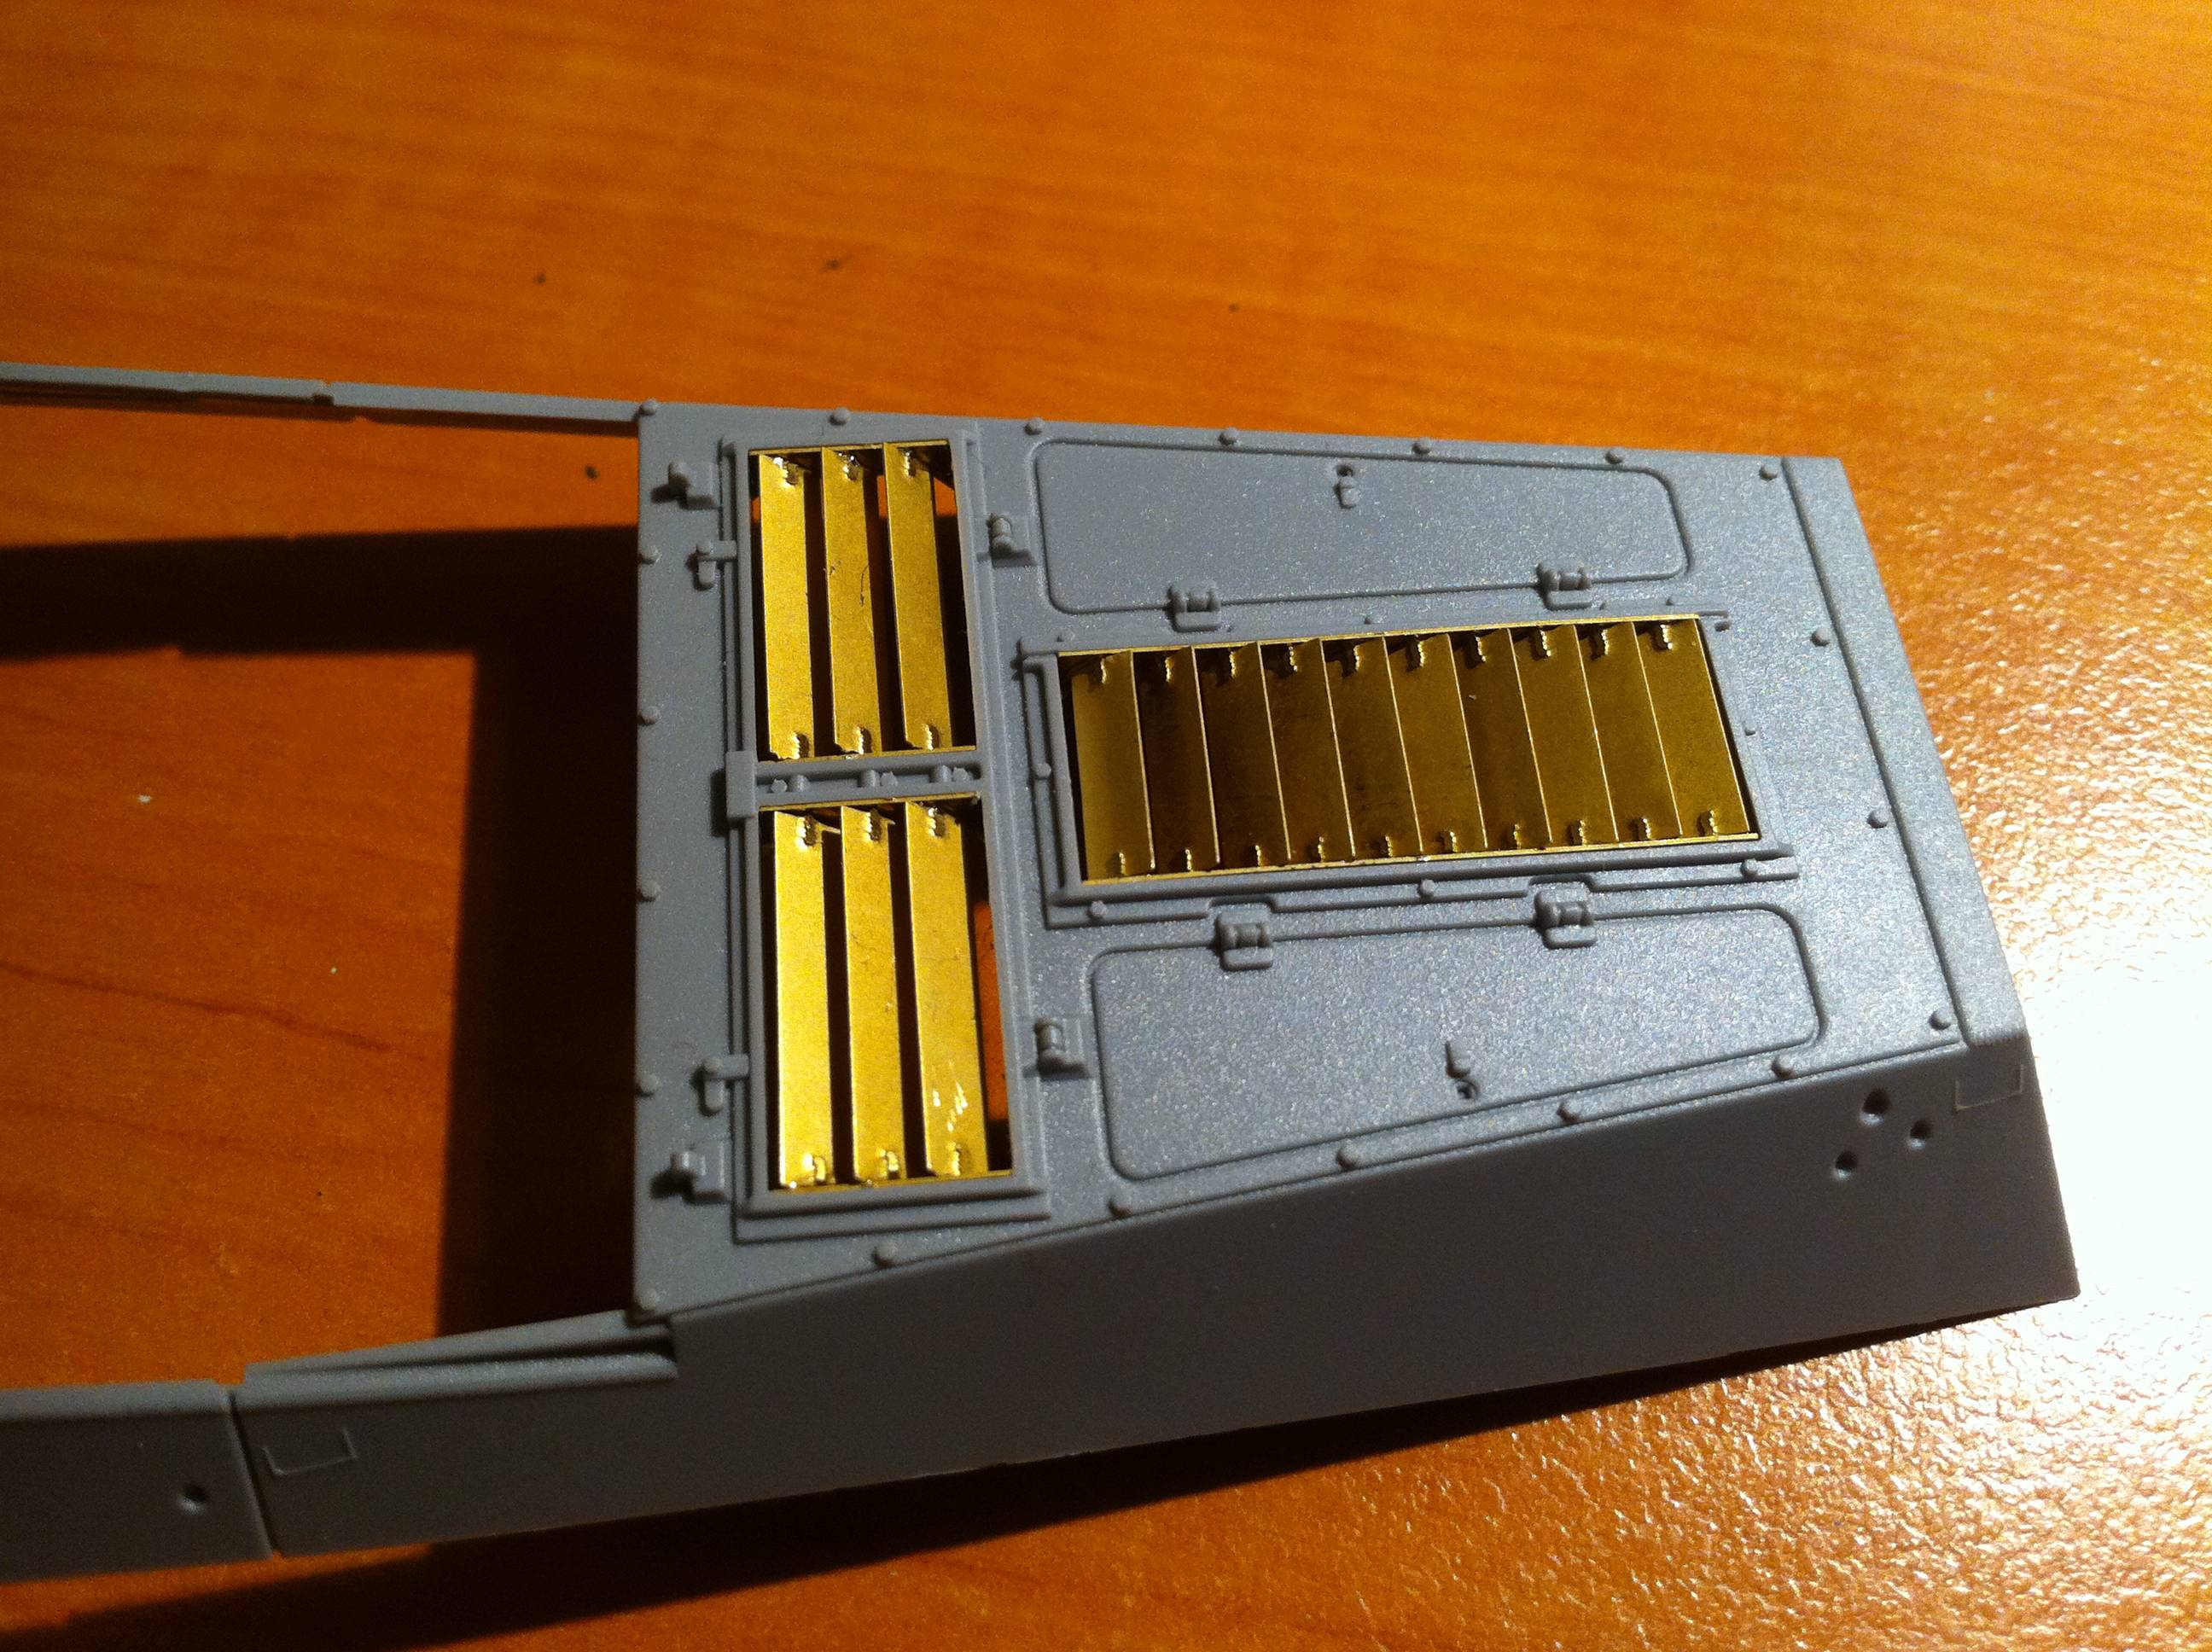
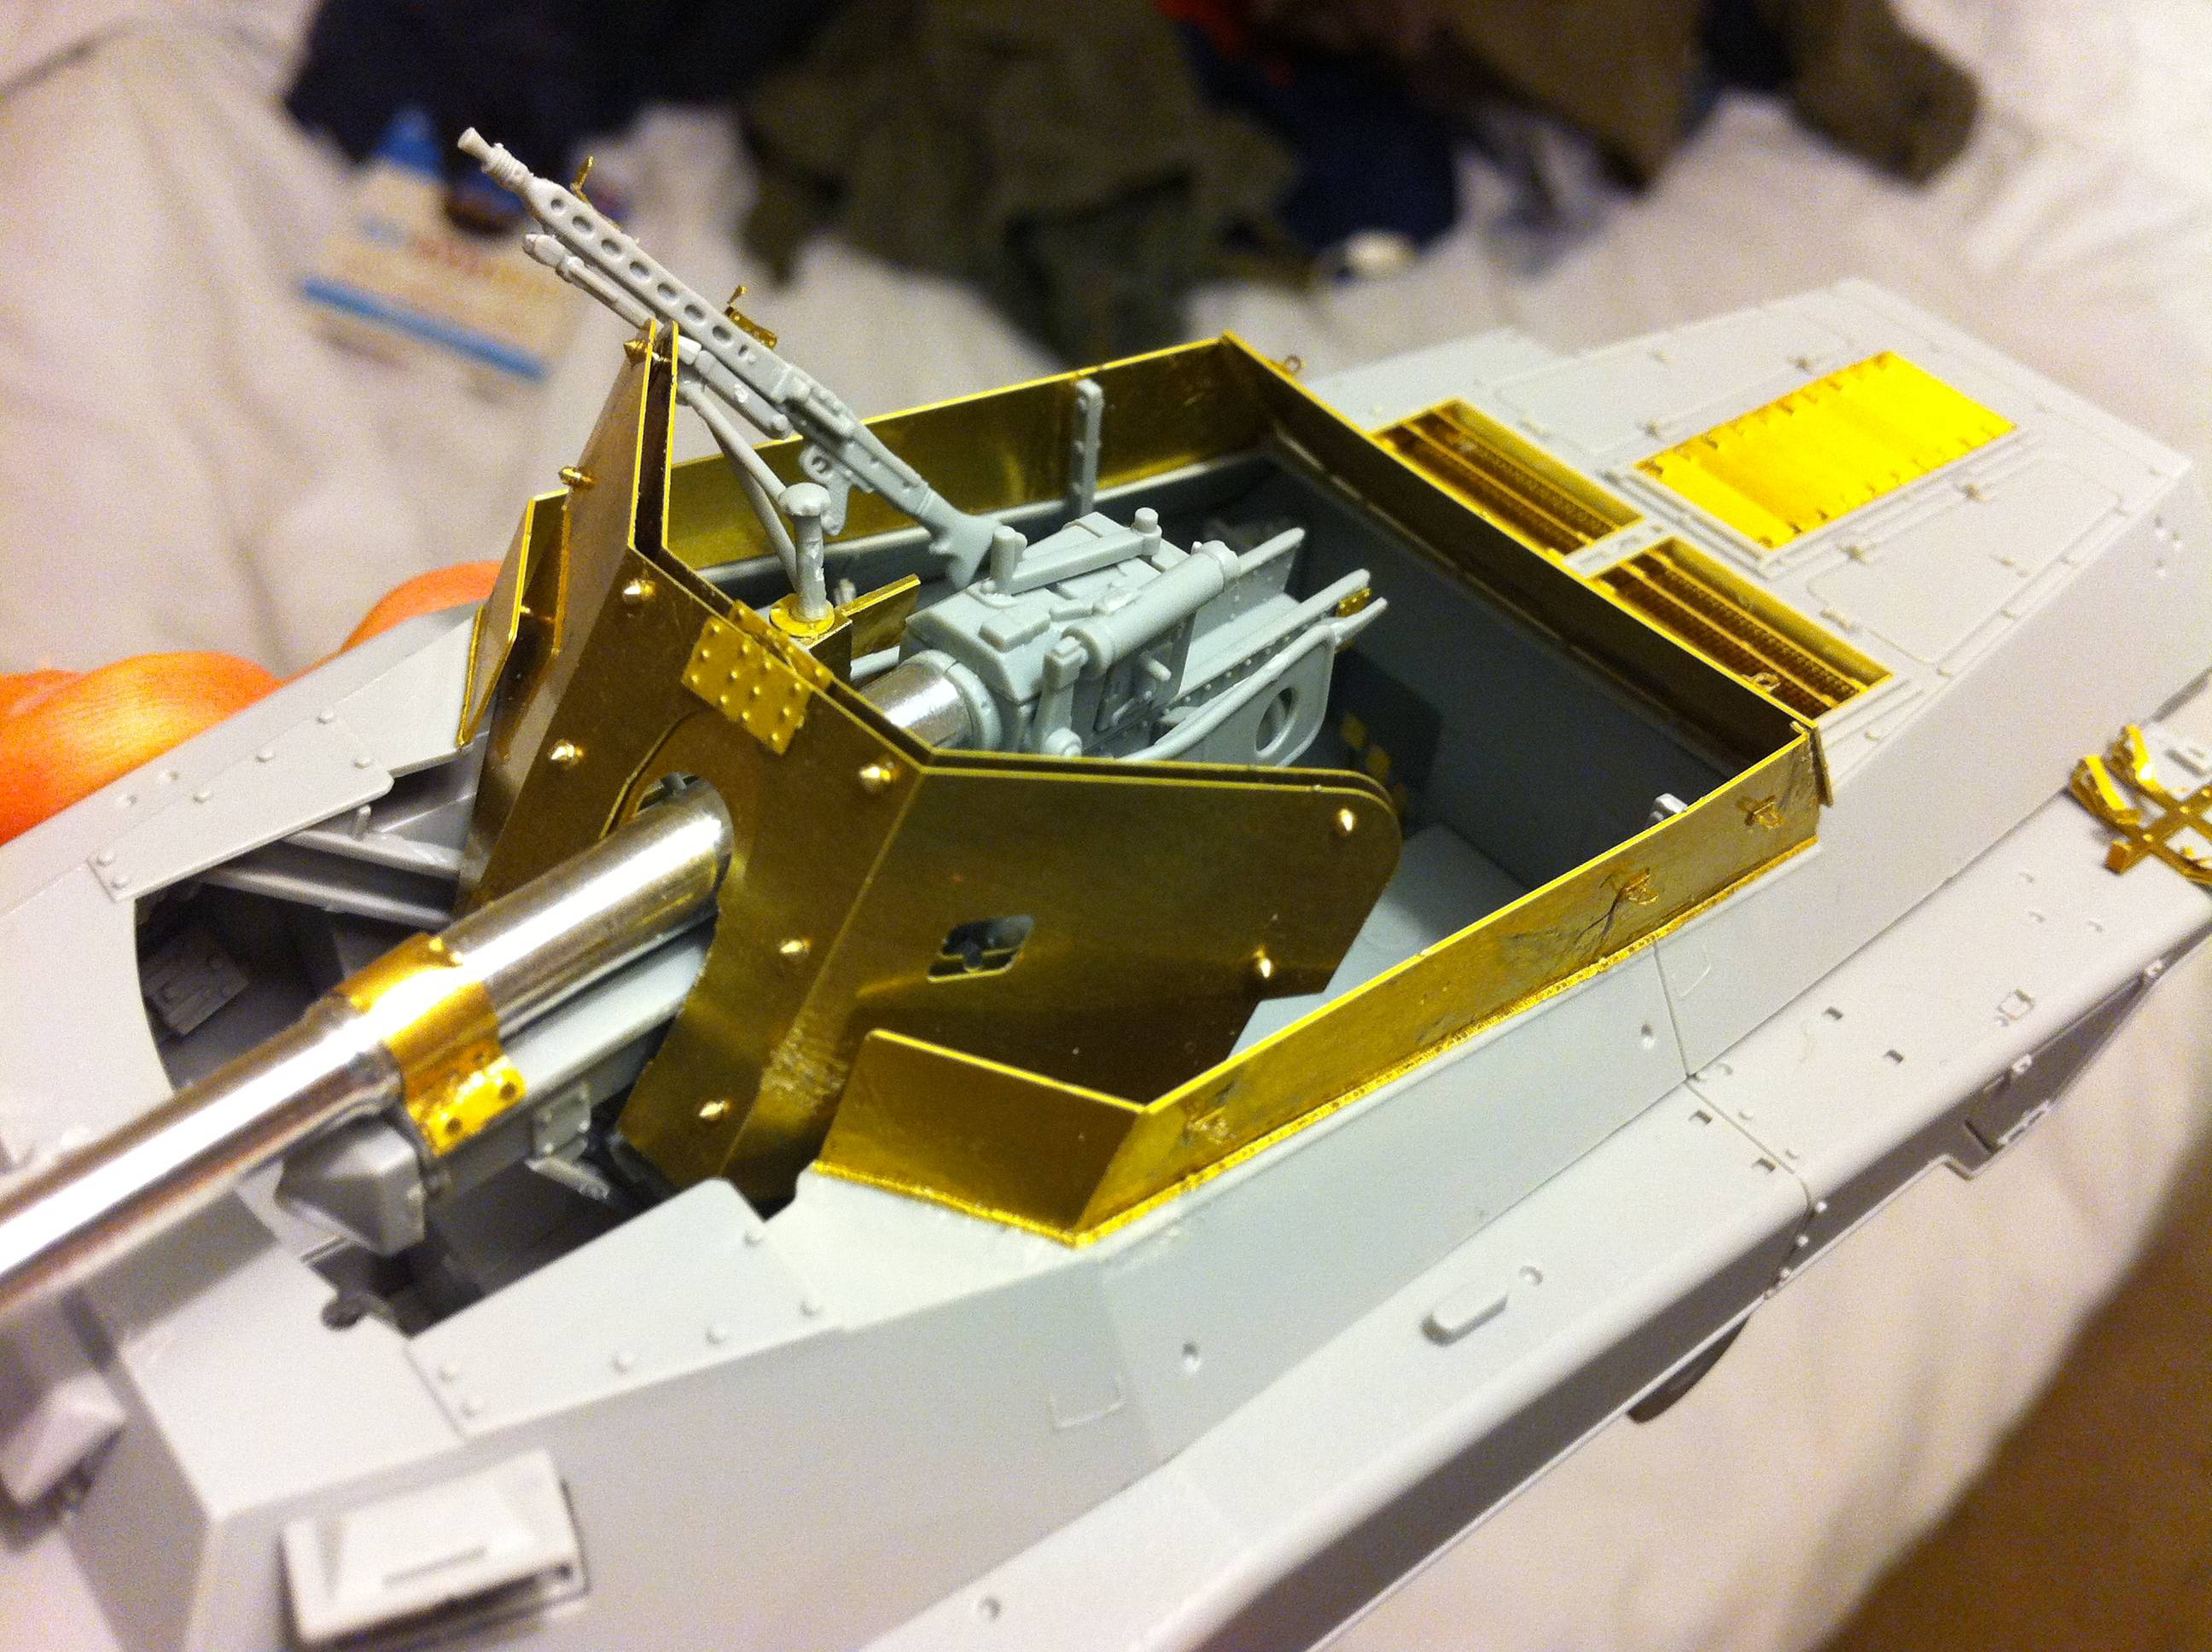
Thanks for the comments guys, this one is testing my skills, well the etch is the dragon kit is really detailed but goes together great. Although when comparing the vents for the engine the etch looks fantastic, was very fiddly but I'm happy with the result nice and even on the angles.
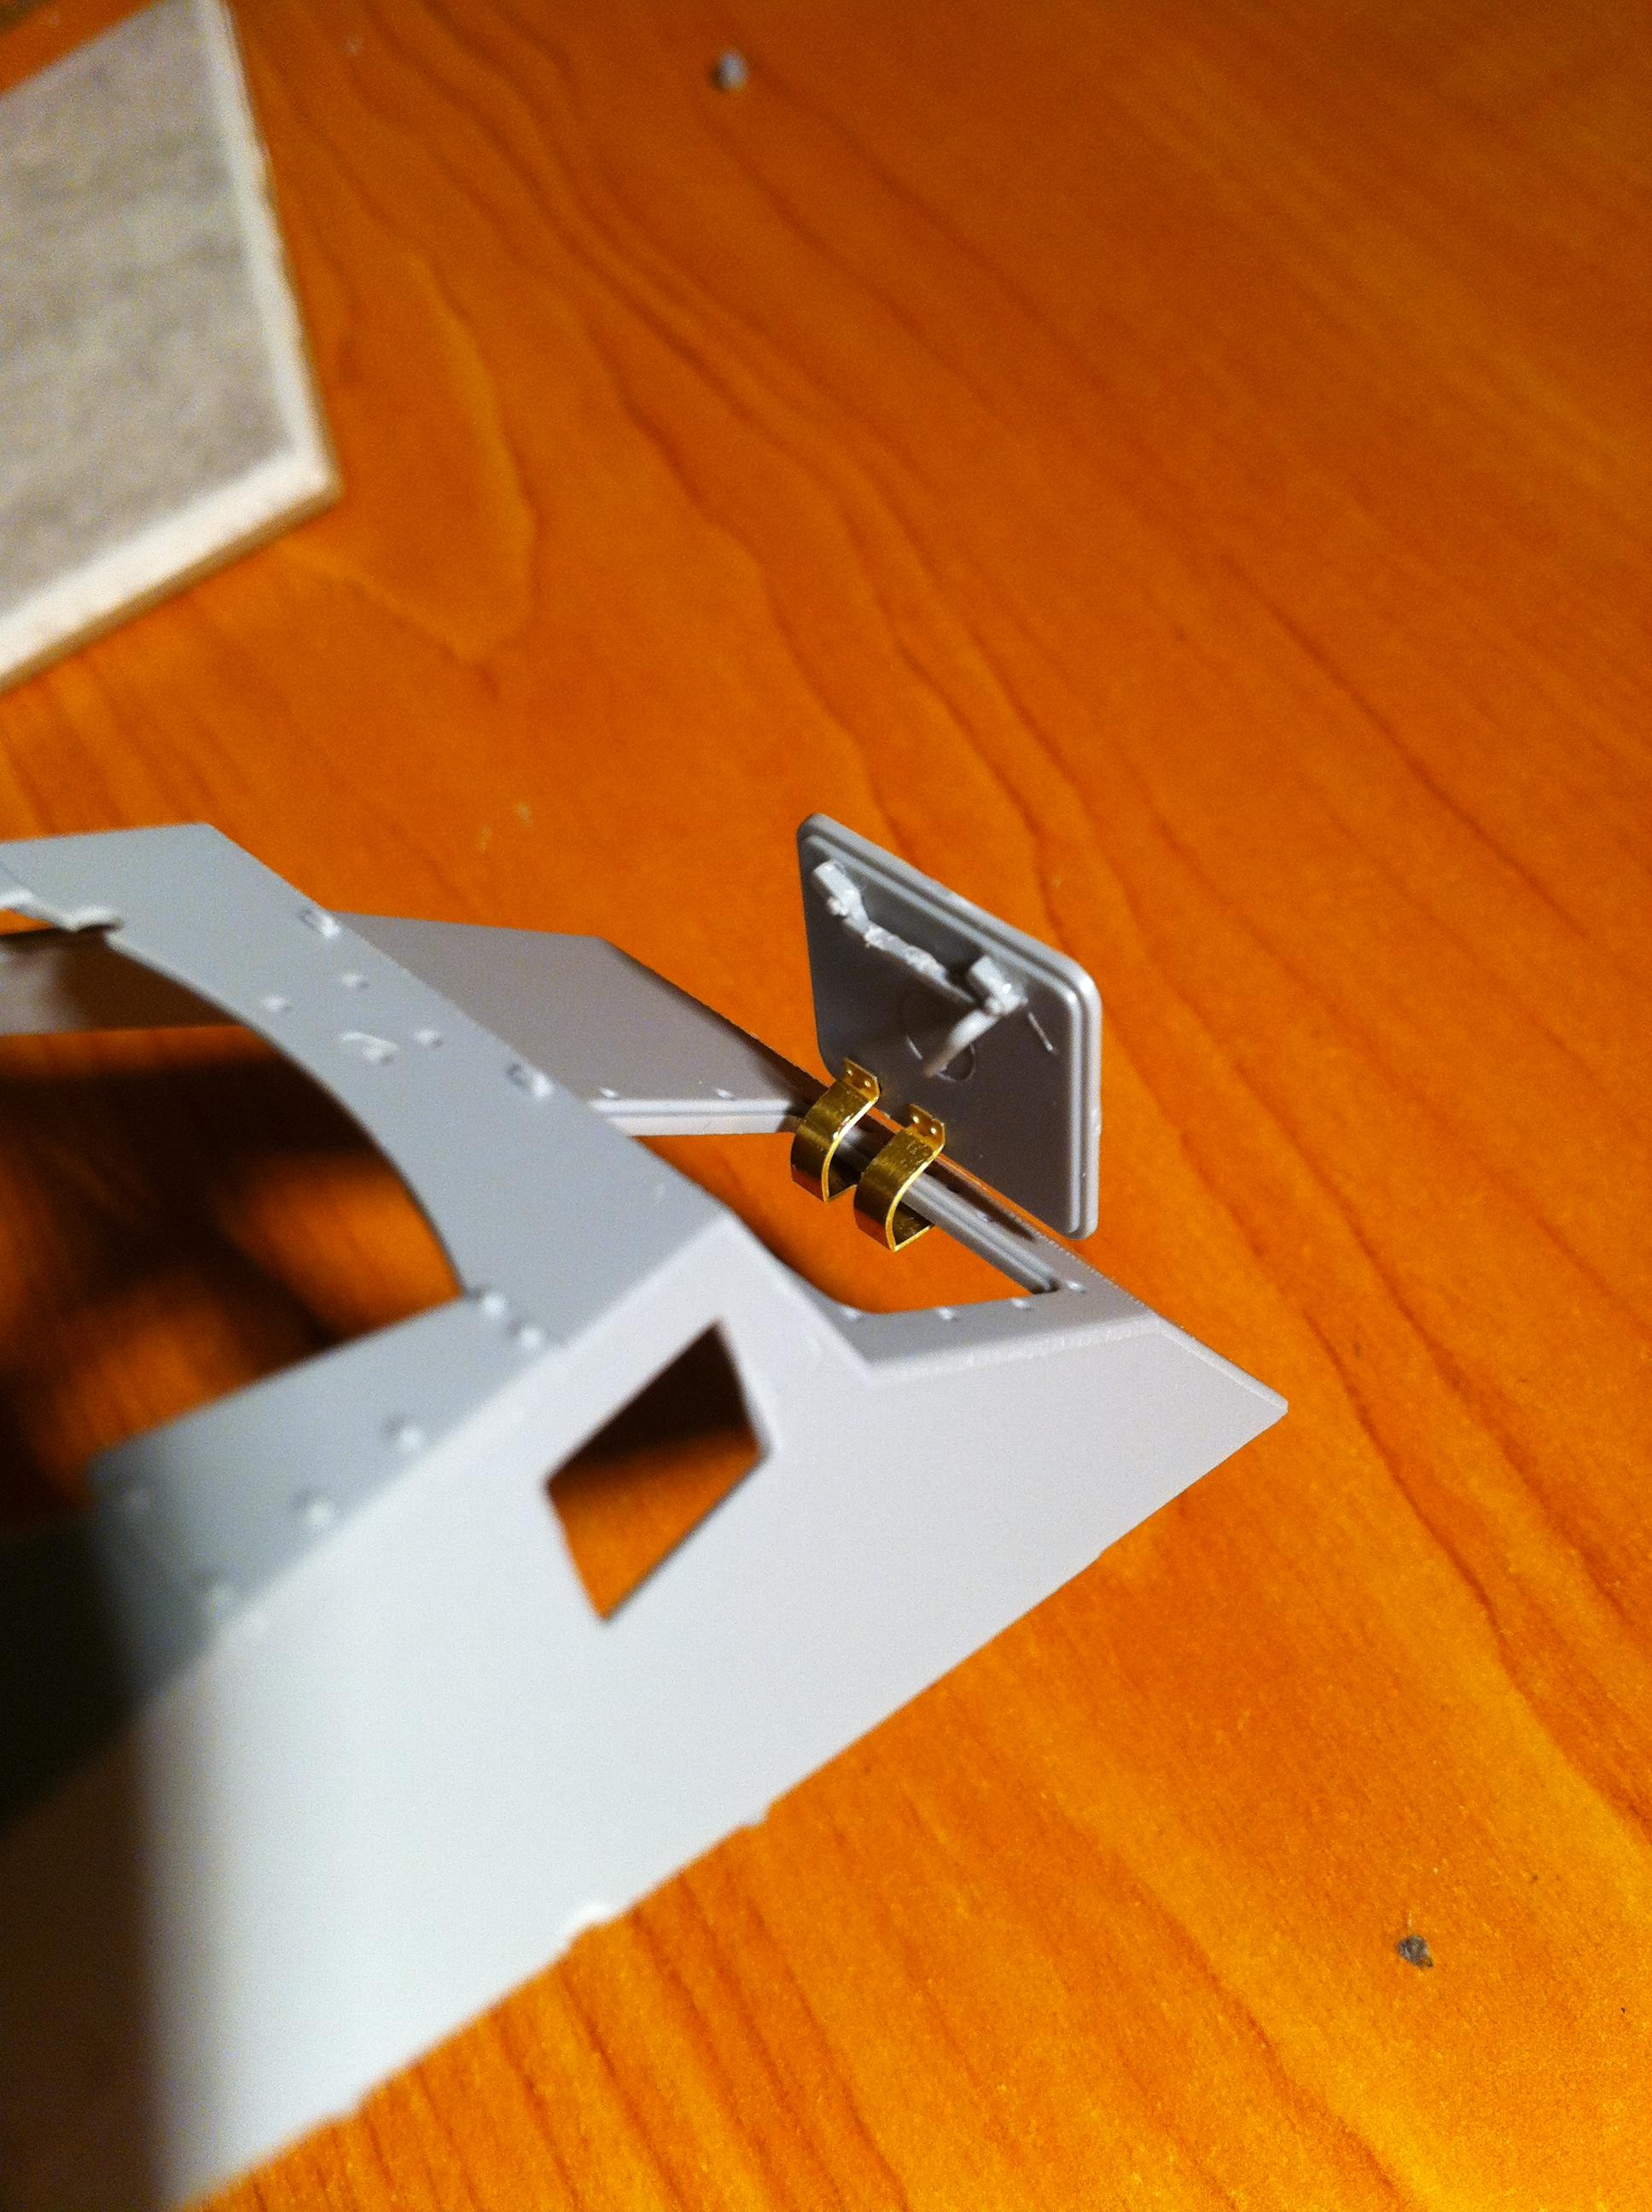
The hinge for the front flap bent well around a smooth part of mini rat tail file i use and squared off with a razor blade on a porcelain tile.
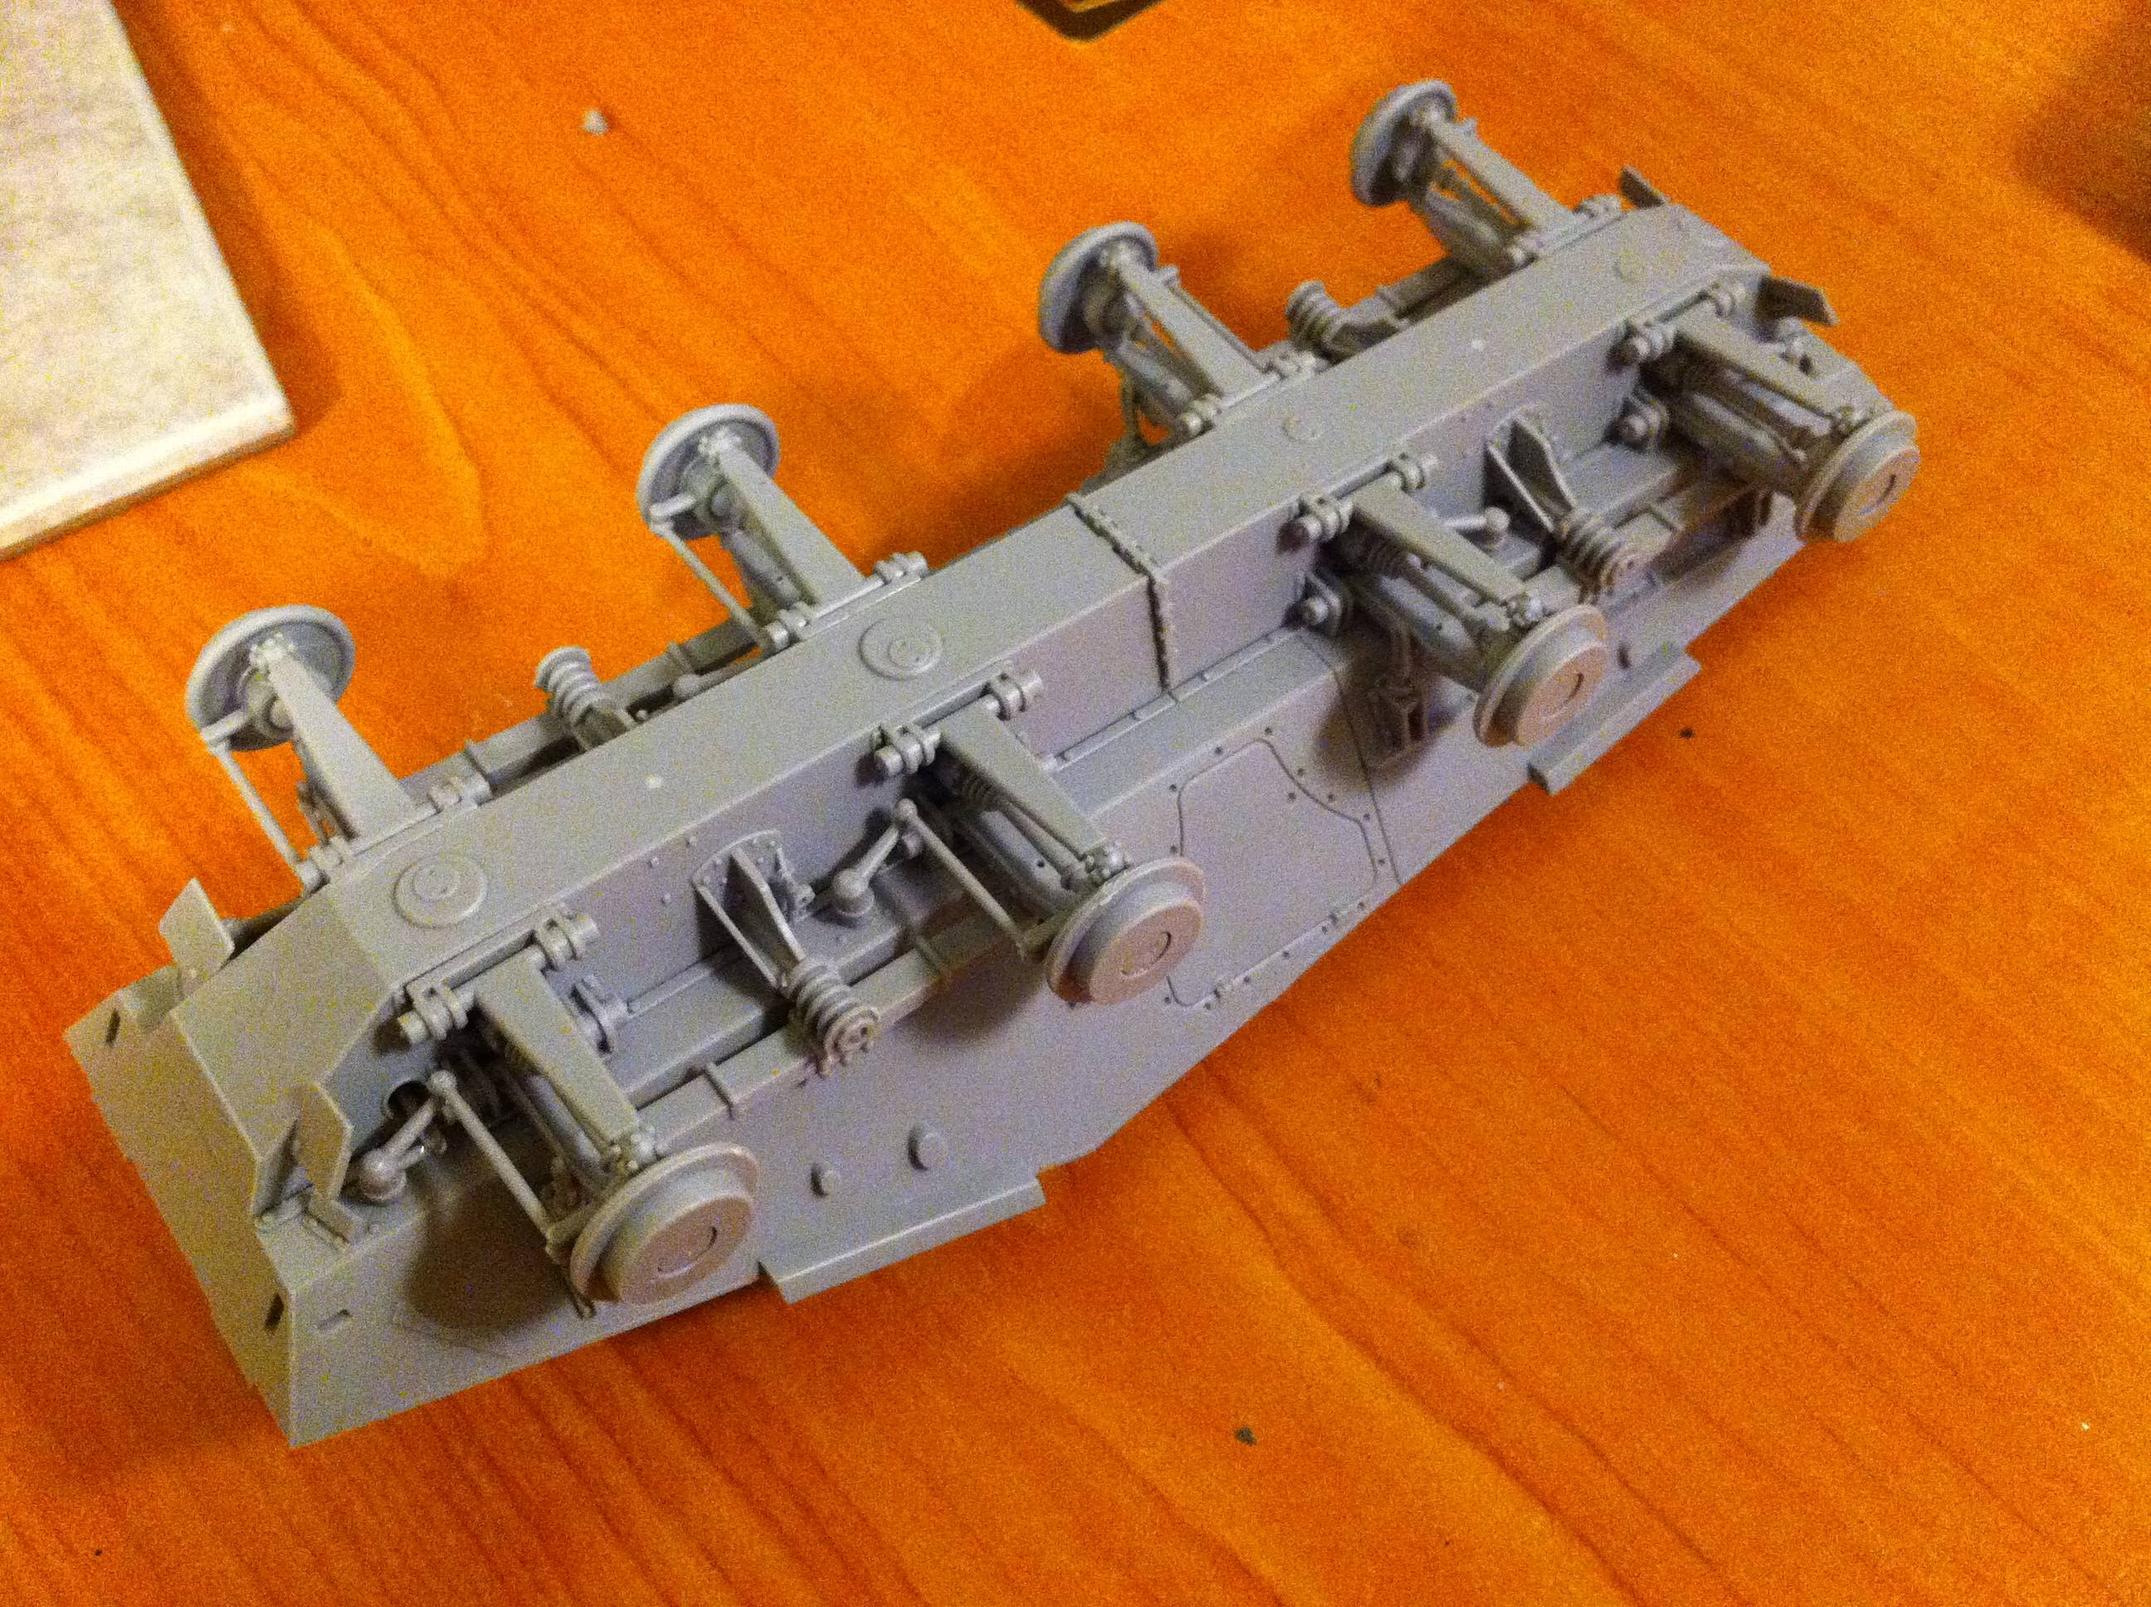
And the remainder of the underside has gone on (little bit extra for you schweinhund).
The last German 8 wheeler I built was about ten years ago, the Italeri kit. Looks like I might have to invest in one of these Dragon kits. Love the progress on this one, especially all the PE work
Been busy today, first day in a long time I have had to do nothing, so made the most of it. My finger tips are covered in super glue and a lot of my skin has been attached to the model at some point thanks to gluing the etch.
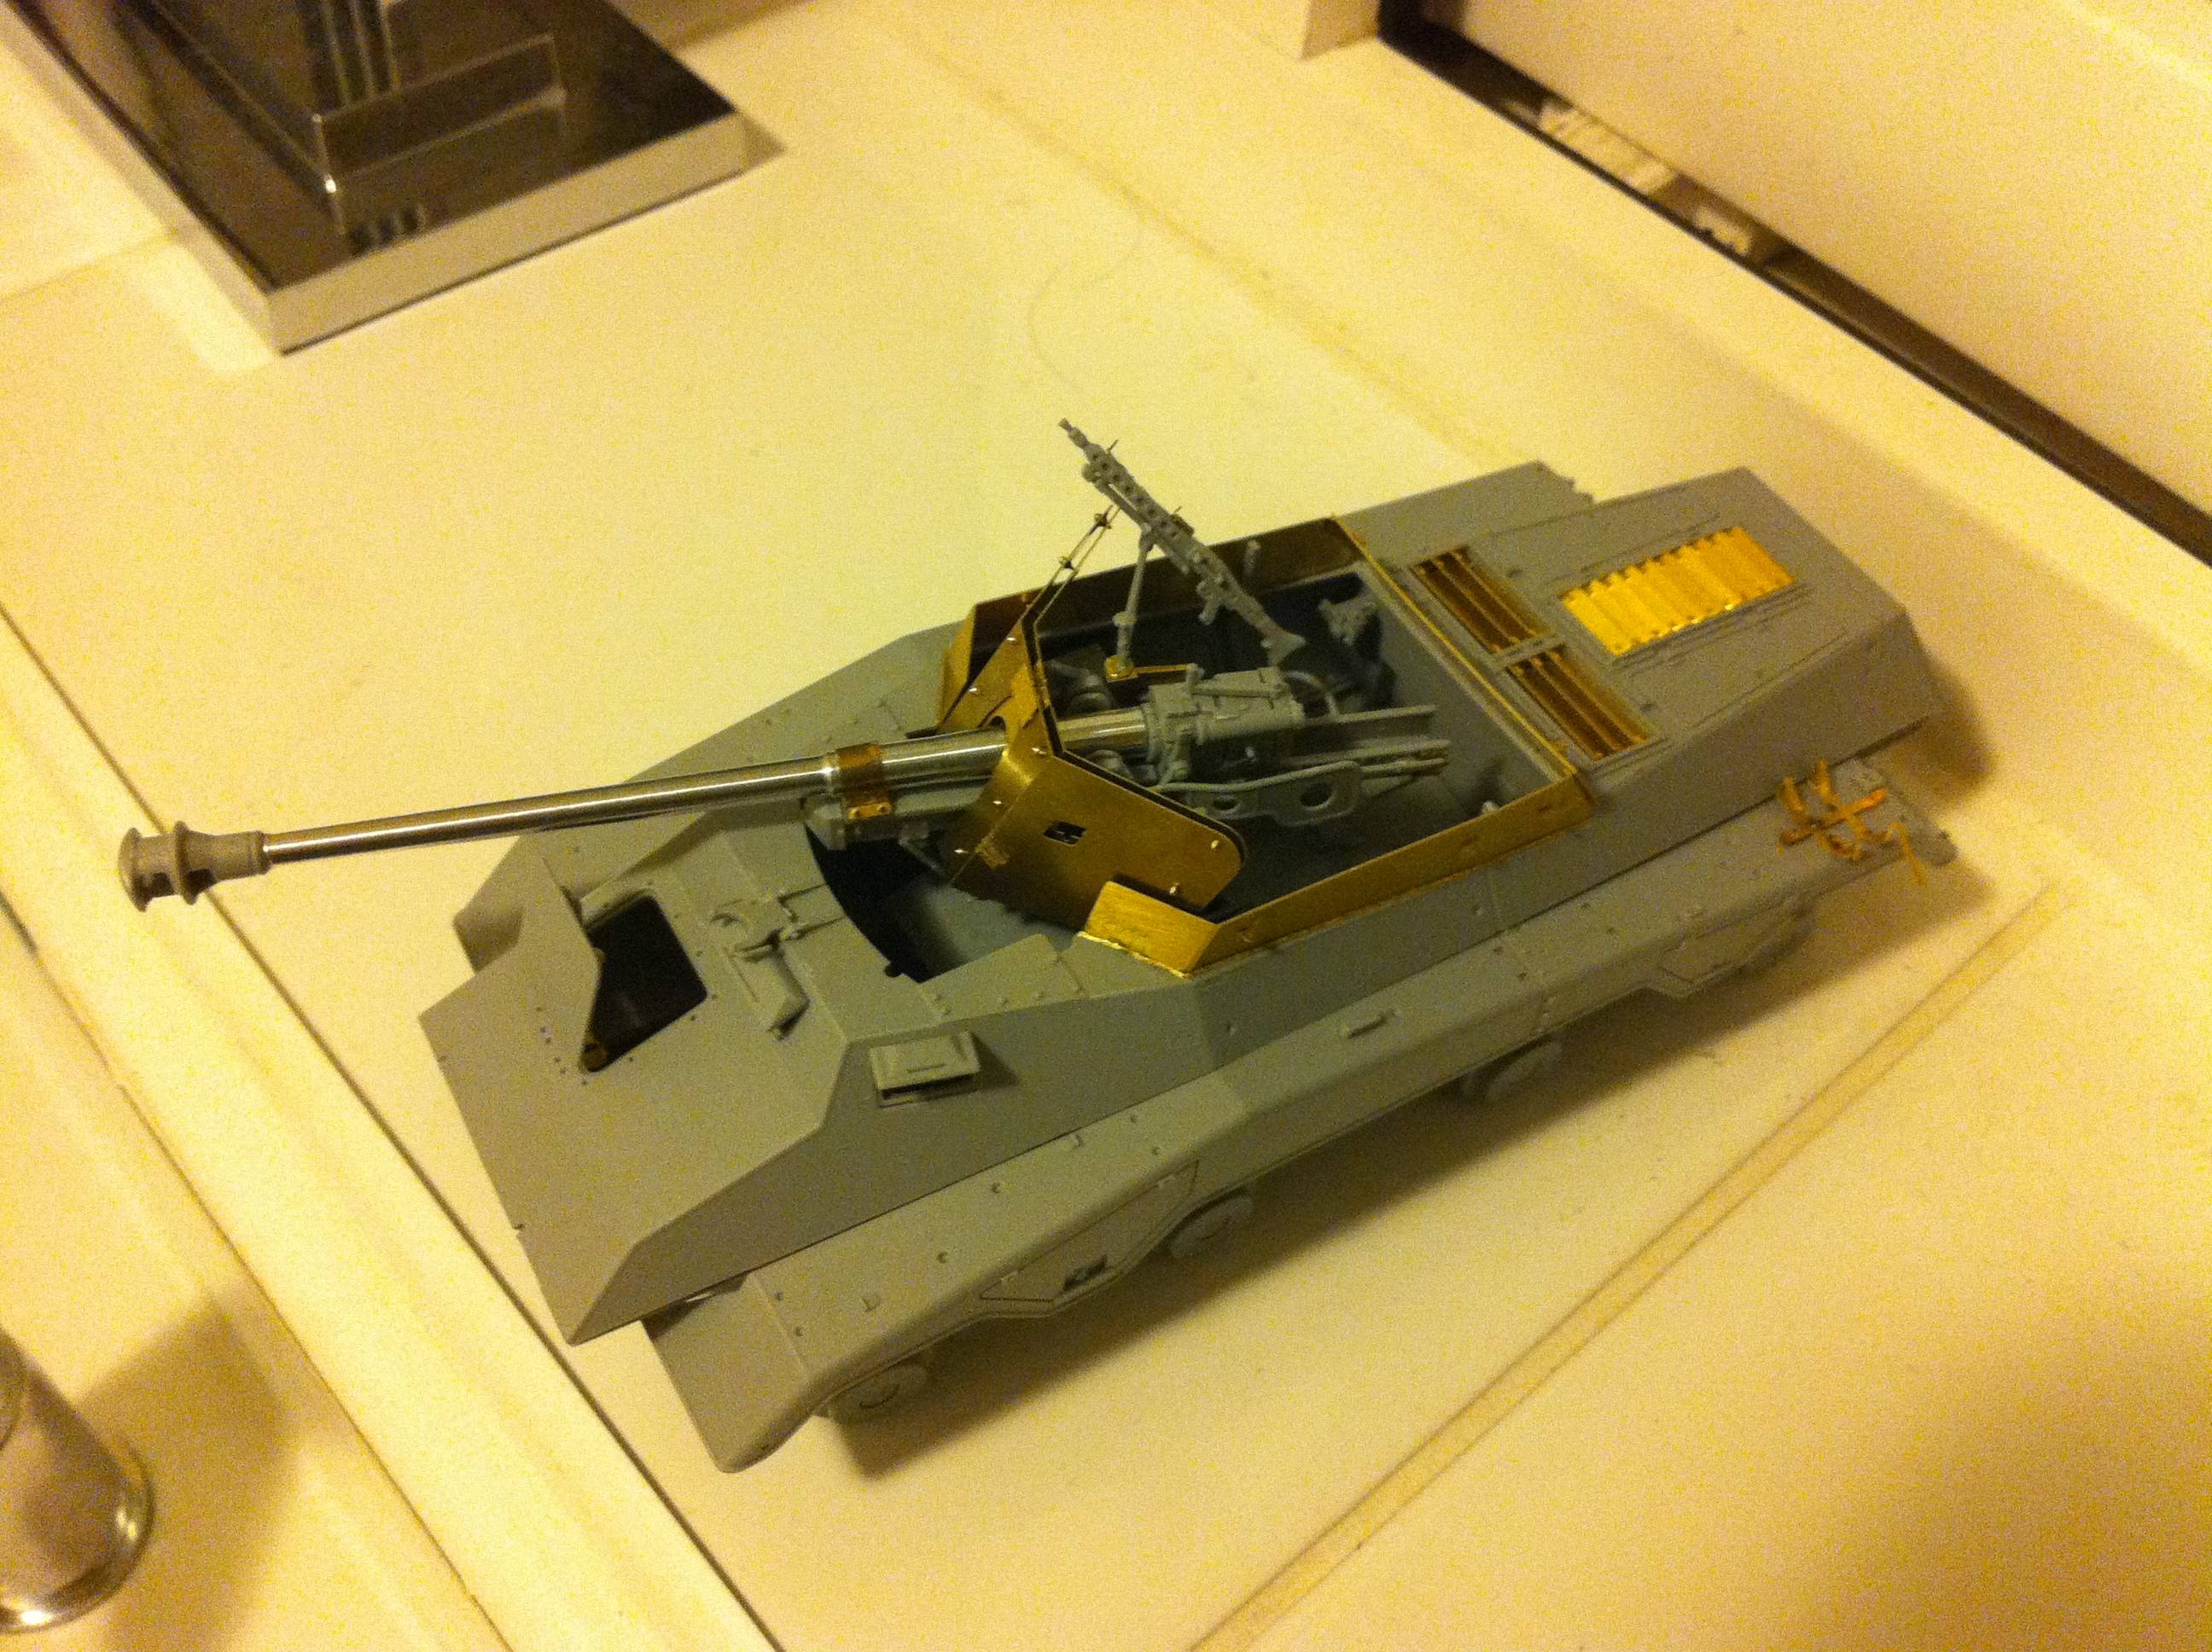
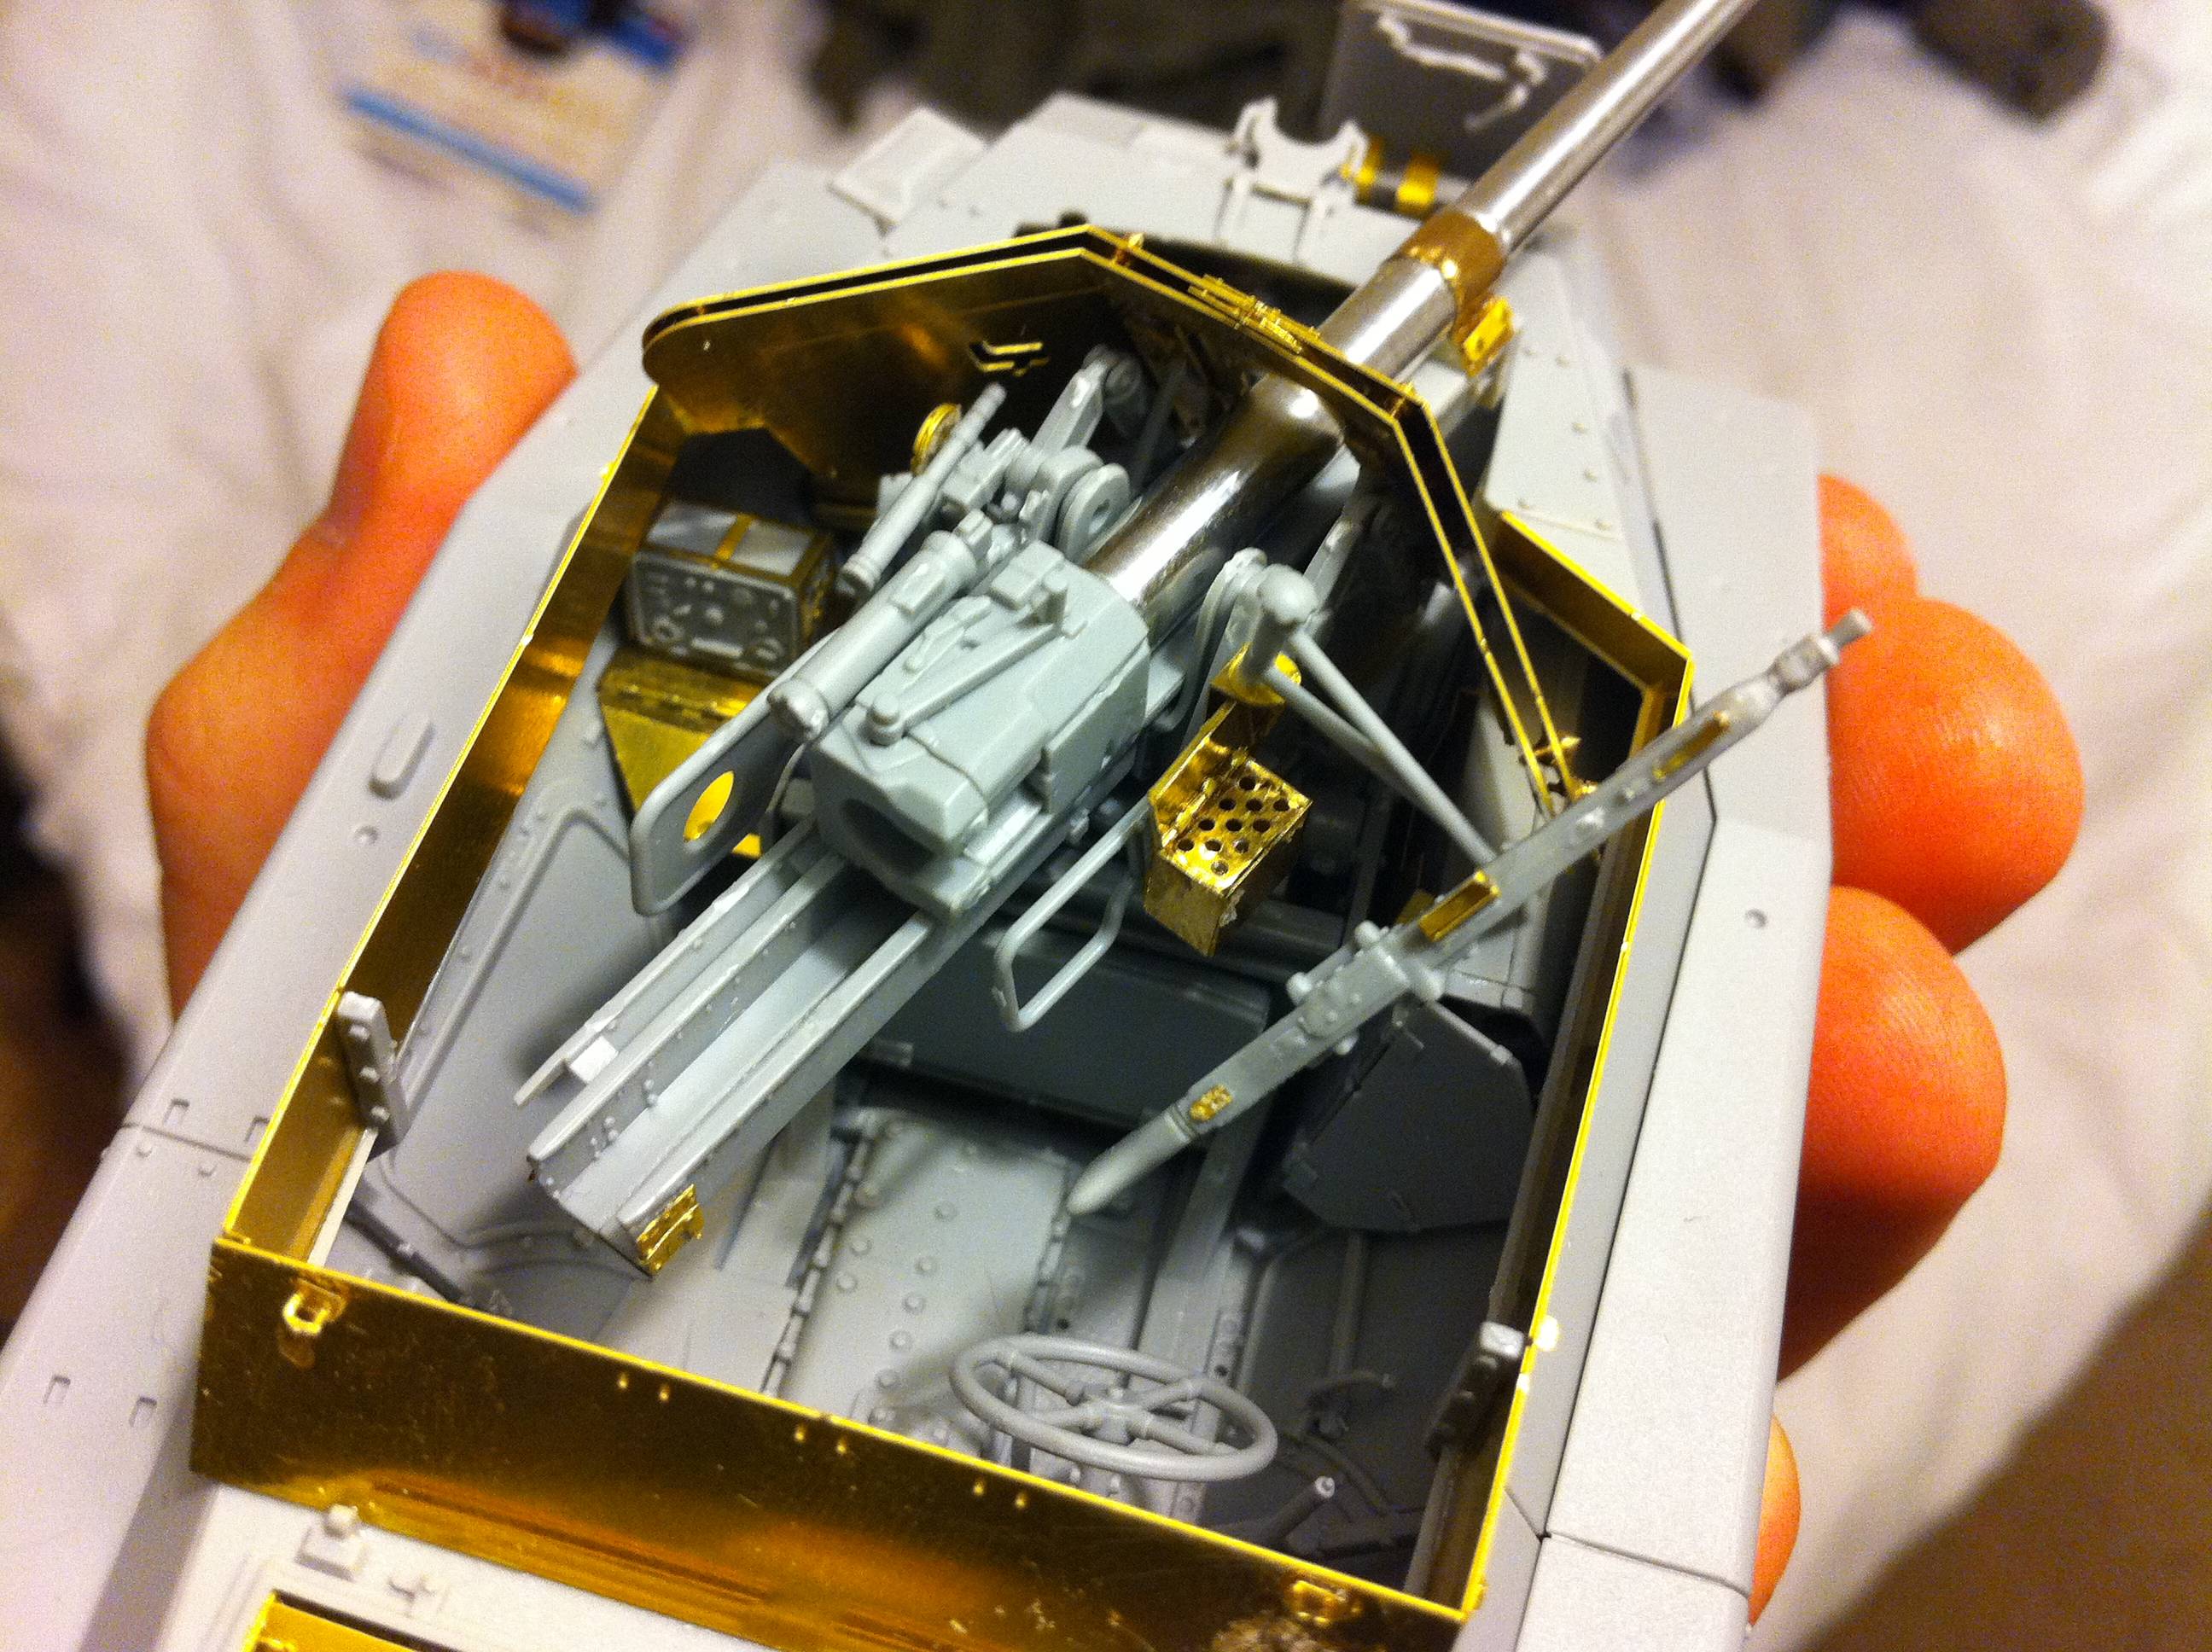
The assembly of the gun shield was surprisingly easy considering the tiny rivet aligment that was required, however I have had a couple of issues with the compatability of the etch and the dragon kit but on the whole so far it is a fantastic upgrade kit. (nice bit of skin attached to the gun shield in the pic below, will be sanded off when everything is dry).
Starting to get excited about painting this beauty now.
Rock-On Dude \m/ !
Superior job on th P.E. Those Workable Hinges are a Bugger ! If you wanted to take a look I did an SbS on making tiny workable hinges, even though it's for Griffon's, it's all relative & to make them I just used 2 Chisel Blades ( X-Acto ) & an Opti-Visor of course !!
Thanks for the link panzer, very useful, been a lot of trial and error on this build.
I was contemplating adding cables and hoses but I'm just struggling with reference material. Found the obvious locations of the exterior brake cables so will add those when i know how much 0.2 copper wire I have left (may need to procure some more).
I ordered a pretty comprehensive book on the 234's but the the company has been struggling to track down the book, think its out of print.
Any help on this would be great as like you say i've gone this far
Alfonzo, This looks outstanding so far !!!! Its funny about the skin man .. I did the same thing on my trailer for my dragon wagon mine is in tread plate .. Beer and building : !!
Thanks guys, appreciate the comments, lot of work going into this.
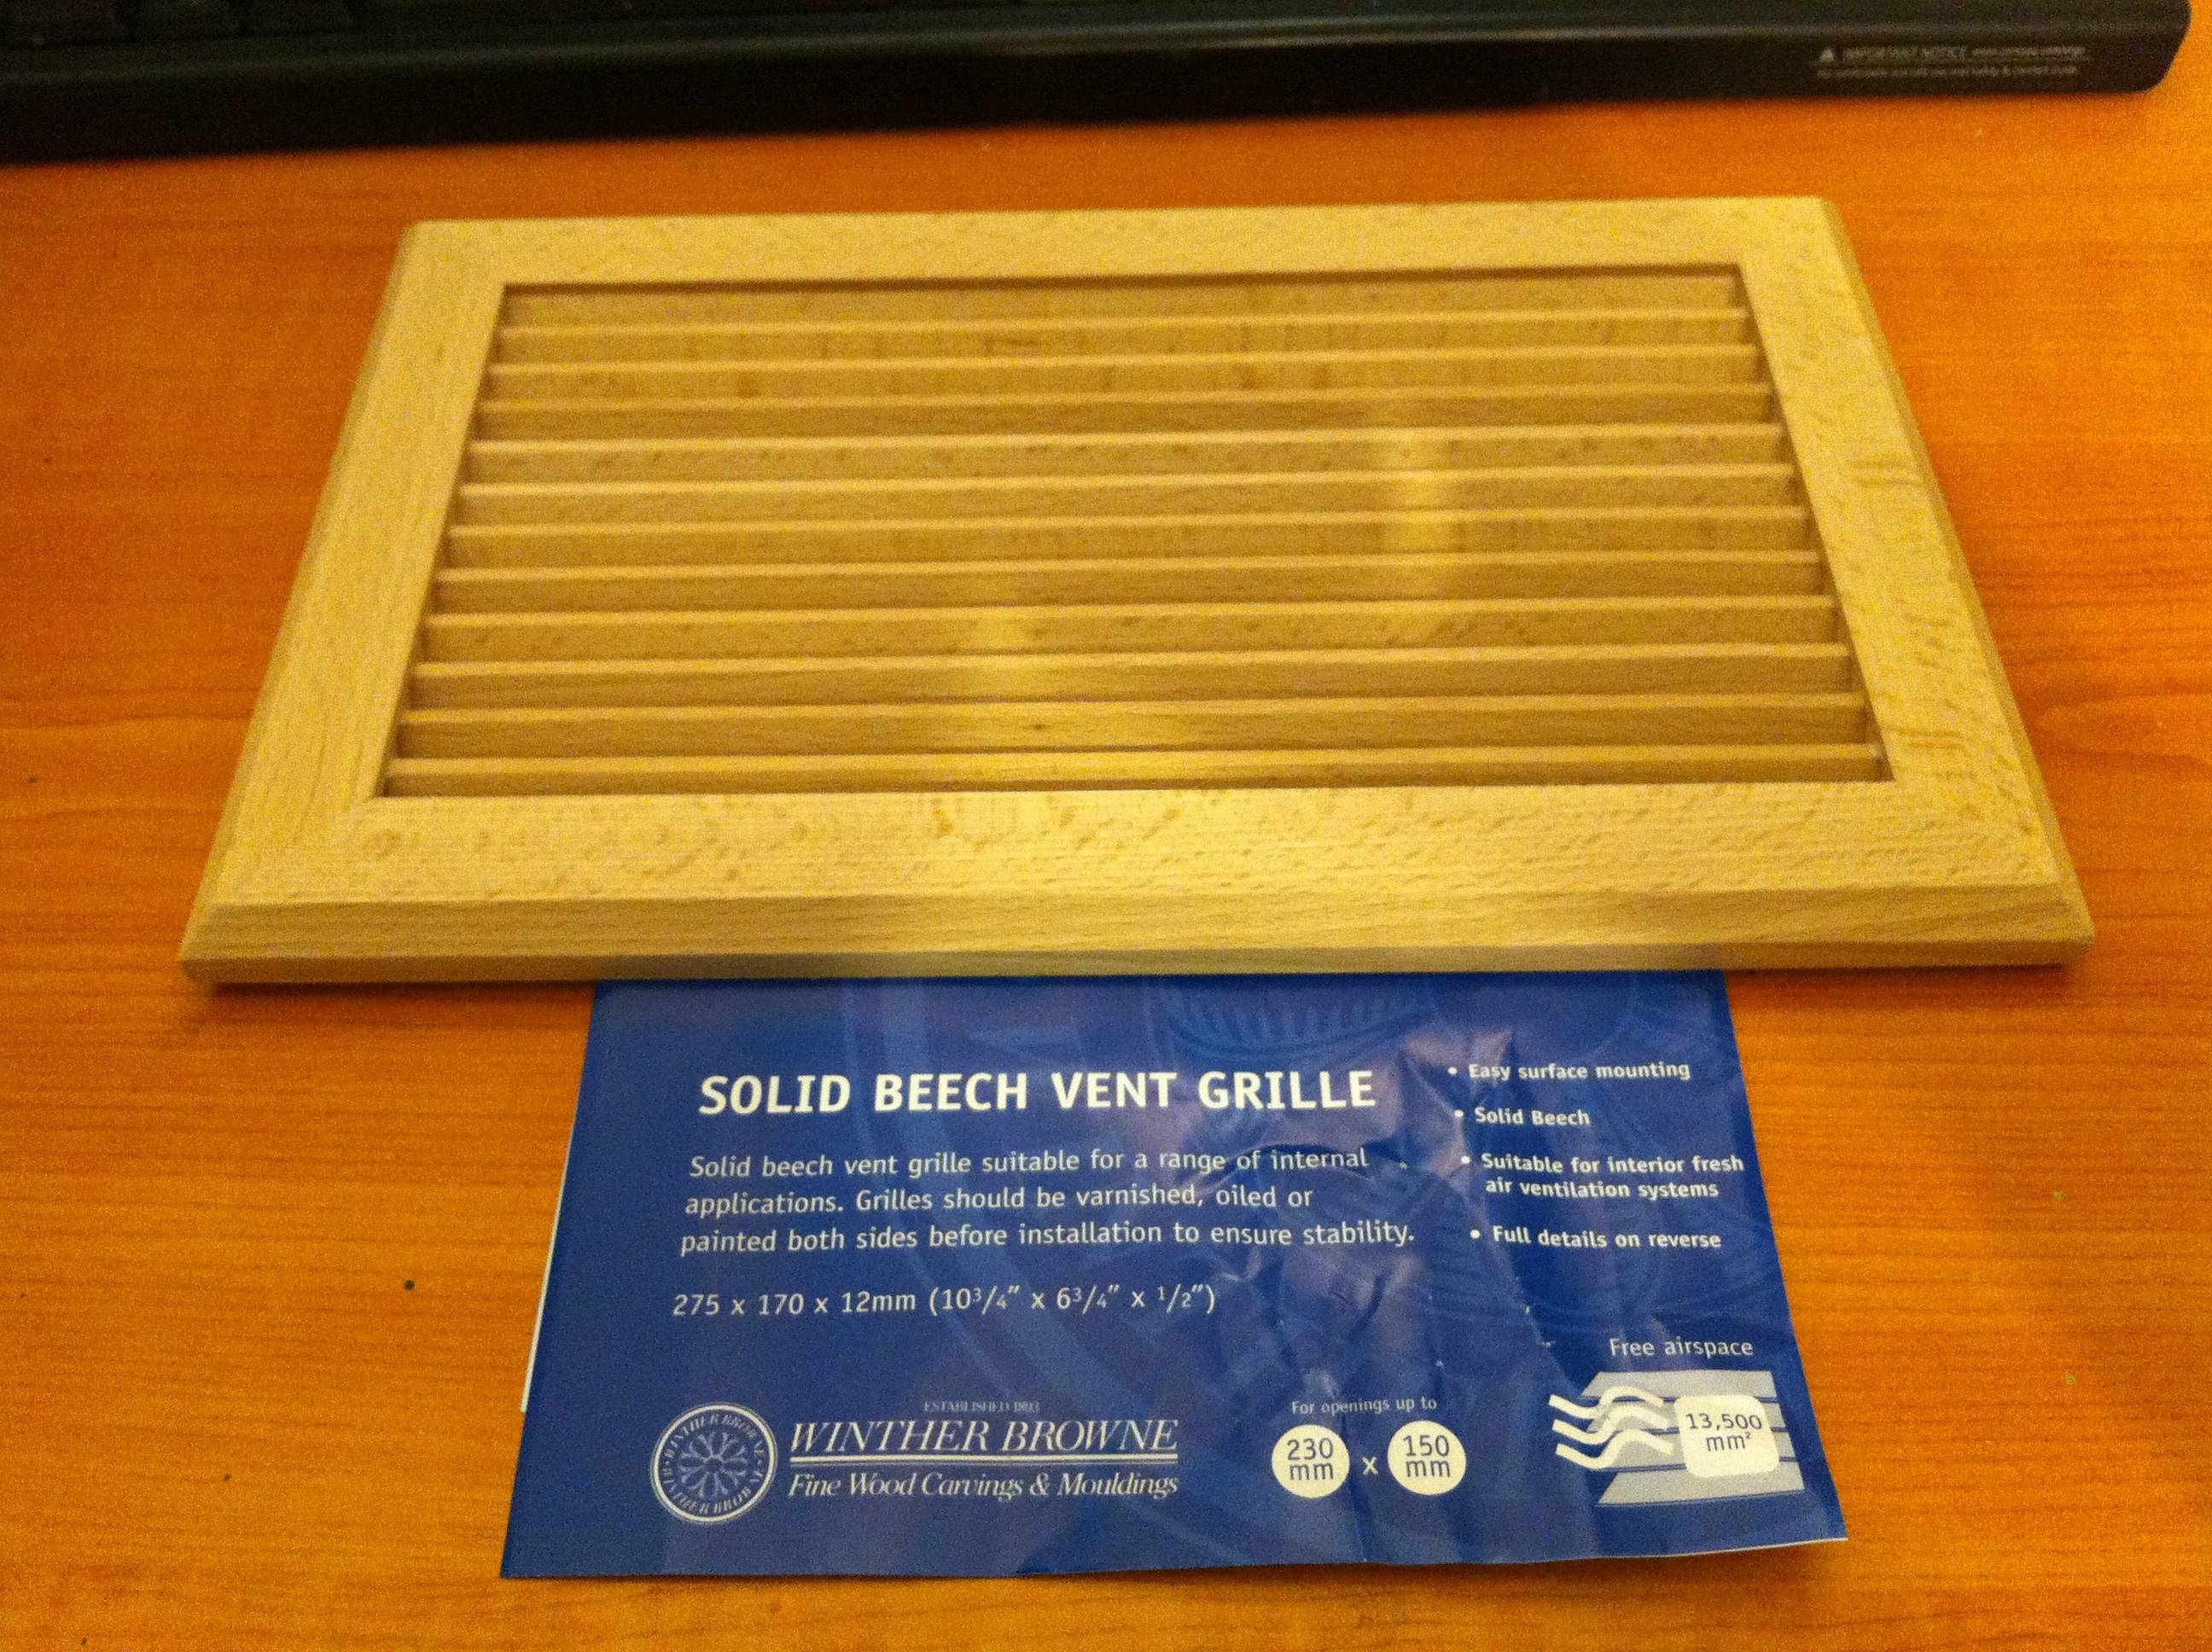
Picked up my base of choice ready for her, I get a vent cover from B&Q (for the UK lot I guess). It has a good quality finish various sizes and a slightly sunken vent that is easy to cover and work on and is reasonably priced.
 ,great work on the etch too btw