"Don't worry. She'll hold together." - 1/72 FM Falcon build

Senorjacob

Member
Joined
Mar 23, 2014
Messages
86
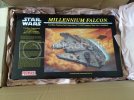
Time to build a Millennium Falcon!!

I'm very excited to be following in the footsteps of so many great MF builds here on this site. I hope mine will be worthy to stand next to those builds.

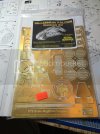
My plan is for a pretty straightforward build, though I WILL be lighting it and using the Paragrafix PE set. The lighting kit is the Madman fast tramp light freighter kit with the booster pack. I'll be using an 18v AC power supply. I'll probably stick with the stand that comes with the kit though I'm open to ideas for building something more special.

This will be only my 6th build since returning to the hobby. It will be the first time I've ever worked with lighting and circuits. I will use the skills that I've been learning while building the 1/72 revell Type IX U-boat (which is nearly complete).

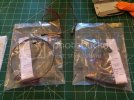
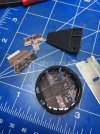
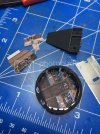
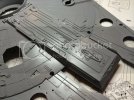
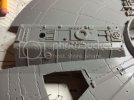
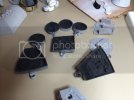
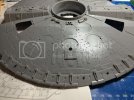
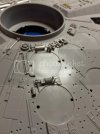
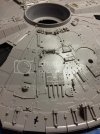
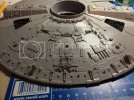
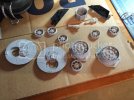
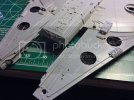
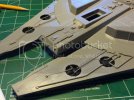
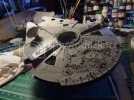
Here are some pics:
image_zps23aa61a0.jpg

2C2CABC7-7FBA-455E-838D-A5D4FACCF7B4_zps4u9xq8wf.jpg

9A12FD88-014B-48BC-9903-097224AAC312_zpsqbvbwmng.jpg

68554890f2c39ff69a023b00d2c4f036_zps29c206d3.jpg

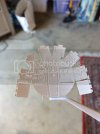
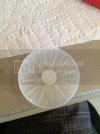
I also bought a correct size dish from shapeways.
6264c91687b7438b231d2d78b16f65d7_zpsb08086f6.jpg

d3cc1a96ee3d9cdd27c1f070e9d1973f_zps285a7110.jpg

993b339956b748111c7109f0ec5221f7_zps279527e2.jpg

993b339956b748111c7109f0ec5221f7_zps279527e2.jpg

25bcac54a4d3541bcf23b0659e709c27_zps06a97230.jpg

D5B41269-CD52-4B54-86BC-A5B6CED7CA59_zps8kddzvia.jpg

3C1D8532-5968-46CD-A0CA-9E97F351992C_zpsmiu4owpc.jpg

7908ea4009c470620948b4eac005e7e2_zps97552f39.jpg

a9b7bb63b4560047813ad5362c4aad26_zpsd5cbd835.jpg

1929311E-9857-46DB-AE4A-F28063927A74_zpsjd0gifbz.jpg

43EB776D-A4DA-45EB-B06C-77D57B2873FF_zpsmft64rzb.jpg

A17A782A-4DBE-492F-9724-40369C555366_zpshtutwyg3.jpg

D5A06DAF-4261-4681-856D-48066B251A99_zpsqv2cv83r.jpg

Thanks for looking!
 
Looking good so far !
I did`t know about the correct sized dish from Shapeways
I ordered one right away for my Falcon it will look so much better with a bigger dish on it
So Thanks for that ;D
 
You've got all the tools you need in your arsenal! Now go nail that sucker! Great start!
 
Very cool!

I'll be watching this closely as I have this kit in my stash and I was also thinking about lighting it with the Madman kit. I've never lit a model before so hopefully I can learn something from you!
 
A small update...

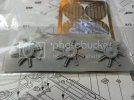
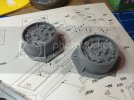
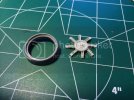
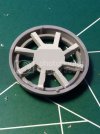
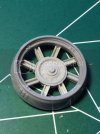
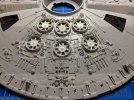
As I continue to attach the 100s of tiny little greelbies to the hull of the falcon, I took some time to install the resin engine fans. I dremel'd out the center of the kit piece, sanded the fans to clean them up, and then CA glued them in.

0ca86e7b91a25b2ac15ce395a1ce9add_zps1e2ead96.jpg

8920fa18c522d11b2d599ef661b43951_zpsc016091f.jpg

b2b6a84a58181a102449093d3e82ee19_zps5cfaea0b.jpg

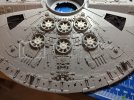
Here they are dryfitted in place. I won't attach them until I prime everything and paint the area underneath the engines dark grey/black.

34bf5e44edc573e4808e4abd565a378b_zps0cdc5faa.jpg

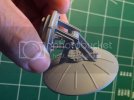
And here's the resin radar dish subassembly, shot with primer.

9fbac2481a736b02449b2a34657edeb7_zpsbdbdedc2.jpg

ad20627d0769d3a480eeb4167e30b0fc_zps6a61d69f.jpg

Thanks for looking.
 
Whew! Finally got all the little tiny tiny little pieces in place on the back of the falcon:

01fca2ae1757962bd763a25908f620c5_zpsdeae034a.jpg

I have to say that putting on all these little pieces was pretty therapeutic (sp?).

I'm on step 21 of 31 in the build. Feel like I'm over the hump, though I haven't started wiring the lighting yet, so maybe I'm delusional.
 
Looking brilliant Senorjacob

Love the fans,.....I like your logic on leaving the engine flaps off that are to be painted red....smart

J
 
All of those detail pieces were what made me shelve my build of this kit.
Fortunately, she found a home where she would likely get finished.

Yours is looking very good here
 
Looking good. It took me about 6 days spending 2 or 3 hours a night to finish up adding all the pieces on the top. After that I really didn't want to see anymore tiny little fiddly pieces. And was thankful the bottom half is much less complex. But wait till ya get to the tiny little pipes. ;D

Are ya planning on skipping using the decals and painting on the color markings?

Good luck and happy modeling.
 
Thanks for the comments, guys.

@gene:
6 days sounds about right. I think I worked more days, doing just an hour at a time. I found it soothing, actually. And yes, my plan is to paint the panels instead of using the decals. I may regret that decision later, but I'd like to try. I'll probably use humbrol mask to help with this.

I have no update on the build. I'm racing to finish up my type ix u-boat in time for OrangeCon in two weeks. Trying to get all the rigging done and do some touchups. The falcon is standing by.
 
I painted instead of using the decals as well. It's not bad doing the masking. Just time consuming. It was like 3 hours of masking then only 15 minutes of airbrushing. :)

I've seen people use liquid mask and a sponge to do the chipping effect. I cut of the tip of a pin and a pin vise to scrape and get a weathered look.

The sponge and liquid mask looked more like the decals. Using the pin gave a more scraping type of weathering.
 
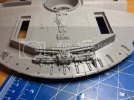
I finally had an ounce of time to do some work on the falcon. I put all the pieces (bigger pieces this time) on the lower hull in the back.

imagejpg1_zpscebd41b8.jpg

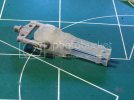
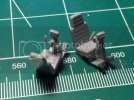
Did some work on the quad lasers, the seats and then primed a bunch of odds and ends.

4455815B-3A1B-4C49-8FFD-E122A2D96C6C_zpsmnjqopik.jpg

9F4F96D5-1C25-4766-8A2B-075ECADB9DCA_zps0t6liz2h.jpg

B21E7527-E6D9-46BF-A2D7-B1CF86BA53E8_zpsvhgv2hn5.jpg
 
Hey fellas.

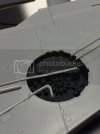
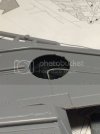
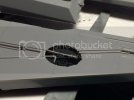
Here's a quick update to let you know that I've been having a helluva time not screwing up my falcon. The issue is with these small little pipes that go from the hull out and over the exposed engine parts. Up close it looks kinda bad. I'm going to try to fix them up with some white putty and then, of course, some weathering when I get to that stage. I'm embarrased by these pictures, so go easy on me.

fdf66c676b639c2fa726b6198a14c011_zpsf2ca419a.jpg

6e1dfecbcee3bf27b68952ac0e8f0c92_zps18d6b9d0.jpg

e31e4ab51a4d974dc3bad4b49b62e808_zpsacc465cd.jpg

8174b5357e4c29bba5fe91e119fc9007_zpseeaff2dc.jpg

d2d29d9f70ead946114f3da9b5bb6fdc_zps90b788f9.jpg

b1c9e0648092f0cccfc8eaa5bb4bb2e5_zps230dd0b3.jpg

I'm glad that part is over. It was not the most enjoyable part of the build so far. But next up is creating the battle damage! I'm really looking forward to that. Gonna get out the dremel and do some damage. Need to turn this prestine falcon into a 'hunk of junk.'

Soon it'll time to light this sucker. Then close it up and paint it. Lately I've been reviewing fichtenfoo.com wherein Michael Fichtenmeyer has a few video tutorials on how he discolors and weathers his fine molds falcon. Vey cool.

Thanks for looking! Feedback welcome.
 

Latest posts

Back
Top