You are using an out of date browser. It may not display this or other websites correctly.
You should upgrade or use an alternative browser.
You should upgrade or use an alternative browser.
Cyber Hobby 1/35 StuG E
- Thread starter robw_uk
- Start date
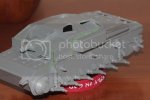
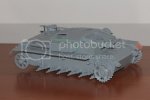
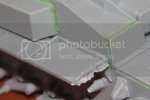
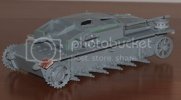
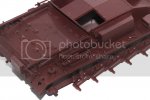
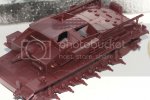
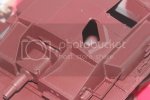
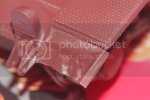
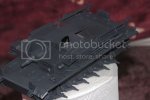
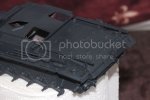
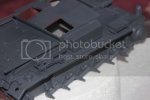
last night I attached the first fender. decided it was time to break out the plastic and copper sheets and see just how bad I can ruin this... first fender lost rear "mudflap", had a bit of damage on the sides (dont like that part - just looks like someone attacjked it with a hammer) and the front part replaced with copper and damaged (same - loosk more haphazard but i guess months of abuse may give this). 2nd fender will be missing the full front and be a bit damaged at the rear....
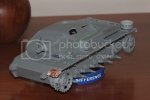
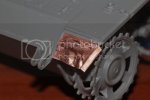
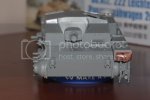
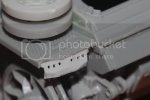

(like I said, not happy with this last one.....)


(like I said, not happy with this last one.....)
wbill76
New Member
- Joined
- Apr 24, 2013
- Messages
- 43
Always love to see a good StuG get built up. Adding the weld seams is a nice touch. A good tip I picked up from another builder to lay down 'clean' weld beads with putty is to use small strips of masking tape to create the 'bead' area and the carefully remove it once the putty has set. The fender damage is a nice touch as well. 
wbill76 said:Always love to see a good StuG get built up. Adding the weld seams is a nice touch. A good tip I picked up from another builder to lay down 'clean' weld beads with putty is to use small strips of masking tape to create the 'bead' area and the carefully remove it once the putty has set. The fender damage is a nice touch as well.
did wonder abojt that but thought it would be too "neat" - but it would be more precise... will try that on the other side....
bdr65
" Ouch, Cut me finger again "
- Joined
- Feb 9, 2013
- Messages
- 320
Youre gettin some life into her mate. Keep it up 8)
bdr65 said:Youre gettin some life into her mate. Keep it up 8)
thanks for that - yes this kit really lends itself to additions and persnoalisation
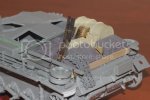
right, well the main construction is almost complete so thought I would see what load I can add. do like heavily laden StuGs so added a fuel drum, some boxes, tarps (from Value Gear) some extra track links and some fuel/water cans (one will be done a s water probably). Used a coffee stick as the wooden backboard (seen a few photos of StuGs with that setup. May also add some sandbags either side of the gun and perhaps more spare links.
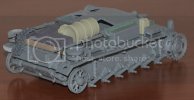
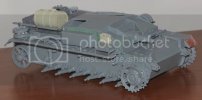
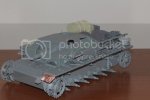
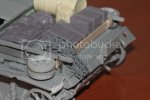
the payload may change somewhat (apart form the tracks draped over the box of course)
geegad
New Member
- Joined
- Jun 8, 2011
- Messages
- 1,669
top welding buddy..and like the damage you cant beat a beat up tank look forward to seeing more
geegad said:top welding buddy..and like the damage you cant beat a beat up tank look forward to seeing more
thanks for that...
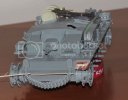
more spare track added... last little bits too.... only thing stopping me finishing the build is indecision on leaving the hatches open... just not sure if it looks better open or closed... there is no interior but you cant see in anyway, guess it "might" kick me in to looking yet again at figure painting... keep trying, getting so far and abandoning it....
anyway this is where it sits (ignore the long sticks on the front - they were there just to pin the track in place while they set... will use the kit pins when its all painted up.

CallSignOWL
Hoot Hoot
- Joined
- Jun 14, 2013
- Messages
- 186
I like the stowage 
Cash
Member
- Joined
- Feb 10, 2013
- Messages
- 508
Nice detail work is on progress i guess. 
wbill76
New Member
- Joined
- Apr 24, 2013
- Messages
- 43
Stowage, tracks, and other details are what brings these StuG builds to life IMHO, very nice progress.
TRM
New Member
- Joined
- Mar 18, 2011
- Messages
- 5,024
Excellent work moving forward on this little guy! Love the detailing and stowage!!! Looking forward to the color!!! ;D
CallSignOWL
Hoot Hoot
- Joined
- Jun 14, 2013
- Messages
- 186
now it looks like candy
geegad
New Member
- Joined
- Jun 8, 2011
- Messages
- 1,669
that effect will look real nice
some fading done using True Earth filters.. then tried to remove some areas via HS method... first thing - TE filters dont like the water when you do HS... so know now do TE after HS technique (and yes Velljo really doesnt like to come off... )
still not sure if I will do white - i think so as I like the look, but would need a good period of bench time to do HS and white and start weathering close together....
piccies
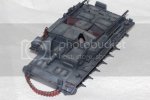
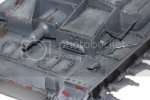
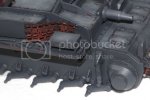
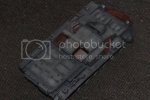
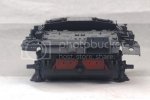
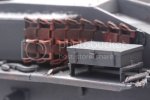
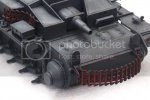
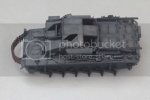
NOTE - rusting is Humbrol iron oxide pigment... need to tone it down a little, some darker browns I think, but it is a start....
still not sure if I will do white - i think so as I like the look, but would need a good period of bench time to do HS and white and start weathering close together....
piccies


NOTE - rusting is Humbrol iron oxide pigment... need to tone it down a little, some darker browns I think, but it is a start....
geegad
New Member
- Joined
- Jun 8, 2011
- Messages
- 1,669
real nice work

