COMMISSION: 1/2256 Avenger and Acclamator

nicholassagan

sippin on gin + juice
Joined
Dec 28, 2011
Messages
2,013
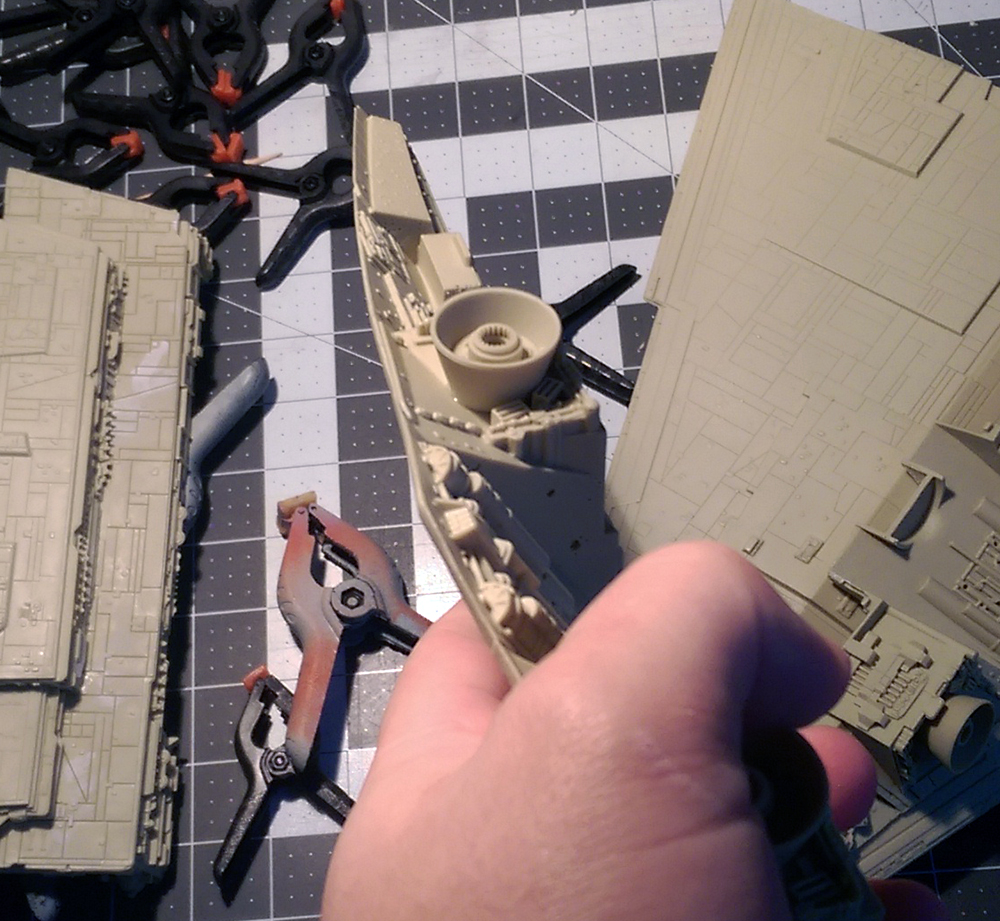
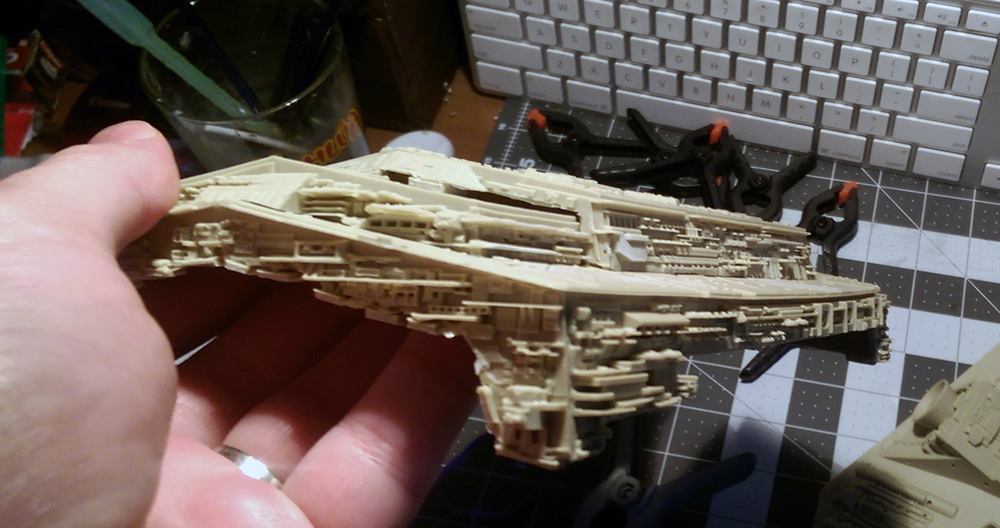
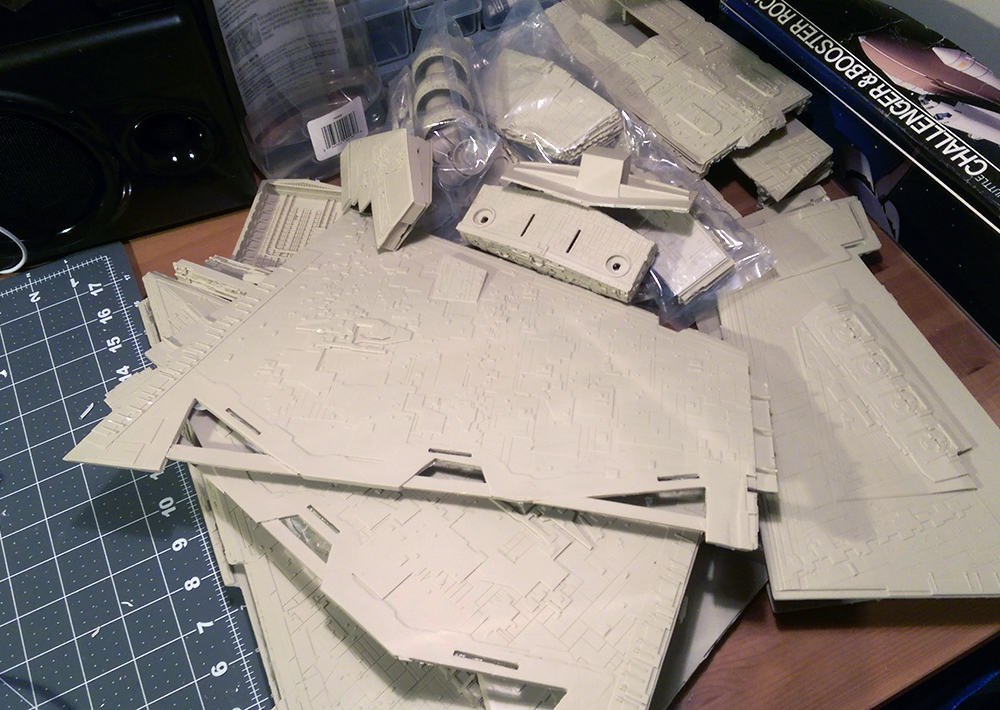
Big commission project on the heels of the last MC-80/30 diorama. Anigrand’s Avenger and JPG’s Acclamator cruisers. The latter will be a Clone Wars deco. Lots of parts, lots of resin.
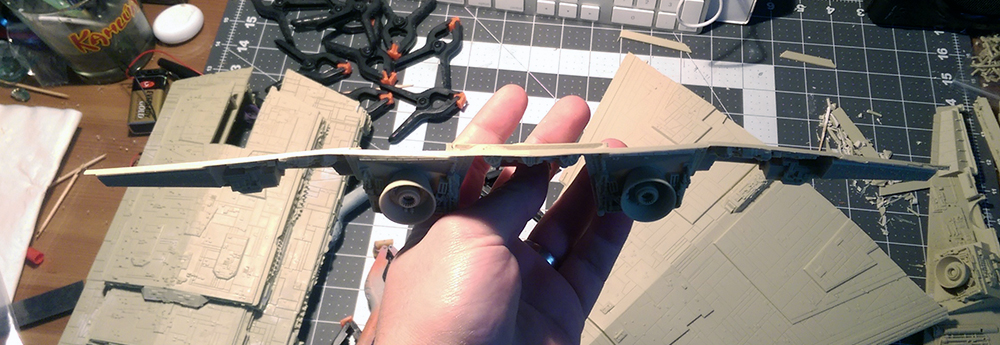
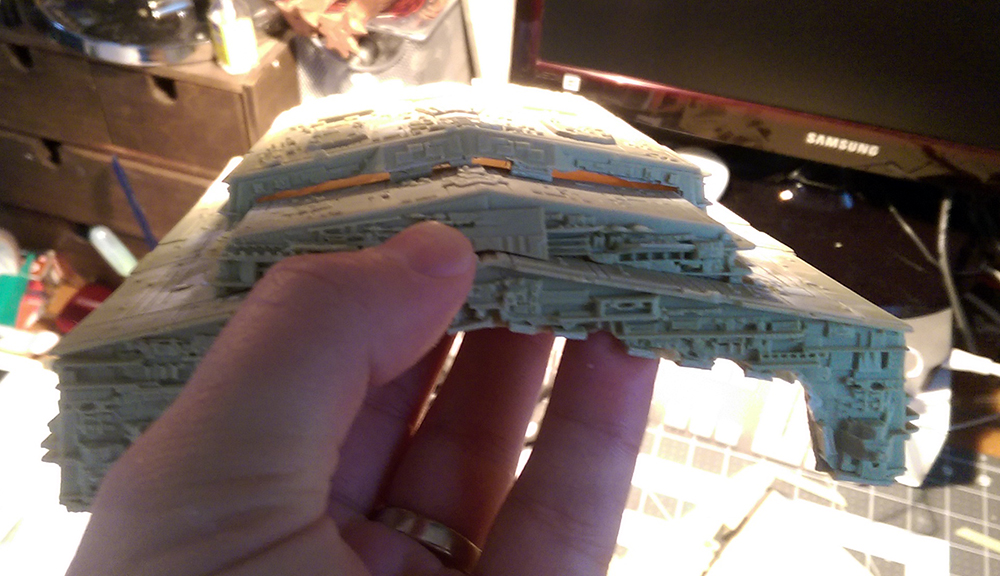
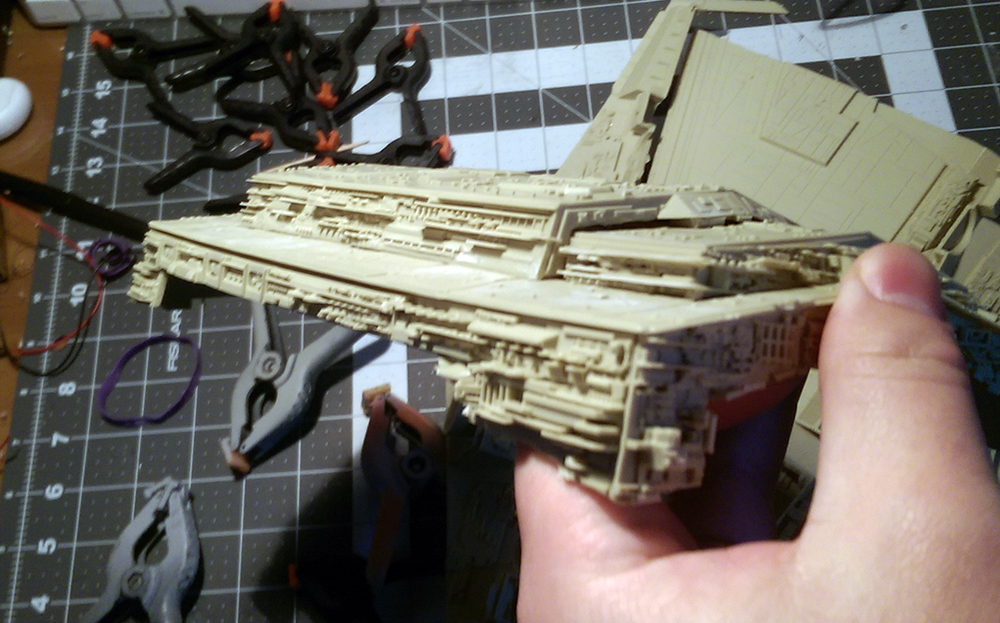
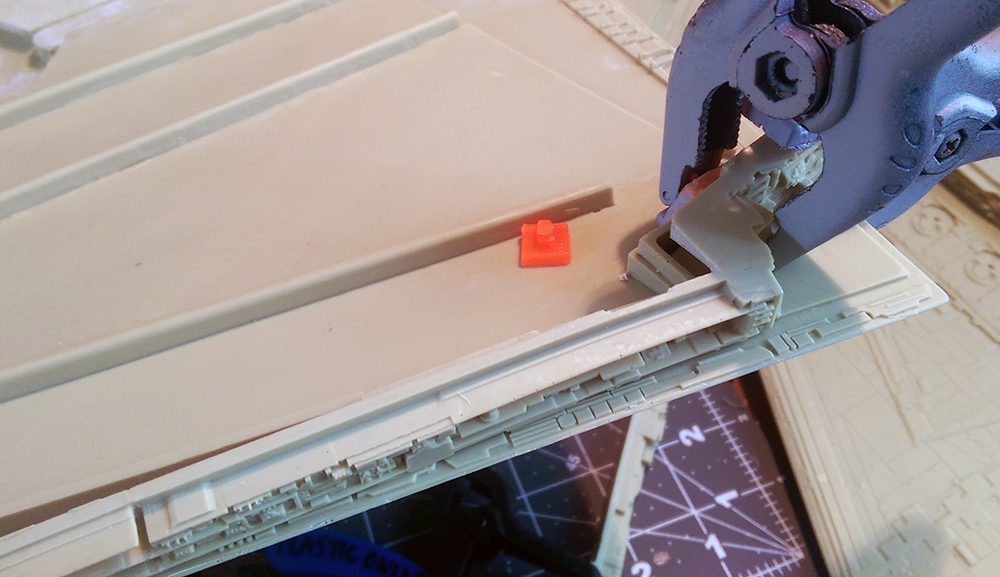
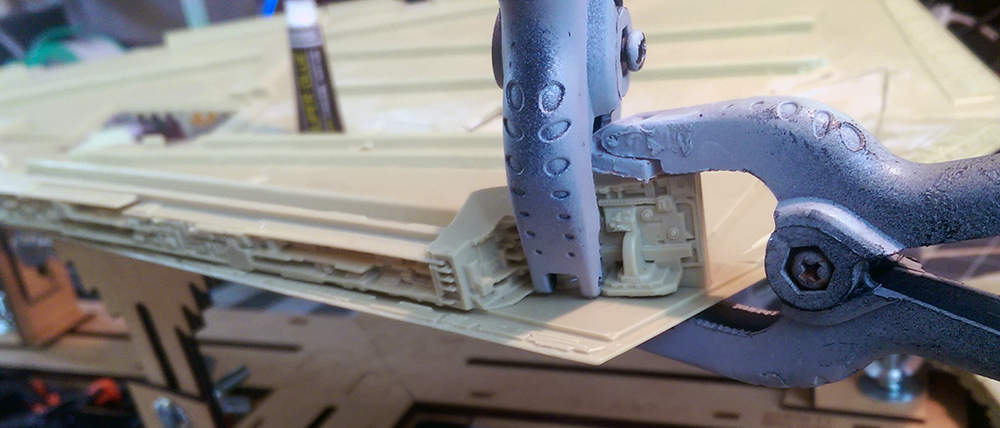
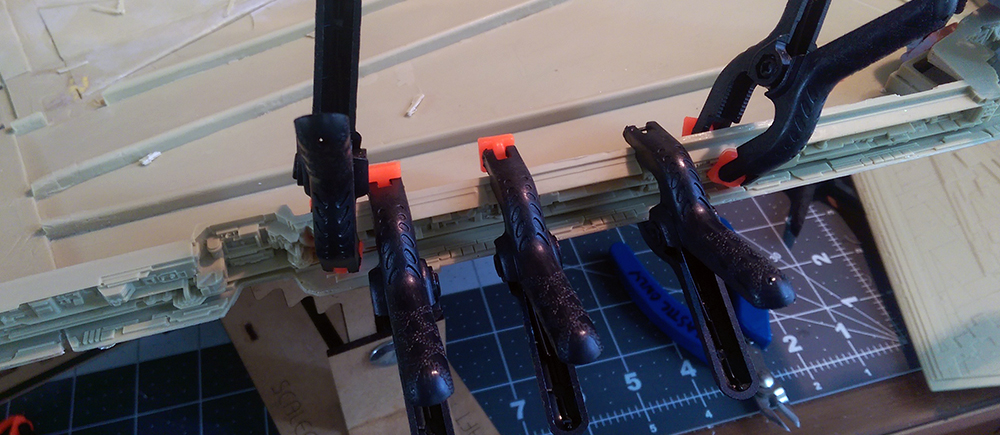
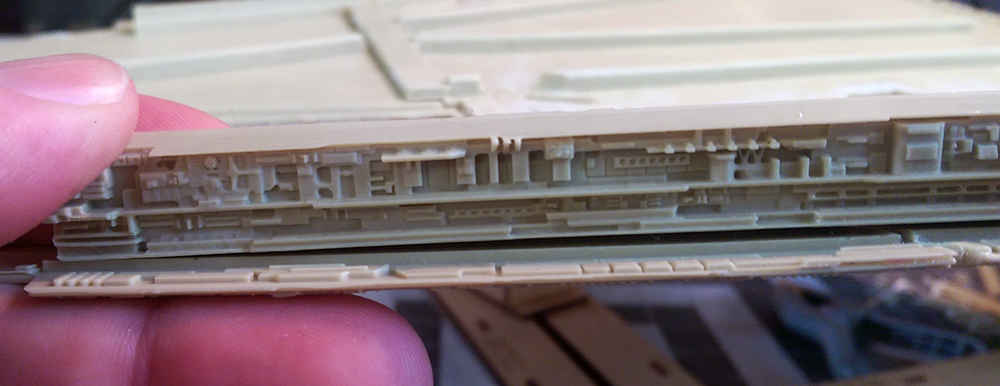
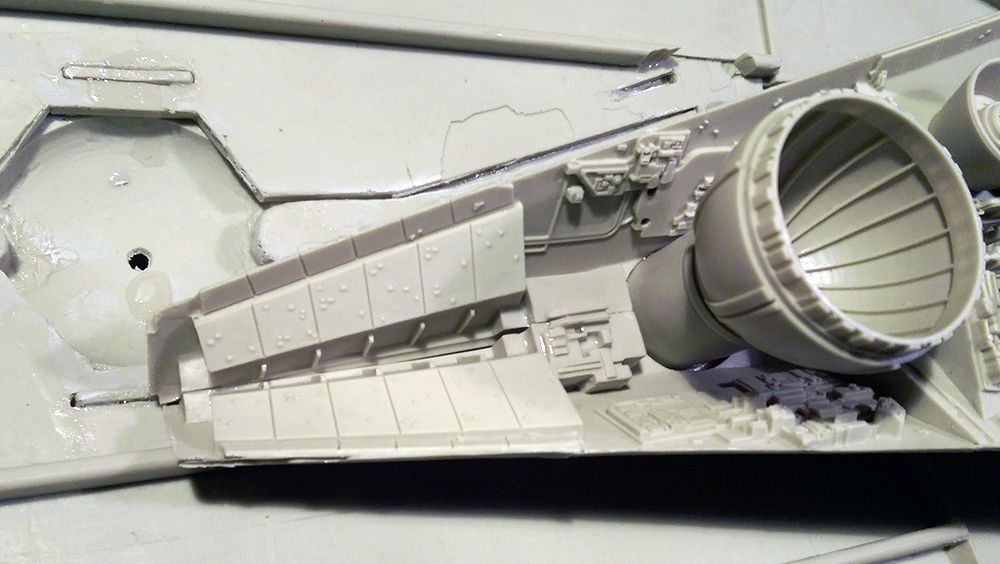
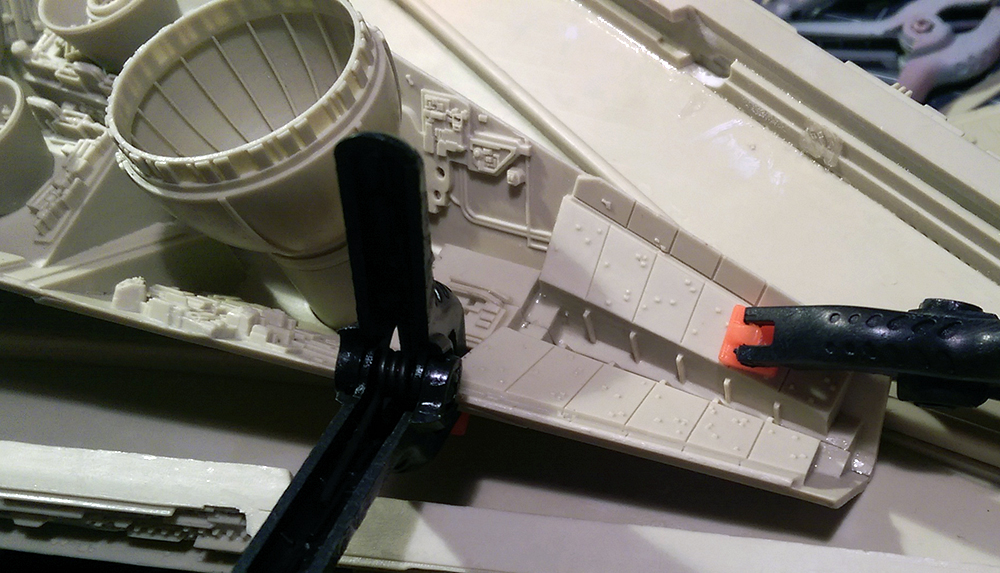
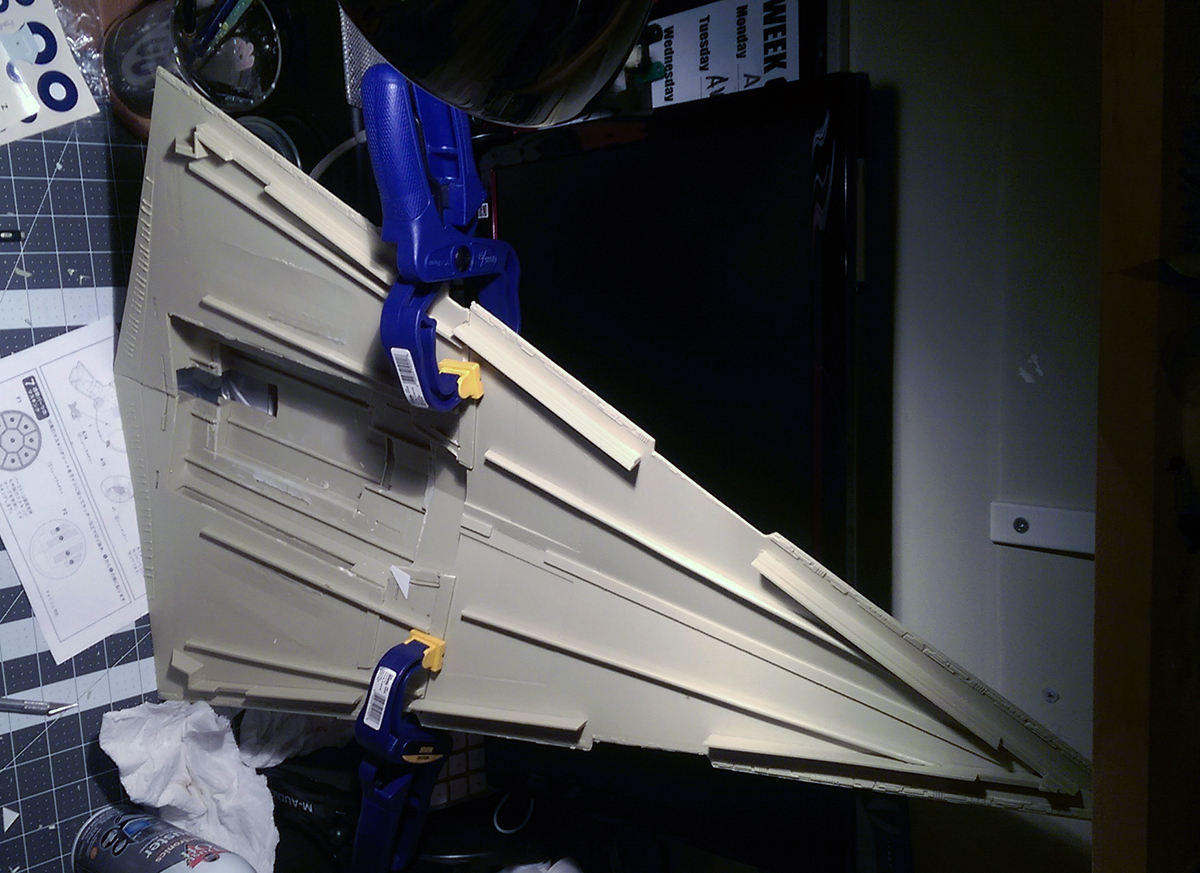
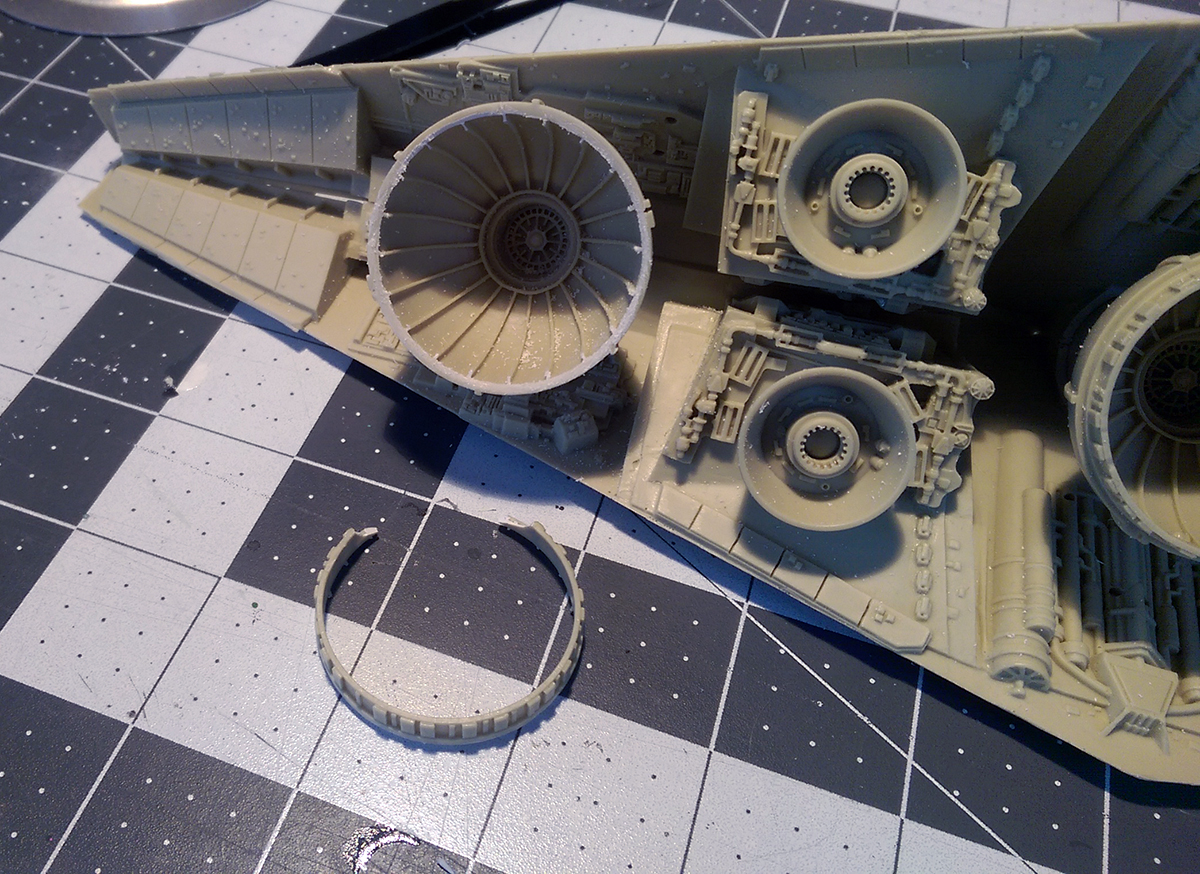
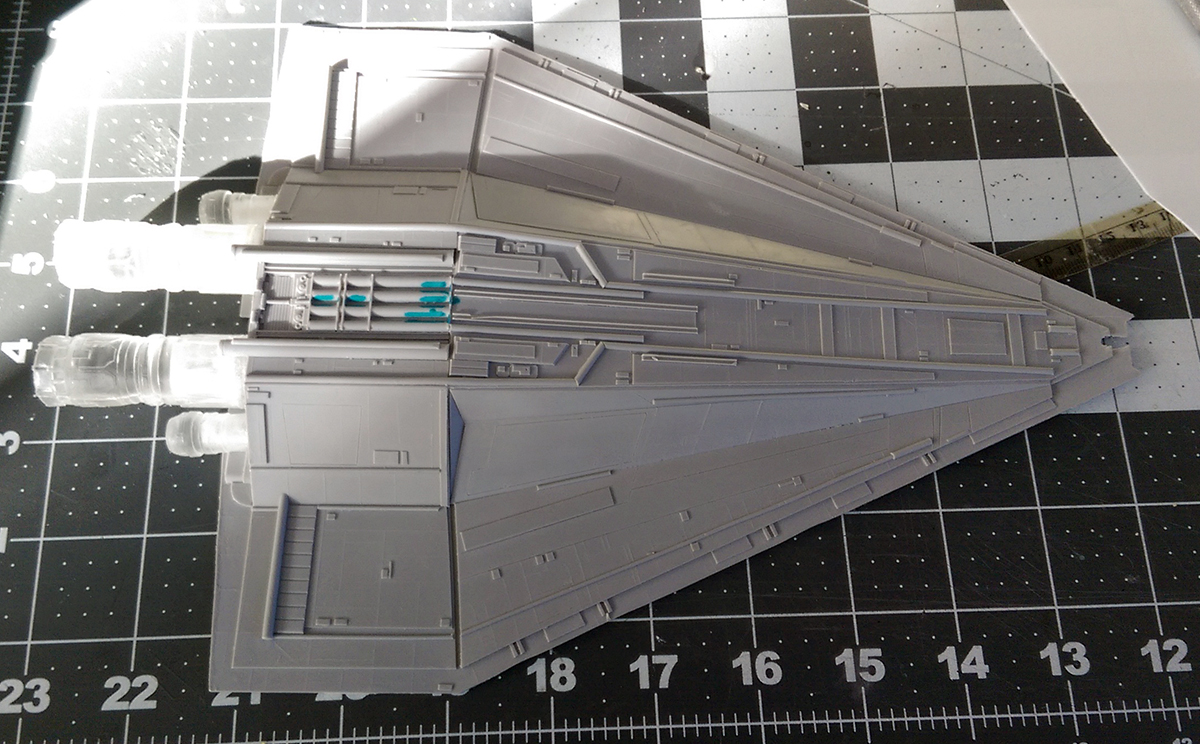
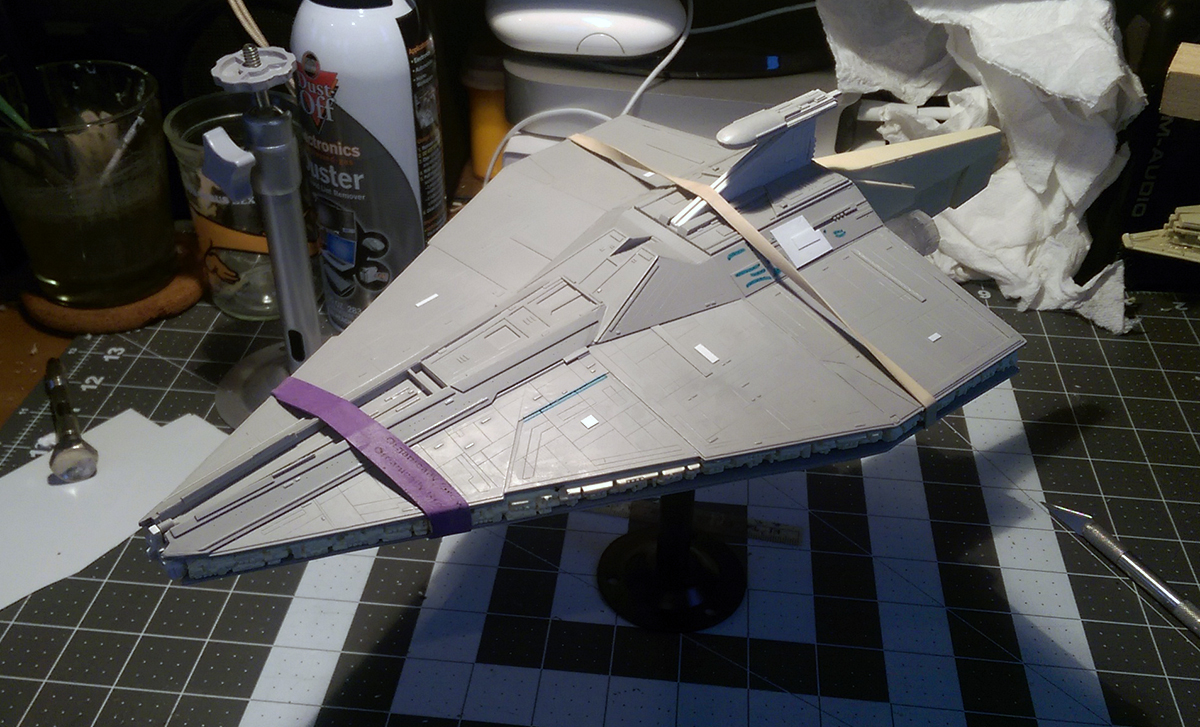
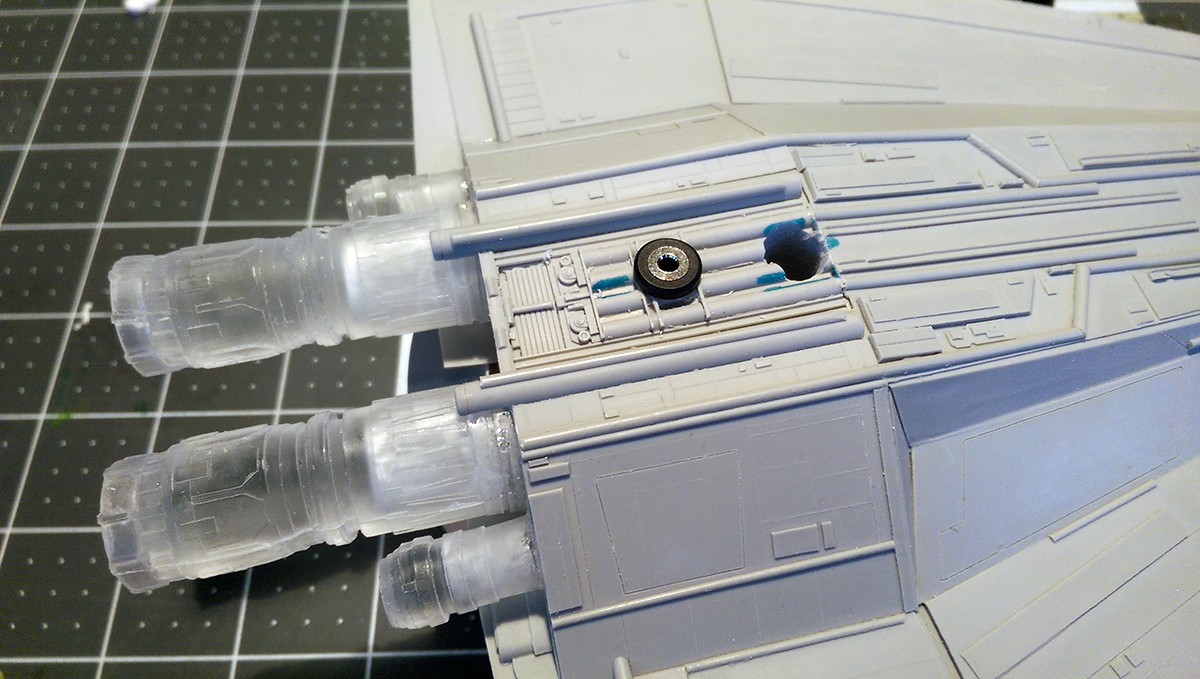
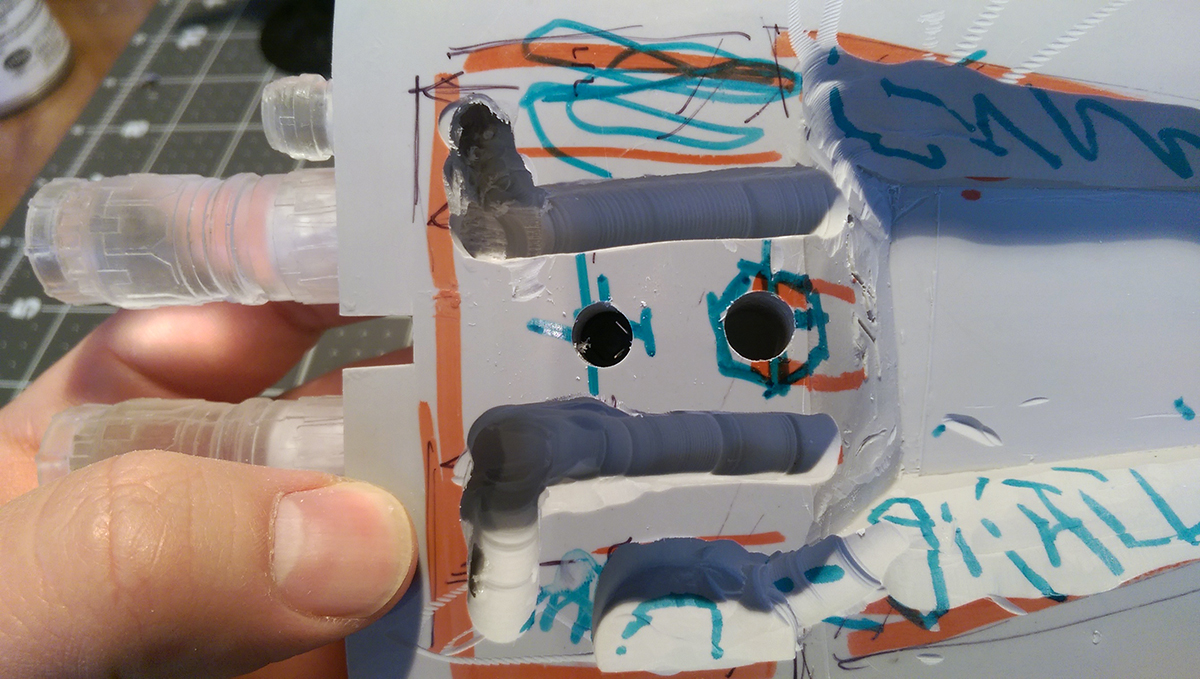
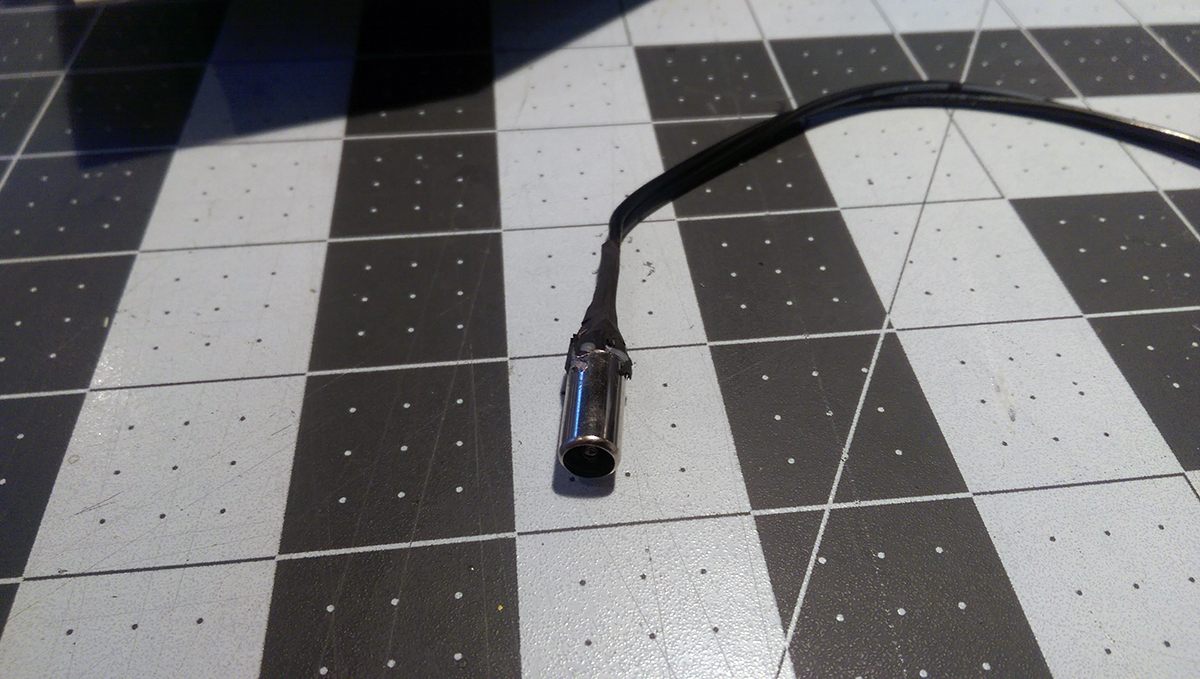
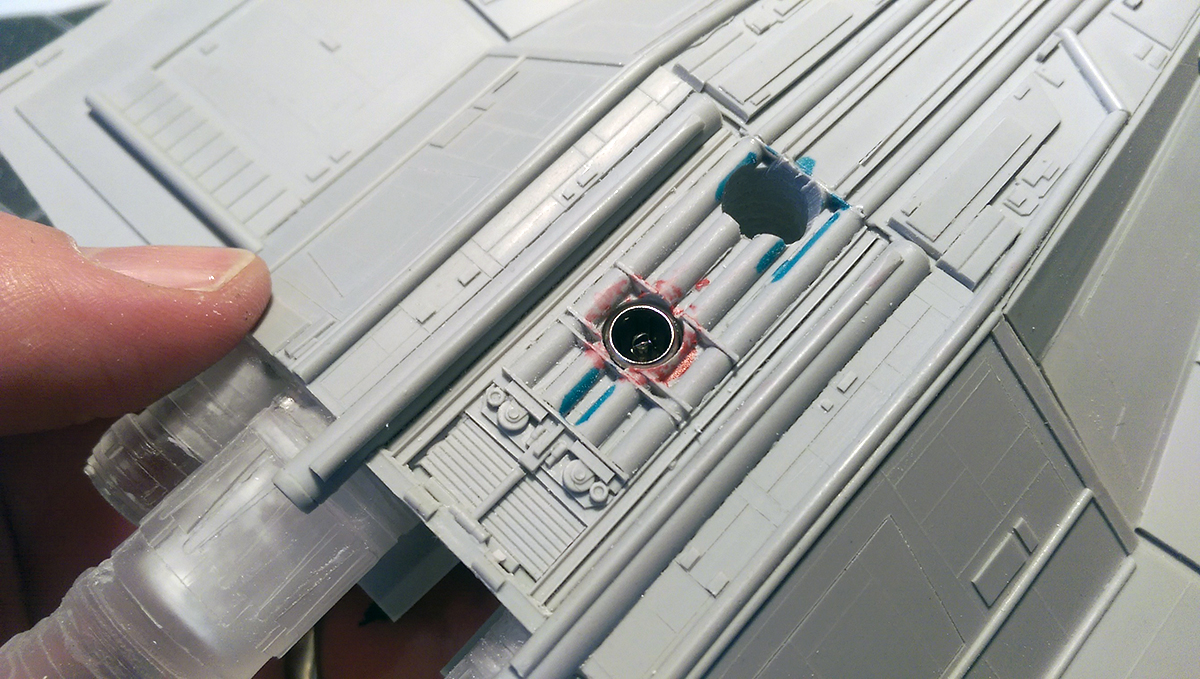
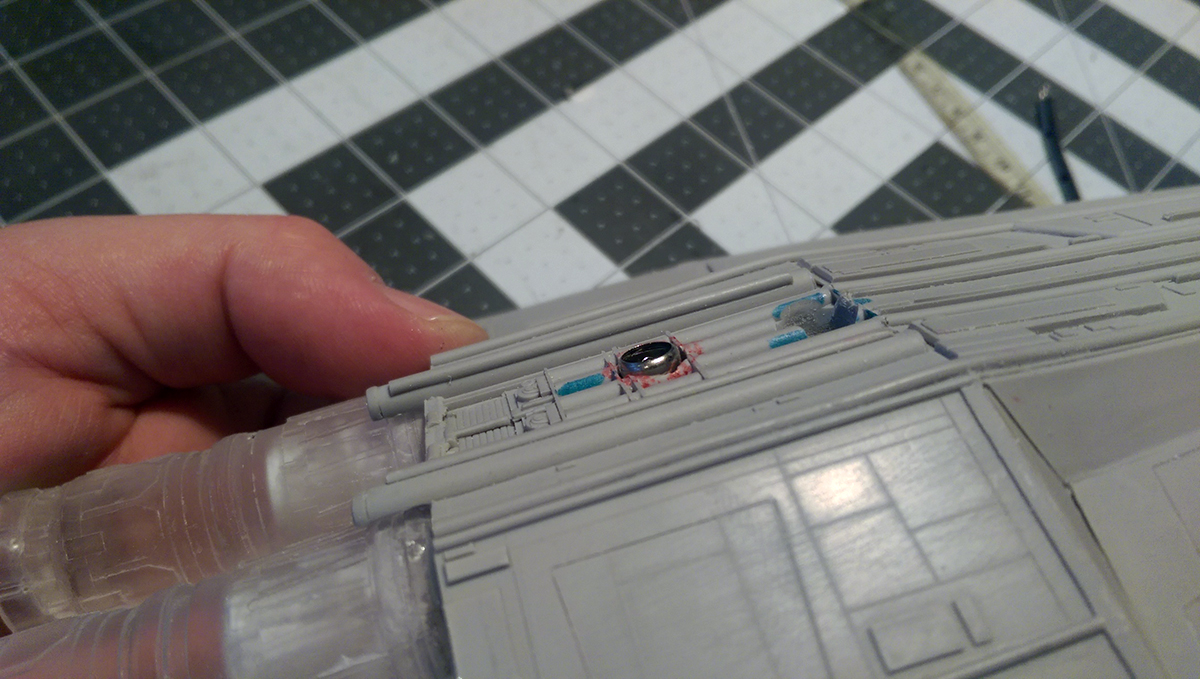
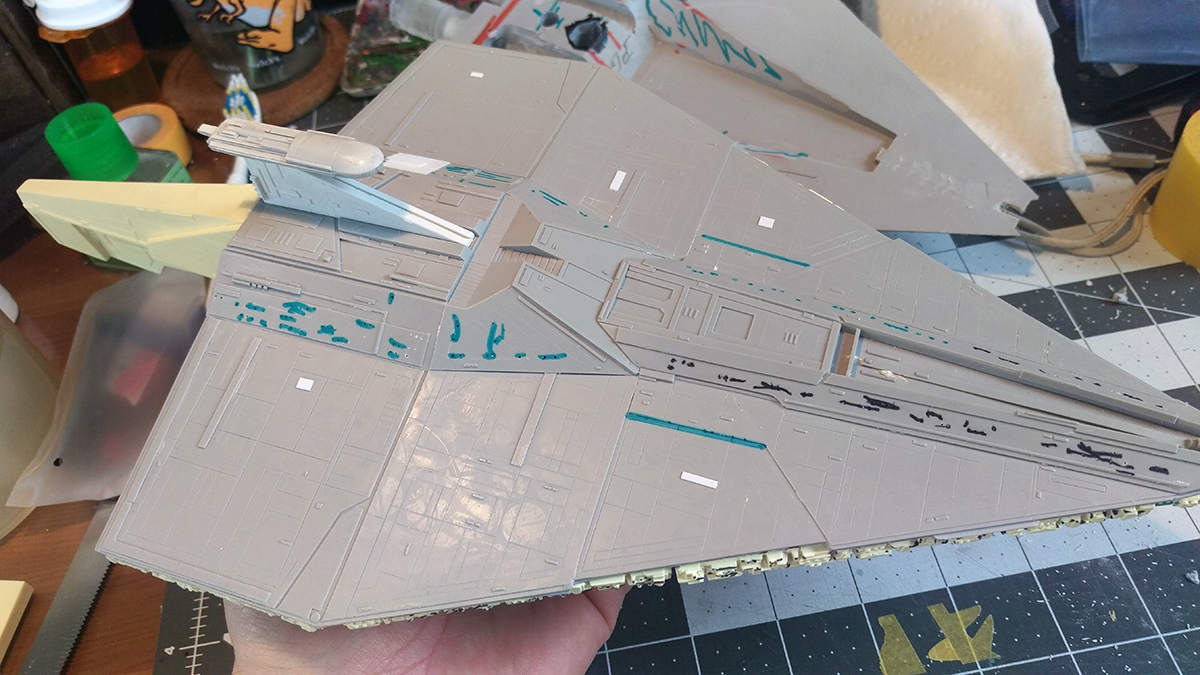
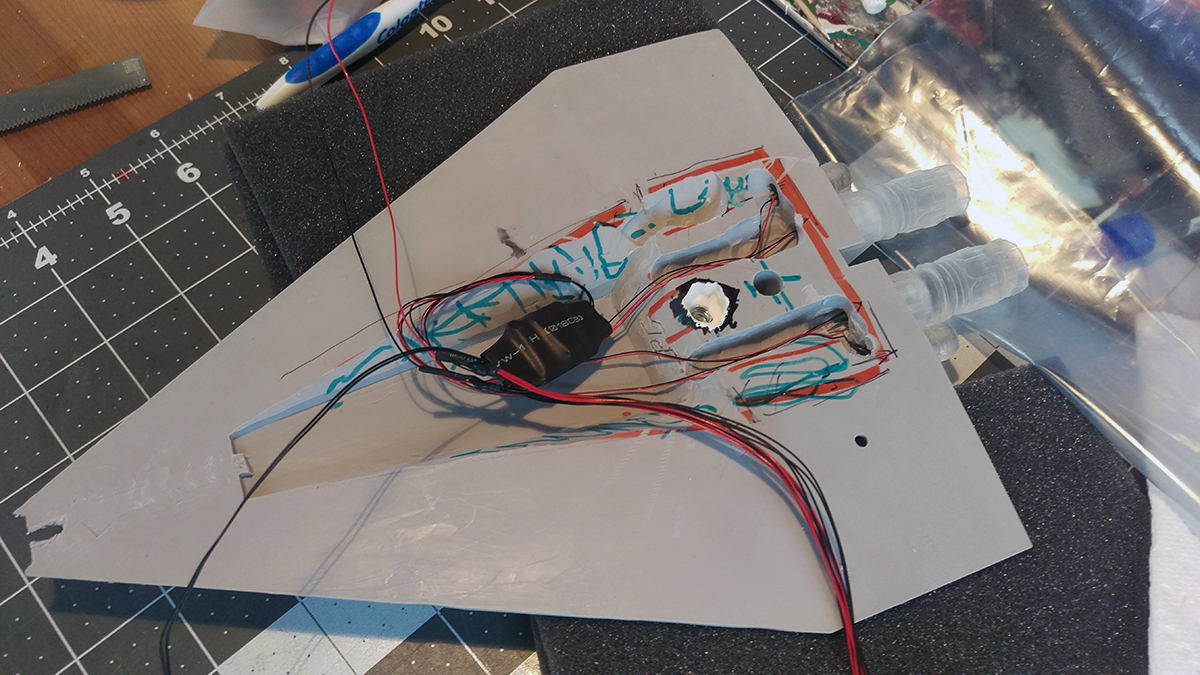
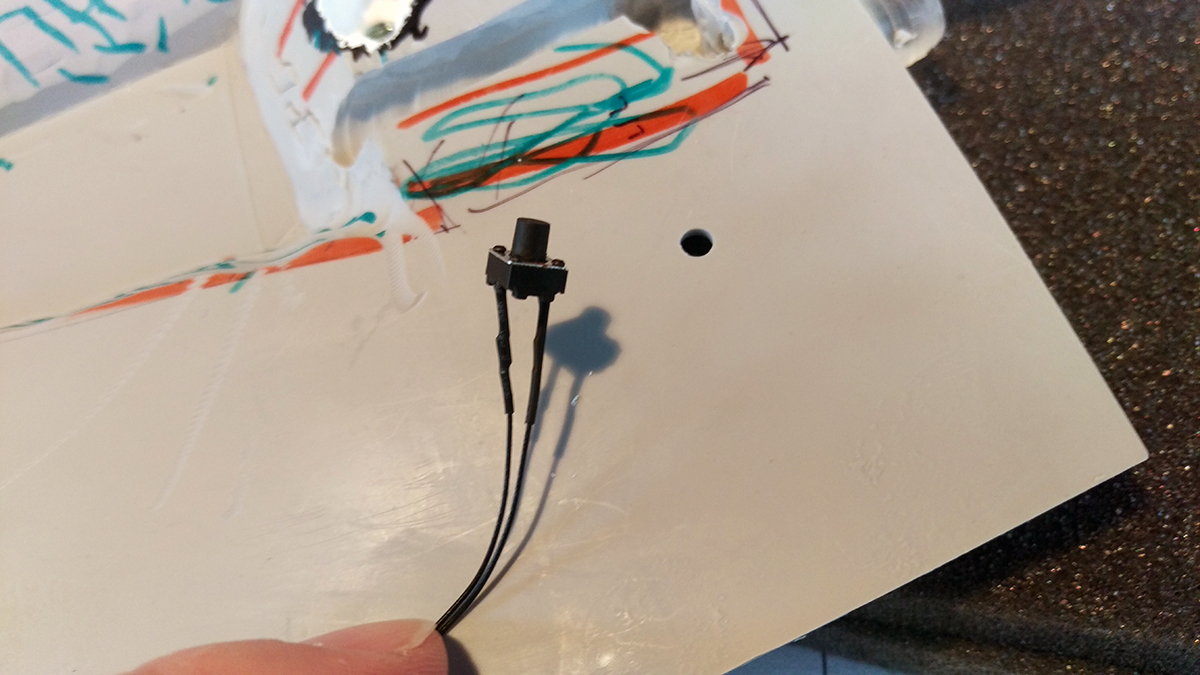
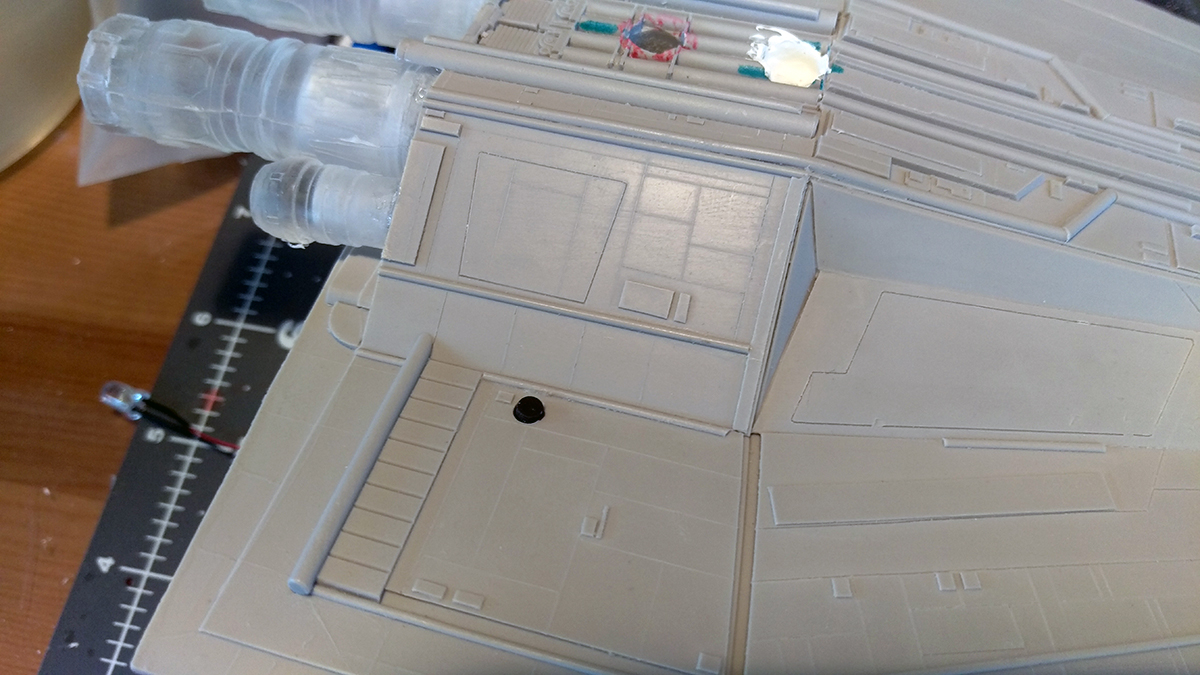
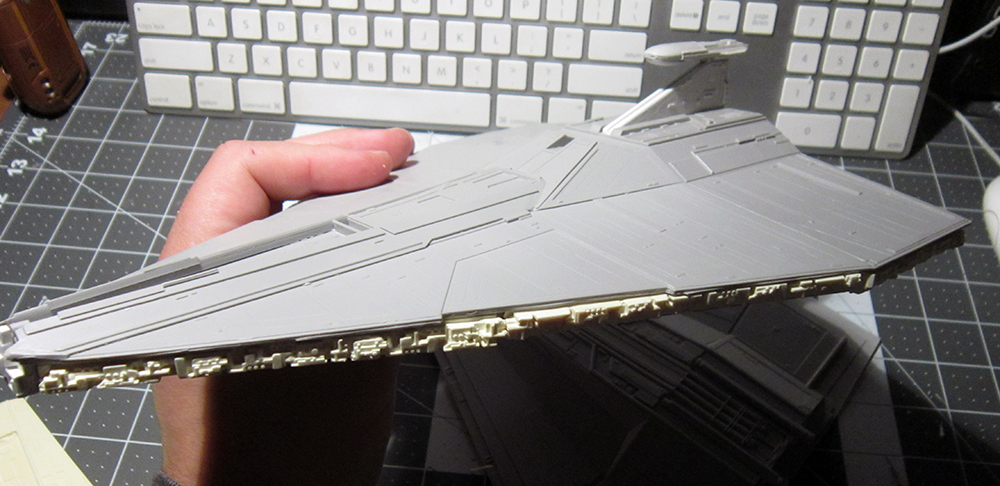
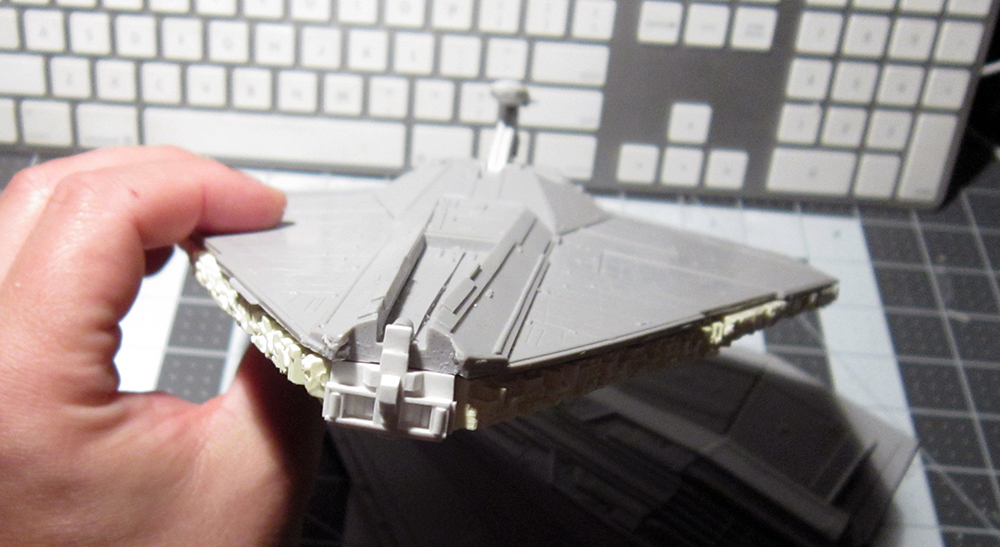
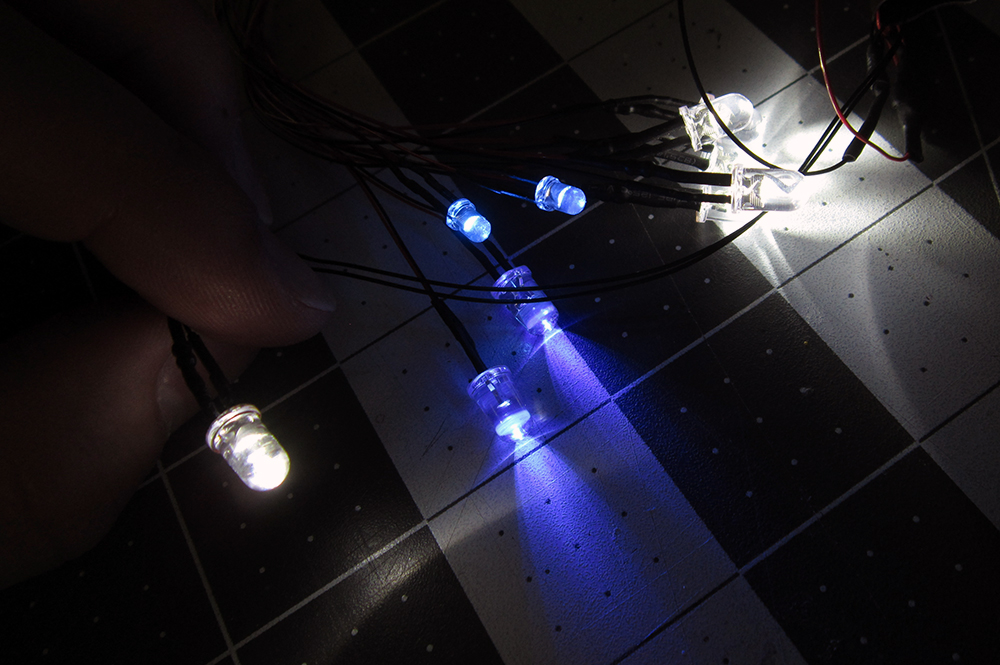
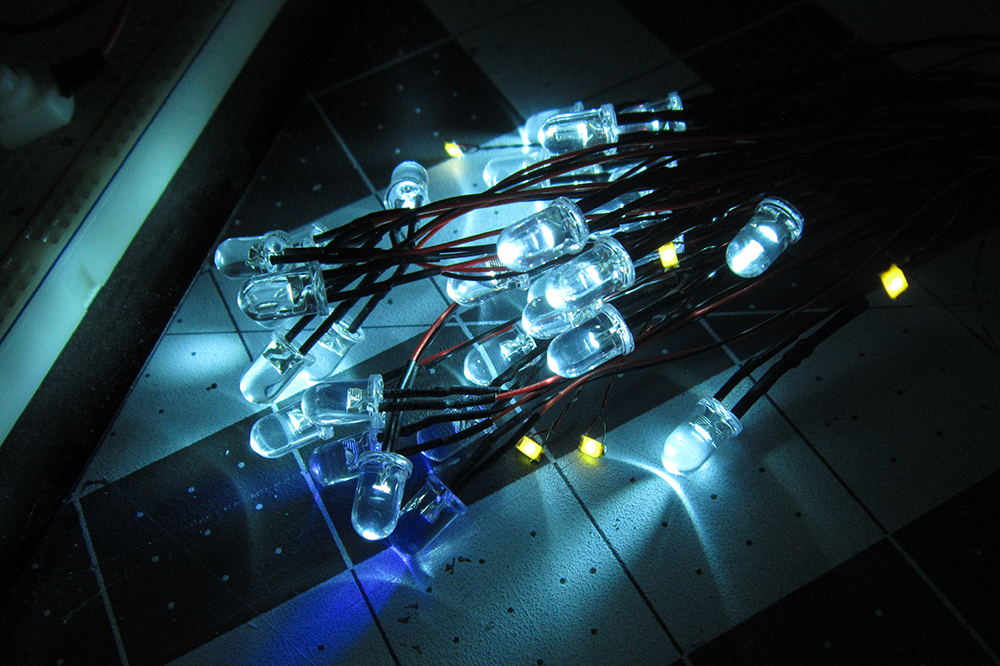
The Acclamator builds up pretty easily. There was a minor amount of warpage to correct on the lower hull. I also got the clear engine version so lighting will be much easier.There’s a moderate amount of detail that I’d like to go back in add in the form of trench and surface greeblies… The circuit is the standard cool white LED for the windows but now has the blue LEDs on the flicker part for the engines.

acc_imag8033.jpg


acc_img_0096.jpg

acc_img_0097.jpg

acc_img_0098.jpg

acc_img_0100.jpg

acc_img_0101.jpg

acc_img_0102.jpg

acc_img_0103.jpg

acc_img_0104.jpg

acc_img_0107.jpg

acc_img_0108.jpg

acc_img_0110.jpg


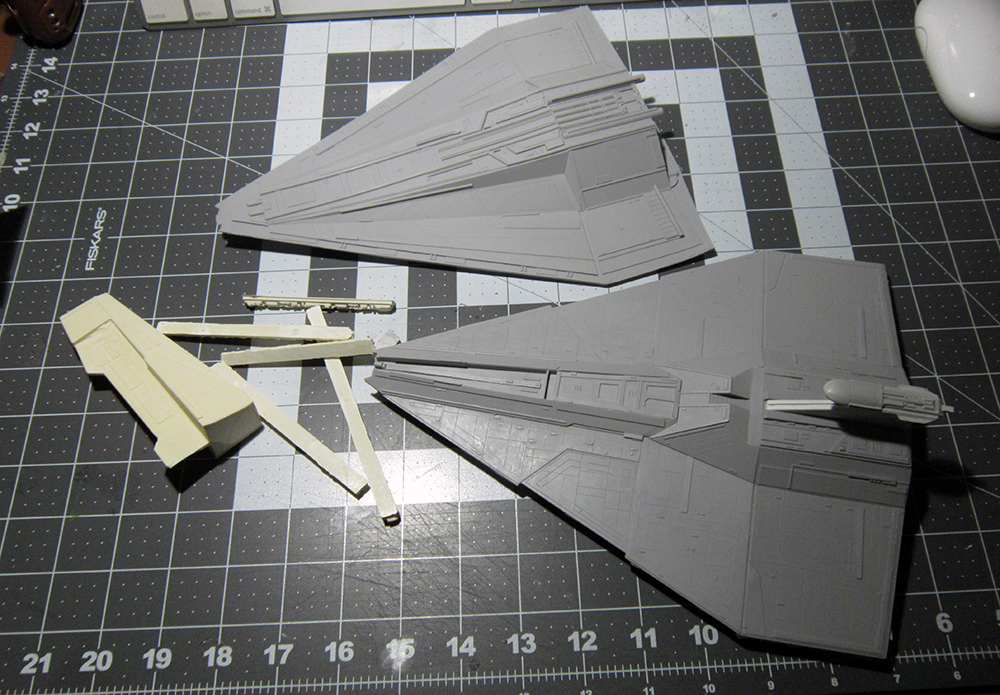
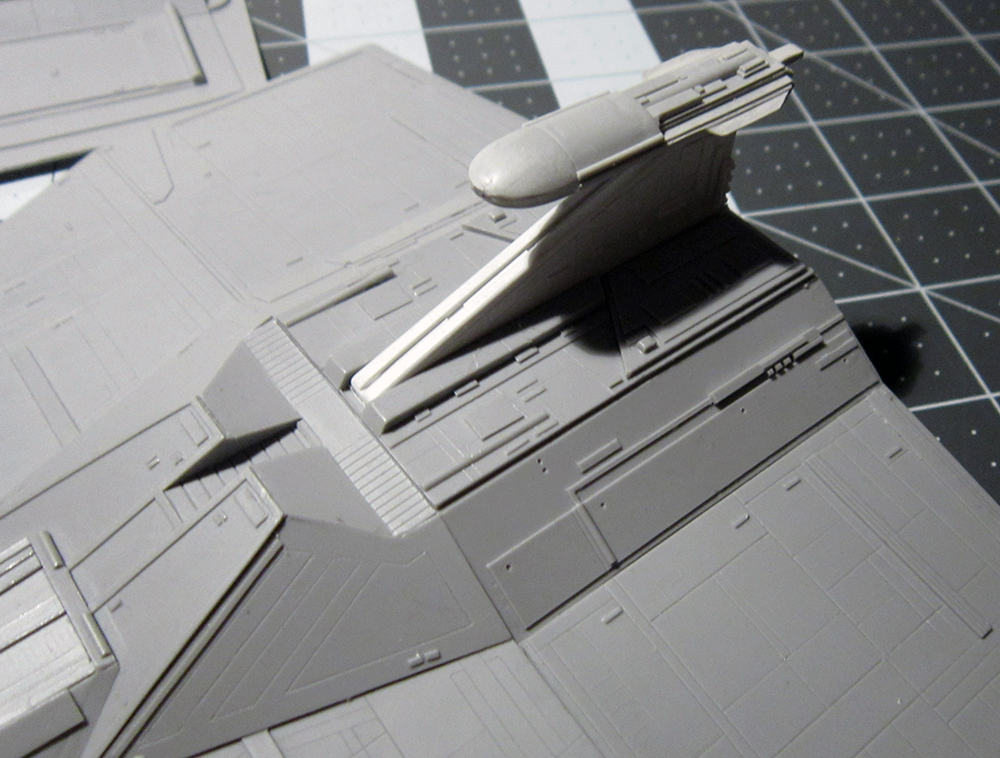
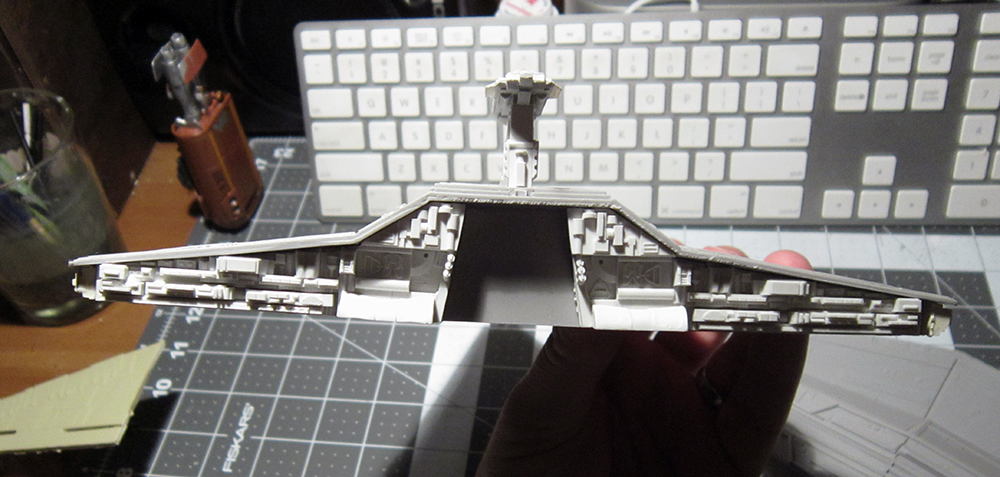
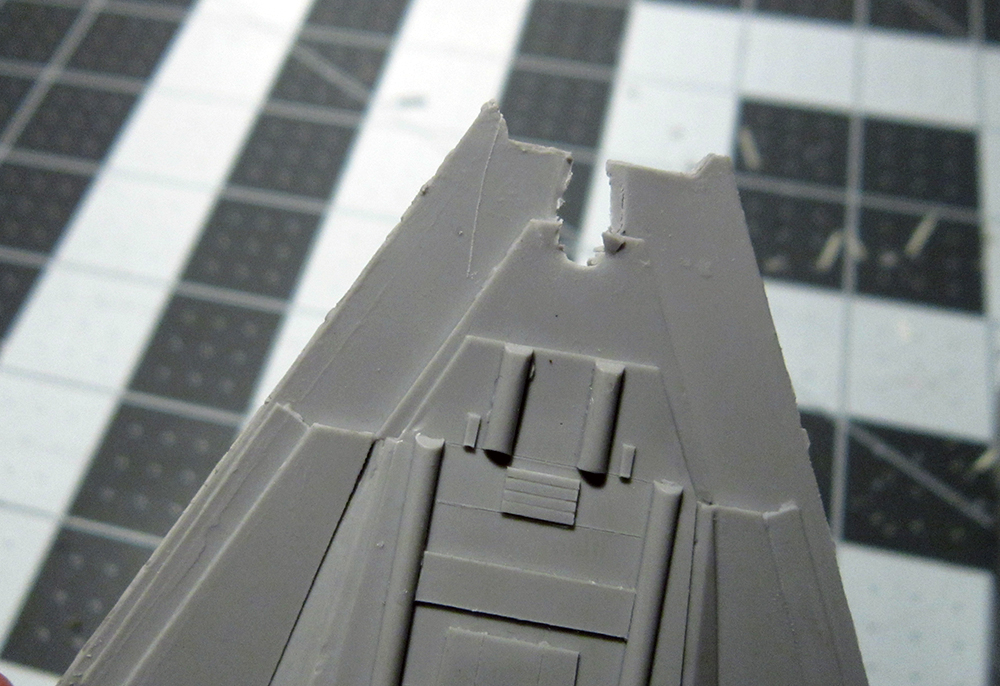
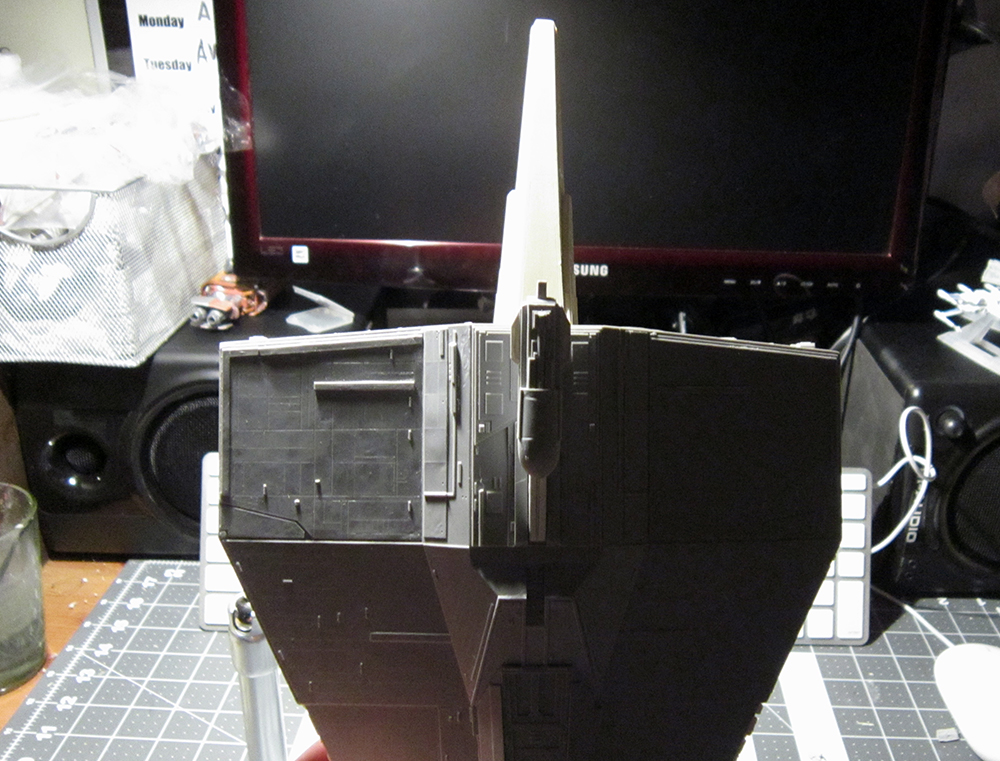
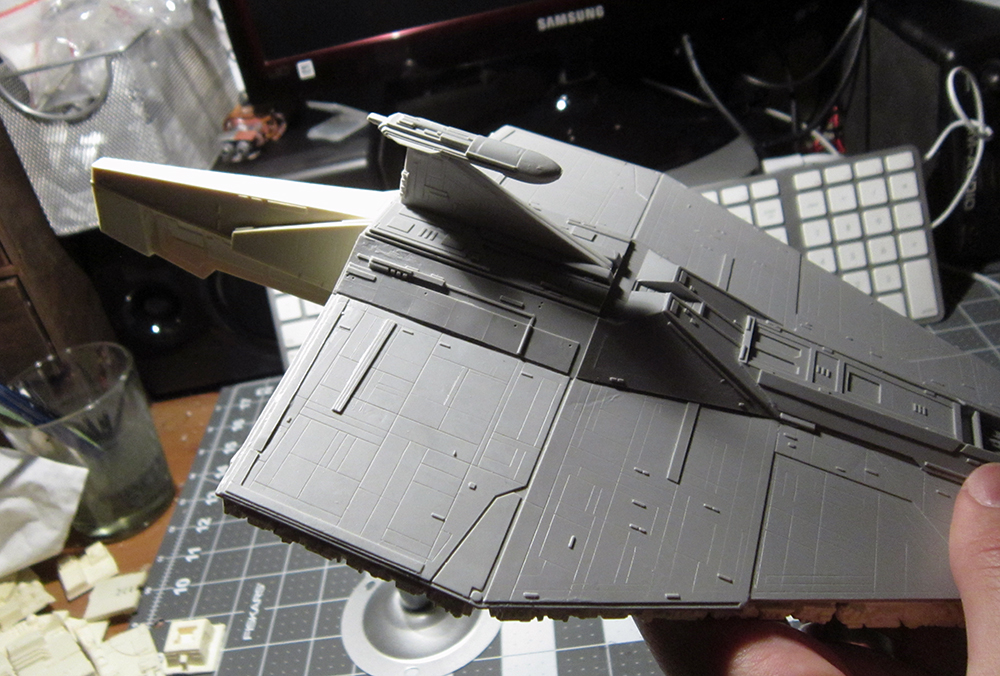
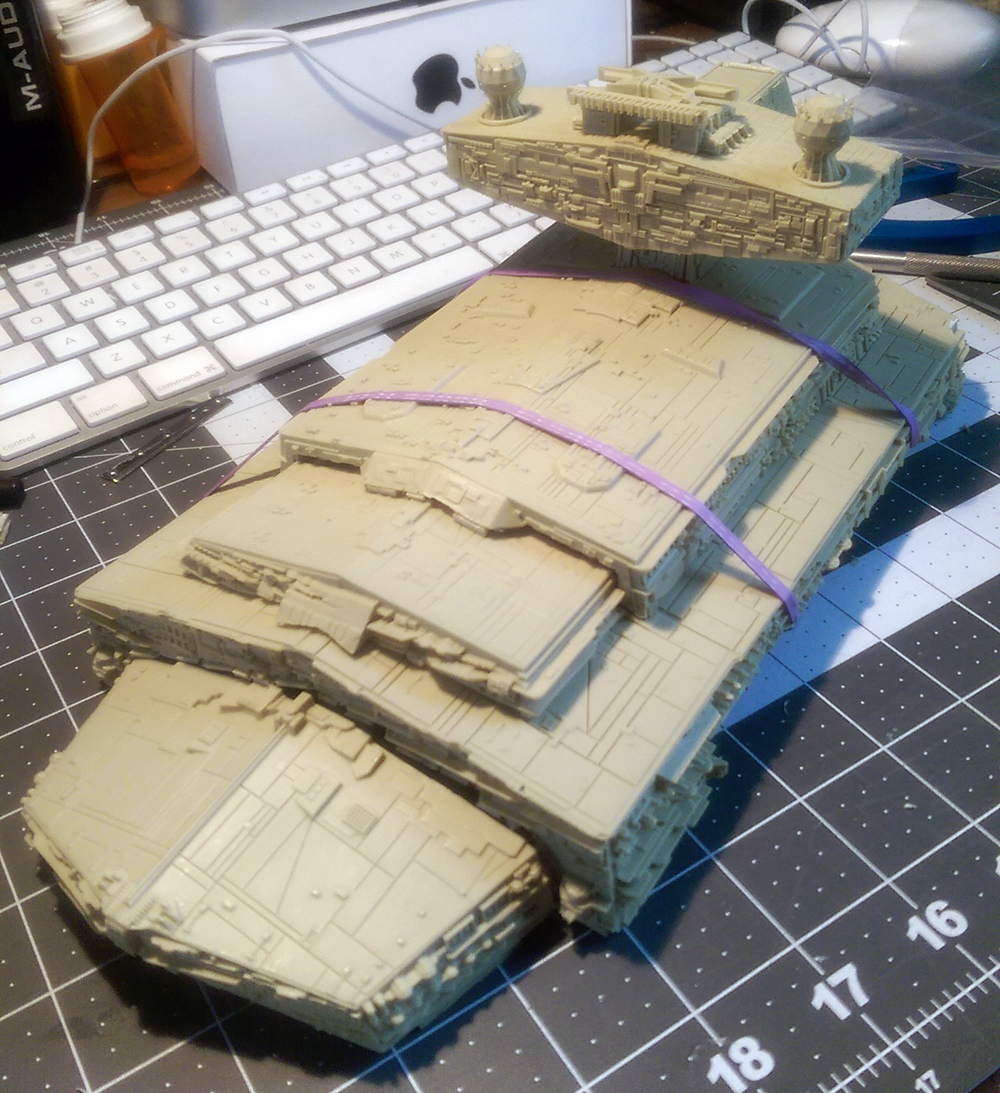
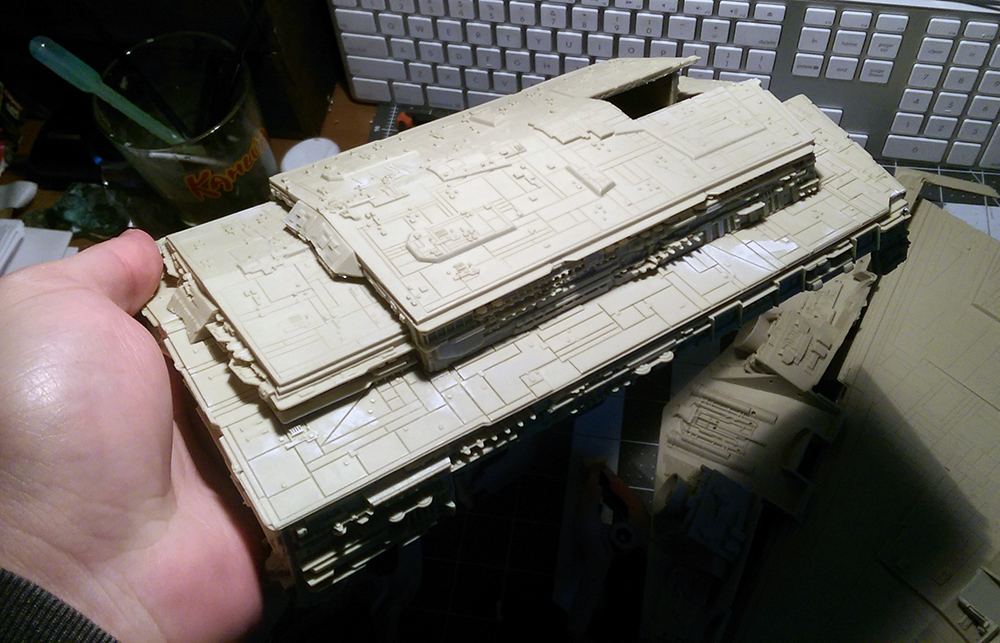
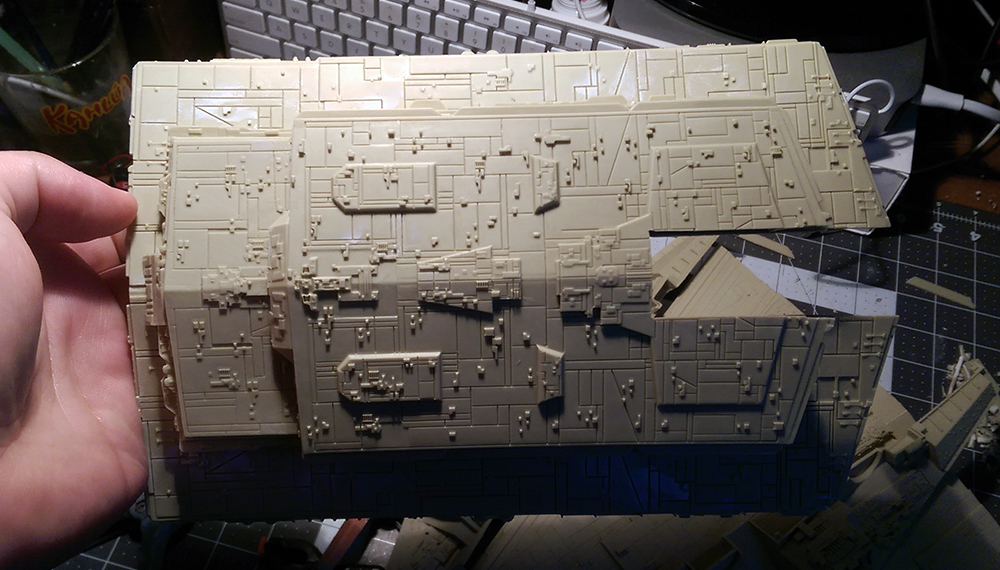
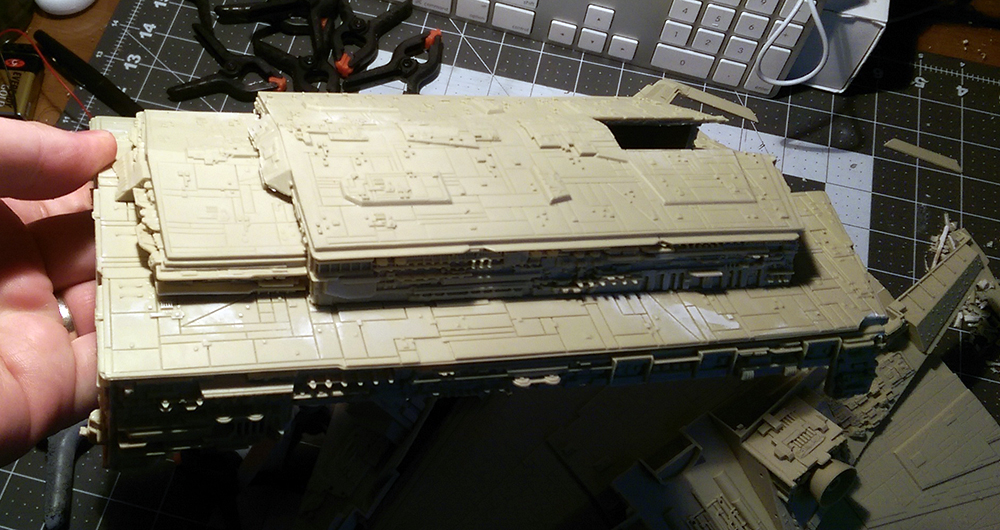
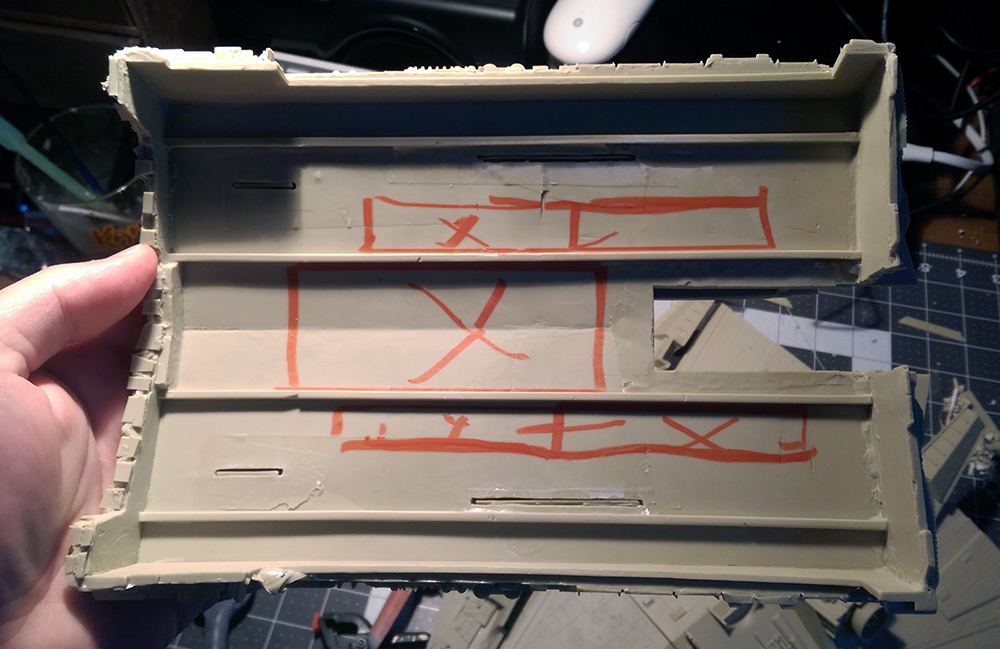
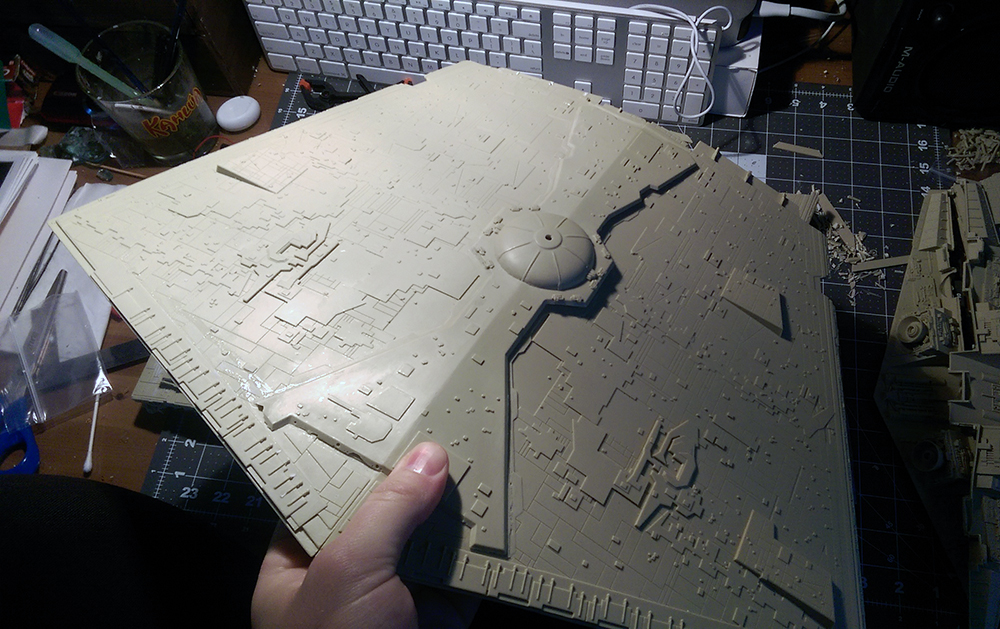
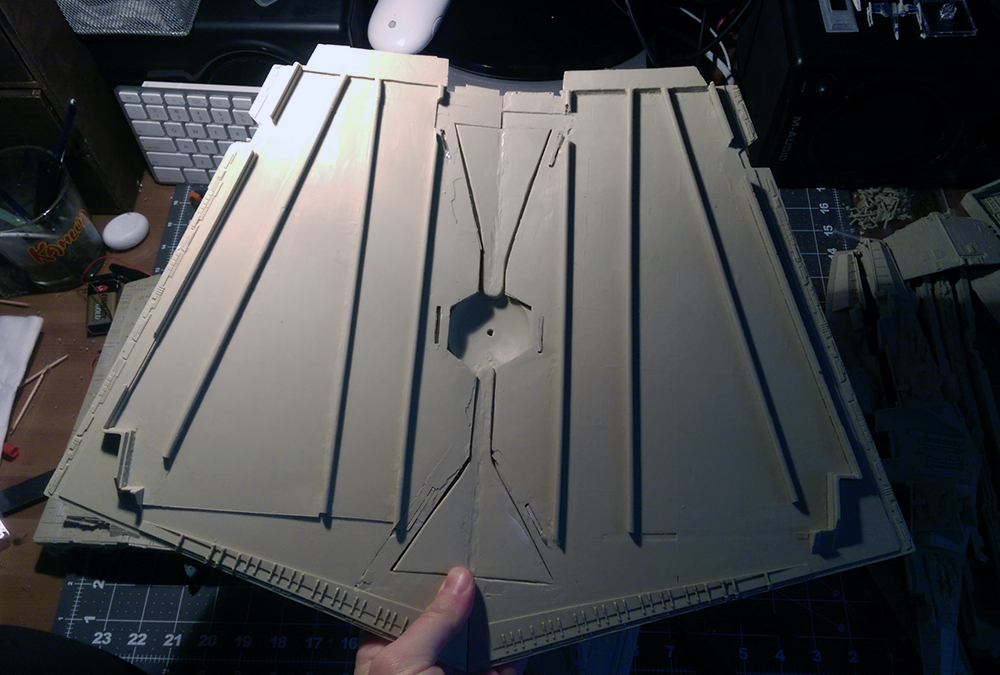
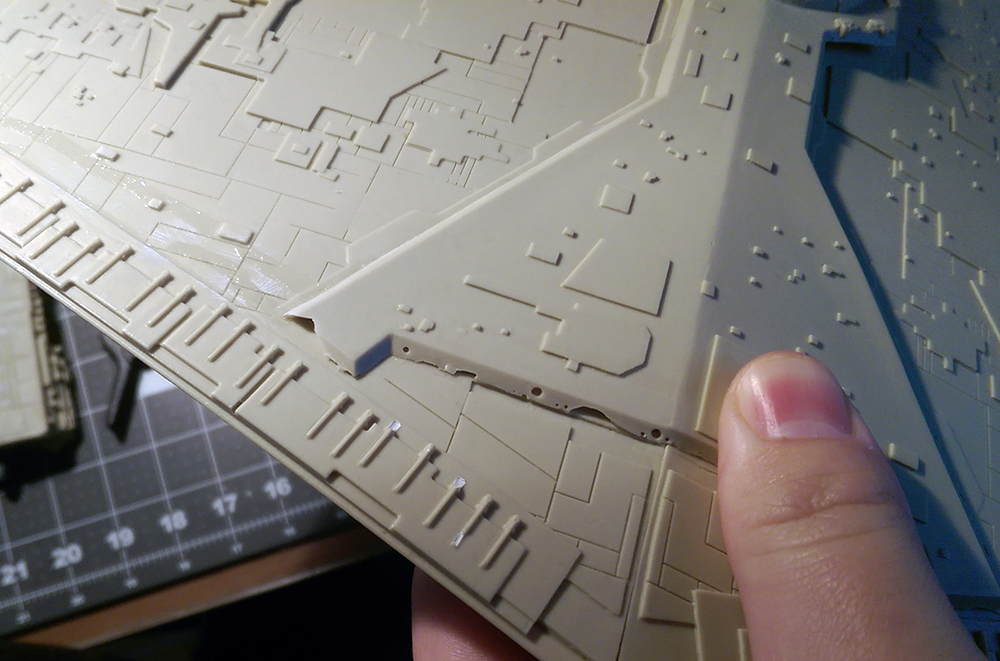
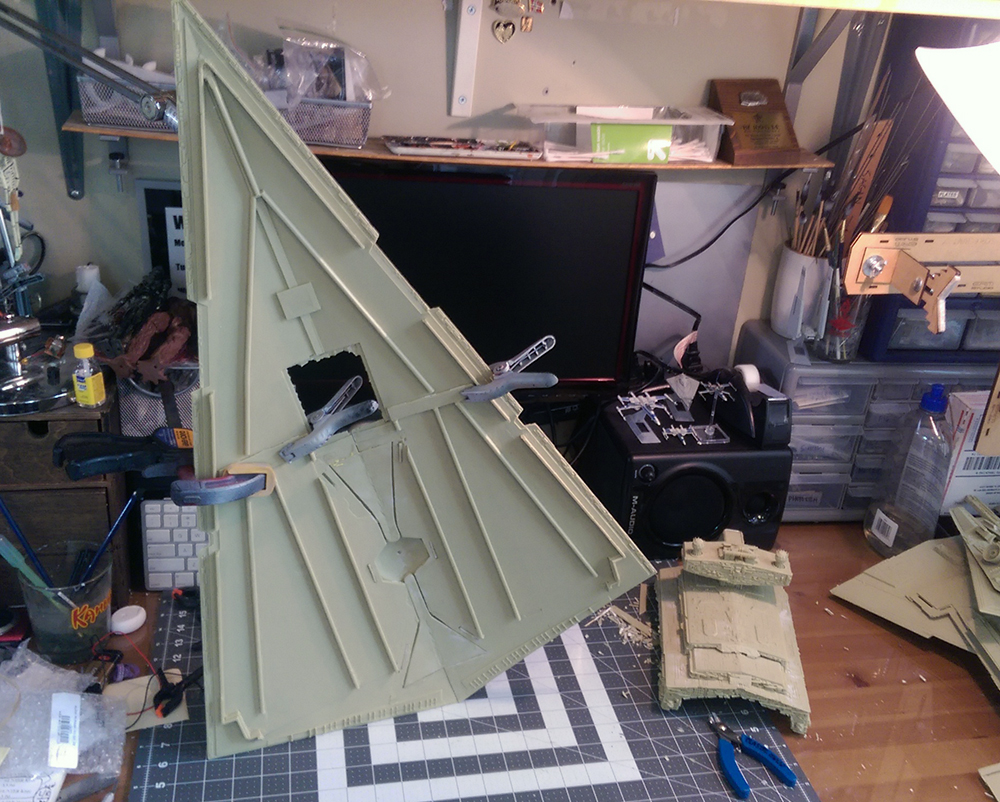
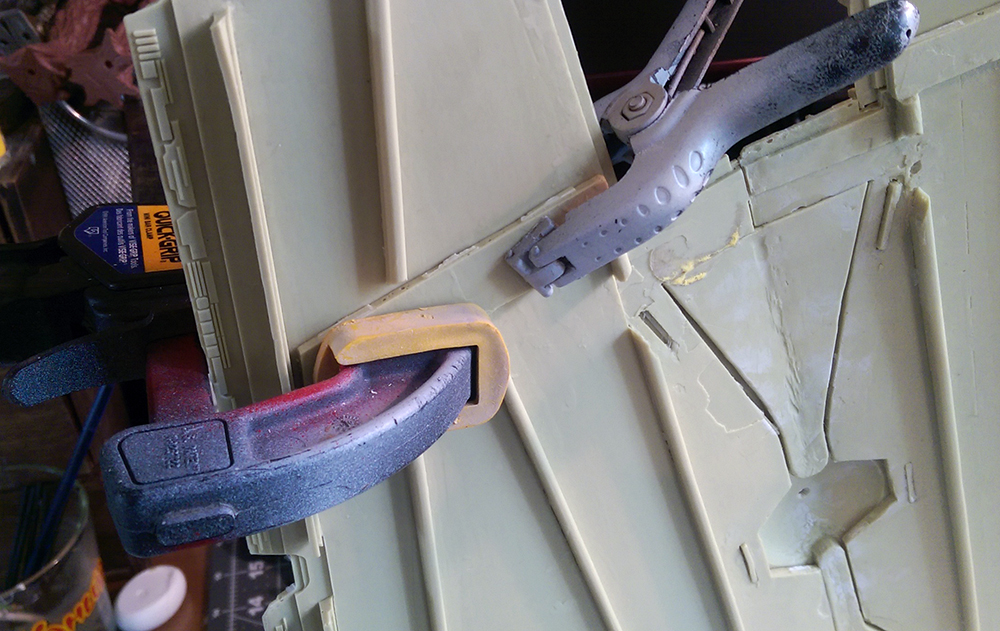
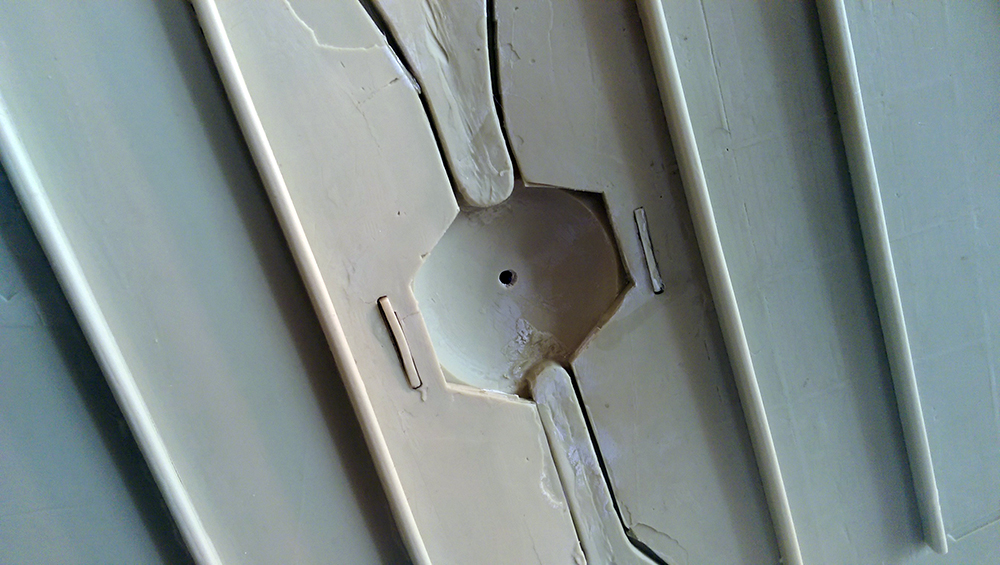
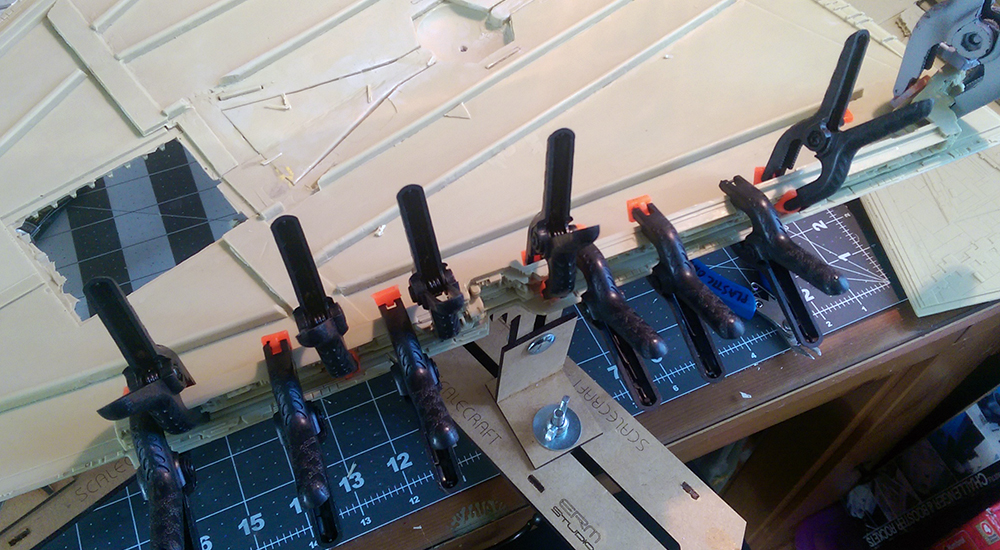
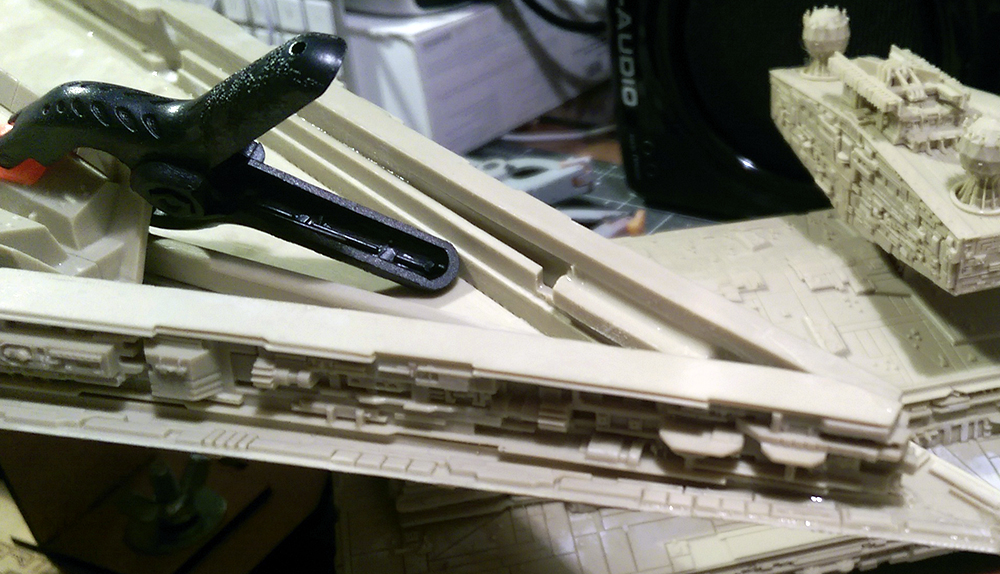
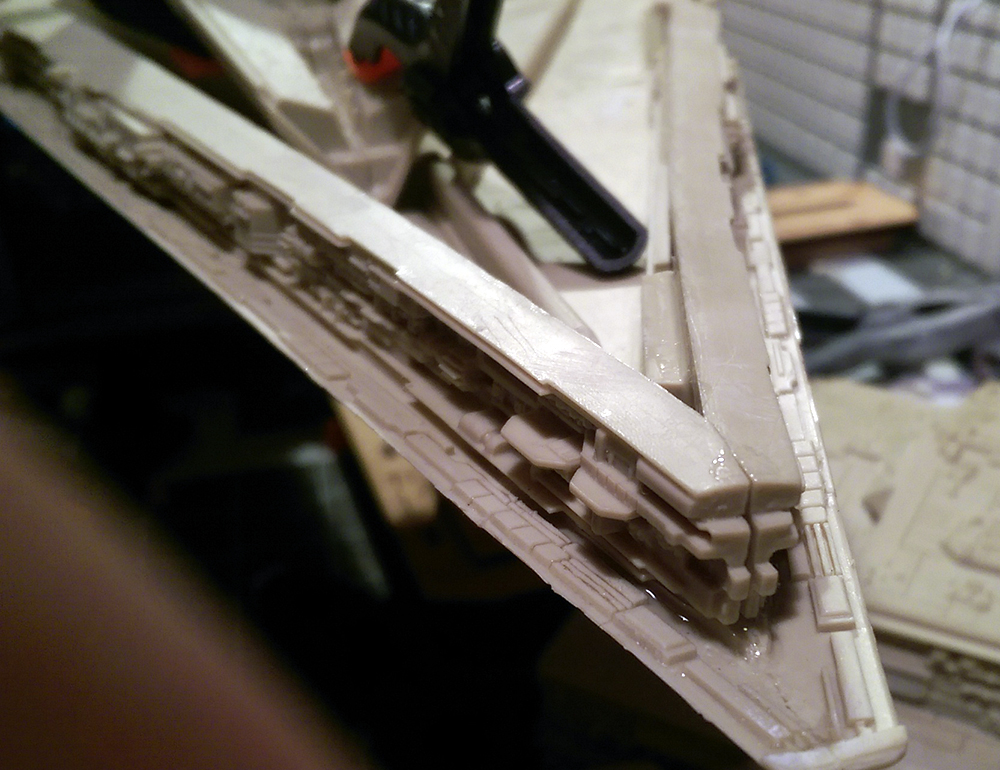
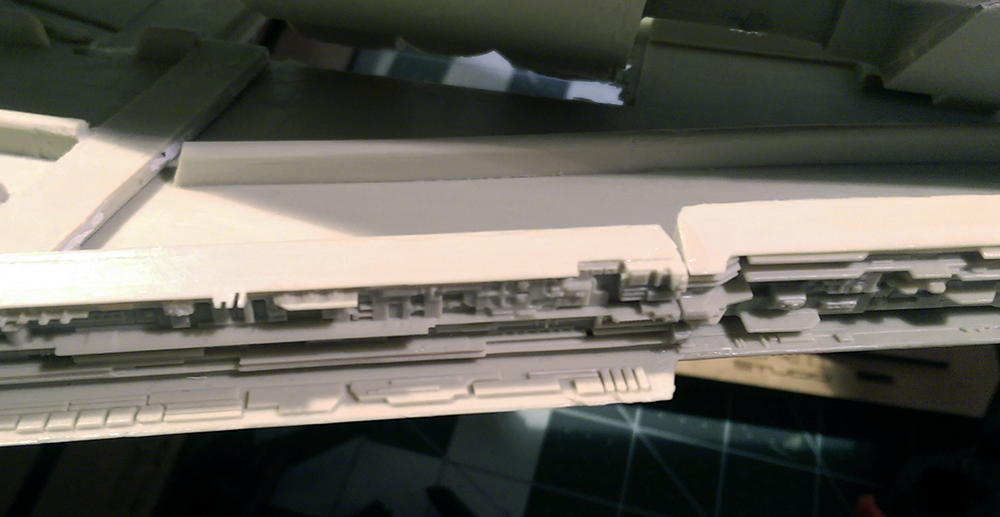
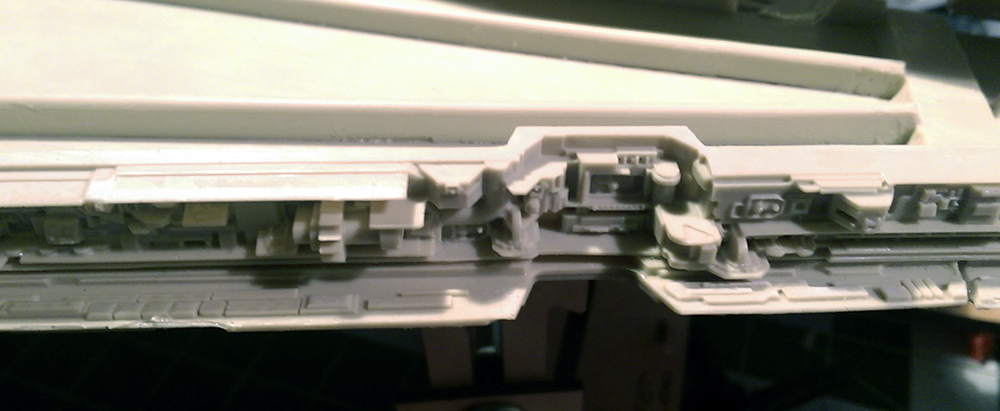
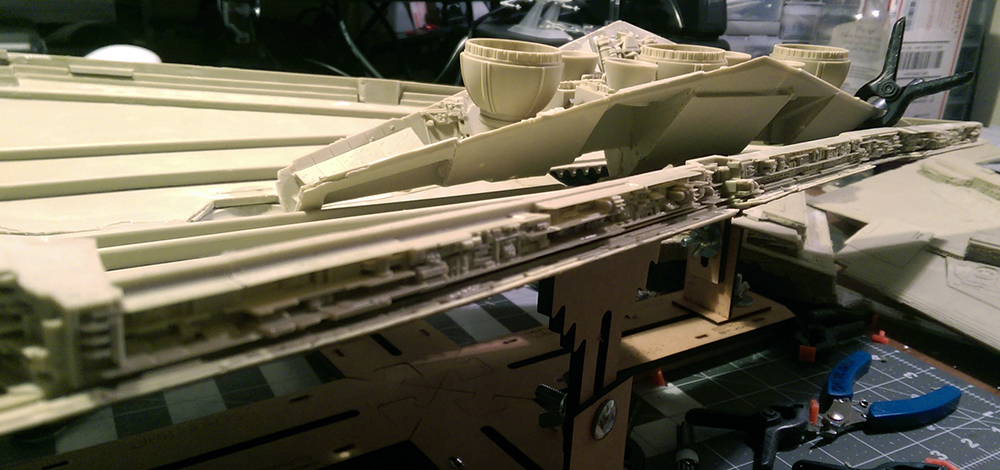
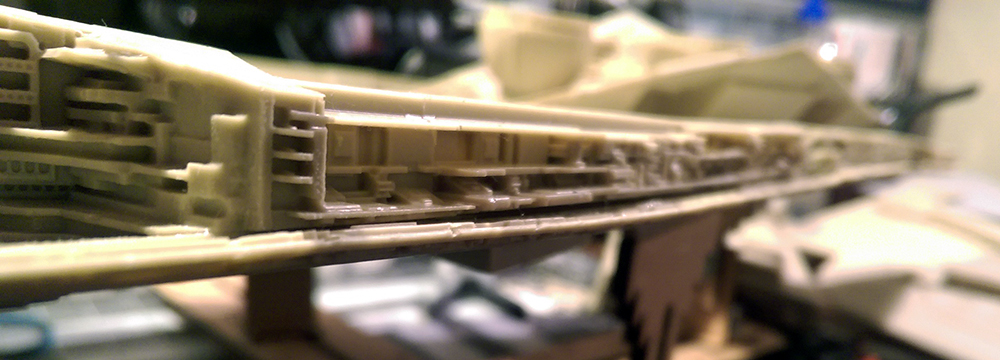
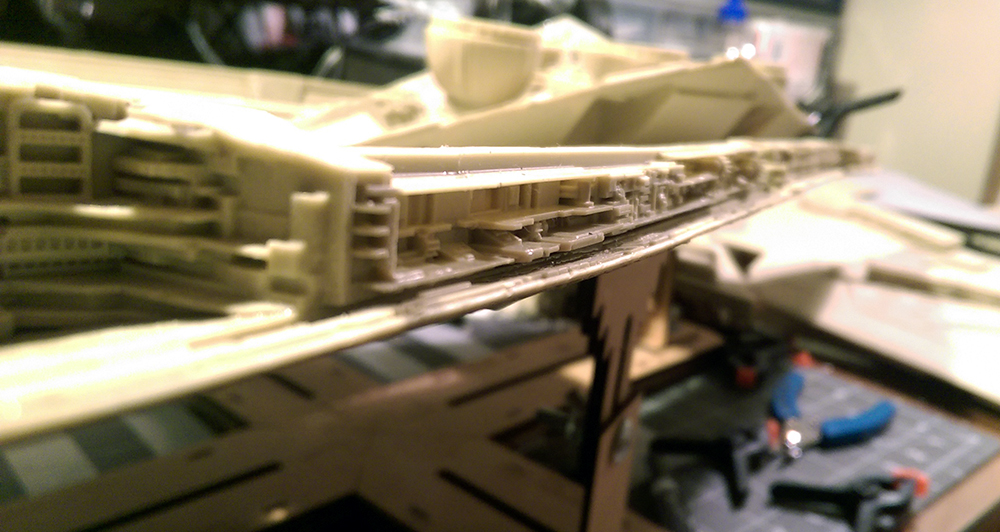
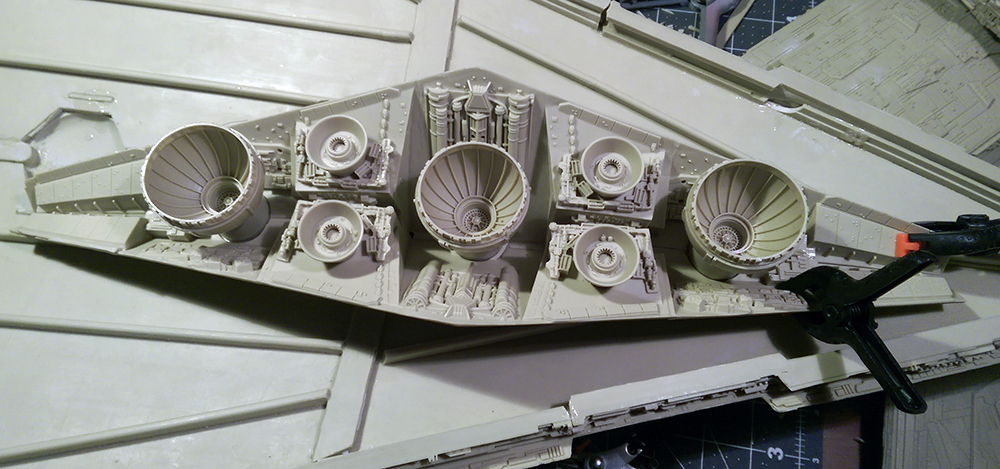
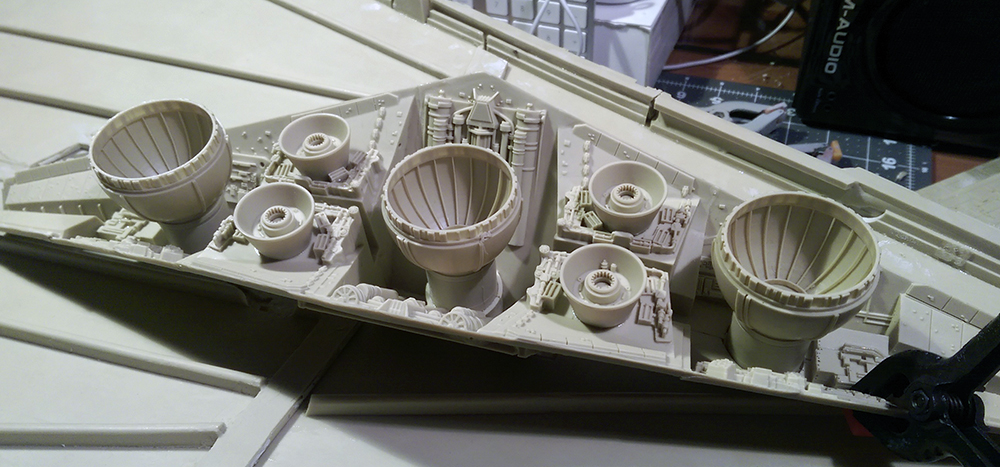
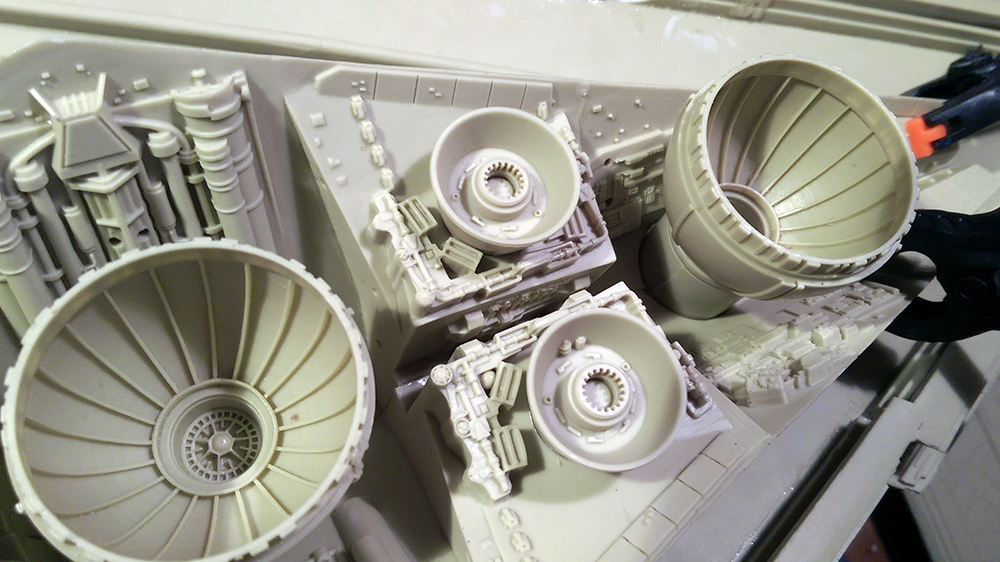
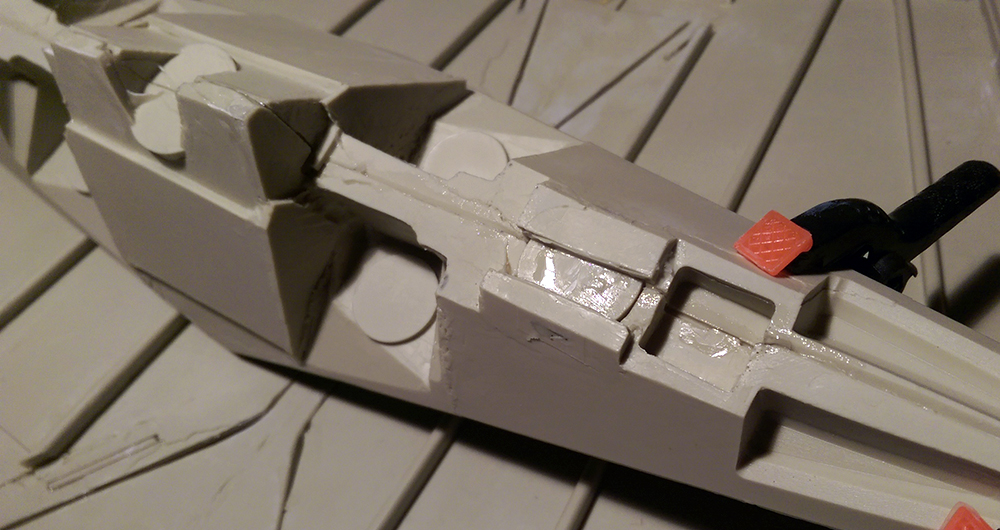
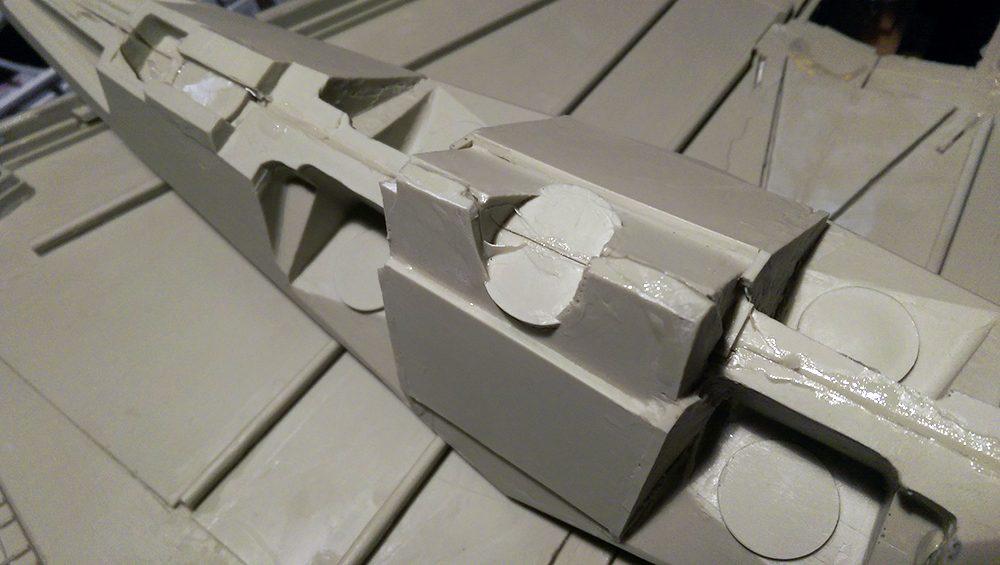
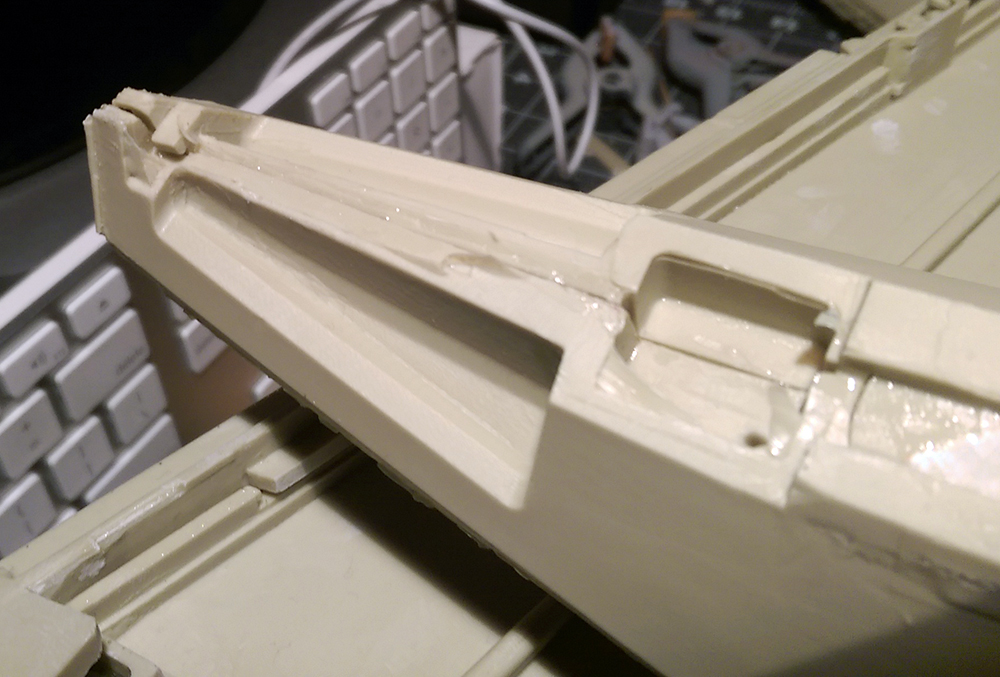
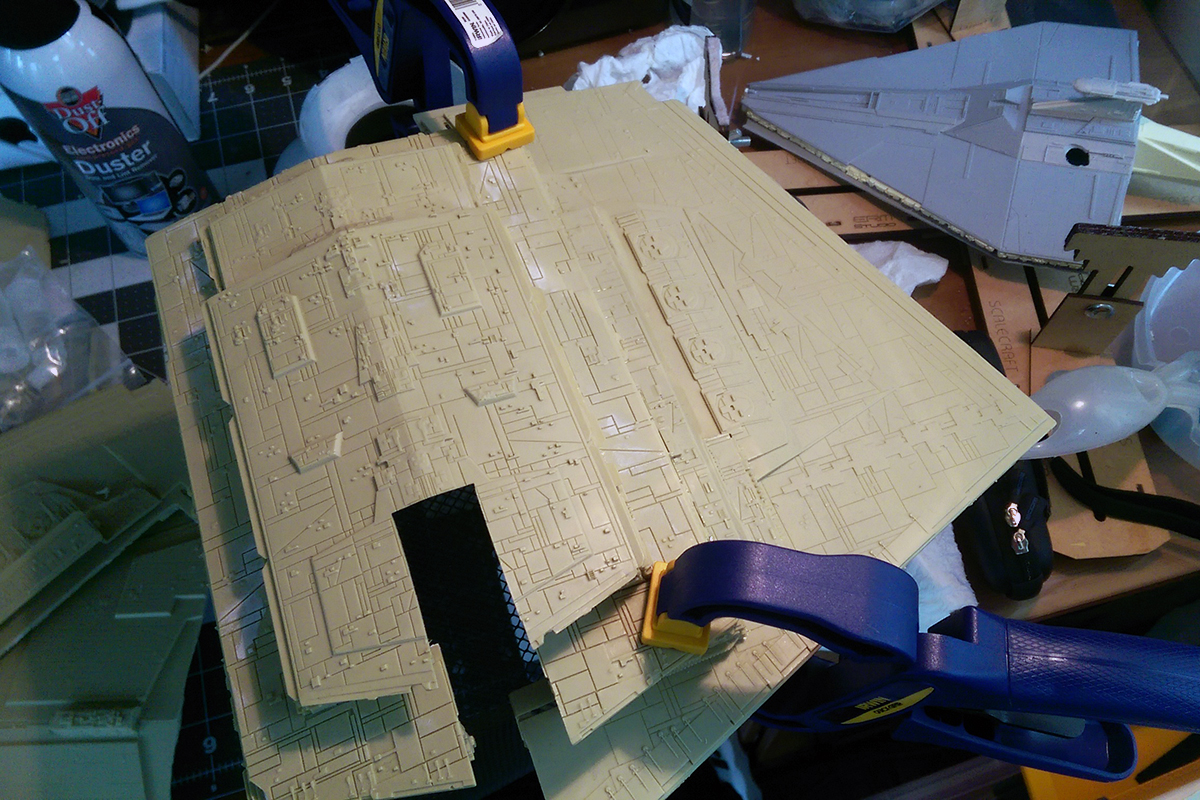
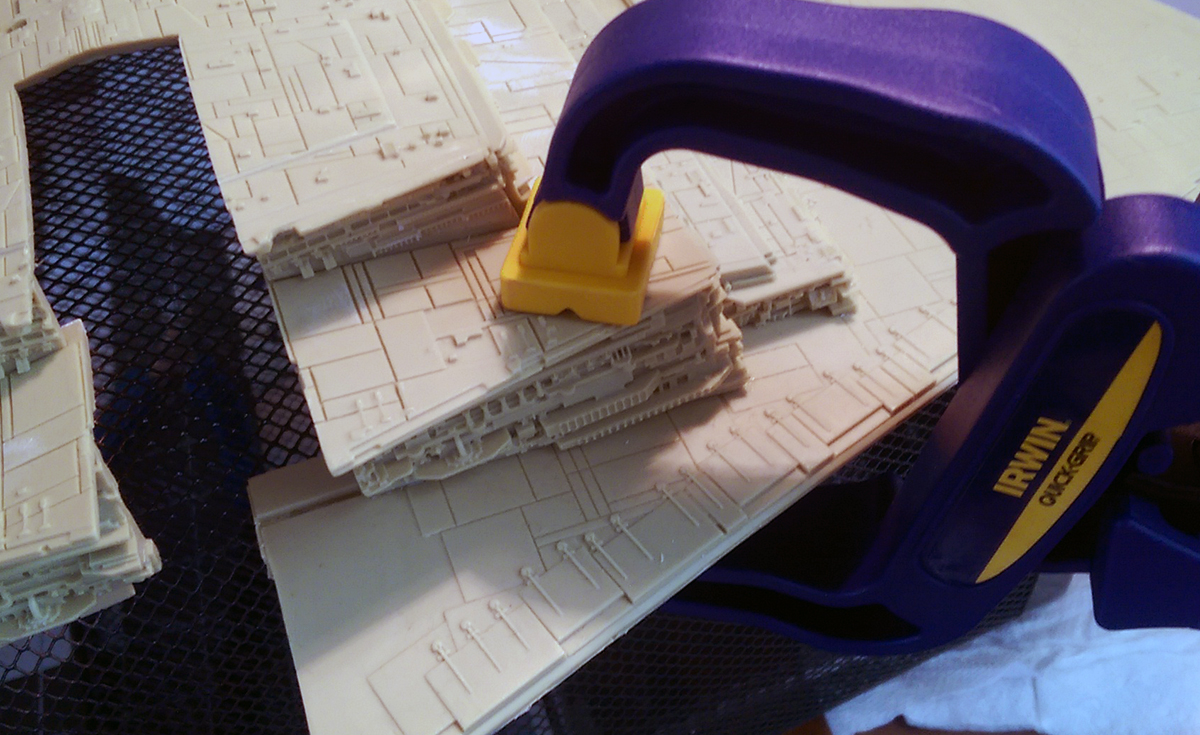
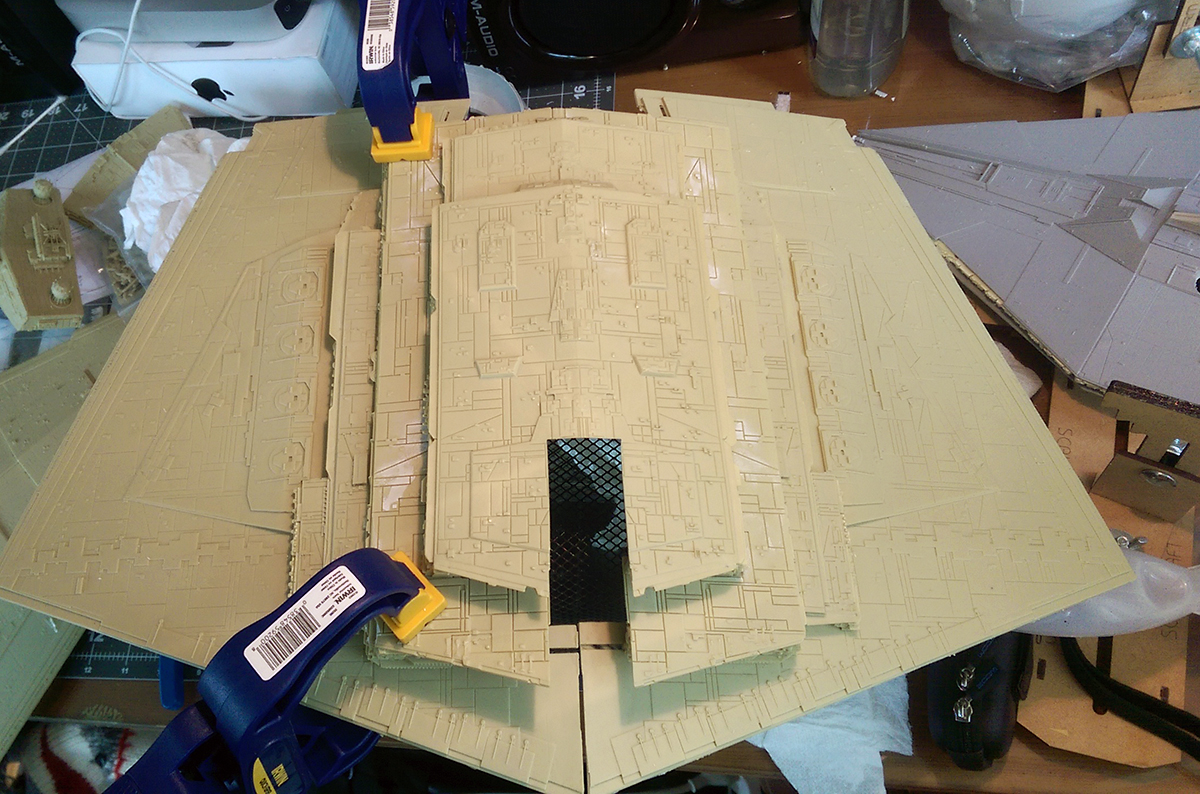
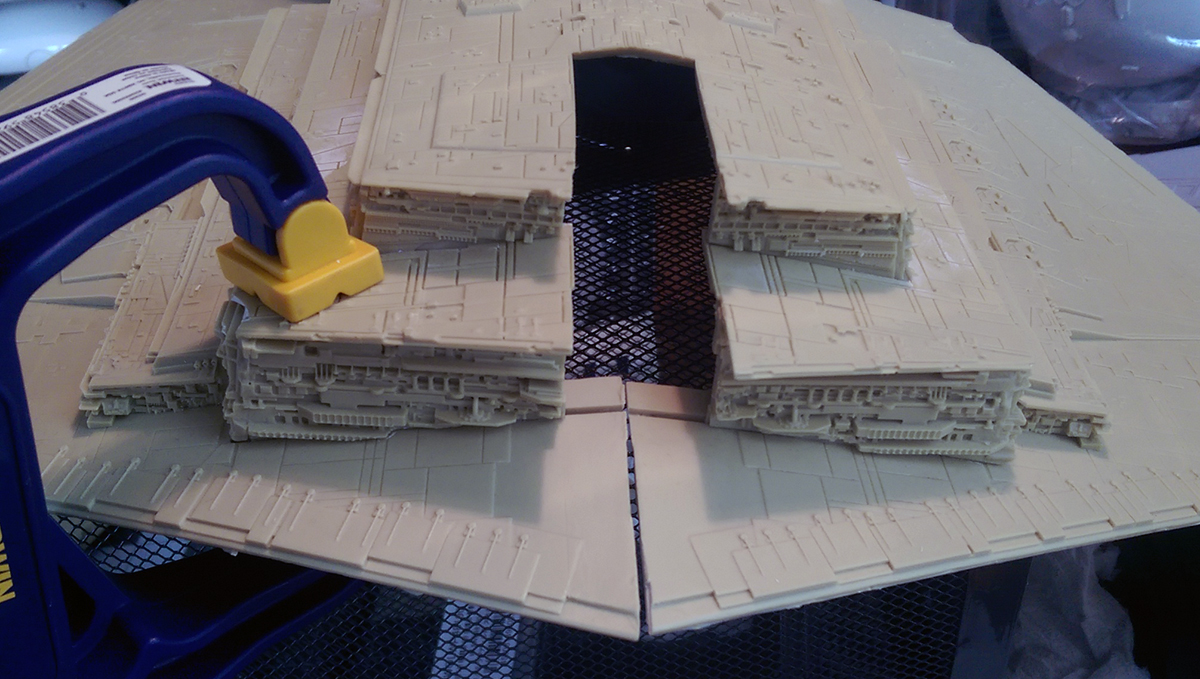
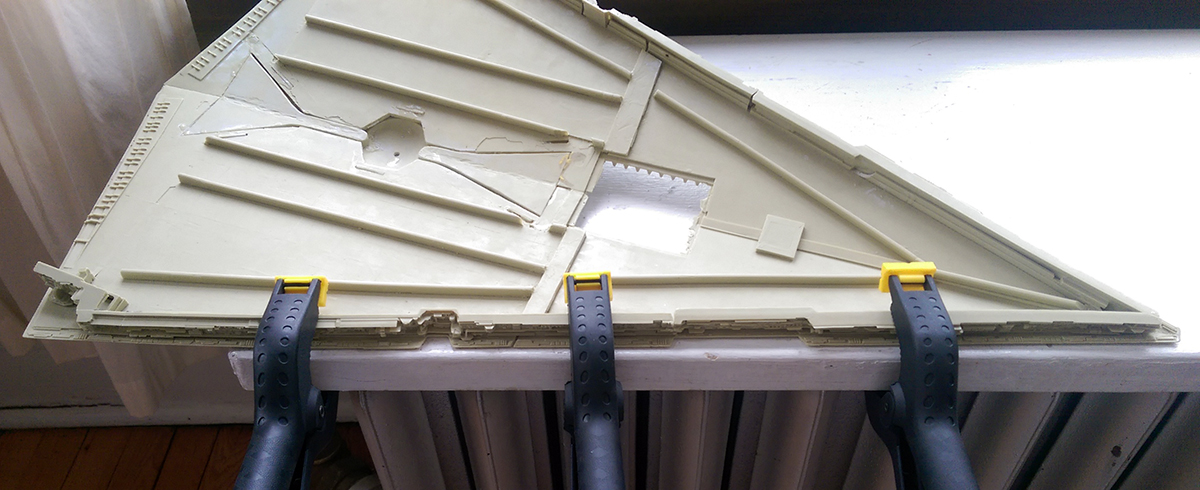
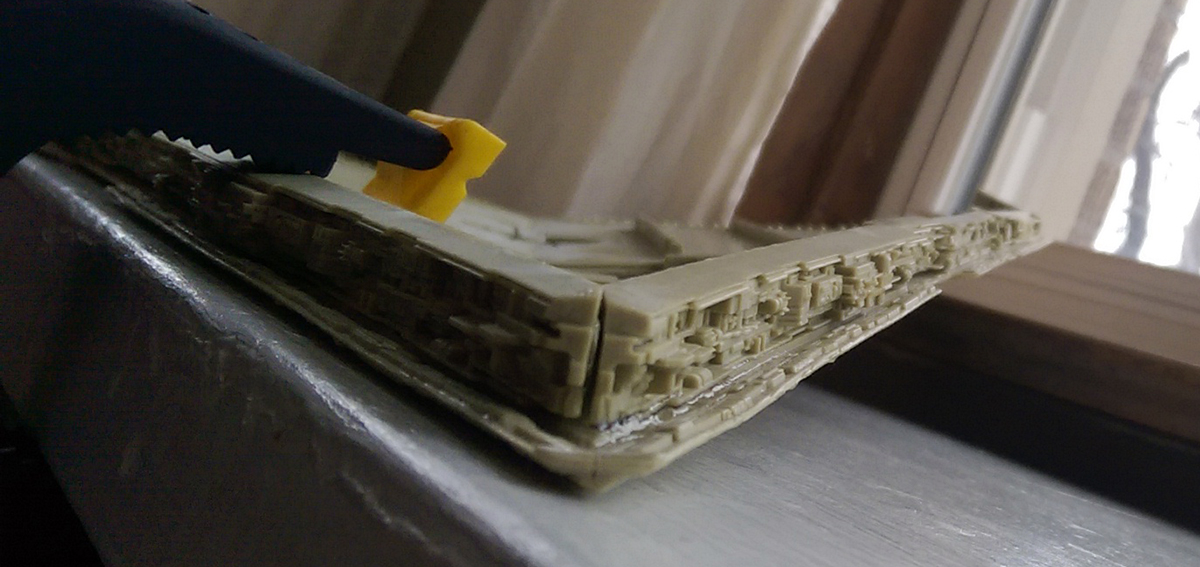
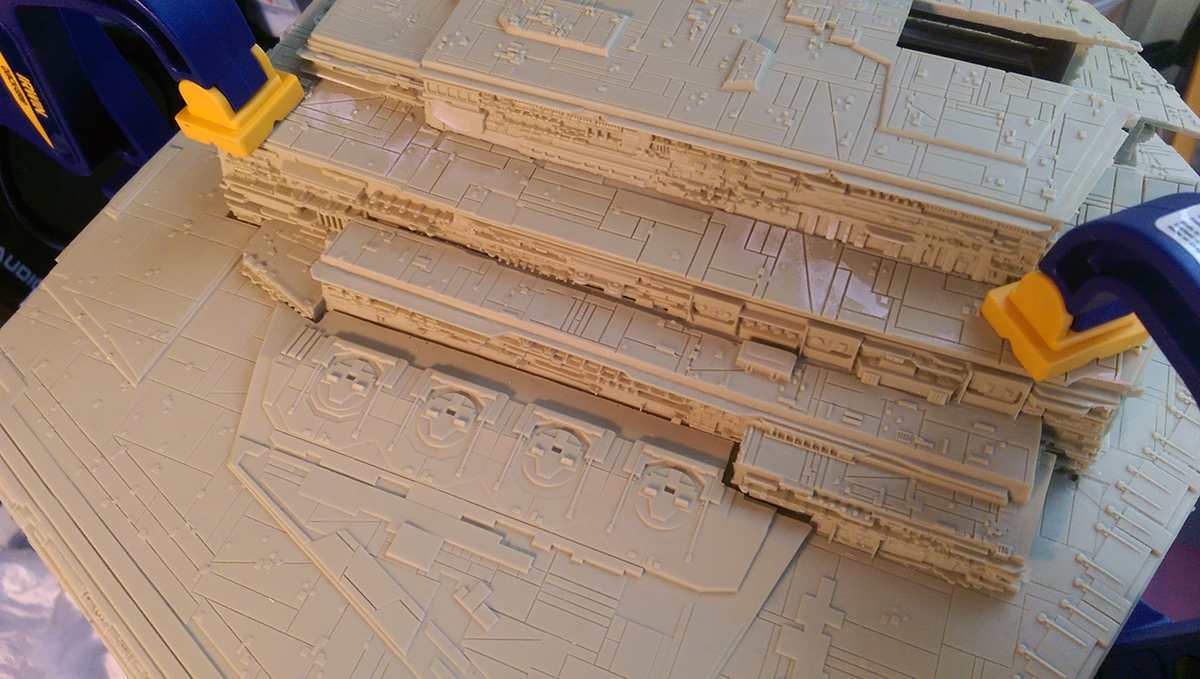
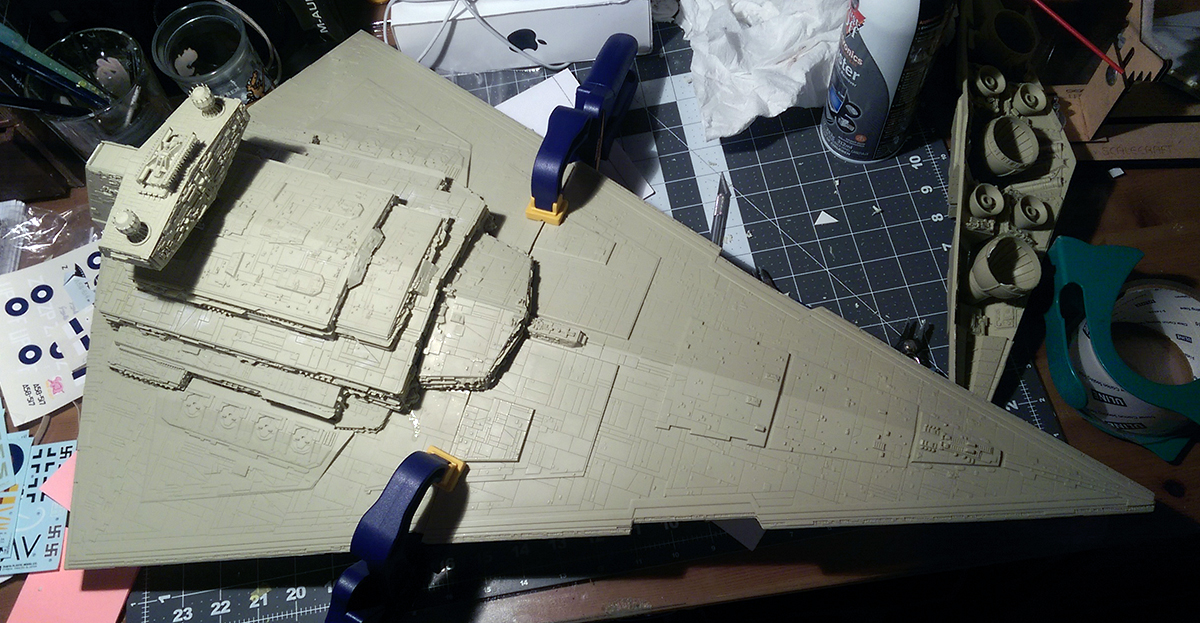
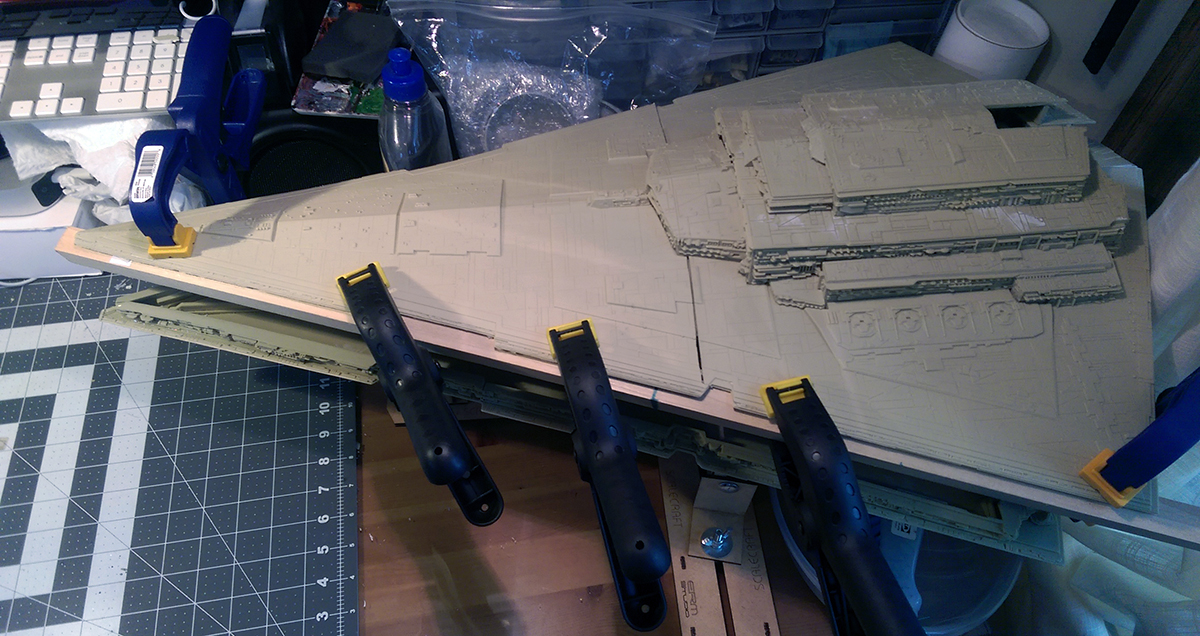
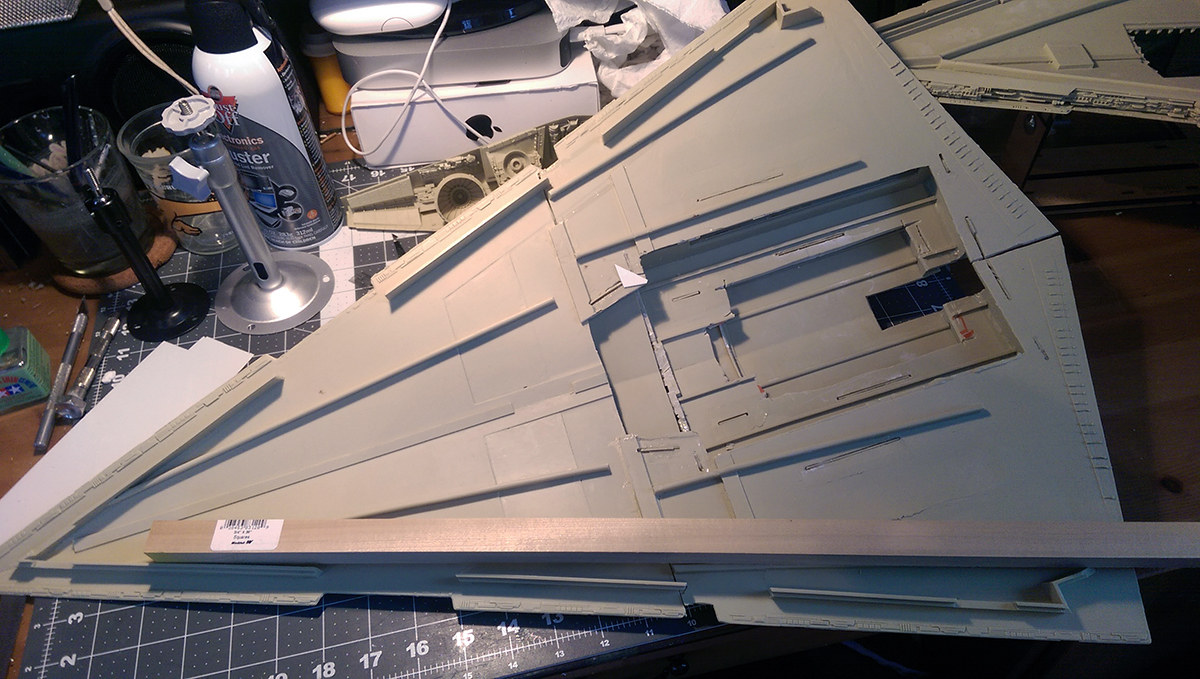
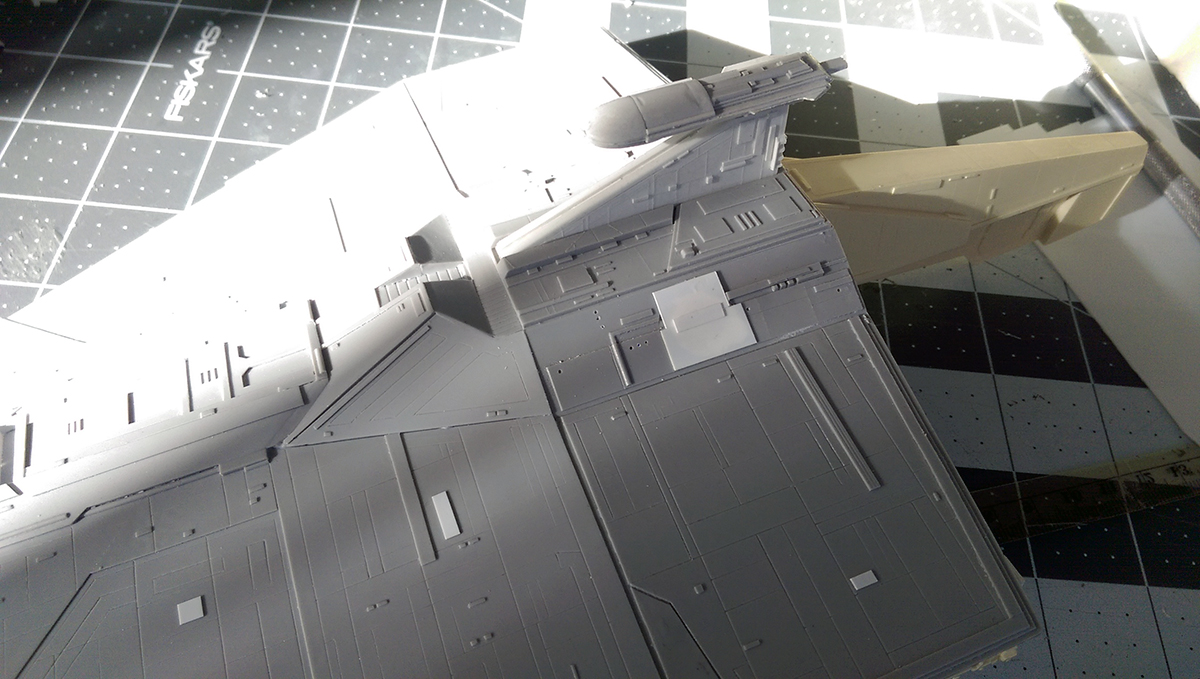
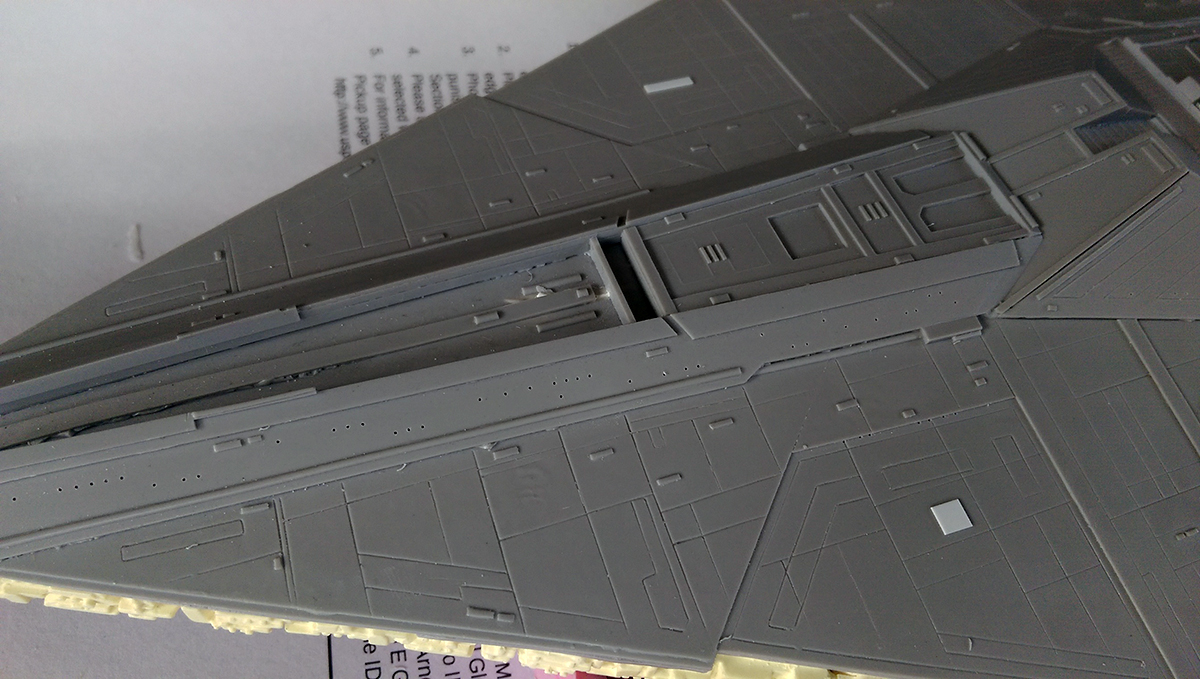
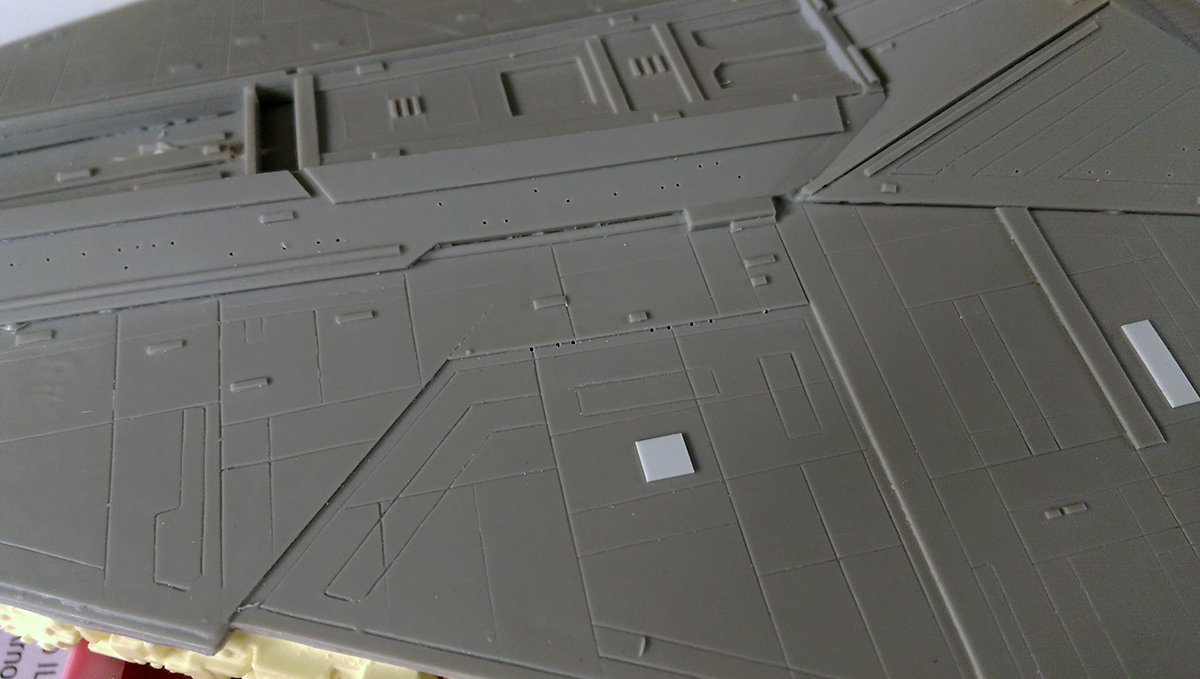
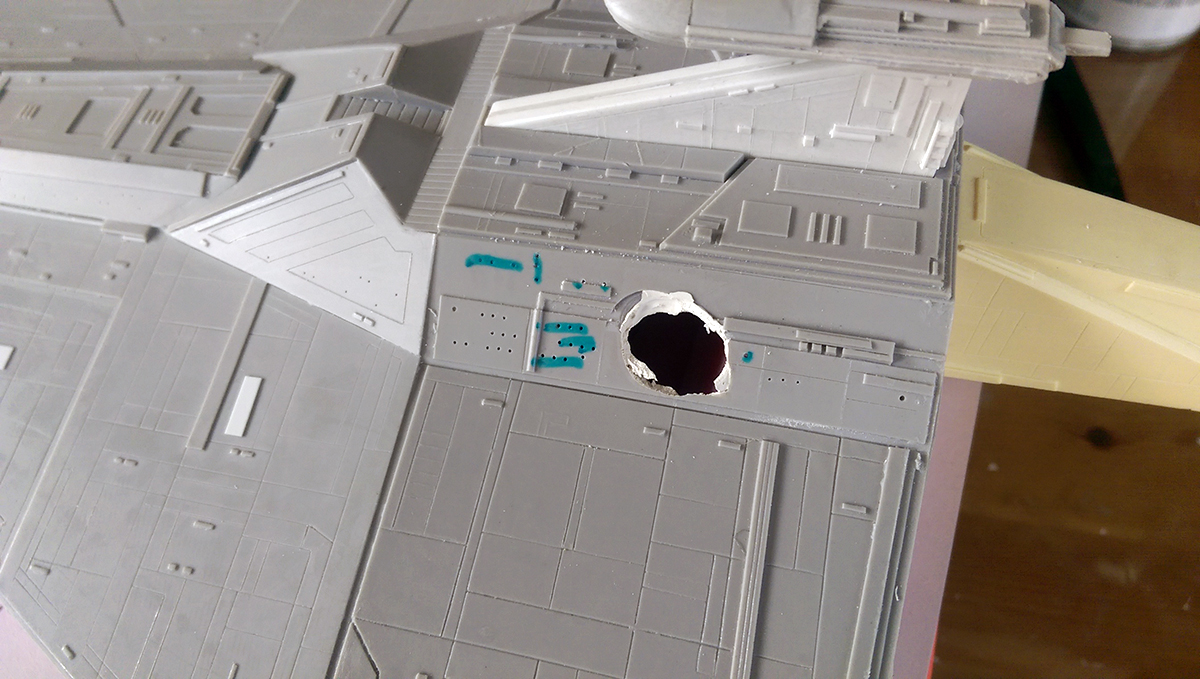
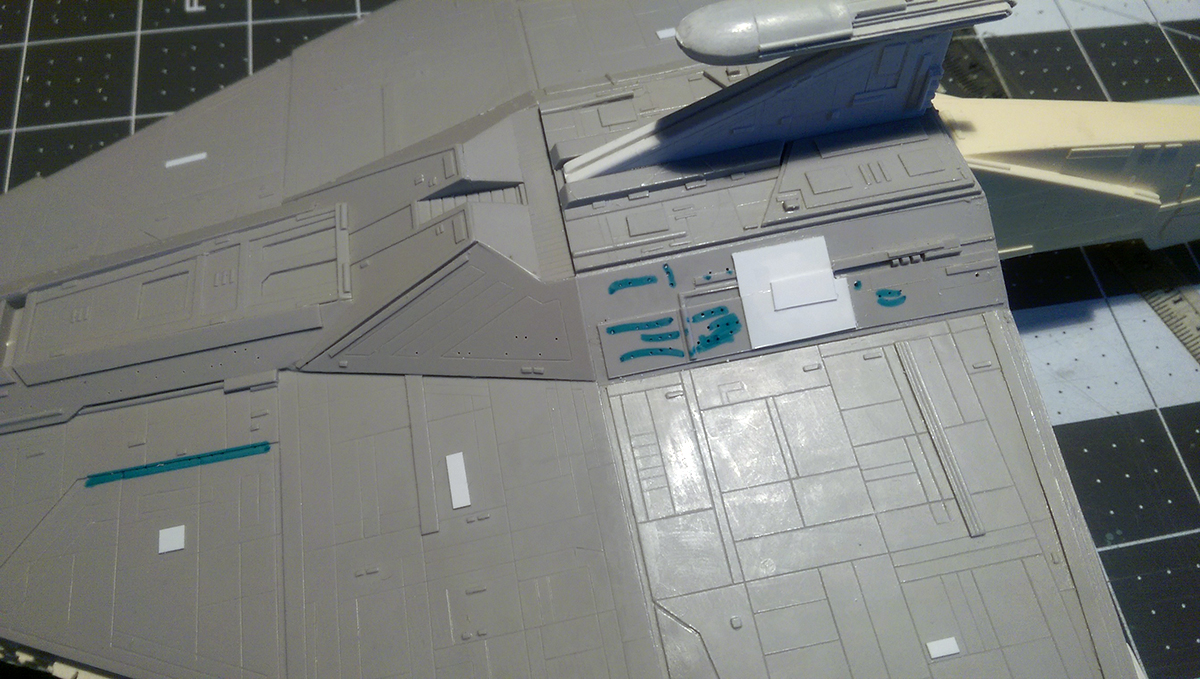
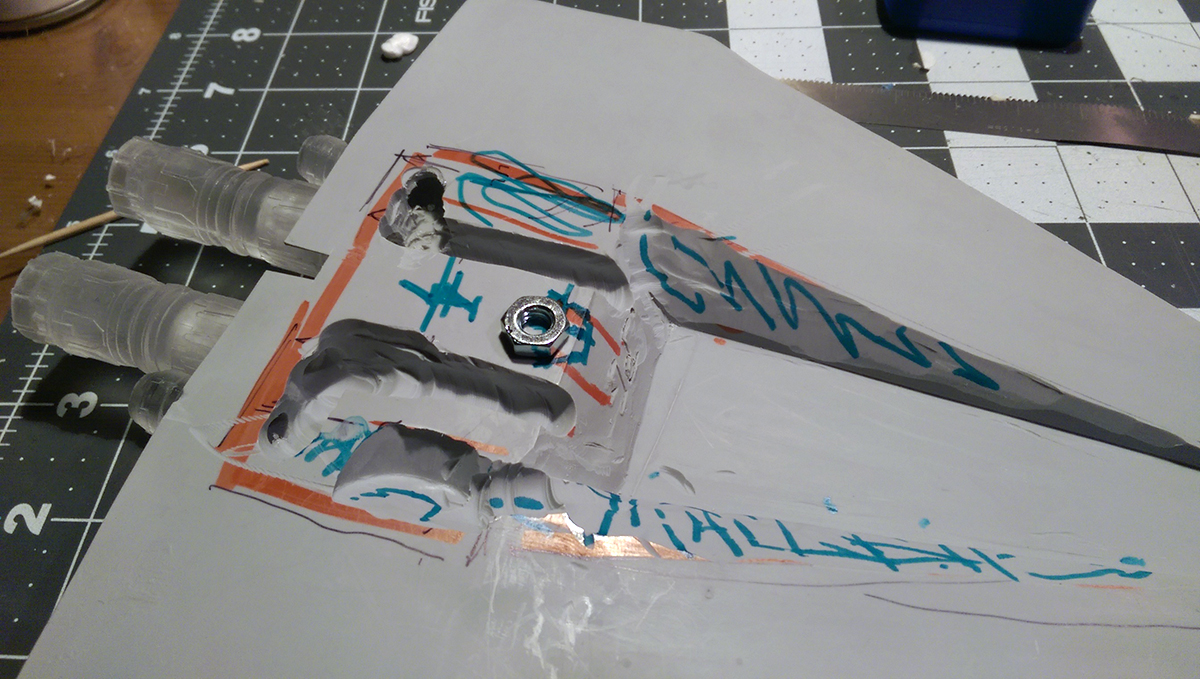
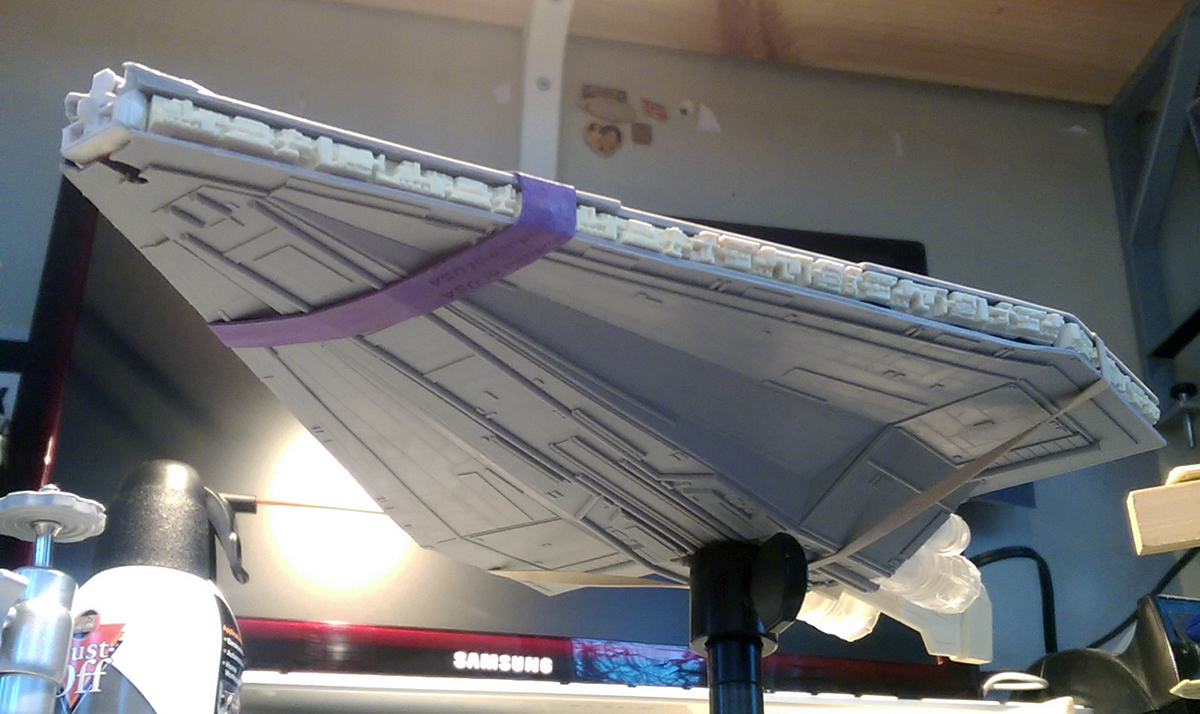
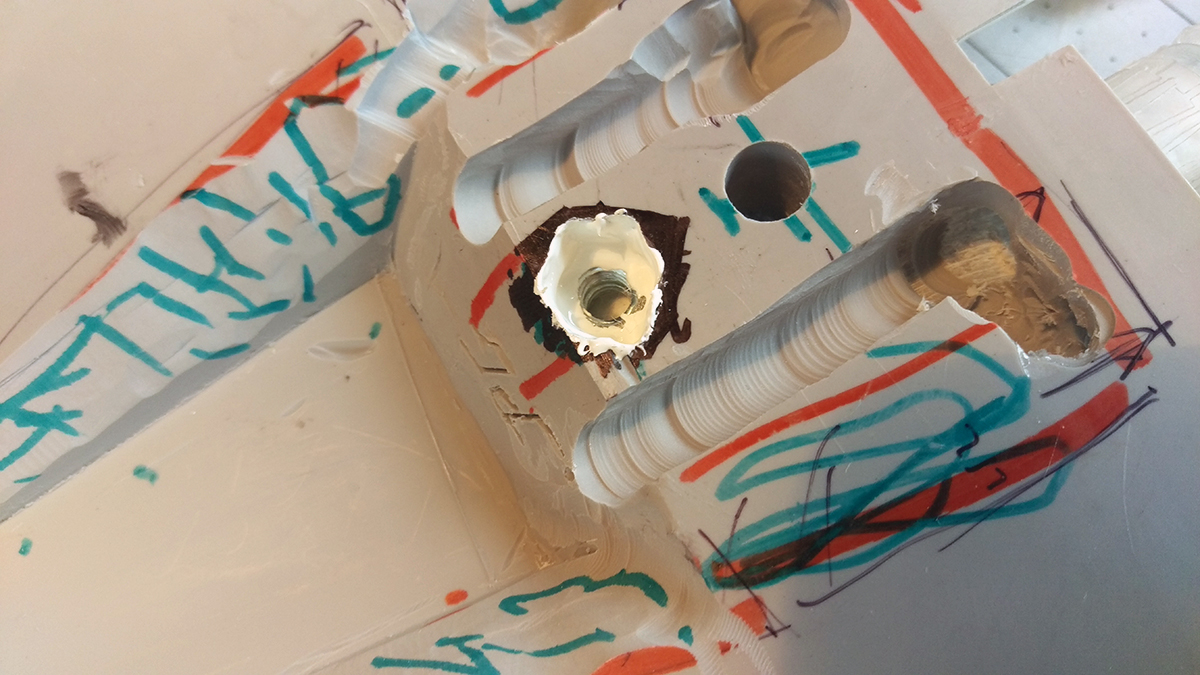
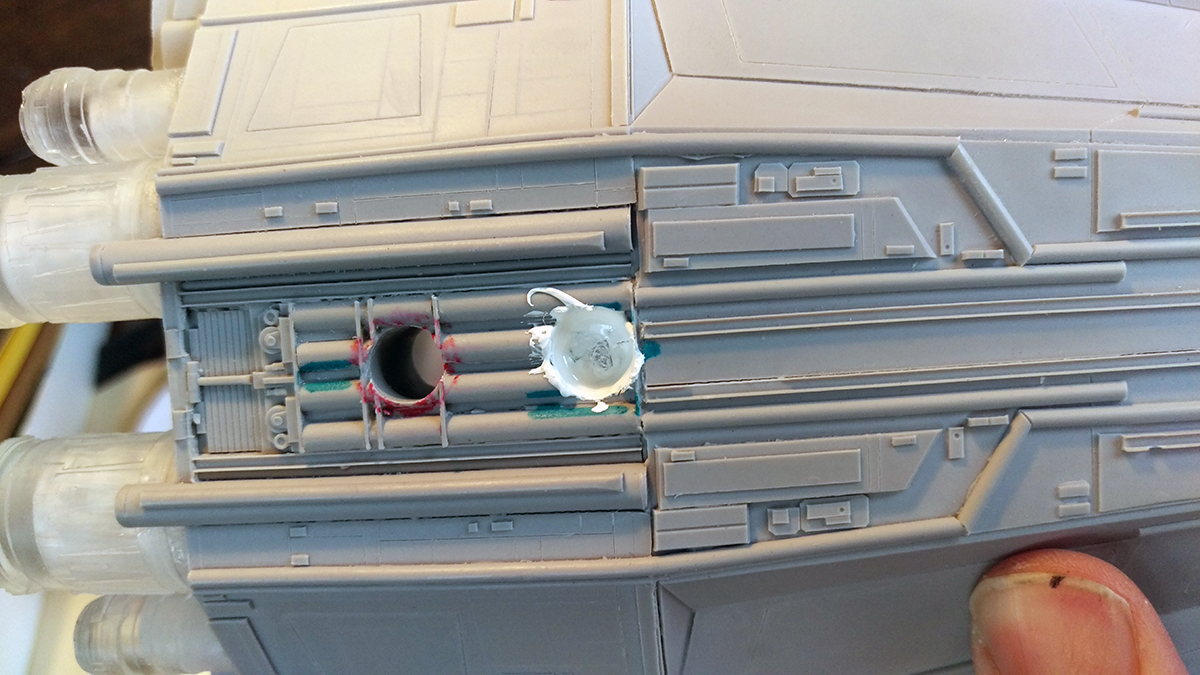
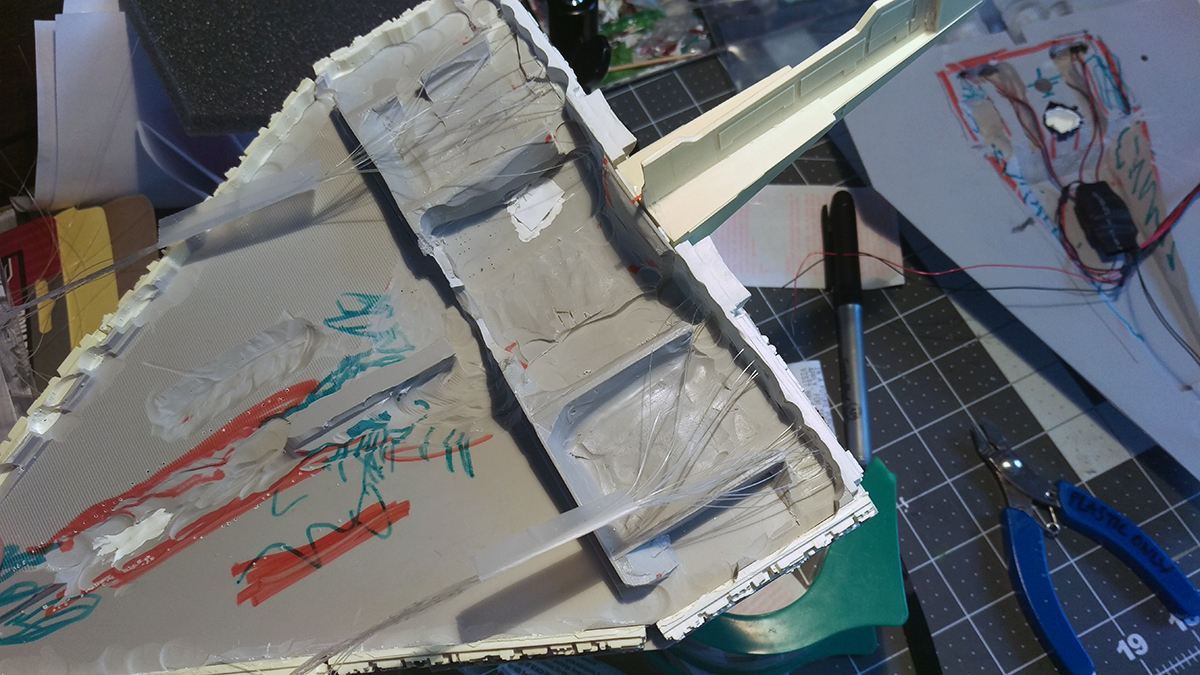
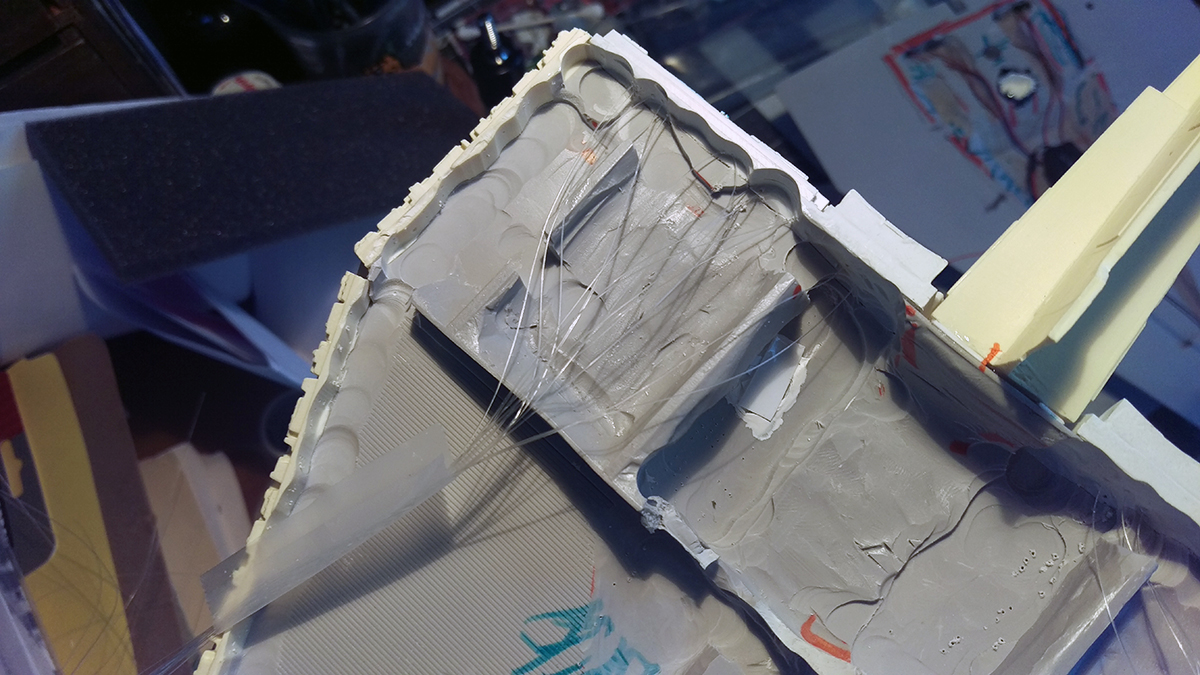
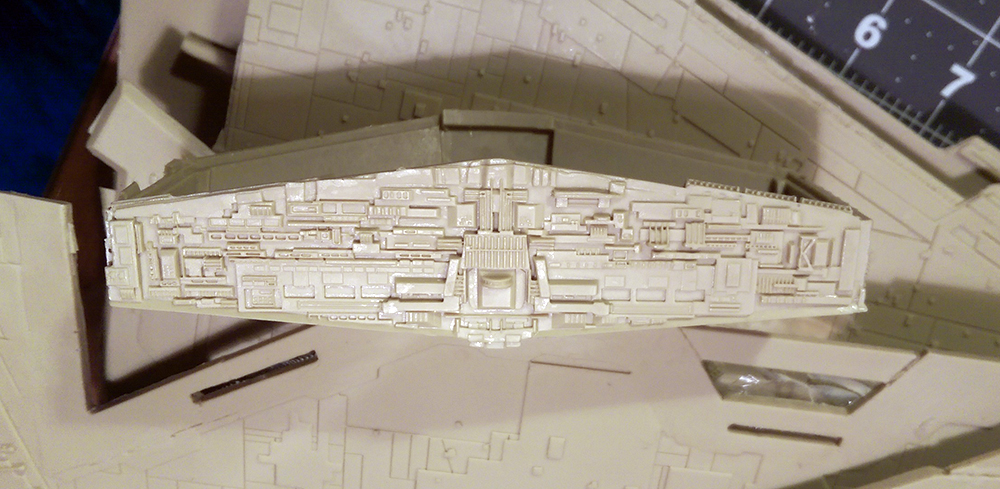
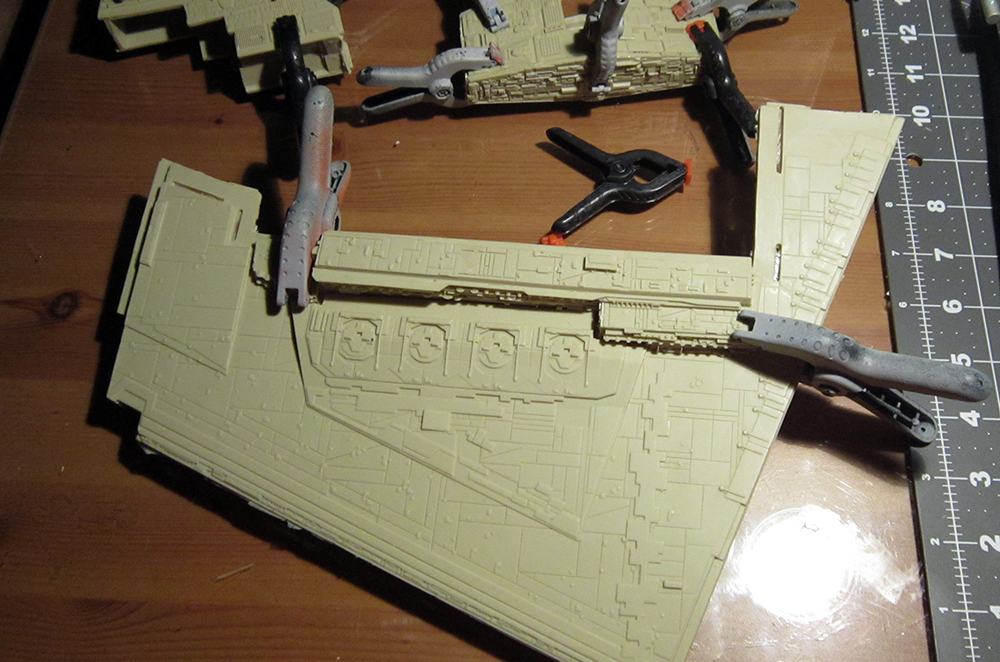
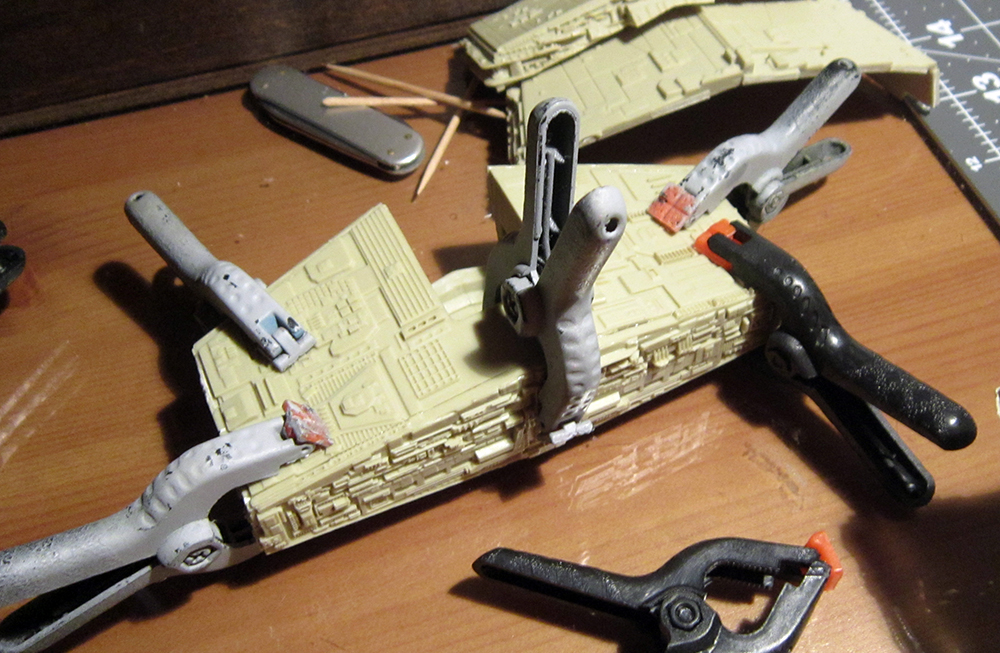
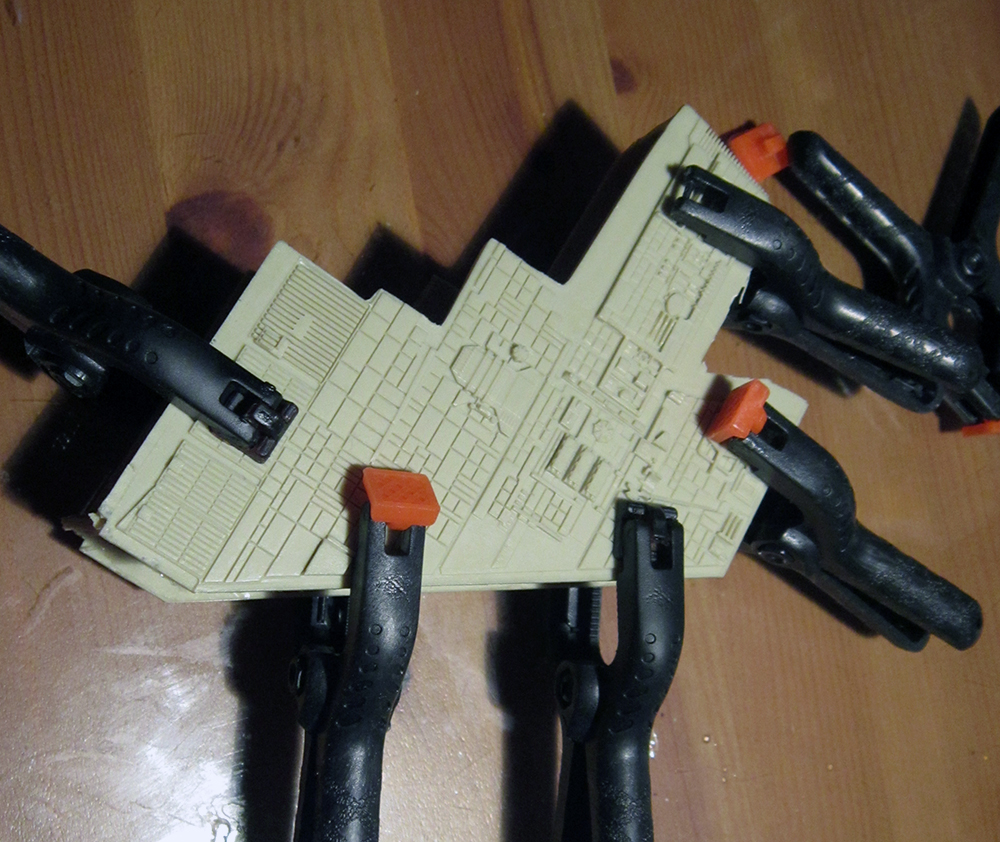
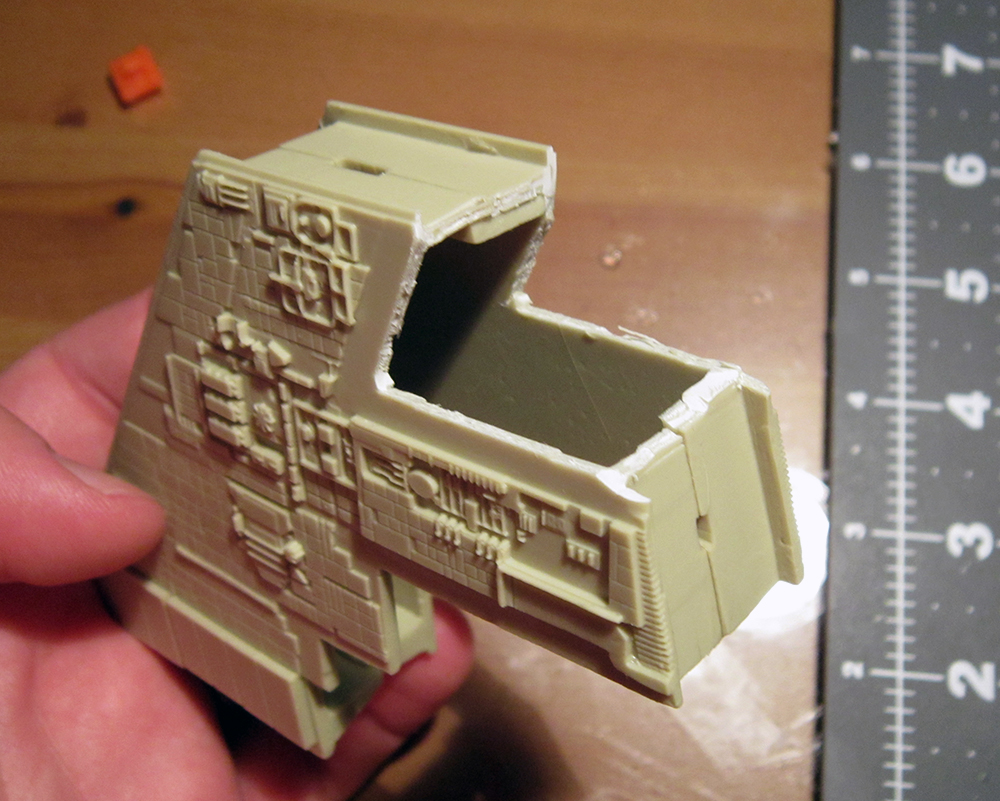
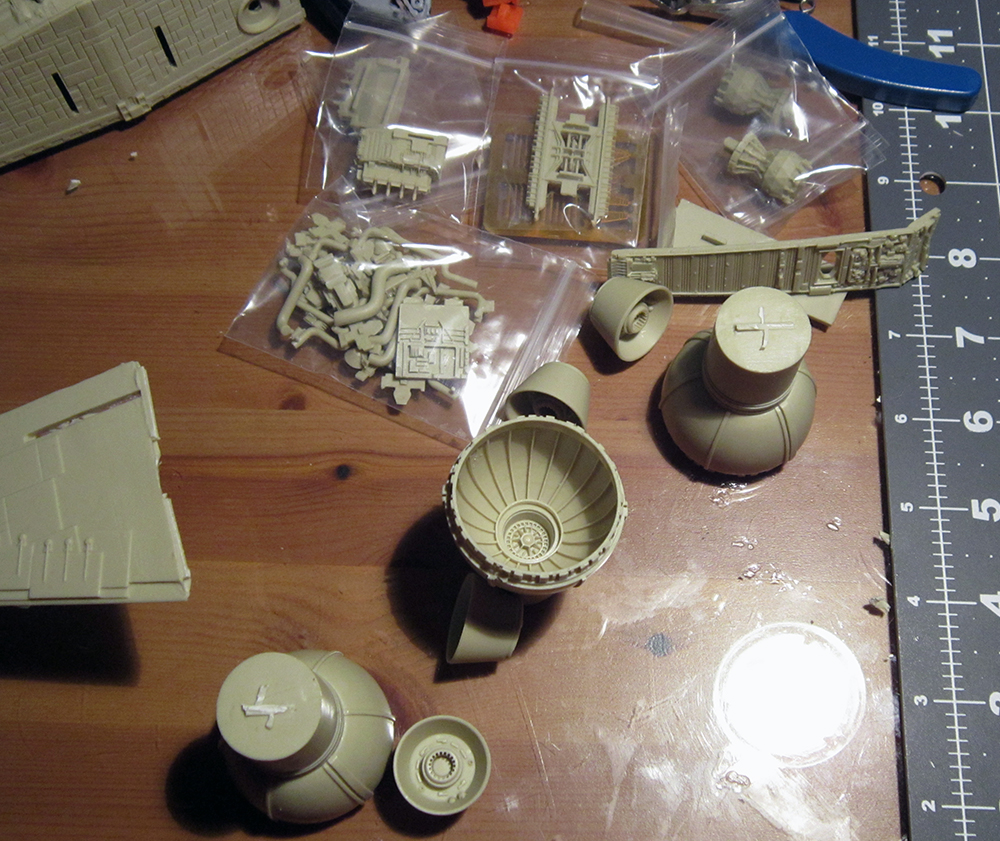
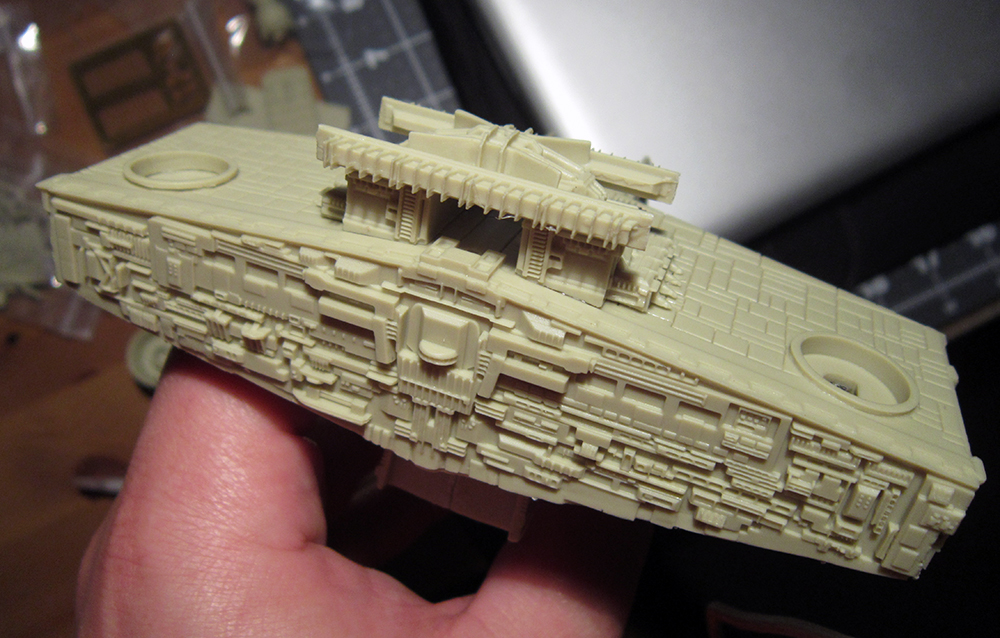
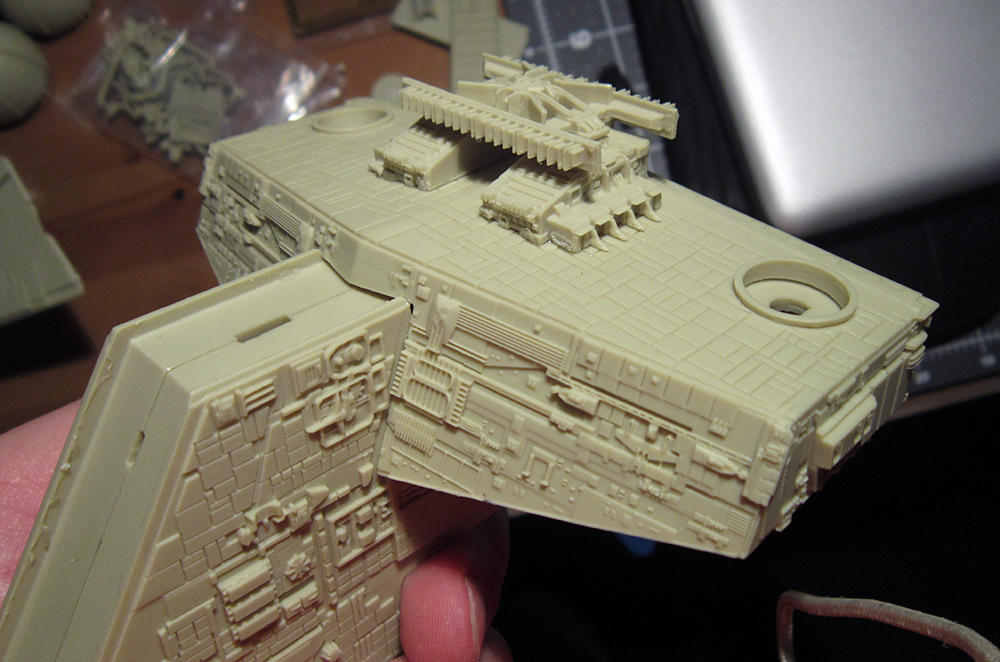
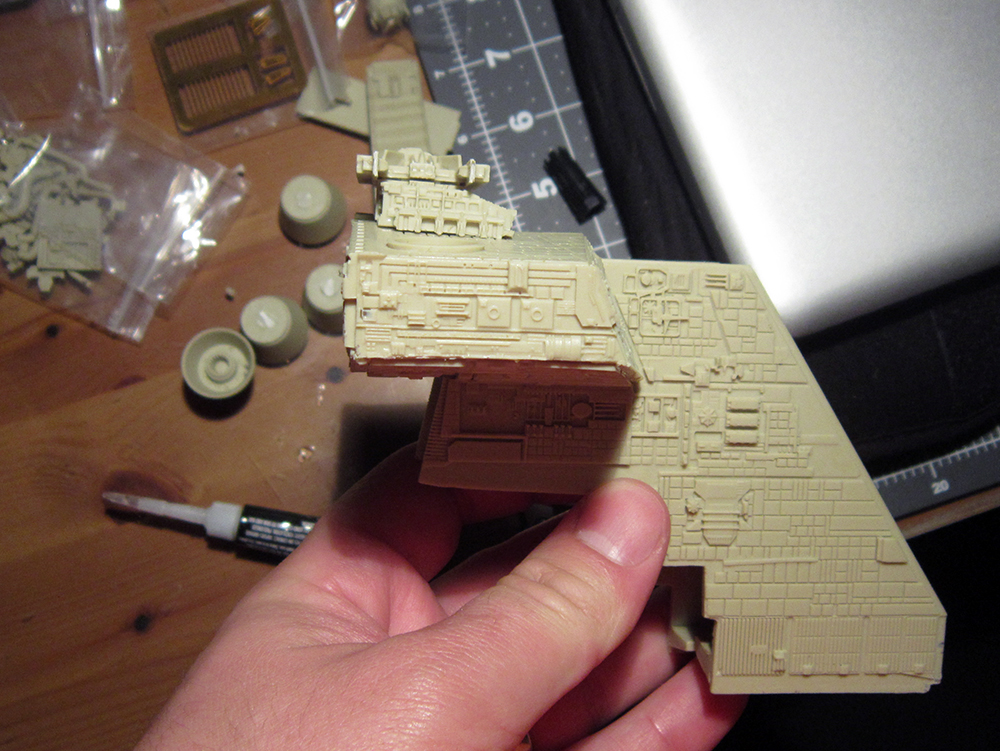
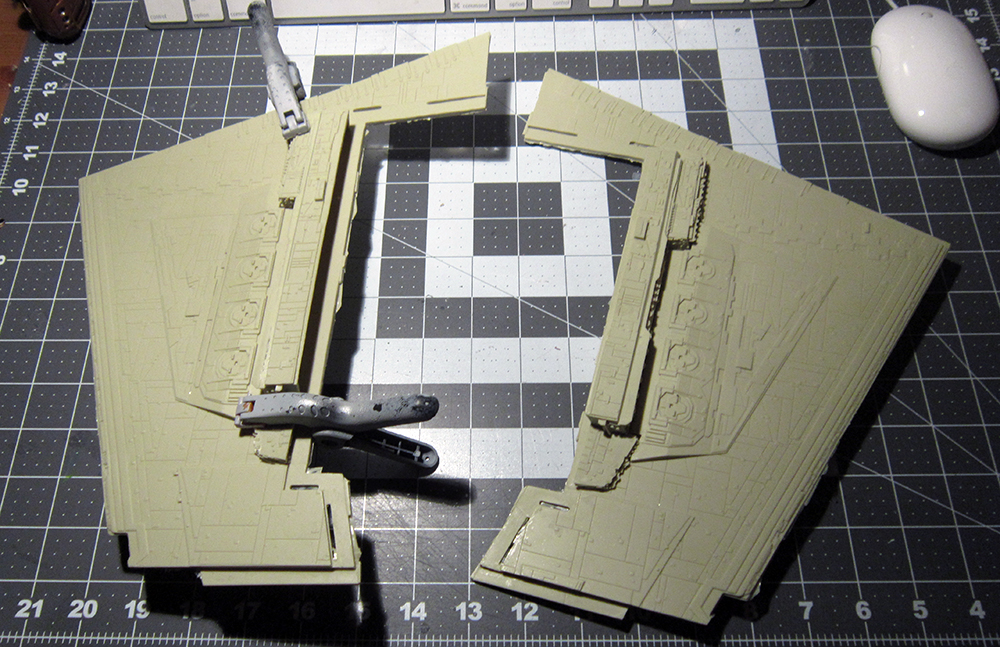
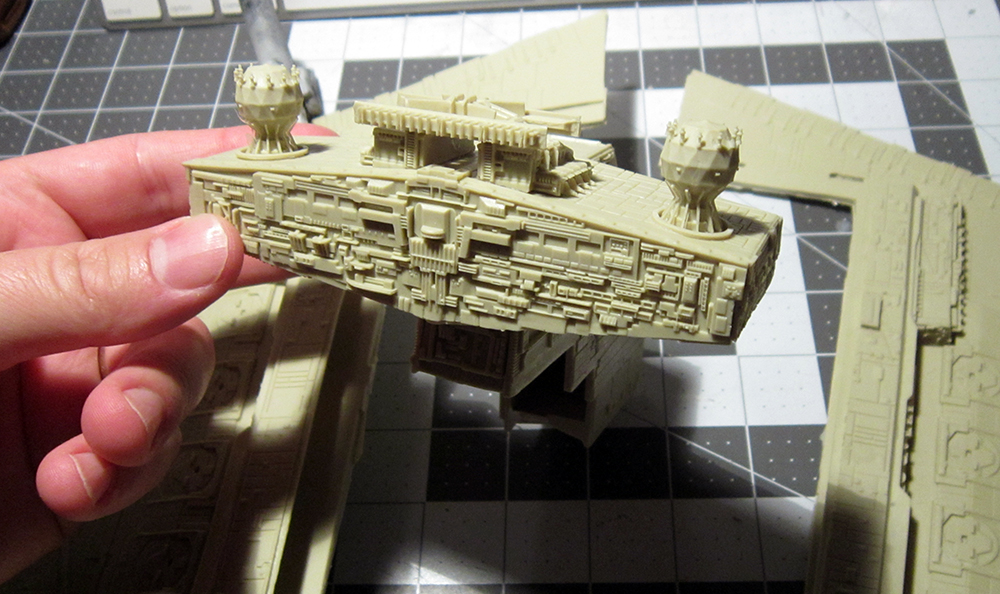
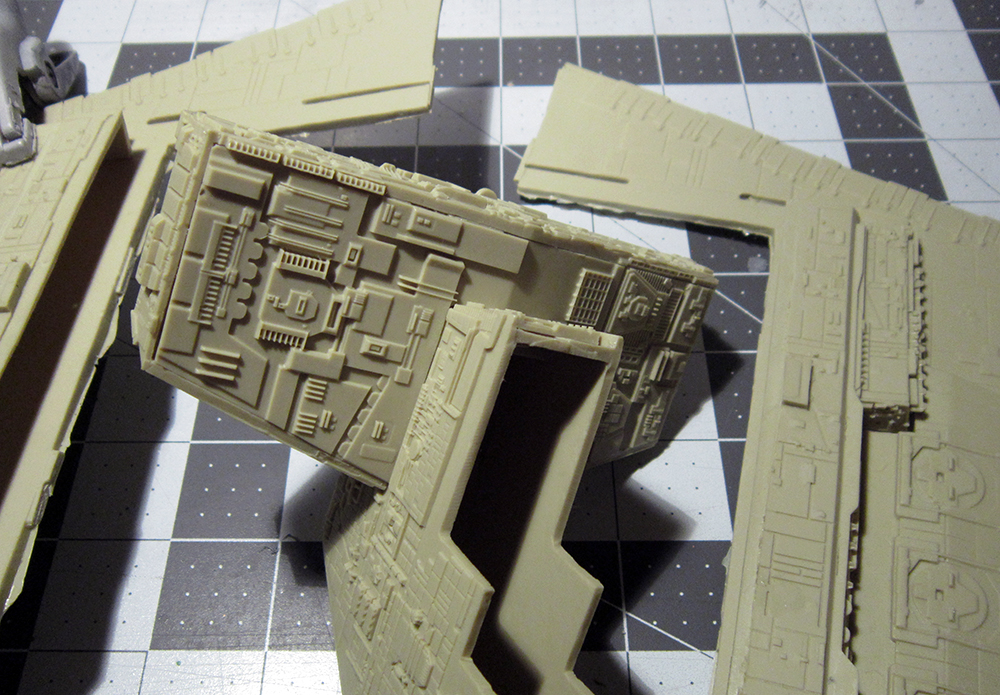
The big ol’ Avenger falls together pretty easily as soon as the parts are trimmed and reshaped a bit. The larger hull pieces are in bad shape and I need a heat gun to fix them up properly. I’m still not sure if I’ll put an internal armature inside…if anything it’ll be wood, at least connected to the support rod. Once again, there’s a moderate amount of detail that I’d like to go back in add in the form of trench and surface greeblies…but that’s once everything is together. I’m also thinking about making the neck/bridge structure removeable so it’s easier to pack and ship to the client in China
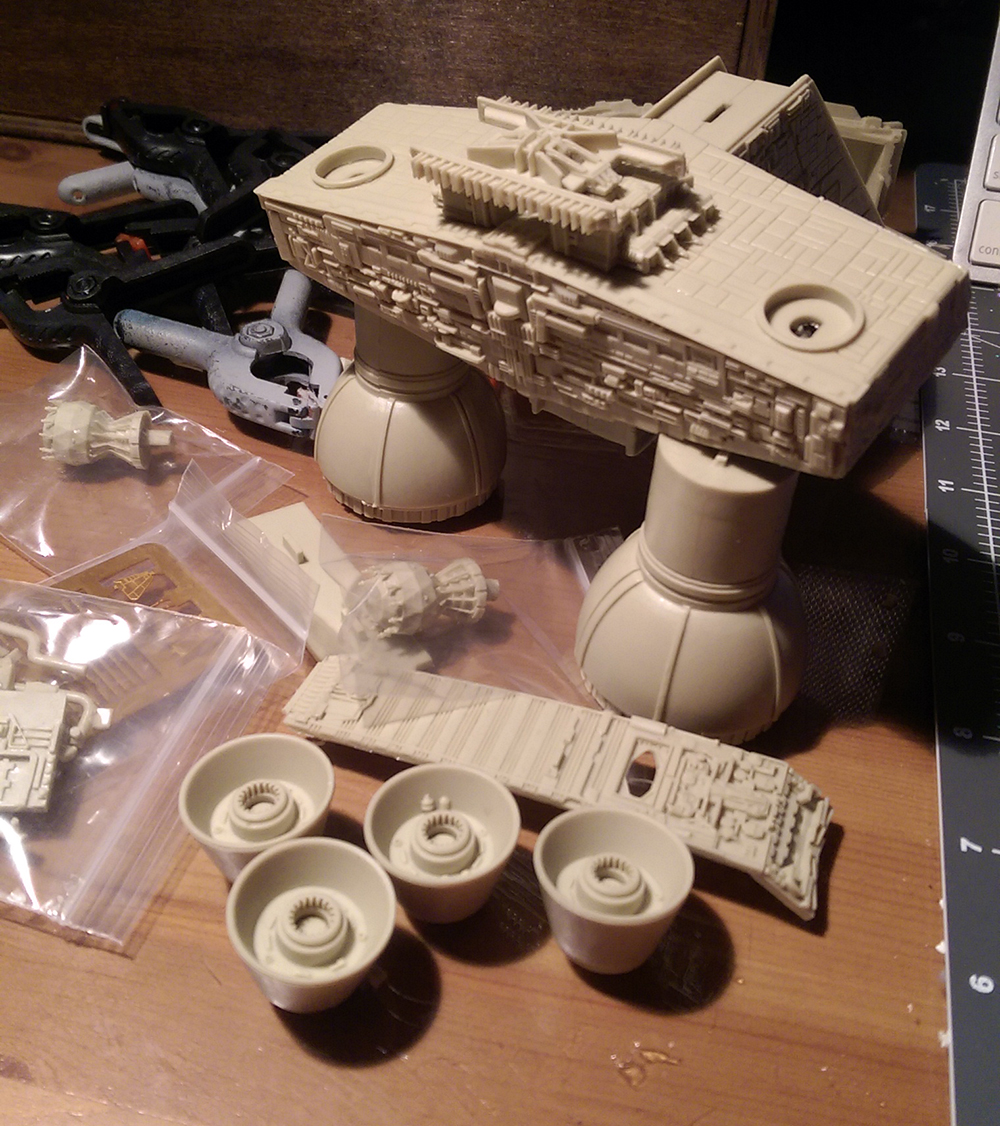
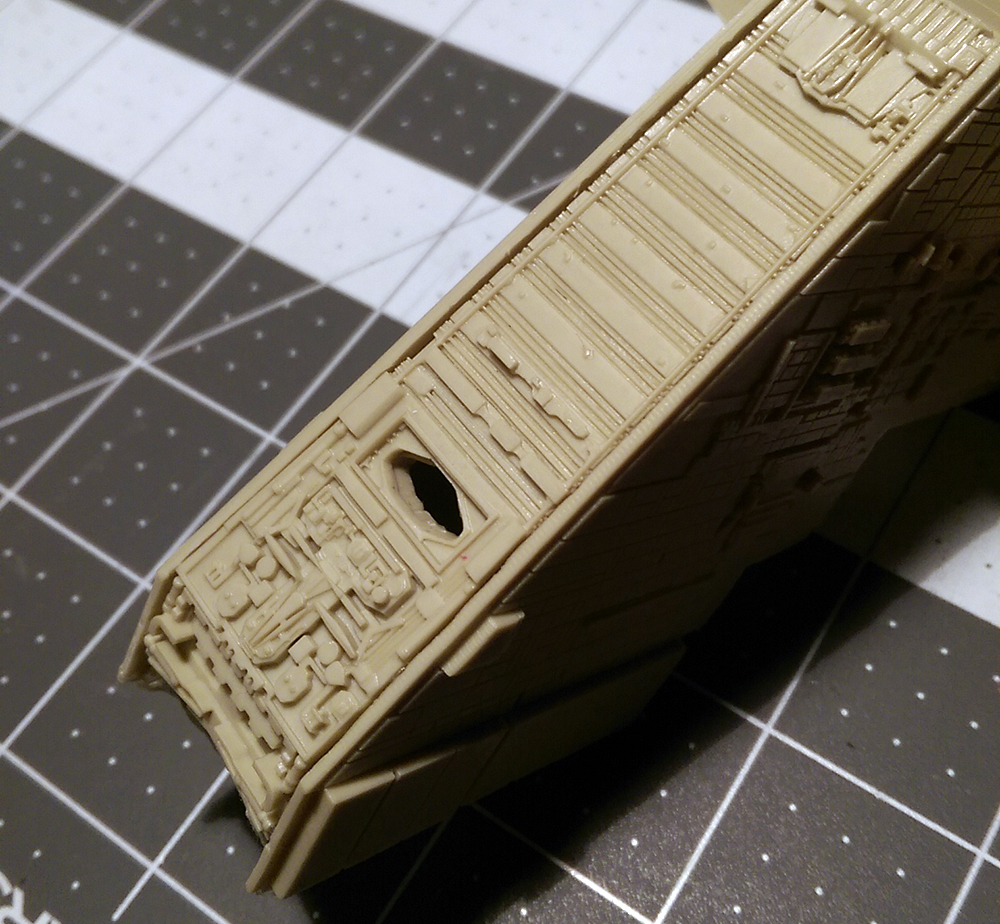
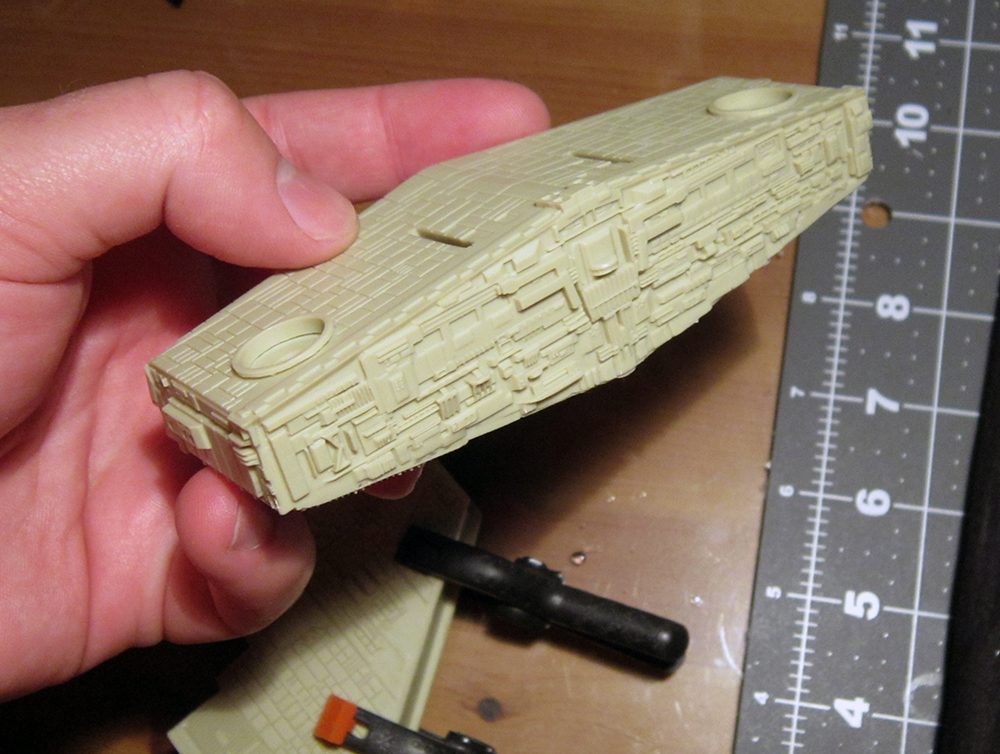
 :p


isd_imag8036.jpg

isd_imag8040.jpg

isd_imag8052.jpg

isd_imag8064.jpg

isd_imag8065.jpg

isd_img_0082.jpg

isd_img_0083.jpg

isd_img_0084.jpg

isd_img_0085.jpg

isd_img_0086.jpg

isd_img_0087.jpg

isd_img_0088.jpg

isd_img_0089.jpg

isd_img_0090.jpg

isd_img_0091.jpg

isd_img_0092.jpg

isd_img_0093.jpg

isd_img_0094.jpg

isd_img_0095.jpg

isd_img_0112.jpg

isd_img_0113.jpg
 
Re: COMMISSION: 1/2256 Avenger and Acclamator pt1

Going to be a pair of impressive builds from the looks of things, Nick
 
Re: COMMISSION: 1/2256 Avenger and Acclamator pt1

Necro they are out of production but I might be able to hook you up....
 
Re: COMMISSION: 1/2256 Avenger and Acclamator pt1

Naw, that's ok. I already have too many irons in the fire and an ever growing stash... But I appreciate the offer! 8)
 
Re: COMMISSION: 1/2256 Avenger and Acclamator pt1

Nice project there Nicholas! :eek:

I will follow that thread with pleasure! ;)
 
Re: COMMISSION: 1/2256 Avenger and Acclamator pt1

More update goodness:

The main focus of this project as of late has been the Avenger. Looking at all the parts revealed that some of them were fairly warped and needed a heat gun to reshape. The larger hull sections being the main offenders, I focused on them. The lower hulls luckily were more straight than the upper pieces, or the forward triangular pieces for that matter. Thus the lower hull was easier to assemble. Relatively… The ventral spine piece is a nice block that locks into place between the hulls. Unfortunately, the angle is a little shallow so all the pieces went together there was another round of heat gun treatment.

isd_imag8294.jpg

isd_imag8296.jpg

isd_imag8299.jpg


At this point, the superstructure was easily assembled as well. There is still some minor warping present that should be easily corrected before attaching to the upper hull pieces. I decided to stack them and cut out the openings for the fiber optic bundles later. You’ll notice that there are a few gaps here and there that will need filling. Those really won’t be an issue because once everything is together I’ll be doing some additional detailing in the form of plastic, vinyl and photo etch all over this beast…

isd_imag8281.jpg

isd_imag8283.jpg

isd_imag8284.jpg

isd_imag8286.jpg

isd_imag8287.jpg

isd_imag8288.jpg

isd_imag8289.jpg

isd_imag8290.jpg


NOW the main problem is figuring out an internal support structure. I think I’ll add a beam along the lower spine that the support rod can securely fasten to. That way the weight of the resin will rest upon the bracing structure instead of the mounting post. I think I’ll also add a couple pieces that fit along the interior dorsal spine and a piece that supports the superstructure tiers. Still thinking about the design but I’m pretty sure it’ll work. I might even get some metal bars and heavy epoxy to keep the other pieces from warping over time.

isd_imag8301.jpg

isd_imag8300.jpg

isd_imag8302.jpg

isd_imag8305.jpg

isd_imag8306.jpg

isd_imag8310.jpg


I’m also thinking of keeping the head/spine piece detachable via magnets and a “plug” for the LEDs for easier shipping. That is also a bonus because if I have to ship this thing overseas and it’s sealed up, customs might smash it open to see inside…
 
Re: COMMISSION: 1/2256 Avenger and Acclamator pt1

Looking really good, Nick
 
Re: COMMISSION: 1/2256 Avenger and Acclamator pt1

Added the trenches to the lower hull!! You can see by some of the pics that some of the strips were still a little warped. Luckily with clamps and superglue it was a non-issue. The parts fit into place really well. There will be some detailing attention on the nose and many other areas along the sides once it’s closer to being buttoned up.

isd_imag8340.jpg

isd_imag8341.jpg

isd_imag8342.jpg

isd_imag8344.jpg

isd_imag8345.jpg

isd_imag8346.jpg

isd_imag8356.jpg

isd_imag8357.jpg

isd_imag8359.jpg

isd_imag8360.jpg

isd_imag8363.jpg

isd_imag8364.jpg

isd_imag8365.jpg

isd_imag8366.jpg

isd_imag8367.jpg


Joined the engine plates and nozzles!!! I figured I’d get this big part wrapped up to see how it’ll fit (and it fits well!). This, just like the rest, will get detailing attention once it’s all in place.

isd_imag8349.jpg

isd_imag8350.jpg

isd_imag8351.jpg

isd_imag8352.jpg

isd_imag8353.jpg


There are a lot of areas that still need some reinforcement (and light blocking) so I will be added some goopy epoxy/putty material. Hopefully the bonding will be enough reinforcement. I’ll also be working on a skeletal structure soon, too, now that these pieces are done. I’ll also drill out the engines to make room for the LEDs once the epoxy junk is in place.

isd_imag8369.jpg

isd_imag8370.jpg

isd_imag8372.jpg
 
Progressing slowly. One of the bigger operations of this build is joining all the main hull parts.

isd_imag8938.jpg

isd_imag8939.jpg

isd_imag8943.jpg

isd_imag8944.jpg


There is still a bit of warping along the main pieces, hopefully with some heat and time (clamped to the radiator) it will even out. The heat gun is standing by just in case it’s not enough.

isd_imag8936.jpg

isd_imag8937.jpg


However, I do plan on cutting and adding some reinforcement bars on the inside once I get some of these larger portions completed.

isd_imag8954.jpg


You can see the kit already has a TON of detail, but I will be adding more because there are a lot of bare areas. Not to mention the part fit is not spectacular by any means and there are a lot of gaps that will need to be both filled from the inside and detailed on the front.

isd_imag8946.jpg

isd_imag8948.jpg


The neck/bridge section is still unattached as I’m still thinking of making it removable for shipping.

isd_imag8957.jpg
 
You mention fitting the pieces ( I agree they look like they fit well) and then giving them detailing attention. Wow! The level of detail on this is incredible already. This is looking good!
 
There are definitely some interesting engineering choices on how the parts go together....the slats and flaps etc are meant to slide right into place which is good. But then there are a ton of added little blocks that make it hard to properly locate some parts. My bench is covered in resin chips....
 
That is a huge model to tackle, looks like you've got it under control though. It's sure going to take a fair bit of paint, isn't it? ;D
 
I always love seeing you tackle capital ships, Nick!
I'm particularly looking forward to how that Acclimator turns out- I don't think i've seen you do one in Republic colors yet.
 
Progress on this guy is slow but every little bit of effort counts. Before I attach the engine array to the rear end I decided to cut off those extra rings on the main nozzles. I should have done it before securing them though… I’ll also have to drill for the LEDs before mounting, too. All the pipe work and detailing can wait until later.

isd_imag9084.jpg


The warpage still continues to be an issue as well. An internal bracing system is a common practice with this kit in general and my build will be no different. I picked up some rigid wood beams (they barely flex by hand) and will first create a triangle frame in the upper hull, screwed in most likely, then a single rod along the ventral line to support the mounting post. I can also use these beams to help fix some of the warping…hopefully.

isd_imag9085.jpg

isd_imag9082.jpg
 
And now the Acclamator:

Much more progress has happened on this fellow. Less warpage, no huge parts to assemble, etc. Added the very cool clear cast engines. These things will glow VERY nicely so I’ll have to be careful with the light blocking. The insides need to be gutted a little more too to make room for the fiber optics, which I also started drilling holes for.

acc_imag8984.jpg

acc_imag8985.jpg

acc_imag8990.jpg

acc_imag8986.jpg

acc_imag8999.jpg

acc_imag9000.jpg


When I was drilling out I accidentally punched through the top so I initially added a styrene patch and backed it with some Tamiya putty. After about a day of drying the putty actually melted the patch so I popped off the material and re-patched the hole, this time with a buildup of ONLY styrene…

acc_imag8998.jpg

acc_imag9076.jpg

acc_imag9075.jpg


The mounting and power supply system is a 2-parter. Meaning there is one hole for the support rod and one hole for the power jack. I picked up some extra nuts at the hardware store to embed in the bottom kit resin for the mount to screw in to. It’ll be stable.

both_img_0105.jpg

acc_imag9074.jpg

acc_imag9092.jpg

acc_imag9090.jpg


I also drilled the hole for the power jack and first tried a surface mount 1/8″ jack…I don’t quite like them as much as the other style, so I dug through my electronics toolbox and came up with the one I like. It needed to be shaved down a bit but at least it will be a nice solid jack for the power. AND I don’t need to shave down any extra detail on the bottom.

acc_imag9079.jpg

acc_imag9080.jpg

acc_imag9086.jpg

acc_imag9088.jpg

acc_imag9089.jpg
 
More Acclamator progress!

All the holes for the fiber optics were drilled in several short sessions, which is one of the big humps with any project like this.

acc_imag0150.jpg

acc_imag0154.jpg


I also added the double-nut mount to the hole and secured in place with putty. Should hold for now but once it’s dry I’m going to cap off the hole from the inside and back fill it to make it more stable. It will probably be fine as is, I would just like to be sure.

acc_imag0155.jpg

acc_imag0156.jpg


The electronics were positioned again and I realized I needed a hole for the engine flicker switch! The placement might look too conspicuous but once the hulls are buttoned up the detailing phase will begin…which means that little button should blend right in.

acc_imag0177.jpg

acc_imag0173.jpg

acc_imag0175.jpg


The fiber threading phase is now underway as well. This time, since I can only work in short bursts, I’m threading one “plane” at a time and setting the glue up. This first bout was the back side.

acc_imag0179.jpg

acc_imag0181.jpg

acc_imag0182.jpg
 

Latest posts

Back
Top