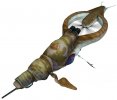
Combine gunship

java

No disintegrations
Joined
May 15, 2010
Messages
909
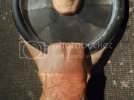
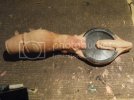
Hey everyone, this year instead of a kit i thought i would scratch build a combine gunship,this is another one of my favorite creatures/machines from the half life series,well hope you enjoy.
I got a nice bit done last night.

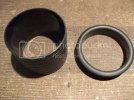
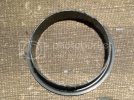
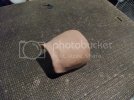
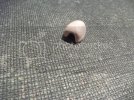
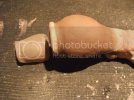
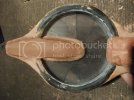
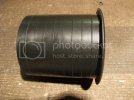
First i cut the top of a piece of drainage tube i have had sitting around for a while,i don't know where it came from but it's come in handy.
This will be for the propeller/fan at the back.
DSCF4318Large.jpg
DSCF4319Large.jpg
DSCF4321Large.jpg

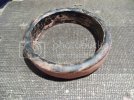
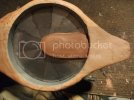
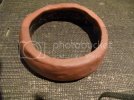
I then went around it with the clay to make it a little thicker in appearance but it looked too chunky so i took it all off and just filled in under the lip of the tube.
DSCF4322Large.jpg
DSCF4323Large.jpg

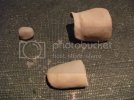
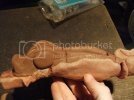
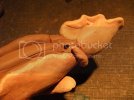
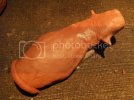
I started the larger body section but i will have to add a little more bulk to it when it dries because it looks more like an anorexic slug and not the shape of a gunship also the spikes at the bottom sides will be smaller too.
DSCF4327Large.jpg
 
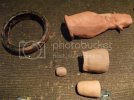
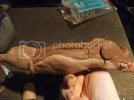
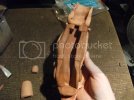
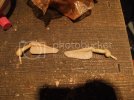
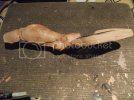
And finally i made the other three body sections,these have already dried.
DSCF4330Large.jpg
DSCF4331Large.jpg
DSCF4334Large.jpg
DSCF4329Large.jpg

Not done yet still loads more filling sanding and smoothing out to do. ;)
 
nicholassagan:

Totally agree,it's bad enough waiting for episode 3 ;)

MrNatural:
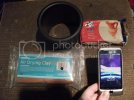
That's weird my start image hasn't shown ???,Thanks for this i am using hobby craft and das air drying clay

DSCF4316Large.jpg

Grendels: ;D
 
I would have bulked the body up last night but the main body has not completely dried yet and if i put more wet clay on top of the undried area the new clay on top would crack as it dried so instead i put the sides on the underbelly to hold it's guts in.

DSCF4337Large.jpg
DSCF4338Large.jpg
DSCF4339Large.jpg

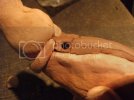
I made holes at this point on the sides of the lower body to attach the fins but looking at it this morning i will have to add a bit more clay and lower the holes down a bit because the fins sit more closer to the head.

DSCF4341Large.jpg
DSCF4342Large.jpg

Dried this morning

DSCF4351Large.jpg
 
Very interesting! Really looking forward to seeing this take shape. I've made stuff with air dry clay before but had problems with shrinkage and cracking, have you had any issues like that using this stuff?
 
Yeah you do have shrinkage but it's not that noticeable except on the odd occasion, i have had a little shrinkage already with this one :( if you take look at the last two images of the underbelly,in the first image when it was still wet the gap is quite wide but as it dried over night it shrunk and squeezed together a little making the gap smaller.
I'm not sure but i think the cracks appear if you apply wet clay over a section that has not completely dried yet,just a guess but i think the bottom layer of clay is still drying so it would still be shrinking slightly and would be pulling on the fresh clay above causing cracks to appear.
But i have noticed if the clay is too wet it will also cause cracking.
 
Just a little done today.

I added more clay and bulked up the large body section now that the first layer of clay has dried.

DSCF4371Large.jpg

Next i glued the third body part to the large body section and moved/lengthened the fin holes further towards the head.

DSCF4387Large.jpg
DSCF4388Large.jpg
DSCF4390Large.jpg
 
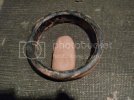
I built the small part that connects to the ring at the back that holds the propeller/fan.

DSCF4326Large.jpg

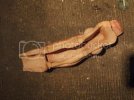
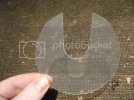
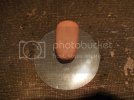
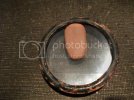
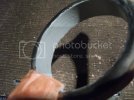
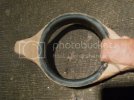
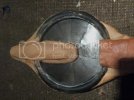
I cut some clear plastic to fit the ring and smoothed down the edges for a better fit.

DSCF4352Large.jpg
DSCF4353Large.jpg

This will have to be glued in before painting because there is skin that attaches to this section on the body.
Also the gap between the clear fan and clay will be filled when working on that area.

DSCF4356Large-2.jpg

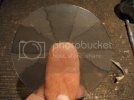
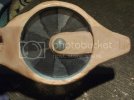
For the fan/propeller effect i washed a wash of black in five v shapes around the clear ring, waited for them to dry and then i used a fine sandpaper and gently went over the ring a few time in a clockwise motion to try and get a type of wind moving through the blades look.

DSCF4366Large.jpg
 
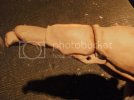
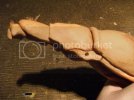
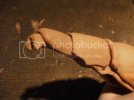
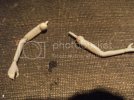
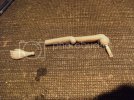
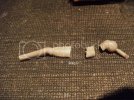
I had some spare 1/6 scale arms hanging around so i thought i would make the fins out these then i could also have the fins move when the build was finished.

DSCF4340Large.jpg
DSCF4344Large.jpg

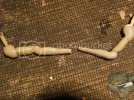
Cut them into three and got rid of the middle parts and glued the two jointed parts together to make a smaller arm.

DSCF4345Large.jpg
DSCF4348Large.jpg
DSCF4346Large.jpg

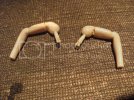
And final pick today, the fins are still drying and will need a lite sanding to make them look even.

DSCF4362Large.jpg
 
I have no idea what's going on here, but it looks very interesting so far. I will follow this one and see what happens.
;D
 
nicholassagan:

Thanking you,yep that's the gunship alright,i was going to sand it's body down really smooth but with all the damage these things take i might just leave the imperfection in the clay as battle damage. ;D

ModelMakerMike:

Don't worry about it mate,i have no idea what's going on with this build half the time either. :D
 
Thank you Grendels!


Glued the ring in place and painted the inside of the ring ready for the fan.

DSCF4370Large.jpg

Built up the body around the ring and added tail.

DSCF4367Large.jpg

Glued in the fan and built up the tail section that holds the fan.

Top view.
DSCF4372Large.jpg

Bottom view.
DSCF4374Large.jpg

It looks wonky and rough in places but when it is dry i will correct the faults
All had dried by this morning.

DSCF4376Large.jpg
 
DSCF4381Large.jpg

Cut a better butt cleavage for the engine bells

DSCF4383Large.jpg

What it looks like so far.

DSCF4384Large.jpg

DSCF4385Large.jpg
 

Latest posts

Back
Top