the Baron
Ich bin ja, Herr, in Deiner Macht
- Joined
- May 12, 2009
- Messages
- 1,961
Hi, all,
I'm getting my SMA posting caught up with my threads over at Agape Models (http://agapemodels.com/forums/), and I'd like to share this in-progress build with y'all. This is a pair of Wildcats, the Hobby Boss and Monogram kits. Both were given to me by friends--Hobby Boss by my buddy Scott Hershbell, and the Monogram kit from a friend who asked to remain anonymous. I put them on my slate for 2013.
Here's the Hobby Boss kit, which I'm sure is familiar to you:

and its sprues:


Markings and instructions:

Markings are available for Butch O'Hare's F4F flying off the Lexington, or Major Galer, flying at Guadalcanal. I'm building Galer's mount.
The kit's quality is good, and it looks like it can be built into a decent model, out of the box.
And here is the Monogram kit, a classic:

This is an old boxing, too, the same as I built when I was a kid. My goal with this build is to finish it as an Atlantic Wildcat, in the dark gull gray over white. I want some practice with the colors, because I have the Ventura in the stash, and will finish it as an Atlantic PV-1.
I also decided to add a resin cockpit, for practice working with a resin set. I picked up the True Details kit off eBay. It's intended for the Tamiya Wildcat, but I figured I'd use it as best I could.
I started off building these, side by side, starting with the cockpits. Here's the True Details cockpit:

I learned that the set expects to use some kit parts from the Tamiya kit, so I had to scratchbuild the bulkhead that carries the seat. Also, the right console was a short-shot, so I scratched it with styrene and resin bits. The joystick is a piece of wire, with a tape grip. Here it is with a coat of interior green:

Meanwhile, here is the Hobby Boss cockpit (sorry, part of the image is blurry):

and with its coat of interior green:

I'm using the Squadron "In Action" book as my bench reference, but the Hobby Boss piece also helped as a reference, as I assembled the cockpit for the Monogram kit.
Next, working on interior assemblies, I put together the engine for the Hobby Boss F4F:

I hit my first snag here. The front gear box, cylinder rows and rear box are all keyed to fit, in that order. But I found that only the two cylinder rows fit. The front and rear boxes did not fit correctly. I wound up having to butt-join them, front and back. To ensure alignment between the front gear box and the front bank of cylinders, I had to insert the propeller.
Then, I assembled the landing gear bay and oil tank:
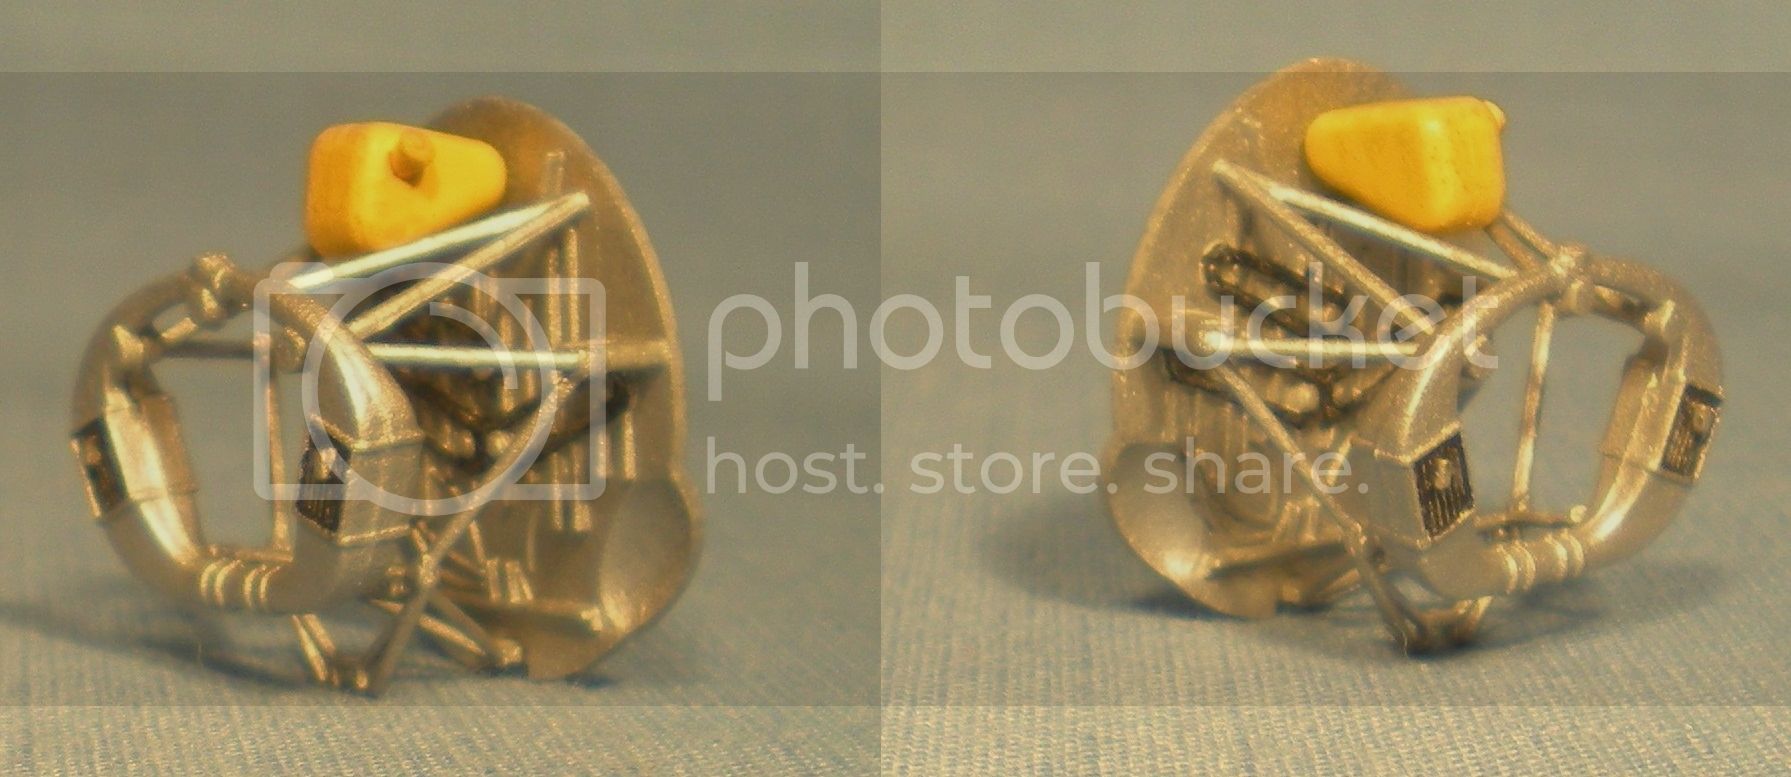
Everything fit here pretty well, and the parts are nicely detailed, but when the fuselage is assembled, it'll almost all be invisible. Oh well, I know it's there.
More in the next post...
I'm getting my SMA posting caught up with my threads over at Agape Models (http://agapemodels.com/forums/), and I'd like to share this in-progress build with y'all. This is a pair of Wildcats, the Hobby Boss and Monogram kits. Both were given to me by friends--Hobby Boss by my buddy Scott Hershbell, and the Monogram kit from a friend who asked to remain anonymous. I put them on my slate for 2013.
Here's the Hobby Boss kit, which I'm sure is familiar to you:
and its sprues:
Markings and instructions:
Markings are available for Butch O'Hare's F4F flying off the Lexington, or Major Galer, flying at Guadalcanal. I'm building Galer's mount.
The kit's quality is good, and it looks like it can be built into a decent model, out of the box.
And here is the Monogram kit, a classic:
This is an old boxing, too, the same as I built when I was a kid. My goal with this build is to finish it as an Atlantic Wildcat, in the dark gull gray over white. I want some practice with the colors, because I have the Ventura in the stash, and will finish it as an Atlantic PV-1.
I also decided to add a resin cockpit, for practice working with a resin set. I picked up the True Details kit off eBay. It's intended for the Tamiya Wildcat, but I figured I'd use it as best I could.
I started off building these, side by side, starting with the cockpits. Here's the True Details cockpit:
I learned that the set expects to use some kit parts from the Tamiya kit, so I had to scratchbuild the bulkhead that carries the seat. Also, the right console was a short-shot, so I scratched it with styrene and resin bits. The joystick is a piece of wire, with a tape grip. Here it is with a coat of interior green:
Meanwhile, here is the Hobby Boss cockpit (sorry, part of the image is blurry):
and with its coat of interior green:
I'm using the Squadron "In Action" book as my bench reference, but the Hobby Boss piece also helped as a reference, as I assembled the cockpit for the Monogram kit.
Next, working on interior assemblies, I put together the engine for the Hobby Boss F4F:
I hit my first snag here. The front gear box, cylinder rows and rear box are all keyed to fit, in that order. But I found that only the two cylinder rows fit. The front and rear boxes did not fit correctly. I wound up having to butt-join them, front and back. To ensure alignment between the front gear box and the front bank of cylinders, I had to insert the propeller.
Then, I assembled the landing gear bay and oil tank:

Everything fit here pretty well, and the parts are nicely detailed, but when the fuselage is assembled, it'll almost all be invisible. Oh well, I know it's there.
More in the next post...


