Build Log: ED-209 Stop Motion Armature

CheesyGrin

New Member
Joined
Sep 1, 2012
Messages
152
Hi SMA Folks!

It's been a while since I last posted. I was sidetracked from the Fine Molds Y-Wing build. For the past 5 months I've been working to recreate the ED-209 stop motion puppet from Robocop! In those 5 months I've studied pictures, read and re-read "Stop Motion Armature Machining", taken hundreds of screenshots from the movie, built a small machine shop in my garage, and have taught myself basic machining skills. Whew! Lot's of planning, thinking, and buying. :wacko

I've reached a point where I'm ready to share the build. Please don't hesitate to offer feedback, criticism, or a kind word. Your input is much appreciated!

Here we go:

Design
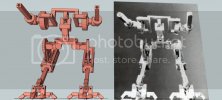
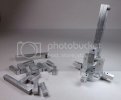
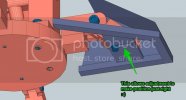
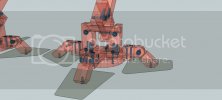
I reverse engineered the armature design from two sources: (1) 2 grainy, black and white Cinefex photos and (2) the Horizon vinyl ED-209 kit. I created a 1:1 3D model in SketchUp. I've been using the 3D model to guide the build. SketchUp does not [easily] provide shop drawings automatically from the 3D model. I manually create orthogonal views with dimensions and build details. Here are a few pics of the 3D model, current revision:
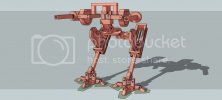
ED209_Full_zpsfcf3b860.jpg

ED209_xrayFoot_zps243c7af5.jpg

ED209_Compare_zps8992e168.jpg

Feedback welcomed!
 
And, here's the first build update! ;D

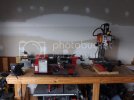
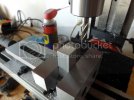
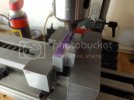
This is my humble machining area! It took me ~3 months to acquire, install, and setup:
ED209_BuildLog_1_zpsbc5a0f30.jpg

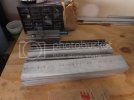
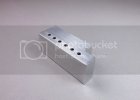
I bought all raw materials from eBay - 6061 aluminum and stainless steel:
ED209_BuildLog_2_zps0c5de638.jpg

Here's the first shop drawing!
ED209_BuildLog_3_zpsddbac758.jpg

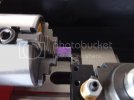
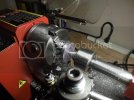
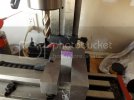
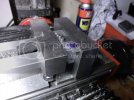
This project required a 4-jaw chuck to hold the square stock. This was the first facing operation on the ED-209!
ED209_BuildLog_4_zps70719950.jpg

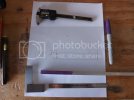
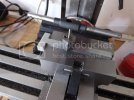
I learned quickly that machining required tools. Lots and lots of tools. I built tools to build tools that helped me to build the actual parts. Seriously. Here you see the "T" stop I made and a tapping guide. The tapping guide was critical to keep from breaking $8 #2-56 taps:
ED209_BuildLog_6_zpsf5dac4f7.jpg

First holes drilled and tapped:
ED209_BuildLog_5_zpsabc2face.jpg

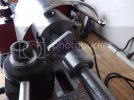
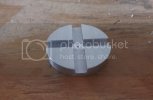
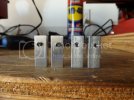
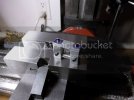
This is the start of the footpad. I turned a section of 2"x2"x1/4" aluminum to get the final part:
ED209_BuildLog_7_zpsb0e42cc9.jpg

ED209_BuildLog_8_zpsf0642bbb.jpg

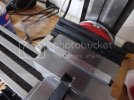
After some milling (sorry for the blur):
ED209_BuildLog_9_zps5ac80026.jpg

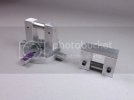
Here's the first assembly:
ED209_BuildLog_10_zps312b8c47.jpg

I'll have some build time this weekend. I'll post an update for sure. Thanks for following along!
 
NO way!!! That's sooo coooool!!!! Rarely do we see this kind of building! I assume you're posting on RPF?
 
Thanks guys!

Nicholassagan - yes, I posted on RPF as well. There are a few folks that have considered taking on a similar project.
 
eh up buddy,
i cant wait see ya progress on this model,robocop was cool but ed was like the fonz in my eye!! ;D
cheers peza
 
Mr Cheesy Grin Dude,
Absolutely loving this buddy. :eek:
You should make 3 of everything so you have a couple to sell when you are done.

I say this because as a 30 year machinist myself i know once you are set up its easy to just pop off 2 or 3 extra for "Happy Accidents" that may occur. ;D than have to start the set up again from scratch.

If you need any machining advice please don't hesitate to ask mate, if you PM me you address i will hook you up with some small size end mills and drills.

Gag
 
Hi All,

Thank for the great feedback! Build Update:

If there's one thing I'm learning about machining it's this - prepare to re-machine, often. Admittedly, I'm an amateur. I found myself examining completed parts and deciding to rebuild this weekend. The original parts (rev. 1) weren't bad but I countersunk the screws too much. Not countersinking was actually more accurate to the original armature. After a rebuild, I'm much happier with rev. 2:
ED209_BuildLog_11_zpsa89baa87.jpg

ED209_BuildLog_12_zps1493448c.jpg

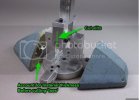
Since I had the equipment setup for drilling, I built all pieces of the ankle (universal joint). These parts are sitting in place:
ED209_BuildLog_16_zps1d7ca723.jpg

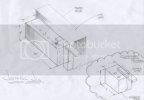
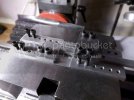
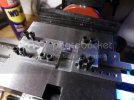
The next operation was to join the end pieces to the flat bar. This created a challenge though. I did not have a means for clamping the pieces together to allow drilling both pieces simultaneously. So I stopped, went inside, and began to ponder a solution. What I came up with was a custom jig that would hold both pieces in perfect relation, one to the other, and hold them securely to allow drilling. Here's my quick concept sketch:
ED209_BuildLog_18_zps7bca3a26.jpg

I decided to go with the quicker, simpler design to save build time. Here's some photos showing the progress and semi-final jig:
ED209_BuildLog_13_zps7a69fe29.jpg

ED209_BuildLog_14_zps8592ce93.jpg

ED209_BuildLog_15_zpsdb1f7e50.jpg

ED209_BuildLog_17_zps80ac9f40.jpg

I need to tap the holes and make the clamp. The next update will show the jig in action followed up with (hopefully) perfectly joined bases to universal joint sides. Thanks for tracking the thread! :)
 
Thanks for the great feedback everyone. I really appreciate it!

Finally a build update. I feel like my pace is slightly slower than Mountain Man from Duck Dynasty. If you don't know anything about Duck Dynasty, disregard my analogy, and just know that I'm inching along on this build. Anyway, on to the update:

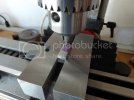
I built two jigs to help me produce better parts more repeatably. The first is a drilling jig and the second a radius jig. I'm not cutting a radius in this instance but found another great use for the jig. You can see them both in action here:
ED209_BuildLog_01_zpsb1e2c687.jpg

ED209_BuildLog_02_zpscda51537.jpg

ED209_BuildLog_03_zps99875724.jpg

ED209_BuildLog_04_zps14cdc439.jpg

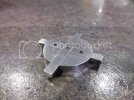
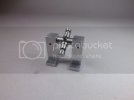
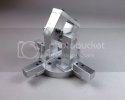
Here's the universal joint used in the ankle:
ED209_BuildLog_05_zps551d9112.jpg

ED209_BuildLog_08_zpsf30cd3cf.jpg

ED209_BuildLog_09_zps14d66d9f.jpg

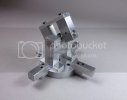
After a few hours of work I'm beginning to see something familiar:
ED209_BuildLog_20_zps40495fcc.jpg

ED209_BuildLog_29_zps5f5f8094.jpg

ED209_BuildLog_30_zps4f0bedcf.jpg

And some rough cuts on the second foot assembly:
ED209_BuildLog_31_zps0d8ba17d.jpg

I might make more progress tomorrow. If so, I'll share! Feedback welcomed.
 
eh up dude,this is gonna be one epic build mym8.lovin it and i`ll look forward to each update...cheers peza :eek:
 
Thanks guys!

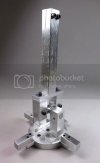
Yesterday, I re-machined the 'shin' piece and connected it to the universal joint. I'll spare you the 'shin bone connected to the ..." commentary. This added significant weight the the universal joint. Slitting the end pieces is necessary so I can clamp and maintain the foot position. Next steps I hope to complete tonight:

image_zps9d37724b.jpg

I'll post progress...
 
Thanks for the great feedback! Another design quick update:

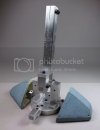
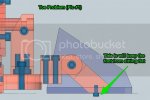
Before I cut the 'toes' I want to ensure things are going to sit flat. Here's a pic of my problem:

image_zps65fac041.jpg

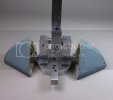
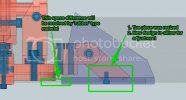
A re-design that takes care of the problem and improves my ability to adjust the toe shell laterally.

image_zpsfc167f94.jpg

image_zpscf0a23e4.jpg

Sorry it's not a build update. But getting this kind of stuff worked out prior to spending time in the shop saves much frustration.
 

Latest posts

Back
Top