Papermodder
Modeller in both Plastic and Paper Card
- Joined
- Jan 2, 2013
- Messages
- 1,224
Good day.
With the humidity done for the moment, I thought I would start a small project.
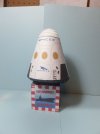
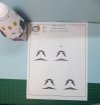
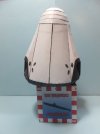
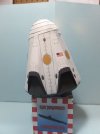
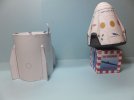
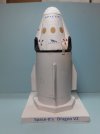
Soon after the abort test for Space-X's Dragon V2 manned spacecraft, AXM designed a model of this craft in it's abort test configuration.
This image is actually of a flight ready configuration, as for the test the solar panels were not installed.
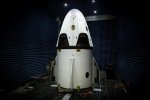
I thought being a recent event, that this would be an interesting build. Not the most complex, but still interesting.
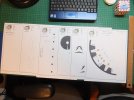
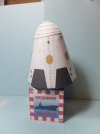
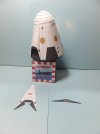
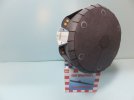
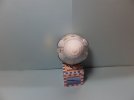
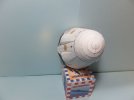
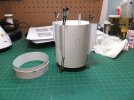
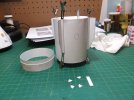
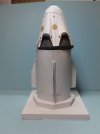
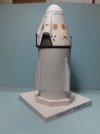
The main body of the craft was cutout shaped and assembled. Including all the petals for the heat-shield.
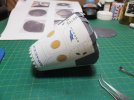
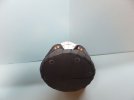
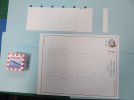
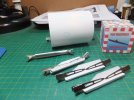
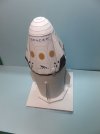
Assembled the heat-shield and did a test fit. To try to align all those petals while gluing was going to be a nightmare. So I printed another copy of the heat-shield, and assembled it inside out. Started gluing this in place, under the petals. One petal at a time. This helped secure and align them.
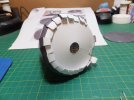
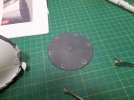
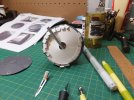
When complete, coloured in any gaps.
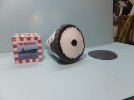
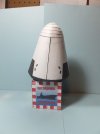
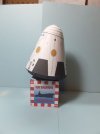
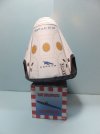
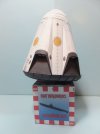
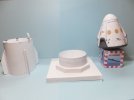
The heat-shield was then easily glued into place.
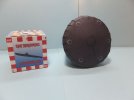
I am in the process of starting to assemble the dome at the top of the craft.

Thank you for following.
Questions and comments welcome.
Jim
With the humidity done for the moment, I thought I would start a small project.
Soon after the abort test for Space-X's Dragon V2 manned spacecraft, AXM designed a model of this craft in it's abort test configuration.
This image is actually of a flight ready configuration, as for the test the solar panels were not installed.

I thought being a recent event, that this would be an interesting build. Not the most complex, but still interesting.

The main body of the craft was cutout shaped and assembled. Including all the petals for the heat-shield.

Assembled the heat-shield and did a test fit. To try to align all those petals while gluing was going to be a nightmare. So I printed another copy of the heat-shield, and assembled it inside out. Started gluing this in place, under the petals. One petal at a time. This helped secure and align them.


When complete, coloured in any gaps.

The heat-shield was then easily glued into place.

I am in the process of starting to assemble the dome at the top of the craft.

Thank you for following.
Questions and comments welcome.
Jim

