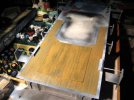
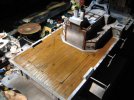
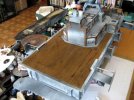
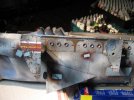
ATHENA - Steampunk Airship

Klaus,

Thanks for showing the hole punch I was about to purchase one from micro mark and just before hitting the checkout button I searched on E bay and found one for half the price, that was not the cheapest nor the most expensive but in the middle and bought it. I can't wait to try it out.

Can't wait for the paint on this.. Very nice build!!!

Mike
 
Holy Moly!
This thing is incredible!
Super kewl! There sure is a lot of talent here at S.M.A.
;)
;D ;D ;D ;D
 
Thank you guys!

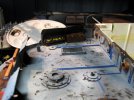
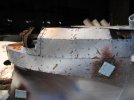
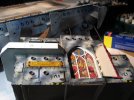
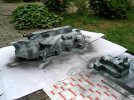
With the build and masking complete, I moved all the pieces into the garden for priming and initial painting. The first can of black got me through the gondola and bridge, as well as half the body :)
After the initial black priming I added streaks and dots of light grey to create a kind of cloud pattern.
526561_sm-.jpg

Some blue, a bit of white, and some more black completed the basic camo pattern. Then all the small pieces and items received a black base coat. Some of the turrets, the rotors and radar bridge also got the camo pattern.
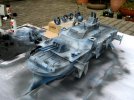
526562_sm-.jpg

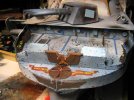
After 3 hours with spray cans in the garden she was ready to go back onto my desk. First I added burn marks on the damaged sections.
Then base colored the port holes. With the airbrush I added shadows and basic light areas to the port holes. And then I painted the brass-colored rims of the port holes.
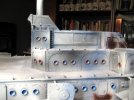
526563_sm-.jpg

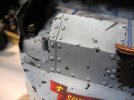
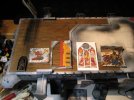
The armor patches were painted with Astonomican Grey. And I started to paint the steampunk ornaments with Tinny Tin (from Vallejo).
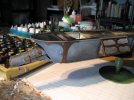
526564_sm-.jpg

And then disaster struck!!!
I took a short break, setting the ATHENA to the side and leaving my little man-cave.

About an hour later I came back, and when returning to my desk I knocked the ATHENA over and she fell off my desk to the ground!
I was so shocked I didn't even take pictures, but believe me, it wasn't a sight I'd ever want to see again.
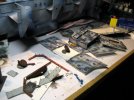
Broken pieces on the floor and the ATHENA on her side...

After some initial cleanup and first repairs I remembered to take photos.
Here the rear section.
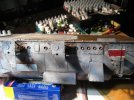
As you can see the body was cracked open, some of the plastic card ripped - I already glued some armor patches onto the major damage. The rear balcony broke off the support, but was generally undamaged.
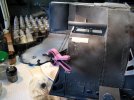
526565_sm-.jpg

The very tip of the nose chipped and some of the glue lines broke open.
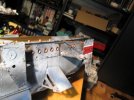
The right forward wing broke completely off (actually it broke out of the body, leaving a huge hole). I glued everything back in position.
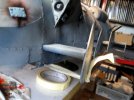
526566_sm-.jpg

Some of the supports for the railing broke off (really minor damage)
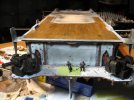
And in the bridge section several items rattled around. With the windows masked I couldn't see what exactly was broken.
So I decided to cut her open and see to it.
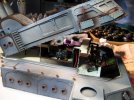
526567_sm-.jpg

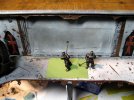
In the end one of the ceiling lights and the admiral broke loose.
This was an easy fix, and I decided to take the entire top section back off. This will now give me the opportunity to get at the windows in case the masking didn't work out properly.
With the initial shock overcome, I continued with painting the ornaments.

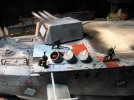
First details for the bridge section.
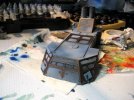
526568_sm-.jpg

And the radar bridge.
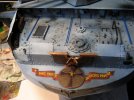
With the slogan "Semper Paratus, Semper Vigilans" - Always ready, always watchful"
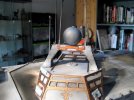
526569_sm-.jpg

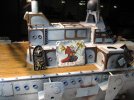
The lower section of the bridge completed
Well, of course without any real details and without any weathering yet.
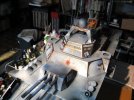
526570_sm-.jpg

The next section I will paint is the forward section with the KERES launcher.
Gee! I forgot how many details I added here - and they are sooo hard to get to....

As usual you can see all the details (30 images) in my blog:
http://fischers-design-shop.blogspot.de/2013/08/athena-steampunk-airship-100.html

Well, I hope you like this update.
Cheers
Klaus
 
Servus Father Klaus-mass

Love Love Love the cloud pattern mate.

Sorry to here about the accident

It all adds character buddy, you may be able to incorperate it as battle damage. ;D

Are you going to weather this heavy-ish or light-ish? I'm not to familiar with Steam Punk stuff

Gagster
 
Definitely had to be frightening when she fell.
Good job on fixing her up, though.

Paint's looking really good, too
 
Thanks guys.
@The Nylon Gag - well she'll be weathered :)
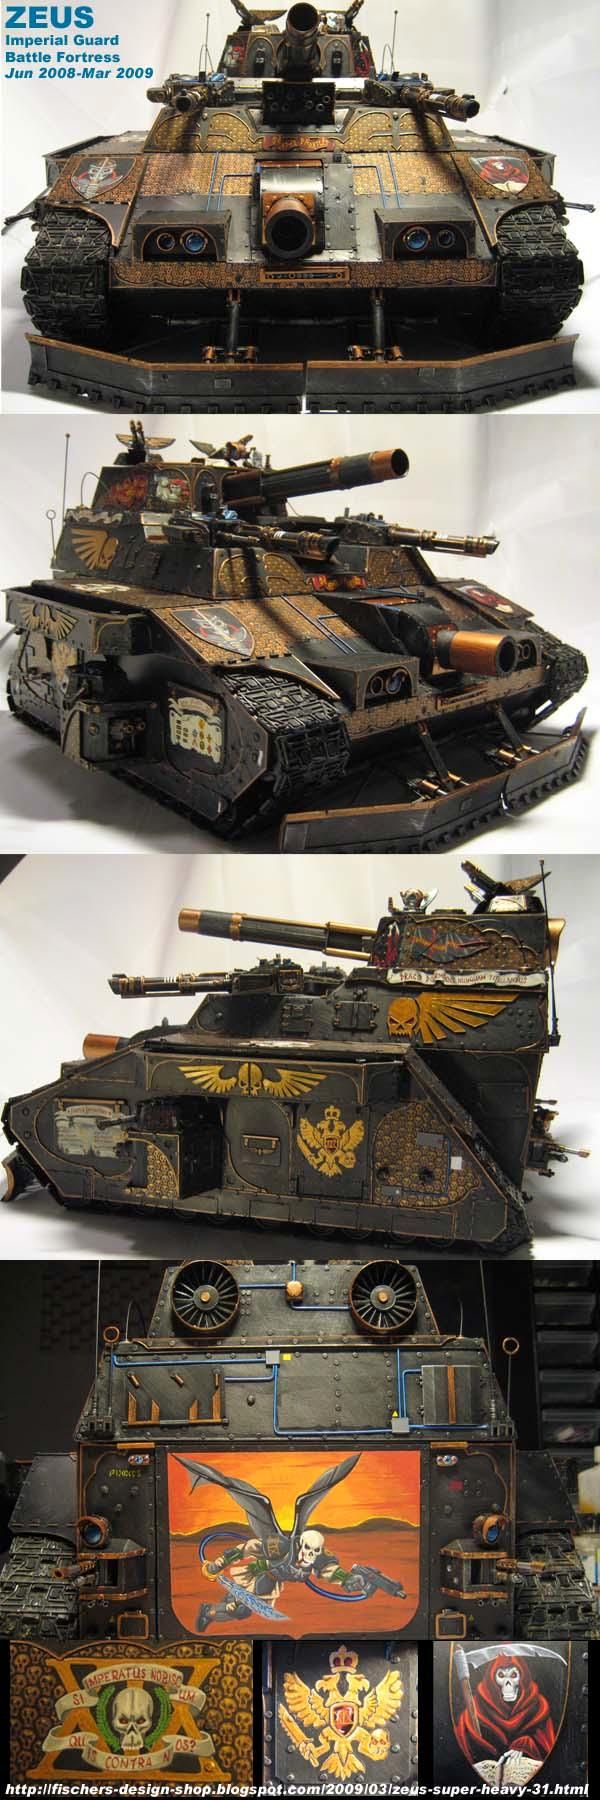
For the ZEUS I didn't do any weathering at all:


While I usually weather heavily for my tanks
245607_sm-.jpg

But the goal will be somewhere in between.
From a fluff perspective the ATHENA will be on her way back after a long campaign - Operation Redeemer - and now it is time to do some cleanup and painting, while she returns to the capital :)
127561_sm-.jpg

The bridge I originally had built (while she was still intended an Aircraft Carrier) looked like this
127563_sm-.jpg

So this is most likely the weathering I'll try to accomplish.
Cheers
Klaus
 
Again thank you guys!

Yeah, sometimes it has its benefits to be stubborn :)
I WILL finsh her!
:D

Well, I continued painting the ATHENA, and since she now has some real damage, I decided to see how I can paint her to incorporate the real and "fake" damage together.

As stated in the last post, I worked on the forward section.
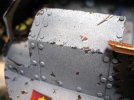
The deeper damages are hand painted, while the minor damage is done with a sponge.
527264_sm-.jpg

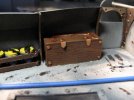
I also painted and remounted the wooden chests. I think they fit nicely :)
527265_sm-.jpg

The actual detailing and damage is complete for this section, but in the end everything will get another coat of dirt (usually a wash of Devlan Mud and some Badab Black) and then lots of stains and grime.
527266_sm-.jpg

The forward banner received its slogan:
"Sans Preur, Invictus Maneo" - "Without Fear, I remain unconquered"
527267_sm-.jpg

I was asked how I draw the deeper damage (since I don't use the "Salt technique").
So I start off with the damage in a dark grey-brown.
527269_sm-.jpg

Then I paint the shadows of the damage in Terracotta (simulating the rust resilient paint) and the highlights with Shadow Grey
Some of the really deep grooves also receive a bit of Boltgun Metal and to even things out, I add some minor damage with a sponge (using the first dark brown-grey again)
527268_sm-.jpg

Its a bit more work than using the salt, but I feel more comfortable this way :)
527270_sm-.jpg

It also works for bigger damage, like this patched up blast damage.
527271_sm-.jpg

Well, it's been a long and hard campaign, and the Orks on Dencara 5 proved to be a worthy enemy. There was hardly any time for maintenance or cleanup.
Now that "Operation Redeemer", the battle campaign against the Orks on the southern hemisphere, is over and the ATHENA on its way back north, to Xanthium, there is time.
And with free time comes boredom - to keep up discipline the first work details are assigned by the officers. Some of the not-so-fortunate (or not-so-brave) sailors are grabbing their paint buckets and paint rollers and start their dreaded imposition...
527272_sm-.jpg
527273_sm-.jpg

That's as far as I got over the last two days.
I hope you like today's little update.
Cheers
Klaus
 
Great recovery, Klaus! You got handed a lemon, with that crash, and you made lemonade ;) I think the damage works better than a pristine ship right out of the yard.
 
Still looks great.. and not that you actually dropped it.. But, I can say I have dropped models after weeks of work.. :-[ Looks very nice!
 
Thanks guys!

with the first section more or less complete I thought about if, where and what kind of freehand to add to the ship.
There is already the large "Vade Retro Xenos" window mural in the back and Athena herself on the back of the superstructure wall. Also I was thinking what kind of freehand to add. On the ZEUS I had several different freehand with mixed topic and styles. But I think for the ATHENA I will try to limit the topics to Athene herself.
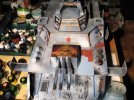
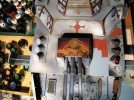
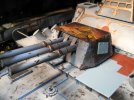
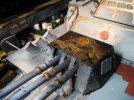
One obvious spot for a large freehand is the top of the MOROS triple Earthshaker turret.
Most images of Athena one can find on the Internet show her standing gracefully, with her Owl and a spear in her hand. Since I already have a similar image for the rear wall mural, I was looking for a more combat-style image.
I found an image on deviantart.com by Paul Renaud ( http://www.deviantart.com/?q=paul+renaud#/art/Athena-issue-4-cover-141612075?_sid=59b1c335 ) in which her pose seemed just right.
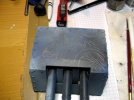
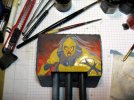
So I drew a quick pencil sketch onto the MOROS roof.
527860_sm-.jpg

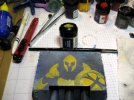
Then I started with Bubonic Brown as base color for the gold
527861_sm-.jpg

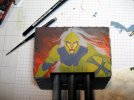
A kind of fiery background and grey as base for her hair. And then I started with the face. Since its framed by the helmet it is hard to get a really good look.
527862_sm-.jpg

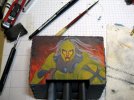
But I think I managed a decent result...
527863_sm-.jpg

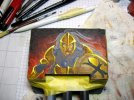
After that I did some cleanup and added another layer of Bubonic for the gold areas
527864_sm-.jpg

Then I added shadows and highlights to the gold.
527865_sm-.jpg

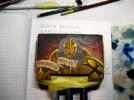
And as I needed a slogan as well as I wasn't really happy with the chest area, I added a parchment with the slogan "Imperator misit me!" - The Emperor sent me.
Special thanks to Vintersorg at WIP ( http://z11.invisionfree.com/Work_In_Progress/index.php?showtopic=13822&hl= ) who helped me again with the translation :D
527866_sm-.jpg

Since it was still very brightly colored and comic-styled I added a thorough layer of Devlan Mud and some Badab Black
527867_sm-.jpg

And this is how it looks on the ATHENA
527868_sm-.jpg
527869_sm-.jpg
So, what do you think?

Also, if you have some idle moments, help me identify spots that can do with a freehand :)
Cheers

Klaus
 
Hi guys,

time for the ATHENA to continue :)

Once I was satisfied with the ATHENA image on the MOROS turret, I added the obligatory scratches and chipped paint - to the image and the rest of the turret and barrels.
528837_sm-.jpg
528838_sm-.jpg

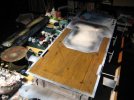
And then it was finally time to paint the wood on the rear deck.
I gave it a good paint coat with Vallejo Earth, but making sure to leave many of the deep groves dark.
528839_sm-.jpg

After that I gave it two washes of thinned Vallejo Smoked Ink. To give it a worn look i added some black soot and scratch marks - like leaked oils and hydraulic fluid as well as tire marks.
528840_sm-.jpg

Then a final wash of the thinned Smoked Ink and complete it was :)
528841_sm-.jpg

I'm really pleased with the result. It almost looks like real wood.
And even in daylight, without artificial lighting it looks great.
528842_sm-.jpg

With the wooden deck out of the way I started painting the steampunk ornaments and the portholes on the port side of the body and after that it was time to start the damage.
528843_sm-.jpg
528844_sm-.jpg

Its a lot of work, but the result is worth it :)
528845_sm-.jpg

That's it for today's update.
I hope you like it and I look forward to your comments, feedback, criticism, suggestions.
Cheers

Klaus
 
Thanks guys!

Well the current work is very repetitive - add damage and scratches.
It is slow and a bit boring. Thus not much to update.
But one of the little scenes is at the rear balcony, in front of the stained glass window and between the two NEMESIS CIWS'
530399_sm-.jpg

Two of the crewmen use the spare time after the campaign and hit some golf balls :)
530400_sm-.jpg

On Wednesday I took a little break from painting and cleaned some of my hobby stuff away.
I then realized with the 3 painters on the ATHENA deck ( http://1.bp.blogspot.com/--5r3EUlU26c/Ugs_adtAUbI/AAAAAAAARoc/XsQZk9ZuKpo/s1600/IMG_5270.JPG ) I will no longer need/use the old ATHENA bridge.
530401_sm-.jpg

So I took it apart and tried to see what I can salvage from it.
530402_sm-.jpg

These items here will definitely be used in an upcoming project. The rest will most likely end up part of some scenery....
530403_sm-.jpg

I was actually hoping that I could use the little shrine and the "Vade Retro" image on the ATHENA, but both pieces are too big to be of any sensible use ....
530404_sm-.jpg
oh well...

Thanks to DavidXD and etiennerondeau for pointing out that my front banner slogan makes absolutely no sense.
I went back through my notes and realized I goofed up big time :p
I mixed some notes from an older project, references I had, AND made a spelling error!
lol, how bad can it get?
:*) :bleep: :flamed: :question:

So I updated the slogan to "Sine Timore - Invictus Maneo!"
530405_sm-.jpg
It should now make sense :)

The starboard side's upper level is now prepared and ready to get the damage paint.
530406_sm-.jpg

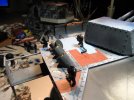
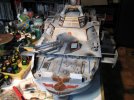
And I prepped the scene for the paint duty scene...
530407_sm-.jpg

I think this will look nice once completed.
530408_sm-.jpg
Greetings from Red Dwarf :D

I hope you like today's update.
Cheers
Klaus
 
Thanks guys!
sorry for the lack of updates, but I was plagued by a series of strong migraine attacks over the last two weeks. Seems the re-organization at work is stressing me more than I imagined.
Oh well.
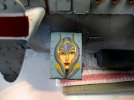
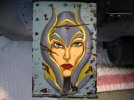
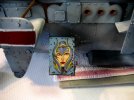
But I was working on another small freehand for the ATHENA. This time on the top of the bomb chute.
As mentioned before, I will try to keep the imagery limited to Athena herself. So this time it is a kind of portrait.
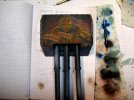
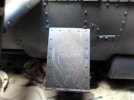
I started off with some raw pencil lines.
533948_sm-.jpg

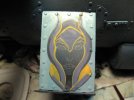
Then the first basic colors with very limited shading.
533949_sm-.jpg

Skin color
533950_sm-.jpg

Then detailing it out a bit more. More shades for the face, shades for the metal of the helmet and a bit of highlighting for the golden parts.
533951_sm-.jpg

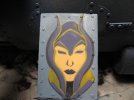
The finished portrait.
I wanted her a bit "cold" maybe even frowning, and I think it worked.
I know she's a bit lopsided, but that's from being left-handed and the wing on the left limiting my workspace.
You can also see that I messed up the helmet on the left, smearing some of the yellow color.
533952_sm-.jpg

But hey! That's what we have damage and scratches for, right :)
533953_sm-.jpg

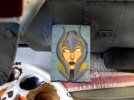
I like the way she now looks on the bobm chute cover.
533954_sm-.jpg

There will be a coat of Devlan Mud and later with the rest of the ship there will be more soot and grime.
I hope you like todays update.
Cheers
Klaus
 

Latest posts
Back
Top